


A New Beginning


Recommendations: 139
About the Project
A return to the hobby after several years of turmoil
Related Game: Warhammer Age of Sigmar
Related Genre: Fantasy
This Project is Active
My First Mini(s)
A small update as I fit hobbying in around everything else.
So far, my grad return to hobbying has seen me paint the main glotkin model, which isn’t a mini, its too big, and a space marine vehcile, whoch was basically a red box.
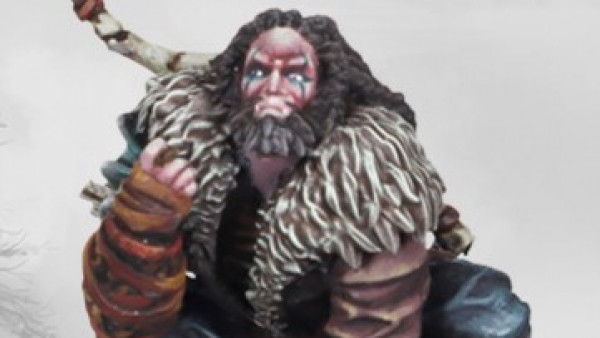
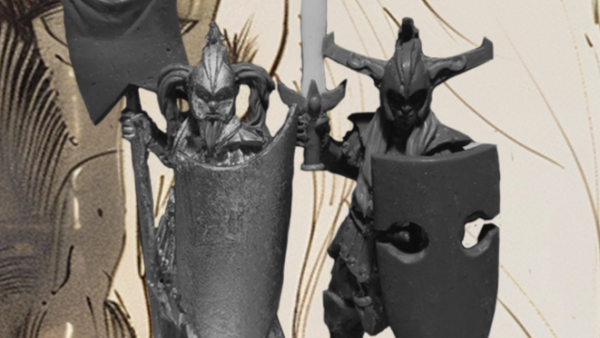
Now its time for actual minis, so I’m back to the Glotkin box, which isn;t just the big model, but two normal minis that stand on his back.
The box art has these guys as pale skinned but clean, like the overall look, but I still think this is out of place for nurgle.
So I started off with dead flesh, and added in some of the same green I sued to paint the glotkin itself, just so there is some coherence between them all. I highlighted up from there, then added the various bleeding wounds and so on, did the wood on the weapon and staff and the lether belts and so on.
I still have the metals to do and to figure out what to do witht he base for all of this, but heres what they look like right now.

As an aside from painting things, spending an hour here or there focused away from work and everything else life throws at you has been really good so far. I forgot how much it helped.
Hopefully next update I can show the finished glotkin off, then find something else from my pile of untouched minis to do something with. I have a few old projects in a case somewhere too, so maybe a bit of spring cleaning challange for me.
A new new beginning!
Well, my triumphant return tot he hobby didn’t go quite as planned.
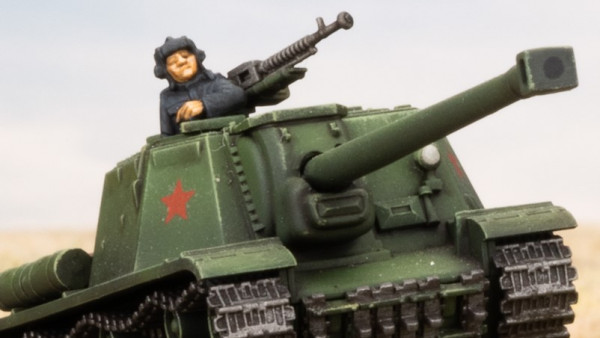
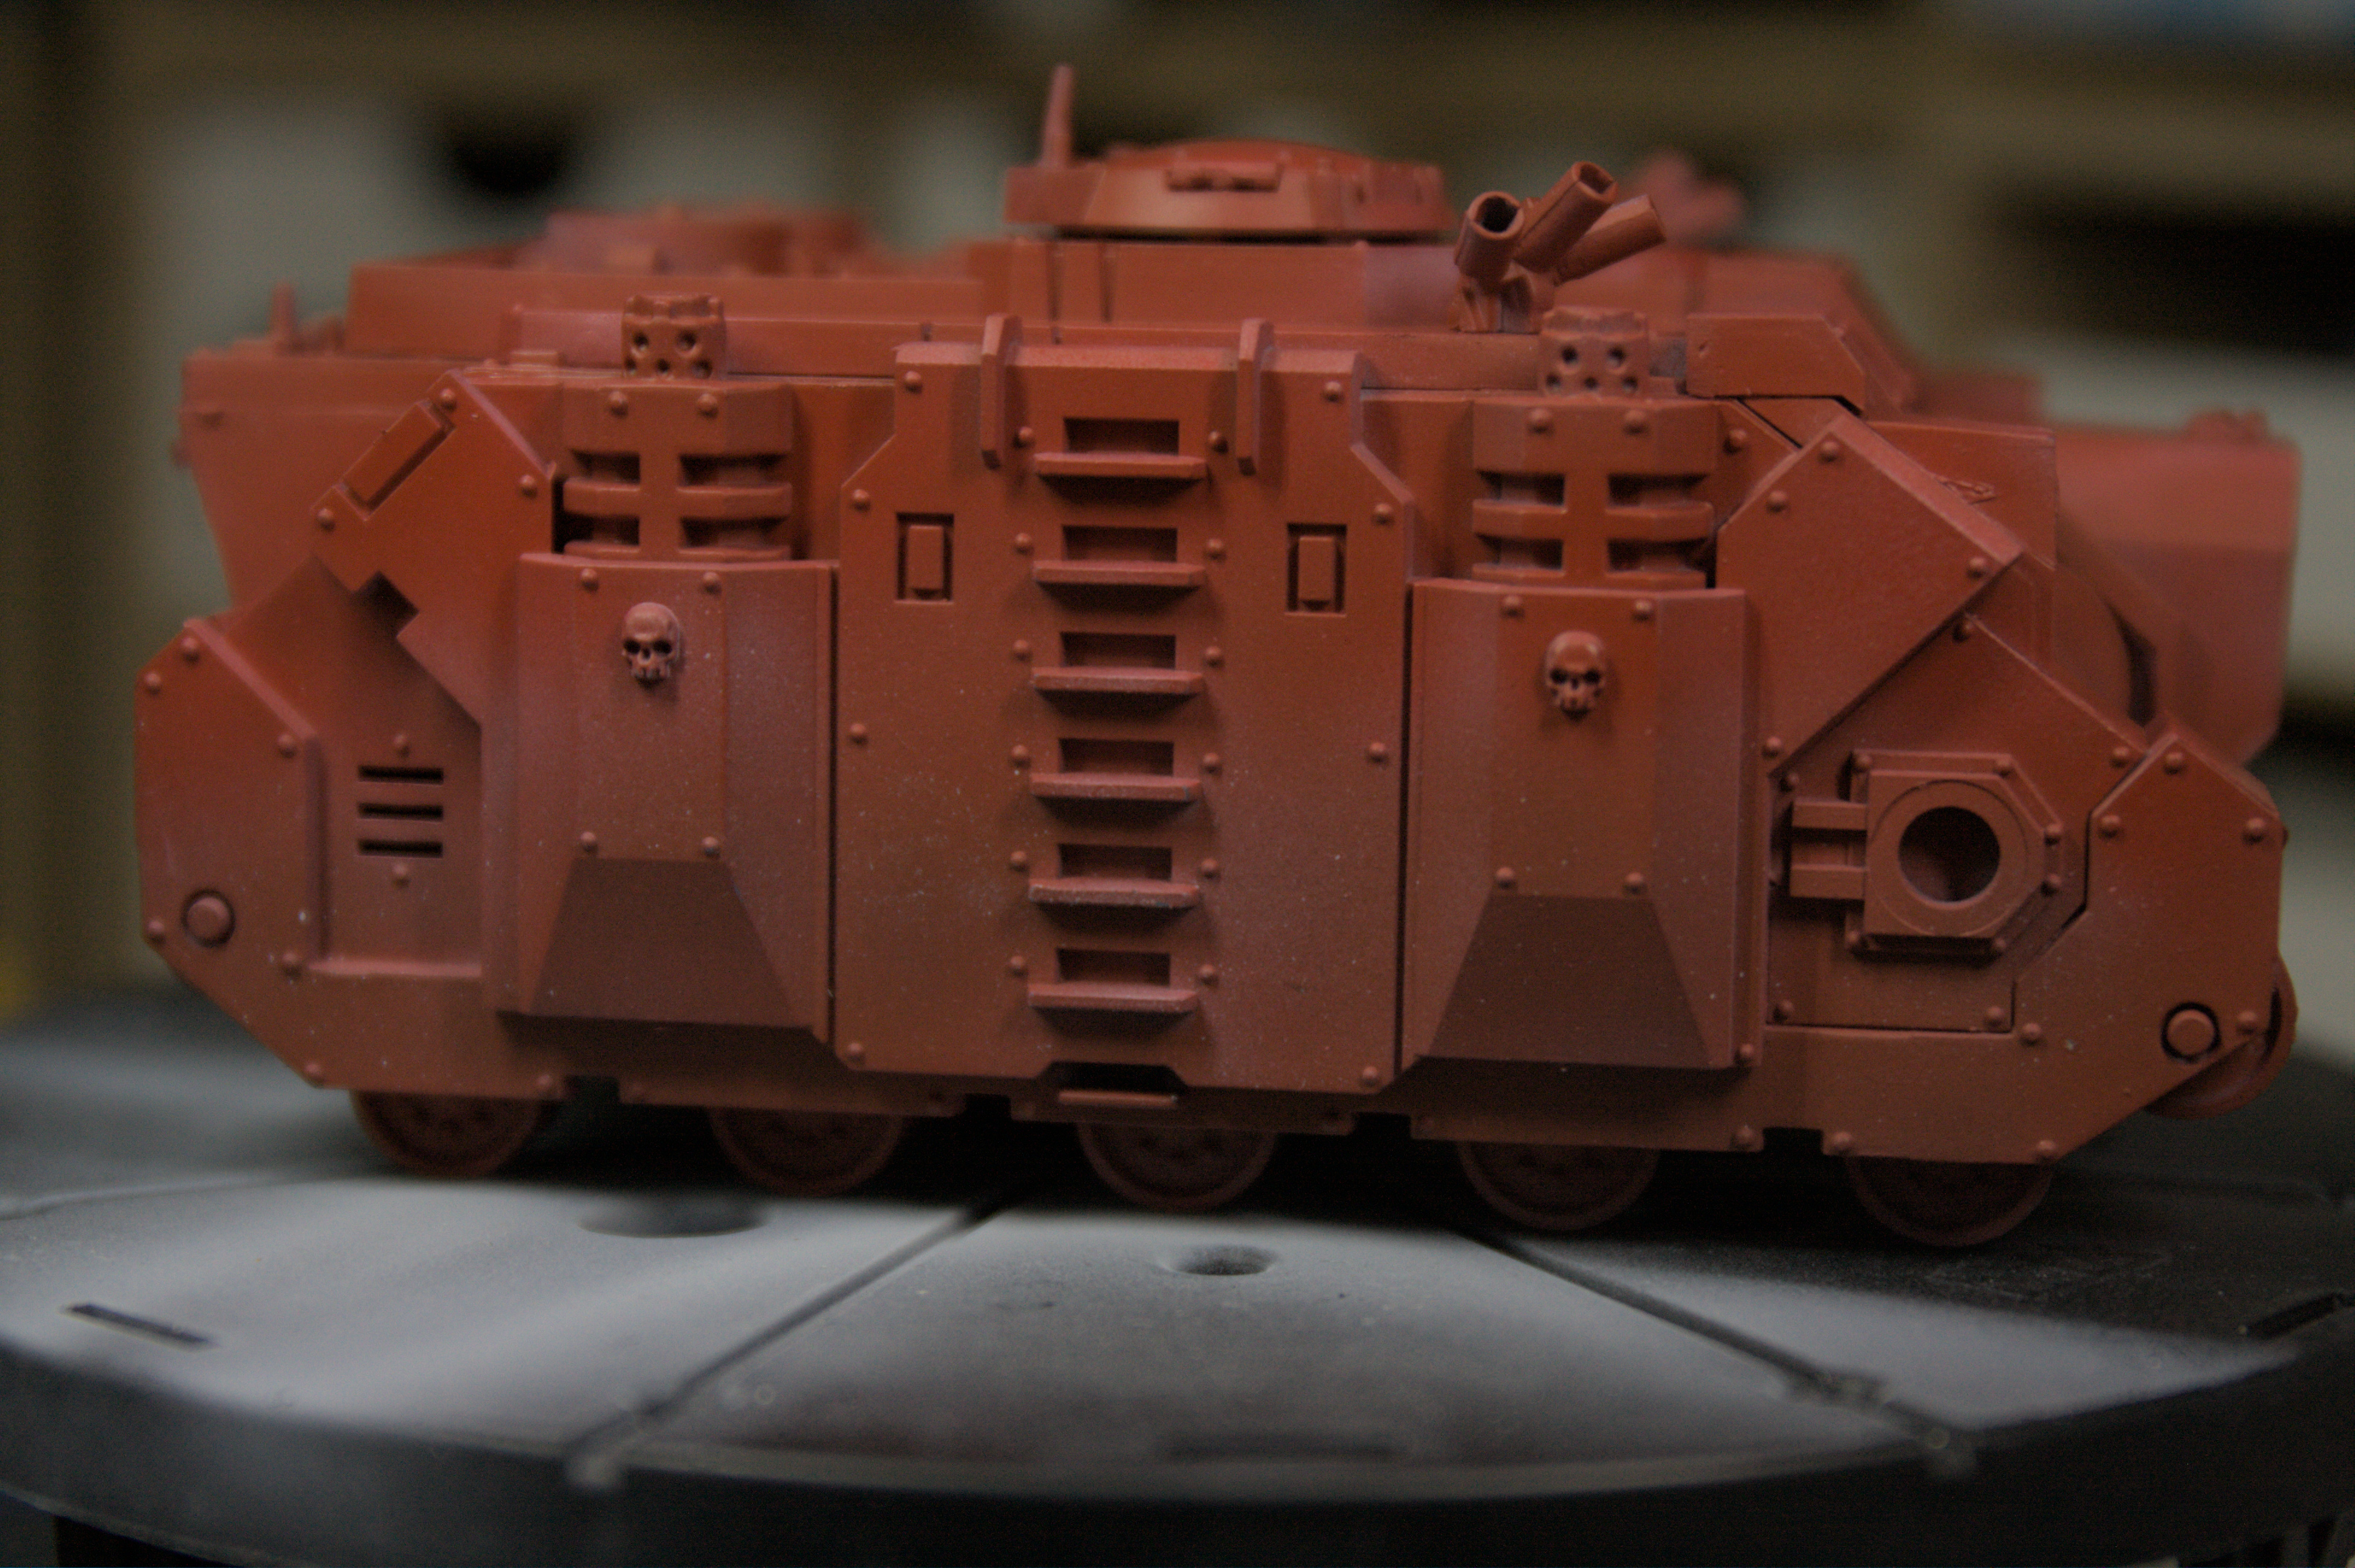
Work and life got in the way, but I have found time this weekend and got my Blood Angels Vindicator done.
First was a dark red primer then red sprayed on top. I use Vallejo Model Air Italian Red for all my Blood Angels. I’ve been painting them for 30 years and Model Air is the most consitent in terms of keeping the same colours.
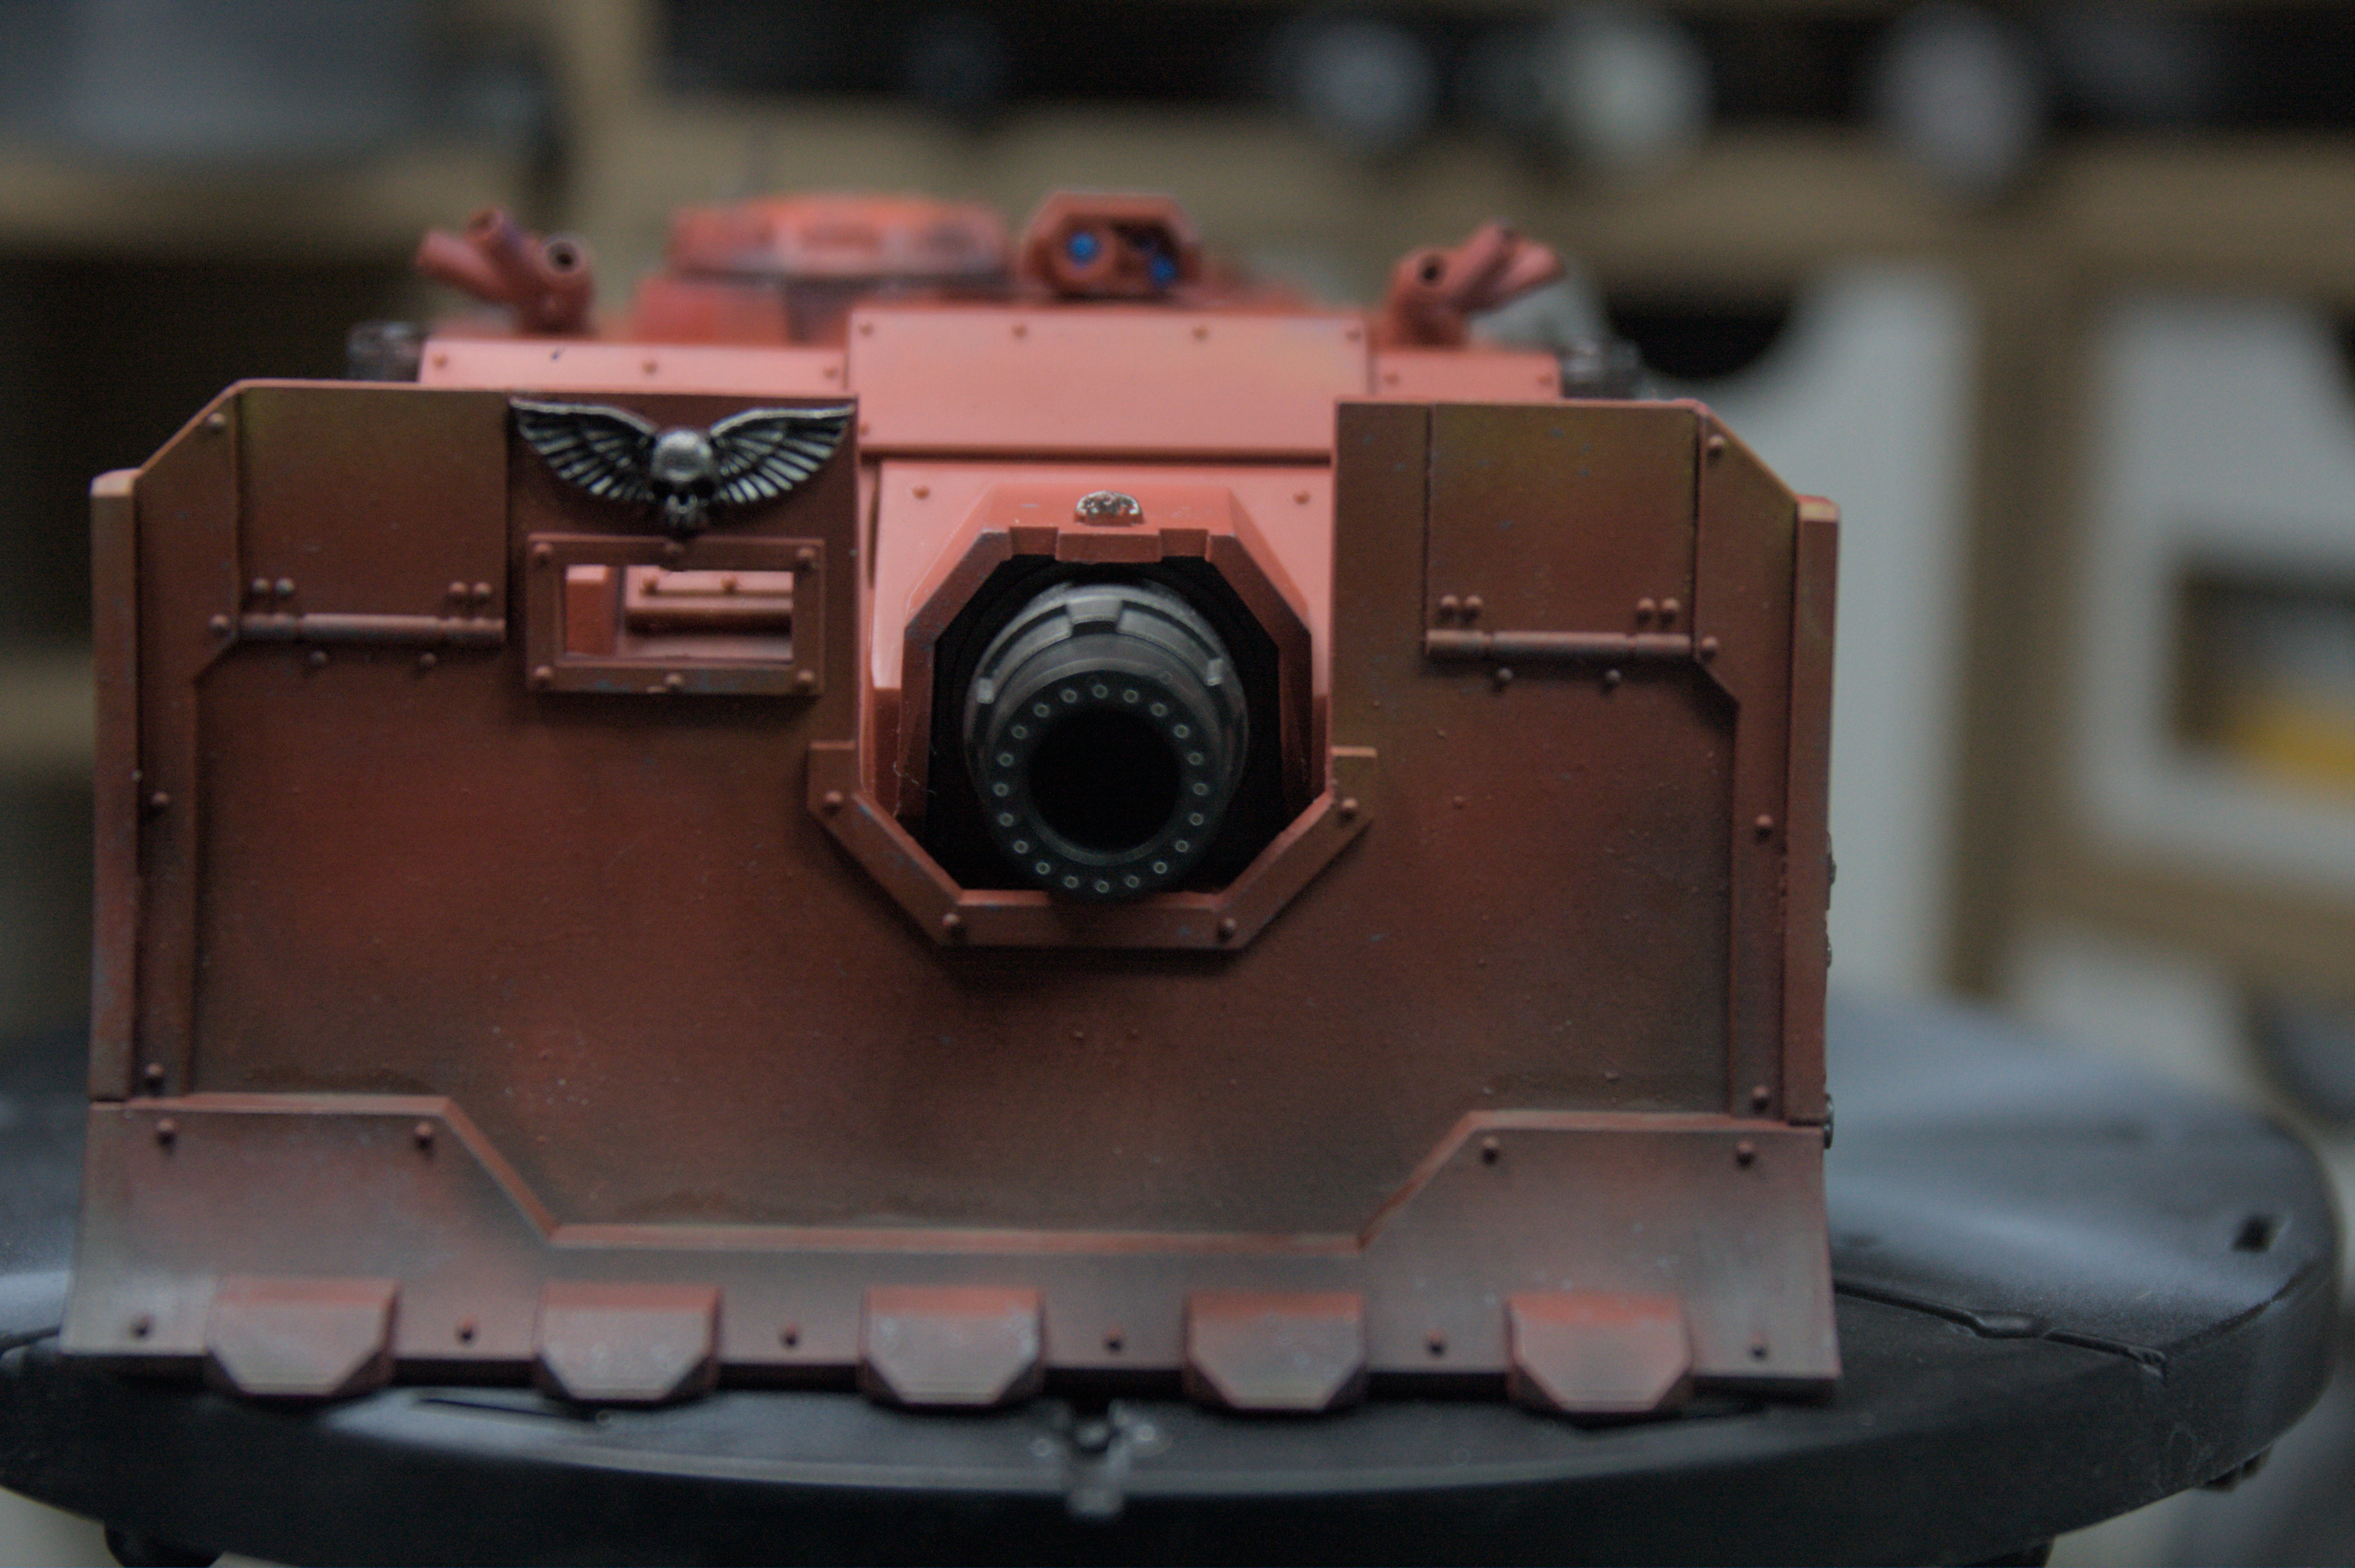
Then I added some light and shade. Purple Ink, diluted and sprayed lower down, Yellow Ink the same but on th eupper surfaces.
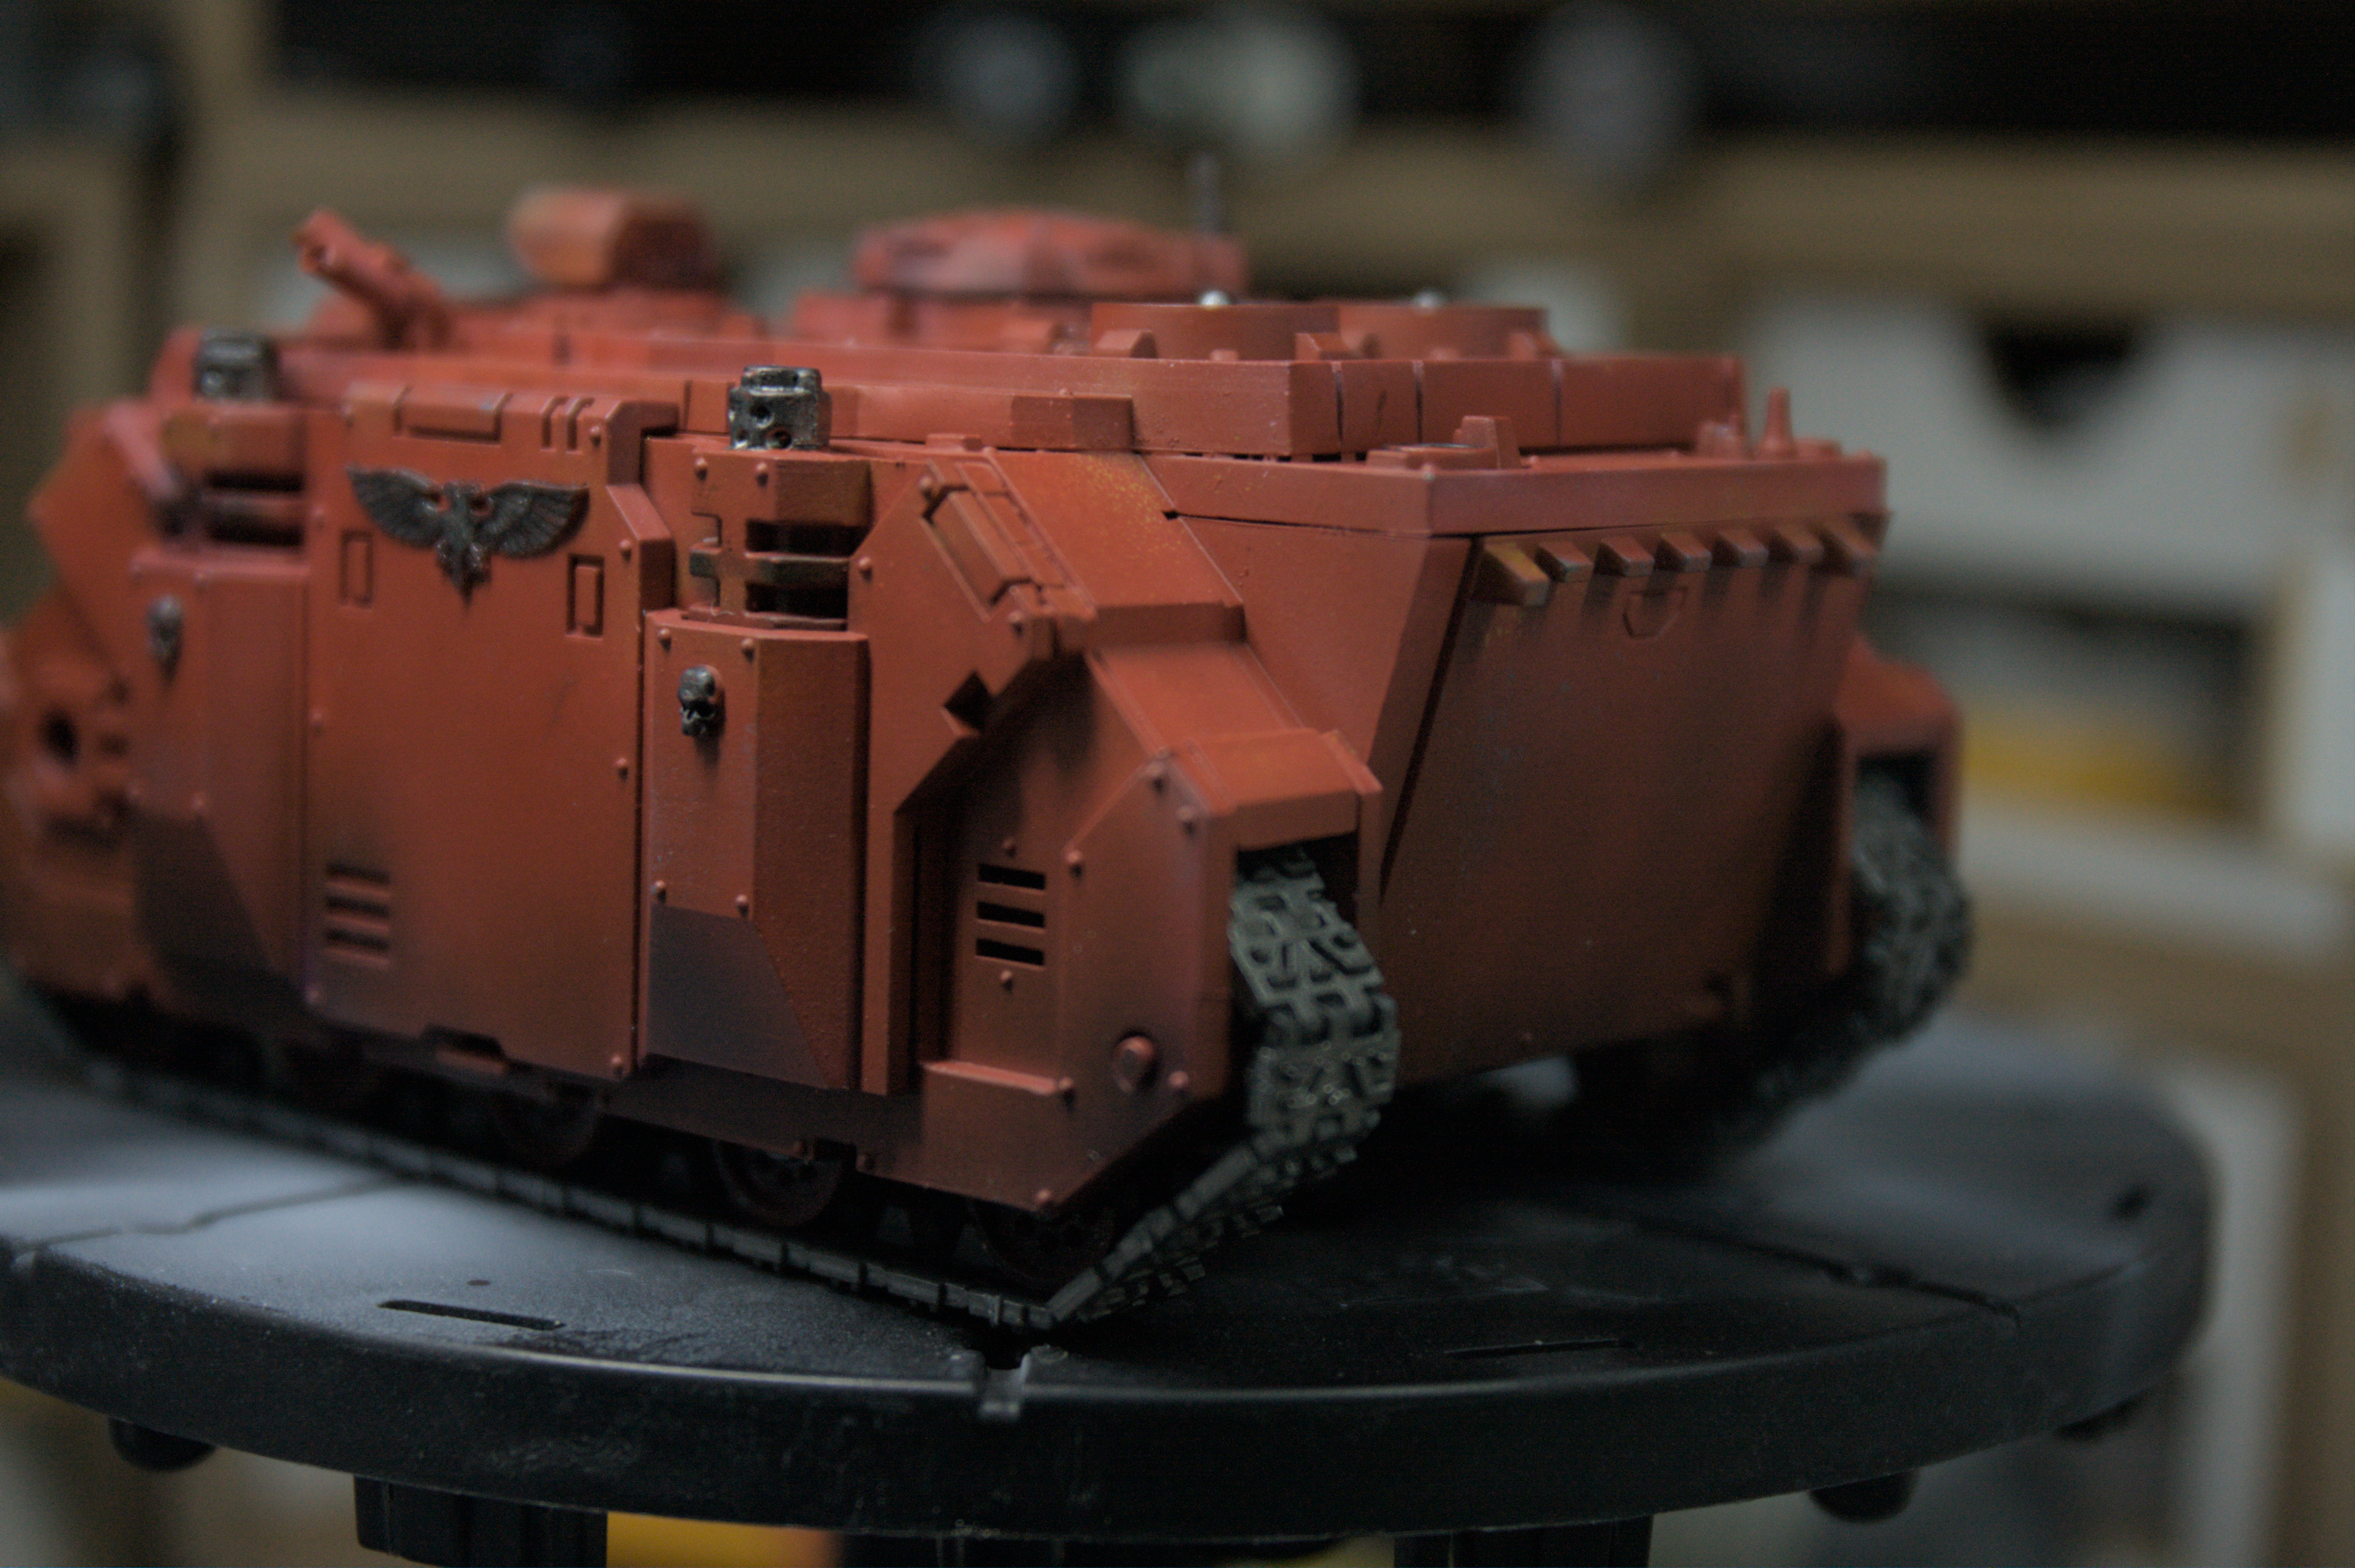
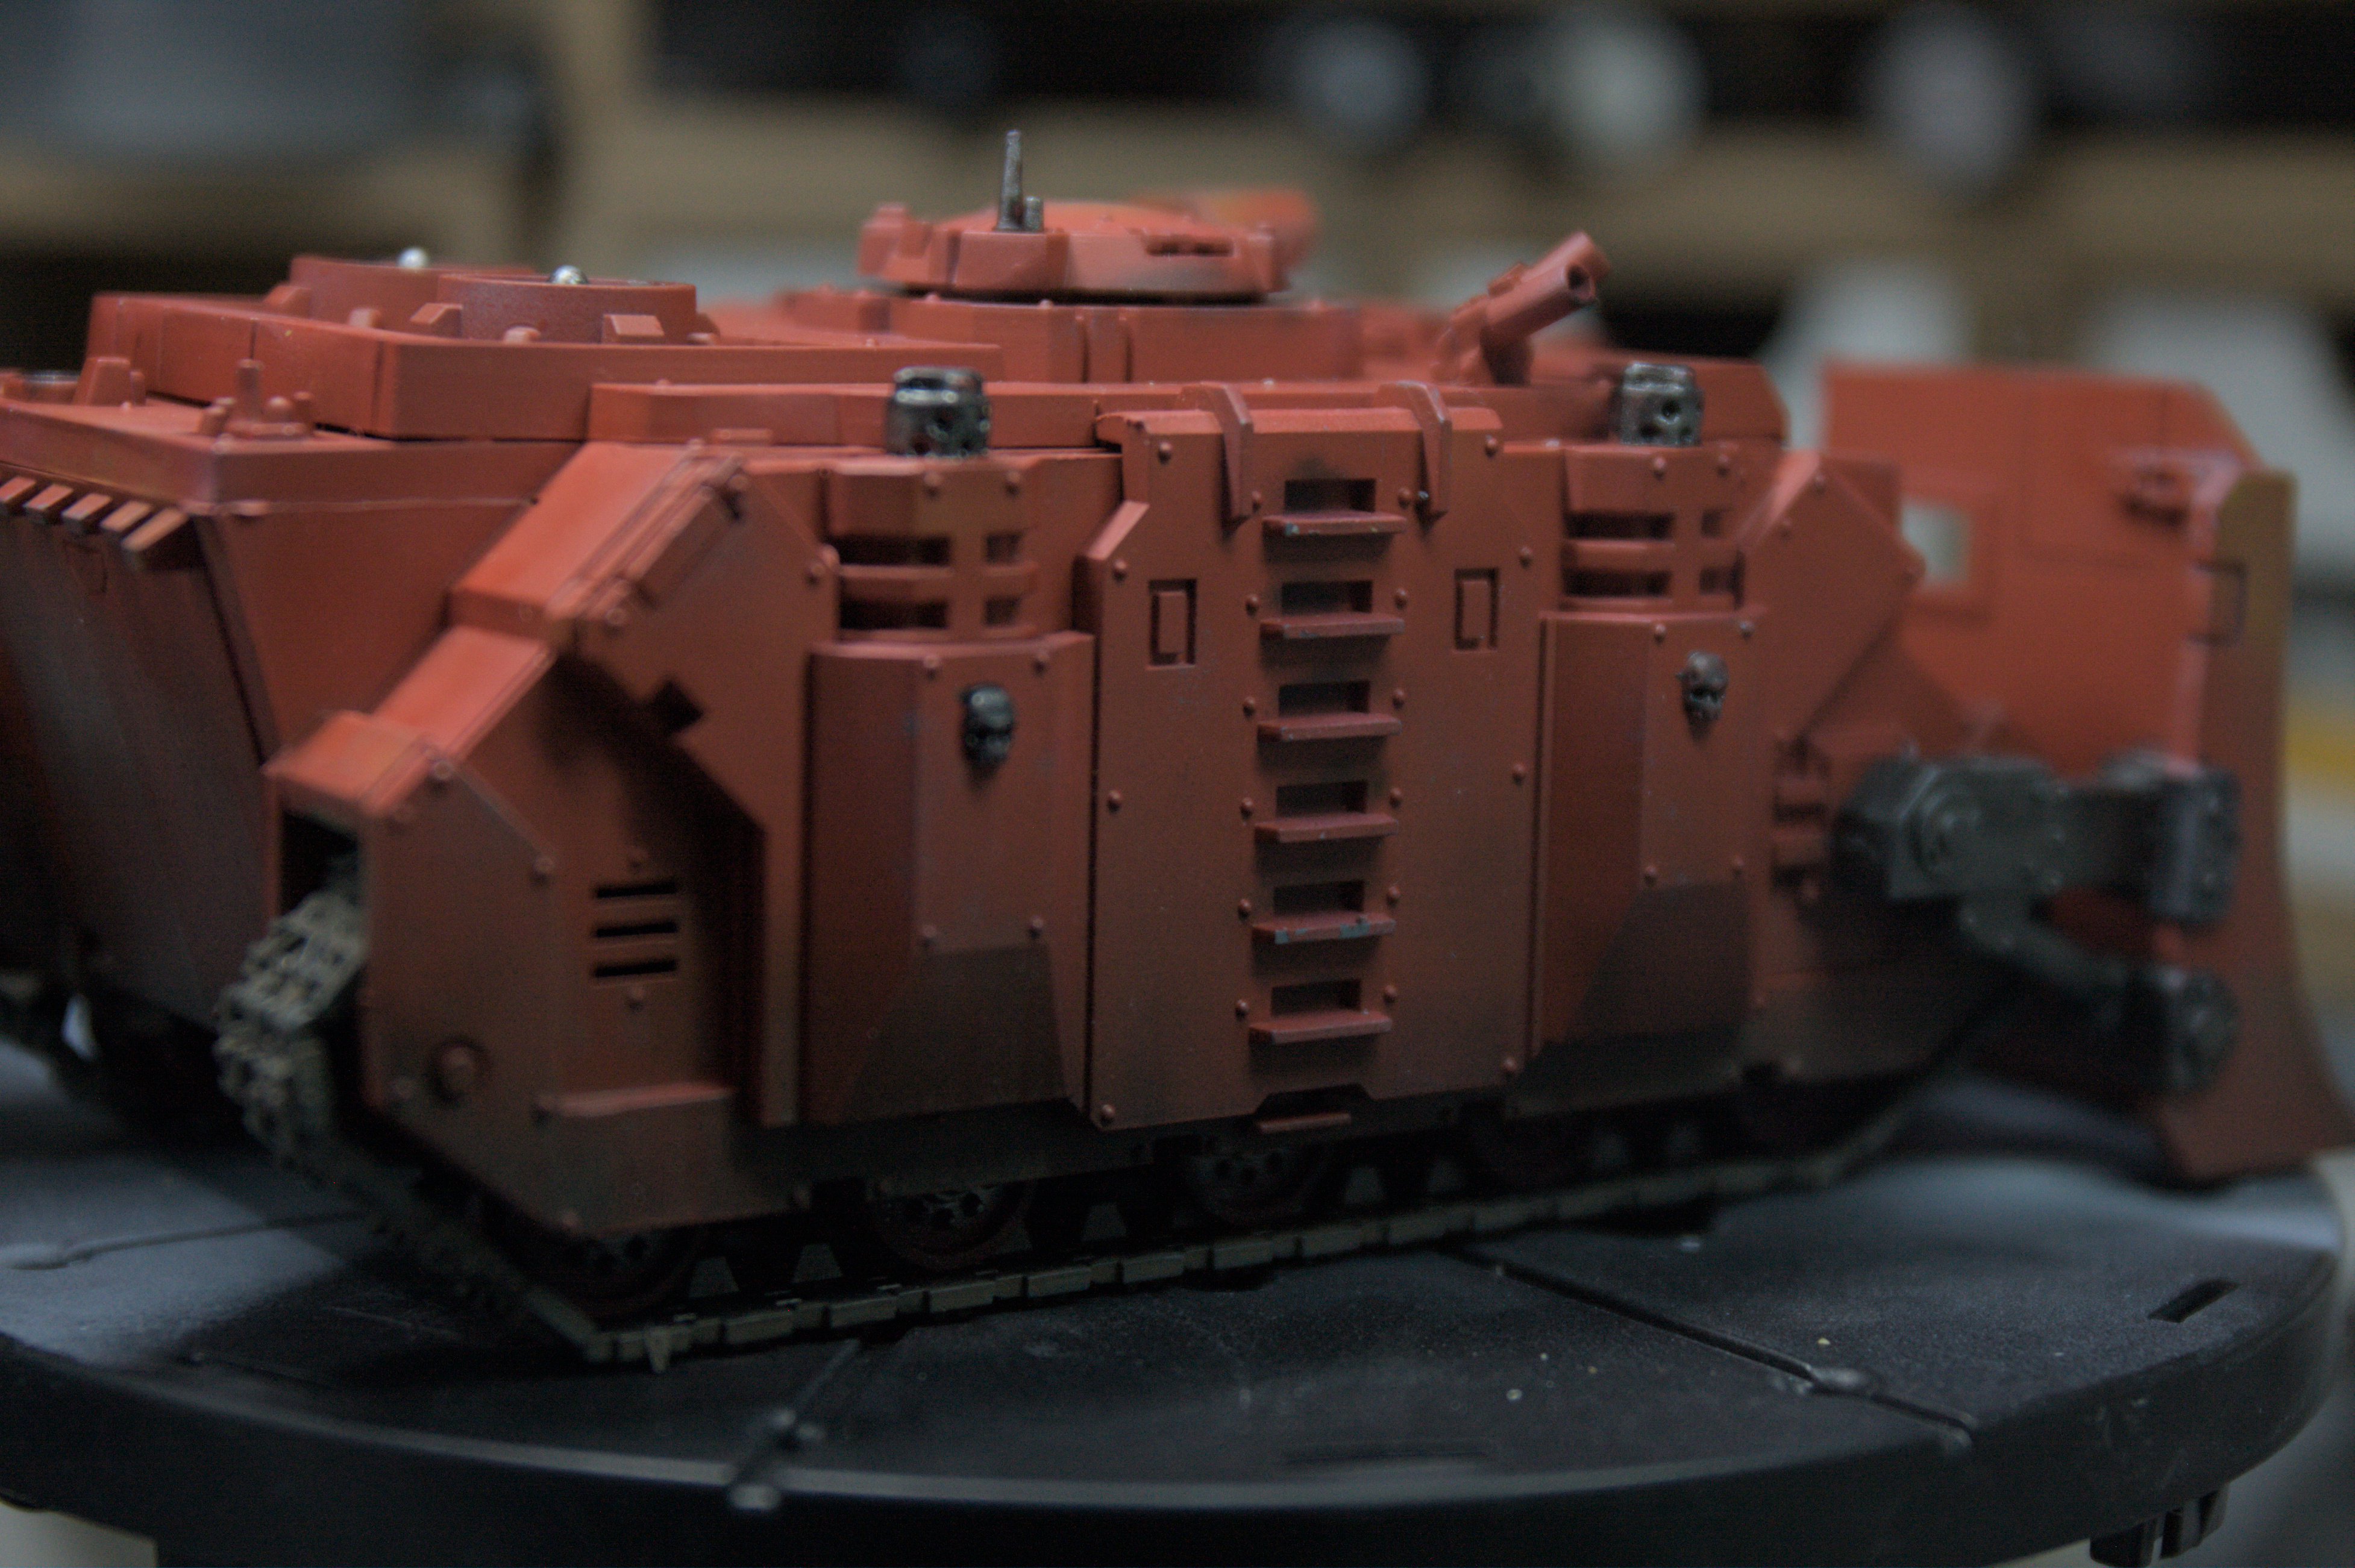
Next its the metals, and then I added some AK Interactive enamel ‘earth’ to the tracks and edges of the lower hull just to show a bit of dirt on it.
There isn;t much detail to talk about here because its all really simple, one colour paint, a couple of inks and some mud effect. I like how it turned out though.
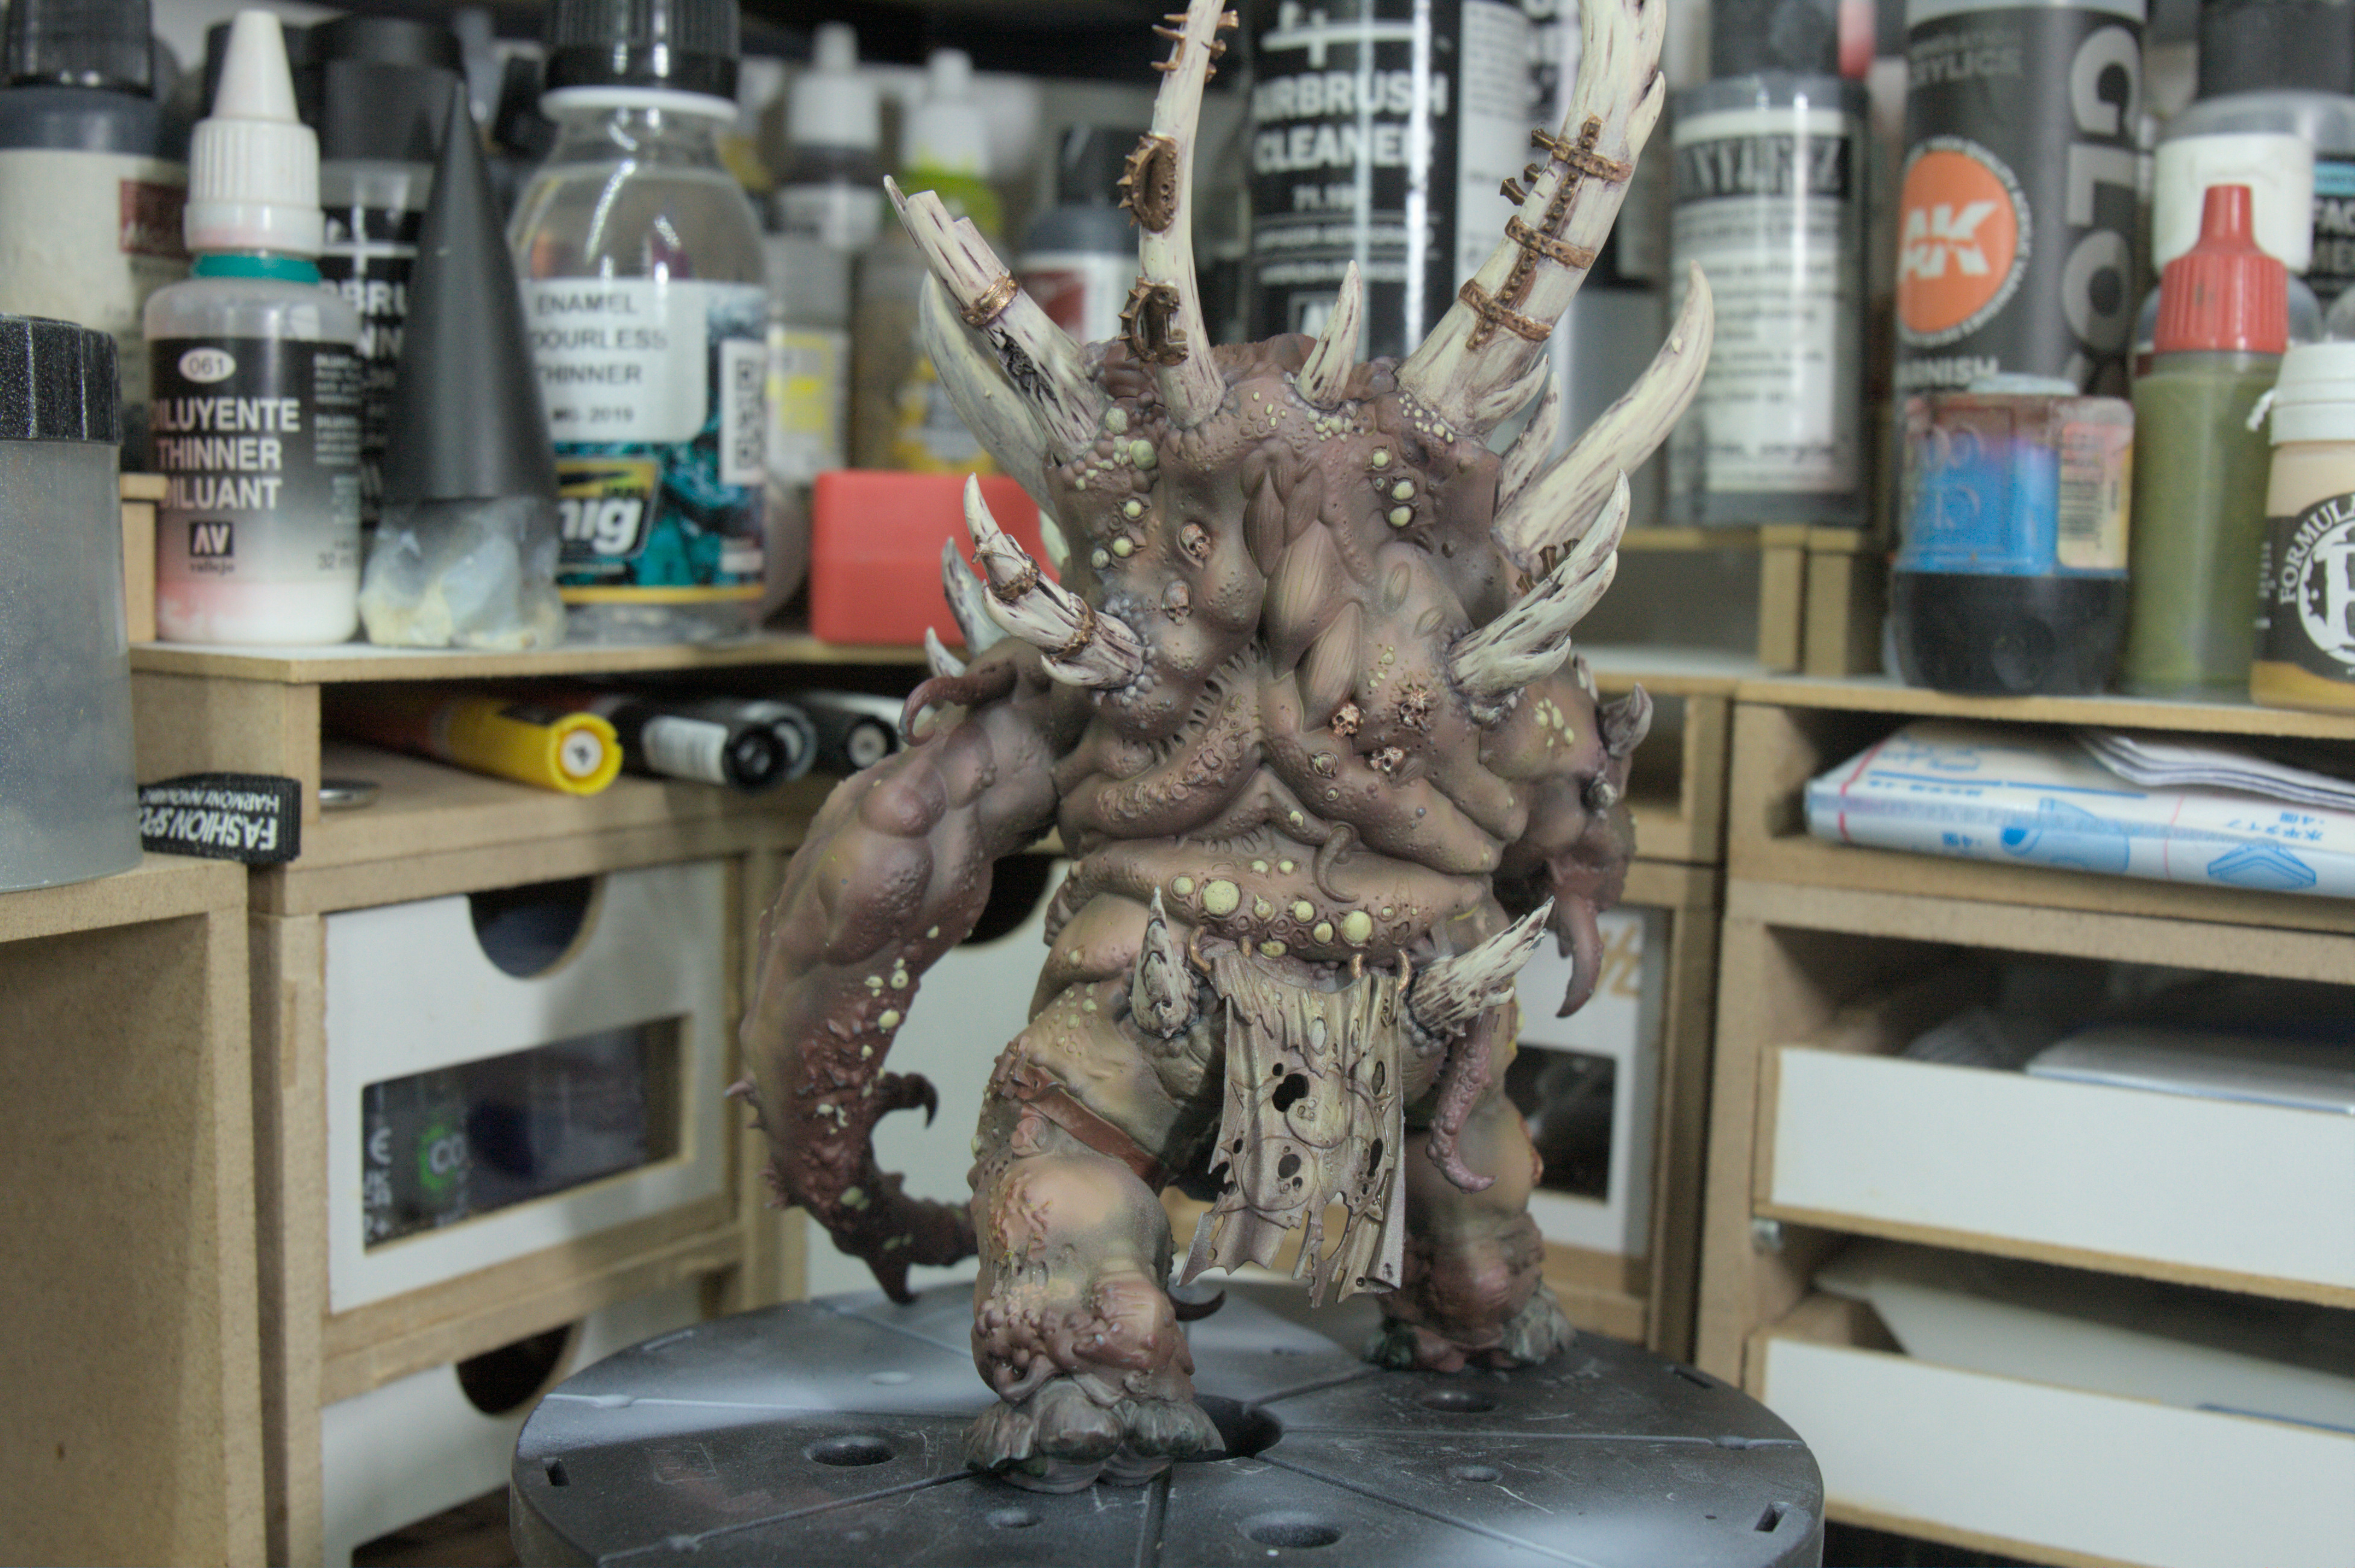
All the Gribbly Bits
So, I’ve gone through it now and added in the various details, metal spikes, leather belts and so on.
I also used some more washes to fade both arms so they get darker at the ends as I like the effect. For the teethy right arm, I just added loads of dried bloood effect and left those teeth, as I have no idea what is supposed to be going on there.
The images show it with a matt varnish, and pretty much how I wanted it to look. As a first effort for several years, I am pleased with how this one went. When it is all based, I will go round and add a dot of gloss varnish on each of the boils to make them shine.

Now, as most of you will know, the glotkin is actually three minis, he has two littler guys standing on the shelf above his head.
Before I start to paint them I want to do some easier things first, the glotkin itself is large, but its easy to paint, that is why I chose it. So before I figure out how to base this and paint the other two minis, I’m going to paint a great big gun with some wheels attached for my Blood Angels. I’ve been paintin red marines off and on since 1992, so a simple vehicle in one colour with a bit of weathering seems a nice step on my joourney back to painting.
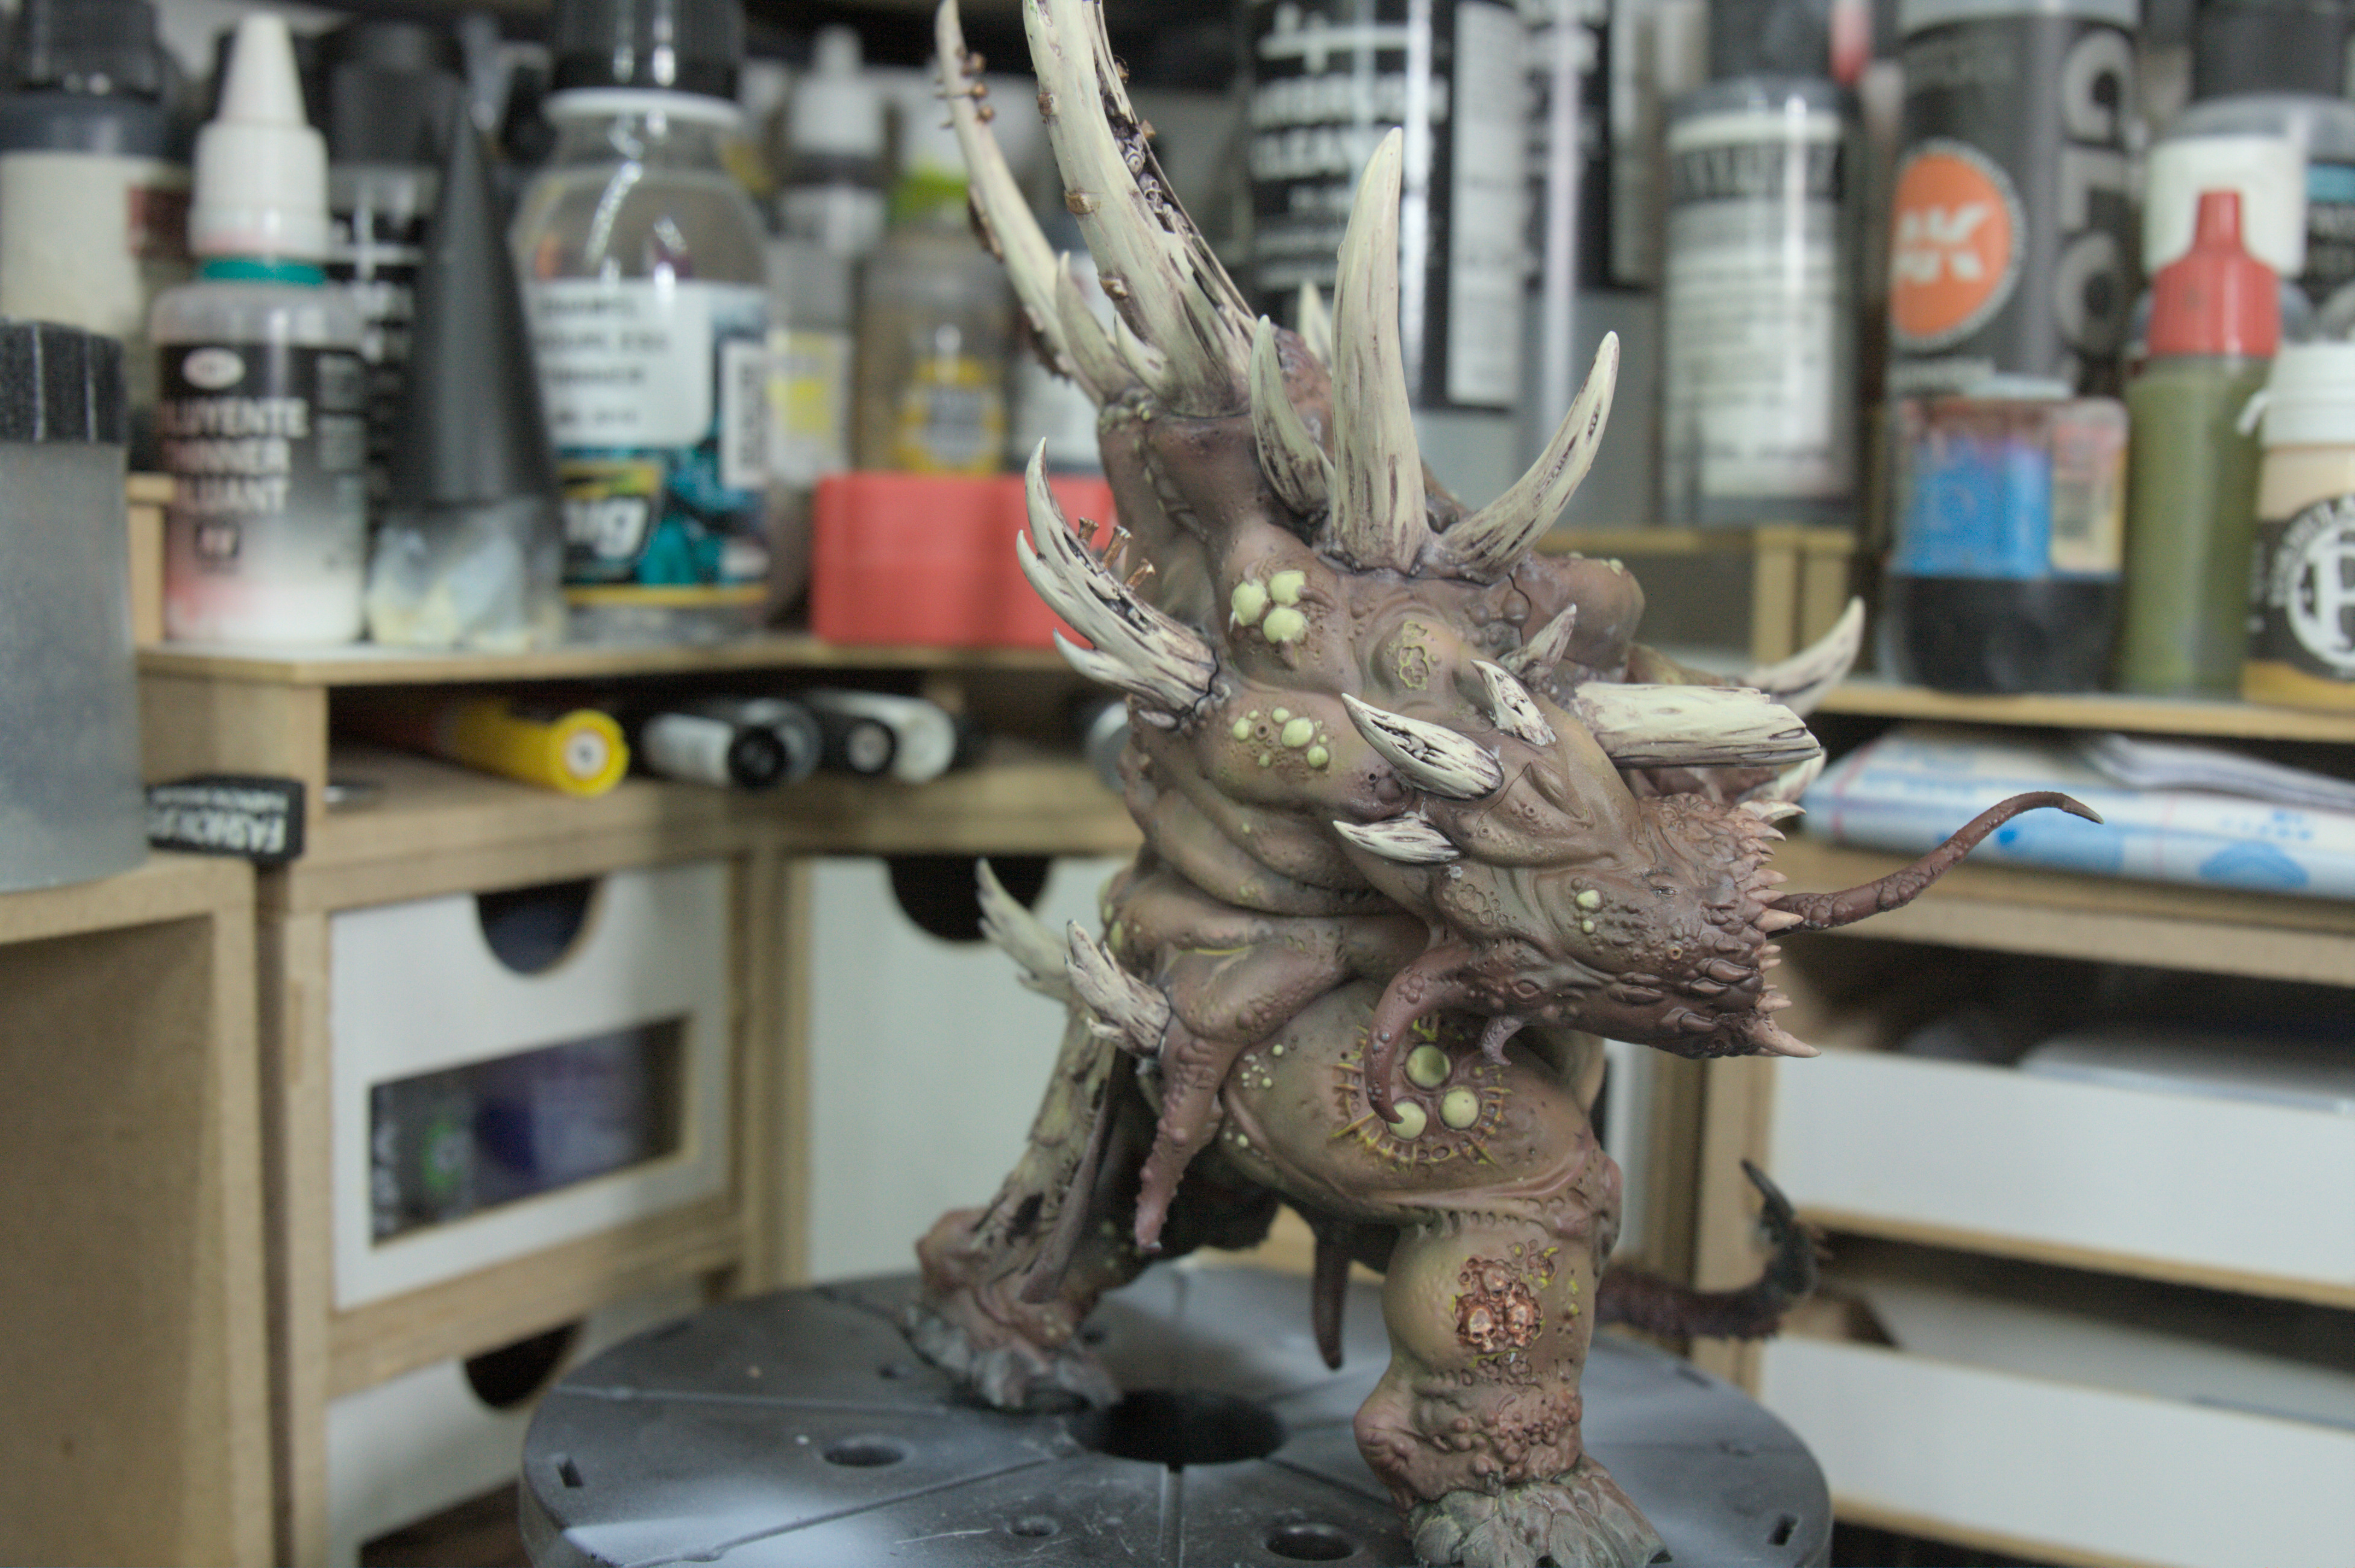
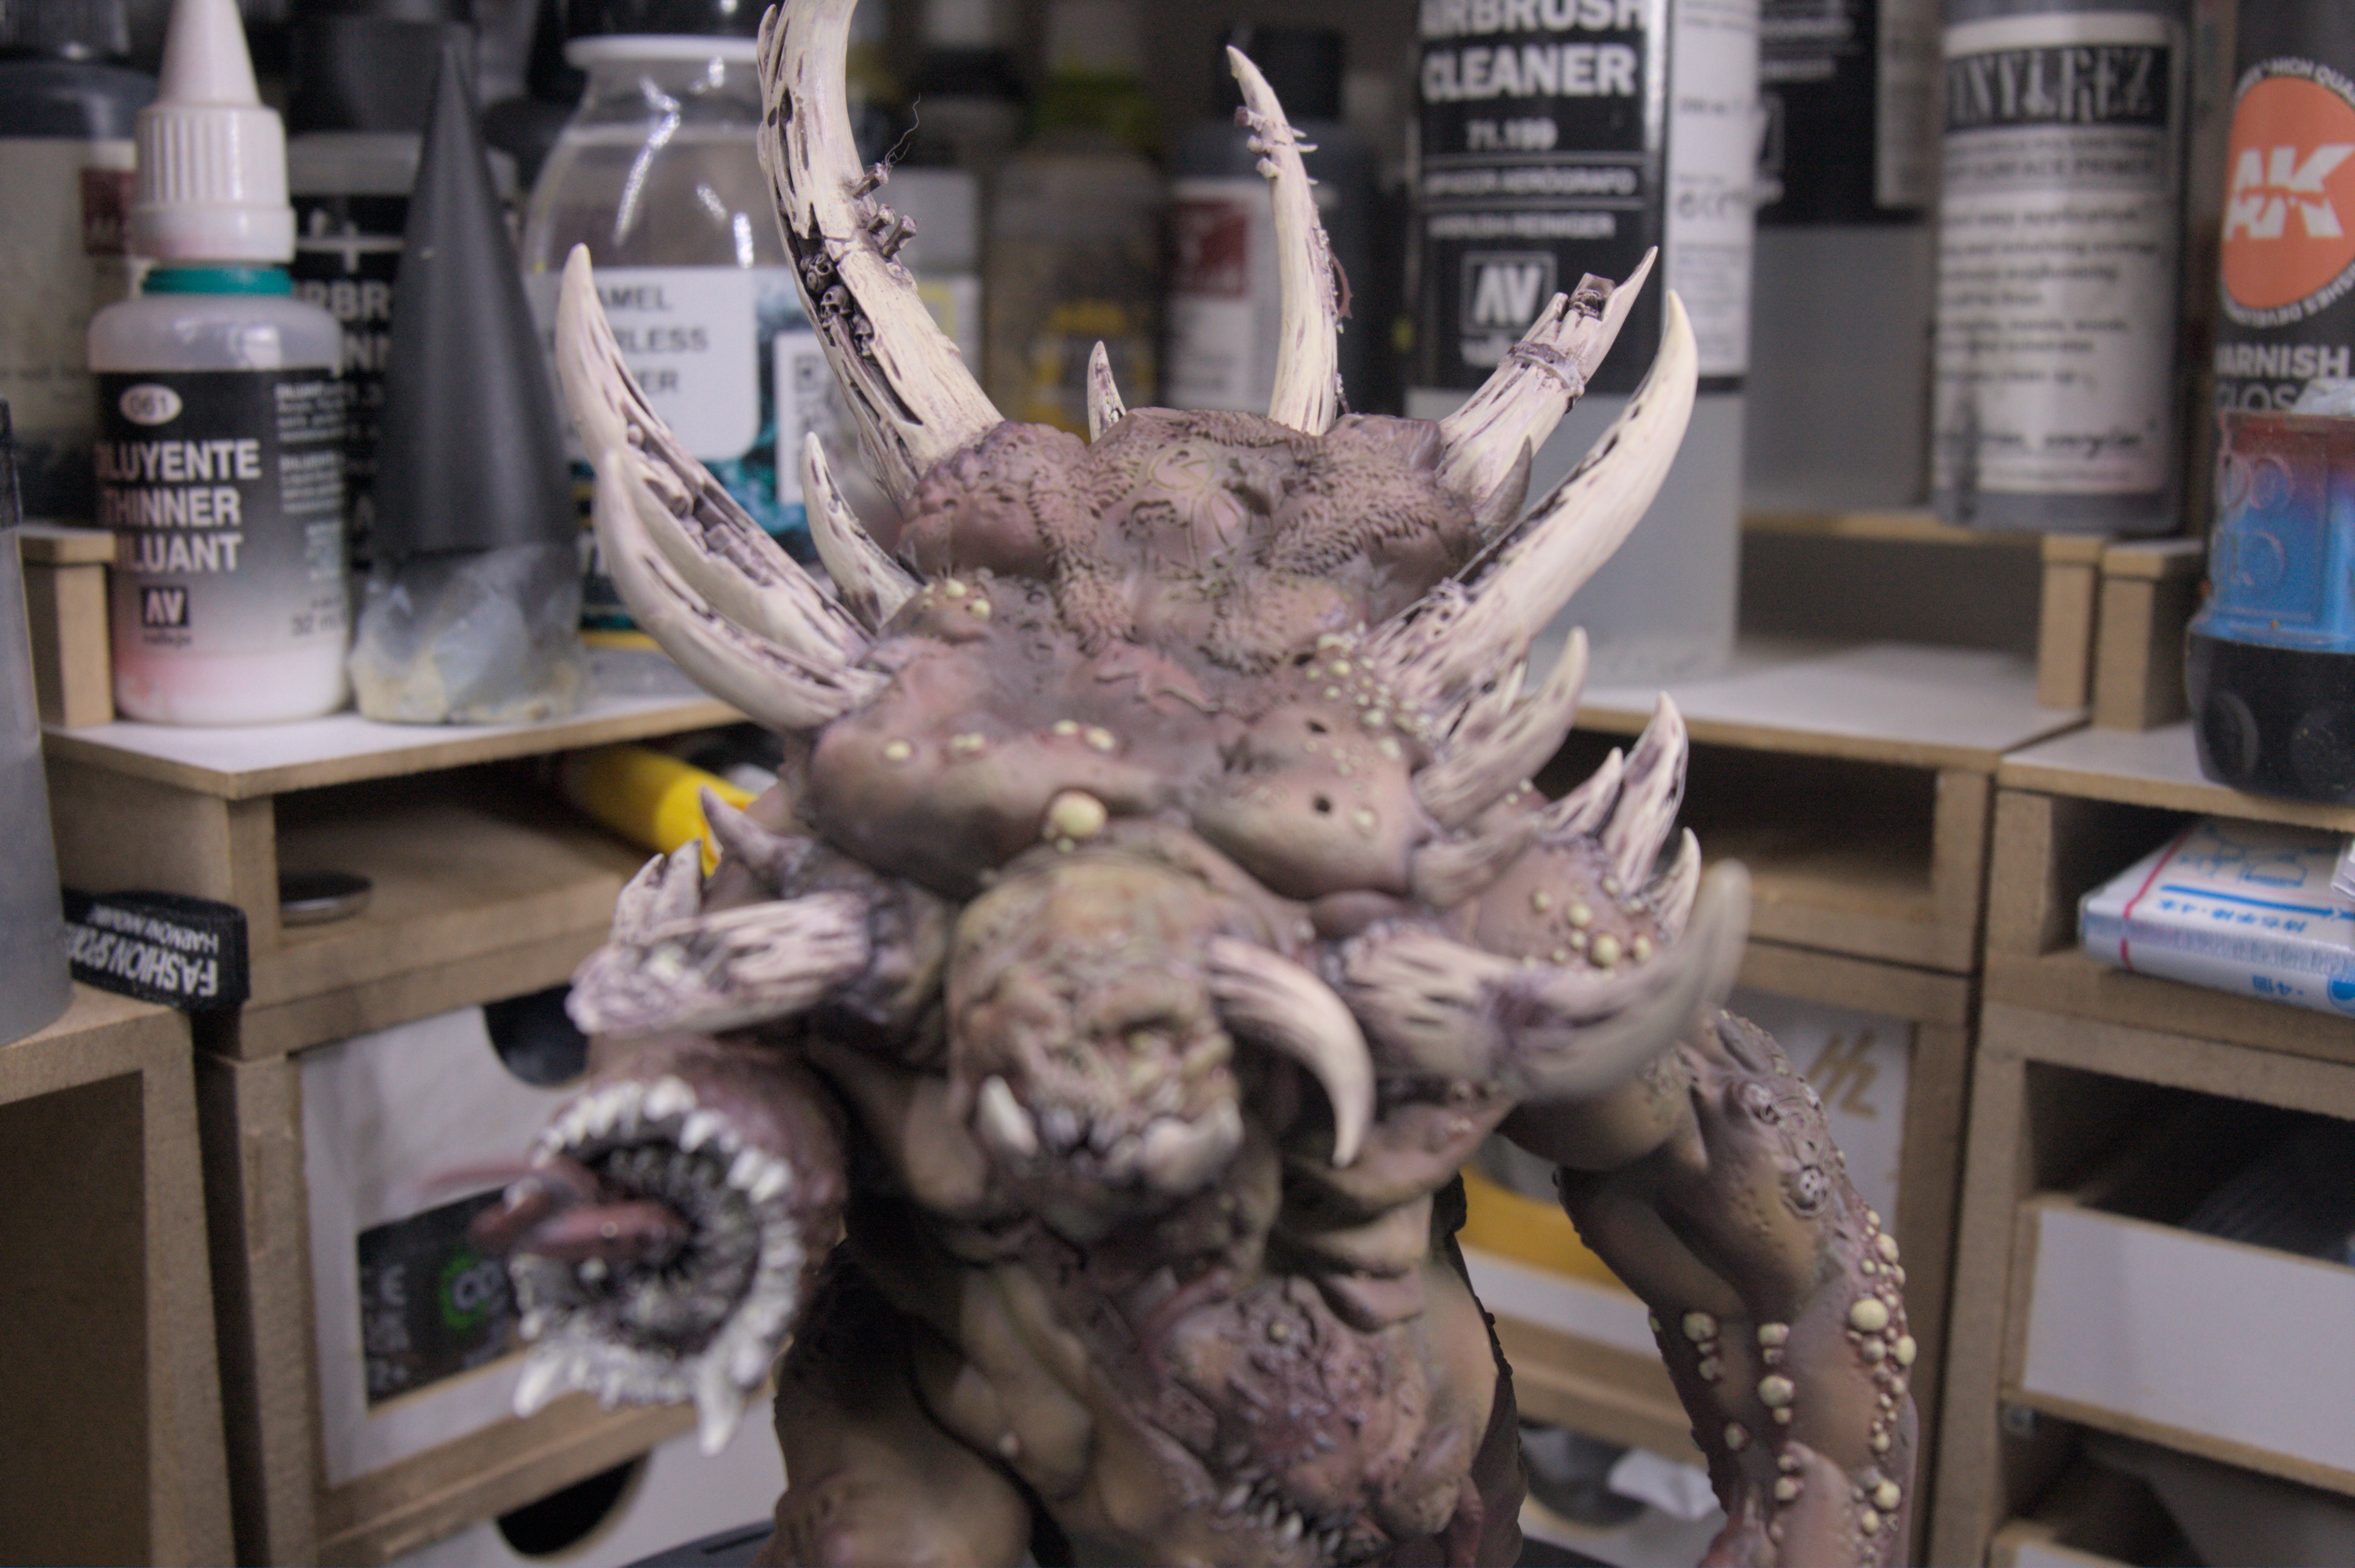
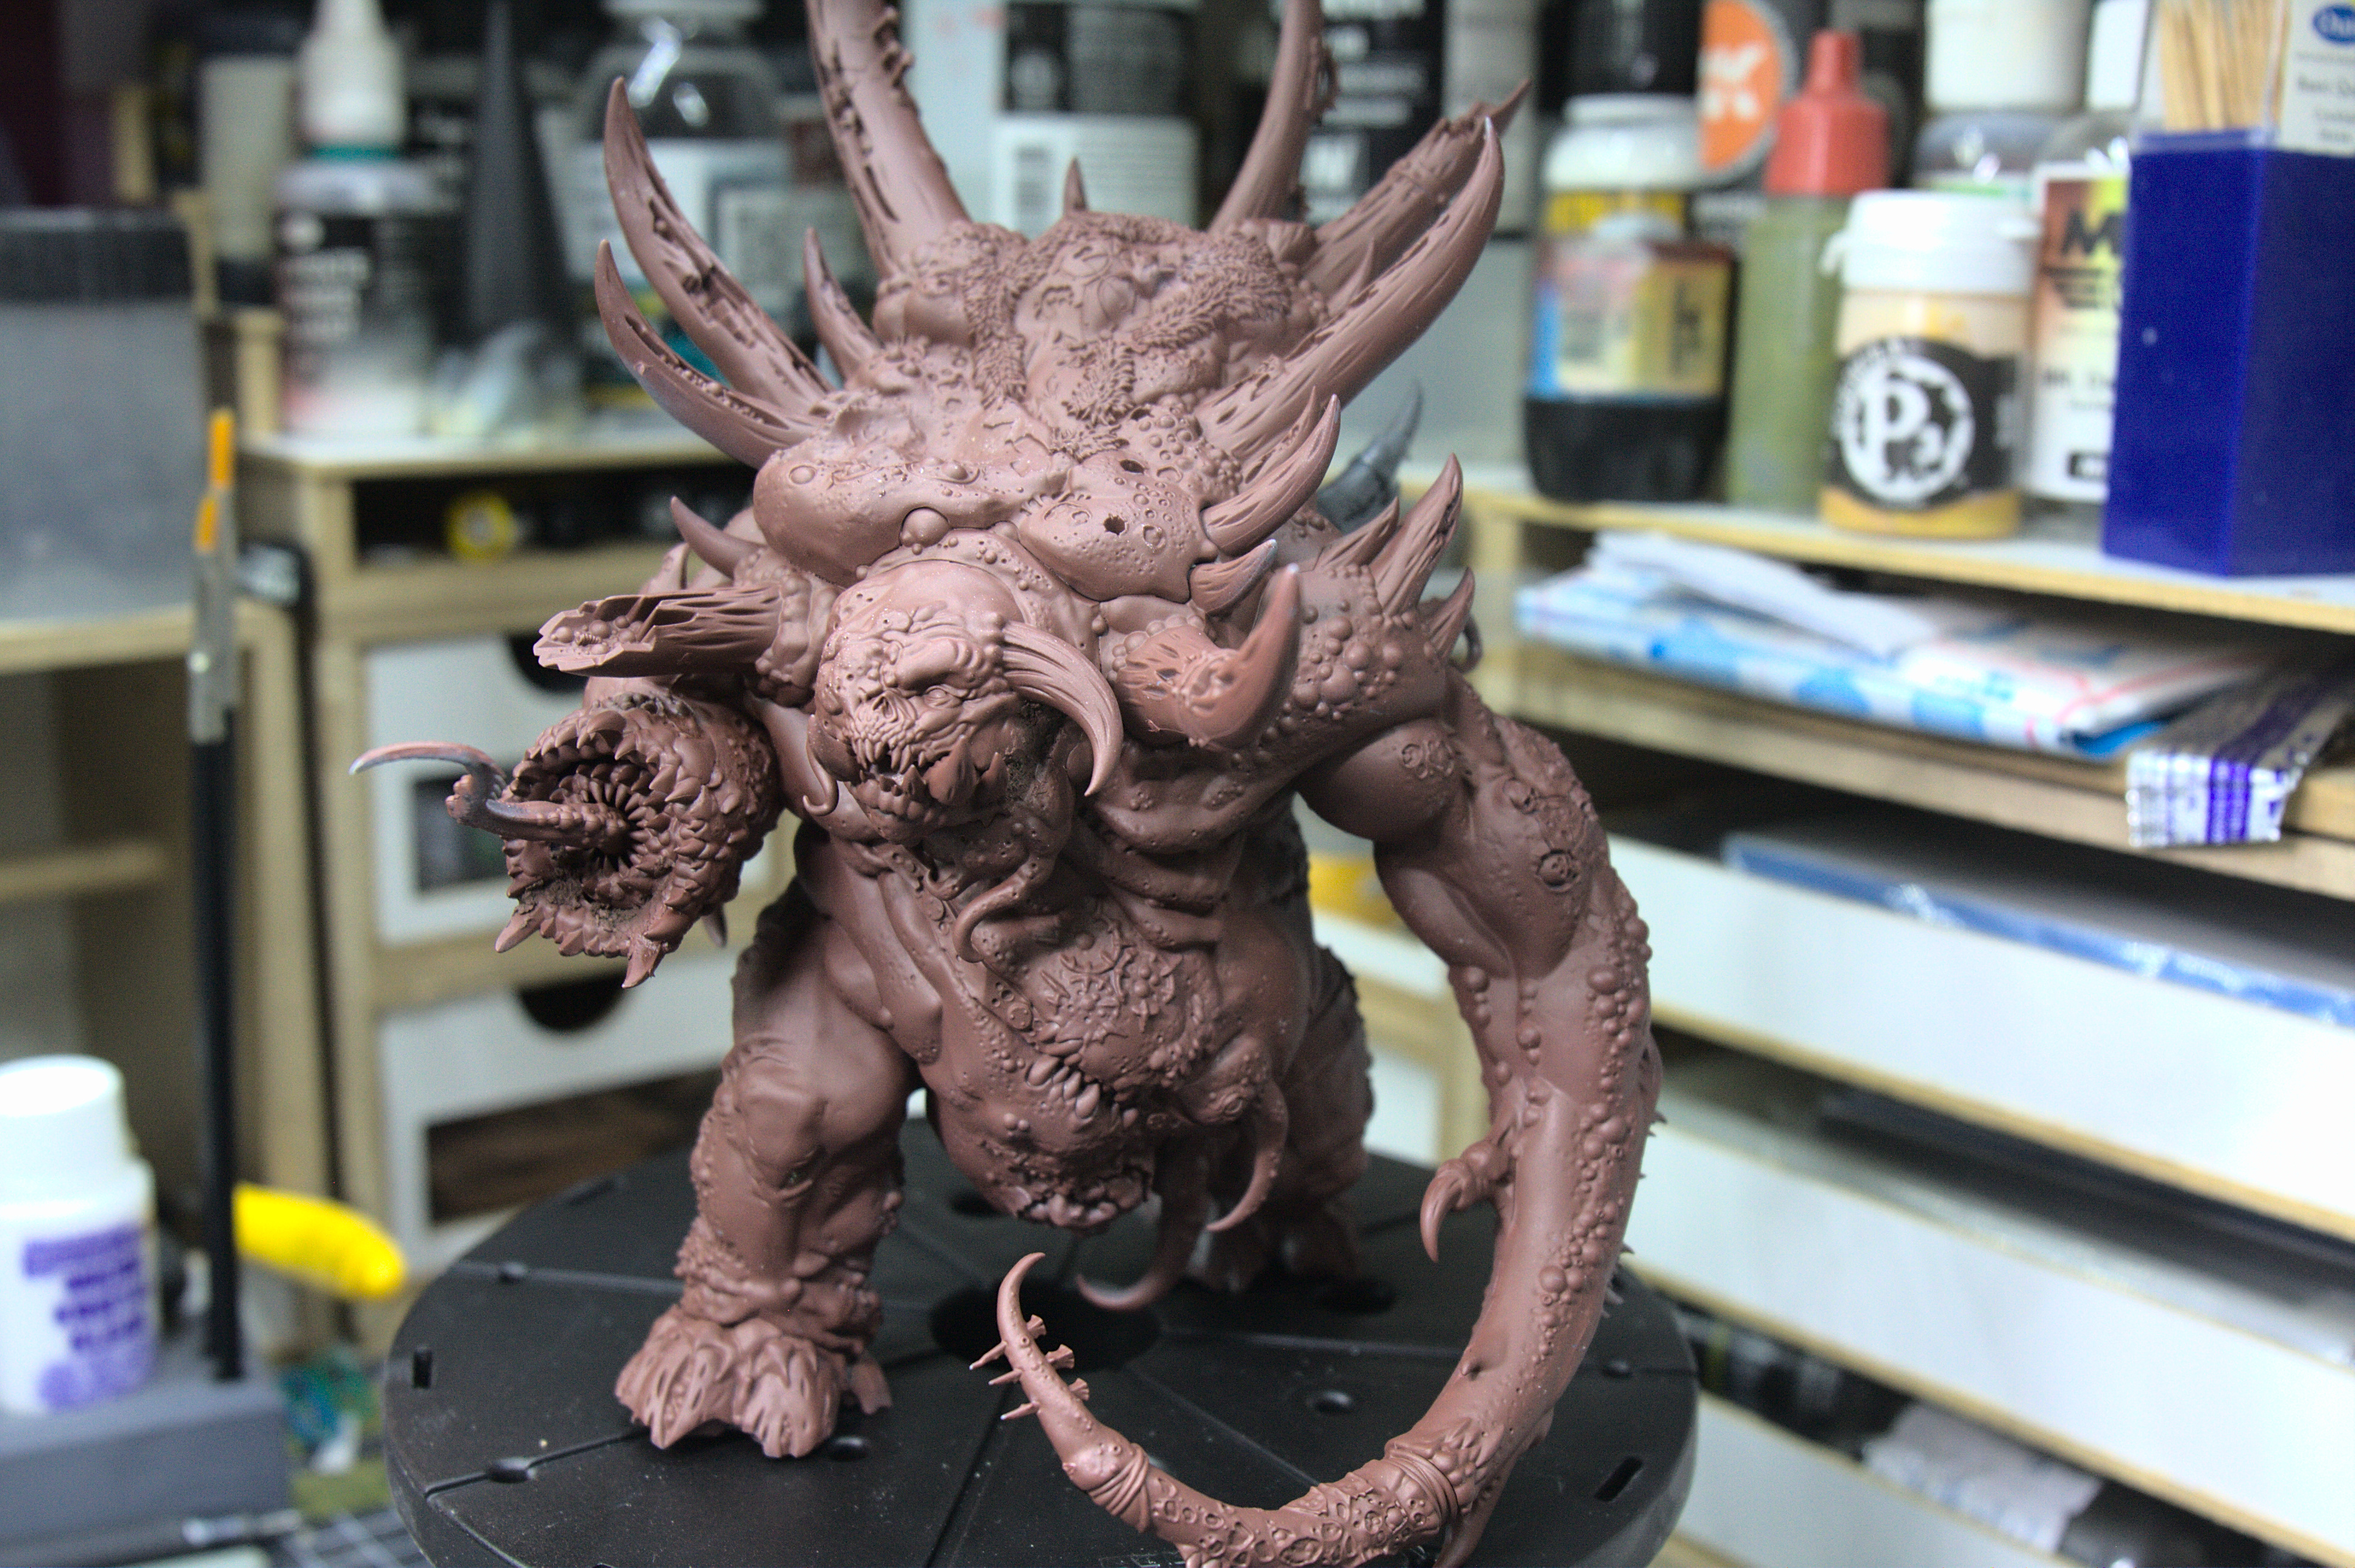
A week with the horn
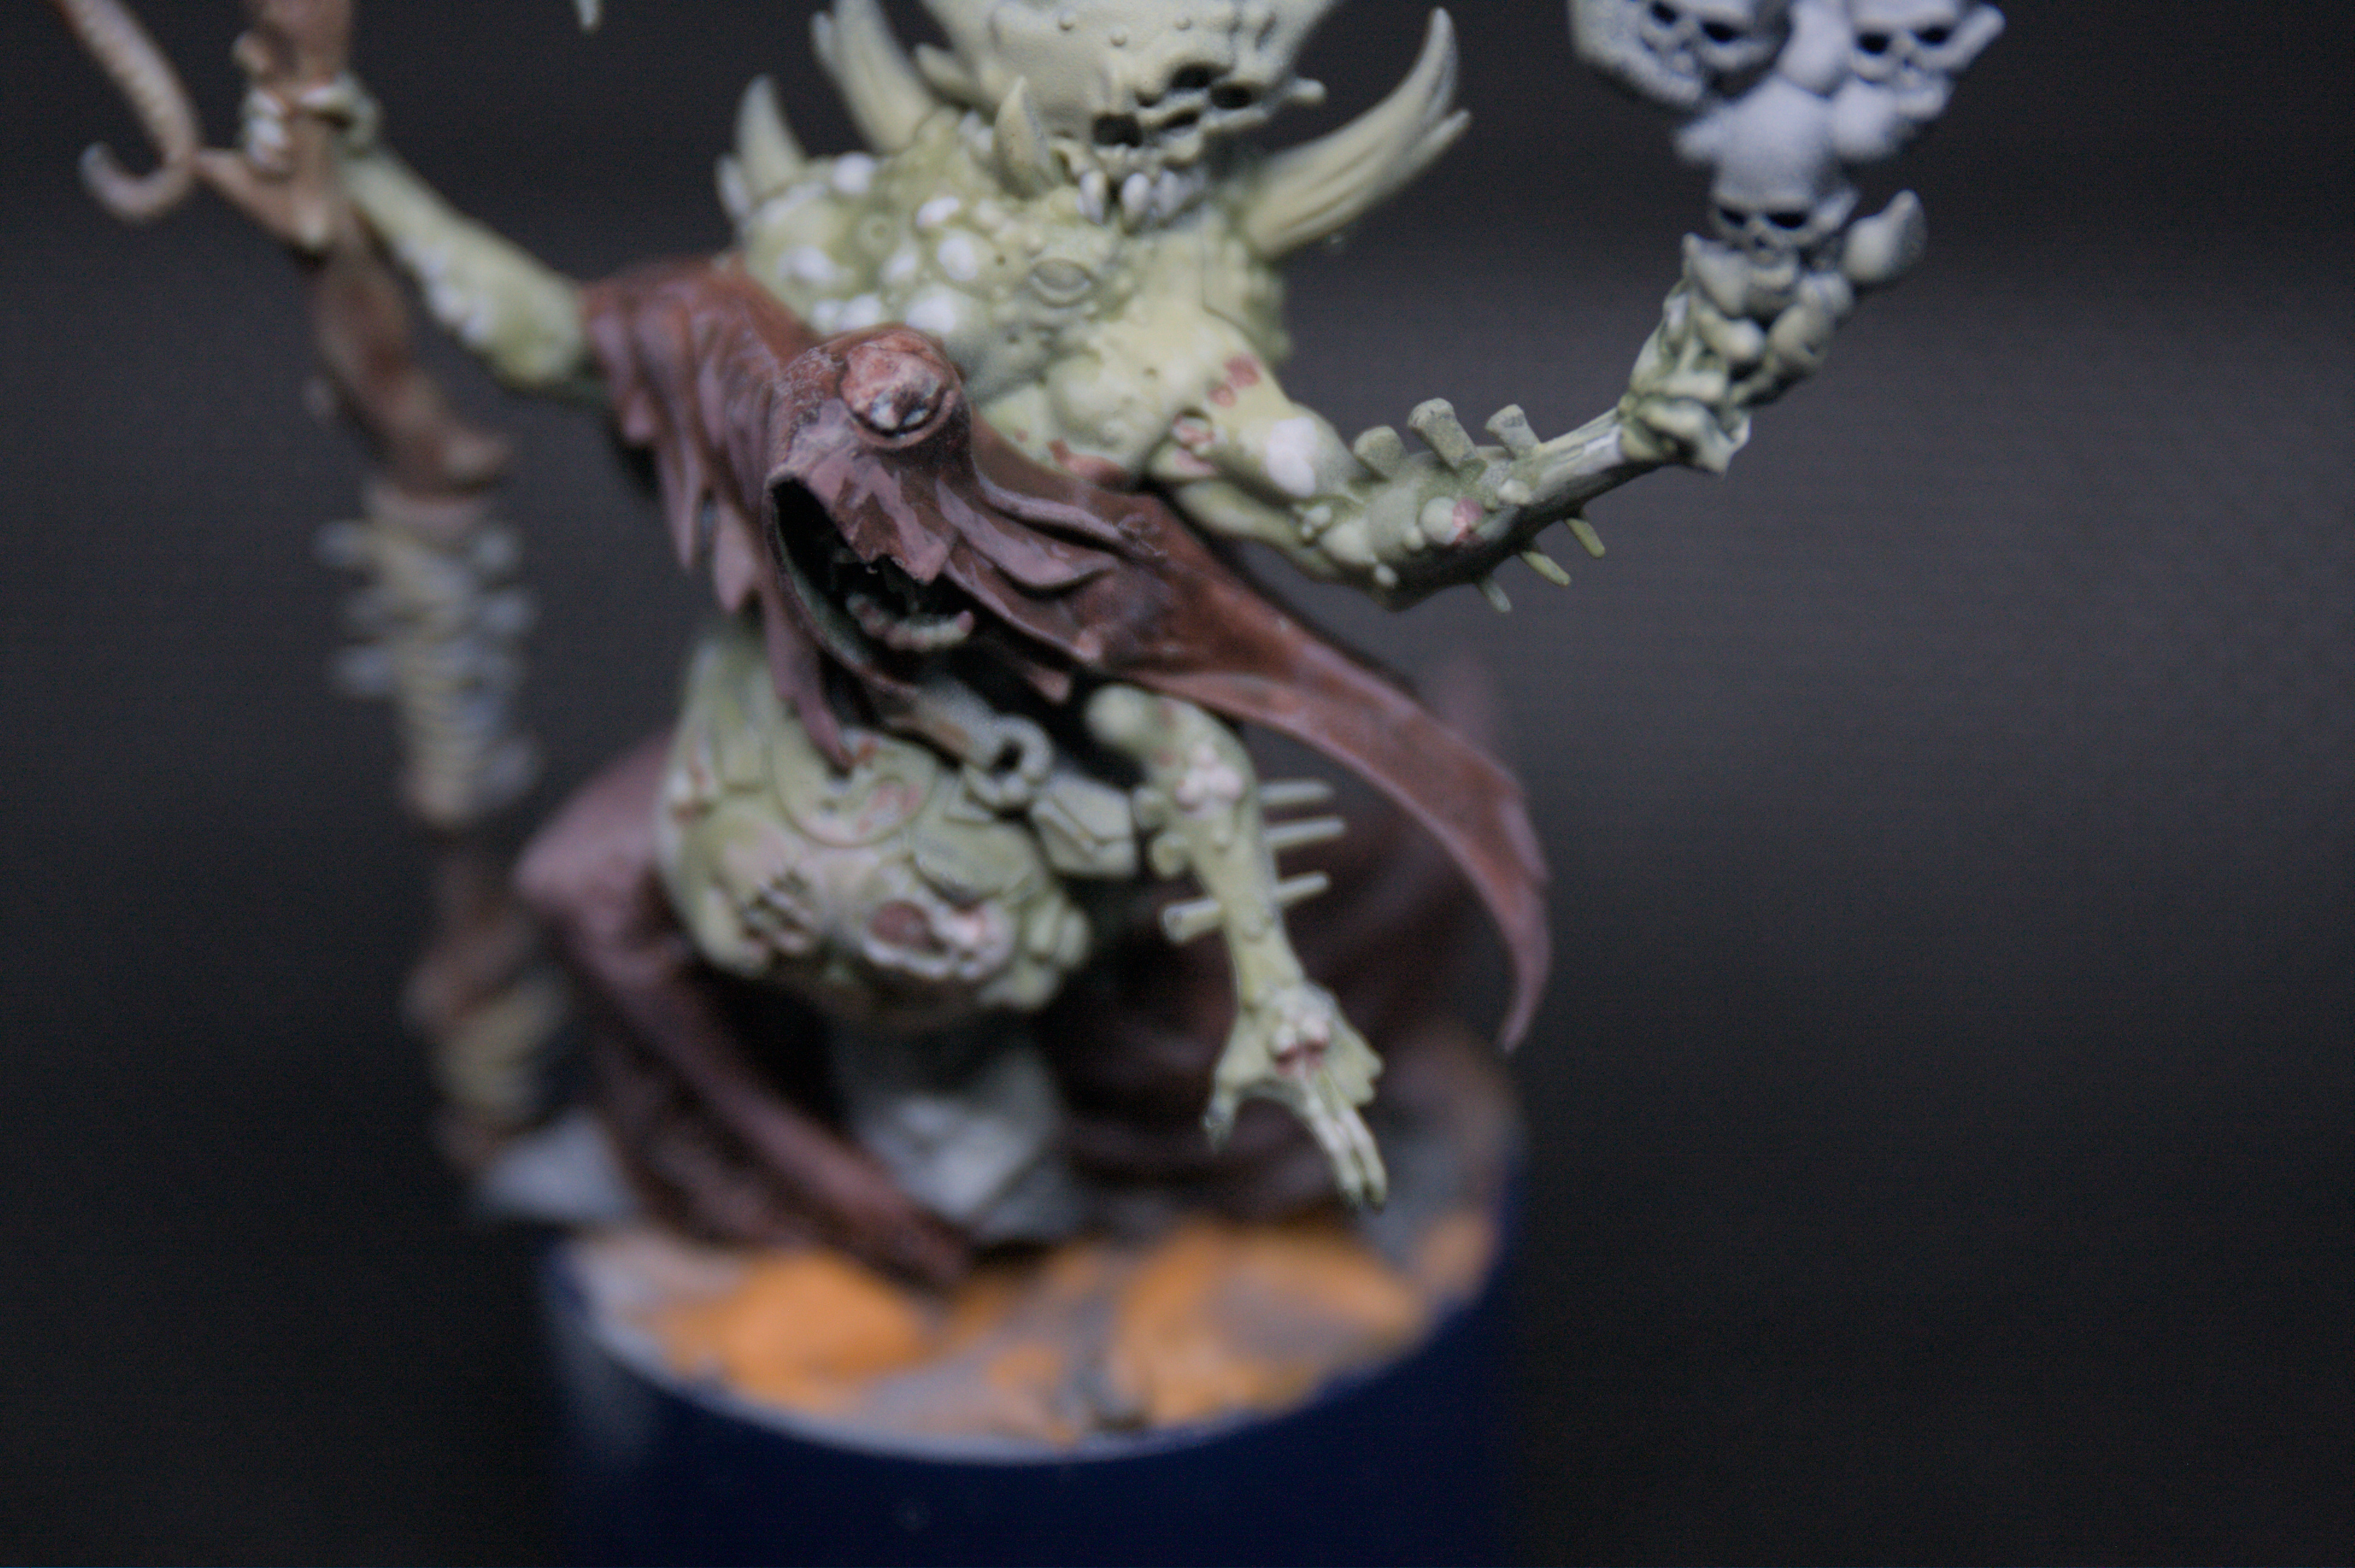
So, the next big choice with this is hopw to model all the horns and tusks and so on. Again, the GW paintjob is incredible here, ultra smooth transitions from almost white to close on jet black.
But even the model itself makes that look odd. There are breaks, cavities full of skulls, even a little demon living in one. They shouldn’t be clean, so I went for another way. Also, I can’t blend like the GW painters, so I wanted another option.
I went over the horns witha bone colour, a few coats until I have a smooth and consitent finish. Then I wrecked it with a mix of three inks, brown, purple and blood red. I also added in a few drops of a browny red contrast paint, so that the inky mixture actually stuck to the paint.
I left that concoction to dry for 10 minutes, then came back with a damp cotton bud, and sort of remove most of the inky stuff to give a worn finish that still revealed all the details. Think of it like an oil paint liner or wash on model kits, but without the need to use evil smelling chemicals.
I’ve never tried this before, had no idea if it would work, but I quite like how it came out.
So, after a week with the horn, experimenting, I now have to look at the details and bring it all together.

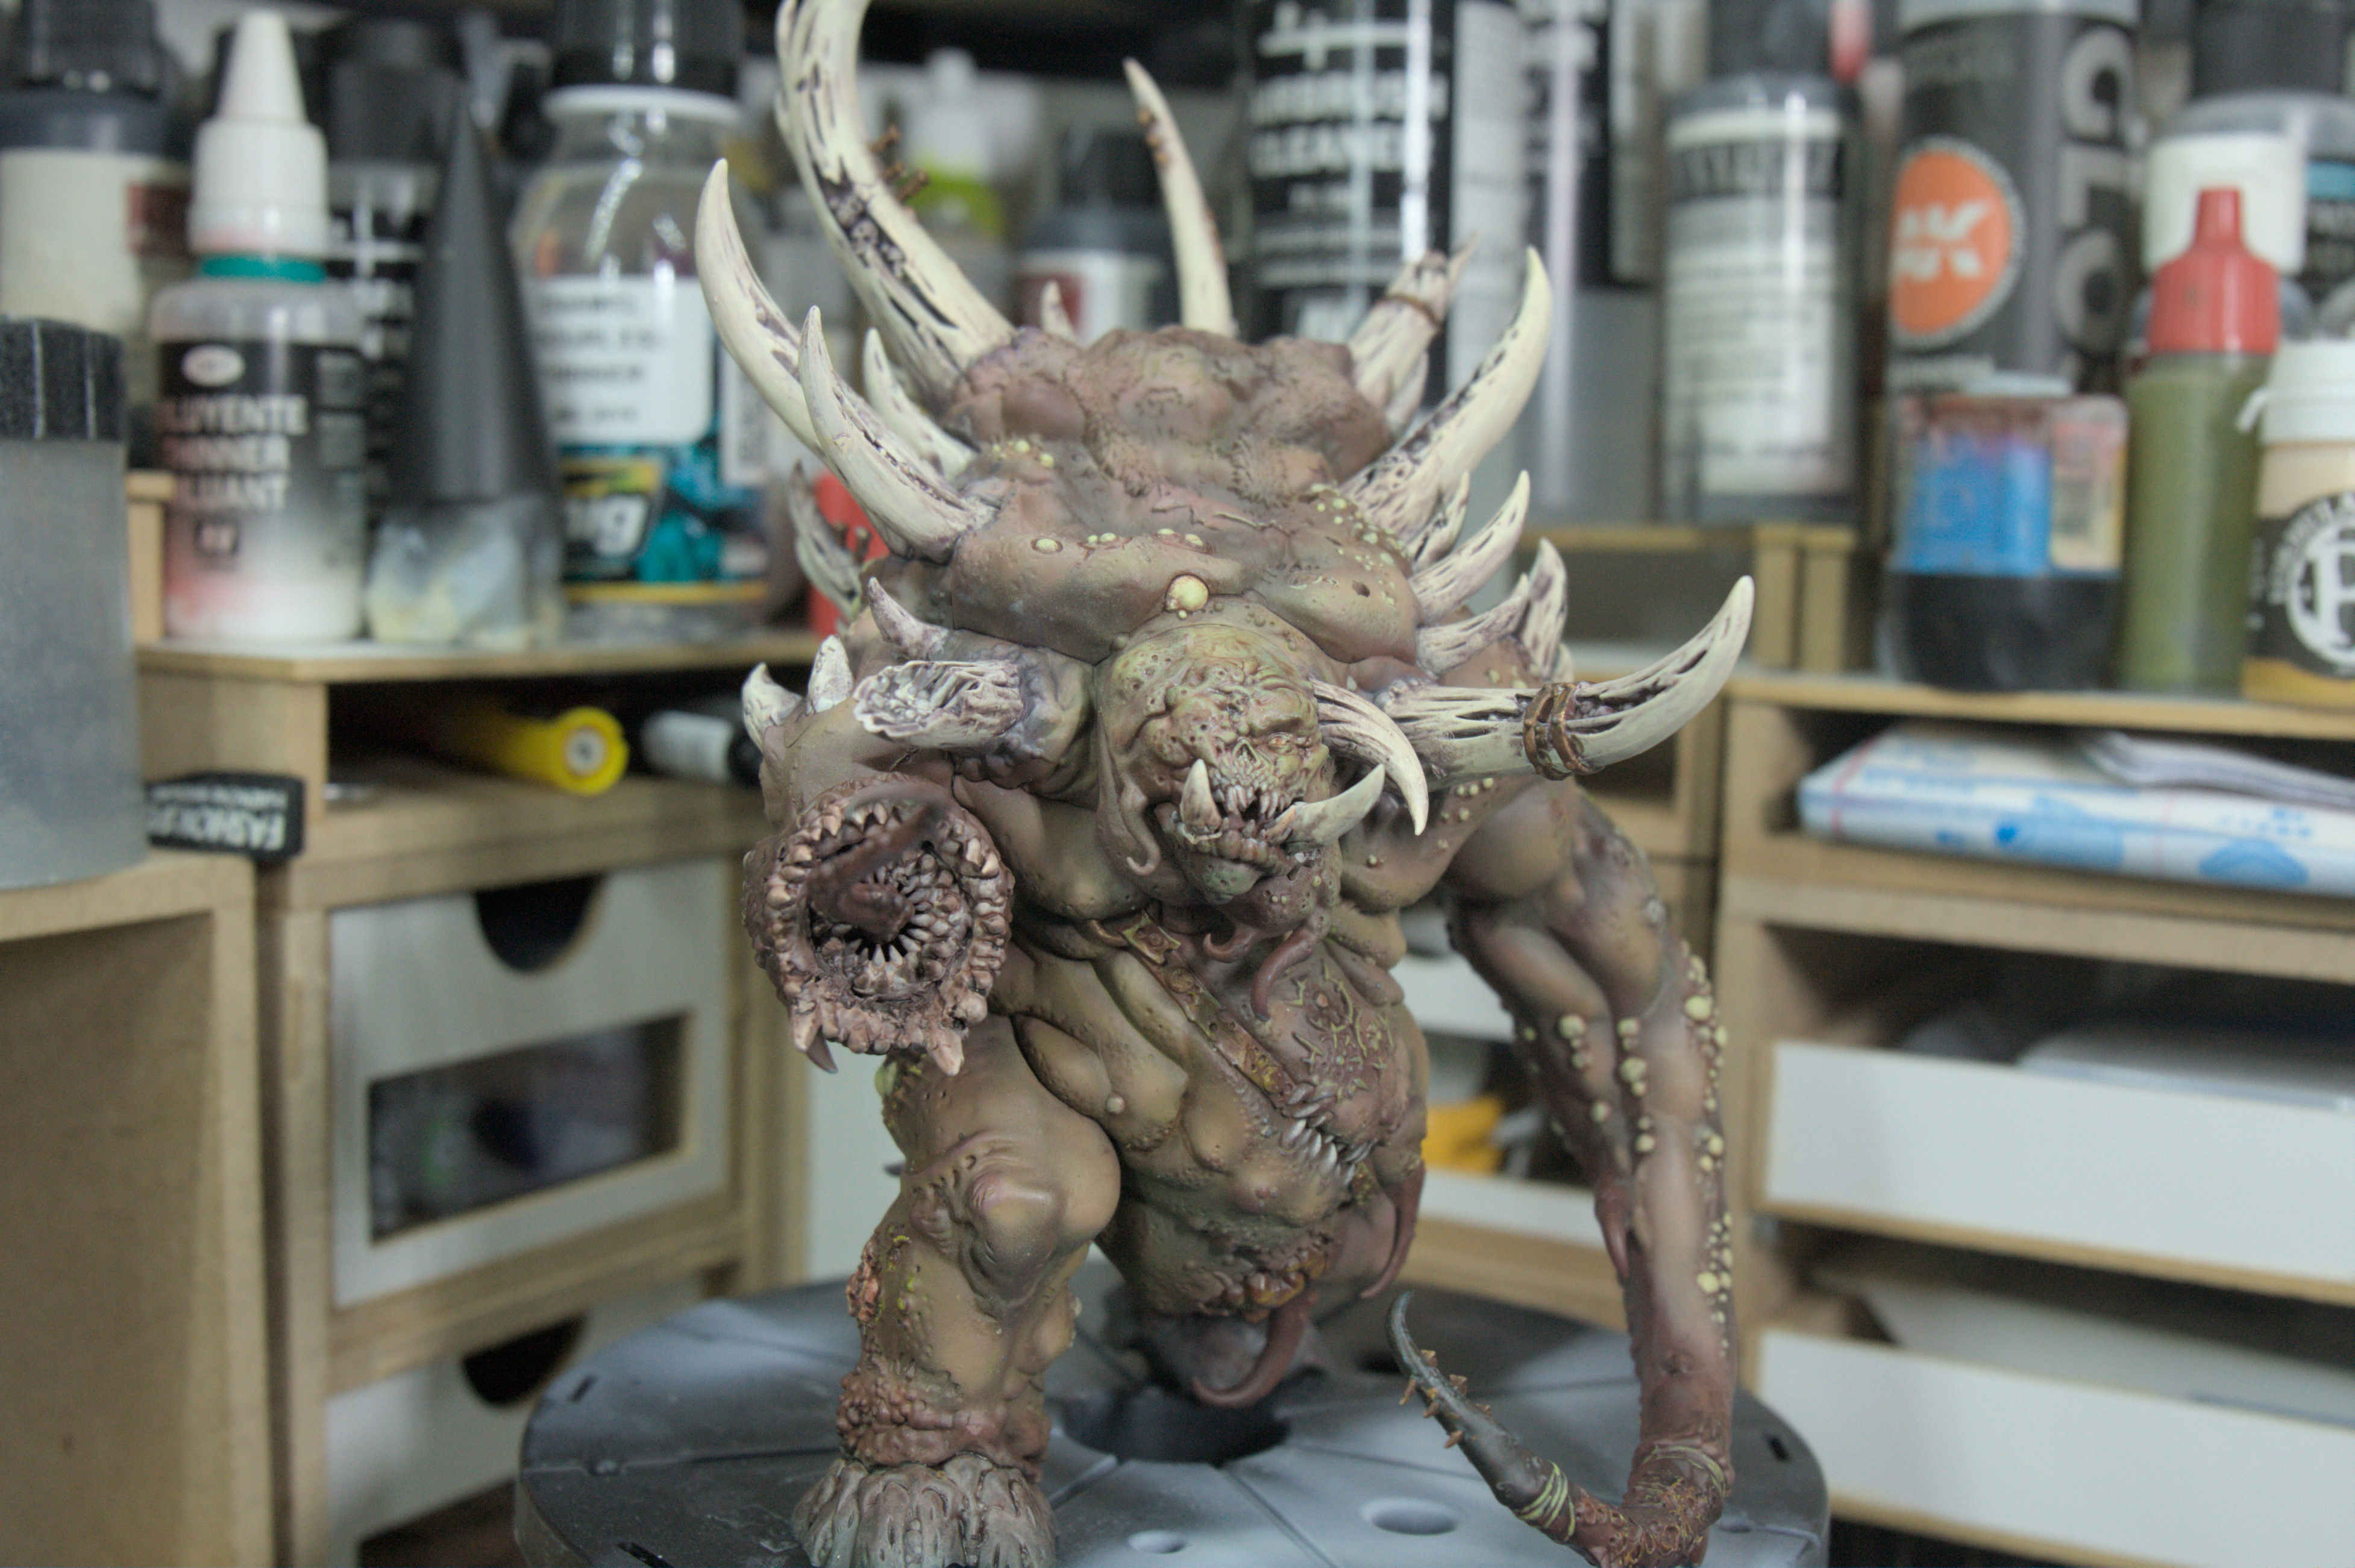
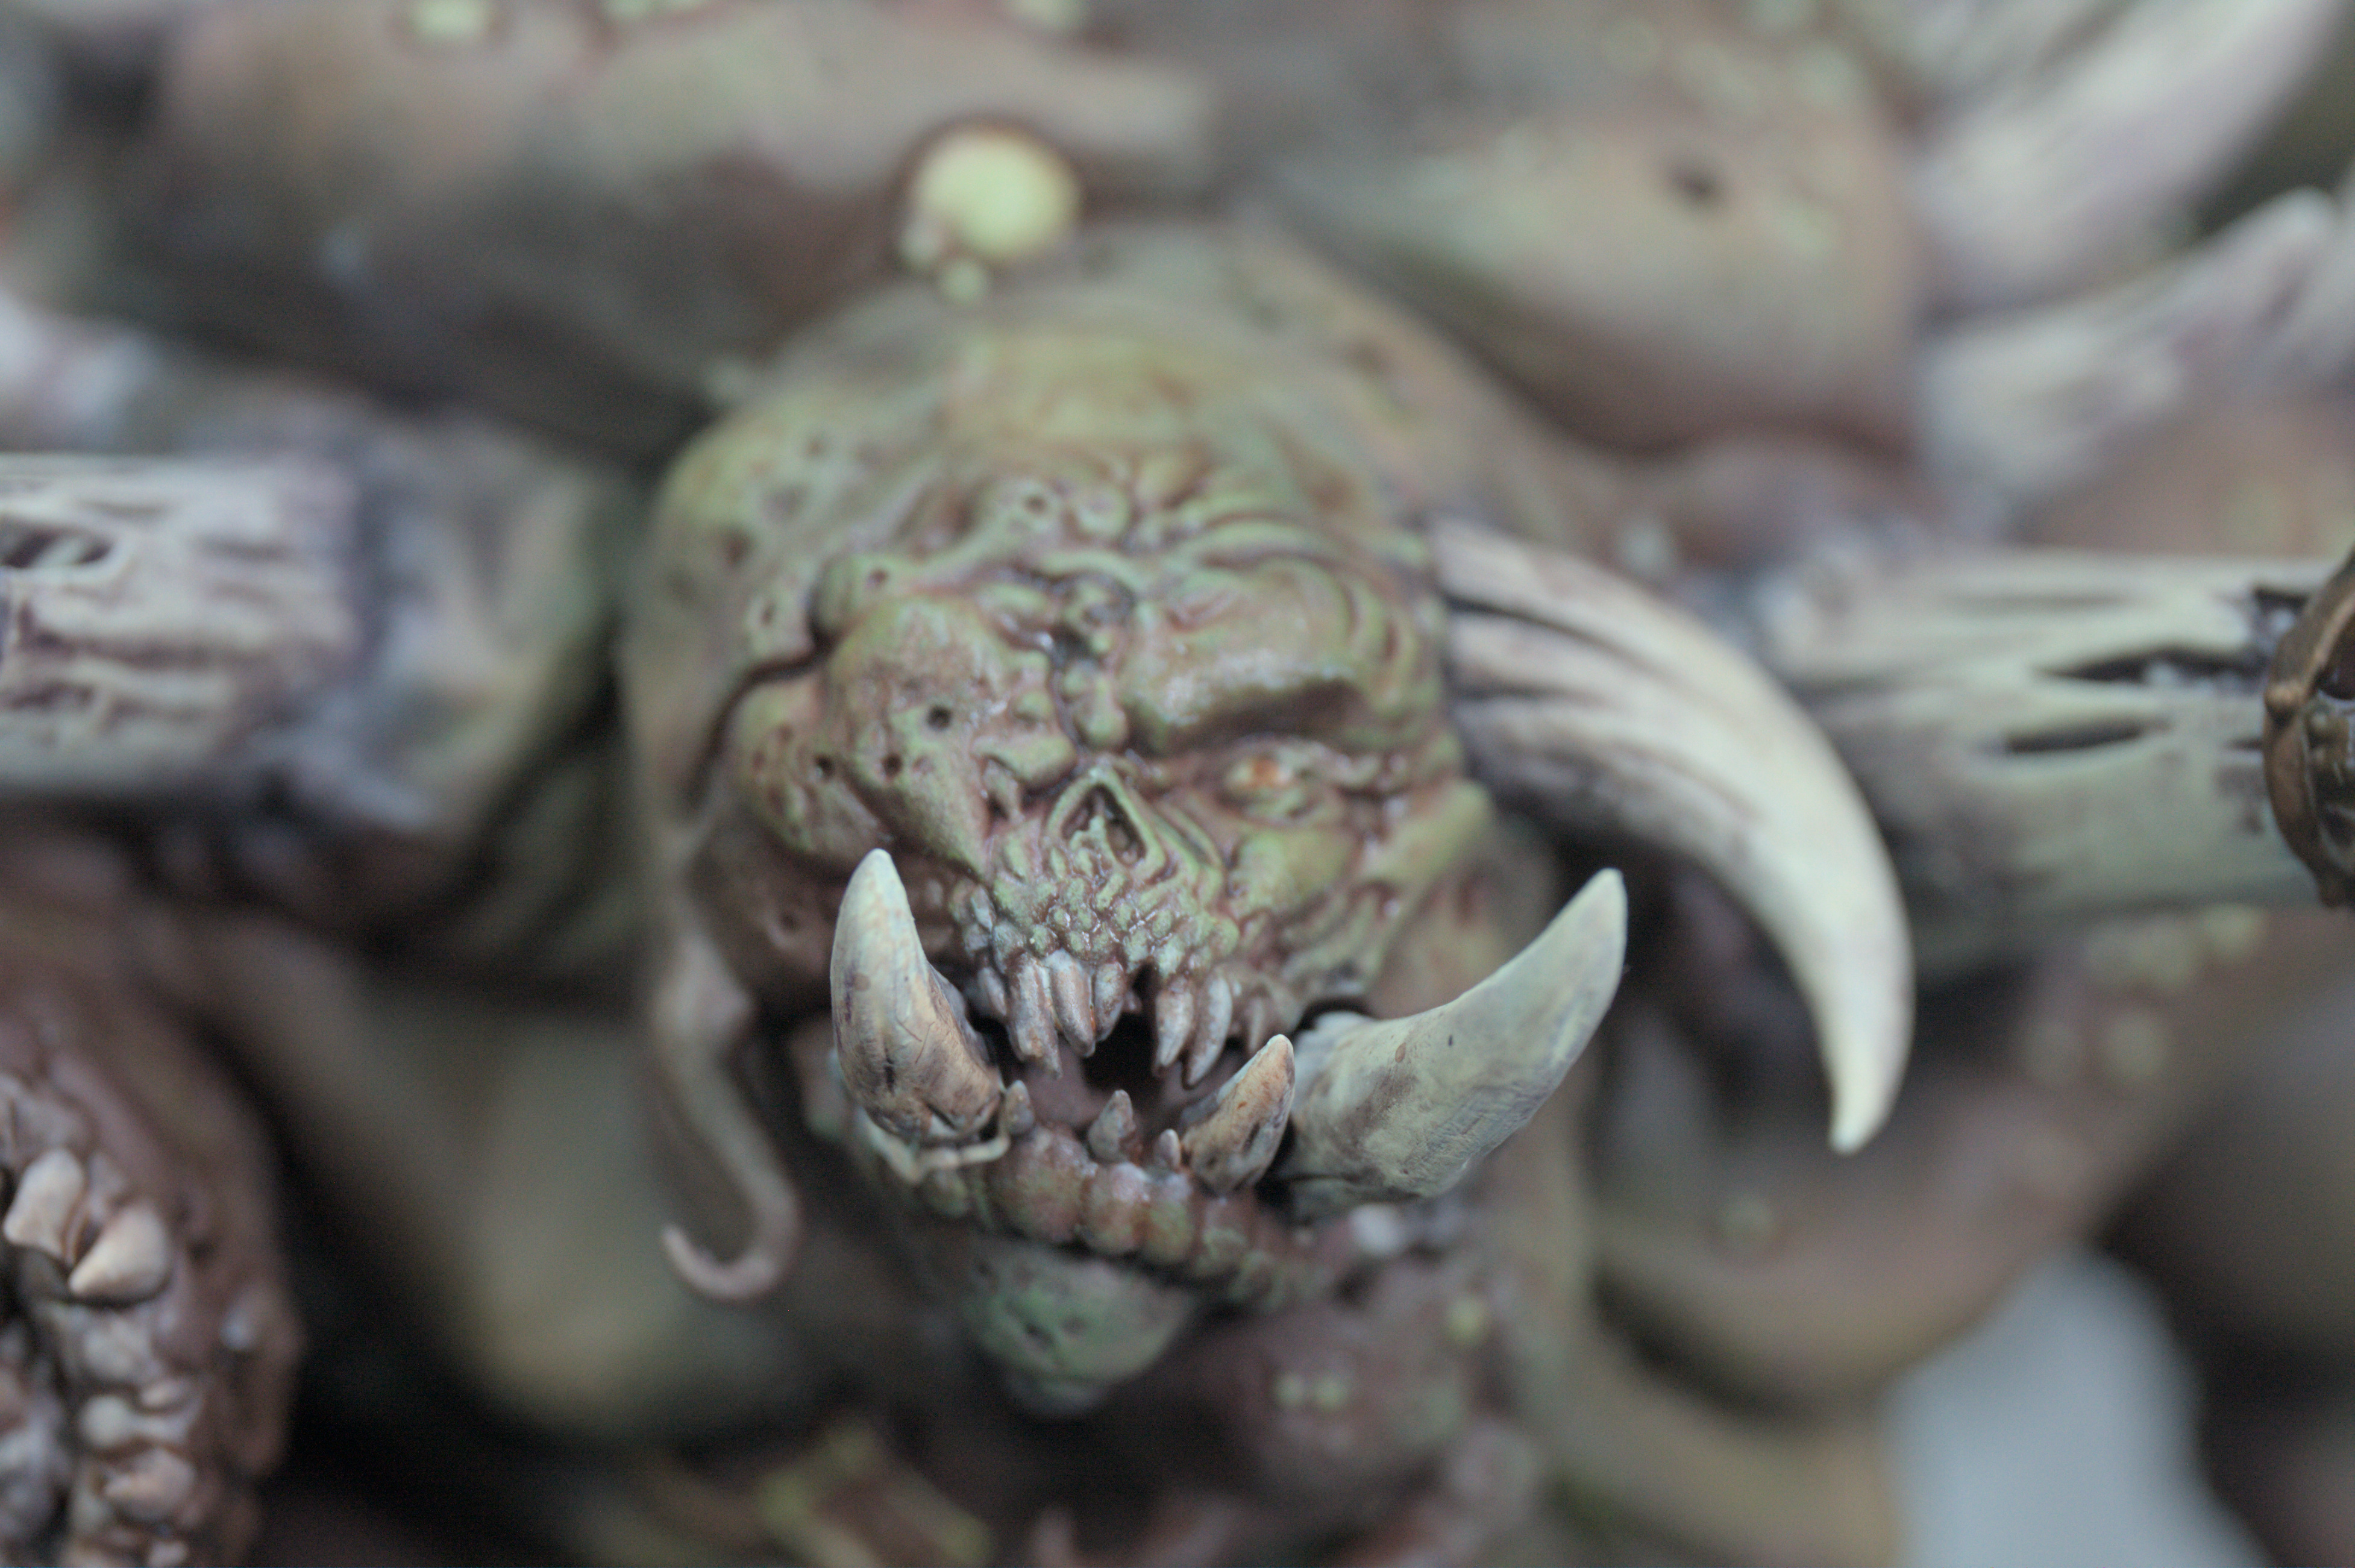
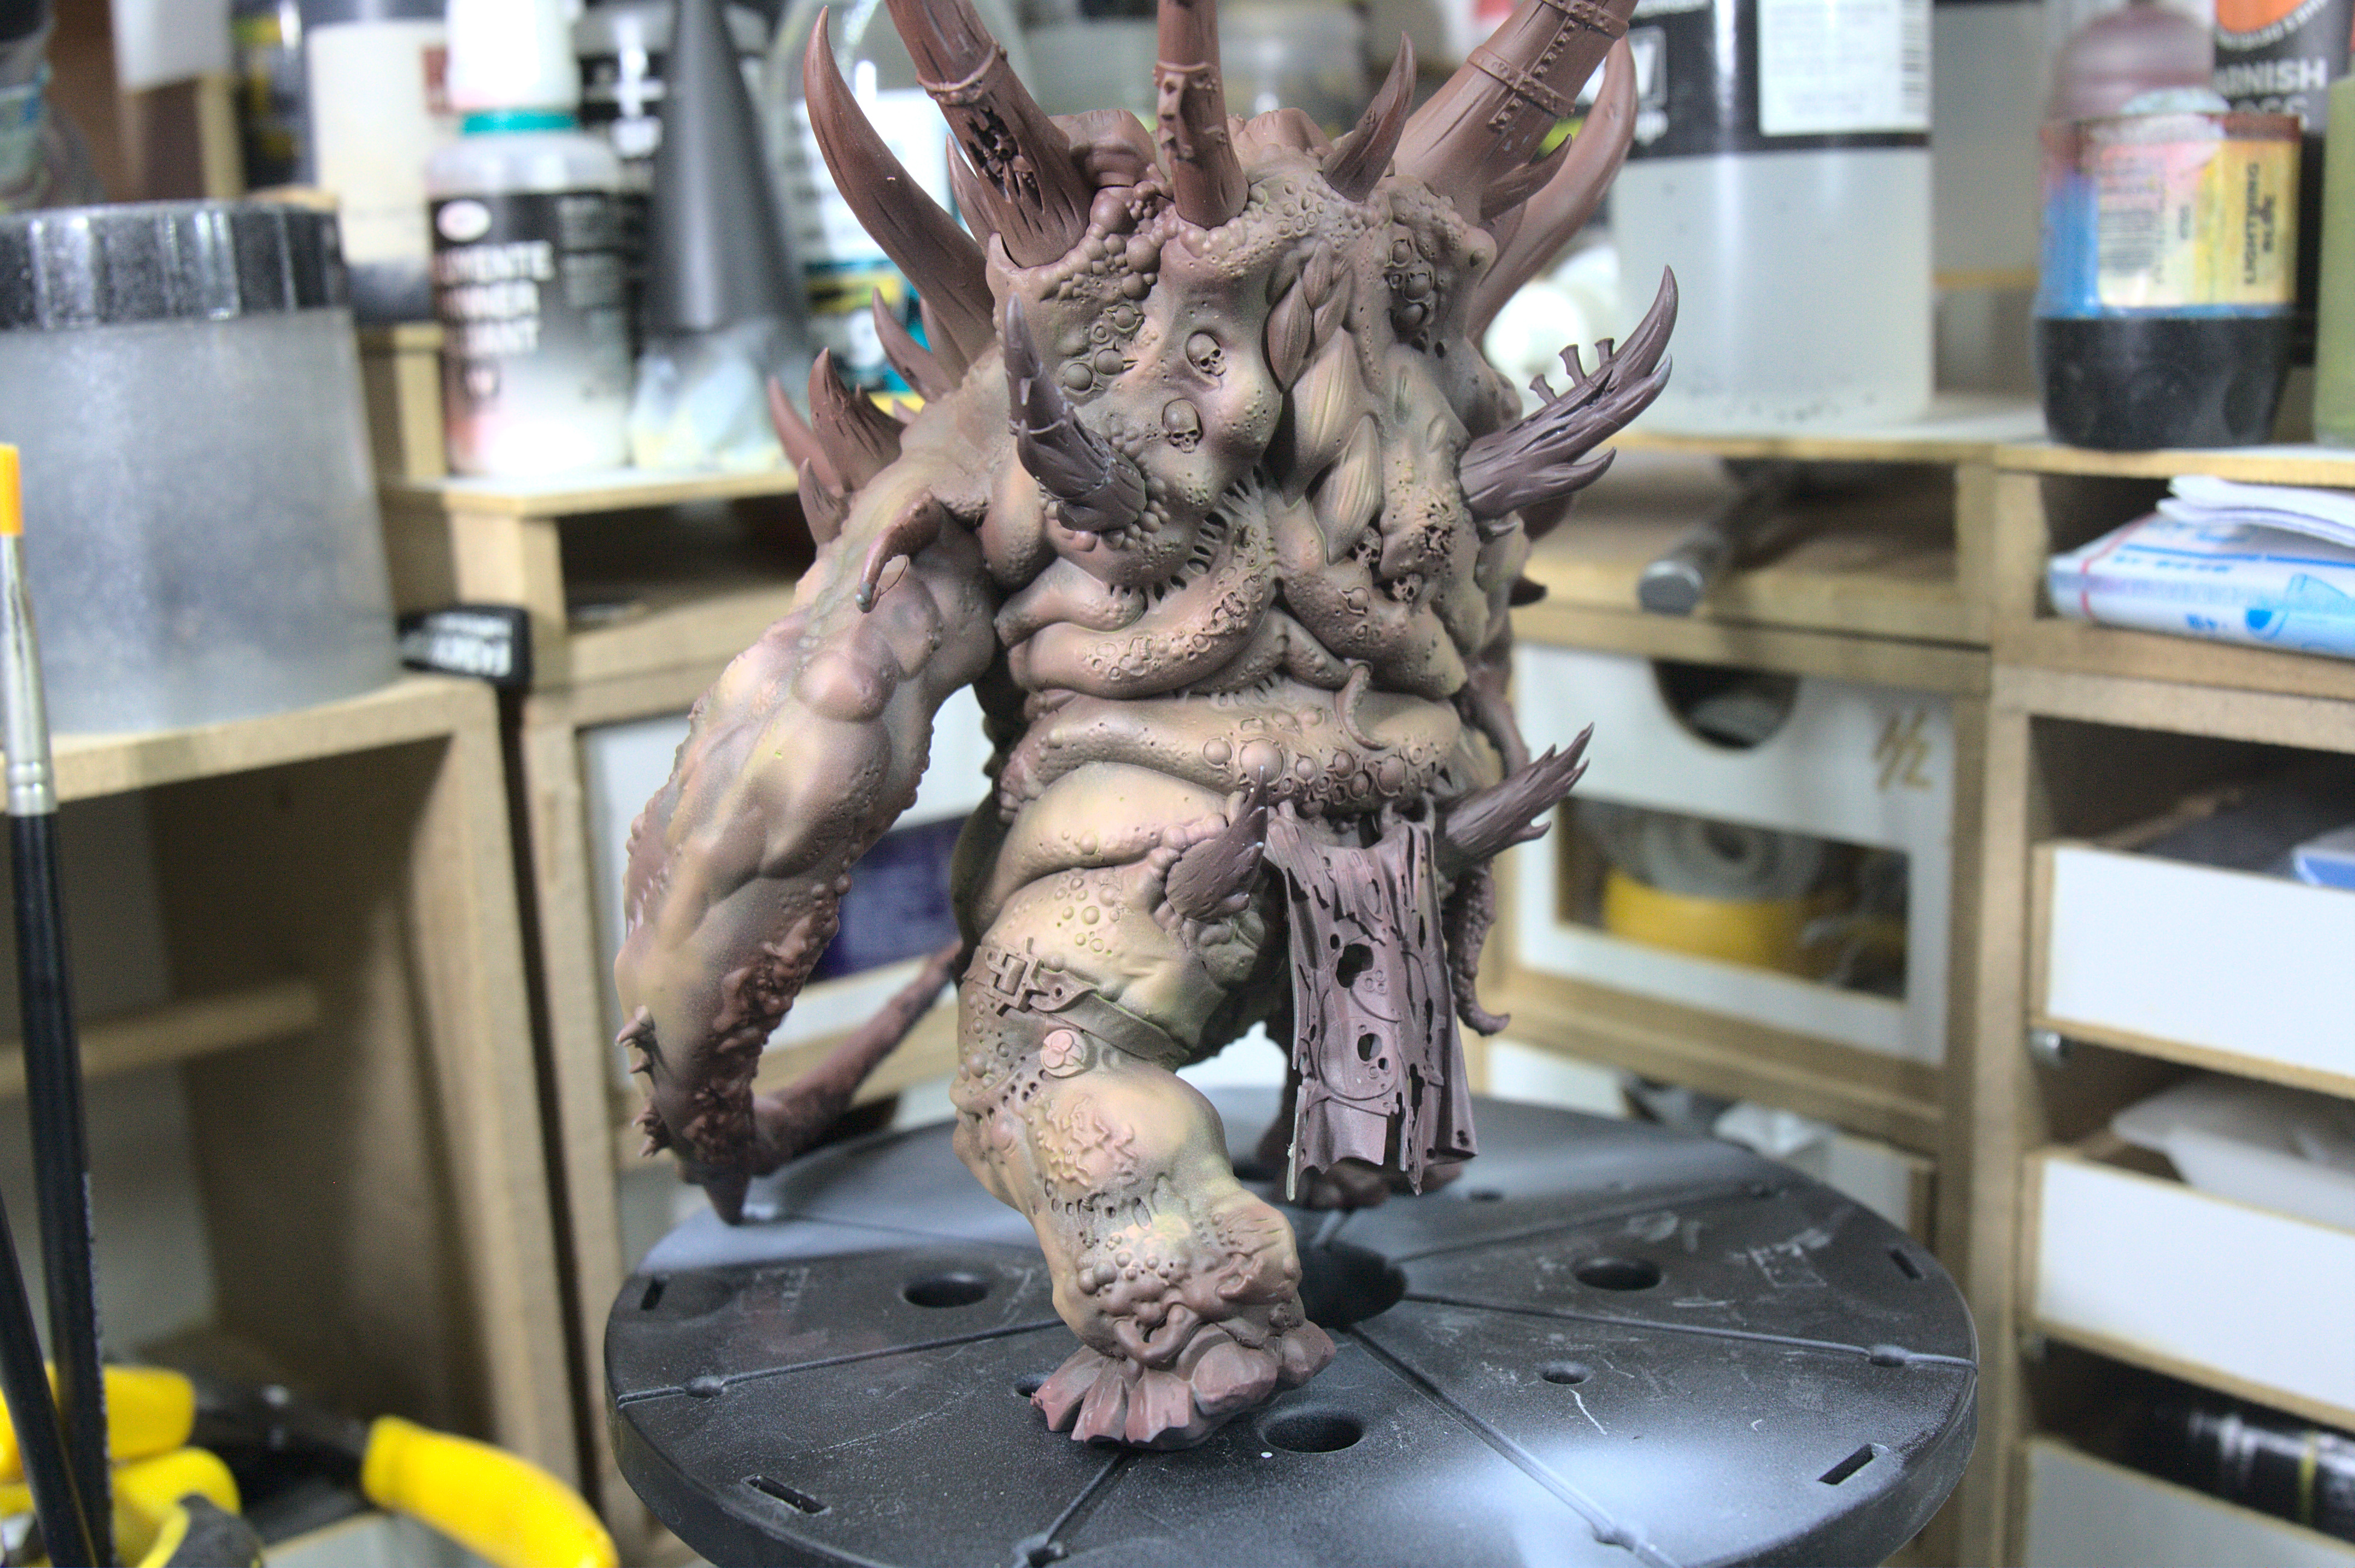
Boils and blood, a week in warhammer
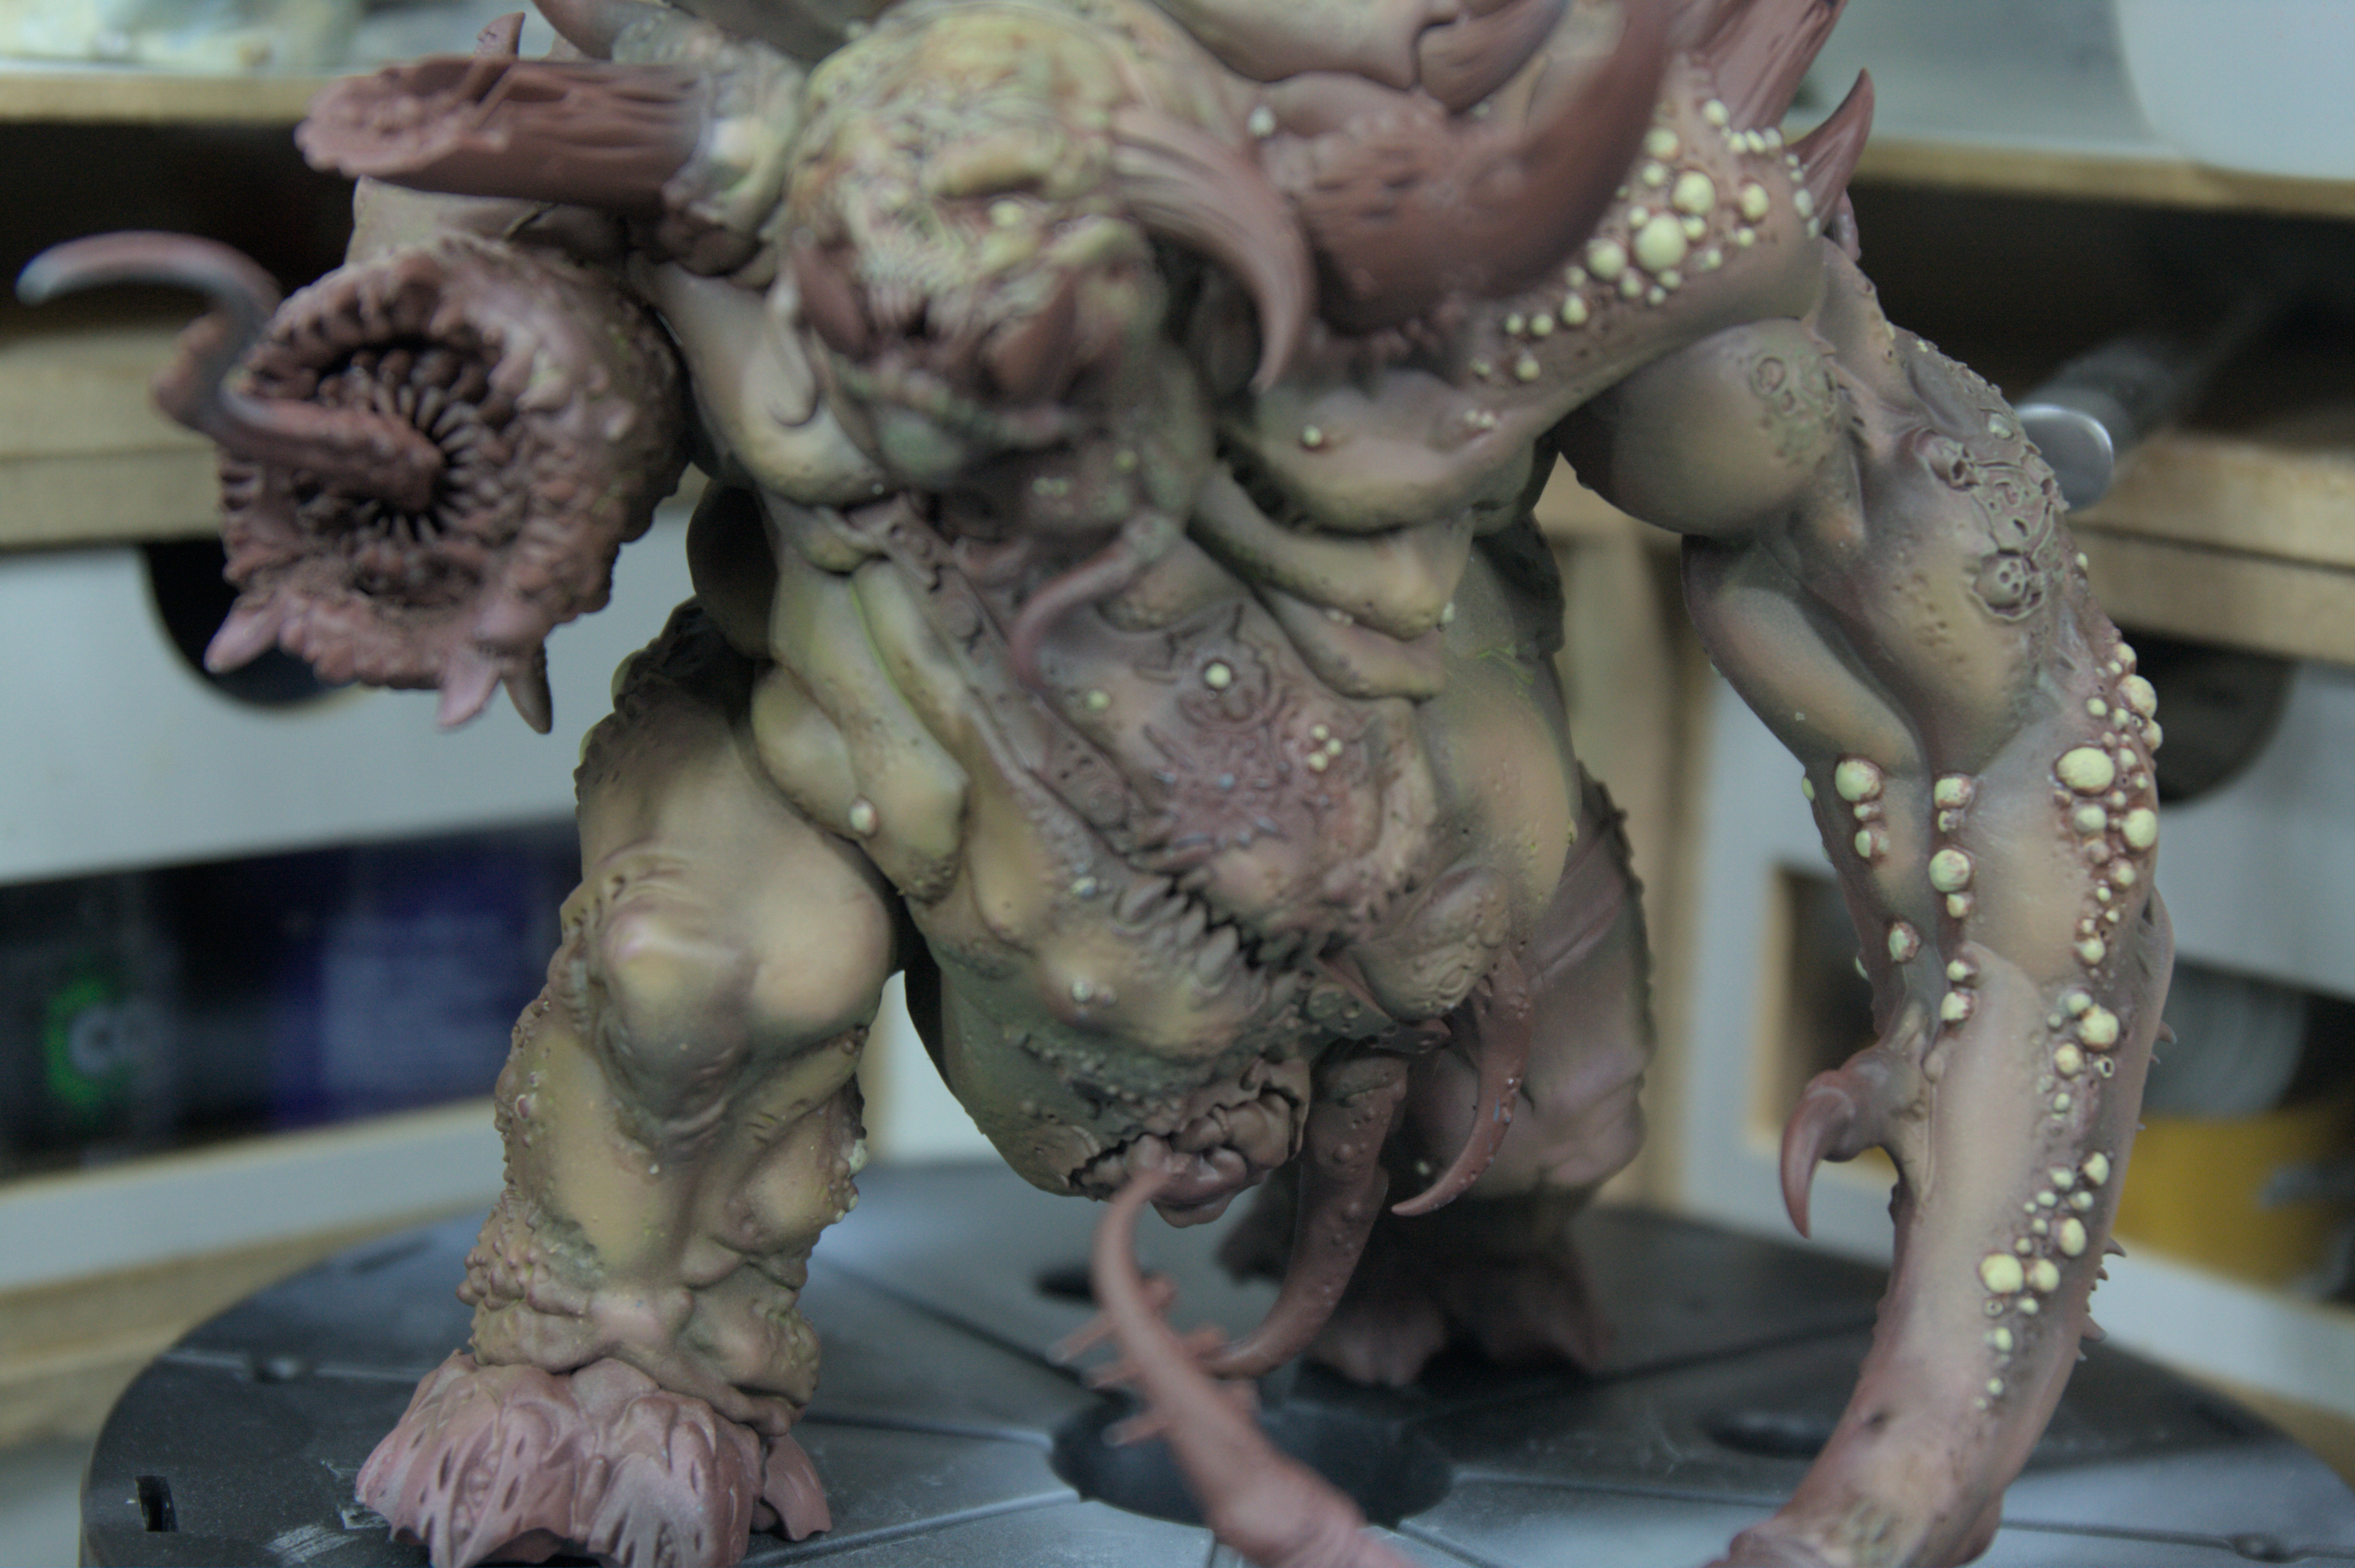
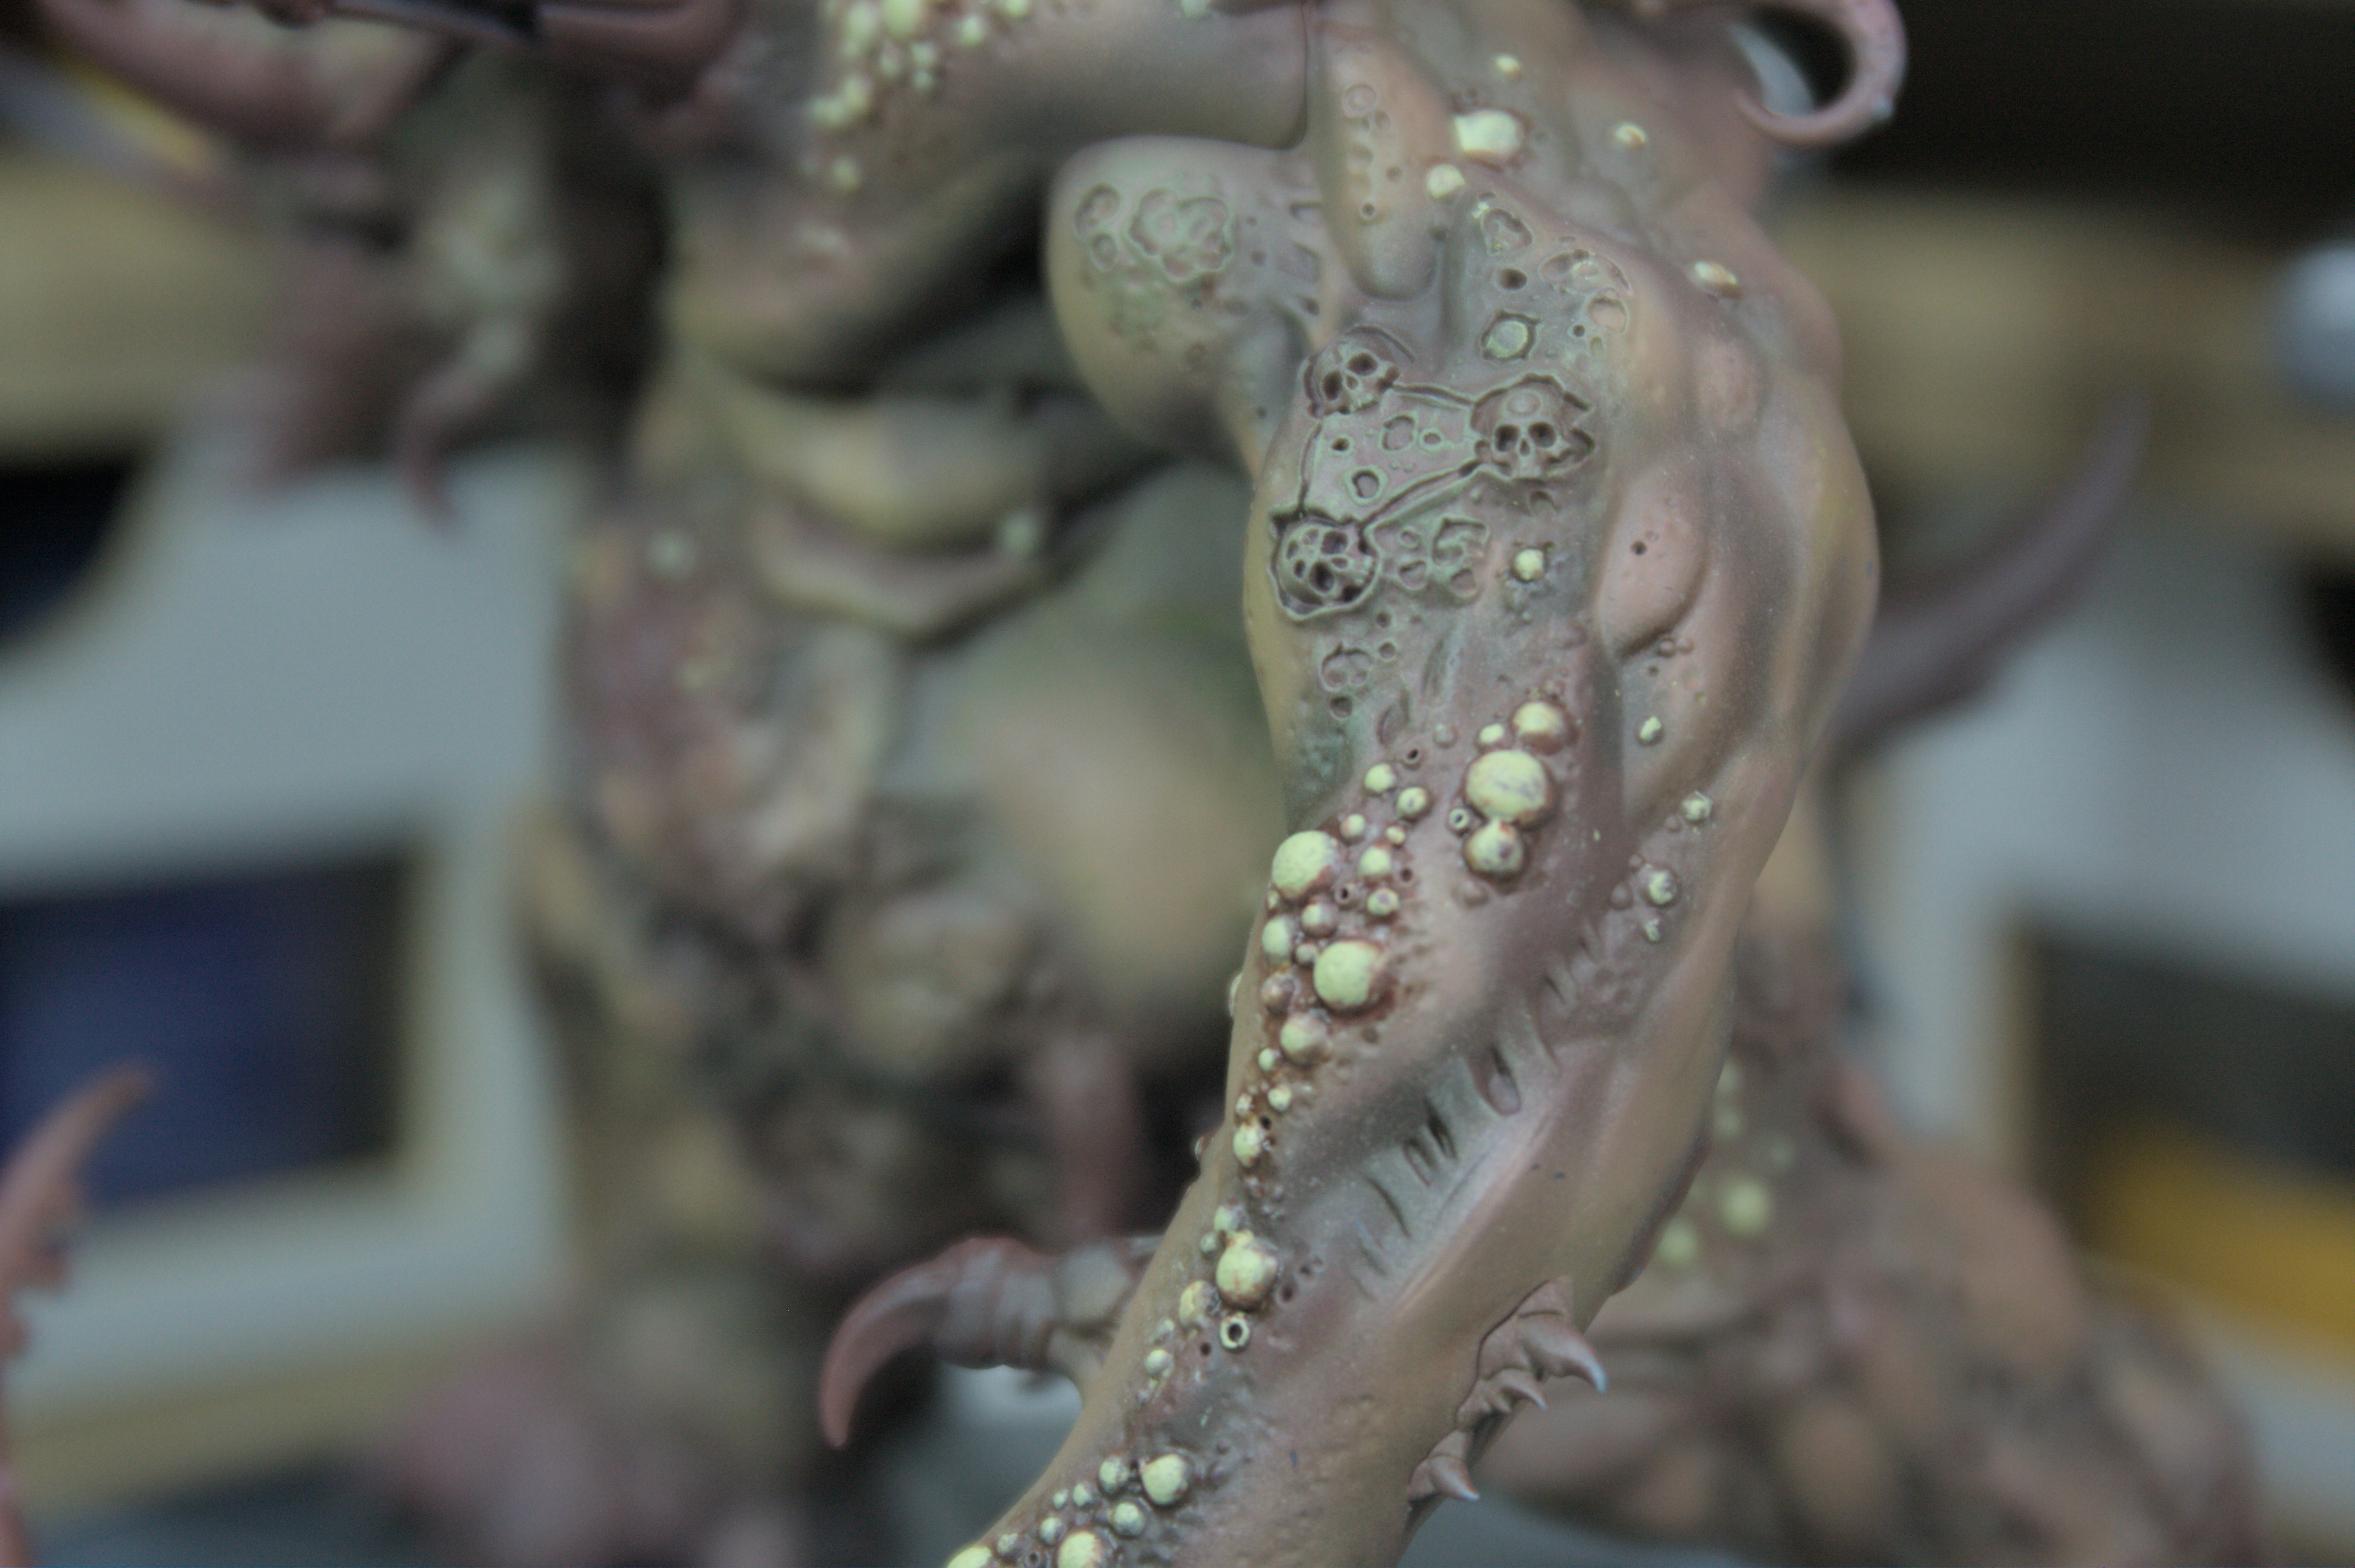
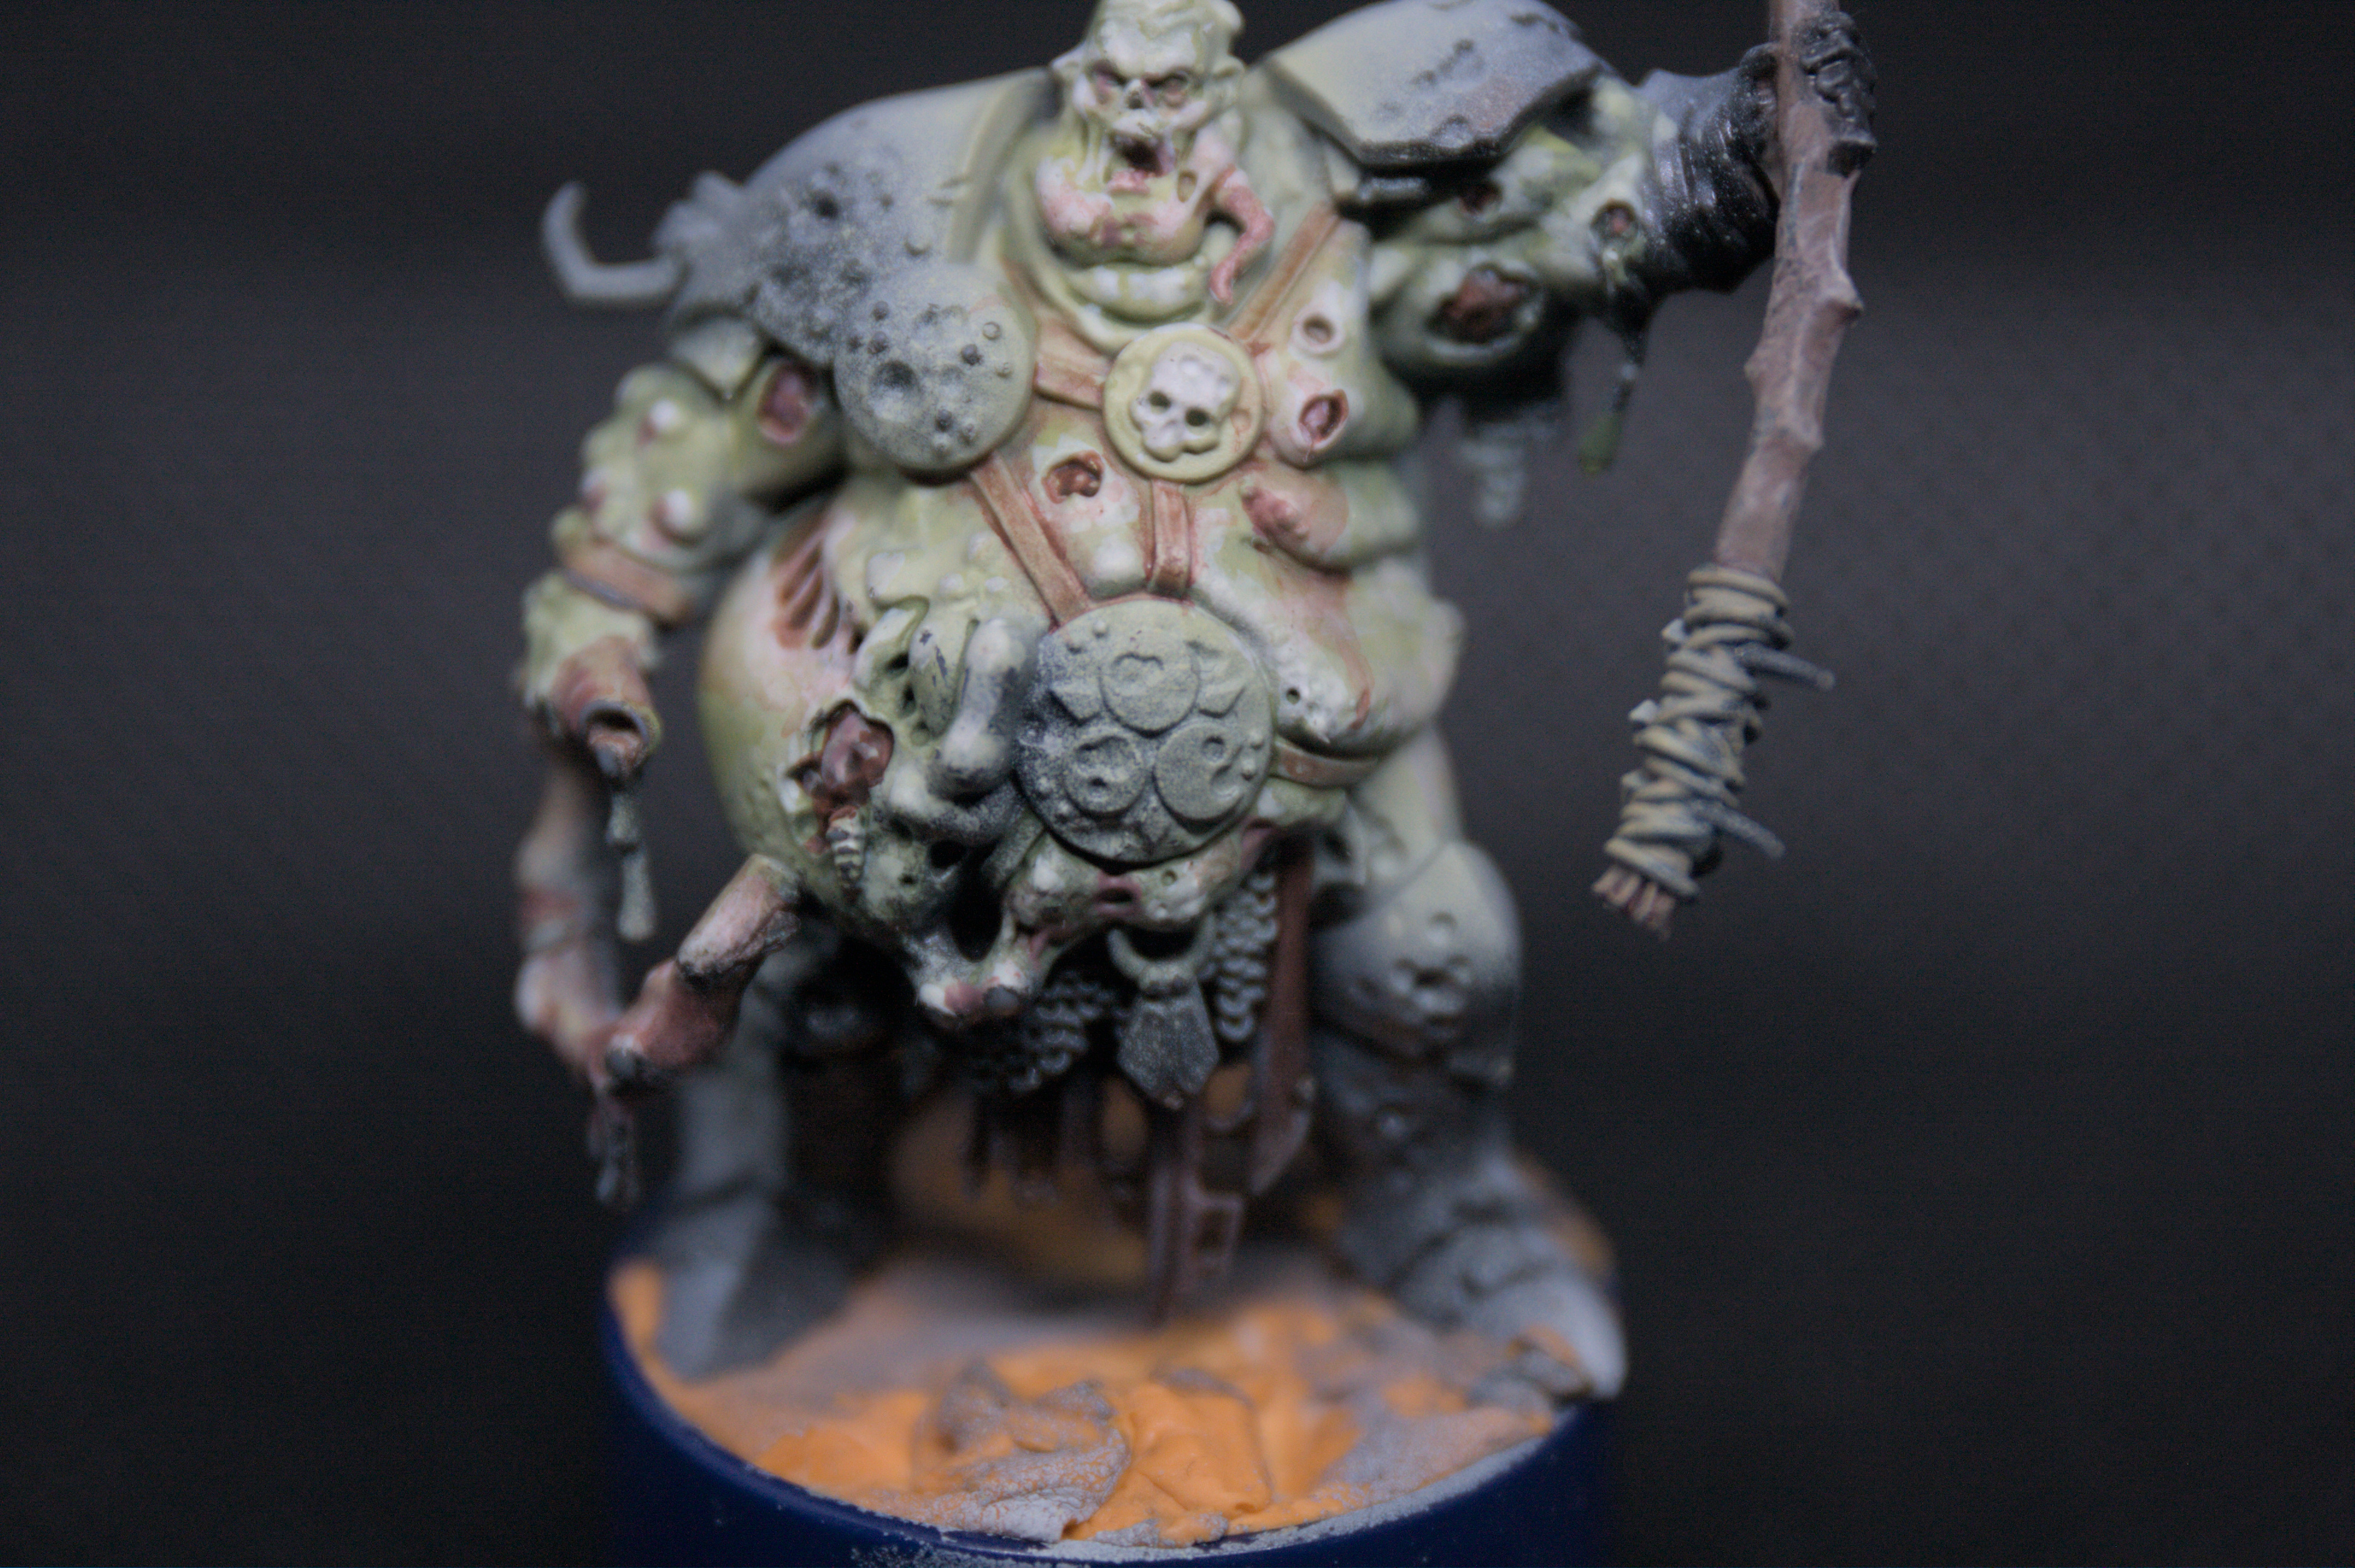
So, as my return to the hobby continues, I’ve spent my spare time this week painting boils. Lovely.
I used Vallejo dead flesh colour for the boils, and then put a line of red wash around the bottom of each one to give a sort of blood effect to add a bit of shape to them.
Speaking of shade, I also added some extra tones to the overall model. I never copy the official paintjobs on thise things, not least because I am nowhere near a good enough painter to do so. But in the case of the Glotkin, the offical images are stunning, with some genuinely brilliant painting on the details, but for me, it is all too clean for nurgle.
Its very precise, but this is the lord of decay, and the glotkin is a corruptrd monster, so I want a more chaotic look. So, when taking a break from boils, I mixed up a dirty reddy-purple mix of various washes, thinned them down and used it to add color variation across the model.
Still my time with boils is ending, and next week, I am going to have the horn.
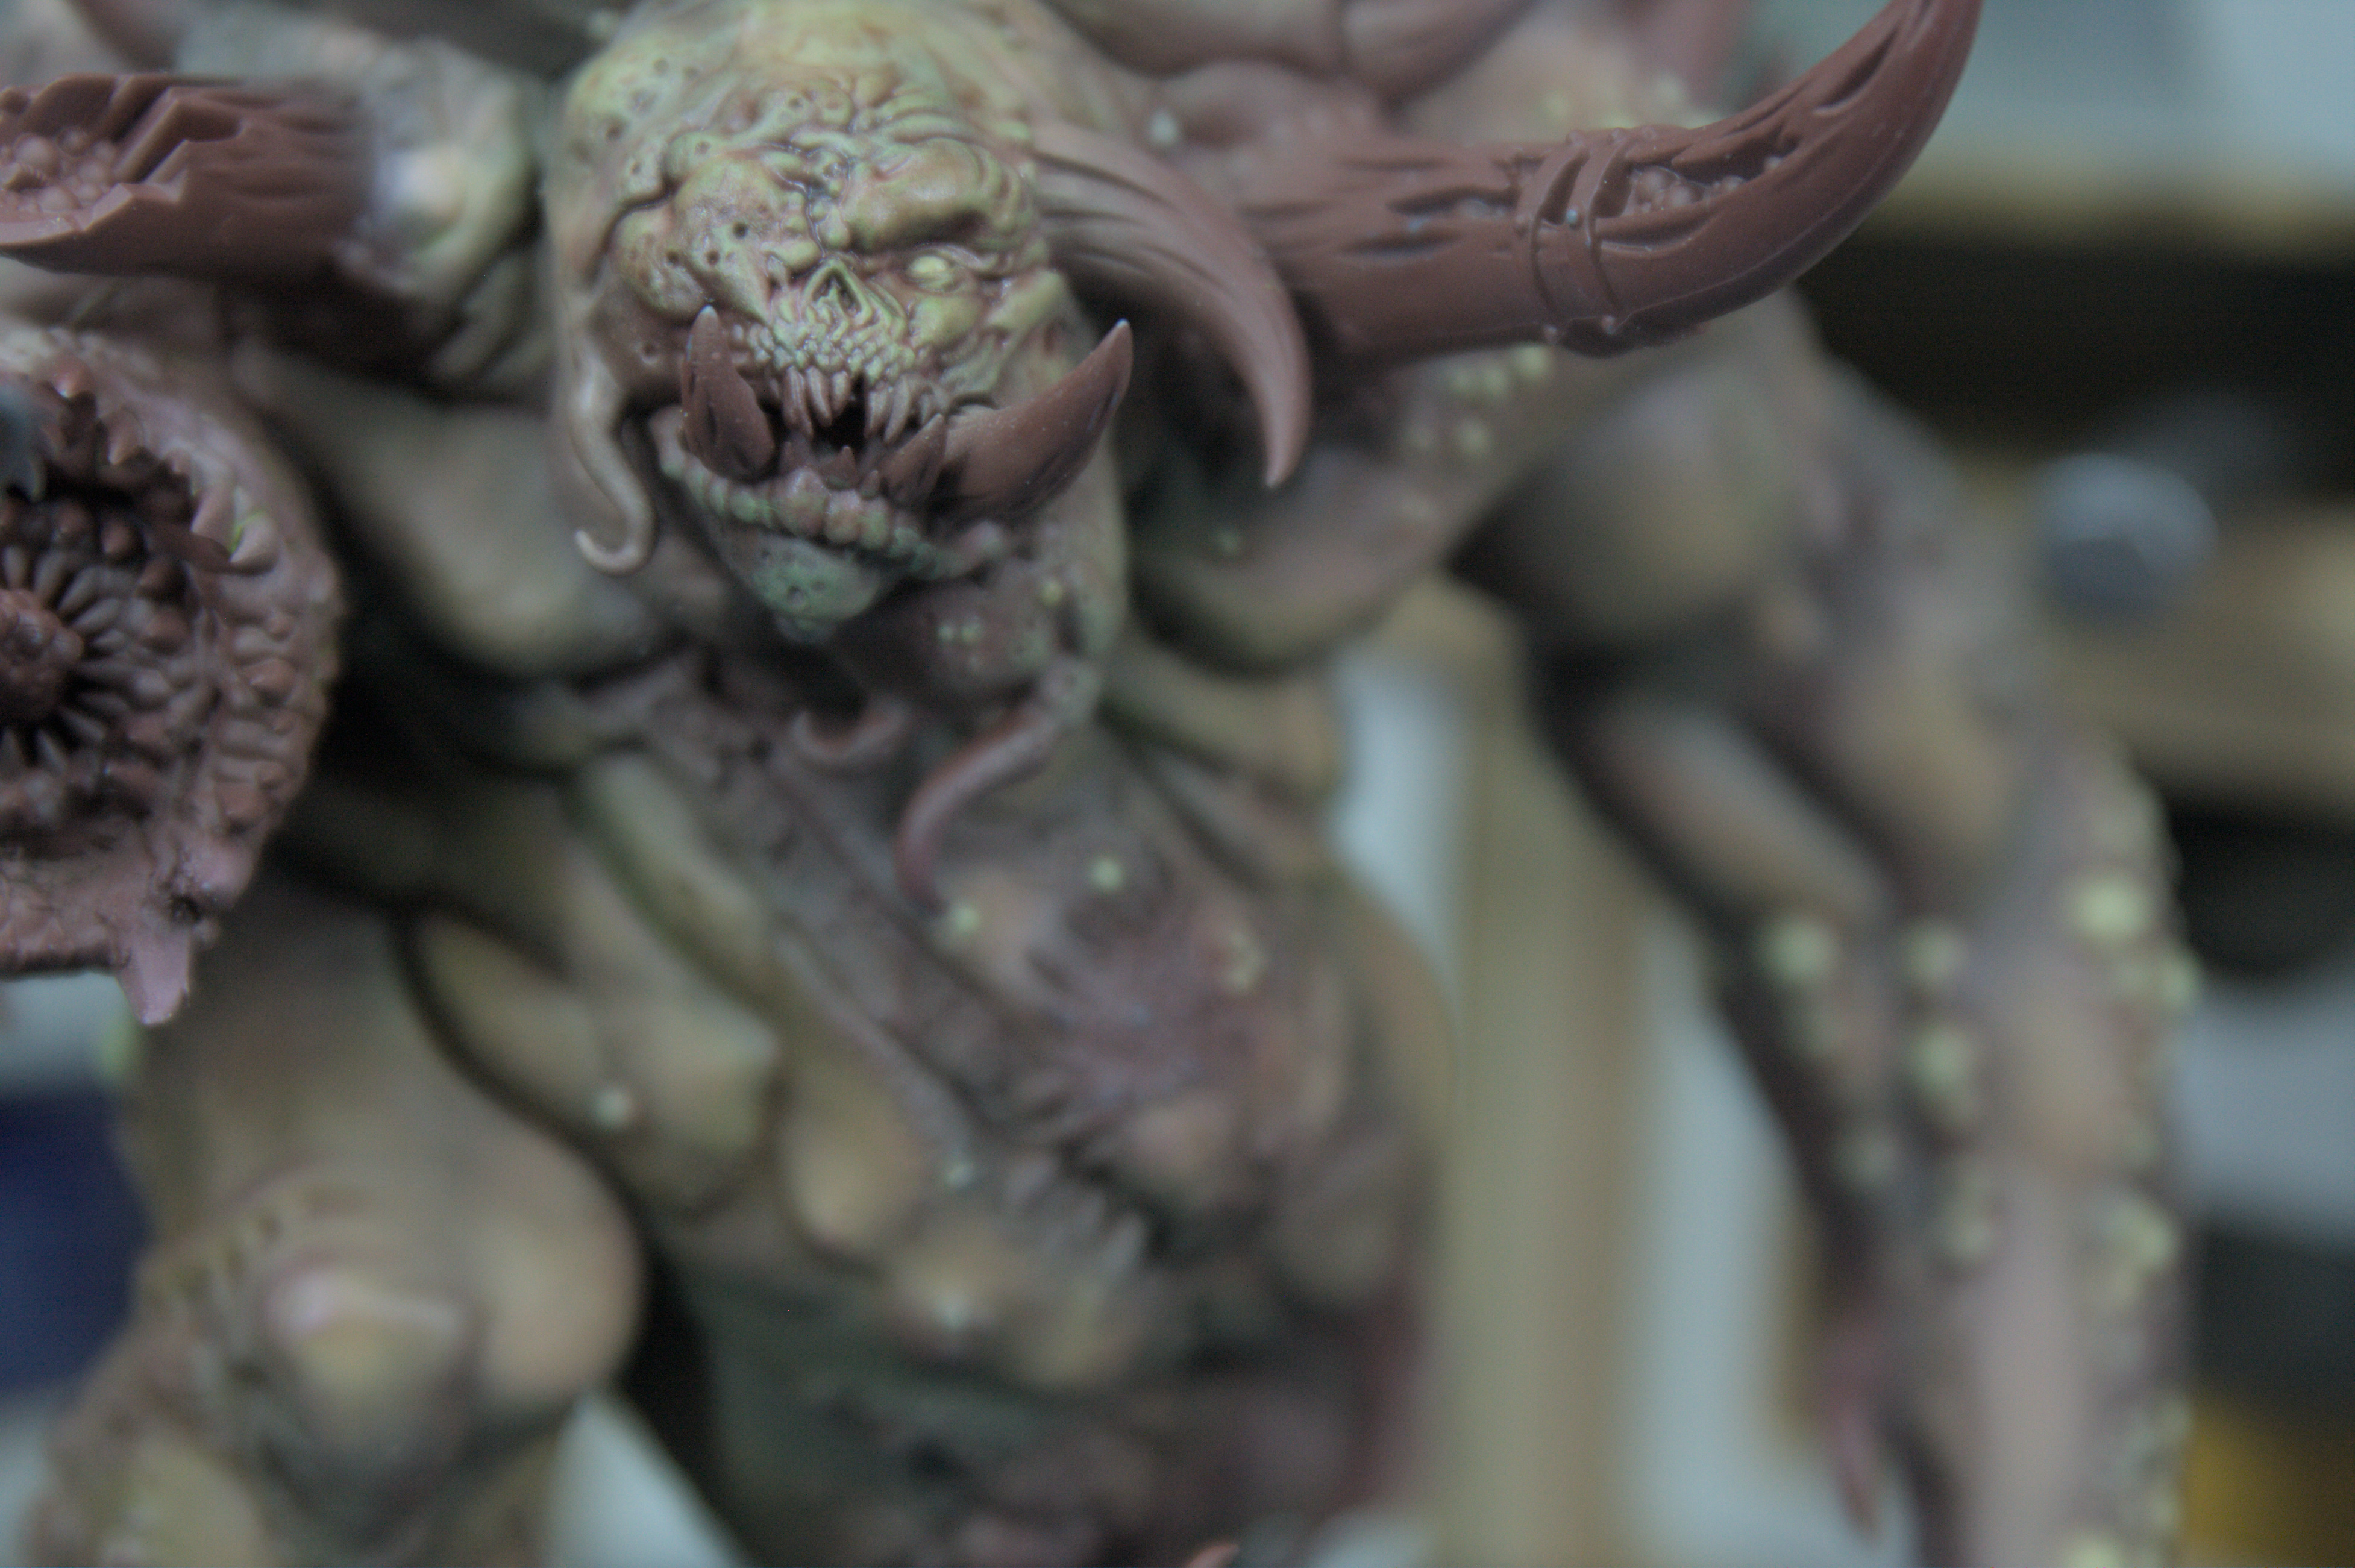
A touch of colour
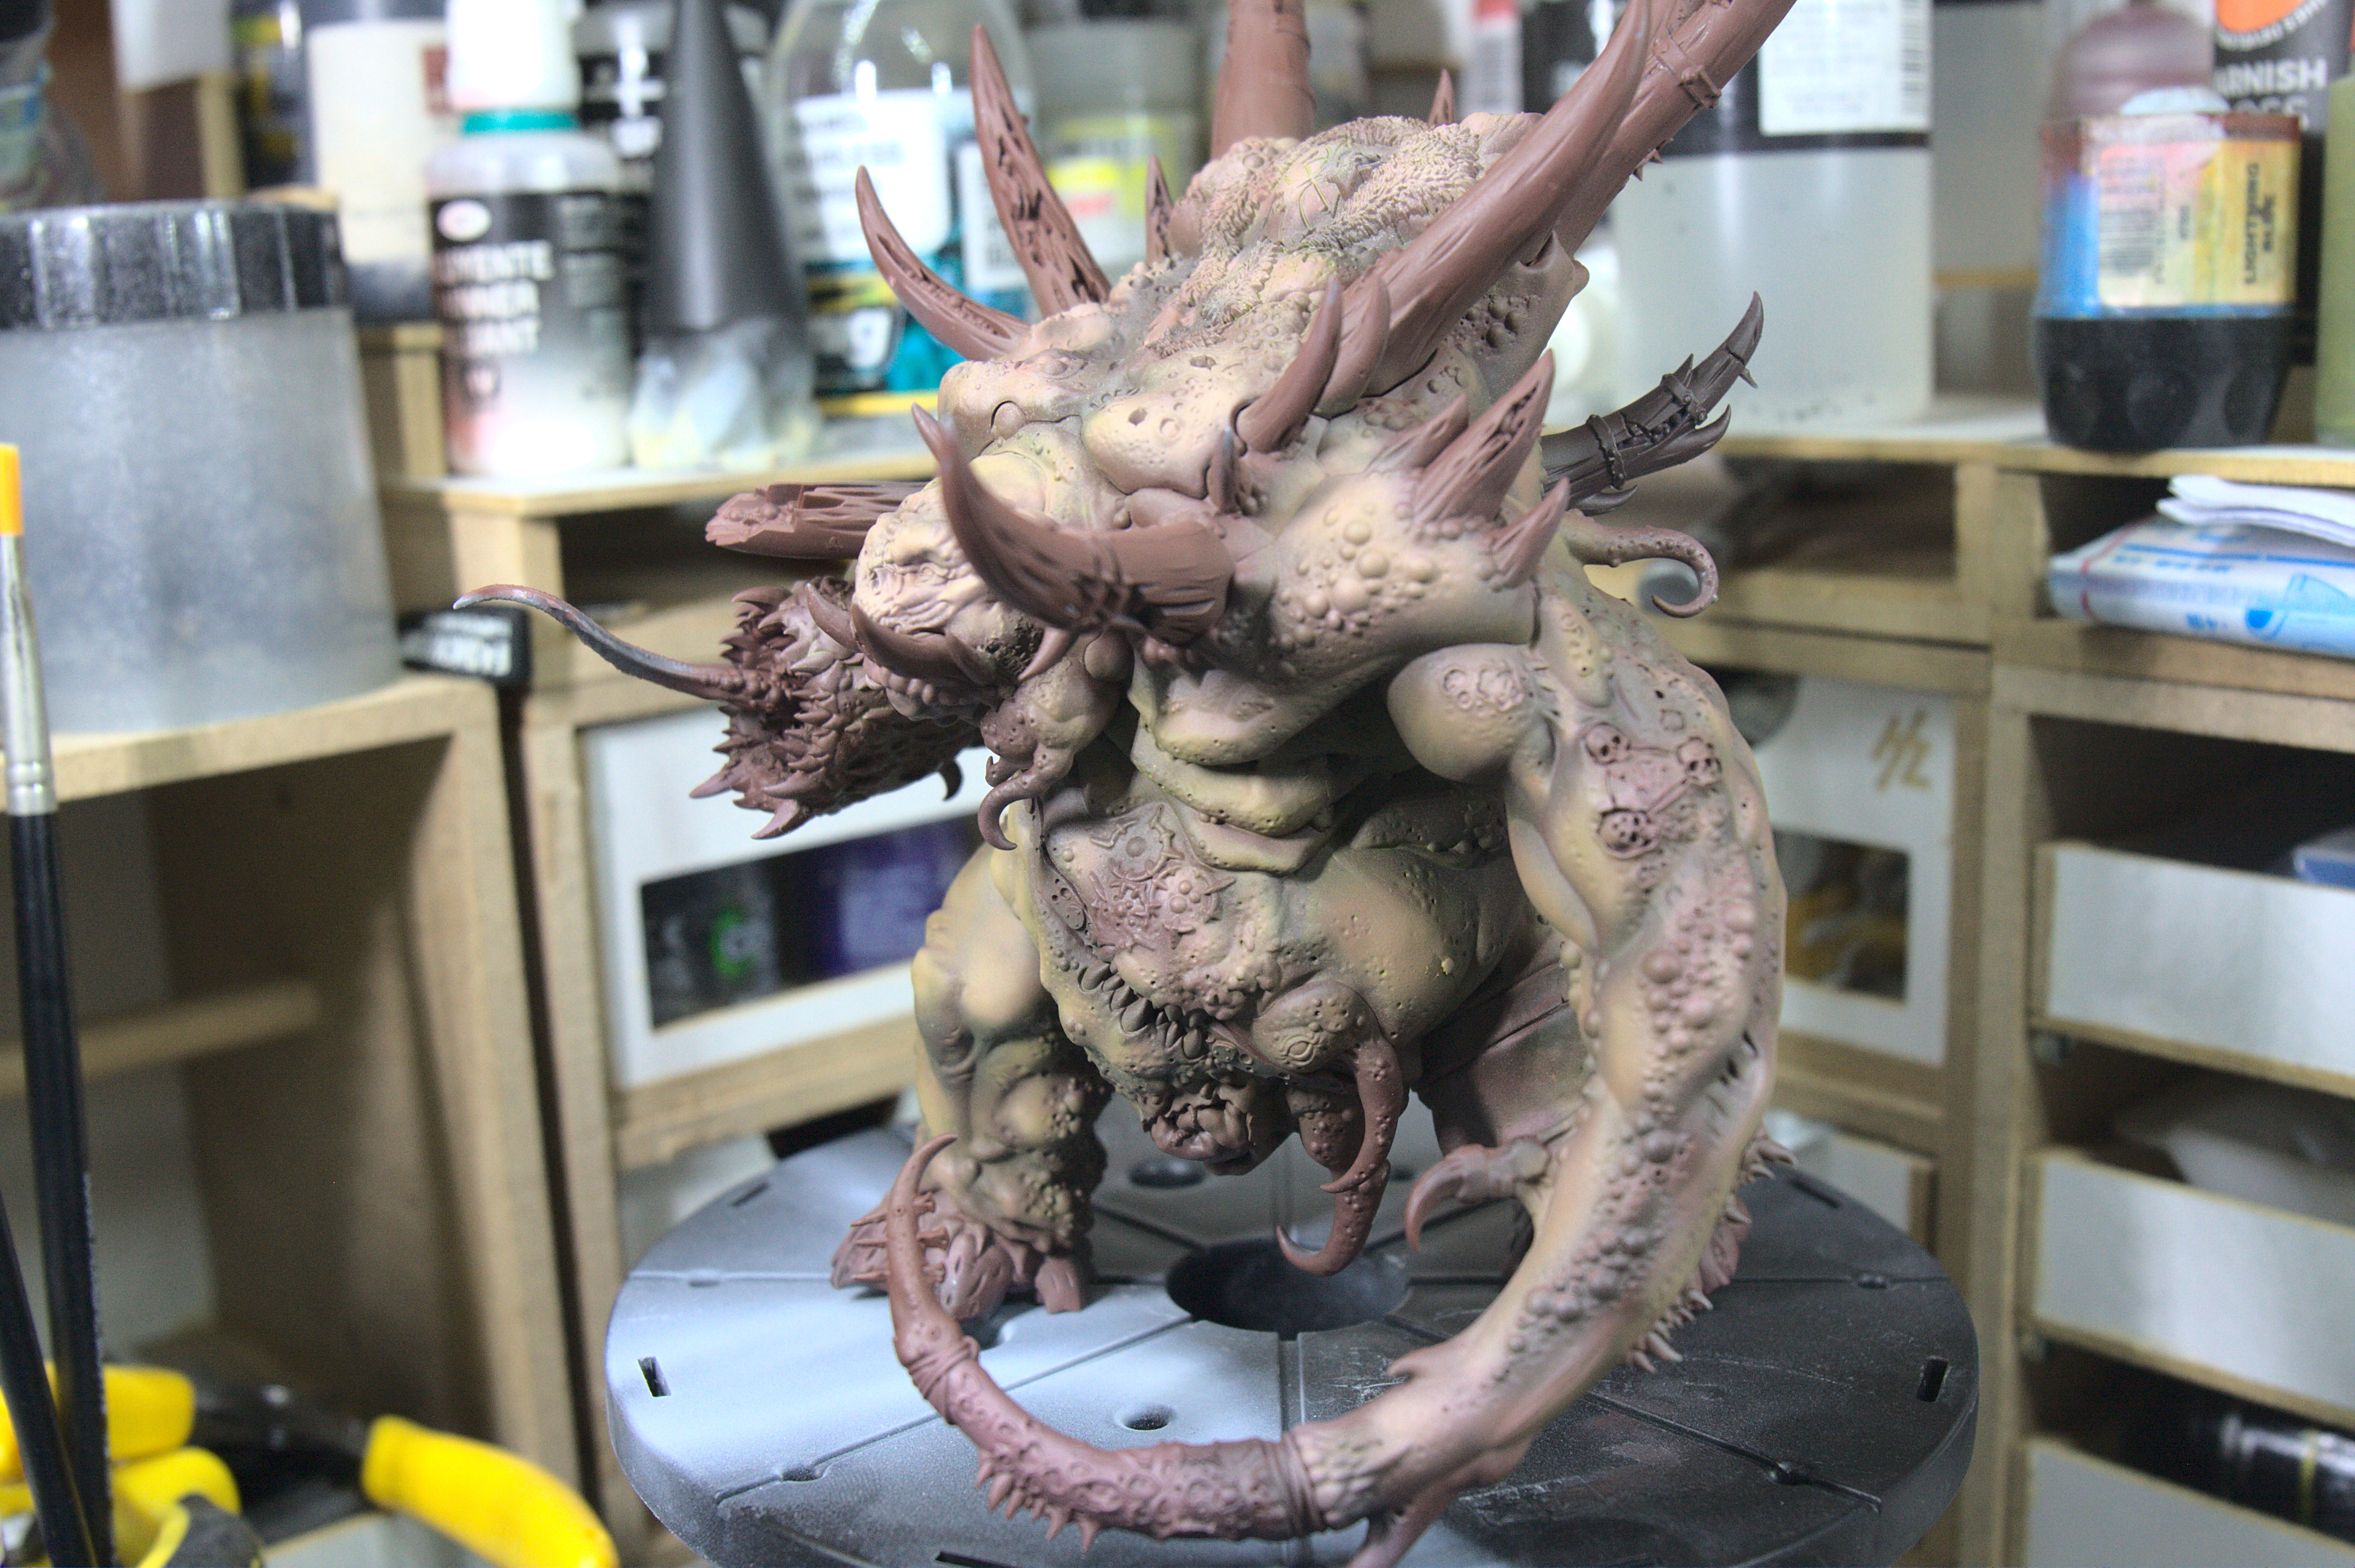
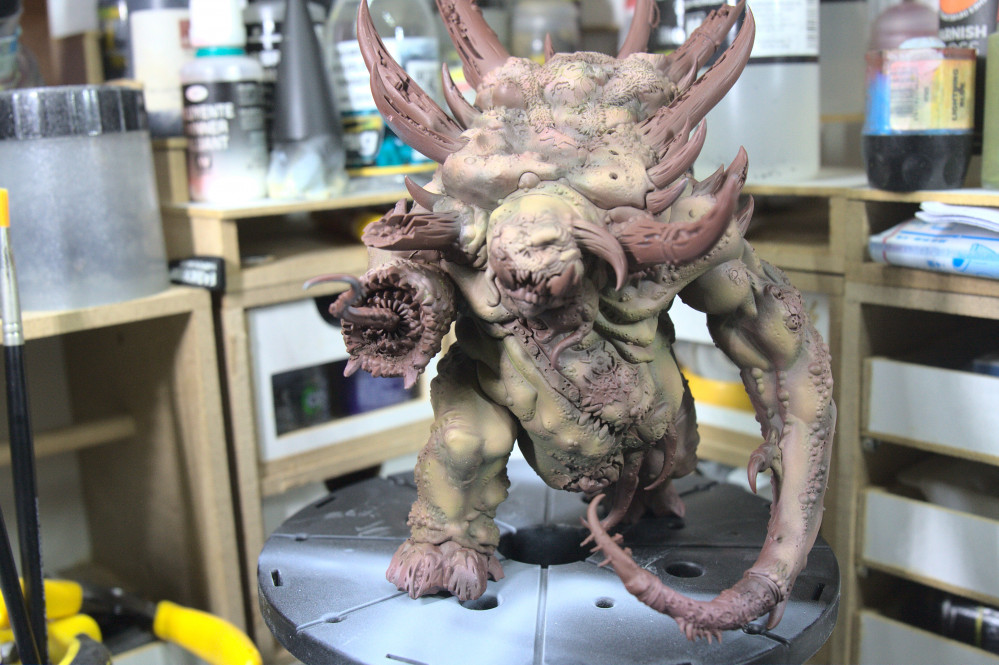
I only used one colour, Scale 75 sherwood green. I sprayed it in really thin coats, just building green where I wanted and leaving it subdued in other areas.
I’m really pleased with how it came out, and on the next update I’ll have some of the details blocked out and I think the overall look will become a bit clearer.
Next weekend I want to get colour on all the details so I can figure out how to blend it all together.
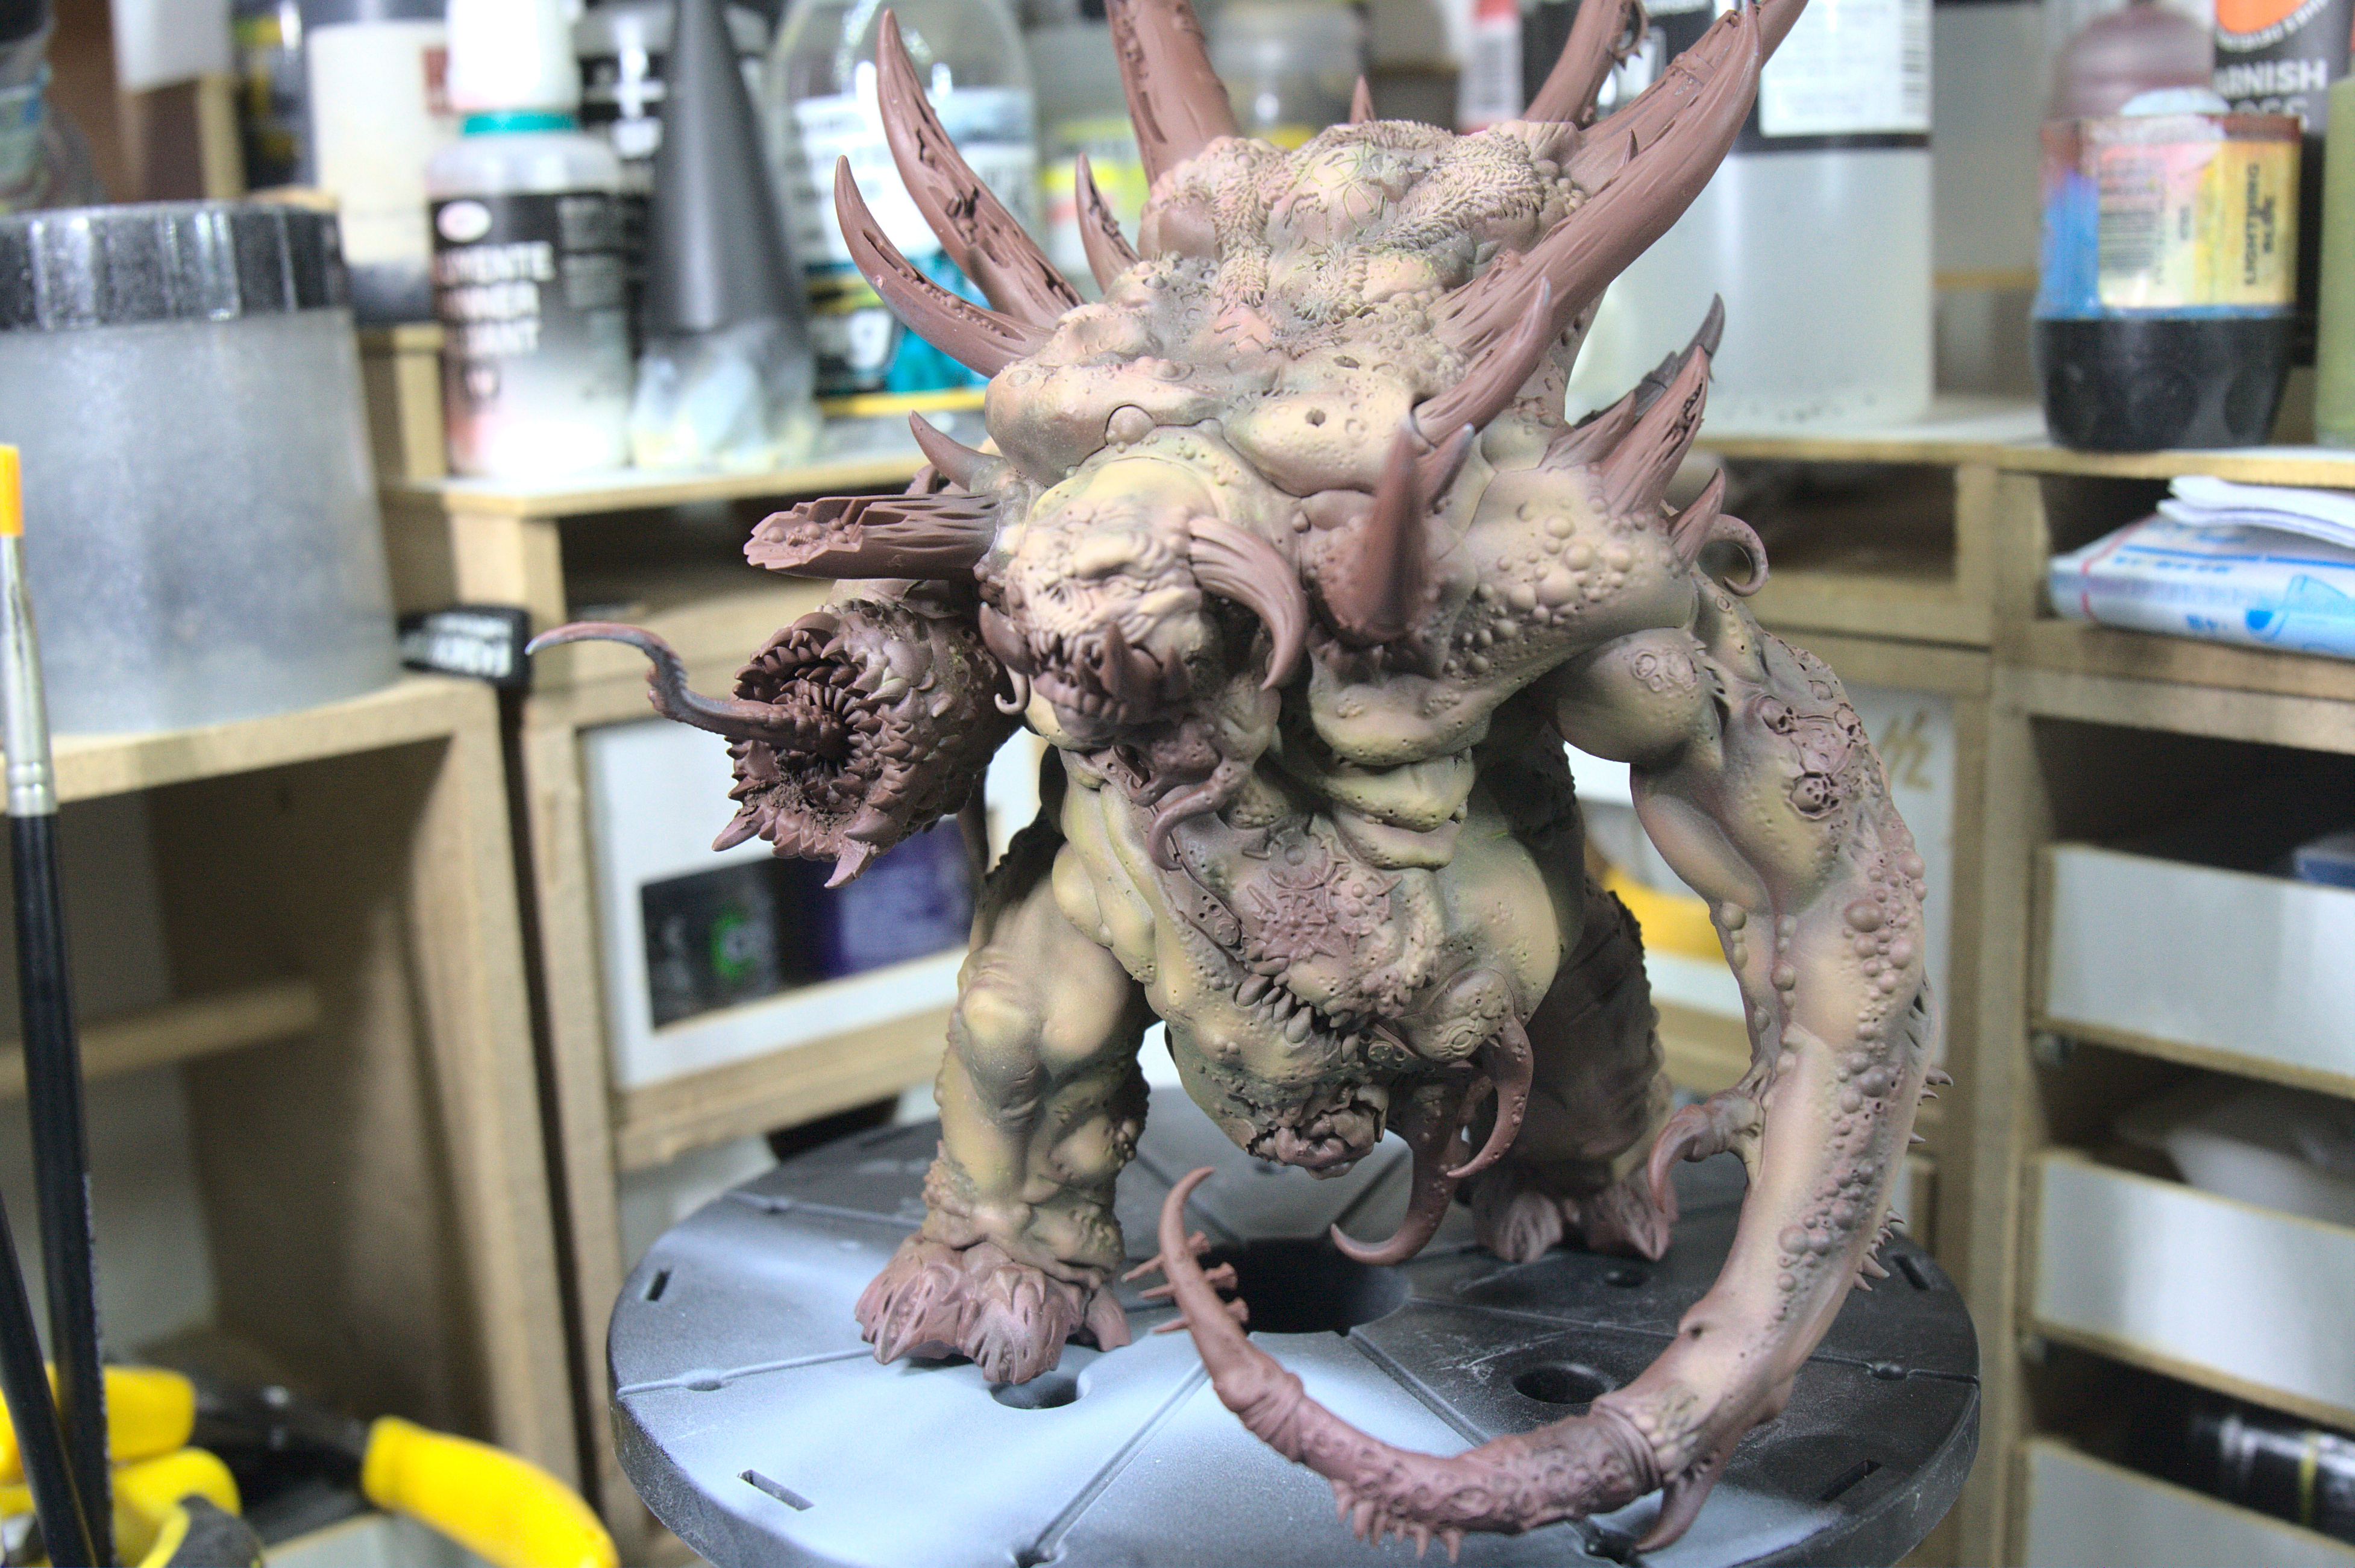
Finding the fun again
So, the last time I managed to put anything on the site was before covid. A combination of a bad mountain bike accident and then the pandemic have kept me away from hobby stuff for several years now, and I had got out of the habit of putting time aside for myself.
So, a new year comes around, and I decided that I really need to make some time to take a step back from like and just relax for a bit, and that is why I enjoyed mini painting so much in the first place. So, to ease myself back in, I looked at my pile of untouched minis and picked out the Glotkin. Its big and full of gribbly bits, so should be forgiving in terms of painting.
Lets see how it goes.
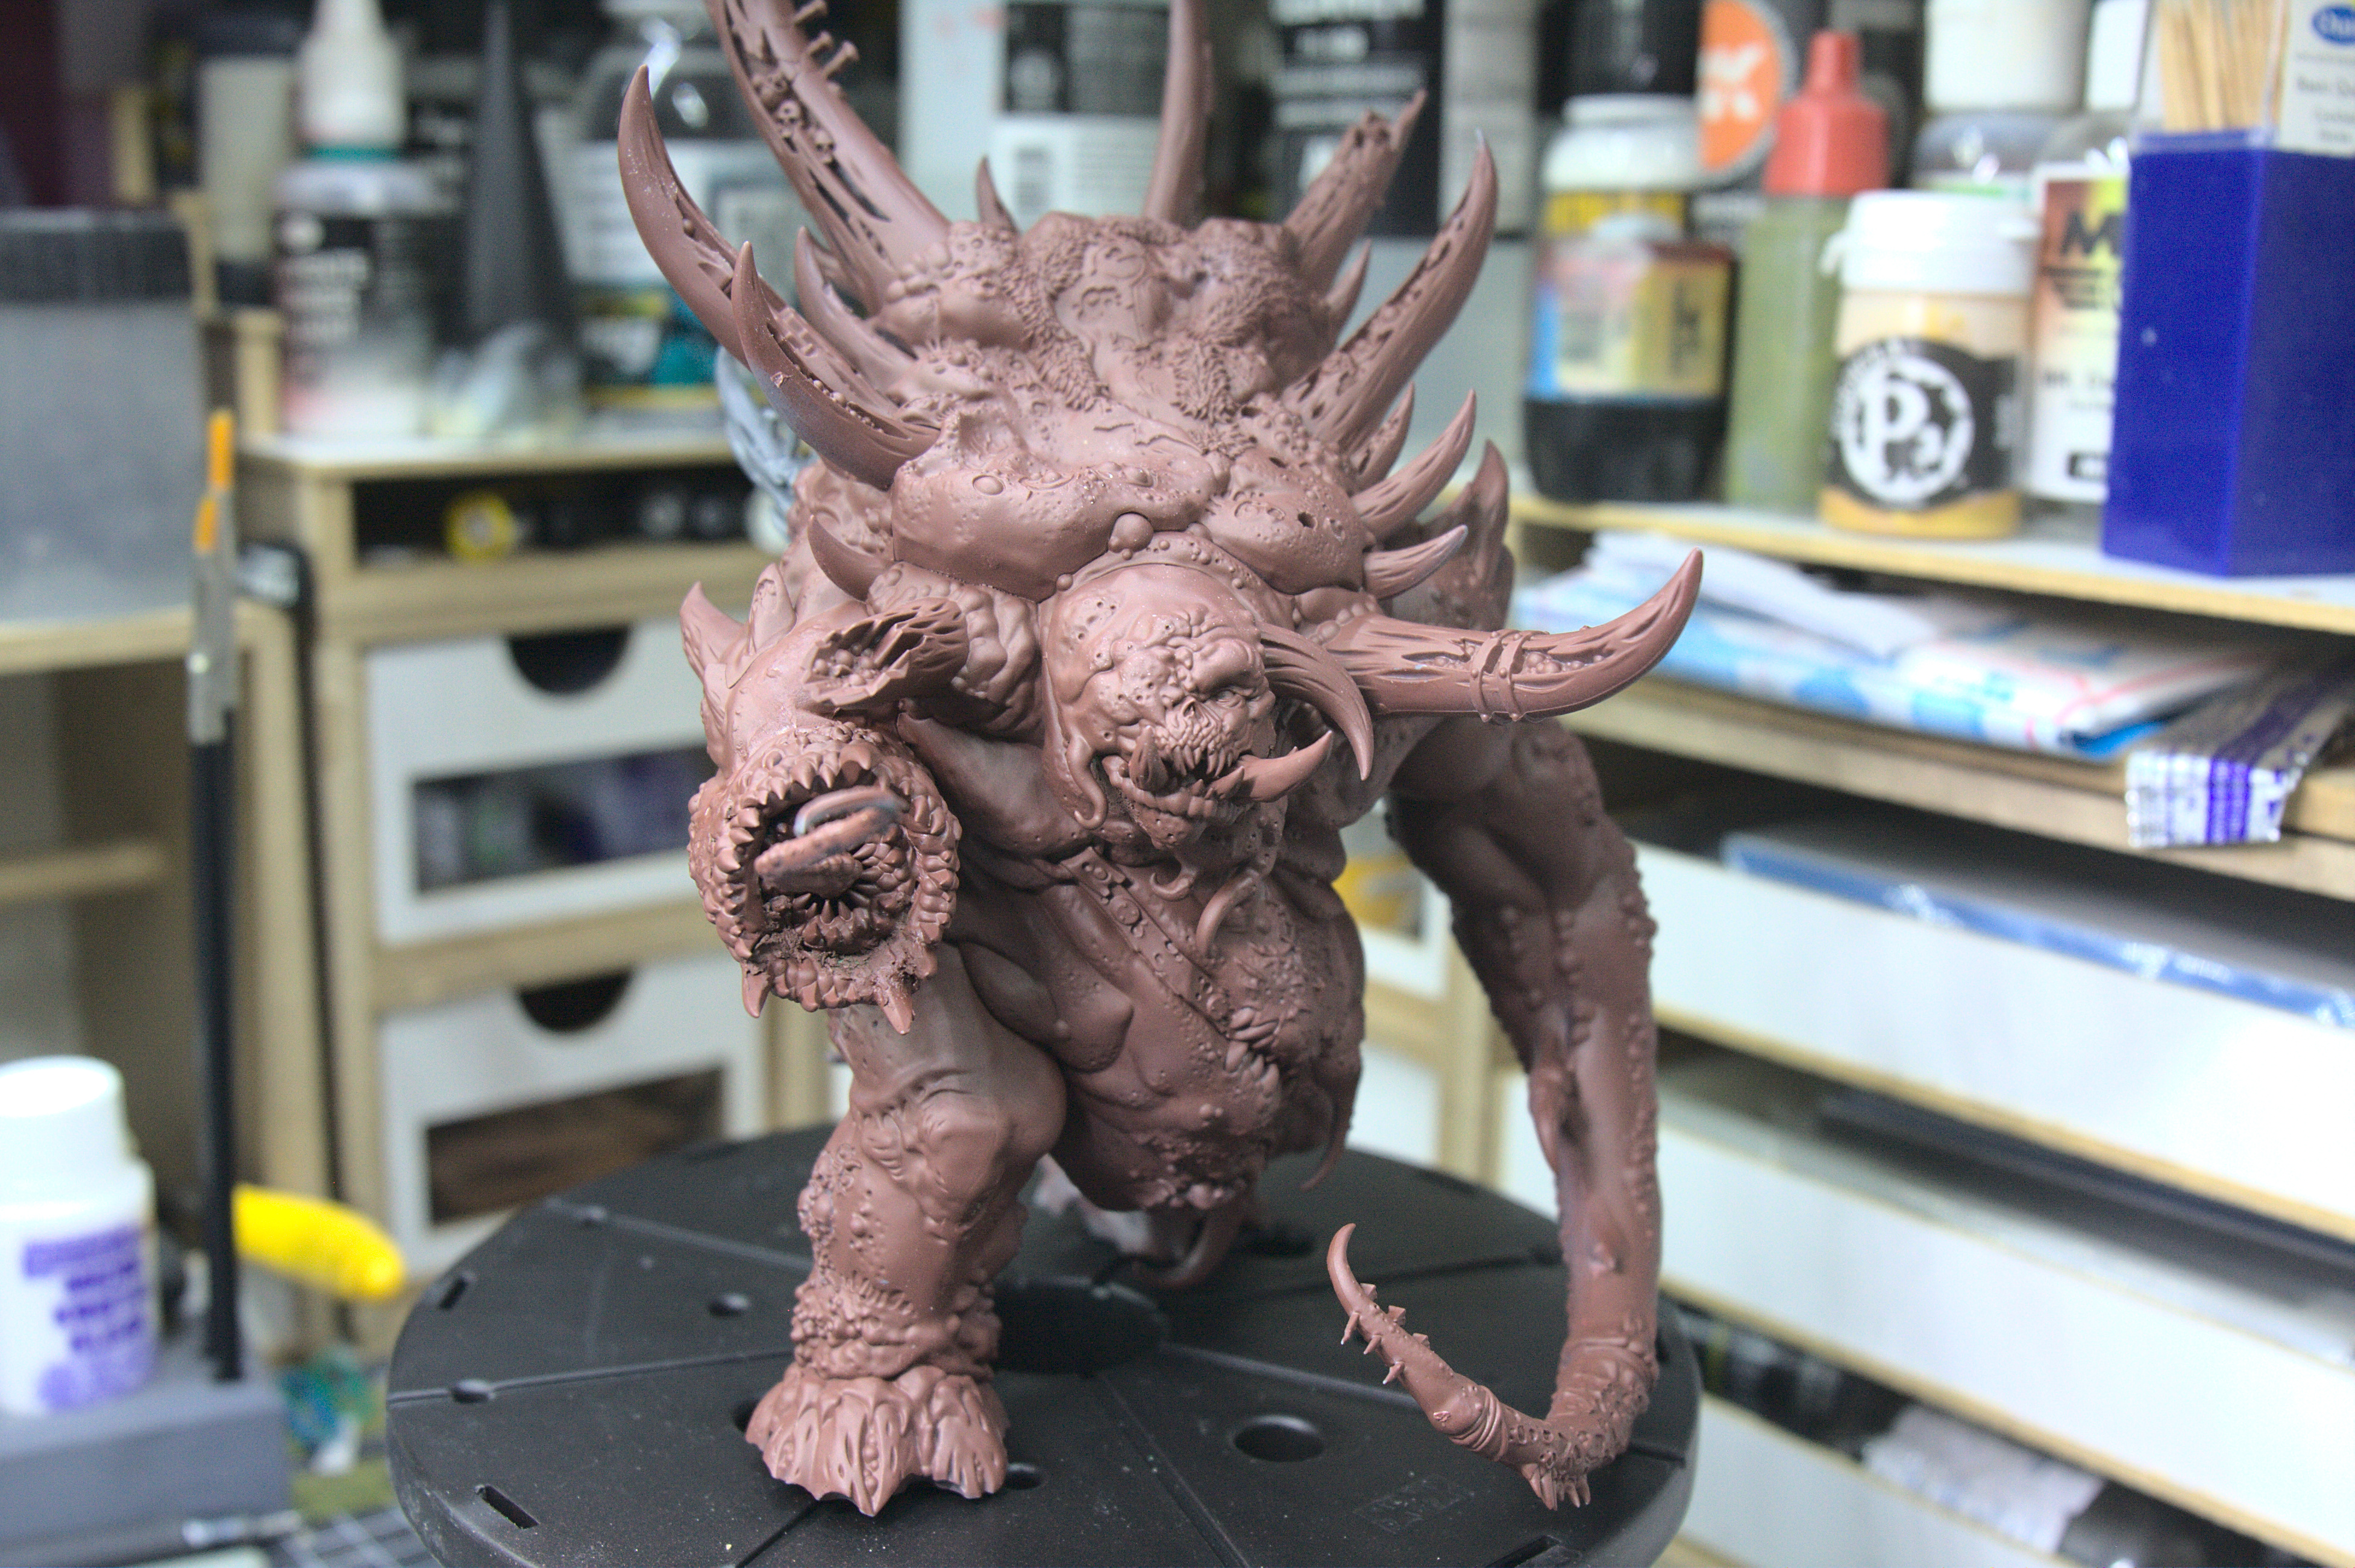
I used vallejo surface primer , the German red brown one, as I think a redish tint to the shade will look good against the green.
I forgot to take any photos, but after I primed, I used grey and white to add zenithal highlights to help with the next step.
As an aside, while I love how Glotkin looks, the kit is a real pain to put together. Took a lot of filler and sanding to get the legs smooth, otherwise you end up with a massive seam right down middle of each leg.
I think it looks OK, you can’t see a seam at the front or back of the legs, so it will do.