![How To Paint Moonstone’s Nanny | Goblin King Games [7 Days Early Access]](https://images.beastsofwar.com/2024/12/3CU-Gobin-King-Games-Moonstone-Shades-Nanny-coverimage-225-127.jpg)


How Manda (Amachan) Makes Her .gifs.


Recommendations: 29
About the Project
This is the my guide on how I make my .gifs. The BIG secrets revealed!!! ?
Related Genre: Game Aid
This Project is Completed
Things you're going to need.
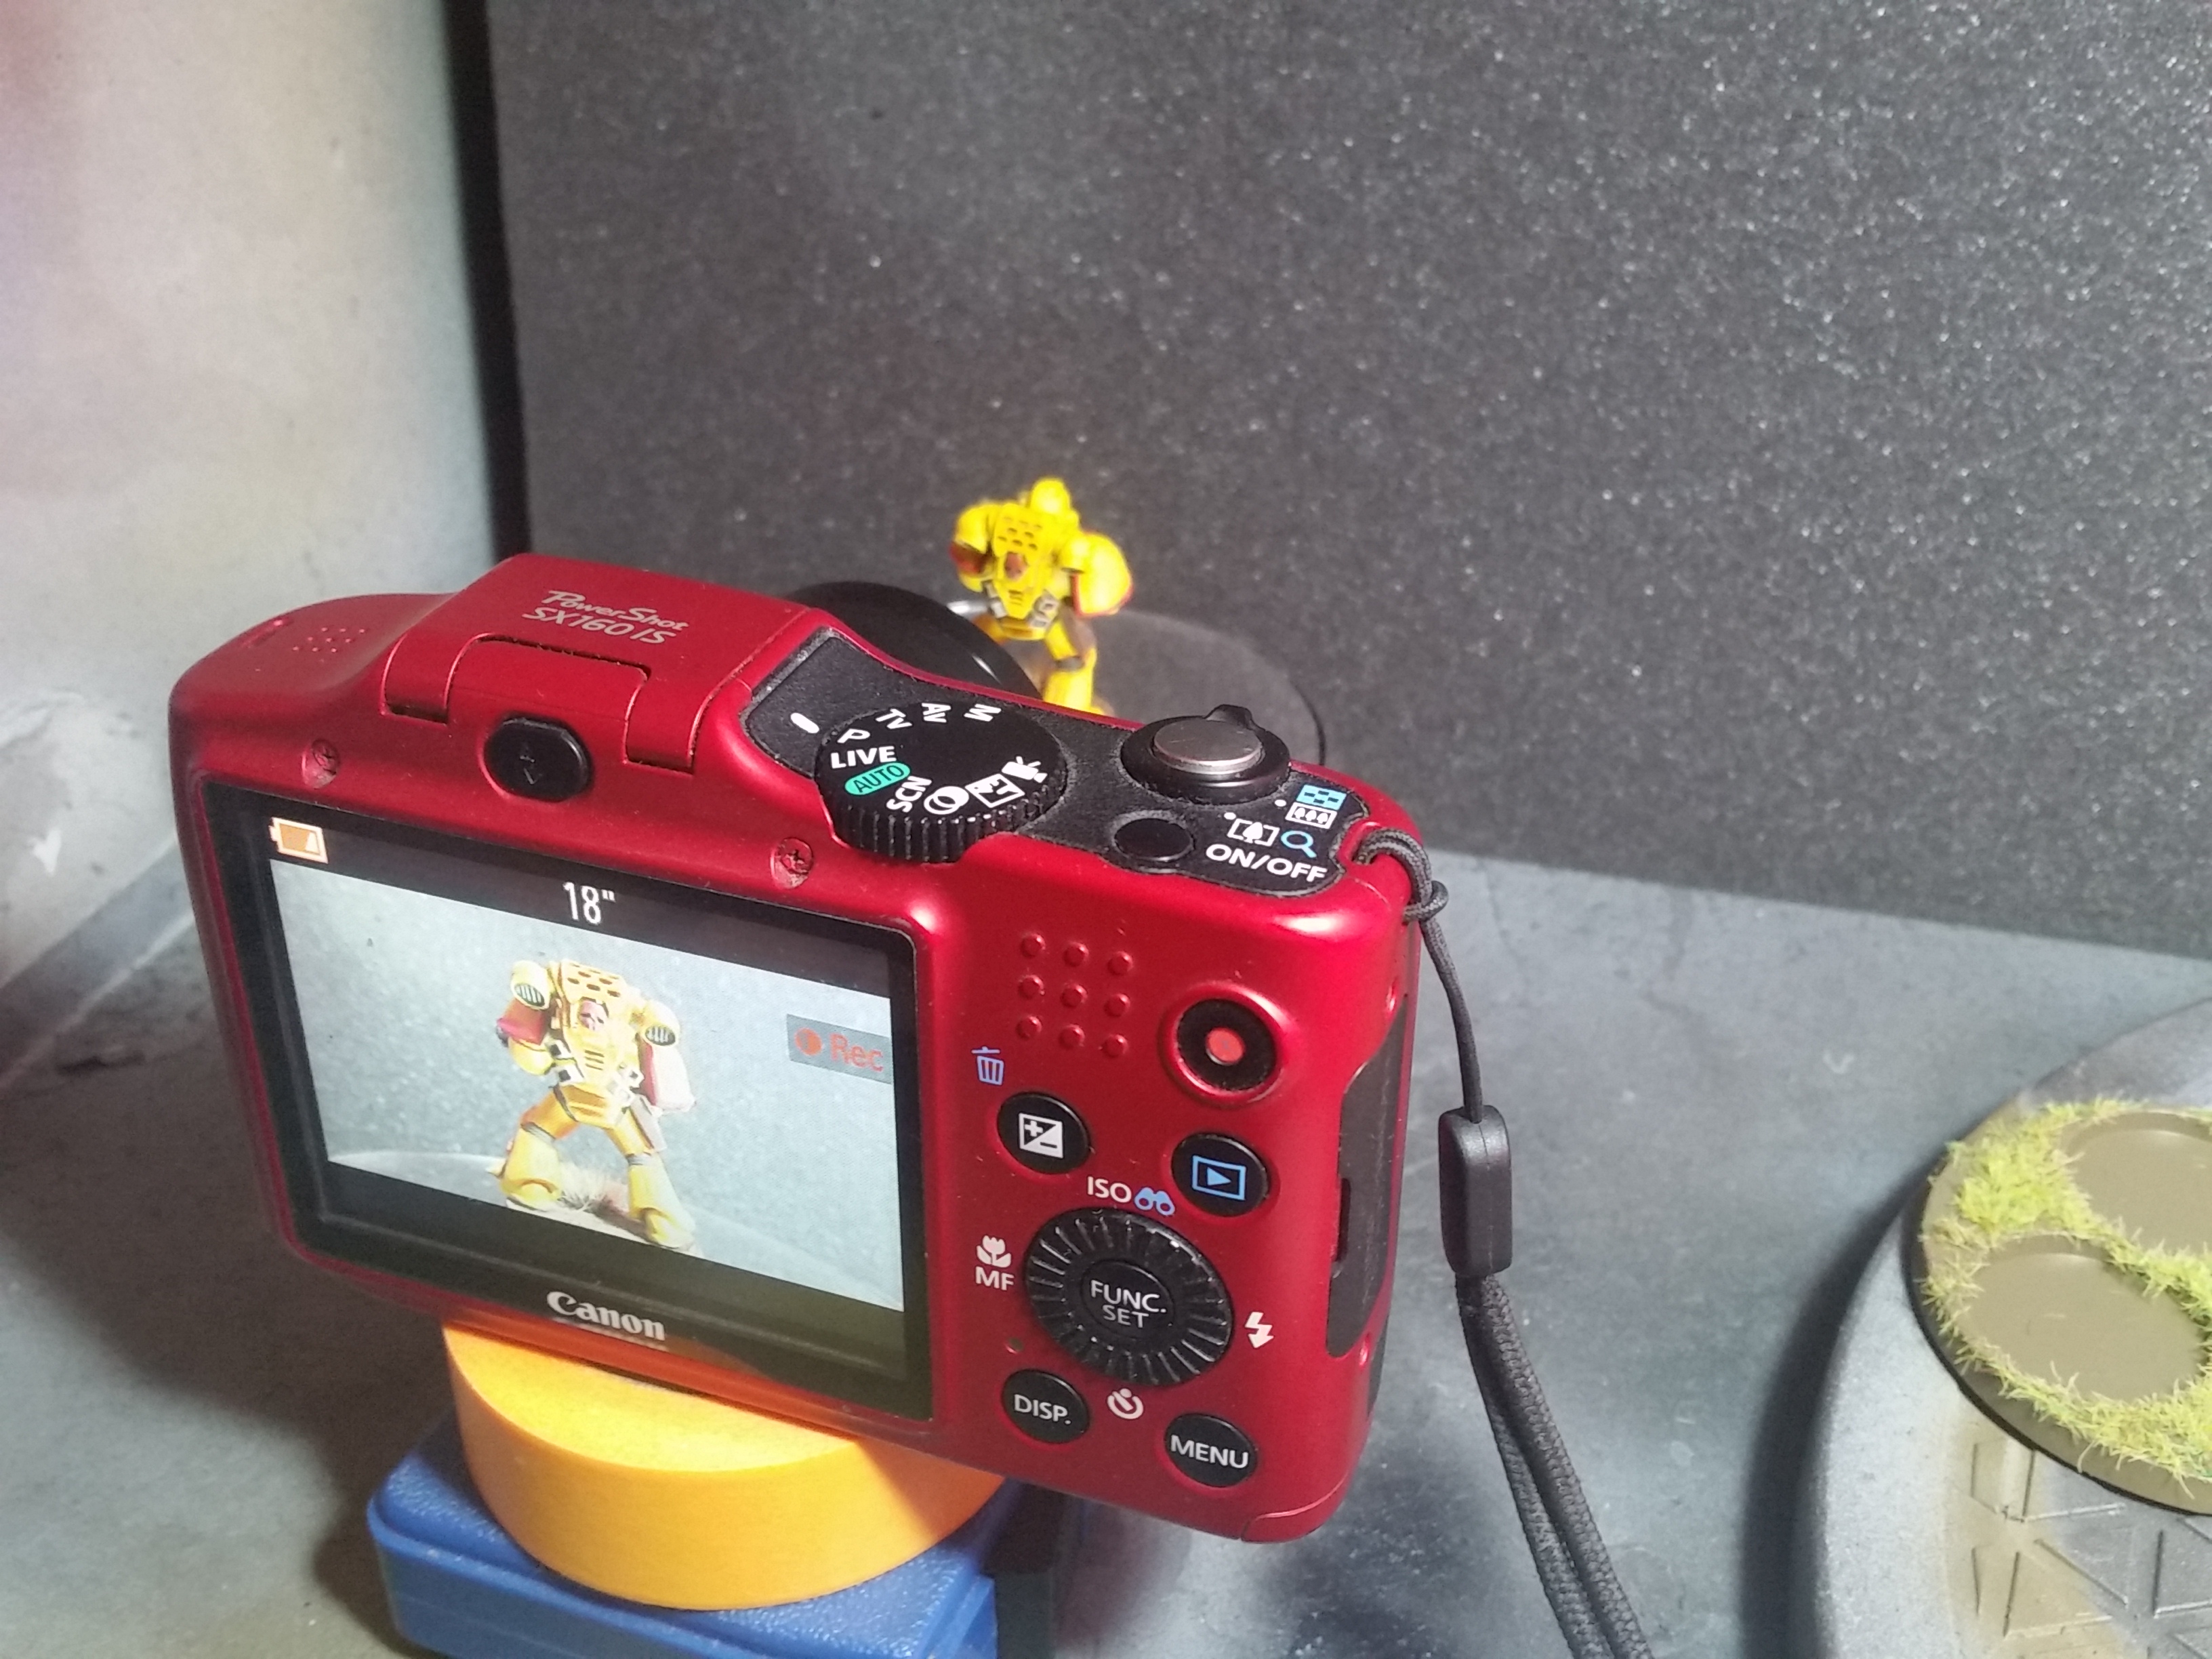
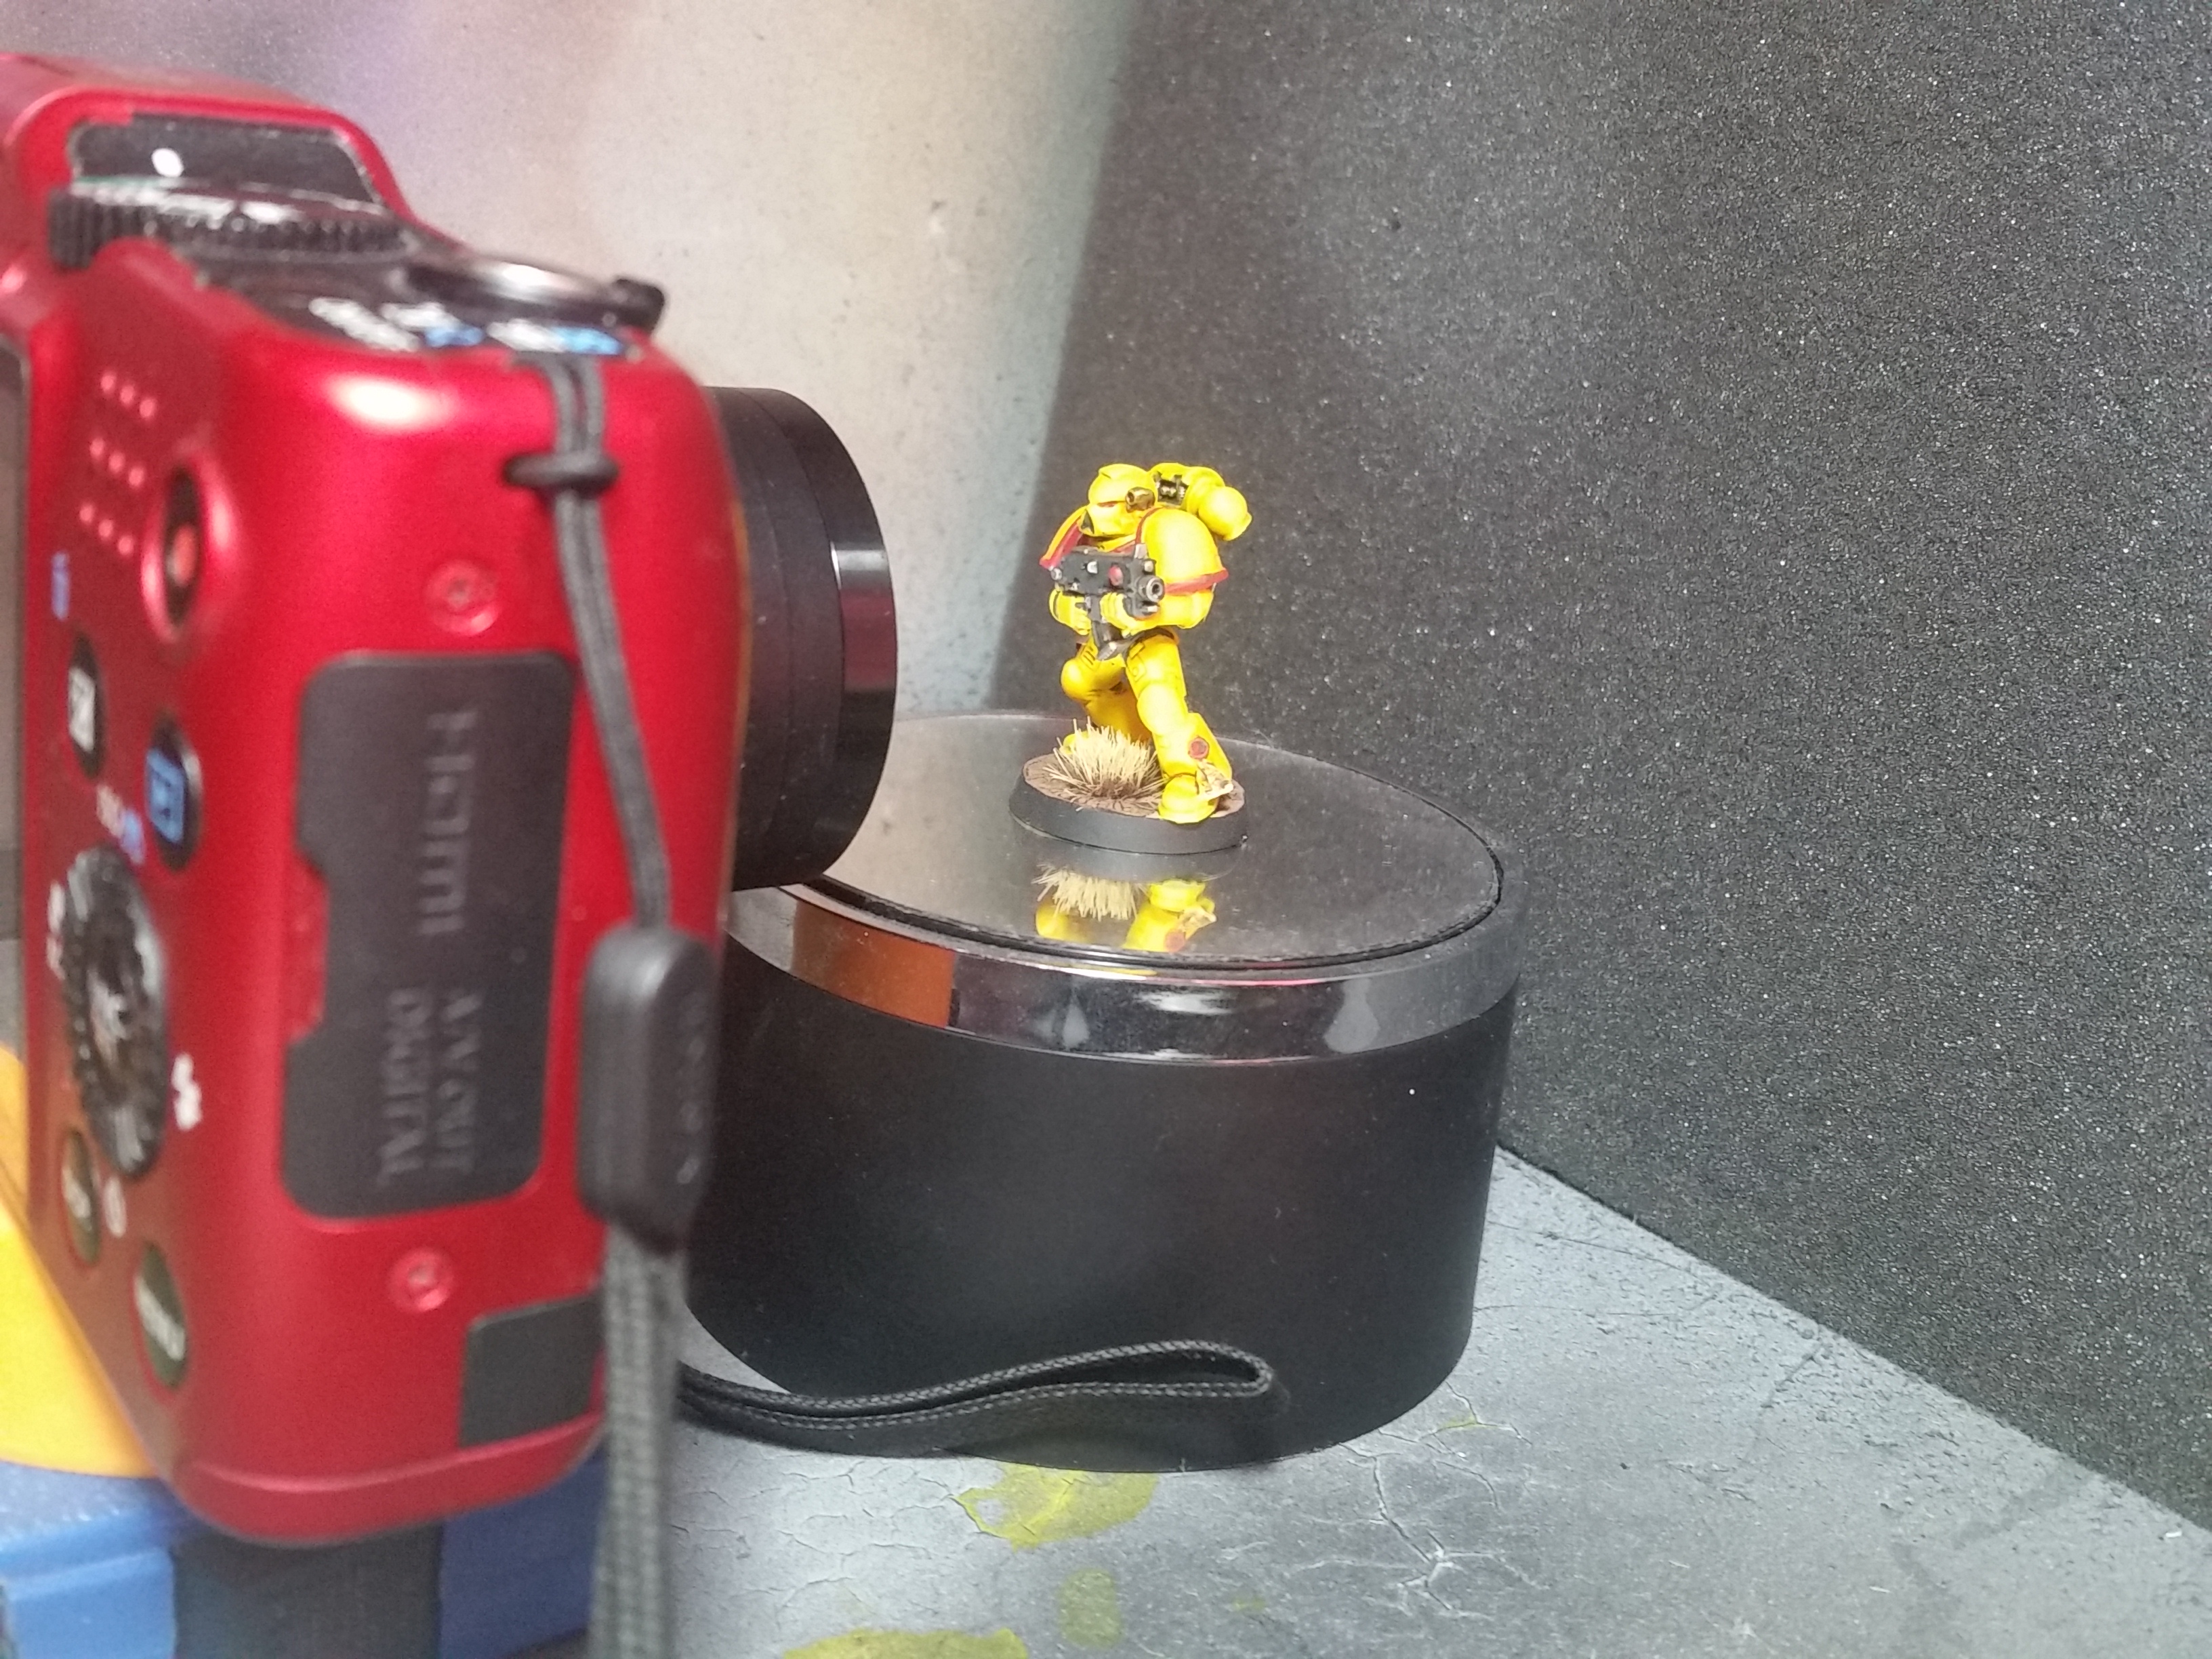
For starters you’re going to need a camera that can record video, most phones nowadays can do this so no need to buy anything in most cases. You will need something to mount your camera on to keep it steady and aimed at the miniature. Next you will need a self rotating turntable to put the miniature on. This will rotate the miniature as you record the video. Next up is video editing software. This can be very basic as all you need to do with it is cut the recorded video to size and render it in .avi format. Other formats might be accepted by the next program, but I have not tested this as such. After that there is a program I use called openAviToGif. Other programs might be available, but this one is open source and free to use unlike my video editing software. Two more things you’re going to need is a PC and a well-lit area for recording.
The things I use:
-
Canon PowerShot SX160 IS
-
Trumpeter Turntable #09830
-
VEGAS Pro 14.0
-
openAviToGif
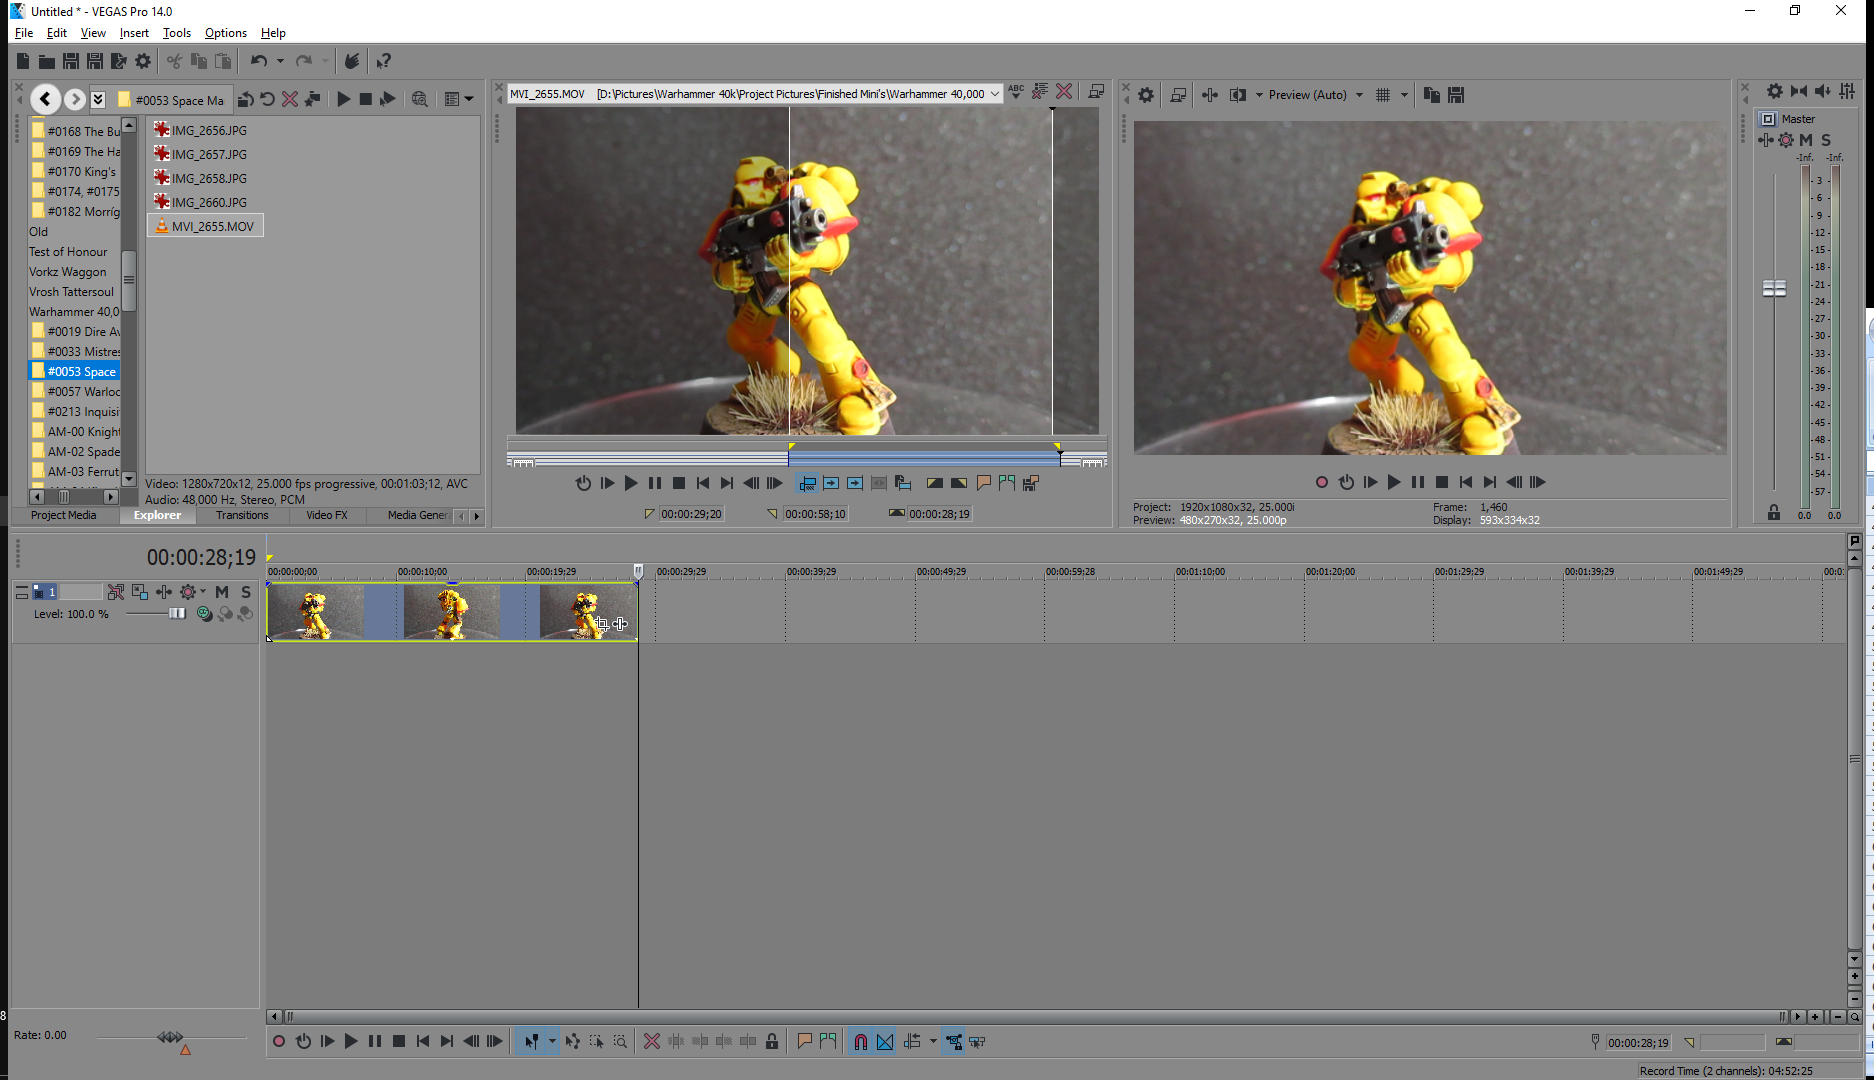
Recording.
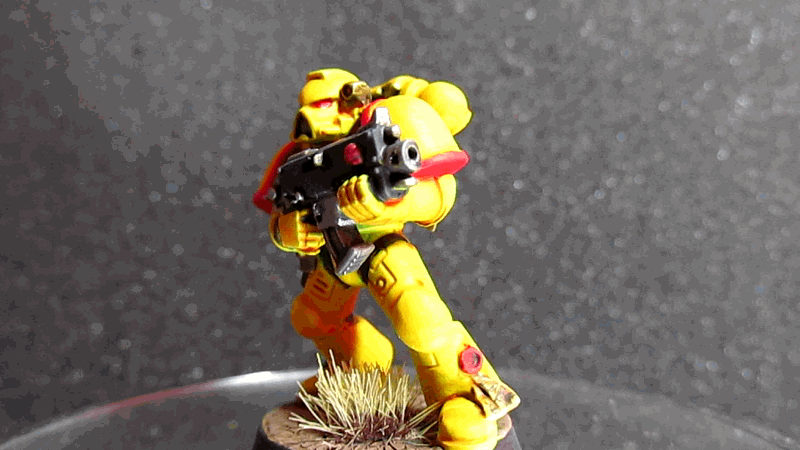
Now we’re going to record the miniature on the turntable. Use something relatively sturdy to hold the camera in place and aimed at the miniature. I’d recommend the use of manual focus. My camera has a feature where it can focus on tiny objects automatically and that works fine too. The background I use here is a simple foam board from one of my carrying bags for my miniatures. This provides a clean and slightly textured backdrop which will help later when we cut the video. I record this basically in my airbrush booth where I have a daylight lamp hanging above. The lamp is not aimed at the miniature, but off to the side aimed at the back of the airbrush booth.
Then we record the miniature rotating on the turntable. I usually record it for slightly more than 2 full rotations.
Cutting the video.
After we transferred the video to our PC, we can now load it into our editing software and start trimming it to size. The textured background here helps to find a point that we can easily identify as a start and finish. So we try to line up the frame to a similar frame further on, this will create one full rotation.
I use VEGAS Pro 14.0, but there are many free and open source programs available that can do this very simple job. It’s just what I happen to have.
 Cutting the video.
After we cut the video we render it into an .avi format. I render it at 720p at 60 frames per second. This definitely overkill as my camera only records at 30 frames per second, but it is just a preset setting that works and I remove the video files after I made the .gif anyway, so space is not an issue either.
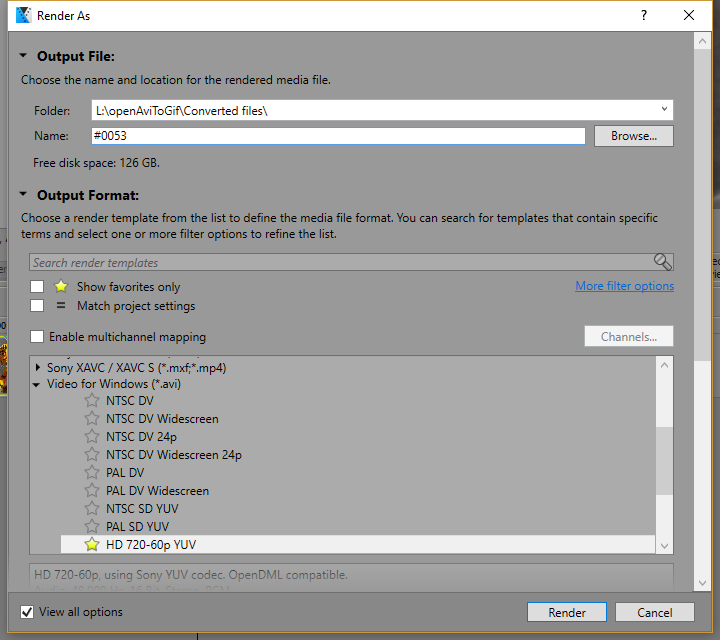 Rendering....
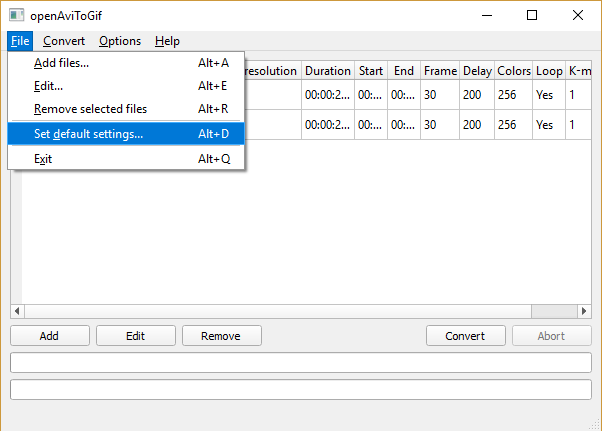
Converting it to a .gif.
When we first open openAviToGif we first need to set the default settings. Setting the default settings will always apply these settings to any file we add. You can always edit the setting for each individual file as required.
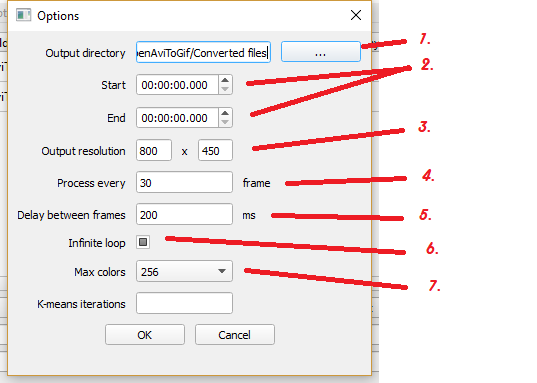
 Default settings.
Now were going to need to set the follwing settings. Displayed are the settings I use for my .gifs.
- Be sure to set the output directory, this is were the converted files will go. I use the same folder as I store the cut video files, but this is not a requirement.
- You can actually set the start and end here to cut the video when making the .gif. I have never used this feature as the visual representation in the video editing software makes it much quicker for me to see where to start and end.
- The resolution of the .gif. Do take into account that a .gif is a compilation of multiple images (like a video but at a far lower frame rate). The larger the resolution you choose the higher detail you will get, but also the file size will increase. Make sure that this is at least smaller or equal to the resolution of the cut video.
- This setting tells the software which frames to put in the .gif. We could set this to 1, but as I rendered a video in 60 frames per second* it will have to convert less than 1800 frames and thus increasing the file size. When setting it to 30 it will process every 30th frame and thus about 60 frames in total.
- This is the time in milliseconds between frames. 200ms works about right for me. With this setting we can speed up or slow down the rotation of the .gif as it will show each frame for this amount of time.
- Make sure “Infinite Loop” is enabled. This will make the .gif play from start after it has finished one rotation and thus makes our miniature spin infinitely.
- .gifs don’t support more than 256 colours for as far as I know, so set this as high as possible to get the best out of your .gifs. More colours is more depth and brings out the model better.
*I selected a render option in 60 frames per second, but since the video is originally in 30 frames per second it might have as well rendered it as such.
 Settings explained.
Now we can drag the .avi files into the main window of the program and press convert to have the program do it’s job.
At the end I find it important to check the .gif and see if it looks okay and also to check it’s file size. My .gifs are usually between 5-8MBs, this file size is important for uploading them to certain websites. Since Beasts of War has always had a 5MB file limit I regularly upload the .gifs to Imgur and then just link them through. You can increase the quality of the .gifs if you don’t care about the file size, but a little warning, the first time I rendered a .gif it was 2.5GBs. After changing the settings I cut it down in size a lot.
The settings I put out is what works for me, you might want to try fiddling with it a bit to find what works best for you.