


Sylvaneth - Painting an Army (Spring Clean)


Part 5 - Finale - Basing
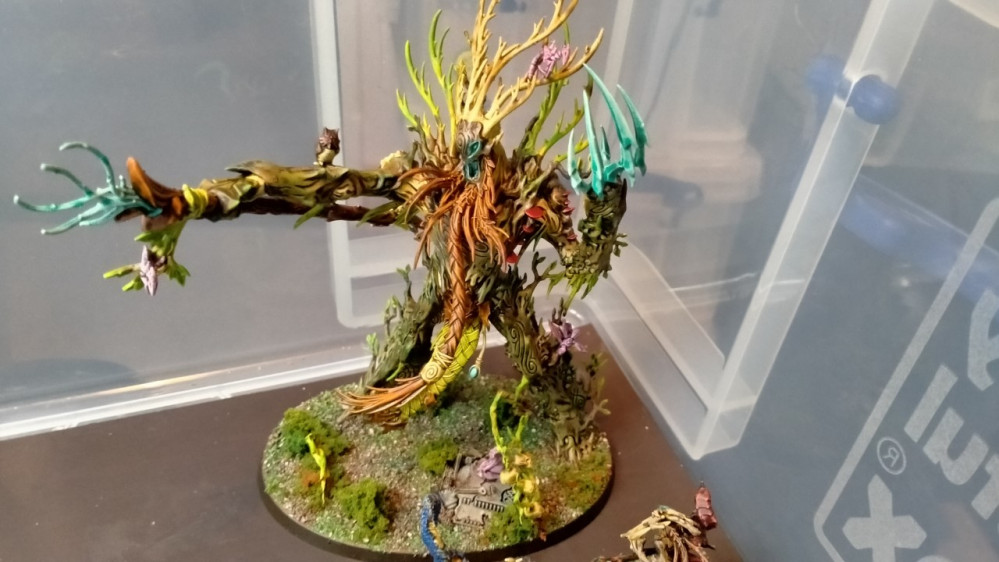
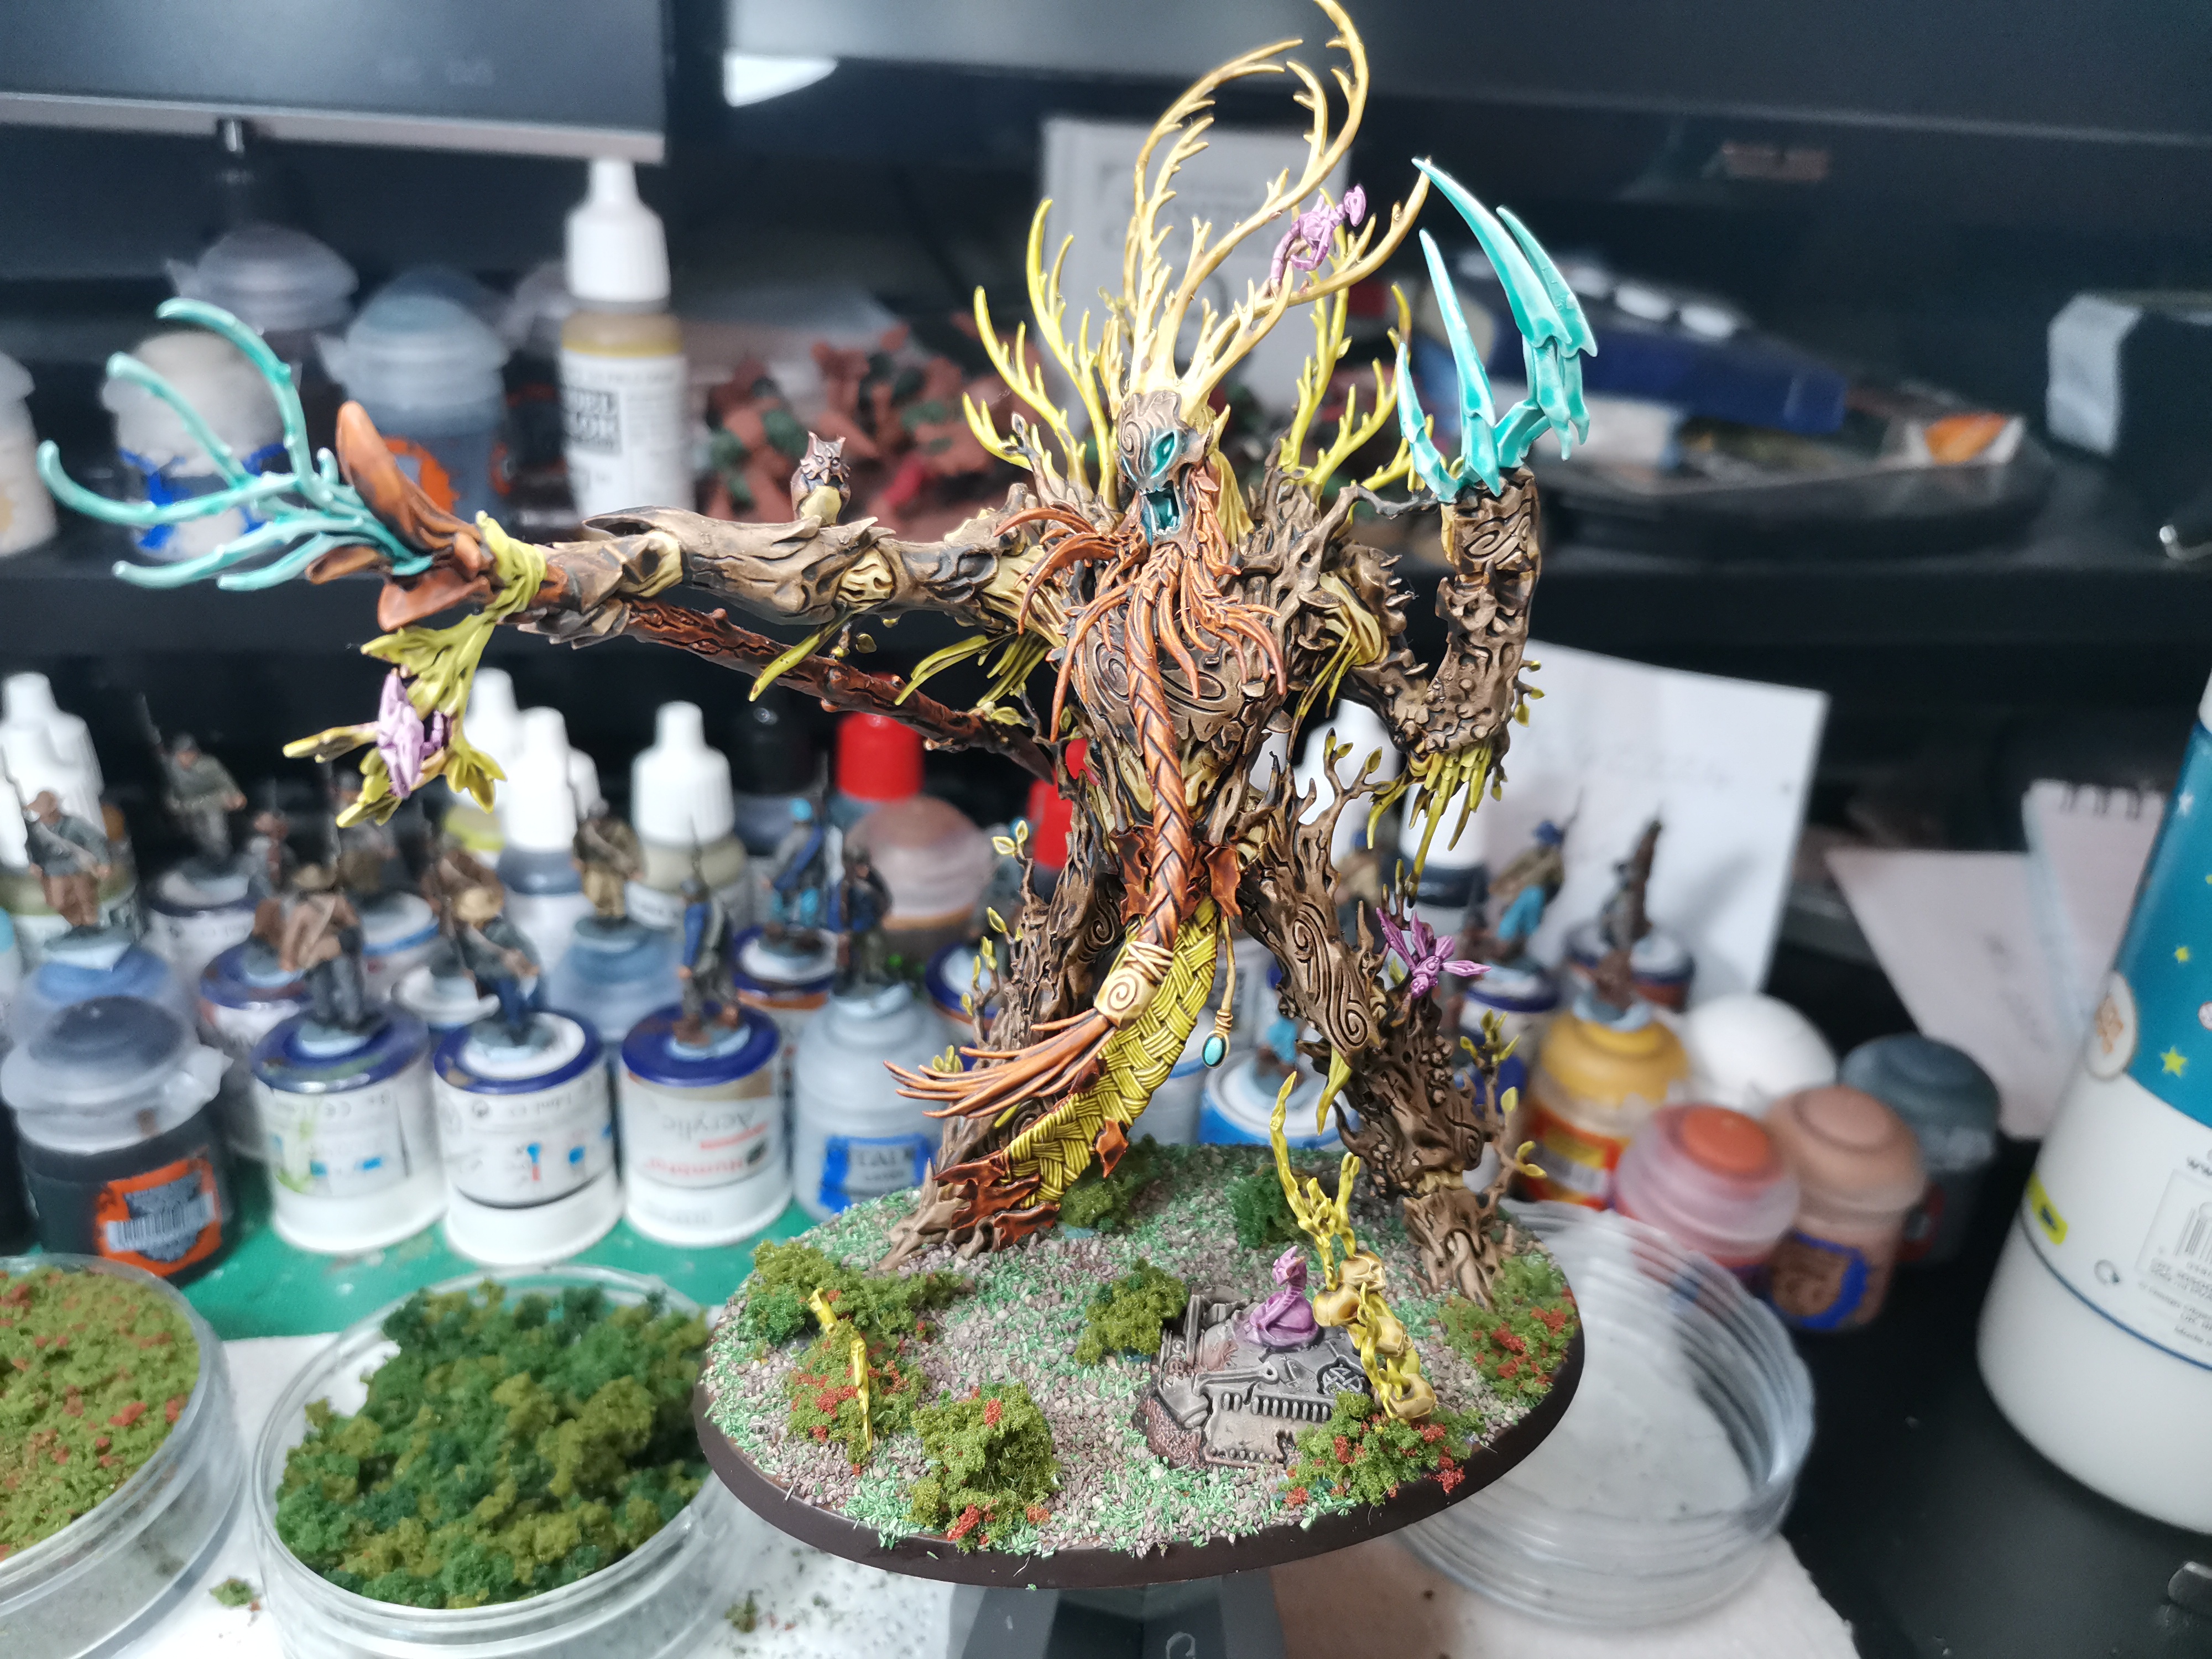
 The Dryads and Treebeards brother are looking not to shabby, even my photography got better as the prokect went on. The final step is the base. As I outlined at the beginning of the project I wanted to create a vibrant, loamy forest floor.
 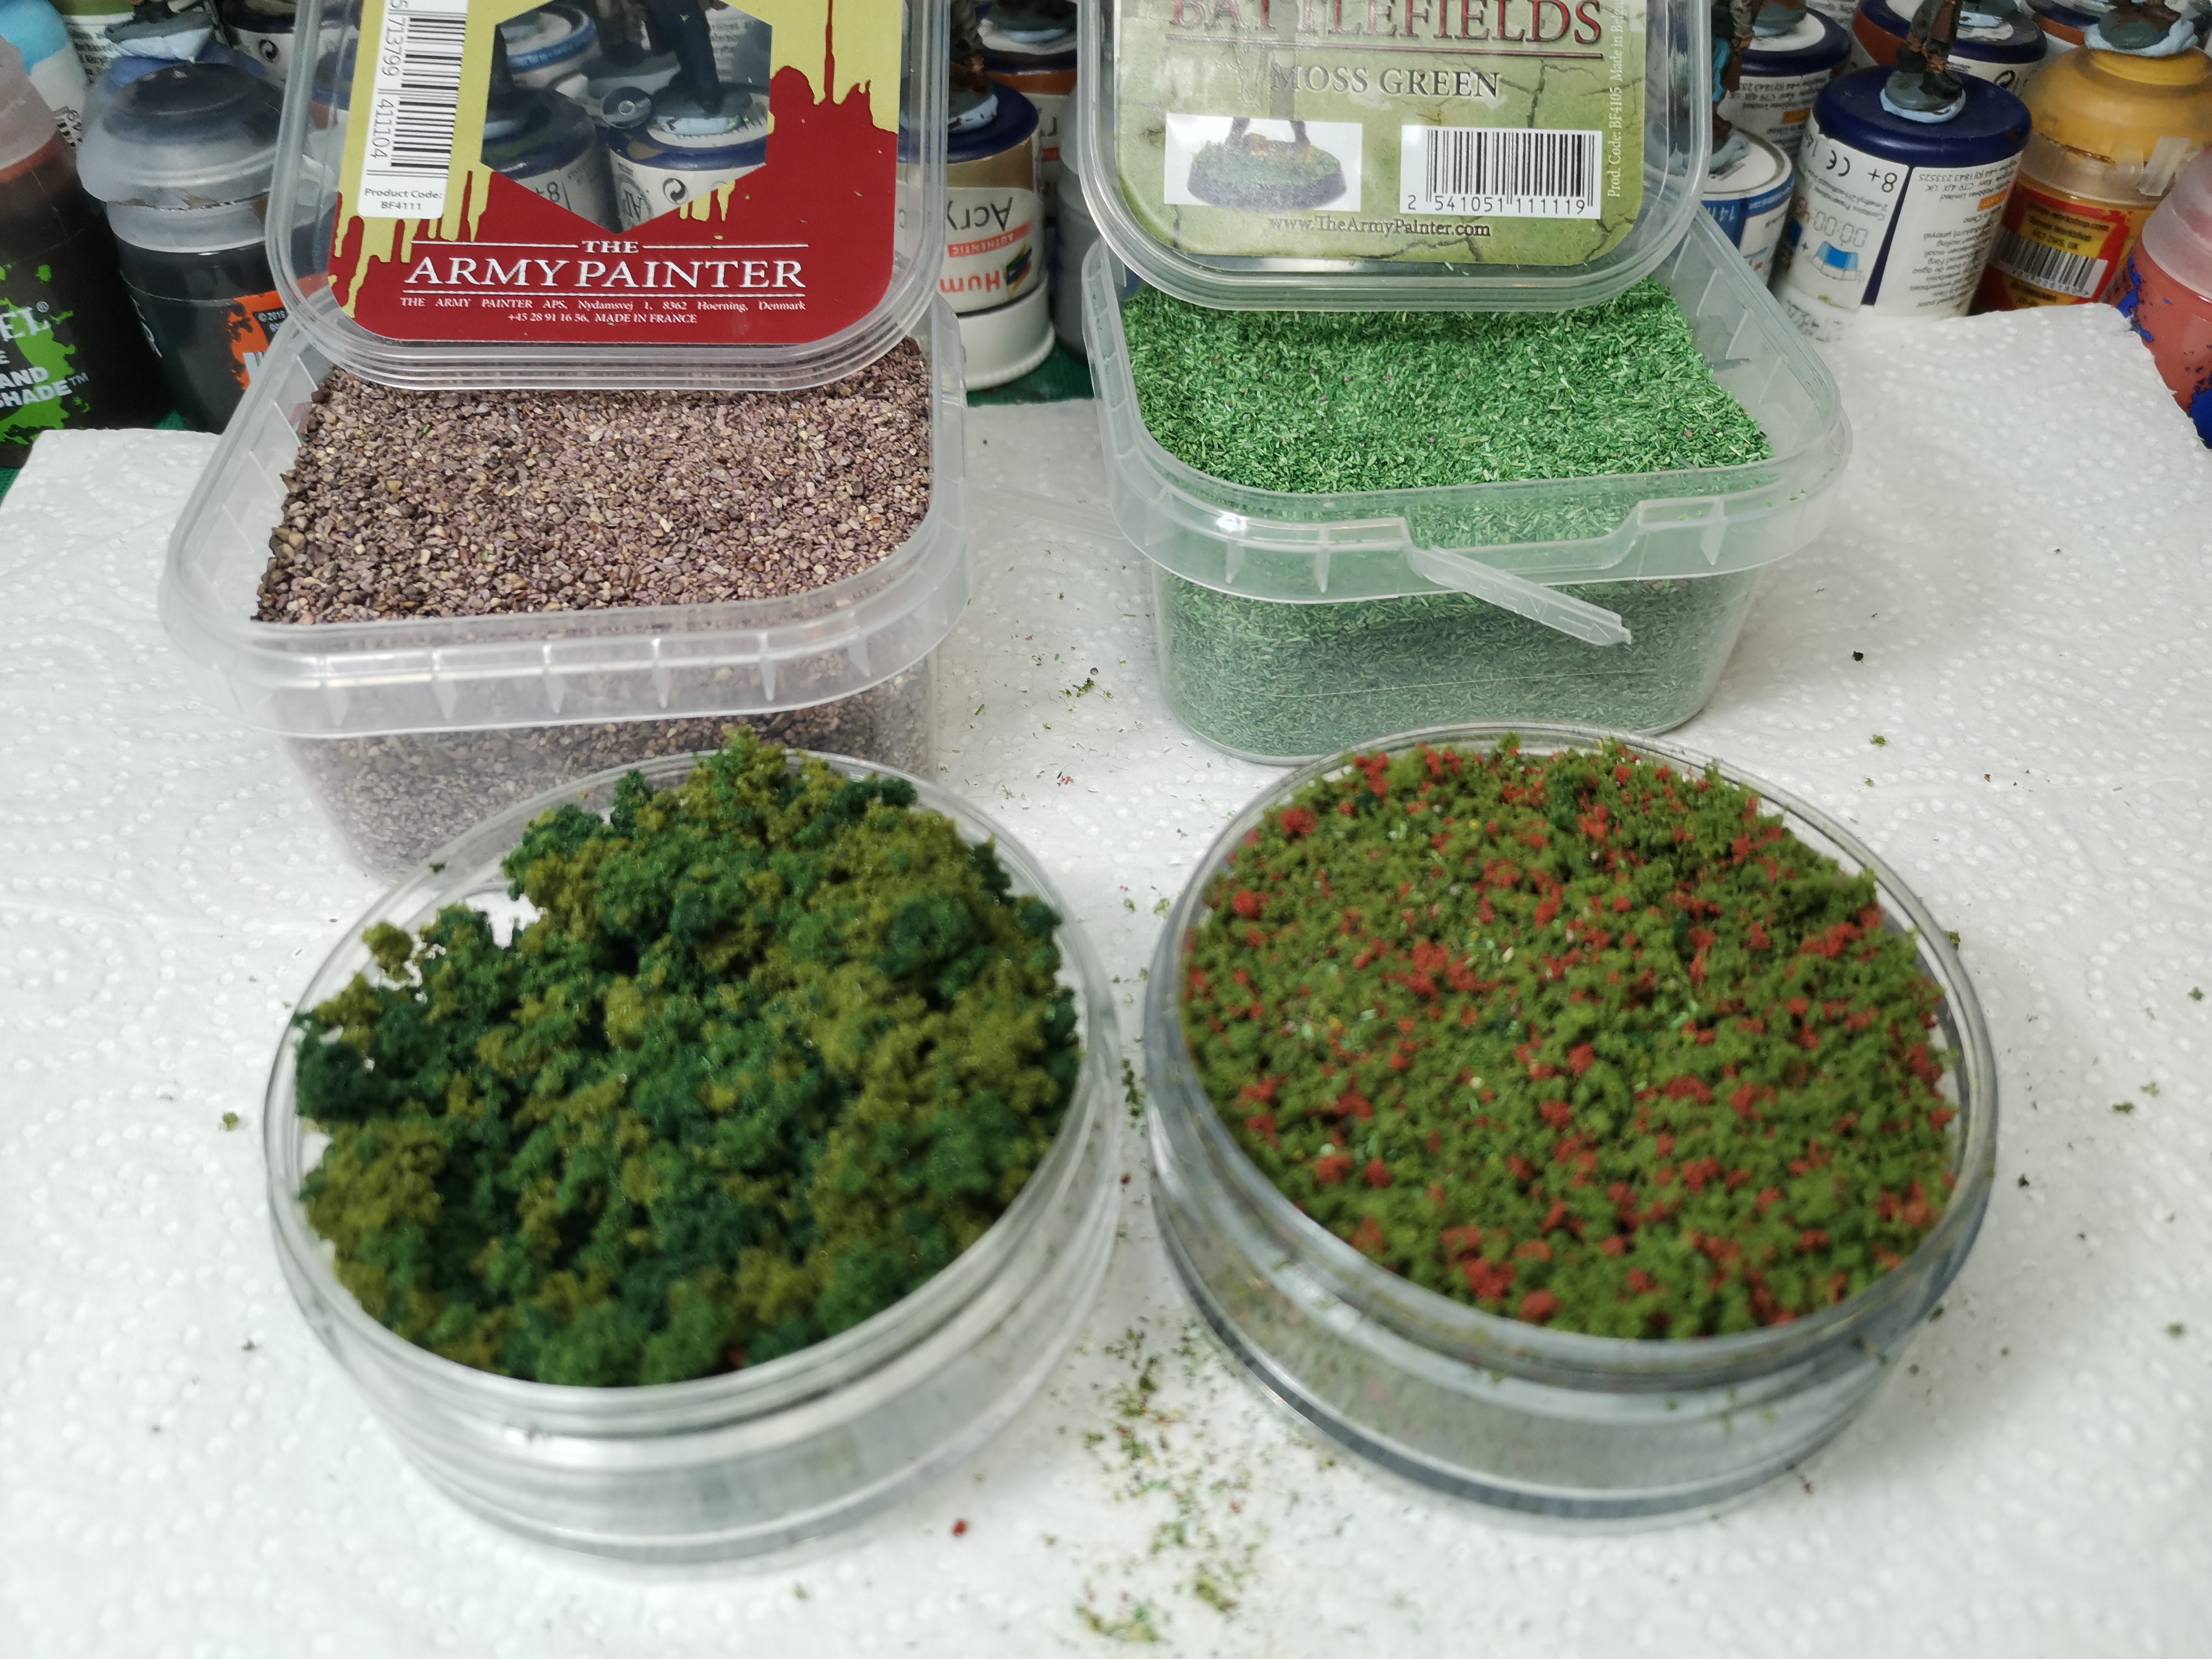 These are the products I will use, the grit and the grass I experimented with in my American Civil War project and liked the effect and also for a change I enjoyed the process in making the bases.
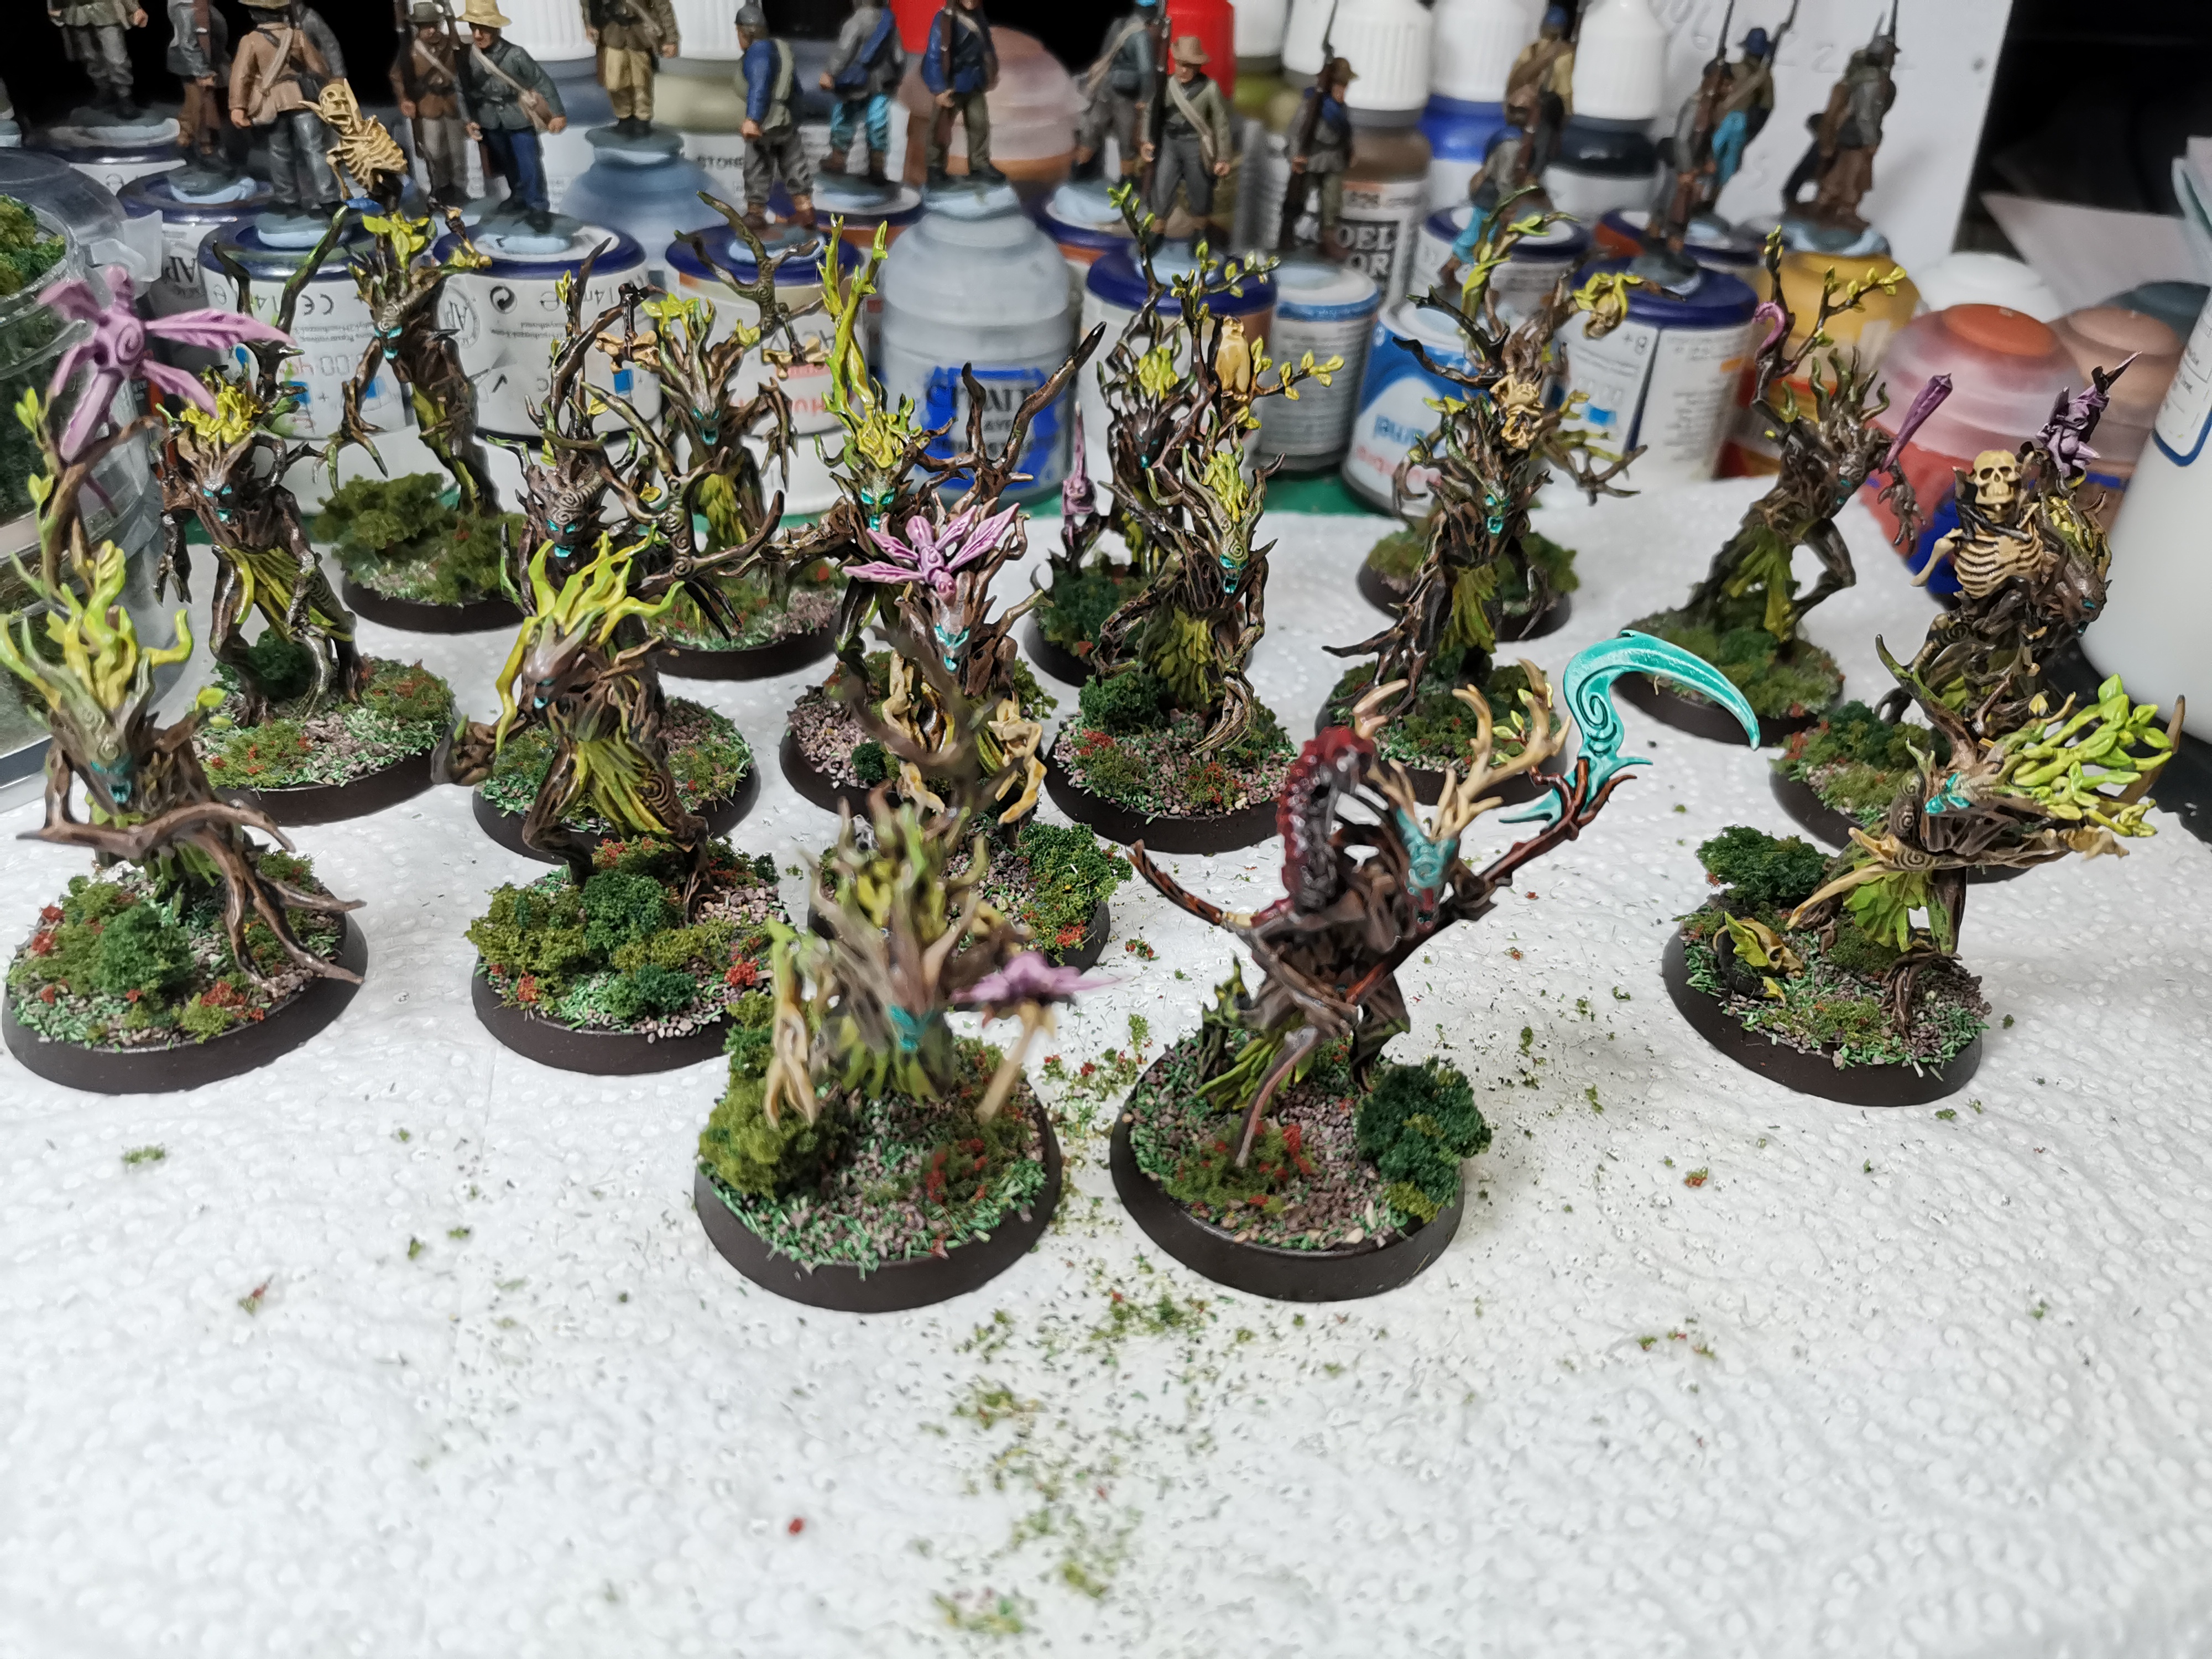
The method for basing is fairly simple so I’ll just list what I did in order of application:
Paint the base brown to help hide gaps that may be cause.
Cover the base in PVA Glue, I’d recommend watering it down slightly – I’ve had problems when applying pva thickly.
Sprinkle grass, it’s to your preference but I added less grass than grit as more green will be added later.
Sprinkle the grit to cover the rest of the base, do it second as it settle better among the grass and the grass itself looks more like it is growing through the dirt rather than sitting on it.
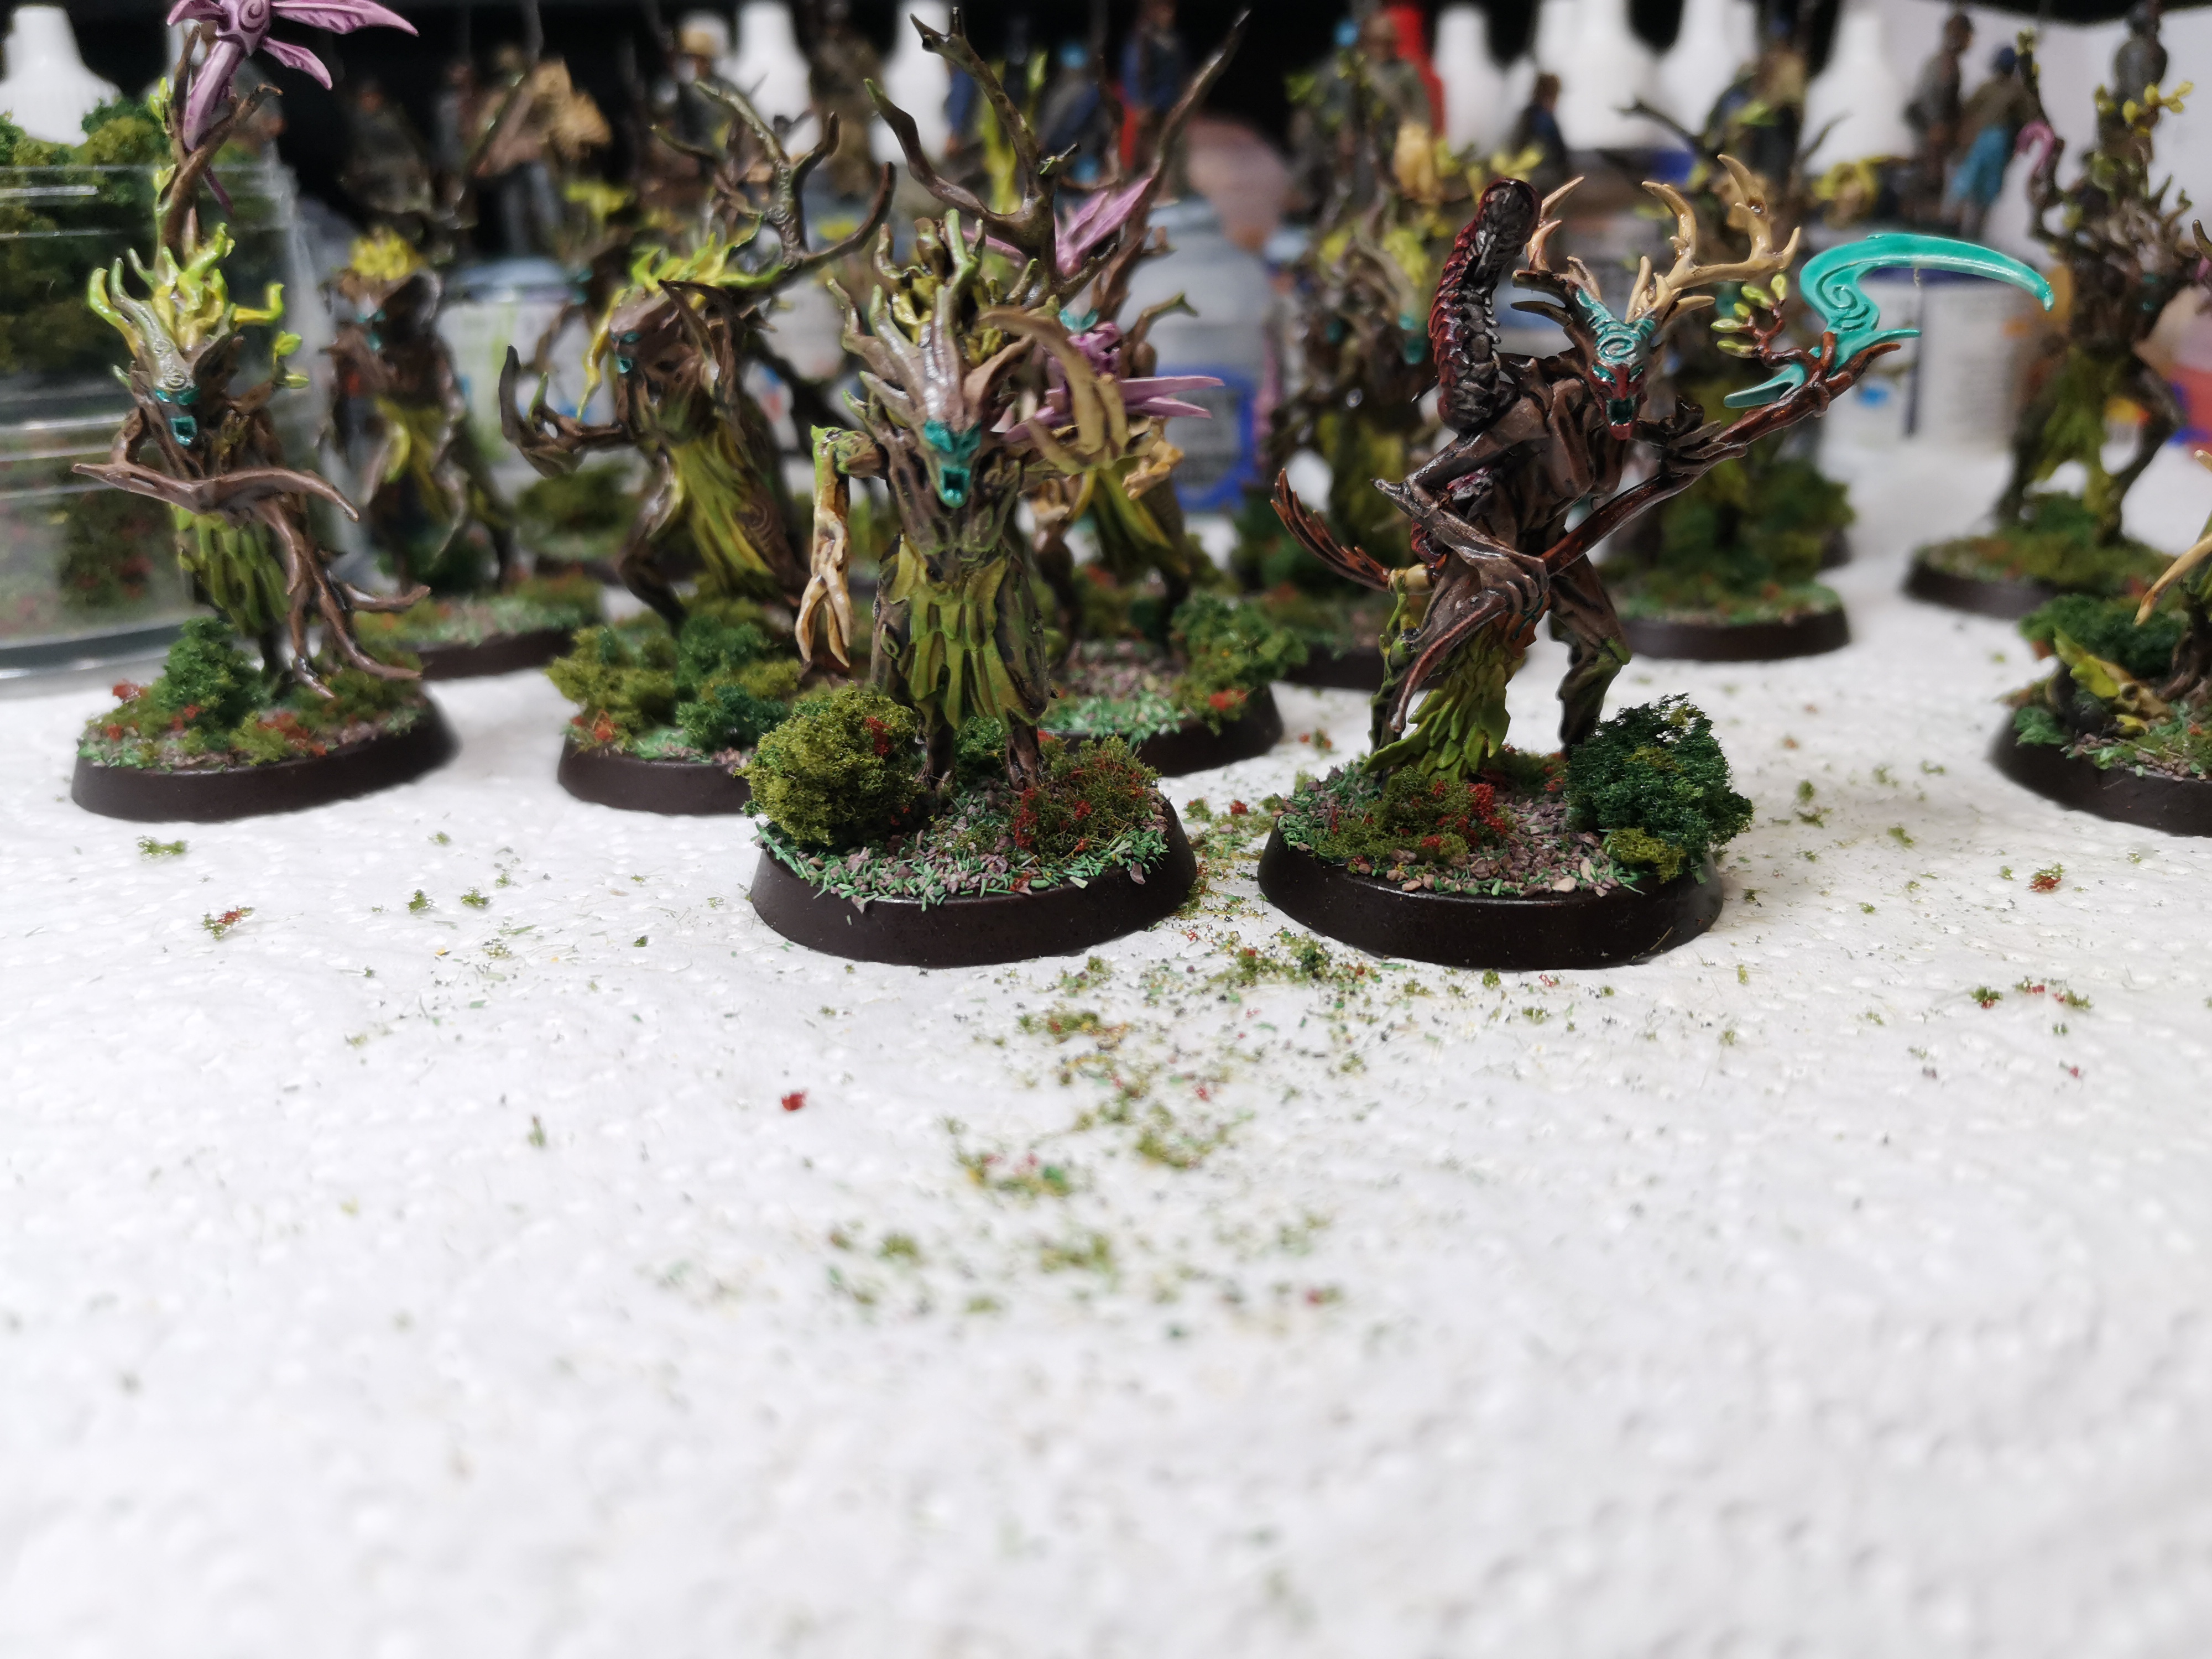
Next use super glue to add the clumps and the mossy grass with the red flowers. Let it settle and gently tease away any loose pieces and add more if needed – broad headed tweezers were great for adding the clumps to the super glue.
The rim is painted a darker brown…
Once the glues have fully dried I add a little pva glue to a disposable spray bottle I bought on amazon and heavily diluted it with water. I spray this over the base. The rest of the mini will get drenched with this but it will dry clear and leave no marks.
The final step is waiting for all this to dry and end with a matt varnish.
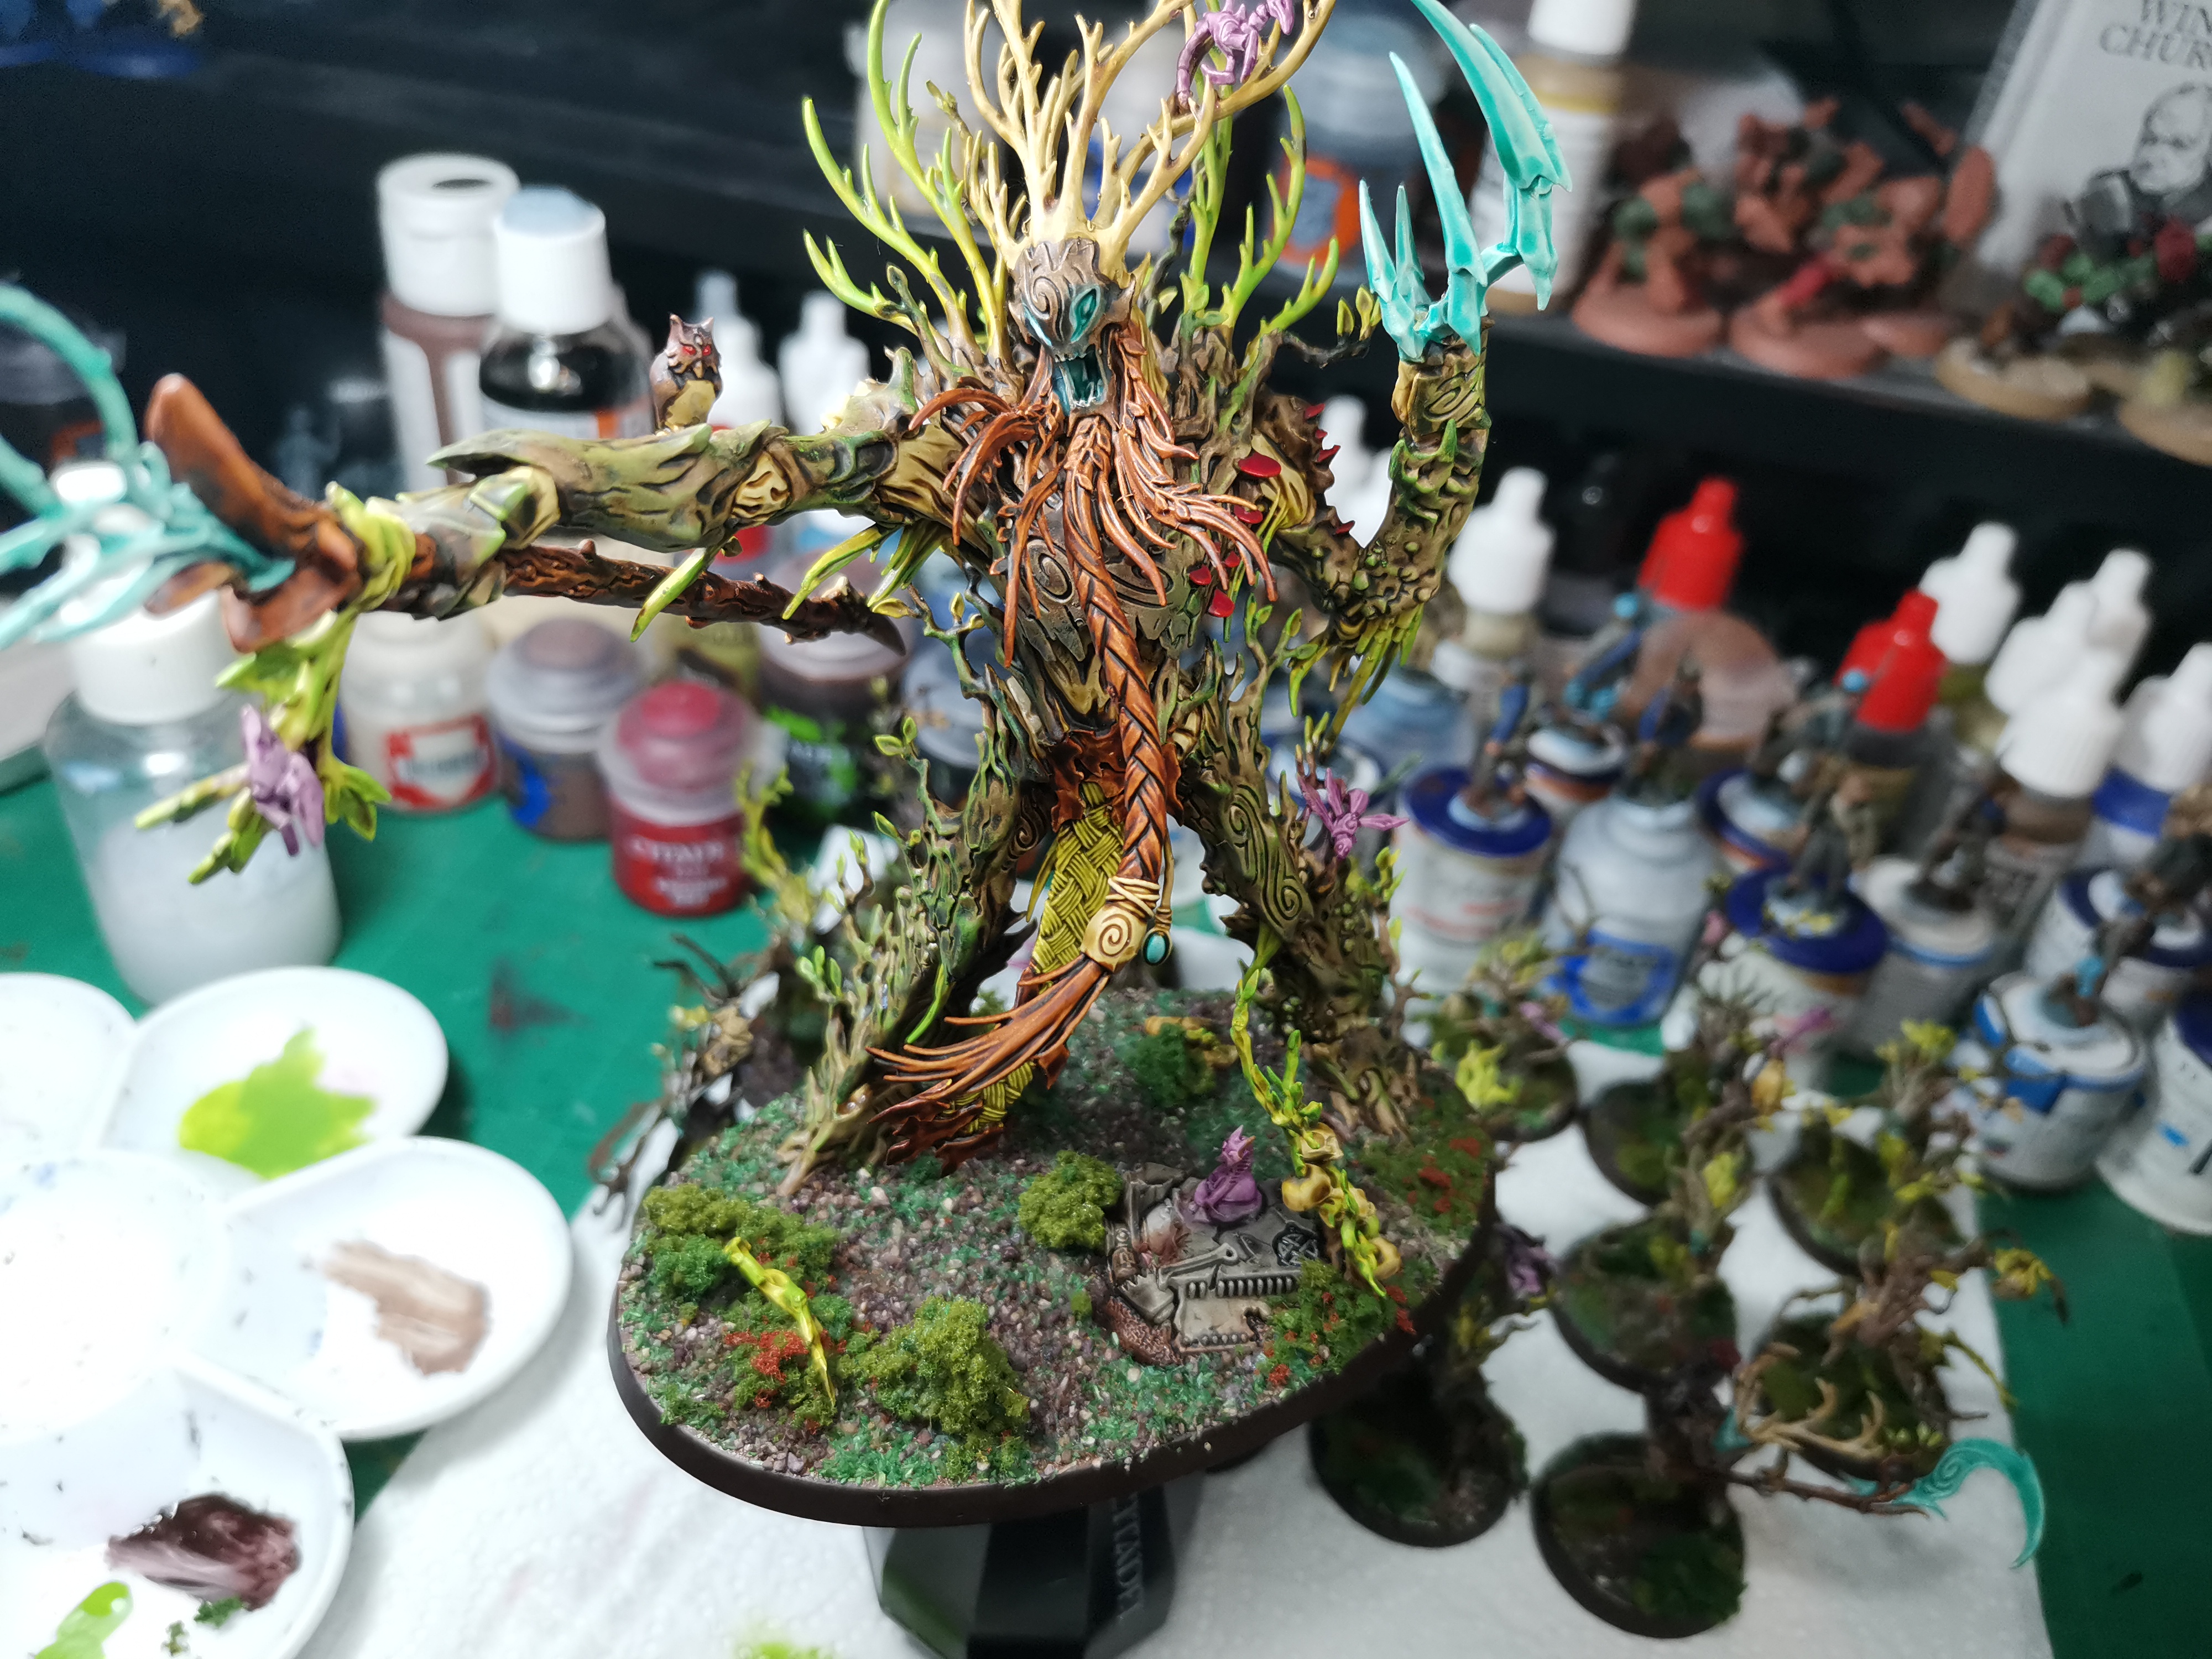
 Well that's the end of that. The project was spread over a wide period of time but that was more to do with me and my distractions. The scheme is actually very time effect and a couple hours over a couple days can see these brought to completion at a decent level. I'm suprised how these came out and the base definitely brought it all together. The way I recommend the Satin Varnish, the PVA spray over the base and the matt varnish at the end will leave these minis as well protected as possible, considering the dryads shape and the contrast paint seeming to be more easily chiped. I'll continue to do this for the rest of my Sylvaneth, I'll probably update this project everytime I paint new models, I have Kurnoth Hunters which should be on this project...... at somepoint.


Leave a Reply