


![How To Paint Moonstone’s Nanny | Goblin King Games [7 Days Early Access]](https://images.beastsofwar.com/2024/12/3CU-Gobin-King-Games-Moonstone-Shades-Nanny-coverimage-225-127.jpg)


Adventures in Airbrushing


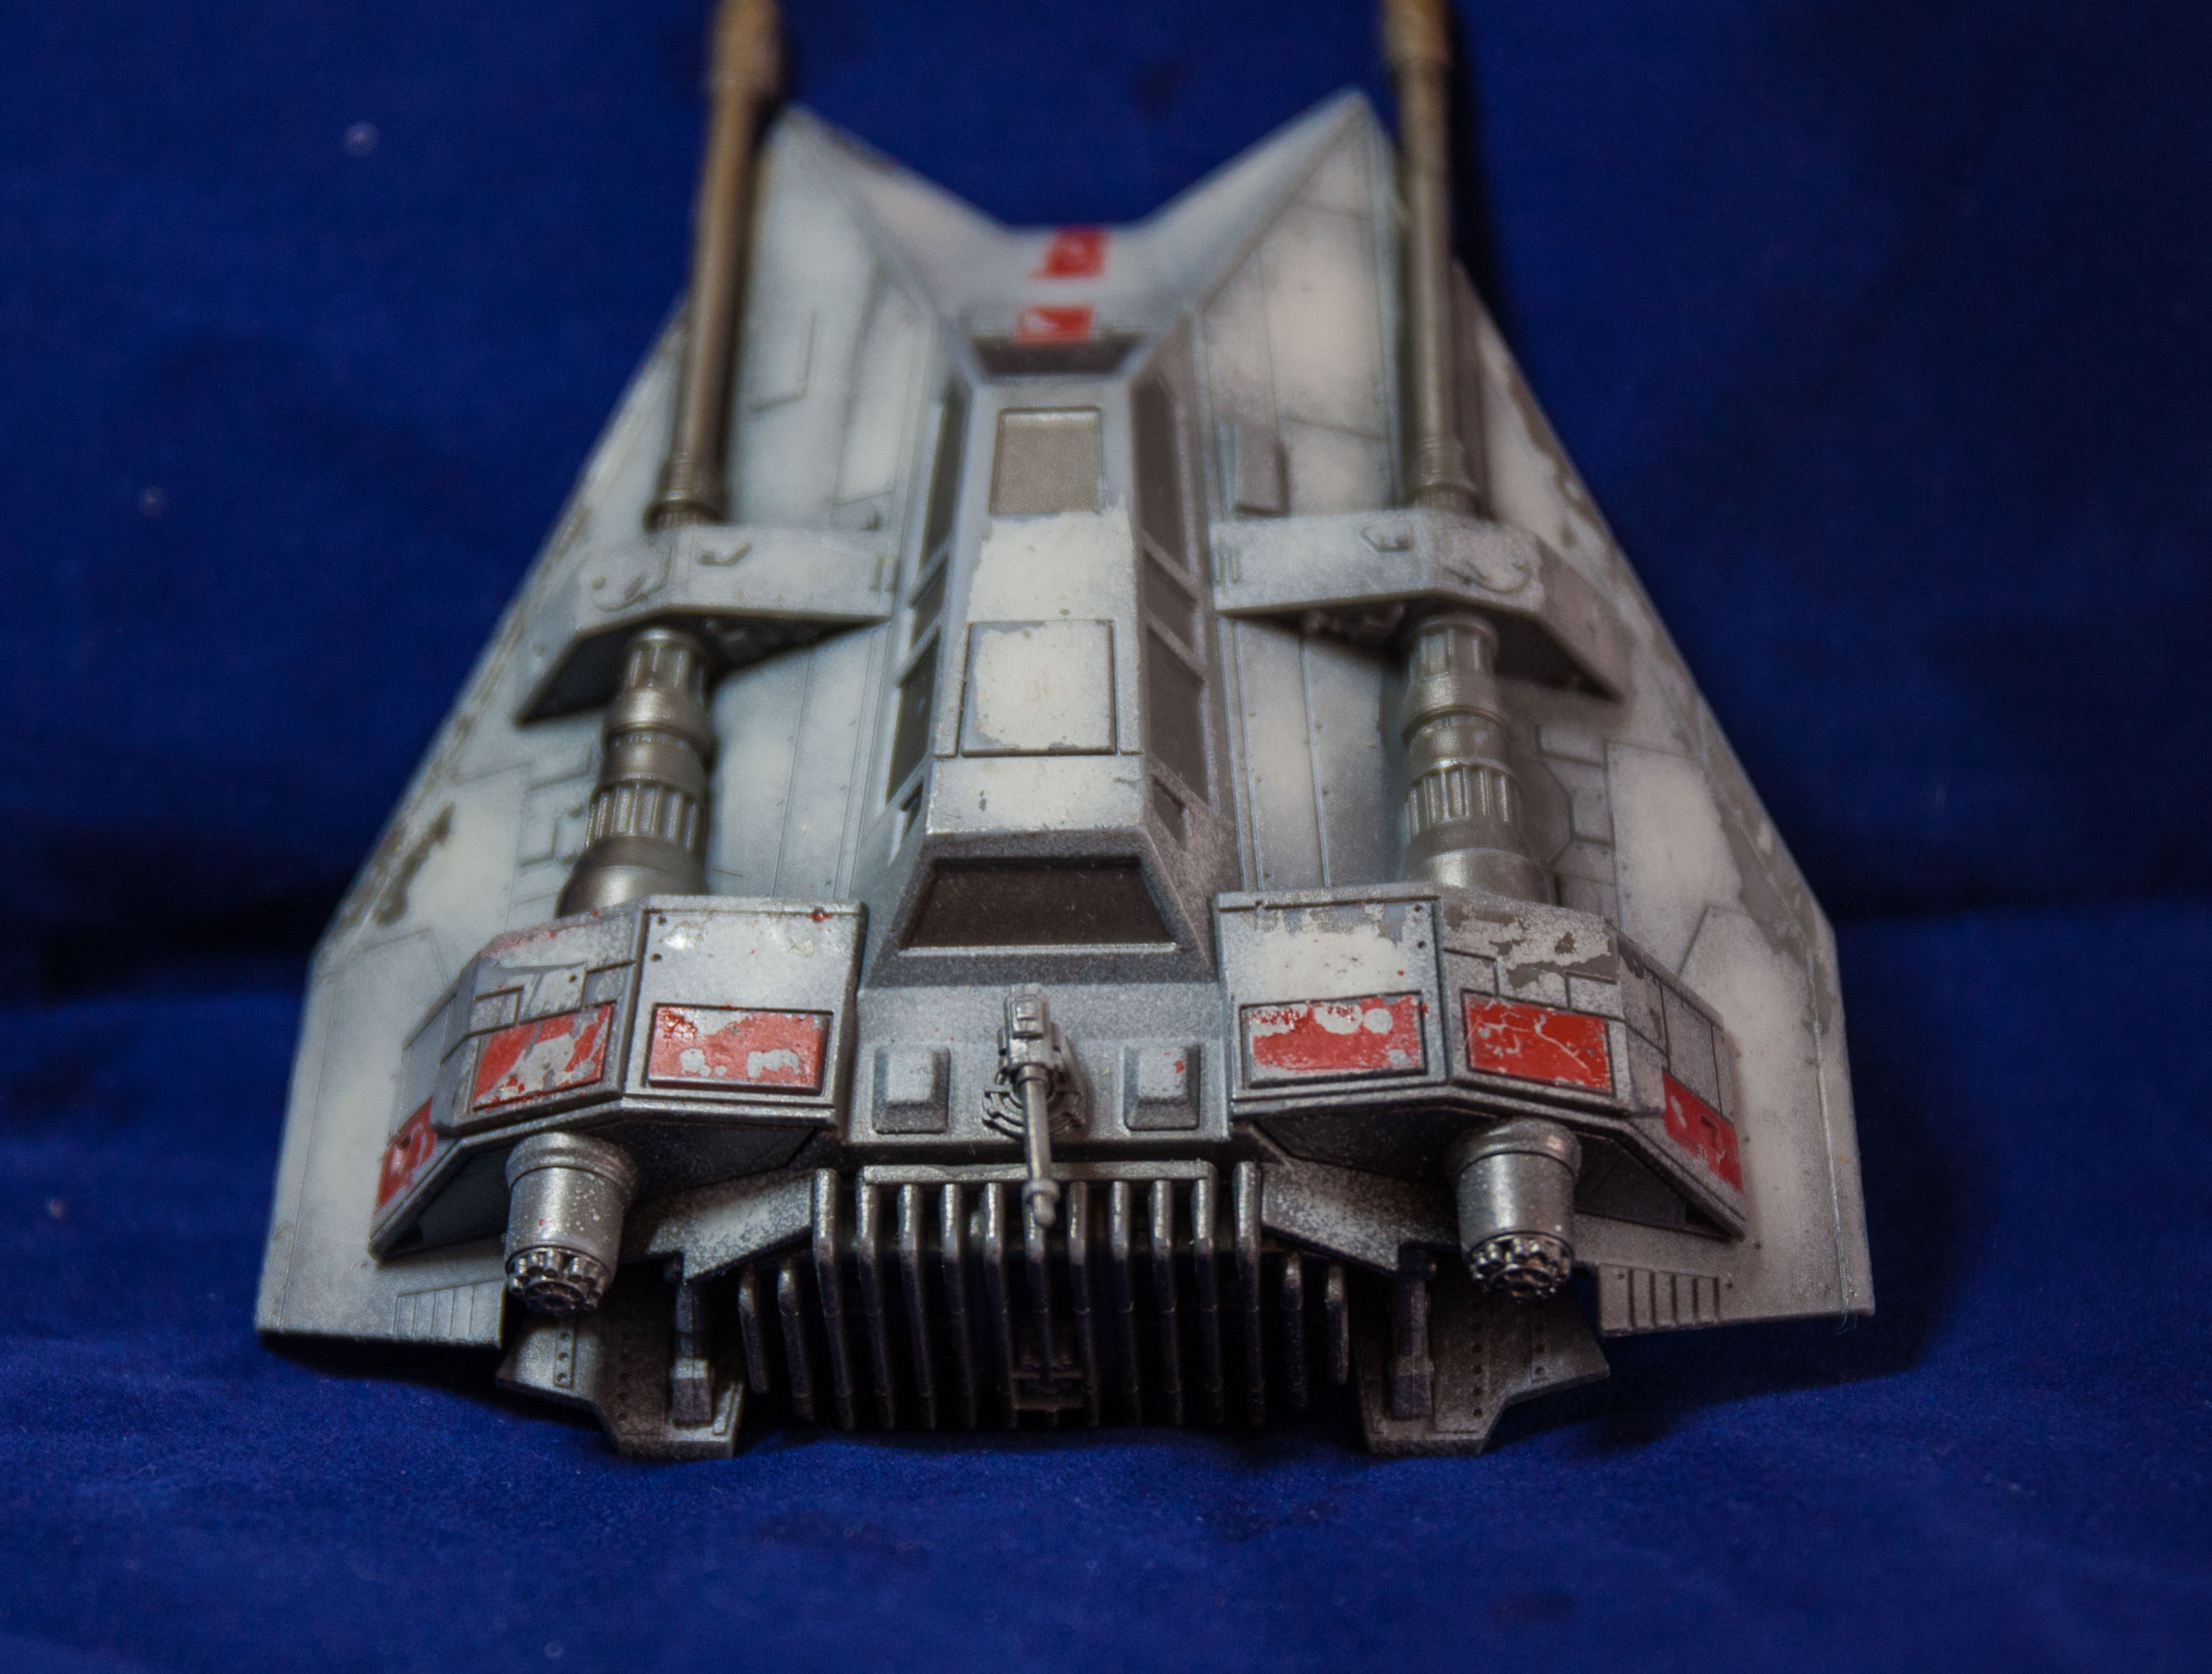
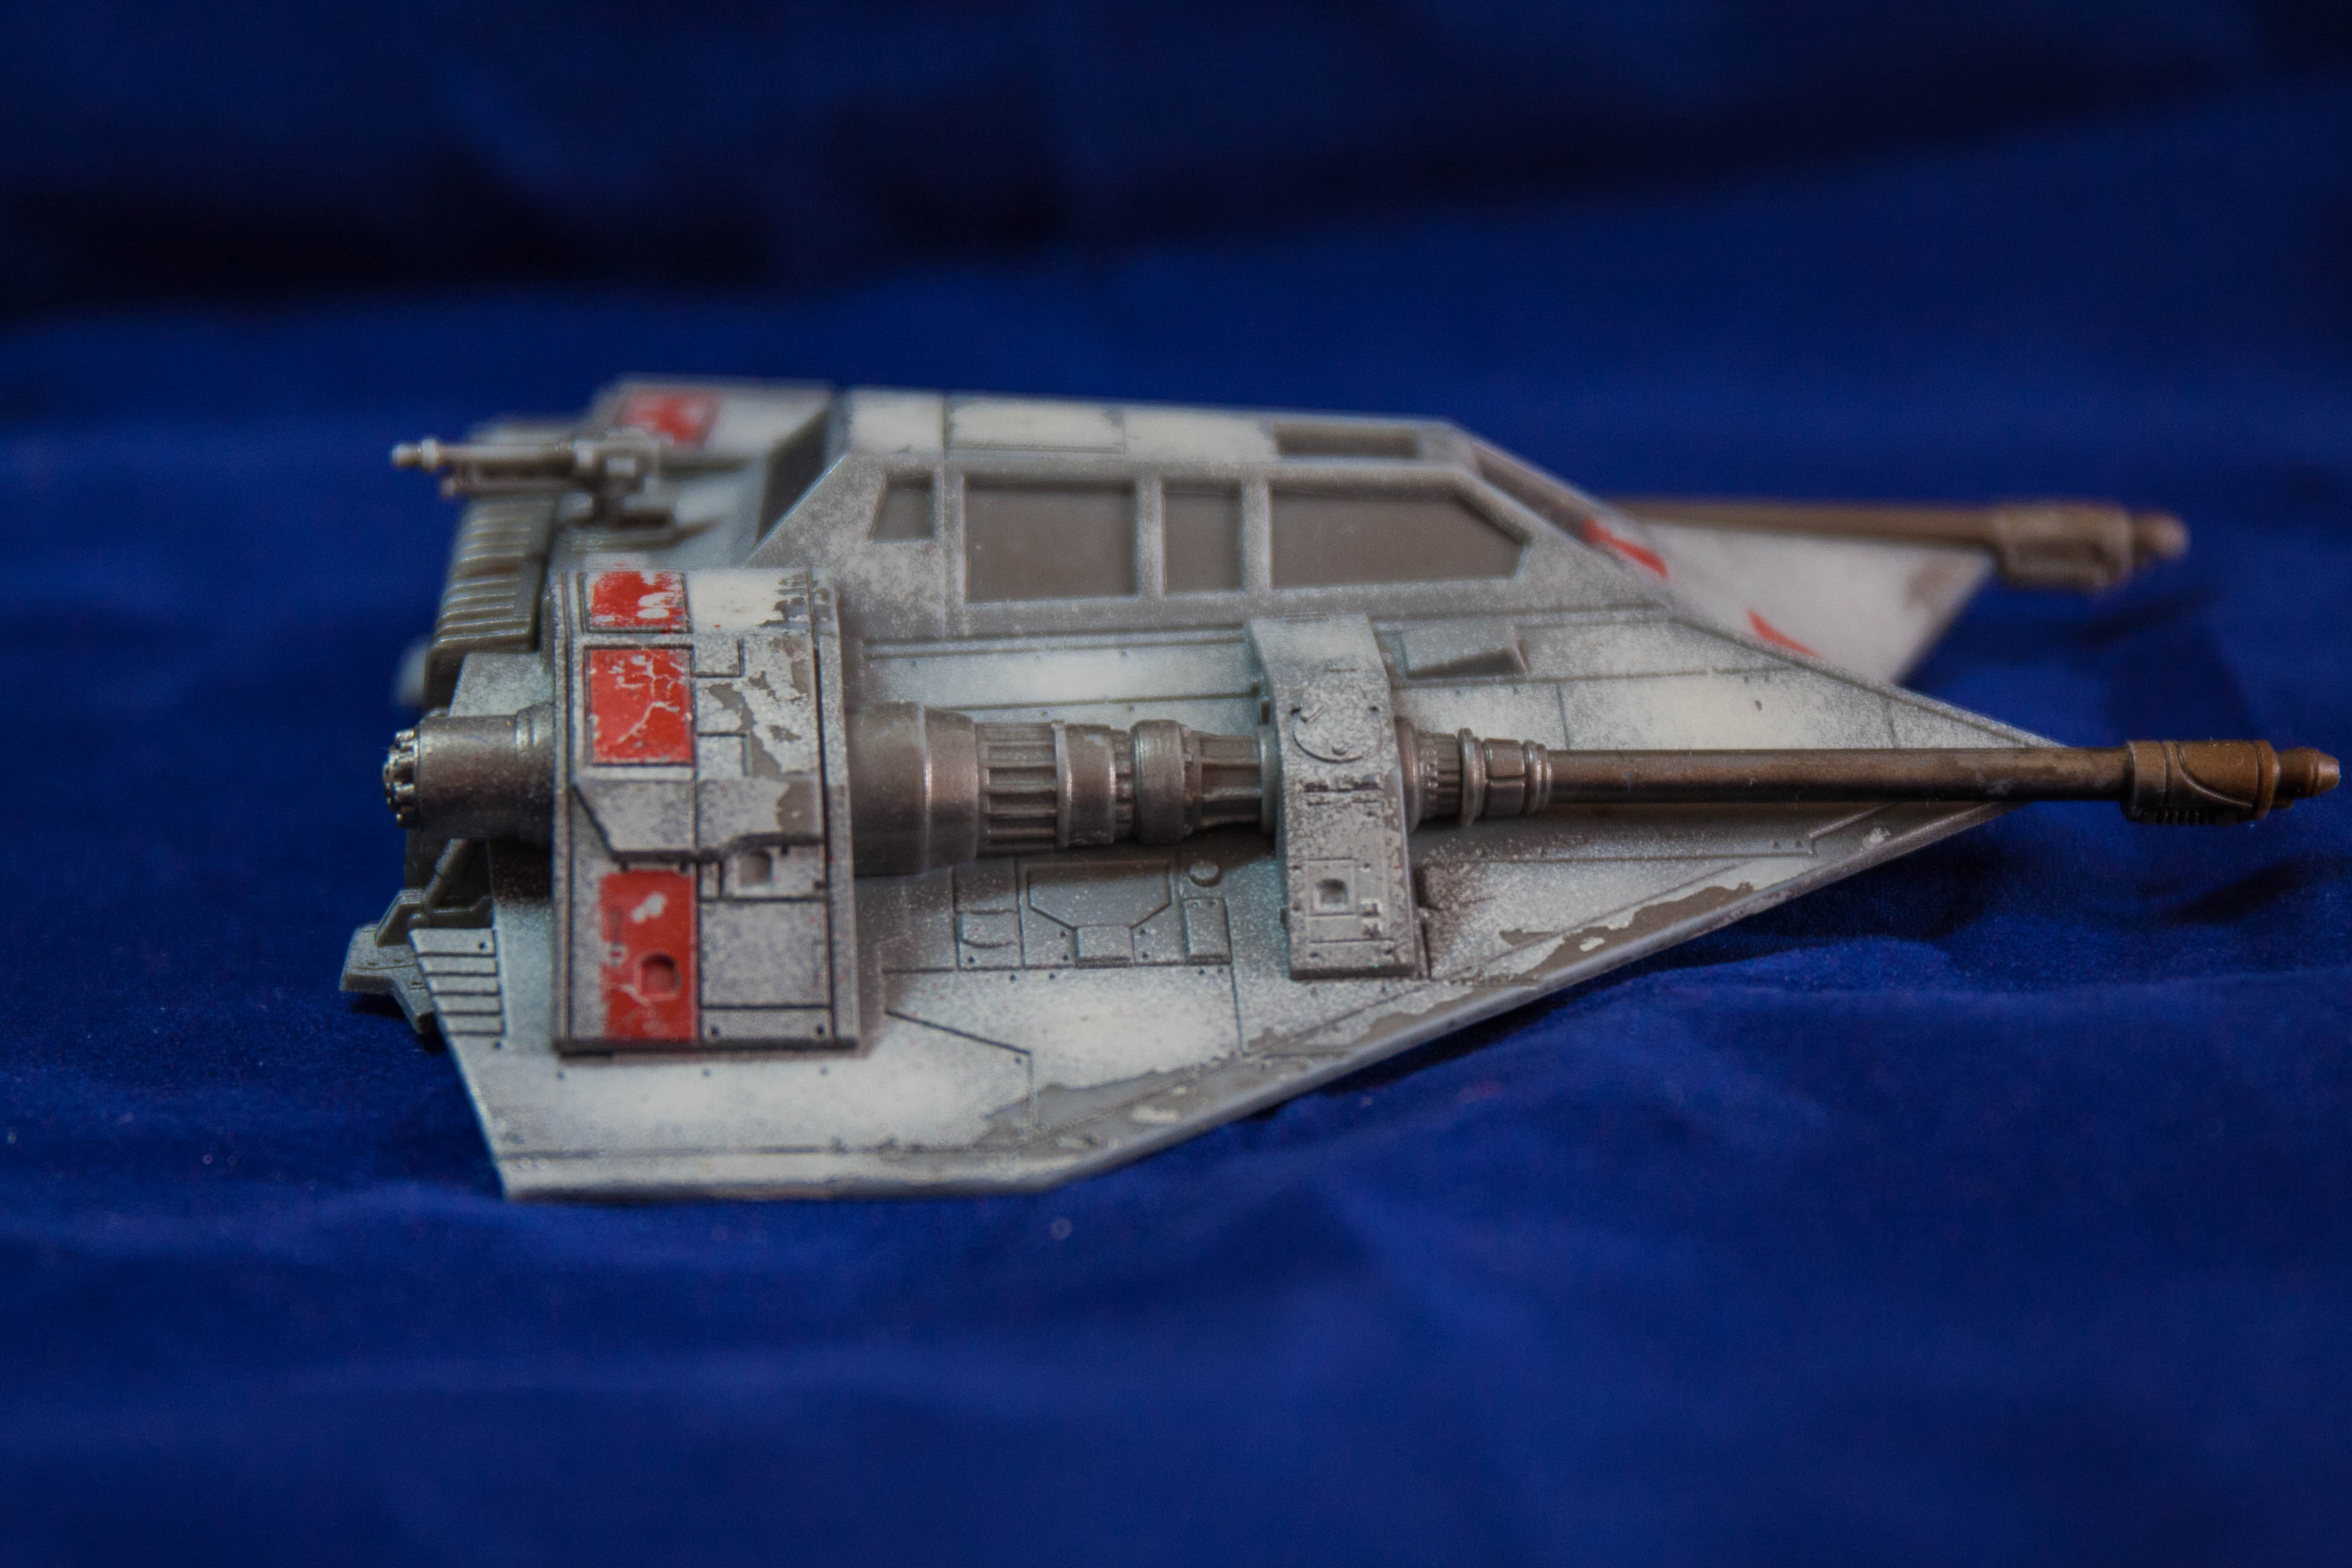
Star Wars Legion AirSpeeder
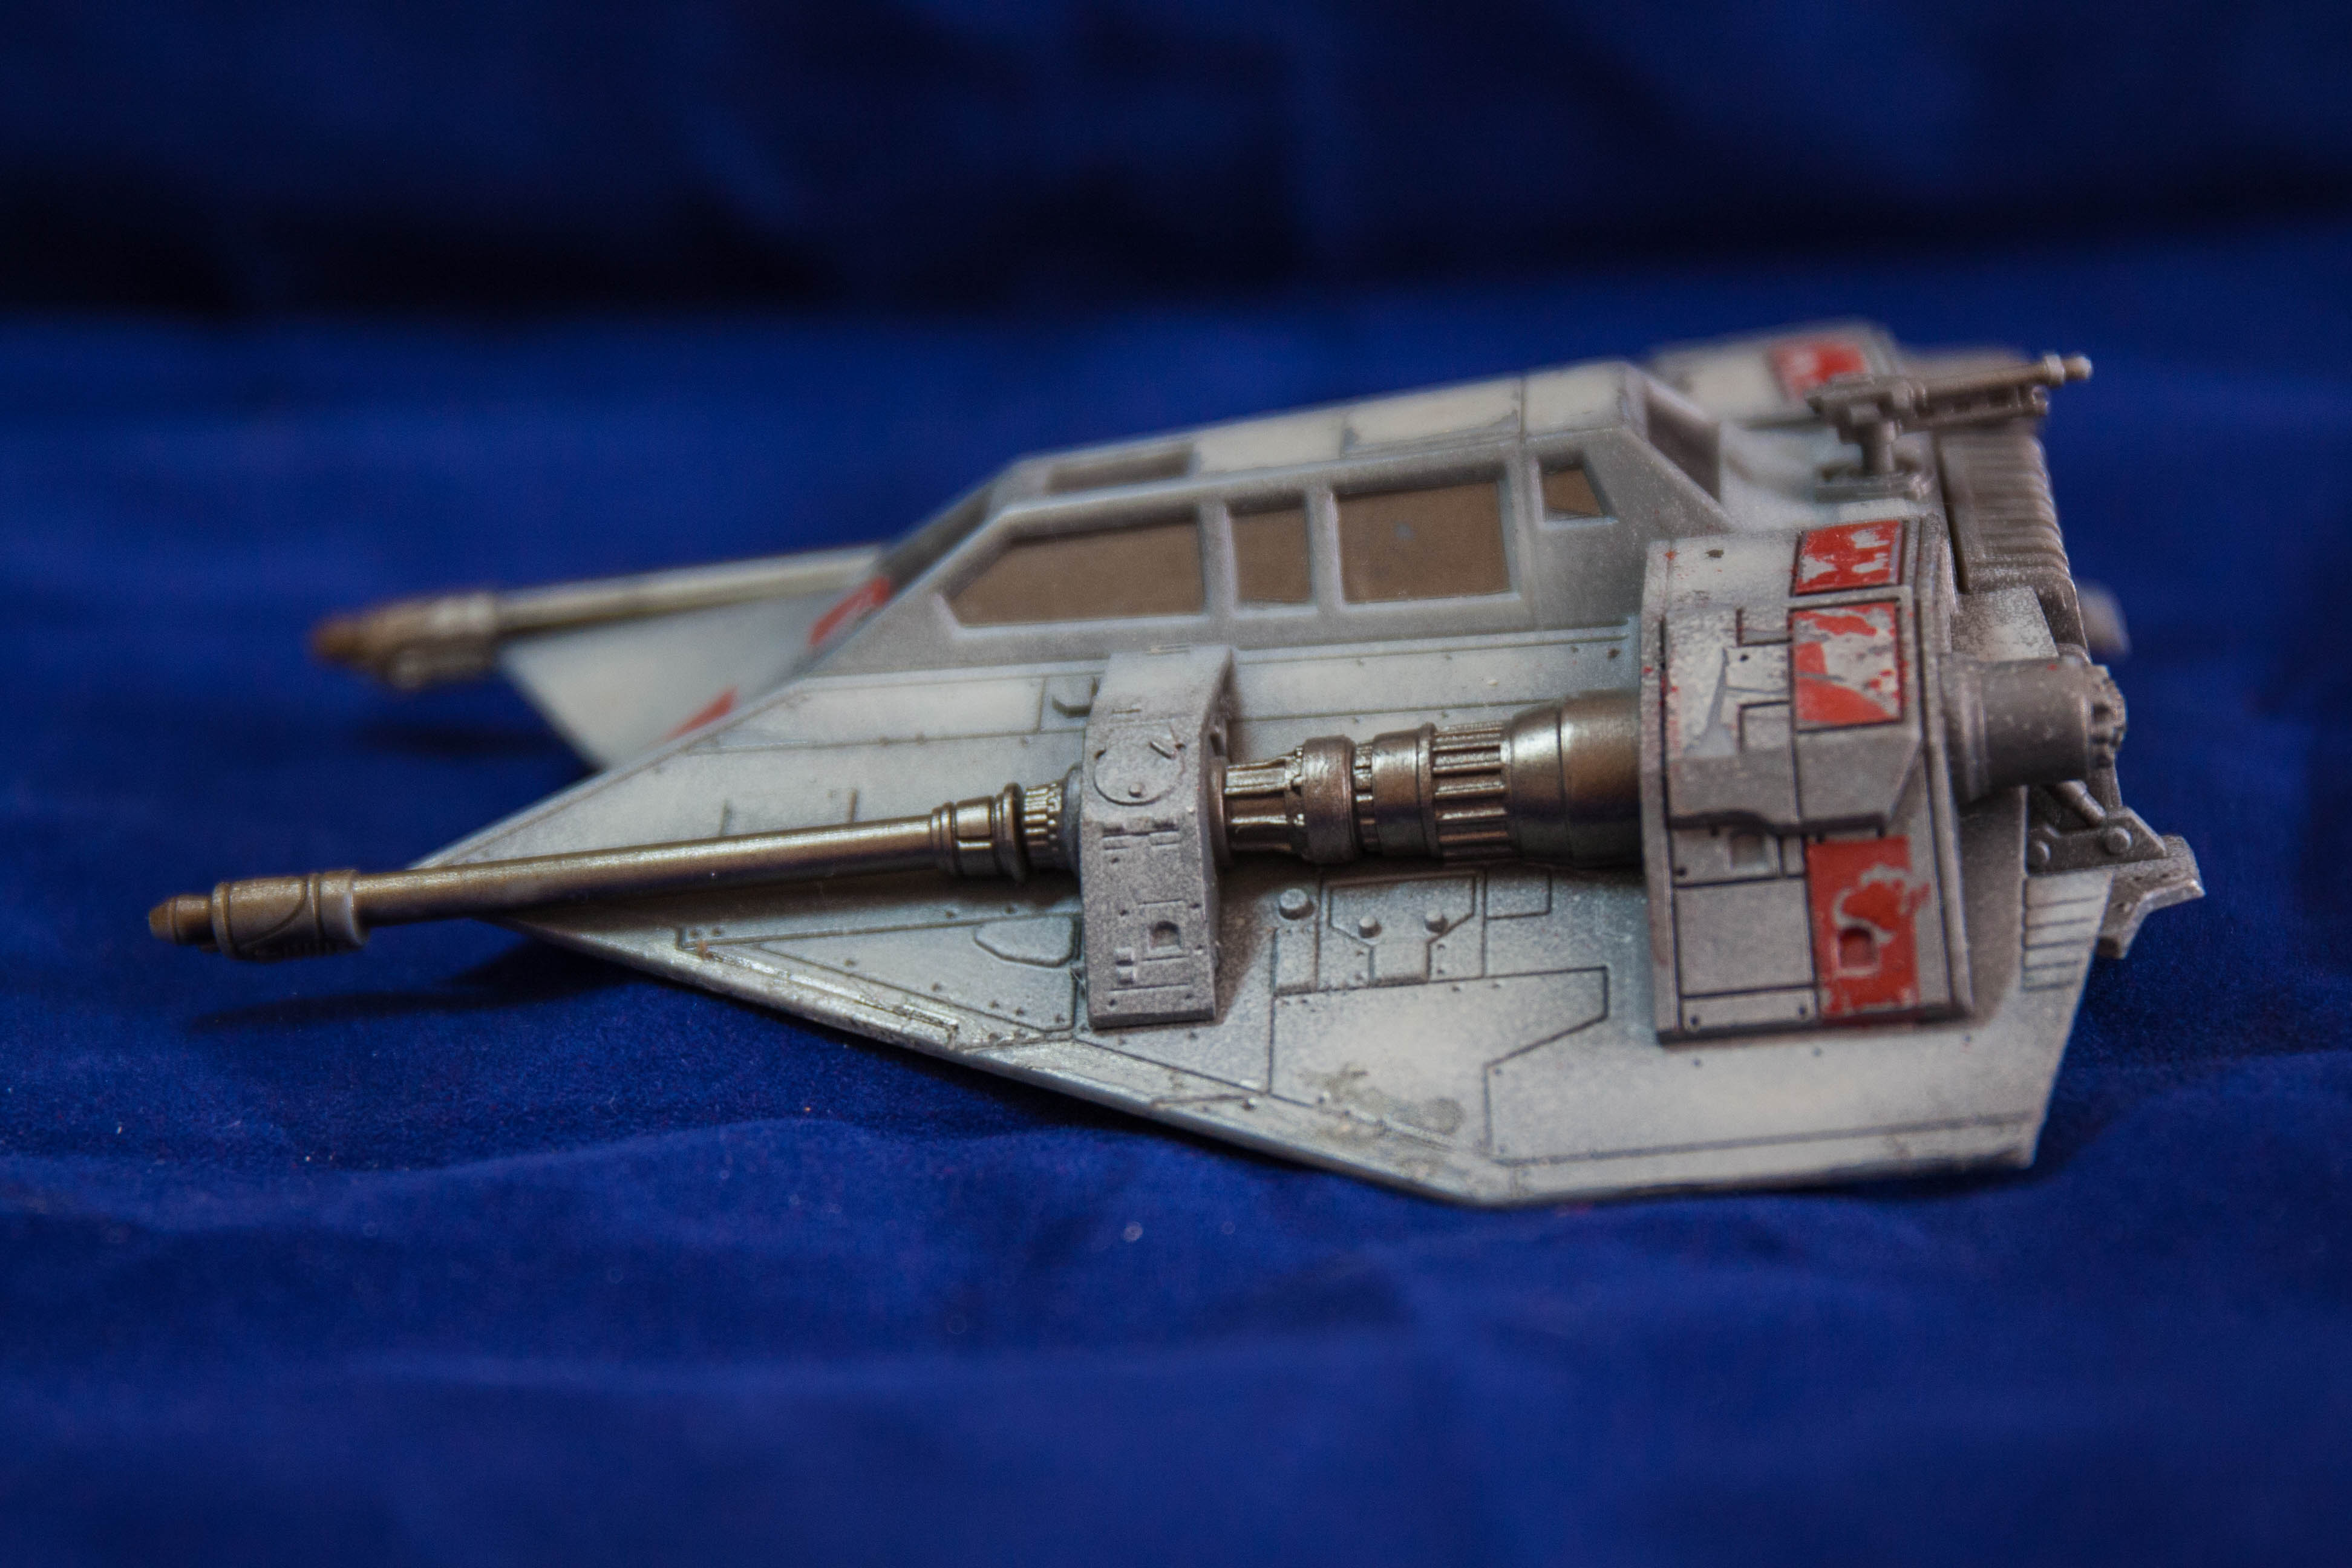
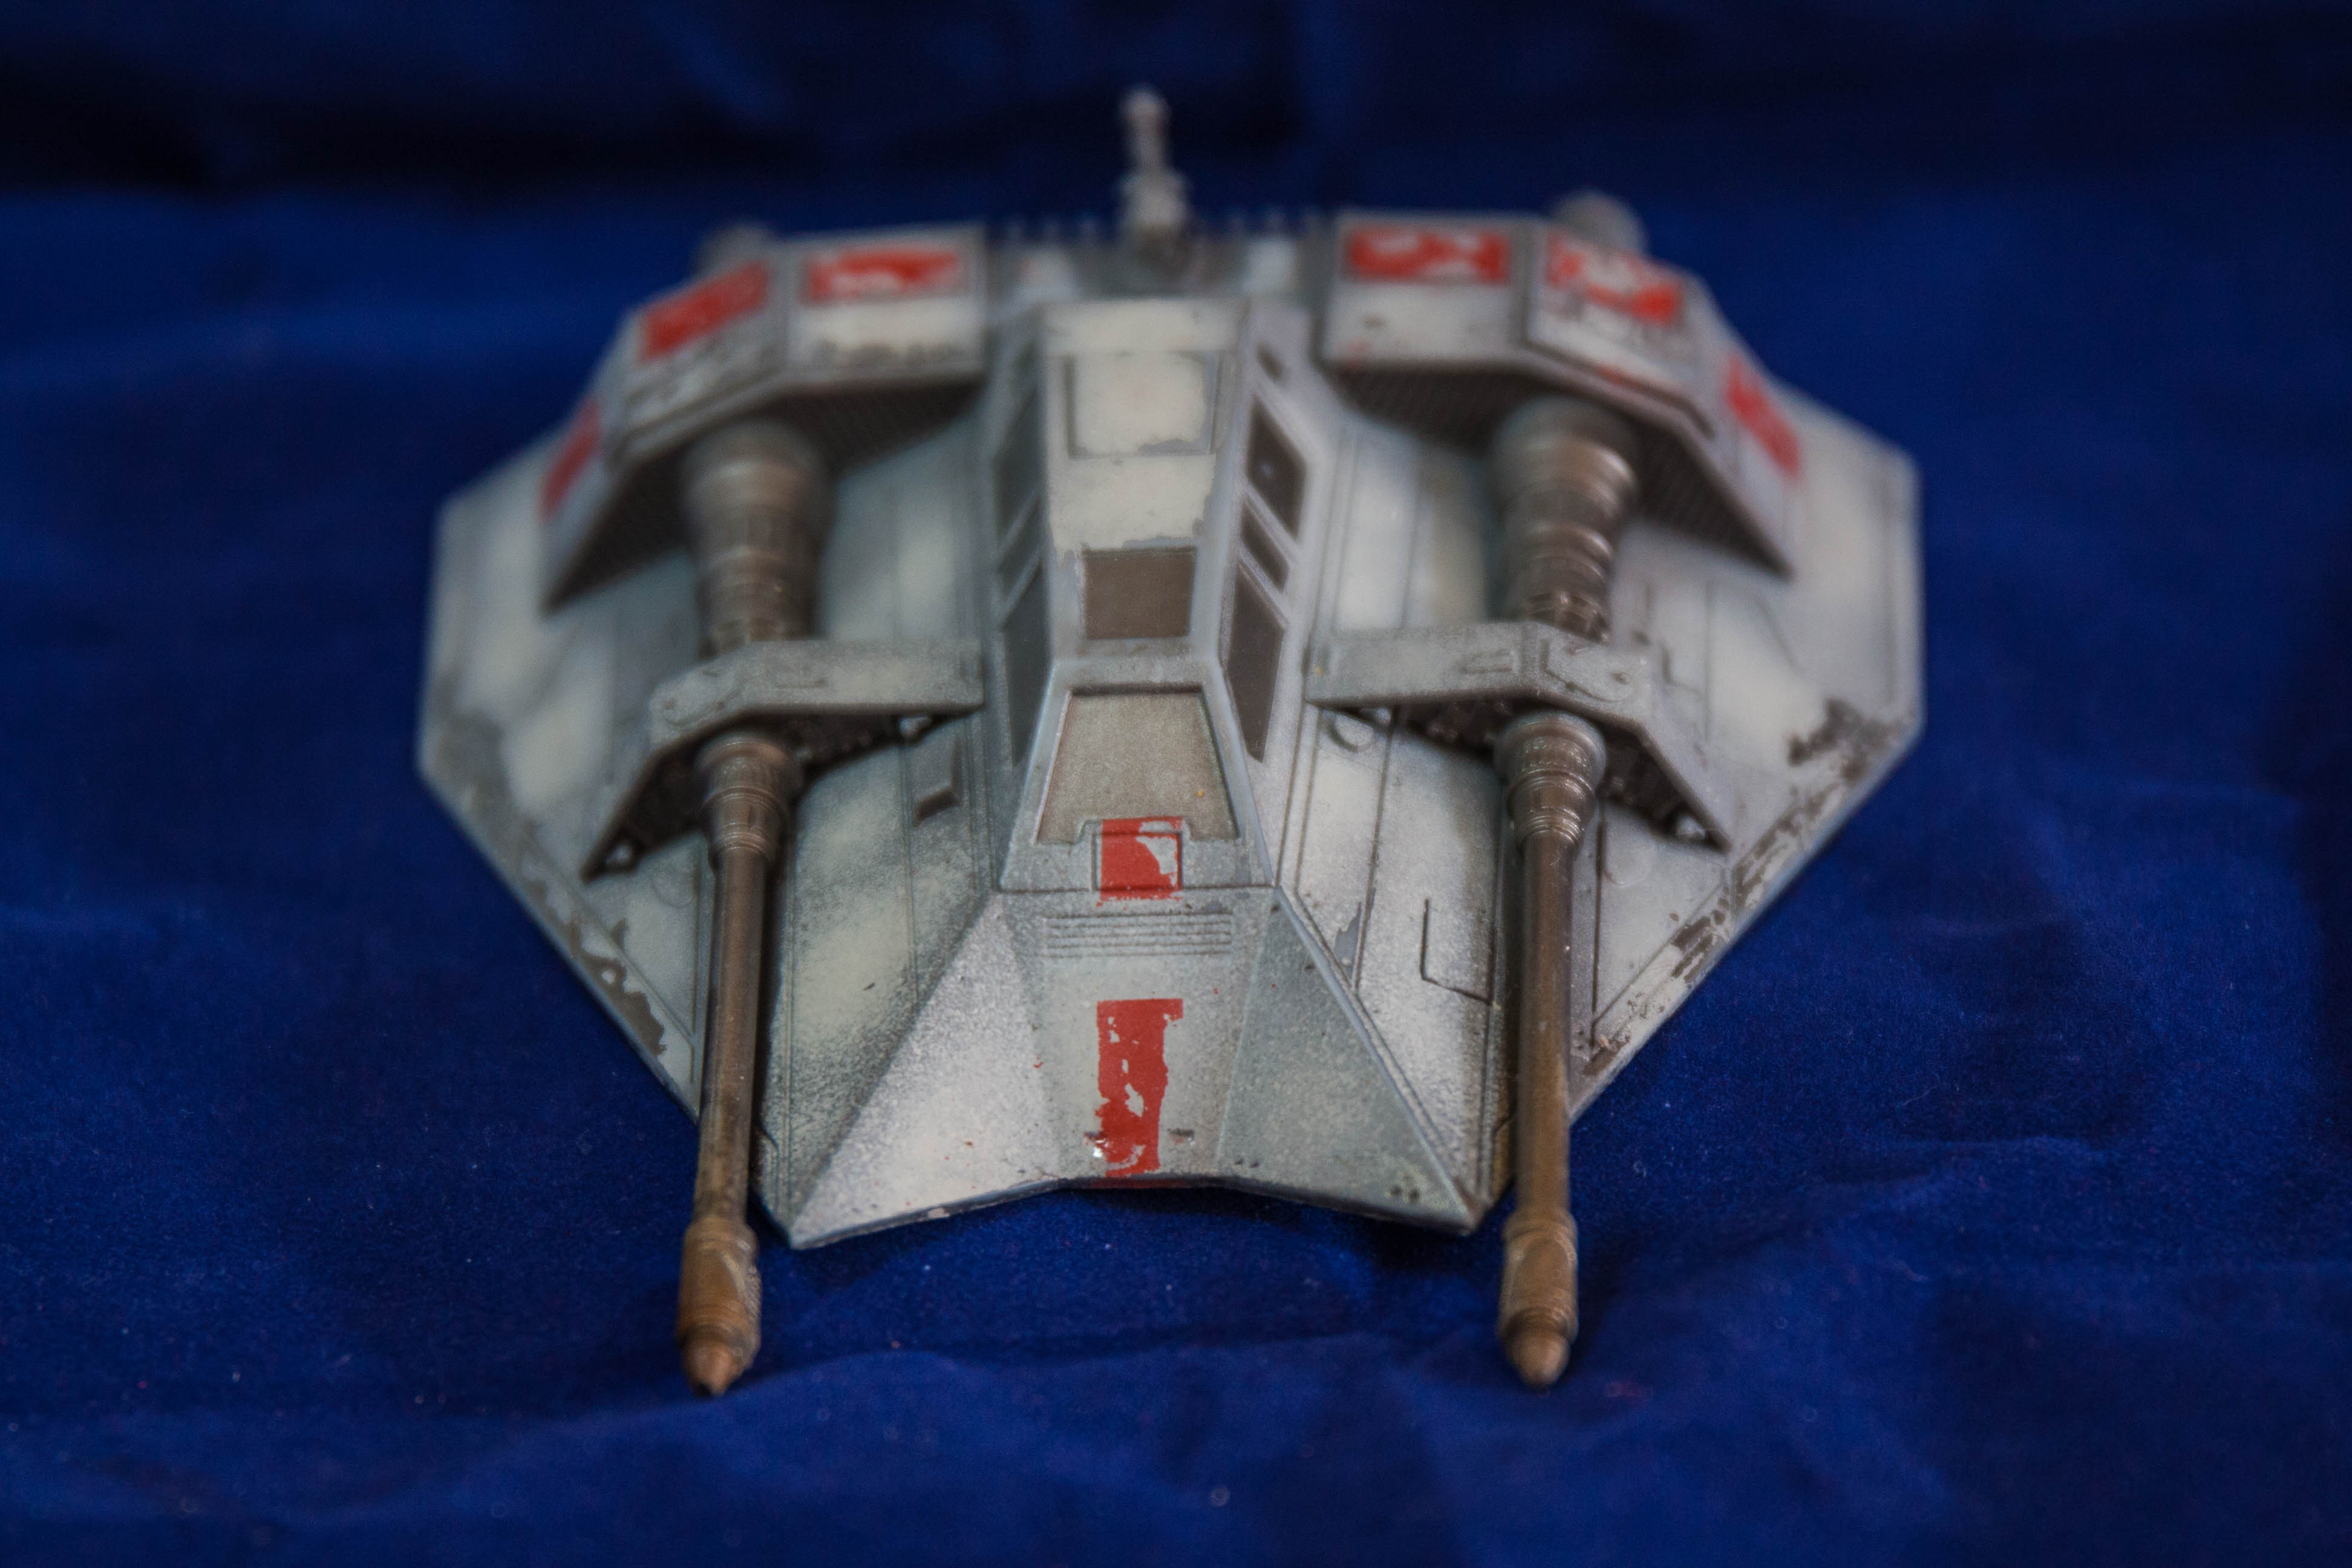
So, again, this is not intended to win any painting awards, its painted in a very simple technique that uses a few different products to get fats results.
This whole model took less than an hour from priming to done.
First, I sprayed the entire model in a metallic colour, you can see it in the chips and it is also the colour of the windows. Once that was done, I masked the windows and engines to keep them the metallic colour, and then added chipping compound, I use Vallejo’s version but there are options from plenty of manufacturers and they all do the same thing.
Once that was dry, I sprayed the entire model a dark grey. Then simply sprayed patches of lighter grey over the entire model to get the faded look, picking out panel centers, hard edges and so on, the trick is to make it look random rather than follow a set pattern.
After the main colours were down, I broke out the tamiya tape and marked out the red areas, then added more chipping compound to those areas before carefully spraying the red, making sure to avoid overspray onto the grey bits.
After that, I used a toothpick to rub areas where the chipping compound was, and messed around until I was happy with the effect.
Finally, I used a clay wash all over the model, and once dry, rubbed it back until I got the dirty, streaked effect I was after.
Its extremely quick and effective to get models on the table that still look the part.


Leave a Reply