


Quick and easy Kill Team bases


Recommendations: 62
About the Project
The Ronseal of painting tutorials!
Related Game: Warhammer 40,000: Kill Team
Related Company: Games Workshop
Related Genre: Science Fiction
This Project is Completed
Step 1 - Basecoating
I wanted make a quick and easy tutorial for anyone who is looking to join in with Games Workshops new Kill Team game. However the steps seen here could quite easily be applied to base any Sci-Fi or modern game too.
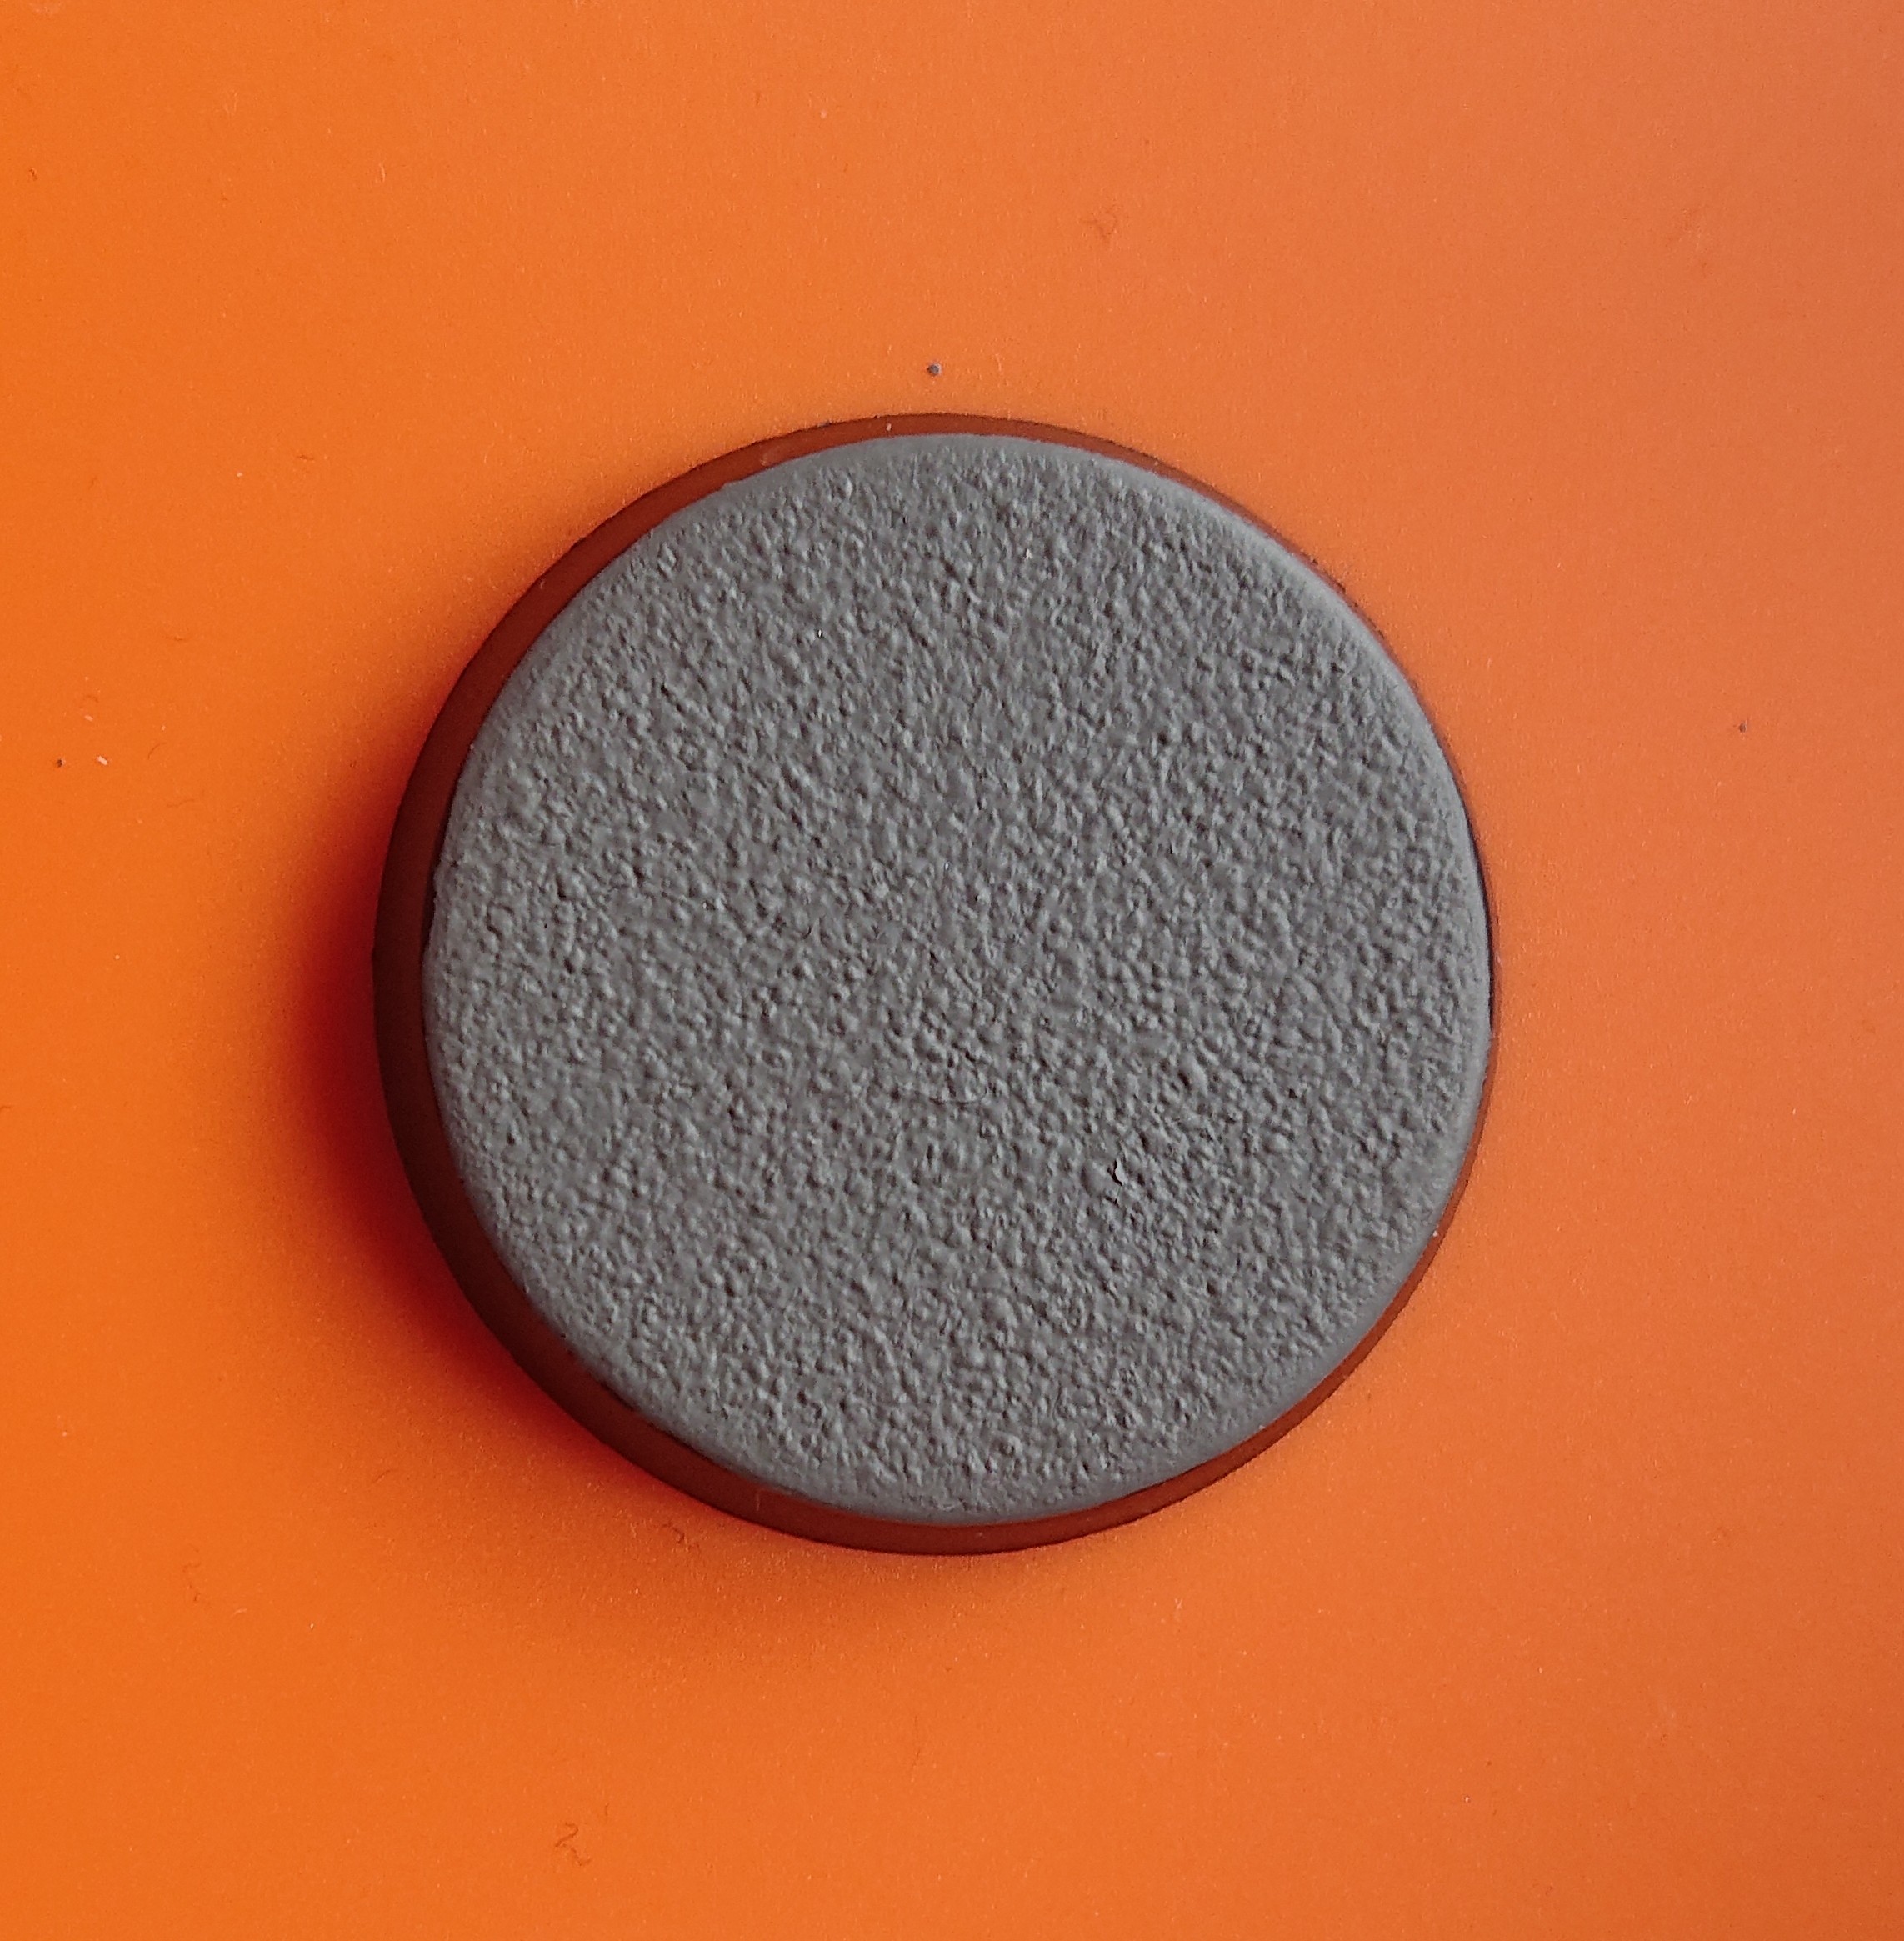
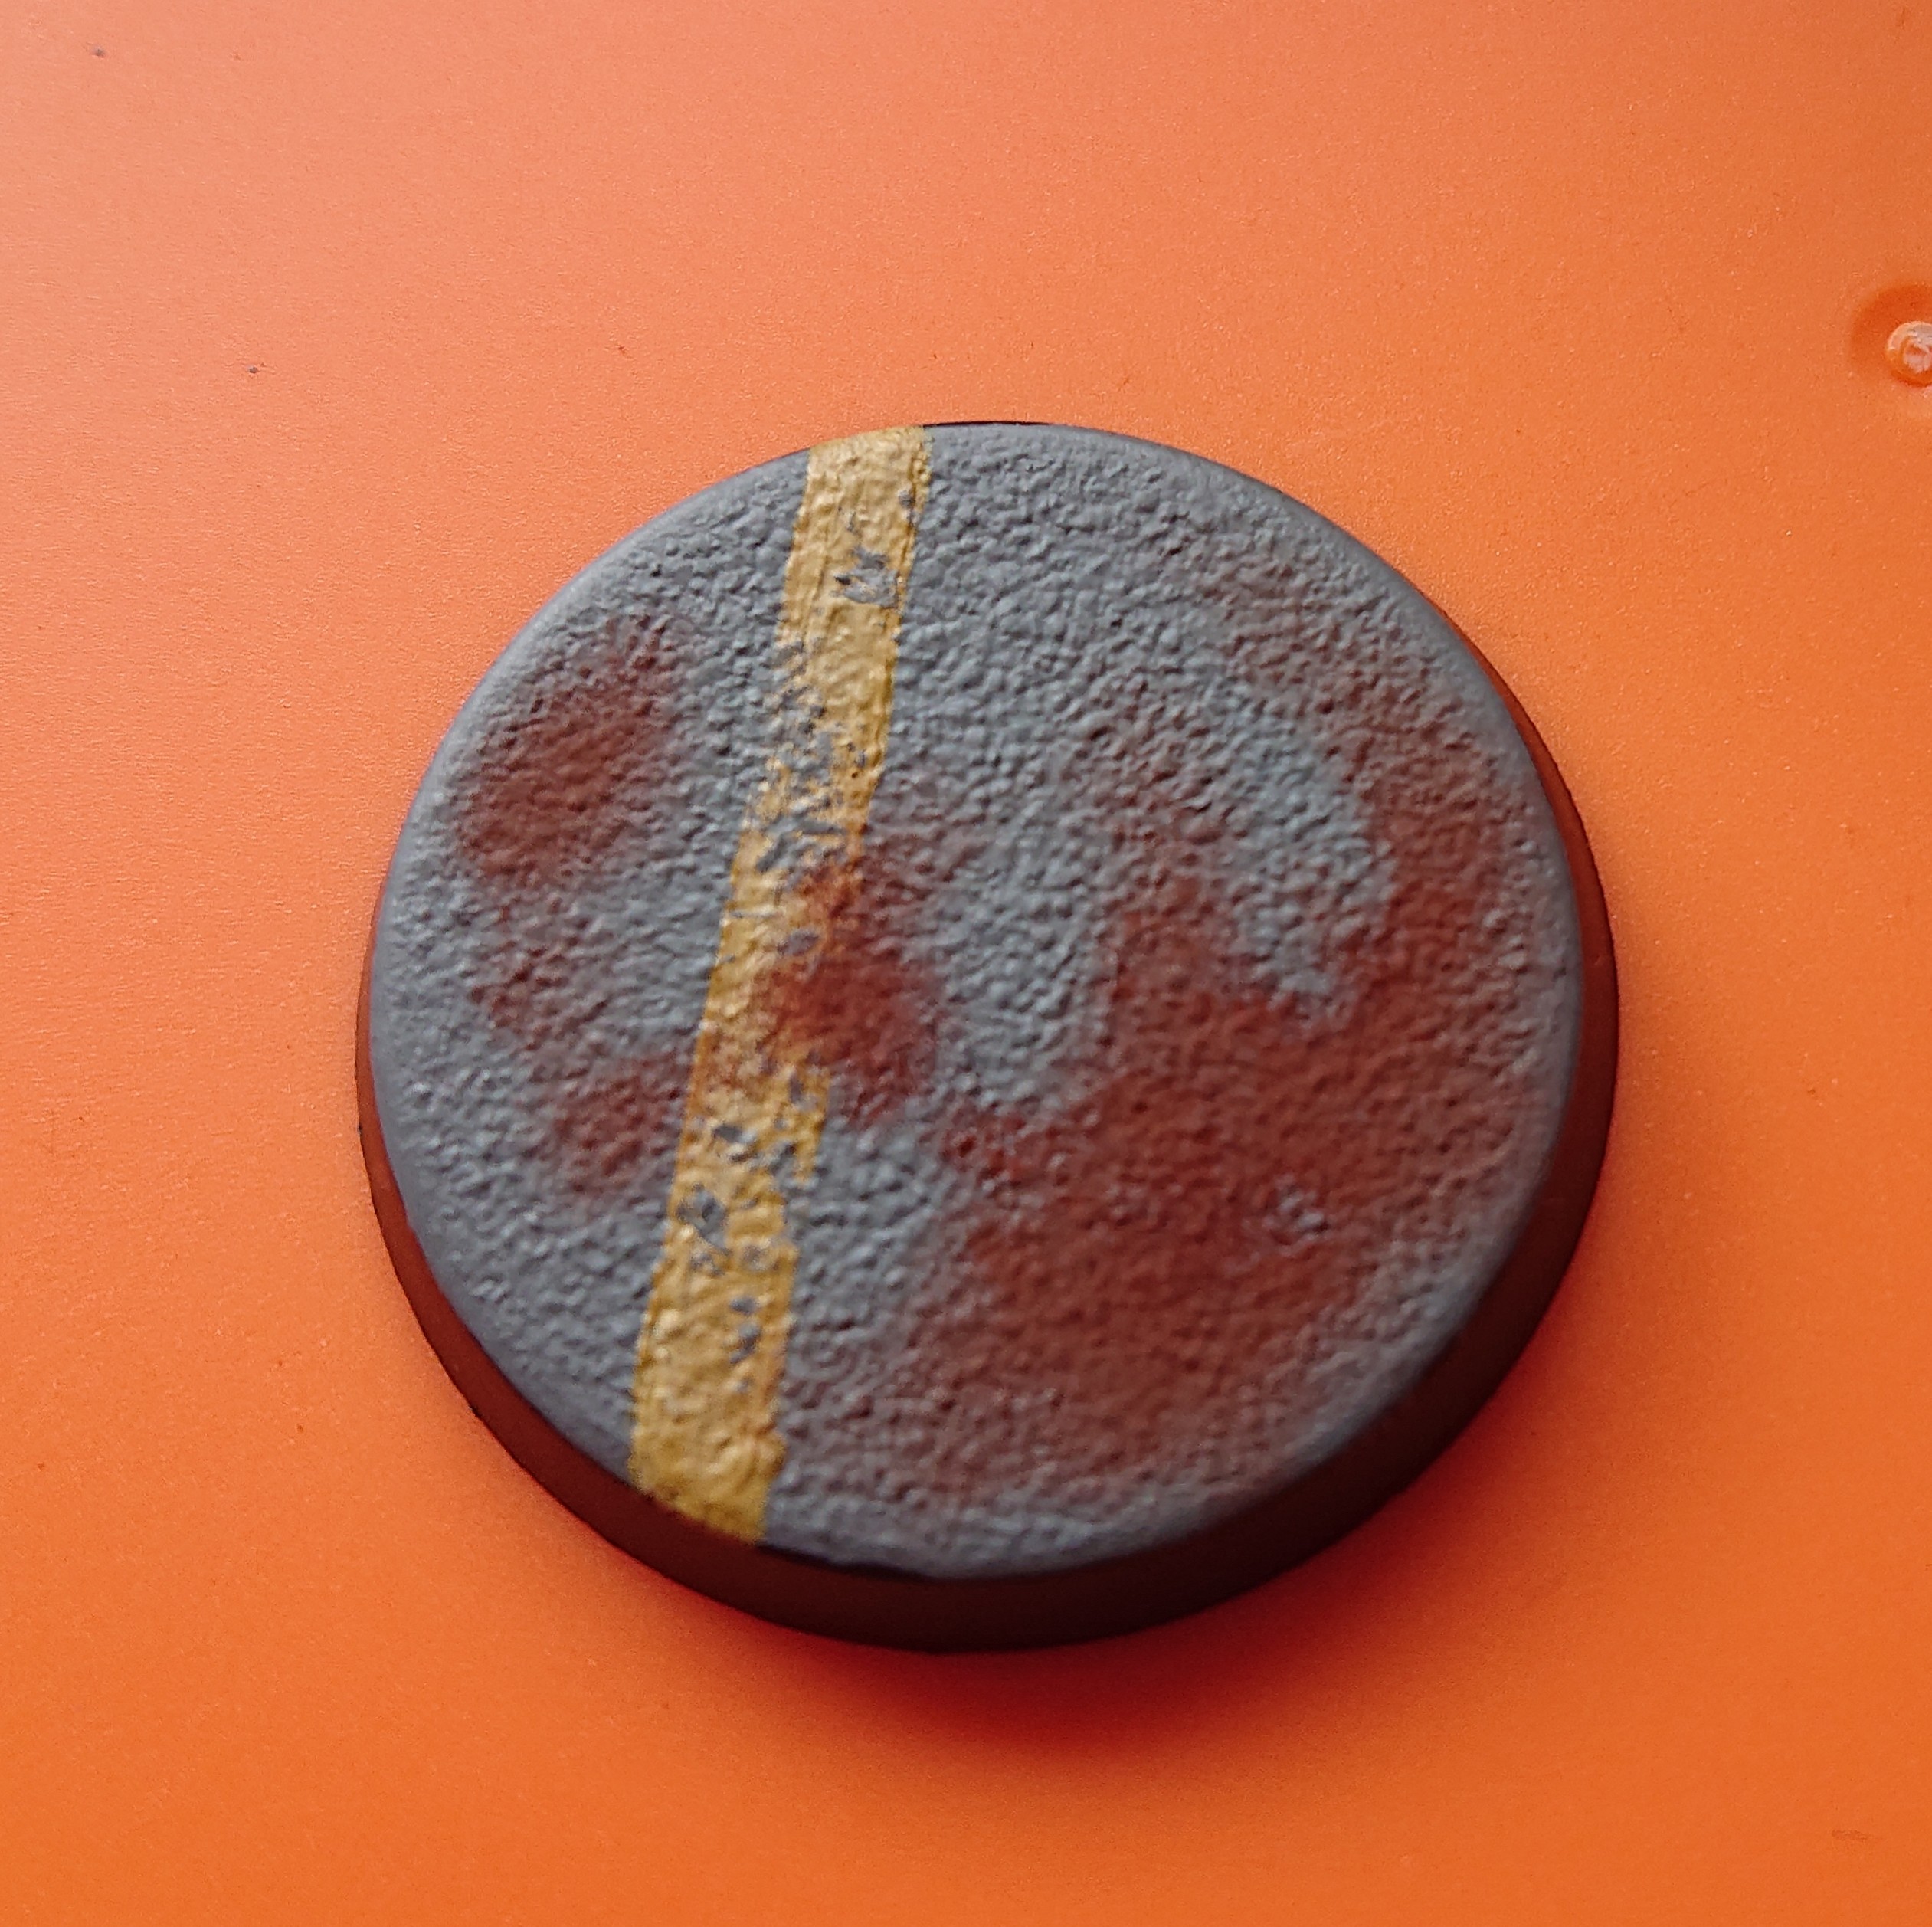
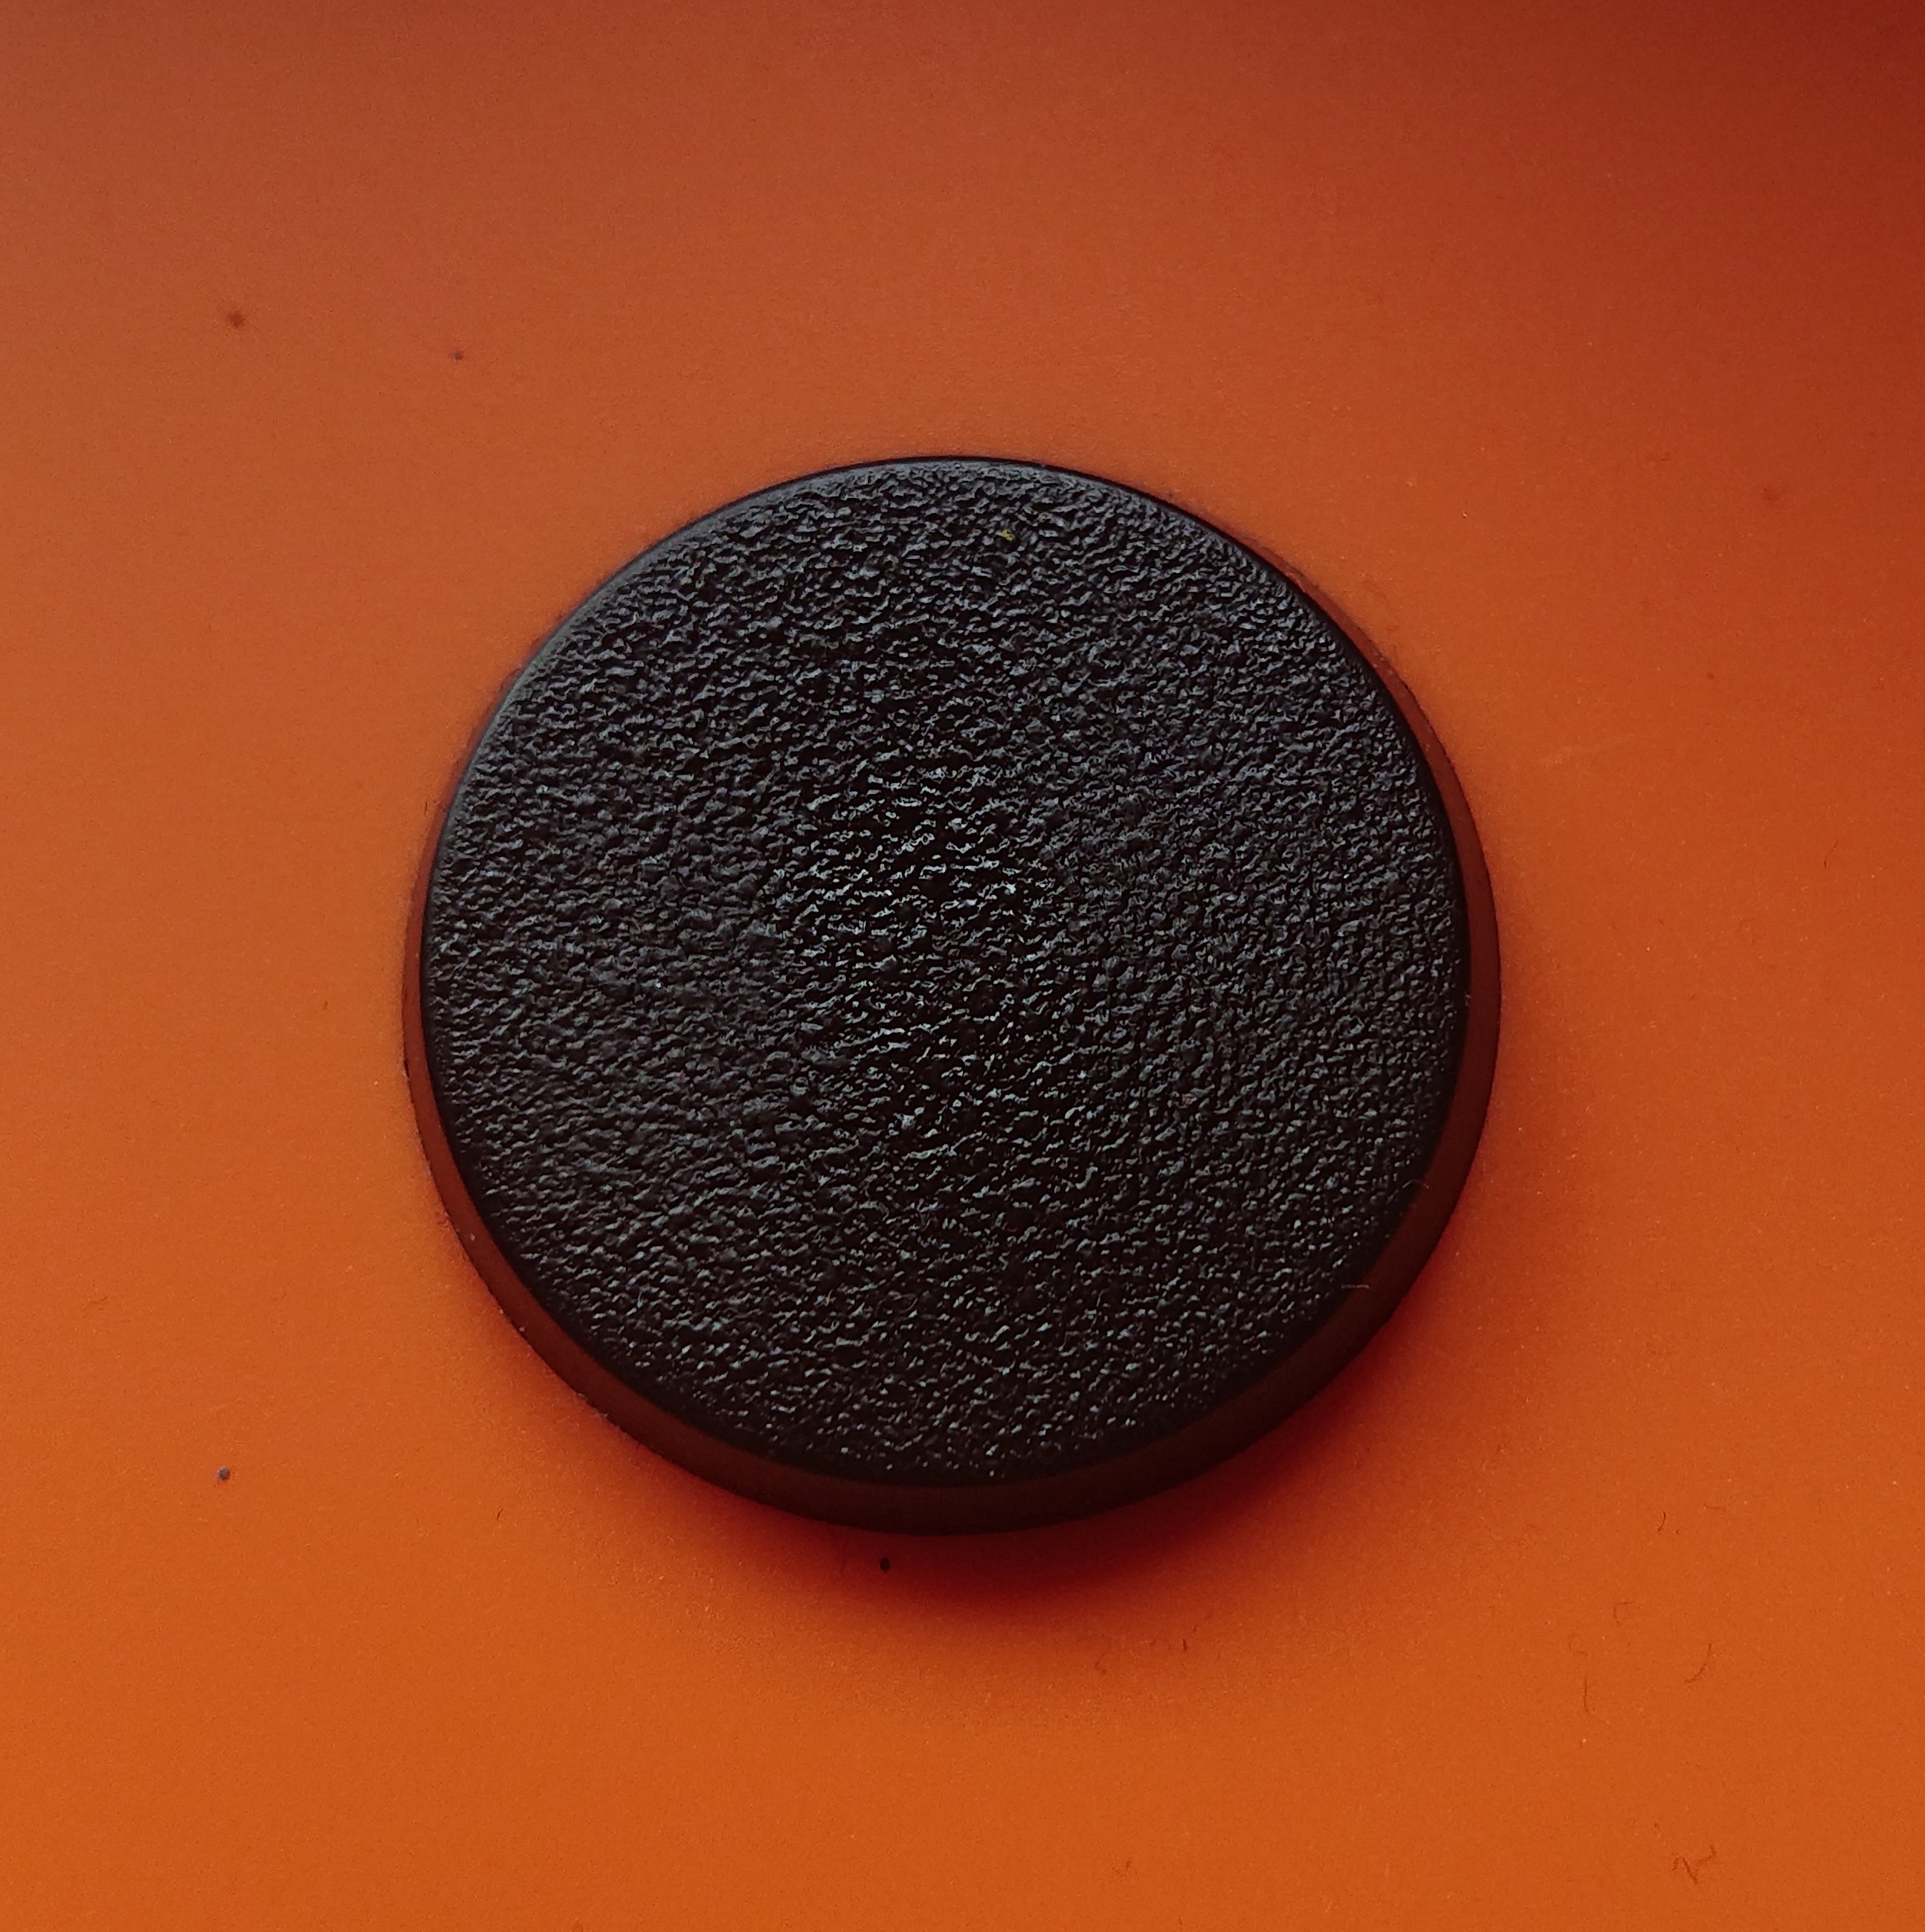 So with that in mind I took a look at the plain old GW base with no texture paints and nothing else added to the base at all, this is quick and easy after all, there is more than enough details to carry this off...
 After that the first colour of Dawnstone Grey from GW, as a wise man once said this will take you 2 thin coats
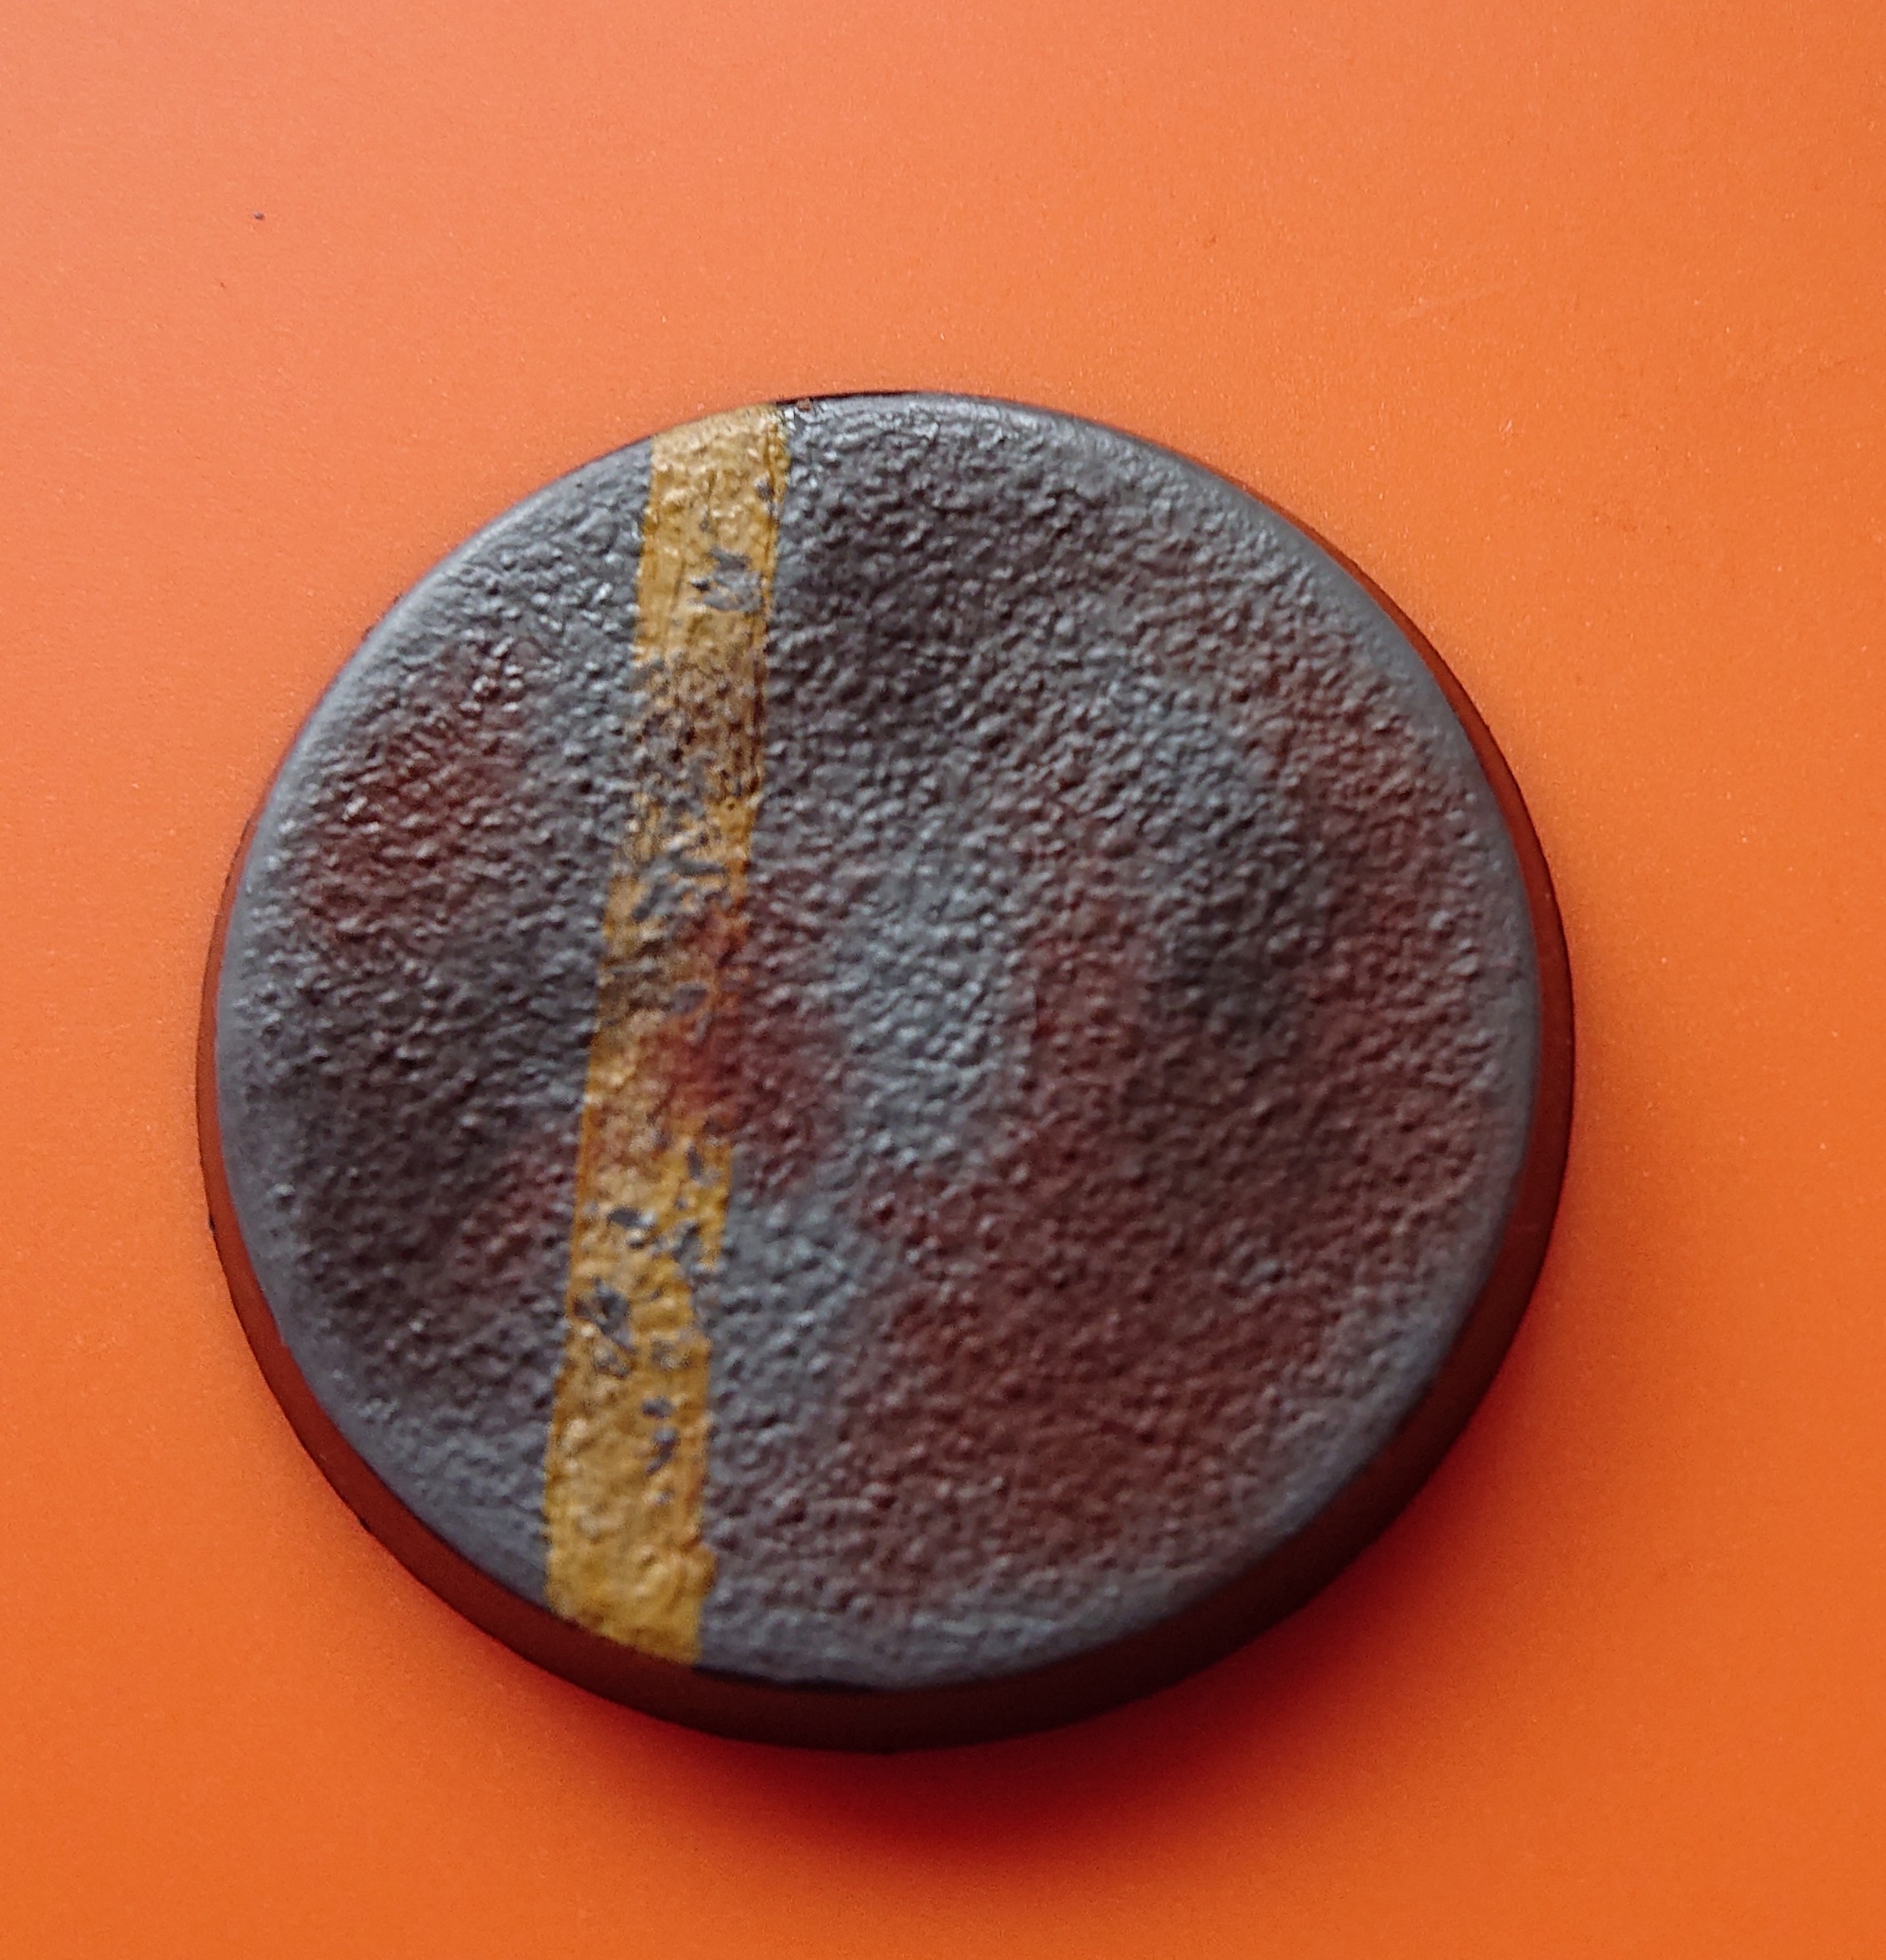
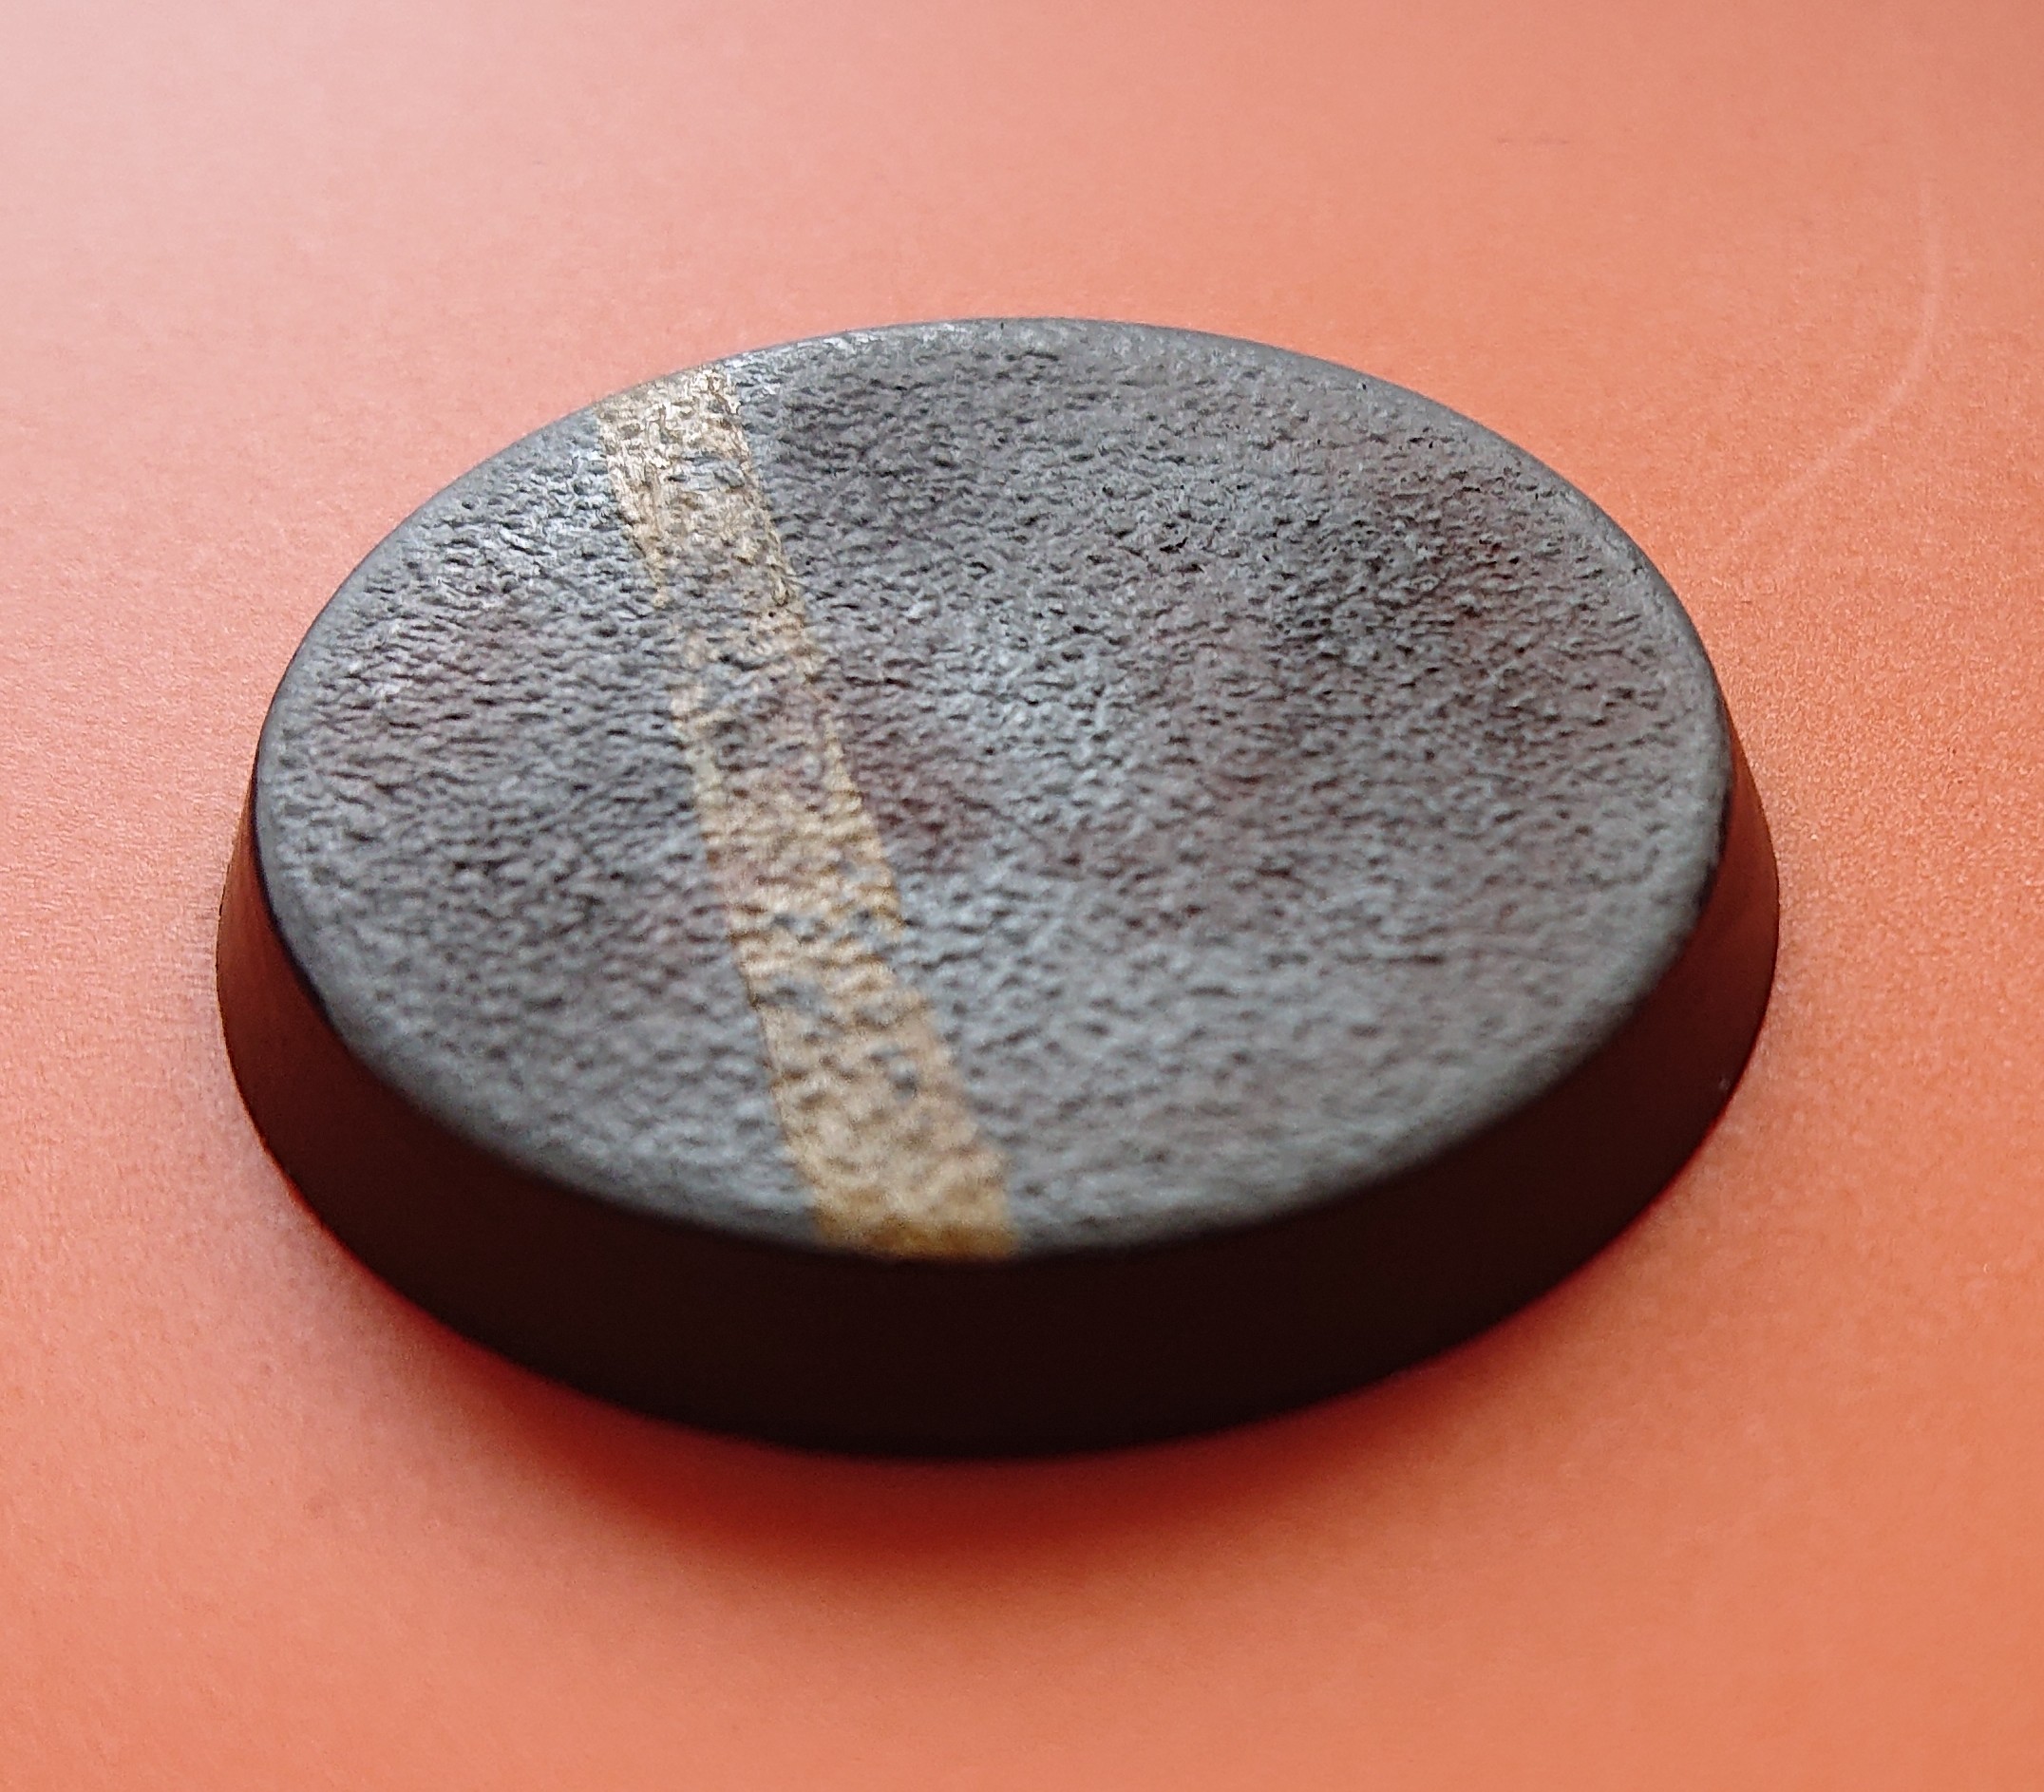
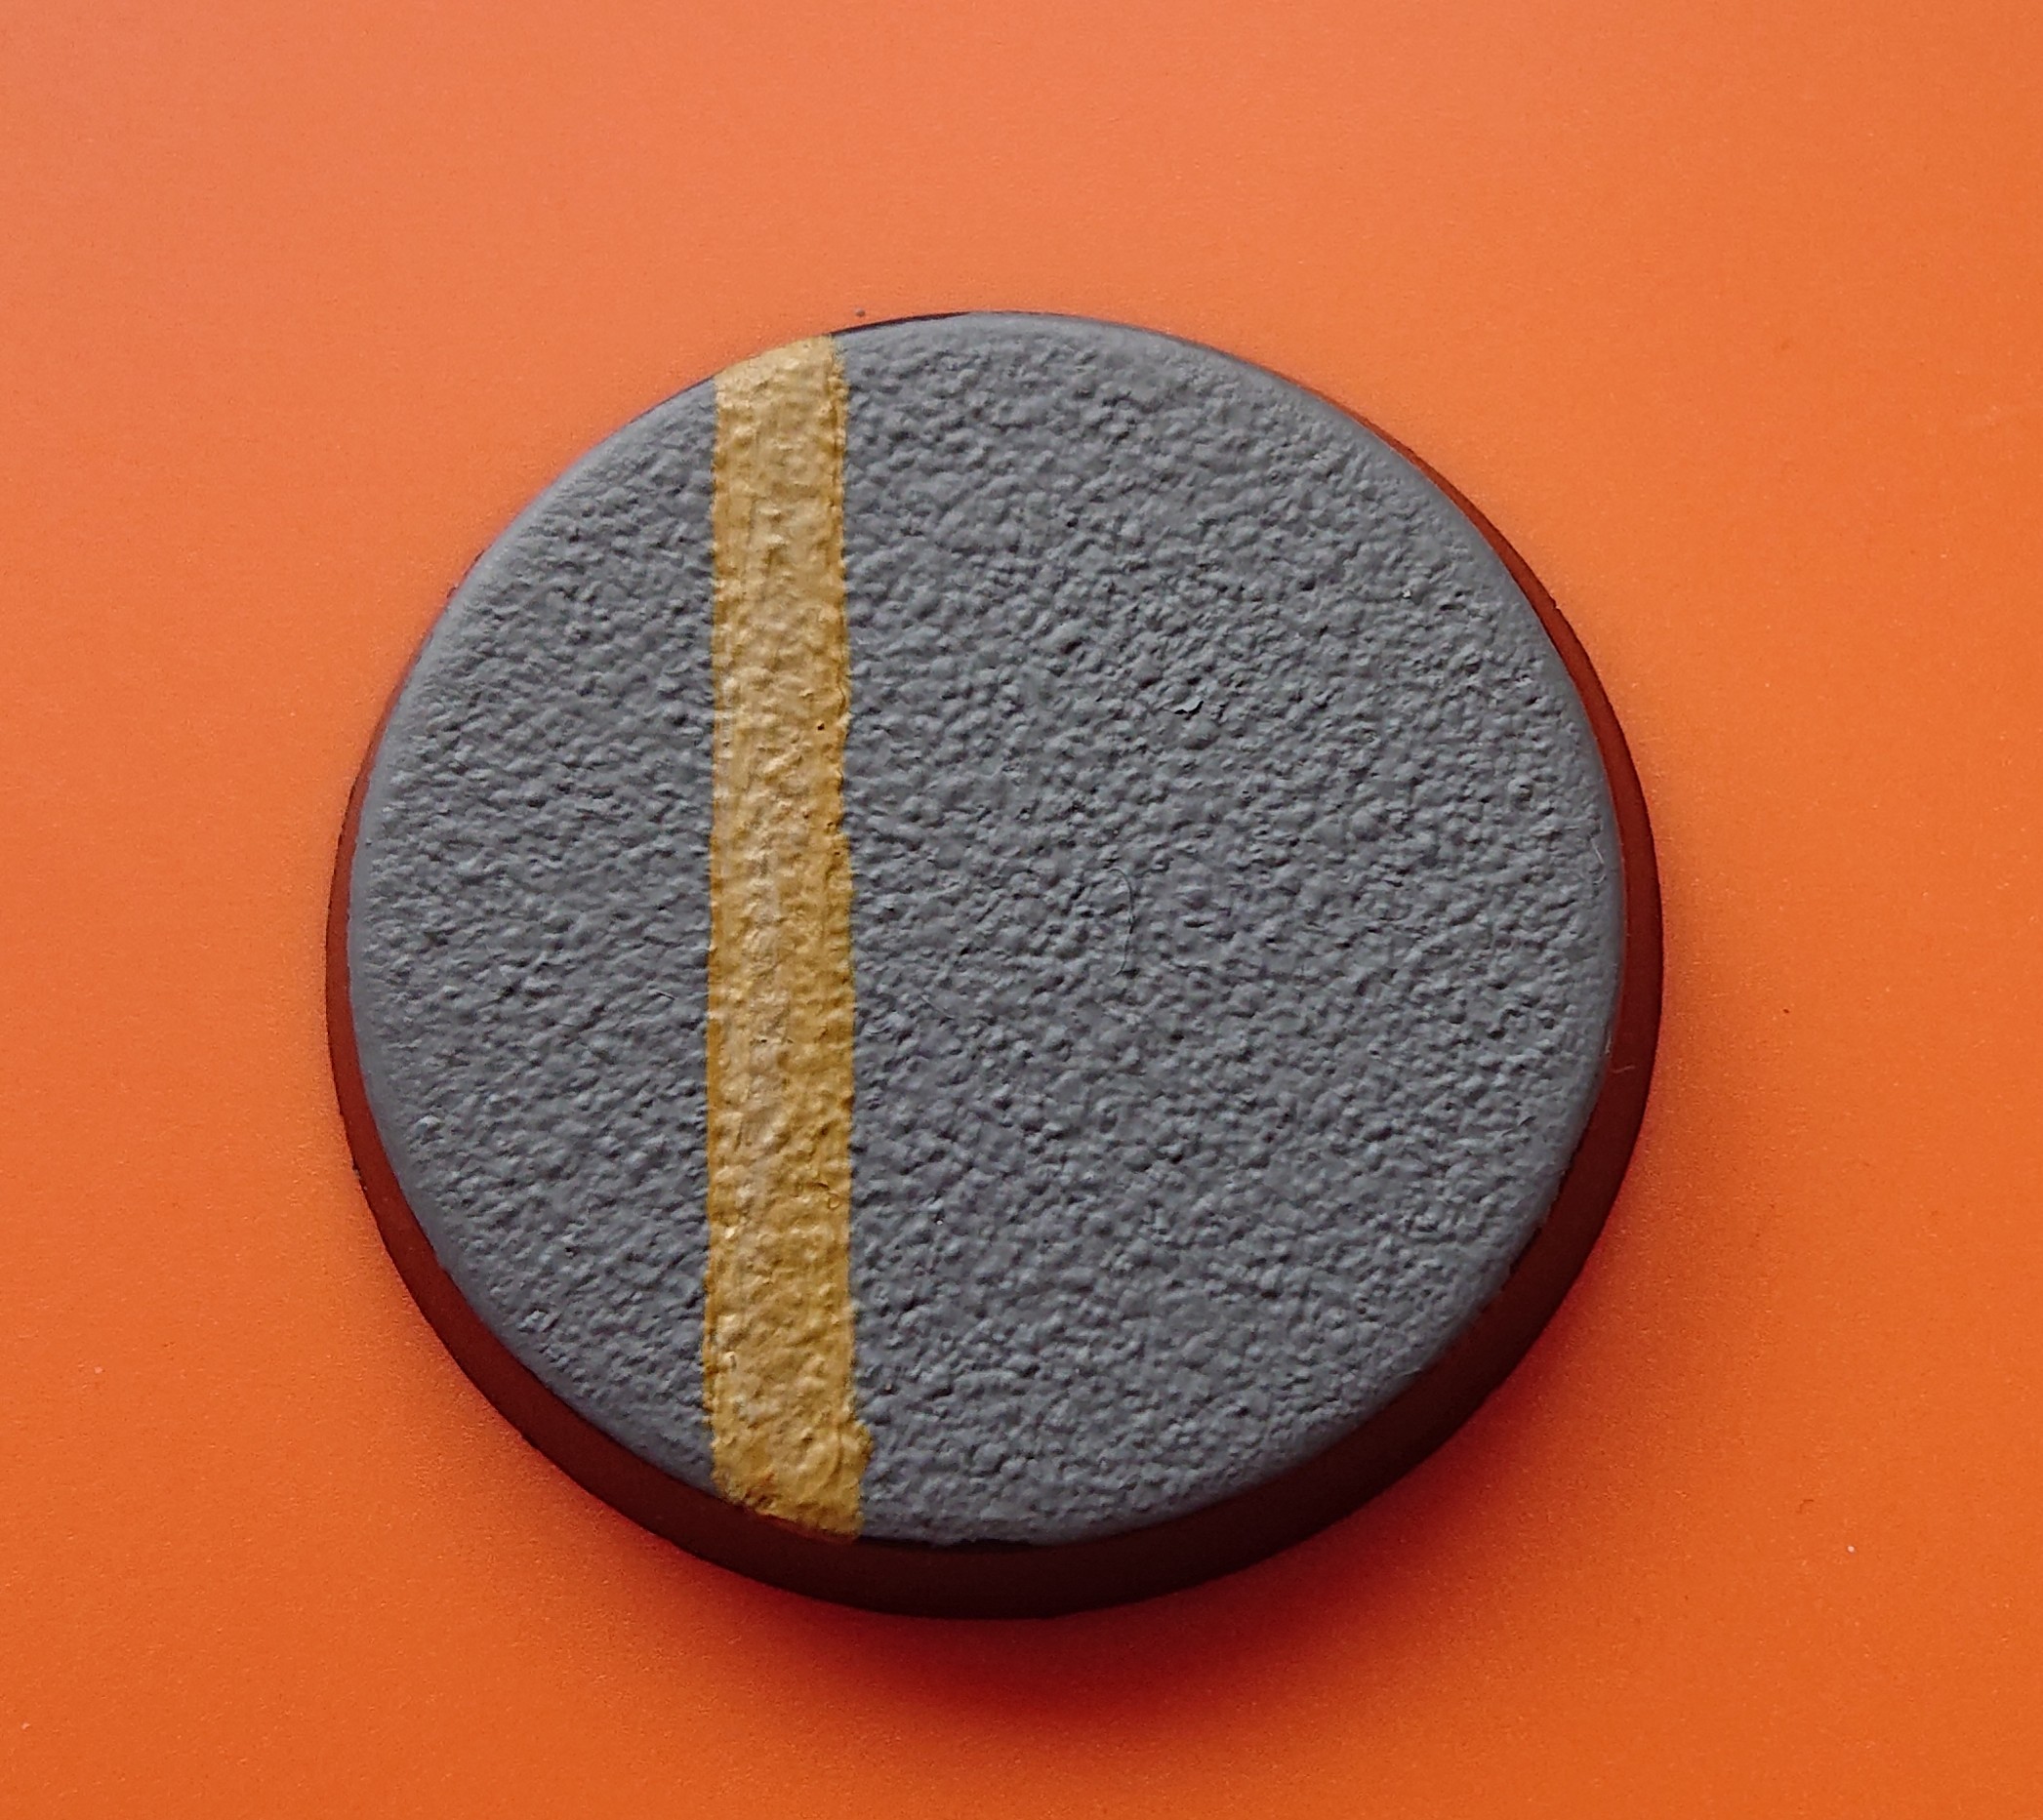 As this is going to be Kill Team themed I wanted to put a detail in to add to the effect, for this I used Zandri Dust and hightlighted a little with Ushabti Bone
 That’s step one completed with all the base coating down


Step 2 - Weathering
For step 2 then we add a bit more grim dark to the bases, make them look a little more worn in and used
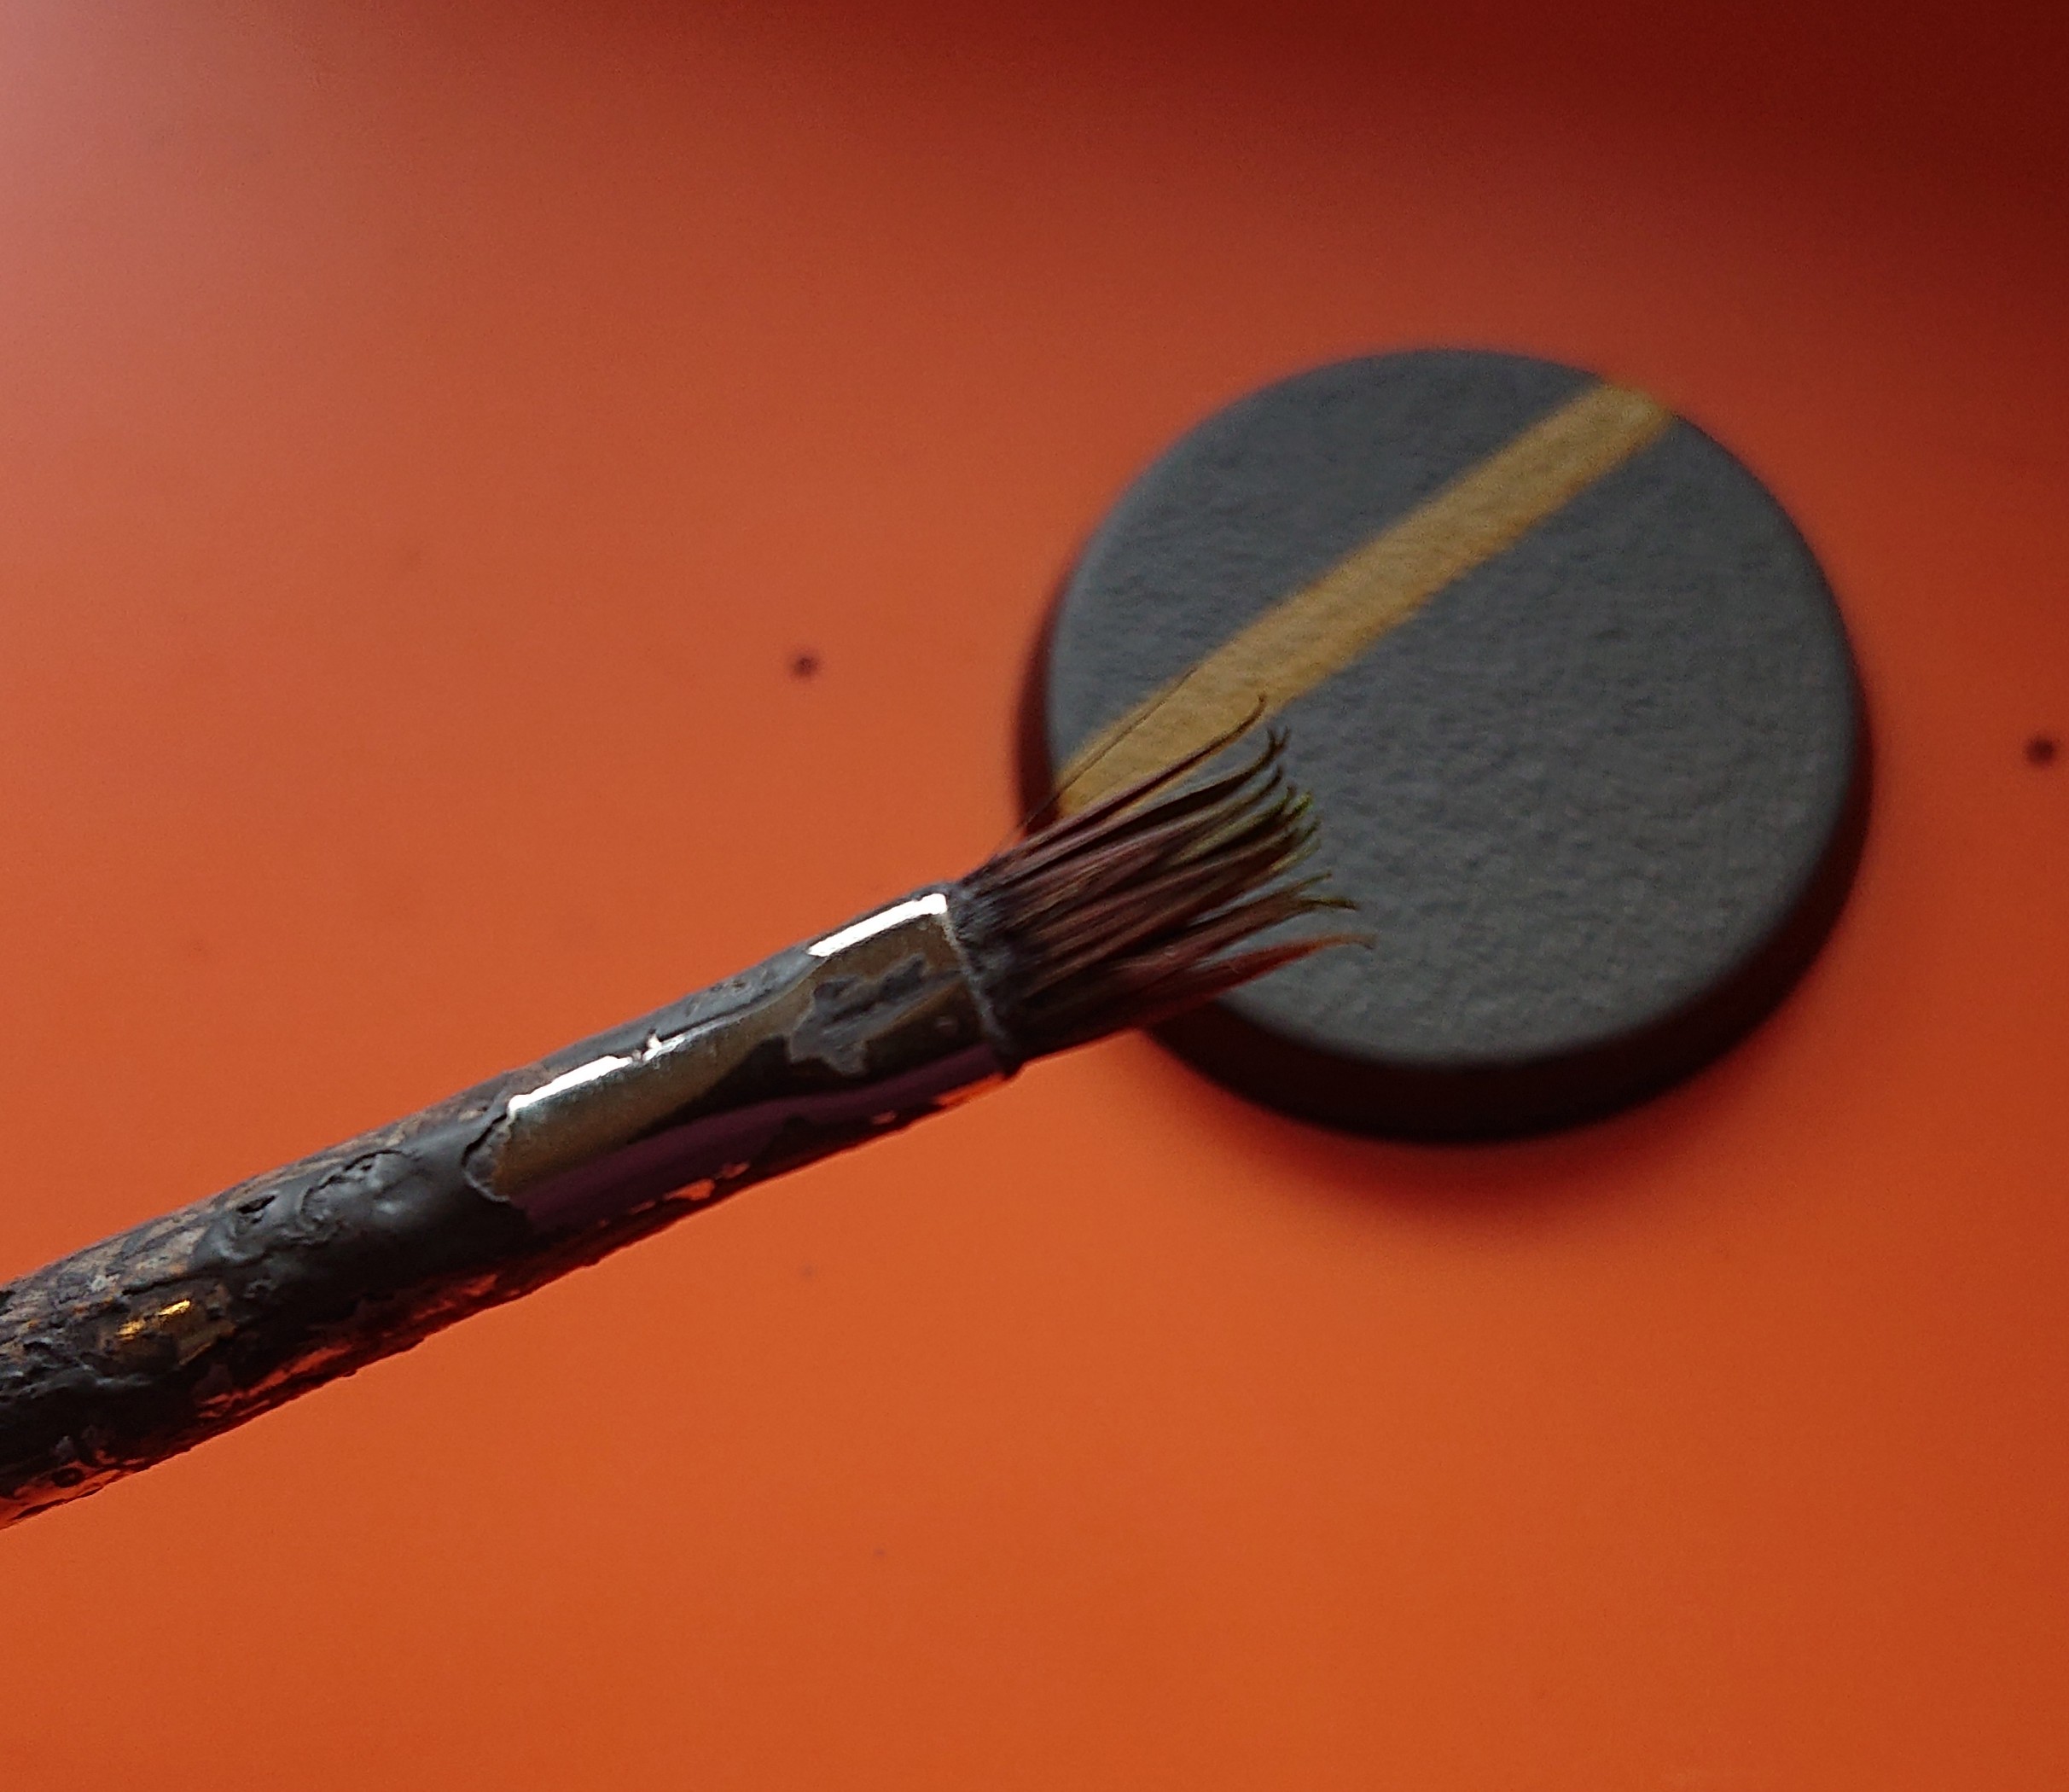
 First we want to age the painted stripe detail, this is best done with either an old brush as pictured and even a sponge if there is one to hand
 With that then we add some Dawnstone Grey again just randomly placing this up and down the line or details we have painted. The more random the better here, also less is more so we dont want to go to over the top
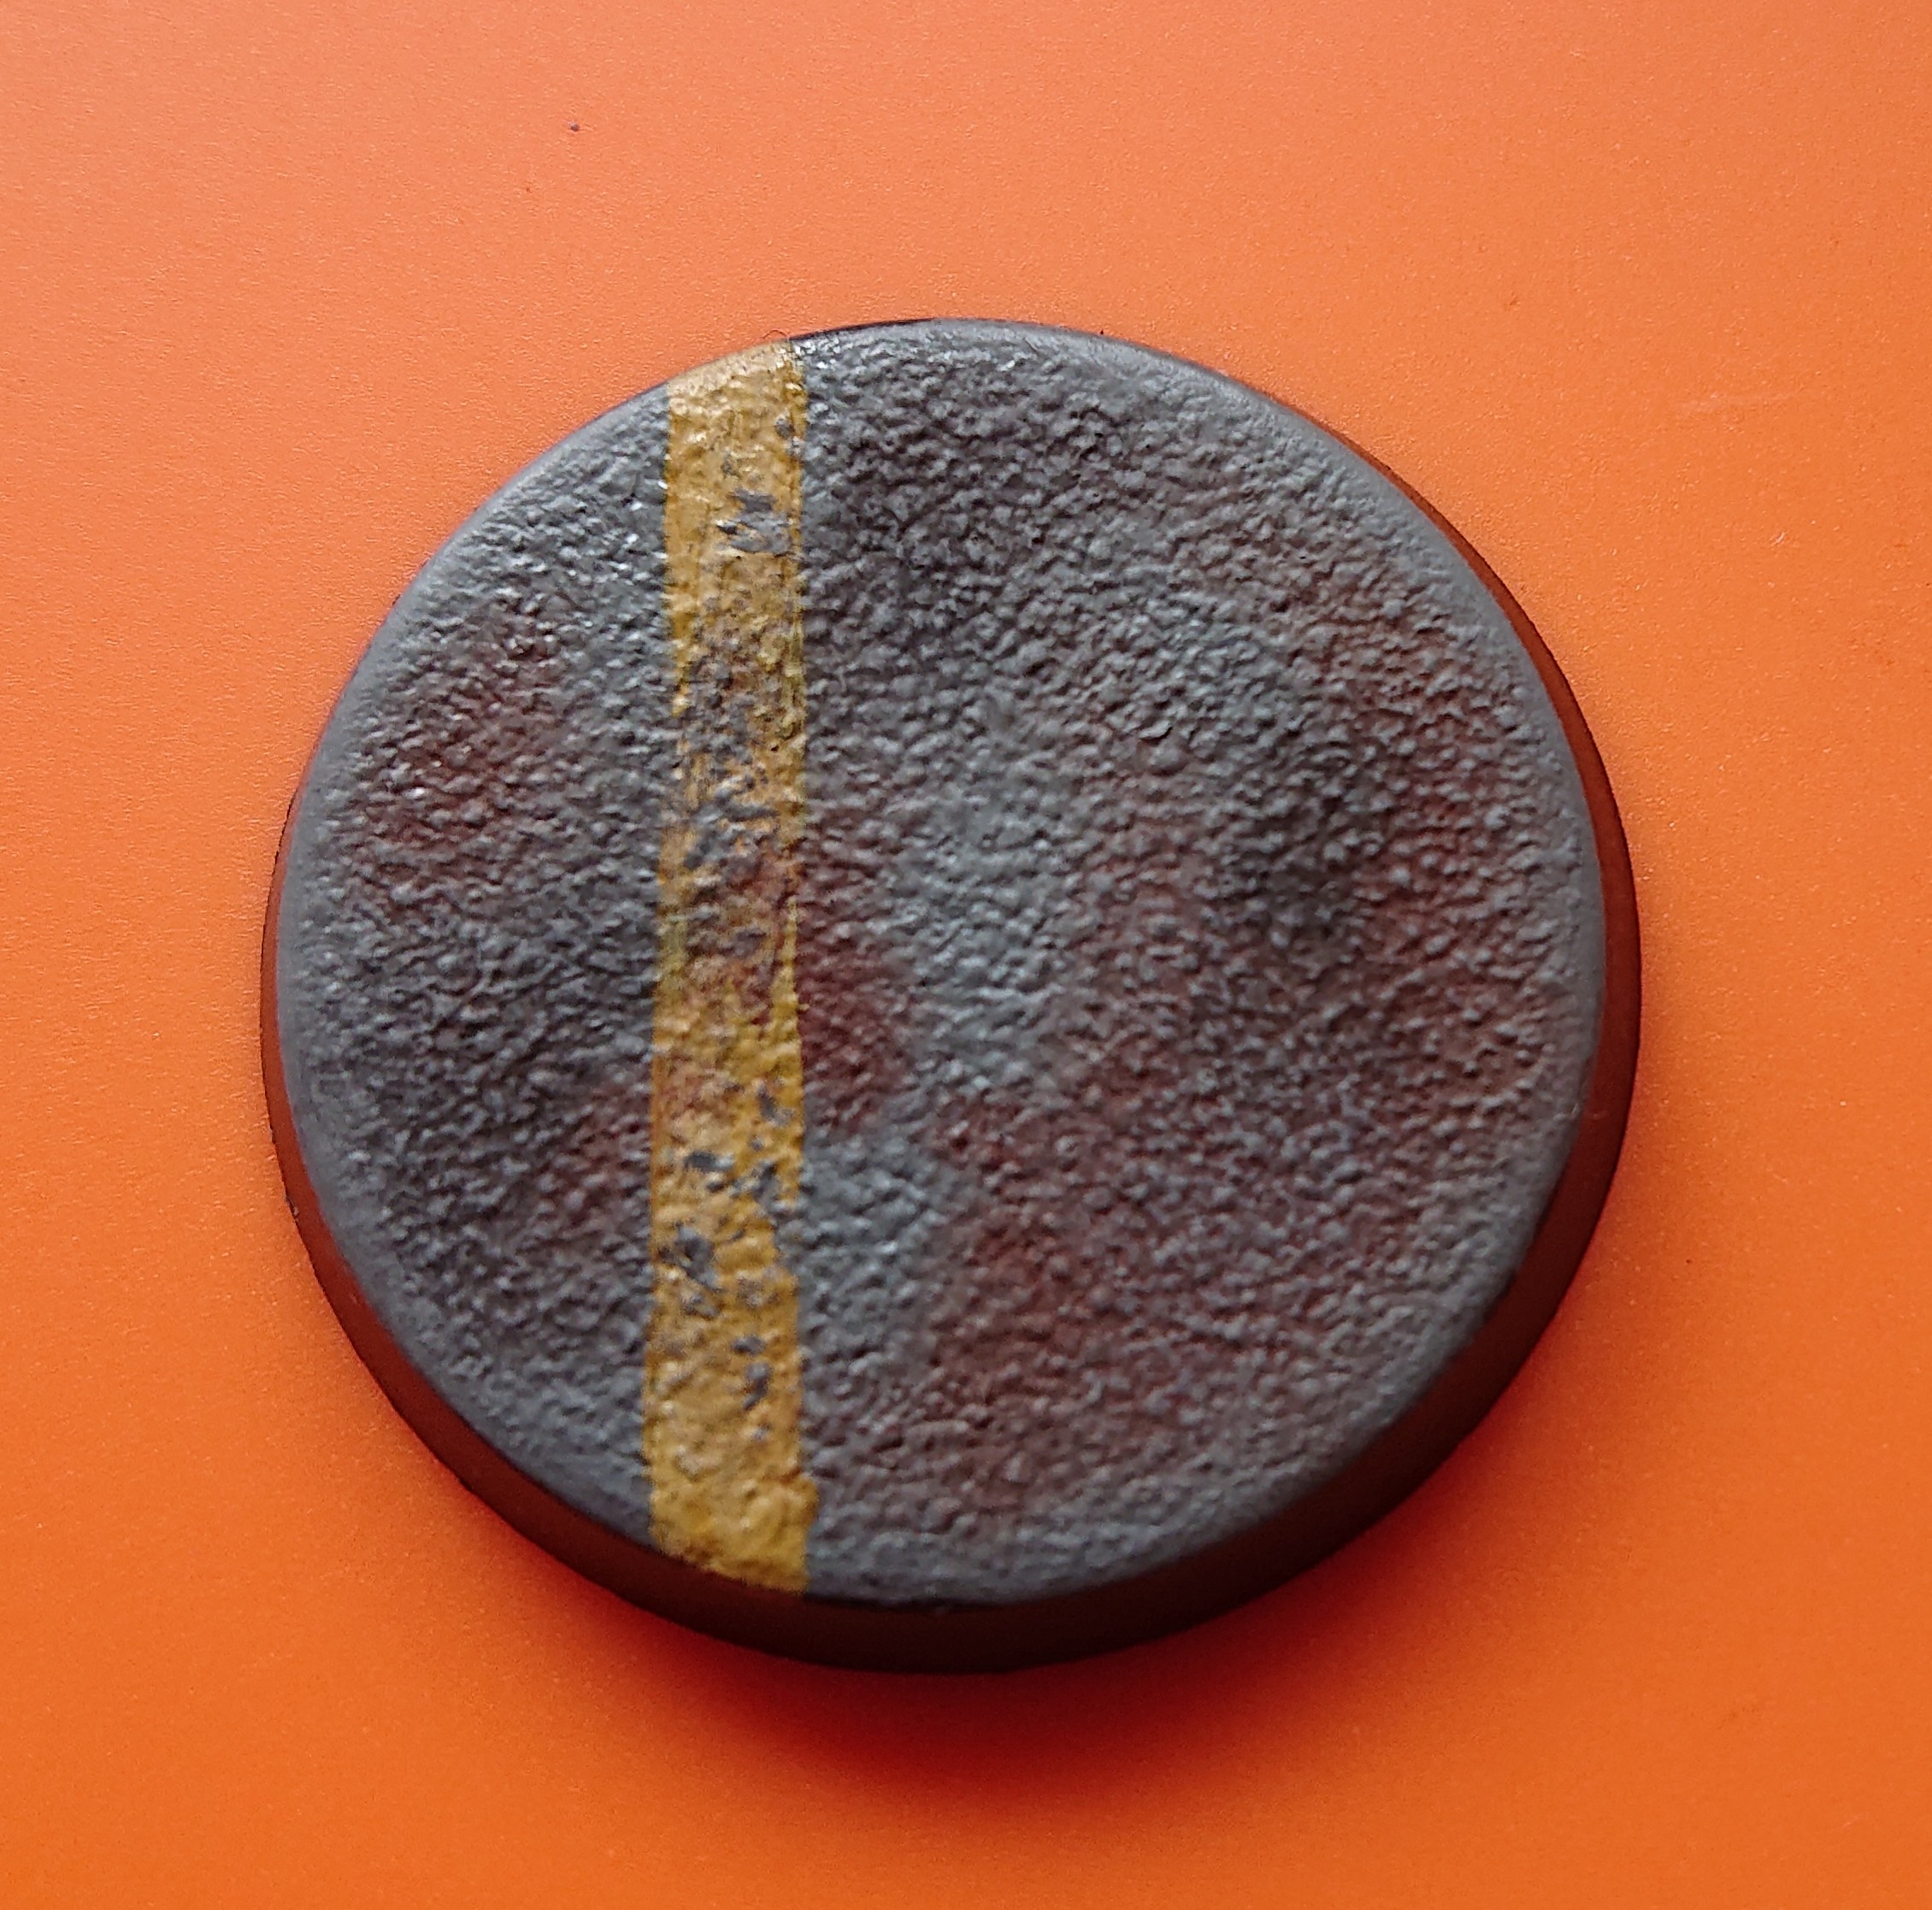
 After that step I am then adding some Pigments to the base. This is a powder that is applied to where you need the details and then sealed later with a sealer. First a bit of brown...
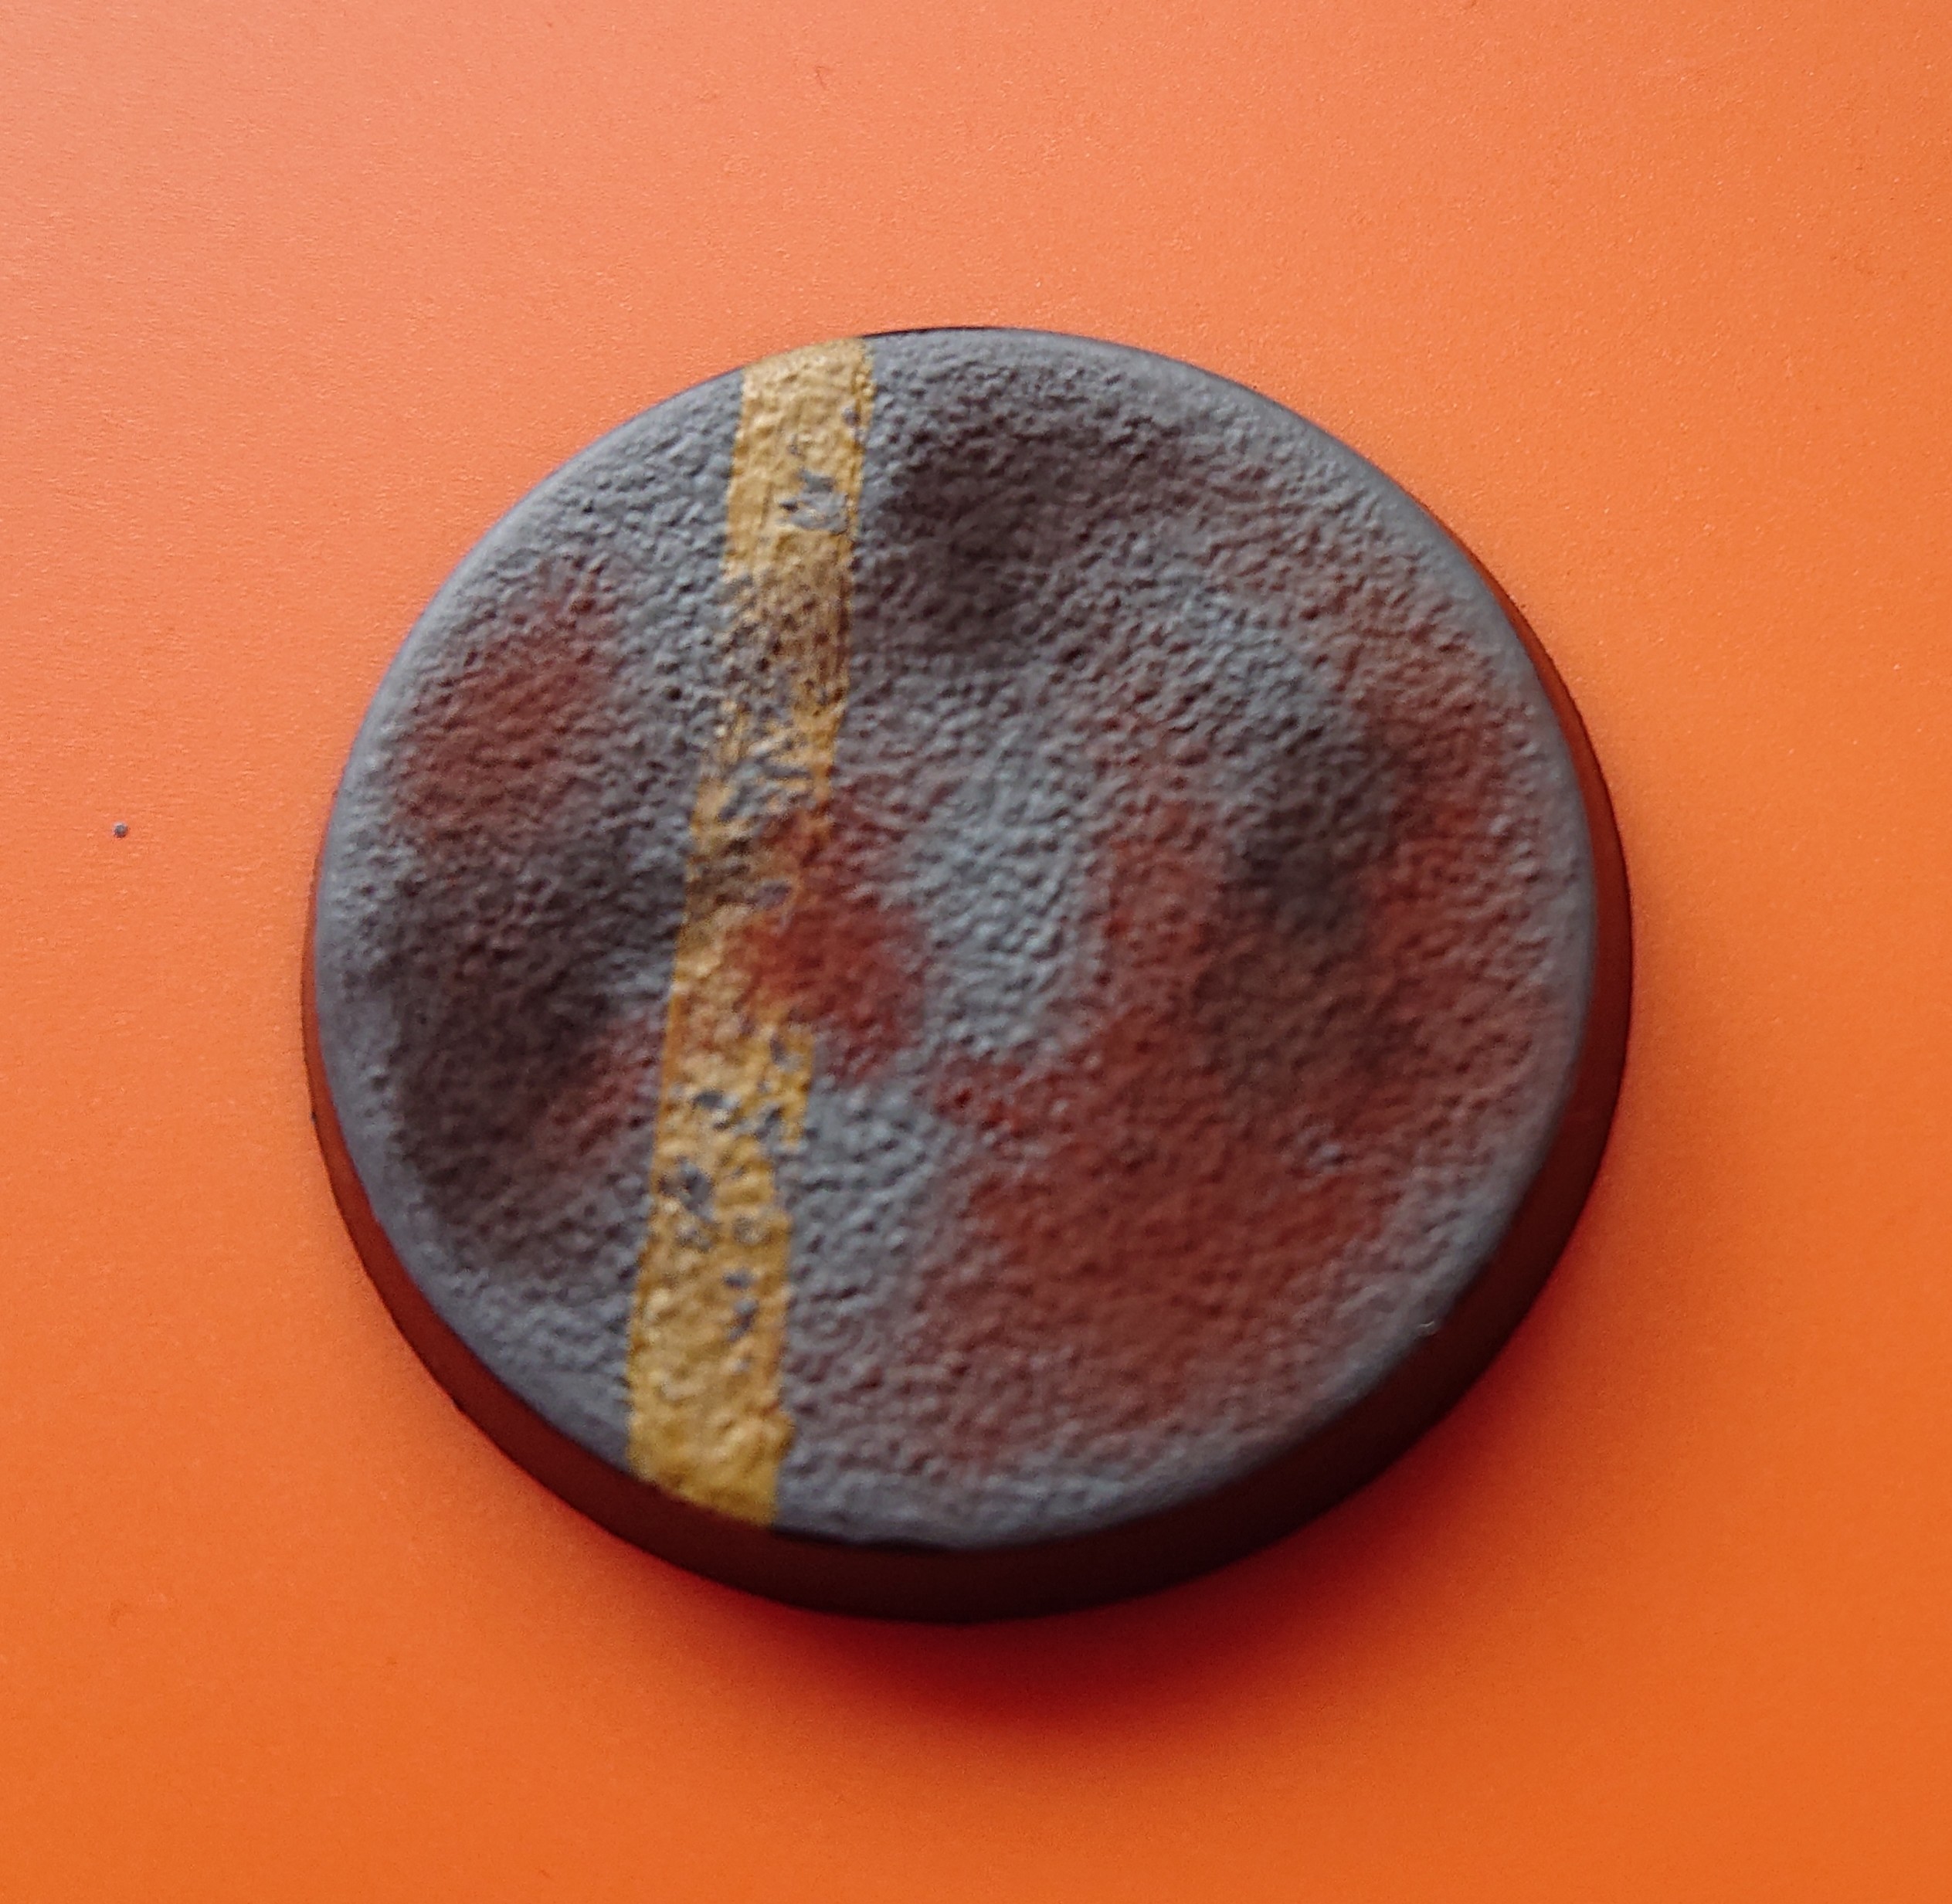 ... then a bit of black too to mix up the grime. Again random can be your friend here
 Then this is sealed with a Pigment fixer which dulls the colours a little so its not so harsh and fixes them in place. Also have no fear with applying this here as the next step can bring back some of the grey basecoat if it is needed
The initial weathering is now completed and final stage will be highlighting


Step 3 -Highlights
So this is the last step already. Just wanting to bring back some of the base colours here whilst bringing it all together.
 First with a drybrush of Dawnstone Grey, I also put a bit more Zandri dust here where I thought the pigments were hiding a bit too much of the stripe detail. The grey can also be worked in a little more over any areas where you think the pigments are too harsh
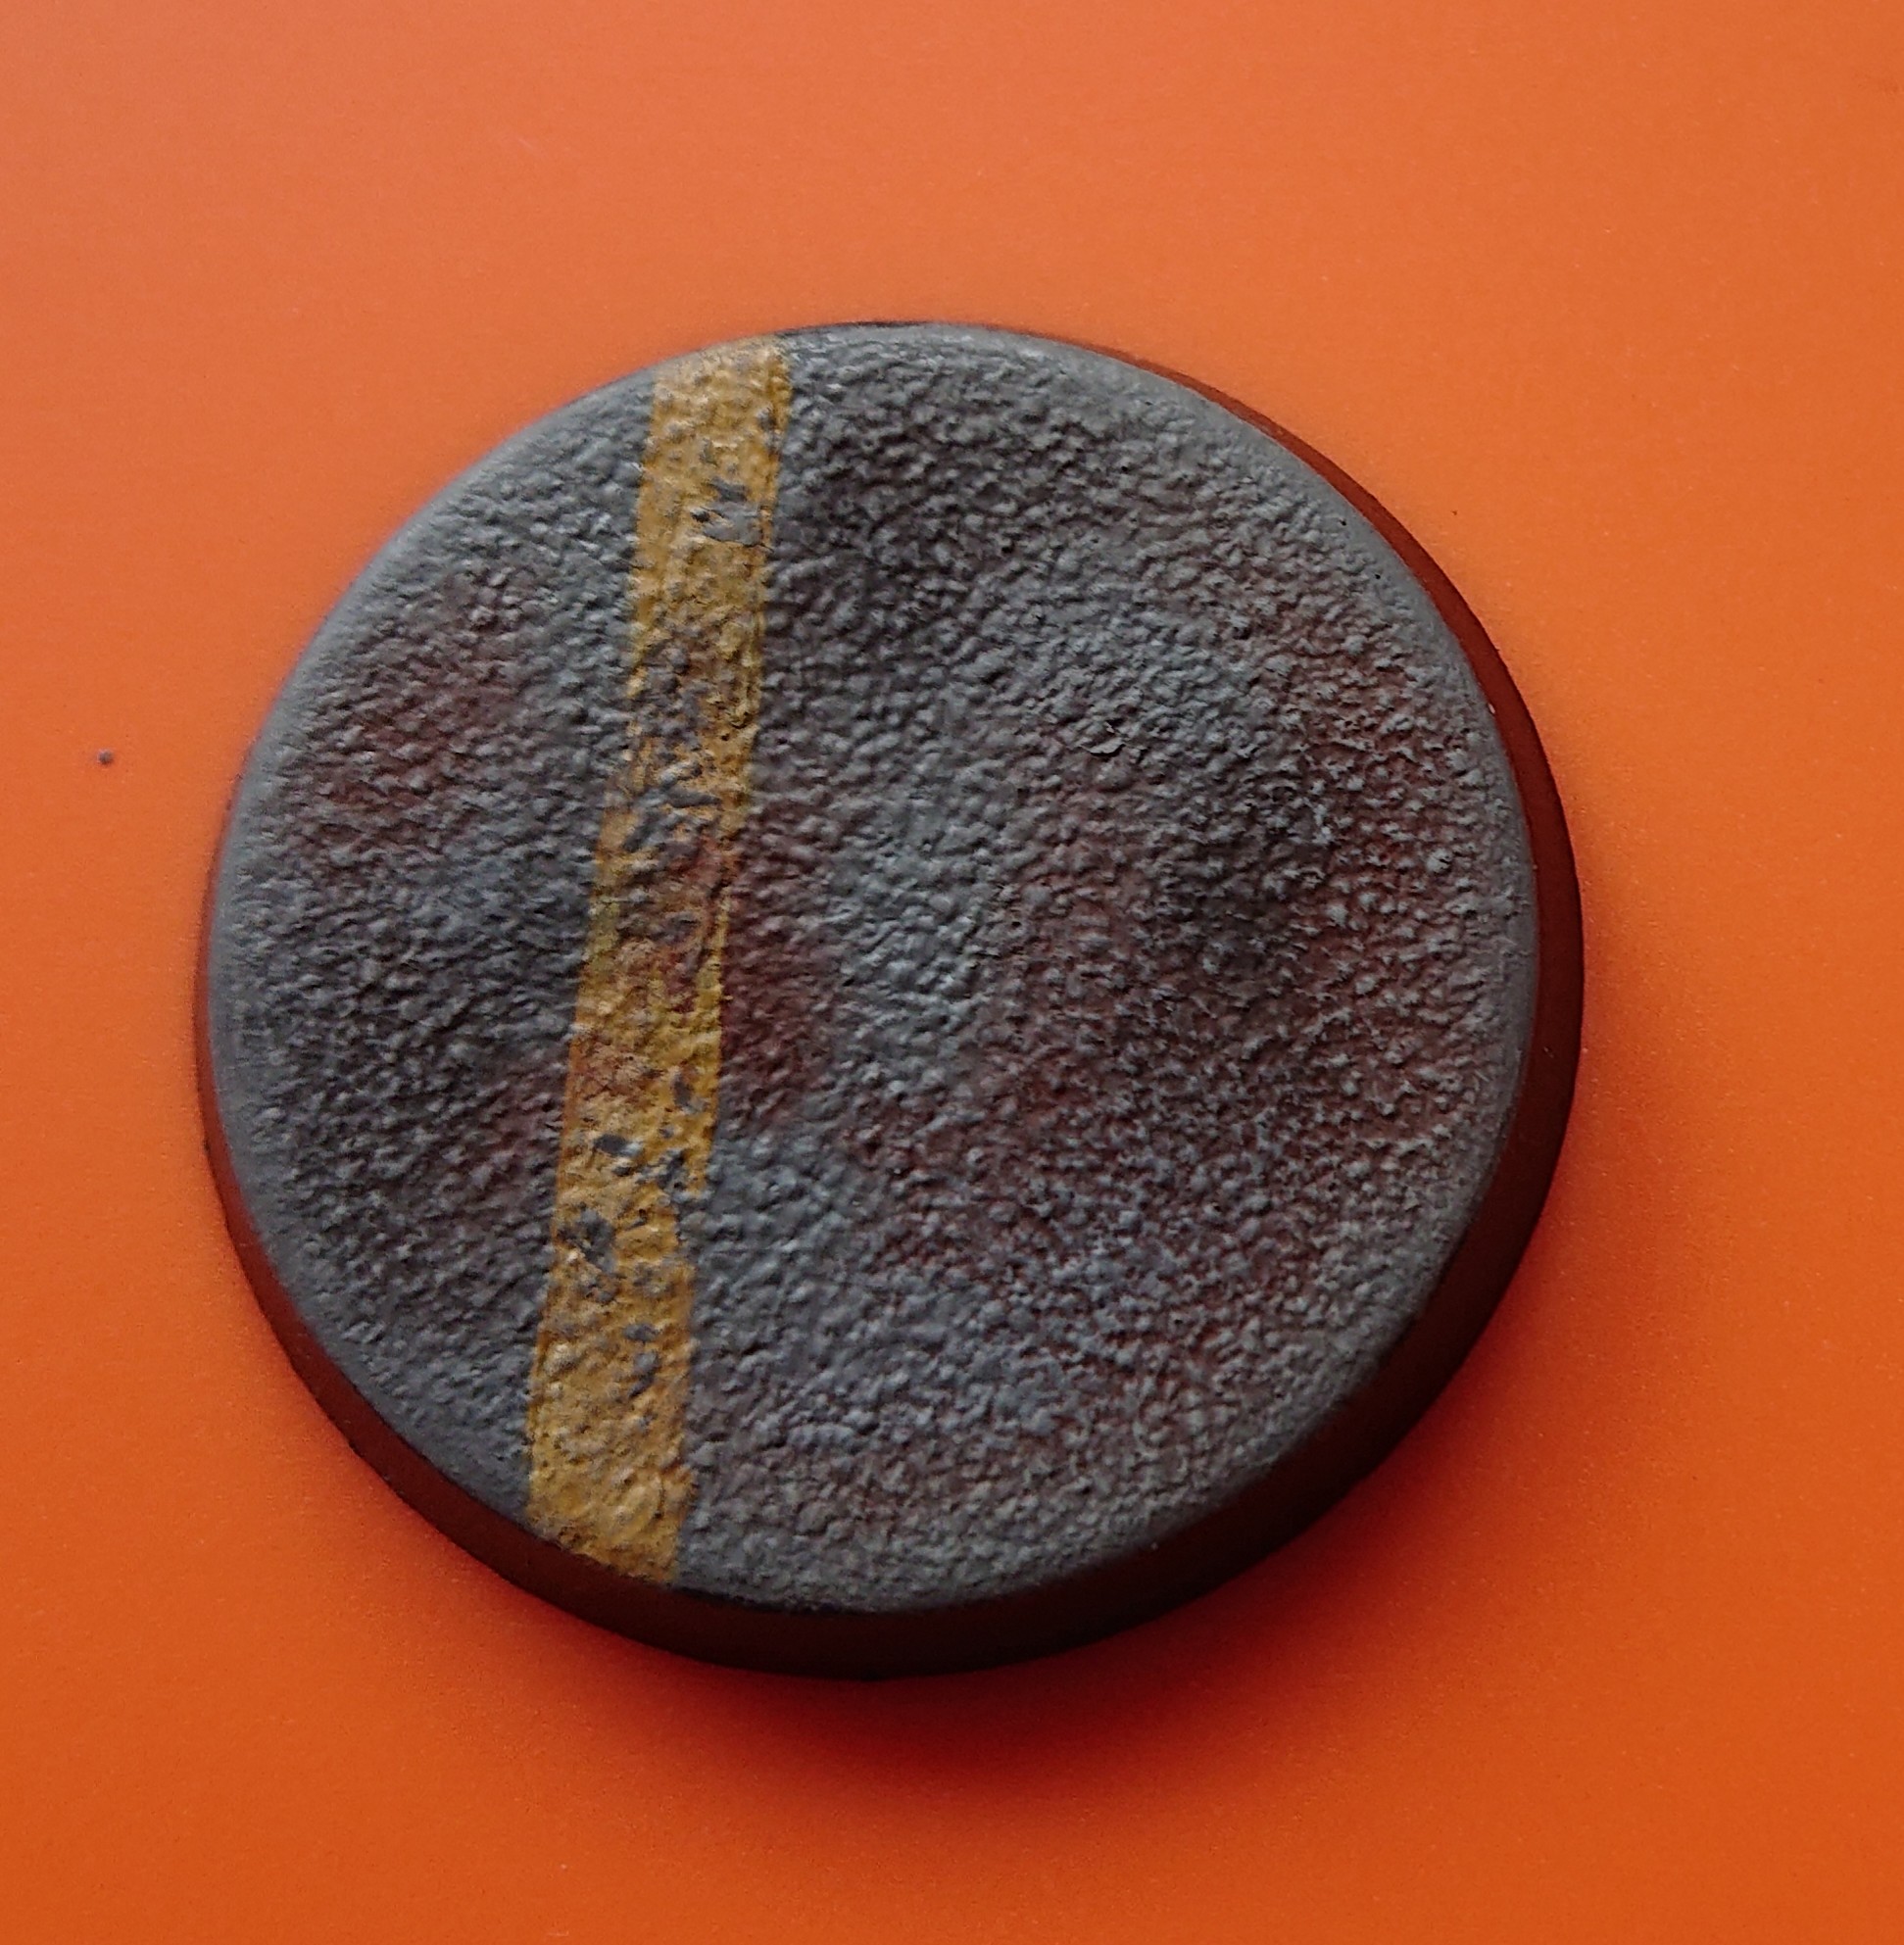 To finish this off then a mix of Dawnstone Grey and Ushbati Bone drybrushing from the outside of the base inwards to make the lighter ares all around the bases edges
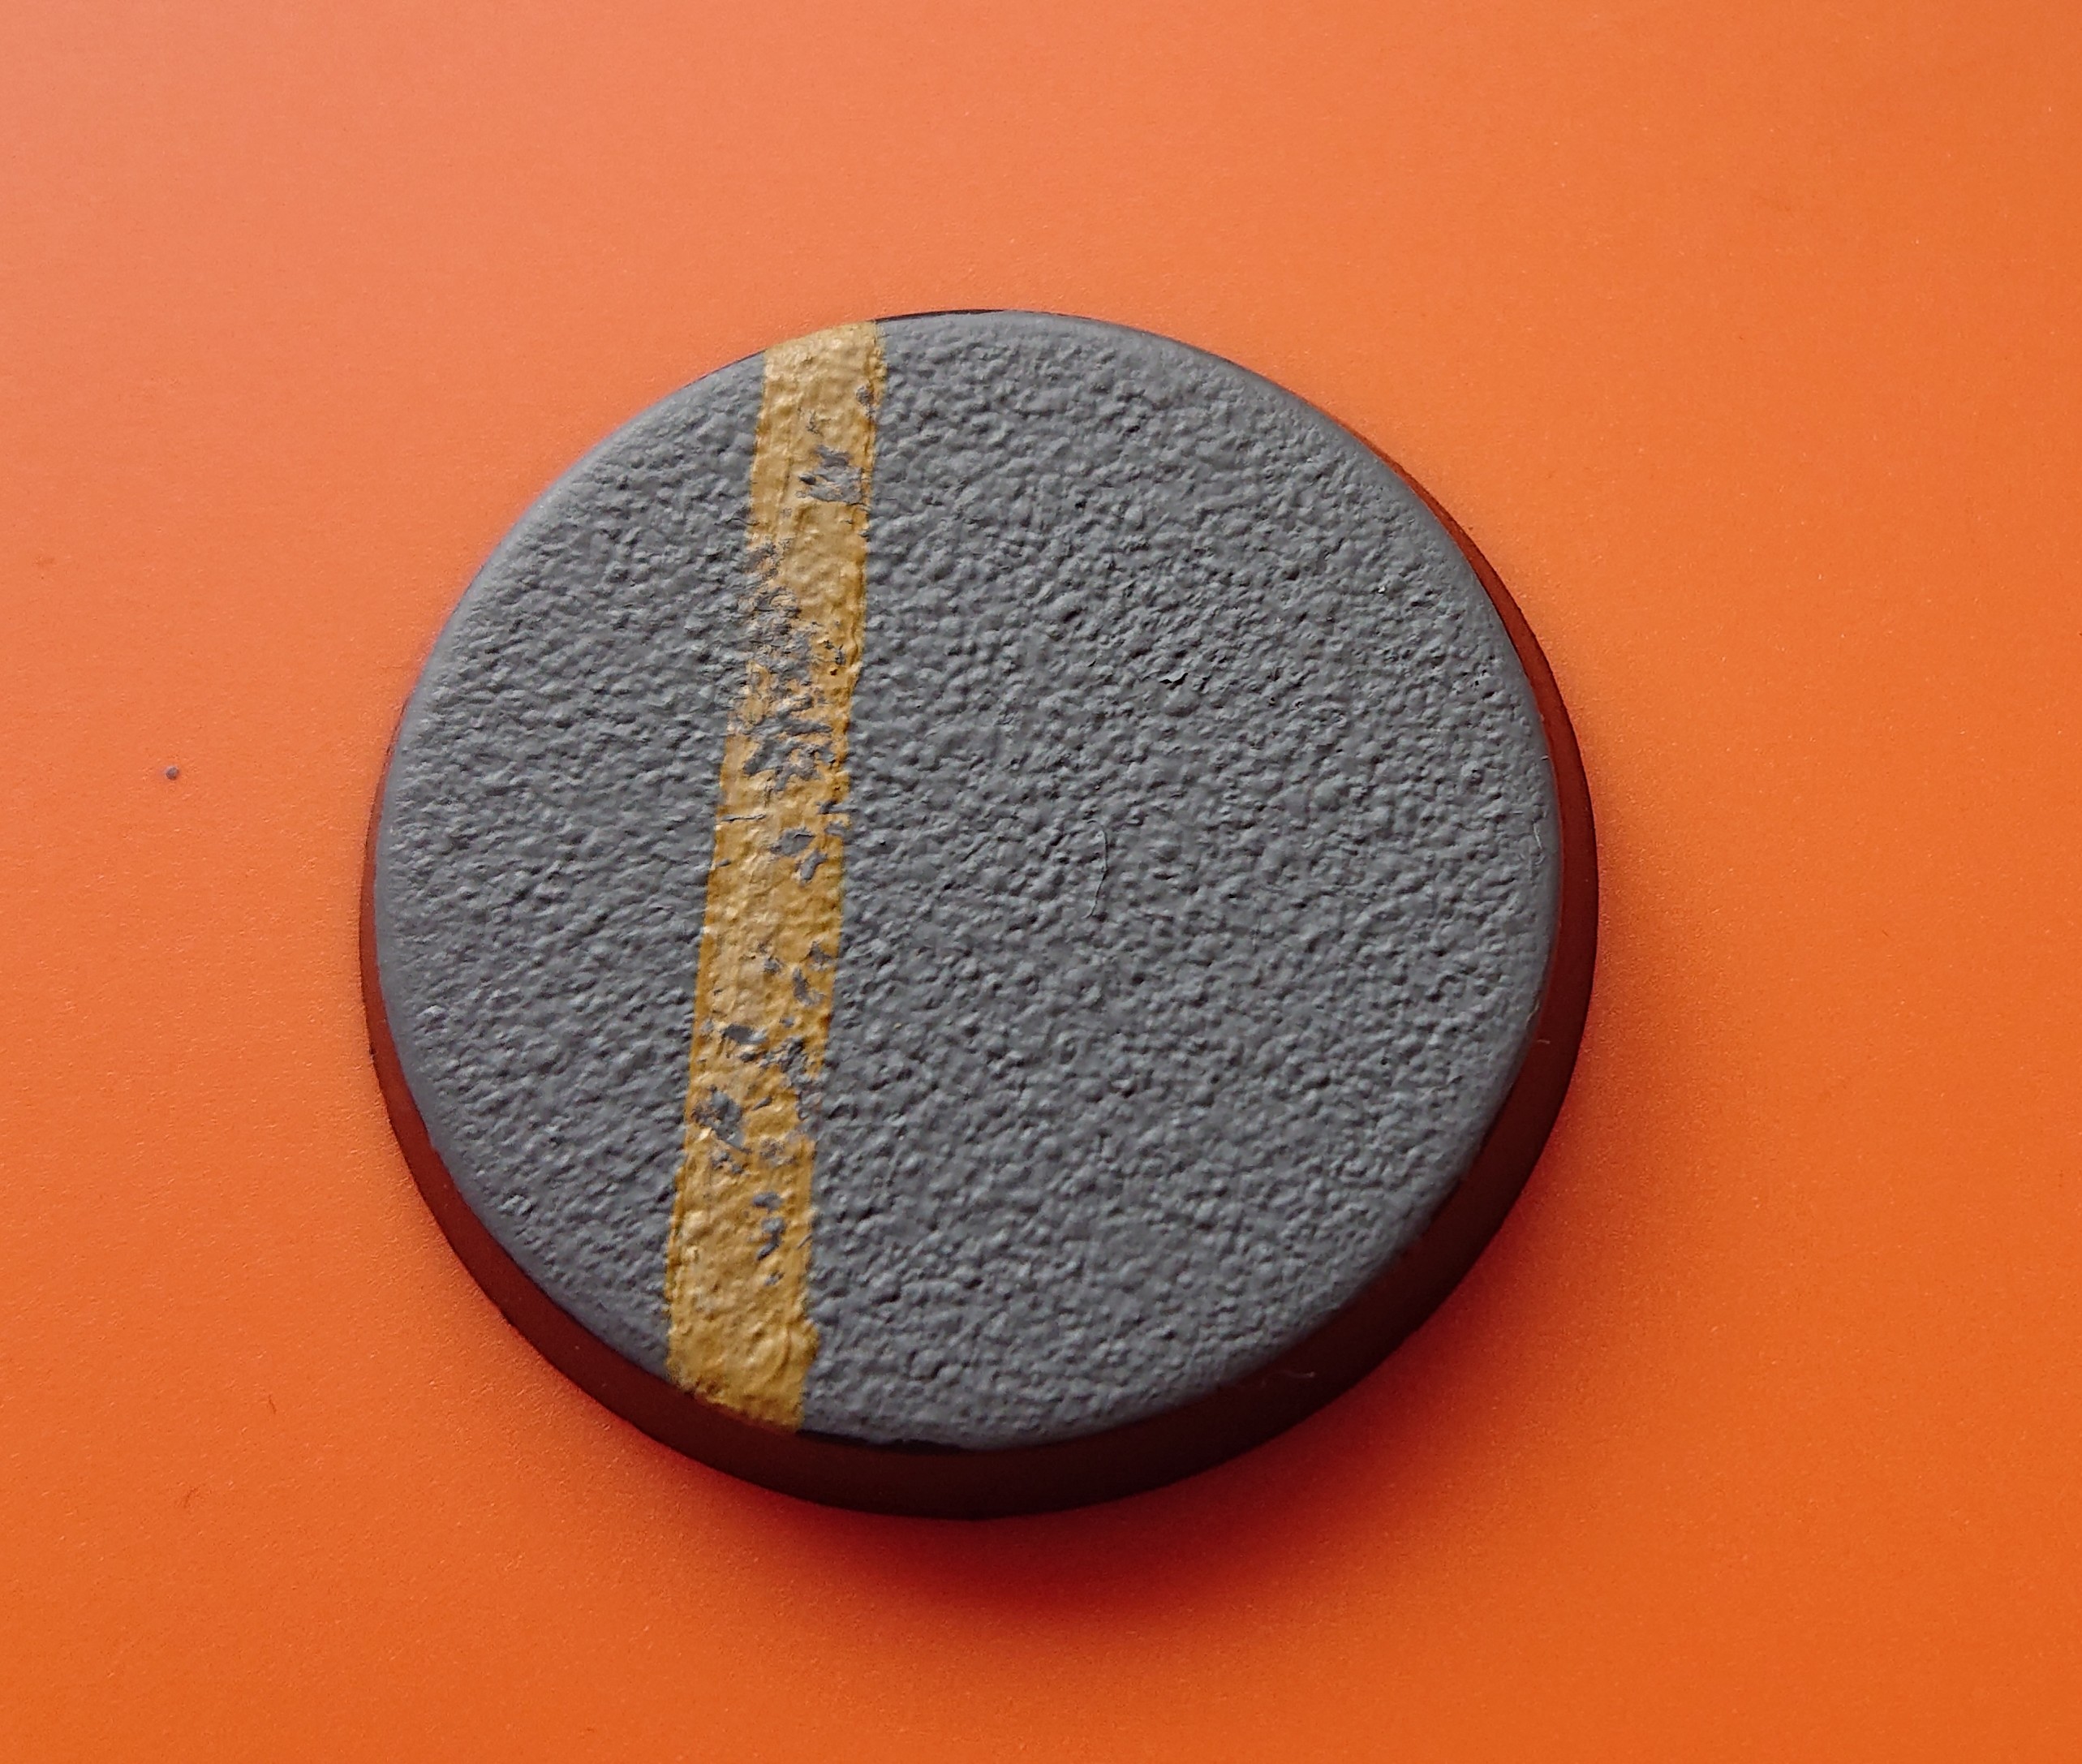
 That is our base complete, I have added a dark brown (Rhinox Hide I believe, hard to see in this pic) around the rim just to finish it off
And with that our base is complete!


Completed bases
So with that you can base up a Kill Team in around 30mins with these steps and maybe a hair dryer to speed things up too
I wanted to show the quickest way to this with them still looking table top standard but if you have a few bits lying around or a but more time you can add as much as you like….
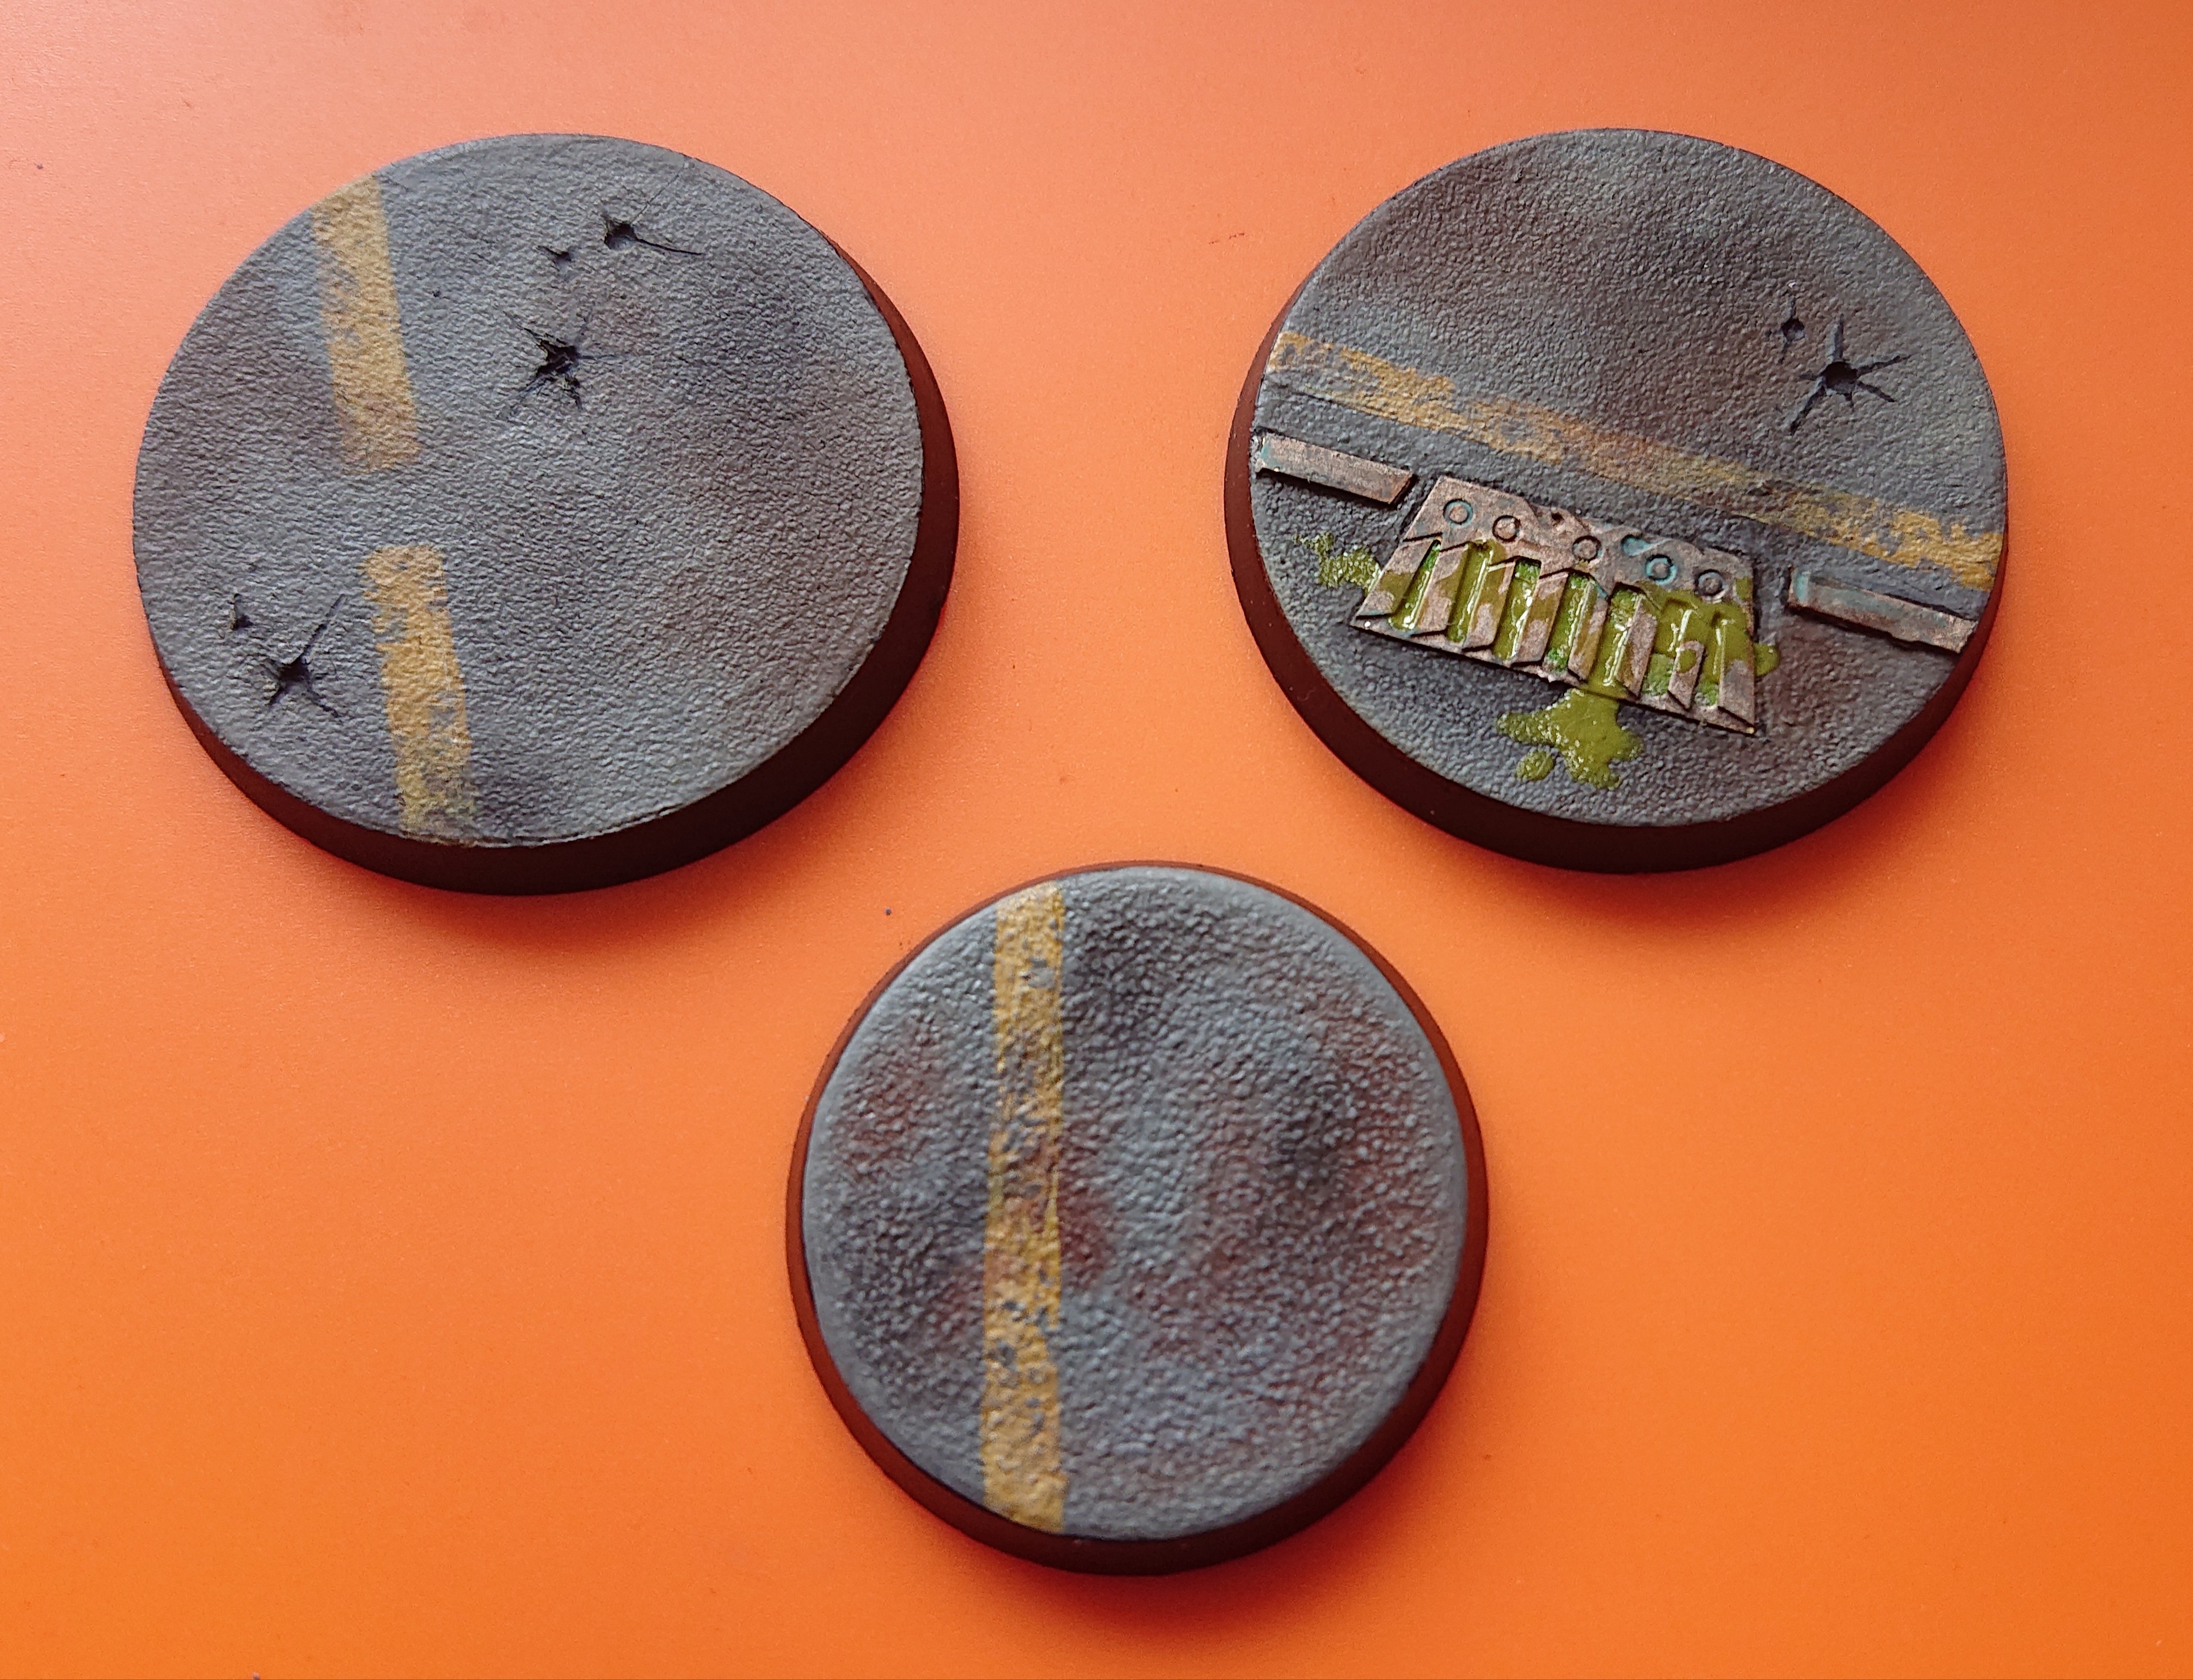
… thanks for reading and I hope you enjoyed