The Road To The 2015 Warzone International: Part Seven
June 19, 2015 by crew
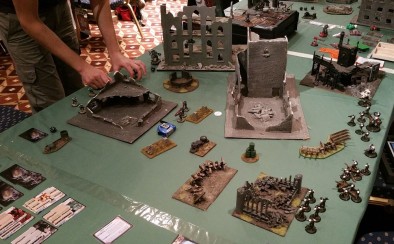
With the UK Games Expo now behind me, it is time to report on the 2015 Warzone Resurrection International Tournament which took place on Saturday May 30th and Sunday May 31st.
Under the watchful eye of Jarek, Michal and even Rob at one point, 22 players played 5 games each over the weekend and when the dust had settled, Capitol (Riccardio Zuddio, 1st), Dark Legion (Szymon “Slepy”, 2nd) and Capitol (Rafal Wroblewski, 3rd) took home the trophies and prize money while the losers consoled themselves with the goody bags that Prodos laid on, the value of which was considerably more than the entry price for the tournament.
Bauhaus Forces Lists
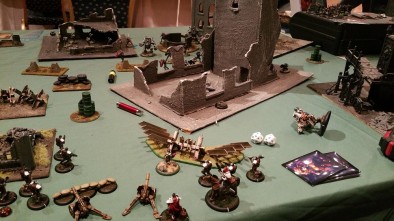
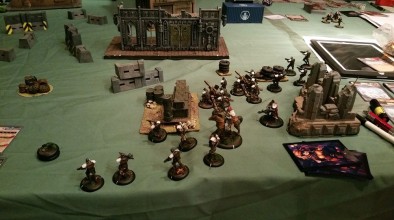
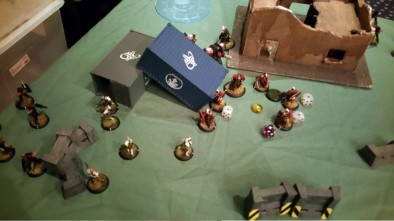
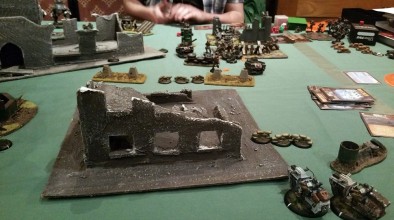
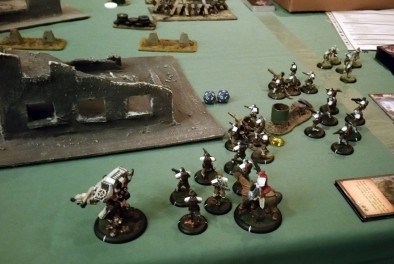
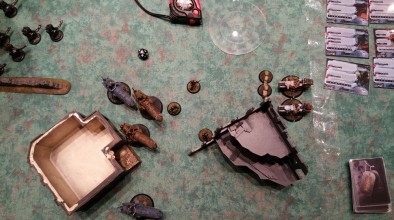
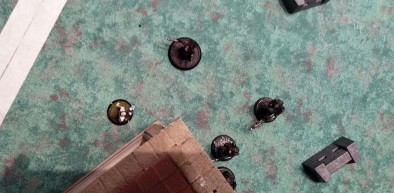
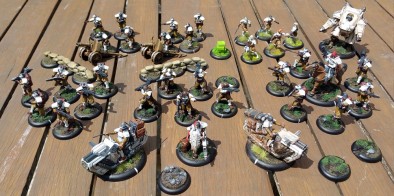
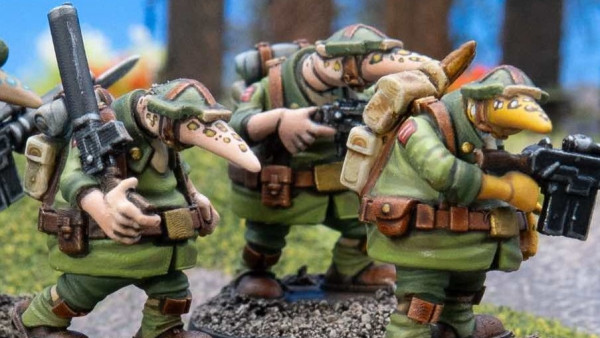
In between some hasty shopping and an awesome late night showing of Flash Gordon, I too played some Warzone. So how did my Bauhaus force – the 8th Sturmpionieres – fare?
List 1 Vs Bartek Kolodziejczyk Playing Bauhaus
(Mission 1: The Advanced Base) My Hidden Agenda: Glory Hound (BAK Squad Leader)
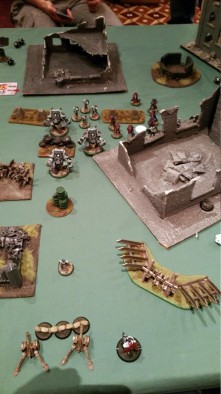
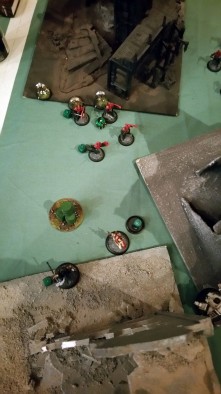
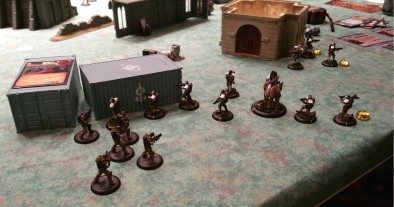
My first game was a fair and friendly – but appropriately brutal - introduction to Warzone Resurrection and tournament play in a Bauhaus vs Bauhaus match-up. With my force literally centred around the use of the Bauhaus Artillery Korp, I placed my artillery in the middle of my deployment zone and a Hussar squad on either side.
My Warlord, Ilsa, loitered nearby in an attempt to offer up some protection against Rapid Deployment while my Vulcan was deployed a bit too far to the right.
Bart’s list seemed to have been impacted by the last minute changes to Rapid Deployment, leaving him with a trio of Vulcan walkers equipped for close combat that were forced to plod across the table towards the objective along with his Brotherhood troopers and a Hussar squad while some Venusian Rangers infiltrated near to the objective in the middle of the table.
His Etoiles Mortant were about as effective as you would expect, however, and the first squad dropped into my deployment zone on the first turn. Despite having a respectable rate of fire on her machine gun, my Warlord Ilsa was unable to draw a bead on the Etoiles who were on the far side of the Artillery Korp and most of my shots missed (Unless I’m playing D&D, I roll 20’s like a pro!).
The Etoiles killed almost all of my Hussar crewmen, leaving the gun teams without enough crew to be able to fire them, and when Bart’s Warlord dropped in too, things got really messy, with Hussars (and the remaining crewmen) falling easily to her flamethrower. On the right, my Vulcan walker tried to get a better position to help thin out the Etoiles Mortants but most of the shots missed and it didn’t take long before Bart’s Vensuian Rangers brought it down.
Very soon I was left with two small groups of models; my own Etoiles Mortant, who were about to drop in behind the line of Brotherhood Troopers in an attempt to stall their advance on the objective and in my own deployment zone, my Warlord and a handful of Hussars including the mounted Kapitan.
My Etoiles landed on target but were largely ineffective and when the lumbering close combat Vulcans back tracked, I knew they were done for.
Meanwhile Ilsa had been engaged in close combat by Bart’s Warlord but was saved by the Hussar Kaptain, who joined the fray by directing his horse to kick the enemy Warlord out of close combat. It didn’t hurt her very much, but it freed up my own Warlord who promptly gunned the enemy Warlord down.
Unfortunately, Bart’s Venusian Rangers had been edging out of cover to get a better shot at the survivors on the right while another of Bart's Etoiles squads dropped in near my Hussars on the left and very soon I was left with a wounded Warlord facing off approximately 600 points worth of models. Ironically it was Bart’s last surviving Etoiles Mortant who finished her off with a good shot from her Punisher handgun.
By the end of turn 3, I had been tabled and with the exception of my Etoiles Mortant squad and my Vulcan, I hadn’t even left my deployment zone.
Result: Loss, 0 Mission Points
List 1 Vs Richard Larking playing Brotherhood
(Mission 2: Head of the Snake) My Hidden Agenda: Destined for Greatness (BAK Squad Leader)
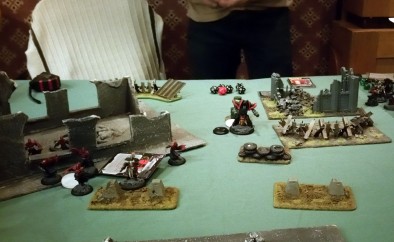
With quarters deployment meaning that my opponent’s close combat orientated army would have to spend even more time running across the table and the relatively small amount of cover (chest high walls, mostly) that occupied 75% of the table, I had a pretty good chance at this one.. on paper.
Once again I deployed my Artillery Korp close together so that any Sandbag tokens I could place would offer up some additional projection to both squads, with a Hussar squad on either side and my Vulcan as far left as the triangular deployment zone would allow.
Ilsa lingered behind the Artillery Korp once more, but the shape of the deployment zone meant that both Hussar squads could cover the area in front of the BAK and either side, while my Warlord covered the rear. Not only did my chosen corner suit my army but the opposite corner had a lot of terrain which meant that Richard’s Brotherhood army – which included two Judicator walkers on large bases – would have a hard time making their way out into the open.
I even had a pretty good Strategy card in my hand which I played at the start of the game, one that allowed me to place a token in the only corridor that was wide enough for the Judicators to get through and it would cause quite a lot of damage to any model that came into base to base contact with it.
Little did I know that this would be the high point of the game for me.
For the first two, perhaps three turns, Richard’s two Brotherhood Trooper squads moved along the table edges, hugging cover as much as possible and slinging Ascent of the Ruby Light spells at my Vulcan and then my Hussars, singling out squad leaders and whichever Hussar was unlucky enough to be carrying the Rocket Launcher at the time.
Outranged, my only choice was to move closer but by now both Judicators has bypassed the trap I had placed previously and were in the middle of the board, putting out a withering rate of fire with their twin AC-100 Crusader Cannons.
Caught between getting close enough to shoot at the Troopers and taking full strength shots from the Judicators, or hiding in cover to take out the Judicators while my own models were getting explosively sniped, it was a well executed strategy that inevitably killed my Vulcan and my main Hussar squad although by way of consolation, I did manage to take one of the walkers out.
To my surprise, my BAK also went unscathed for several turns but my mistake here was targeting the squad I was most worried about – the cluster of Richard’s Sacred Warriors and his Warlord – instead of the squad that was really hurting me (the Troopers).
I think I managed to put a wound on every Sacred Warrior with my artillery, but ultimately it was a futile action that only claimed perhaps a single Sacred Warrior.
Before they could get too far apart, my Etoiles Mortants dropped in between the Sacred Warriors and the Brotherhood Troopers in an attempt to take out the squad leaders from both squads but while I managed to kill the Inquisitor leading the Troopers, my flamer attack on the Sacred Warriors was ineffective and I couldn’t get to their squad leader that turn.
The Sacred Warriors mopped them up with ease. Shortly after that, Richard dropped his Valkyries in front of my artillery squad and despite another attempt to gun them down thanks to Ilsa who was on sentry, enough of them survived to wipe out all of the hussar crewmen and pin down the other Hussar squad in close combat.
My Warlord died soon after, leaving me with the remnants of two Hussar squads but since the Squad Leader from both had been killed, Richard has achieved the victory condition for the mission and the game was up.
Result: Loss, 0 Mission Points
List 2 Vs Martyn Smith playing Imperial
(Mission 3: Retrieval) My Hidden Agenda: Head Hunt
For my final game of the first day, I was presented with a mission that required me to use second list, where I would swap out the Vulcan walker and Artillery Korp for some Venusian Rangers and a pair of Vorreiter bikes. While I am not especially fond of the models and (later on), their Stormtooper-like ability to miss everything, there is no denying that the Vorreiters won me the game.
With three objective markers placed in no-mans land between our two armies, I hedged my bets on being able to find the plans under the first two tokens since the third - on my far left - was in a bad position that was being covered by Martyn's Hurricane walker.
I lost the initiative (which turned out to be pretty rare - you do want to roll high for the Initiative test and I rolled high a lot over the weekend) and I believe Martyn started with his Greyhound LAFVs, opening up with their Mortars.
Martyn targeted my bikes which were lined up with a straight shot at the objective marker in the middle of the table but just like my own BAK in the previous game, we found that the single template put out by each Greyhound just wasn't strong enough to do any real damage, especially not for the points cost.
Figuring that my bikes were safe for the rest of the turn, I activated my Warlord who had been...rather adventurously...placed in a building outside of the deployment zone since I knew Martyn had no units that could Rapid Deploy. From her vantage point she could see Martyn's Grey Ghosts and for the next three turns she would rake the building they were hiding in, only ever managing to take out one model a turn.
My bikes, meanwhile, had raced up to the middle objective marker and searched it - no plans here - then darted over to the objective marker on the right.. the one that was in full view of Martyn's army. Naturally, I found the plans.
Fortunately I was able to make good use of the Sandbag Equipment upgrade I had purchased for the squad and once the plans were safely in their saddlebags, my Vorreiters were able to drive in reverse, backing away from the enemy and throwing down Sandbag tokens to cover their retreat.
At the same time, I deployed my Etoiles Mortant in an attempt to kill Martyn's Warlord and net an extra 5 mission points. Once again the Mortants let me down, doing hardly any damage before they were killed although they did stop the Warlord and the Hurricane walker from chasing after the bikes for a turn.
Speaking of my bikes, by now they had passed through one of my Hussar squads coming the other way and they helped to screen the retreating bikes.. although the poor Hussars were quickly killed off as Martyn's army gave chase. Half were killed by the surviving Greyhounds and the other half were cut down when the Hussars intercepted the Warlord near the middle of the table and tried to take him down in close combat.
The official record will state that they were all killed by the Warlord, and any suggestion that my bikes pulled up in my deployment zone and fired at the distant melee is entirely false. They did not in fact miss with almost every shot, killing their comrades, and the fact that the Warlord also died is merely a coincidence.
Never the less, I managed to pull off a win although if my opponent had possessed even a single unit with Rapid Deployment it might have been a very different story.
Result: Win, 15 Mission Points
List 1 Vs Dave Amos playing Brotherhood
(Mission 6: Take and Hold) My Hidden Agenda: Blood Feud (Sacred Warrior Squad Leader)
After rolling for Initiative and getting Quarters deployment, we set up on opposite table corners in a triangular deployment zone, with mine located on the right and Dave’s on the left. My BAK were positioned as far forward as I dared and once again a Hussar squad flanked them.
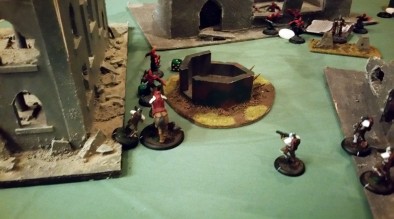
Perhaps emboldened by the fact that Dave was not using any squads with the Rapid Deployment skill, I once again risked a forward deployment of my Warlord, using Ilsa’s Infiltration skill to put her on the upper floor of a building on the left side of the table where she would have a good shot at Dave’s Warlord and his two Guardian Oblati with nothing for them to hide behind but some green barrels.
Once again, I positioned my Vulcan walker as far left as I could so that it could support my Warlord in case she got into trouble.
She did.
Despite having a decent ranged skill (16), a good weapon strength (17) and the ability to fire 6 shots per turn, Ilsa missed with almost everything for two turns and what did get through was usually deflected by a successfully Impenetrable Armour roll.
By the time my Etoiles Mortant dropped in to eliminate the Inquisitor leading the Sacred Warriors and my Vulcan had moved into a gap between the buildings to help out, my Warlord was already dead. Finishing off the other Guardian Oblati was little consolation, particularly since the Vulcan was destroyed soon after.
Meanwhile, Dave’s two Sacred Warrior squads advanced under fire from my BAK but both shrugged off the two templates each round, with one squad making it’s way past the wreck of my Vulcan to take out a Hussar squad while the other squad went for the Objective Marker in the middle of the table. Dave’s Judicator, meanwhile, had skirted the far edge of the table until it could literally sit on top of one of the Objective Markers, daring me to move out of cover to try and stop it.
Funnily enough my BAK survived the whole game but I think this was because they posed no real threat to the squads trying to hold the Objective Markers.
Only my main Hussar squad had any chance of grabbing the last Marker on the on the left and preventing an outright victory but with Dave’s Warlord already in the ruined building and only one movement action away from it, not to mention the handful of Sacred Warriors ready to engage my Hussars on their next activation I realised there was no way I could stop the Cardinal from reaching the final Objective Marker.
Instead I focussed all my attention on the Sacred Warrior squad (one still survived, damnit!) and once Dave activated his Warlord and brought the model into base to base contact with the Marker, the game was over.
Result: Loss, 5 Mission Points
List 2 Vs Norbert playing Capitol
(Mission 7: Reconnaissance) My Hidden Agenda: Invasion
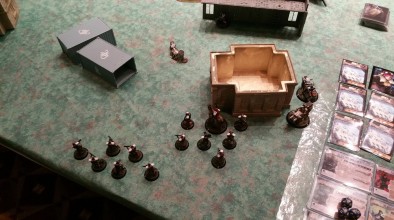
My last game of the second day was against Capitol, a force I thought I was prepared for with 4 Purple-Shark destroying rocket launchers in my list. We were using Quarters deployment for this mission so the majority of my force was positioned in the lower right corner of the table, with Norbert's in the upper left.
My Warlord infiltrated into the shadow of a building near the midpoint of the table while my Venusian Rangers infiltrated behind cover on the lower left. I knew that Norbert's Heavy Infantry would prove a difficult nut to crack so timing would be important - I needed to be in control of 3 out of the 5 table zones by the end of the game.
Once again, the decision to use my two booby trap tokens to limit my opponents movement instead of ‘mining' my own deployment zone was a mistake and while it slowed some of Norbert's Heavy Infantry from moving out of his deployment zone I took a lot of casualties from his shotgun wielding Air Cav arriving via Rapid Deployment.
My Venusian Rangers were wiped out before they could even take their first activation and with my Hussars moving along the lower table edge, I lost most of them to the second wave of Air Cav when they dropped in.
With the lower left quarter of the table a real mess, it was important that I didn't lose the upper right quarter too easily and to that end my Voreiter bikes races up the right table edge to try and take out the Free Marines hiding there.
To their credit, those two bikes soaked up a lot of fire thanks in no small part to the Sandbag tokens they threw down in front of them but surviving wasn't enough - they needed to whittle down the Free Marines before the Purple Sharks and Heavy Infantry showed up and in that regard they were useless.
Despite putting out 8 reasonably powerful shots between them each round for three activations, I think they only managed to kill 3 Free Marines despite the fact that they were not in any cover. Not good!
At this point, I had the lower left quarter (my surviving Hussars had managed to take out most of the remaining Air Cav and had inched along the bottom edge of the table to outnumber Norbert's forces in that quarter) as well as the lower right quarter.
Nobert however was very much in control of his half of the table plus the Convergence Zone in the middle, where my lone Warlord was outnumbered by Purple Sharks and one of Norbert's Heavy Infantry squads. When one of my Vorreiter bikes finally blew up, I knew it was time to call in the Etoiles Mortant, who dropped in near Norbert's deployment zone in the upper left quarter to engage his Warlord and the other Heavy Infantry squad who were protecting him.
Once again my Etoiles failed me, killing virtually nothing and only wounding the Warlord. In retaliation, the Warlord used his jump pack to move out of close combat and lined up for a shot with his own flamethrower which killed all but one of my Etoiles Mortant.
Luckily the one that survived was carrying the flame thrower and on her next activation she circled round into the Warlord's read arc - and perhaps just as importantly - into Norbert's deployment zone - and tried again. The results were equally unimpressive although she did at least manage to kill off some of the Heavy Infantry that were nearby.
At this point we were informed that we only had 5 minutes left and as Norbert's second Heavy Infantry squad piled in on the Convergence Zone to ensure I had no chance of challenging him for it (falling foul of the booby traps I had placed there several times) I realised that I had one very slim chance at turning the game around.
My Warlord was still in the middle of the table and if she moved, she would be able to see the two remaining Heavy Infantry protecting the Warlord. If I could kill at least one of them, I could activate my Vorreiter next and race it along the back edge of the table into that table quarter.
All it would need to do was kill the other Heavy Infantry model and I would have had more models in that quarter than Norbert.. but then I looked at my watch and realised we were already over time. Norbert kindly let me activate my Warlord anyway, who stepped out of cover and wasted a Heavy Infantry model with her heavy machine gun and we called it at that.
Result: Loss, 5 Mission Points
My final score was 25 Mission Points which placed me 16th. Not a great ranking, I'll admit, but considering how much fun it was and how much I learned, I couldn't really be sad about it. In my opinion the tournament went smoothly, with quick answers to questions that came up during the game and very generous prize support, even for those of us who didn't make it in to the top three places. The competition was fierce but always friendly and my opponents were all very patient with me.
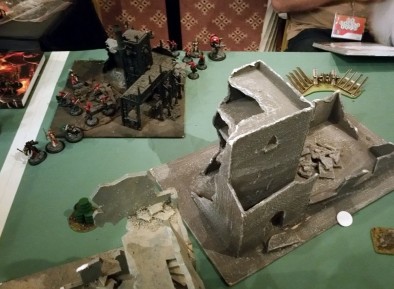
There was even a painting competition at the end of the day which I declined to enter as my models weren't entirely painted, but some of the armies on display were very inspirational and I hope to find some time over the next month to bring my Bauhaus closer to the standard I saw at the tournament because I will absolutely be going back next year...although maybe without the BAK.
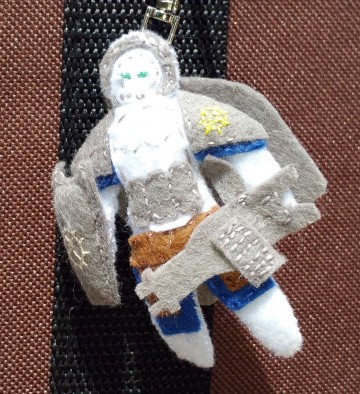
Finally, thanks to Filip Kiernicki for my Venusian Ranger Warlord mascot! It now lives on the bag which carries my Bauhaus army!
If you would like to write an article for Beasts of War then please get in contact at [email protected] for more information!
"In between some hasty shopping and an awesome late night showing of Flash Gordon, I too played some Warzone..."
Supported by (Turn Off)
Supported by (Turn Off)
"I hope to find some time over the next month to bring my Bauhaus closer to the painting standard I saw at the tournament..."
Supported by (Turn Off)















Great write up. Just building a mishima force and this just makes me even more keen to take them out for their first spin!
Having fun…getting motivated…and learning a thing or two…sound like a really great Tournament…thx for letting us be a part of it!
great article good read! thank you!
Here are my deck lists:
Deck 1 (for List 1) – 38 cards
Strategy:
—————-
Seismic Disruption x3
Spiralling Costs x2
Pride of Bauhaus x2
Uranium Deposit x2
Tactics:
—————-
Collapsing Chain of Command x5
Flashbang x5
Arachnid Infestation x3
Artillery Barrage x2
Gear:
—————-
Academy’s Top Honours x3
Fortified Position x2
Dying Stars x2
Battlescar x2
Stick Grenades x2
+ Overcharged Plasma Shells x3 (Last minute addition)
Deck 2 (for List 2) – 38 cards
Strategy:
—————-
Spiralling Costs x3
Seismic Disruption x2
Pride of Bauhaus x2
Expert Training x1
Uranium Deposit x1
Tactics:
—————-
Collapsing Chain of Command x5
Field Rations x5
Arachnid Infestation x3
Kickstart x2
Artillery Barrage x2
Gear:
—————-
Adaptive Camouflage x3
Medipack x2
Diesel Powered x2
Battlescar x2
+ Overcharged Plasma Shells x3 (Last minute addition)