


![How To Paint Moonstone’s Nanny | Goblin King Games [7 Days Early Access]](https://images.beastsofwar.com/2024/12/3CU-Gobin-King-Games-Moonstone-Shades-Nanny-coverimage-225-127.jpg)


Venturing through the horrors of Gloom Trench 1926


Getting Things Started
A Bit of Background
Gloom Trench is a grim horror game set in 1926, thanks to the British Empire the first world war never ended. In fact, it got worse…. Much worse
Thanks to research into fringe science, Britain managed to tear a hole between this reality and another – opening up the way for the Scourge to enter our realm and feed on mankind.
It’s a dark, desperate place of eternal war and suffering. So what better setting to embark on a new hobby project!
Printing the First Models
So, it had been a little while since I had my Saturn printer set-up and running. It has been in storage for a little while, but now it’s all set up in it’s new home in the garage it was time to fire it up and get producing.
After a couple of hiccups, I got the first lot of models produced, ready for painting!
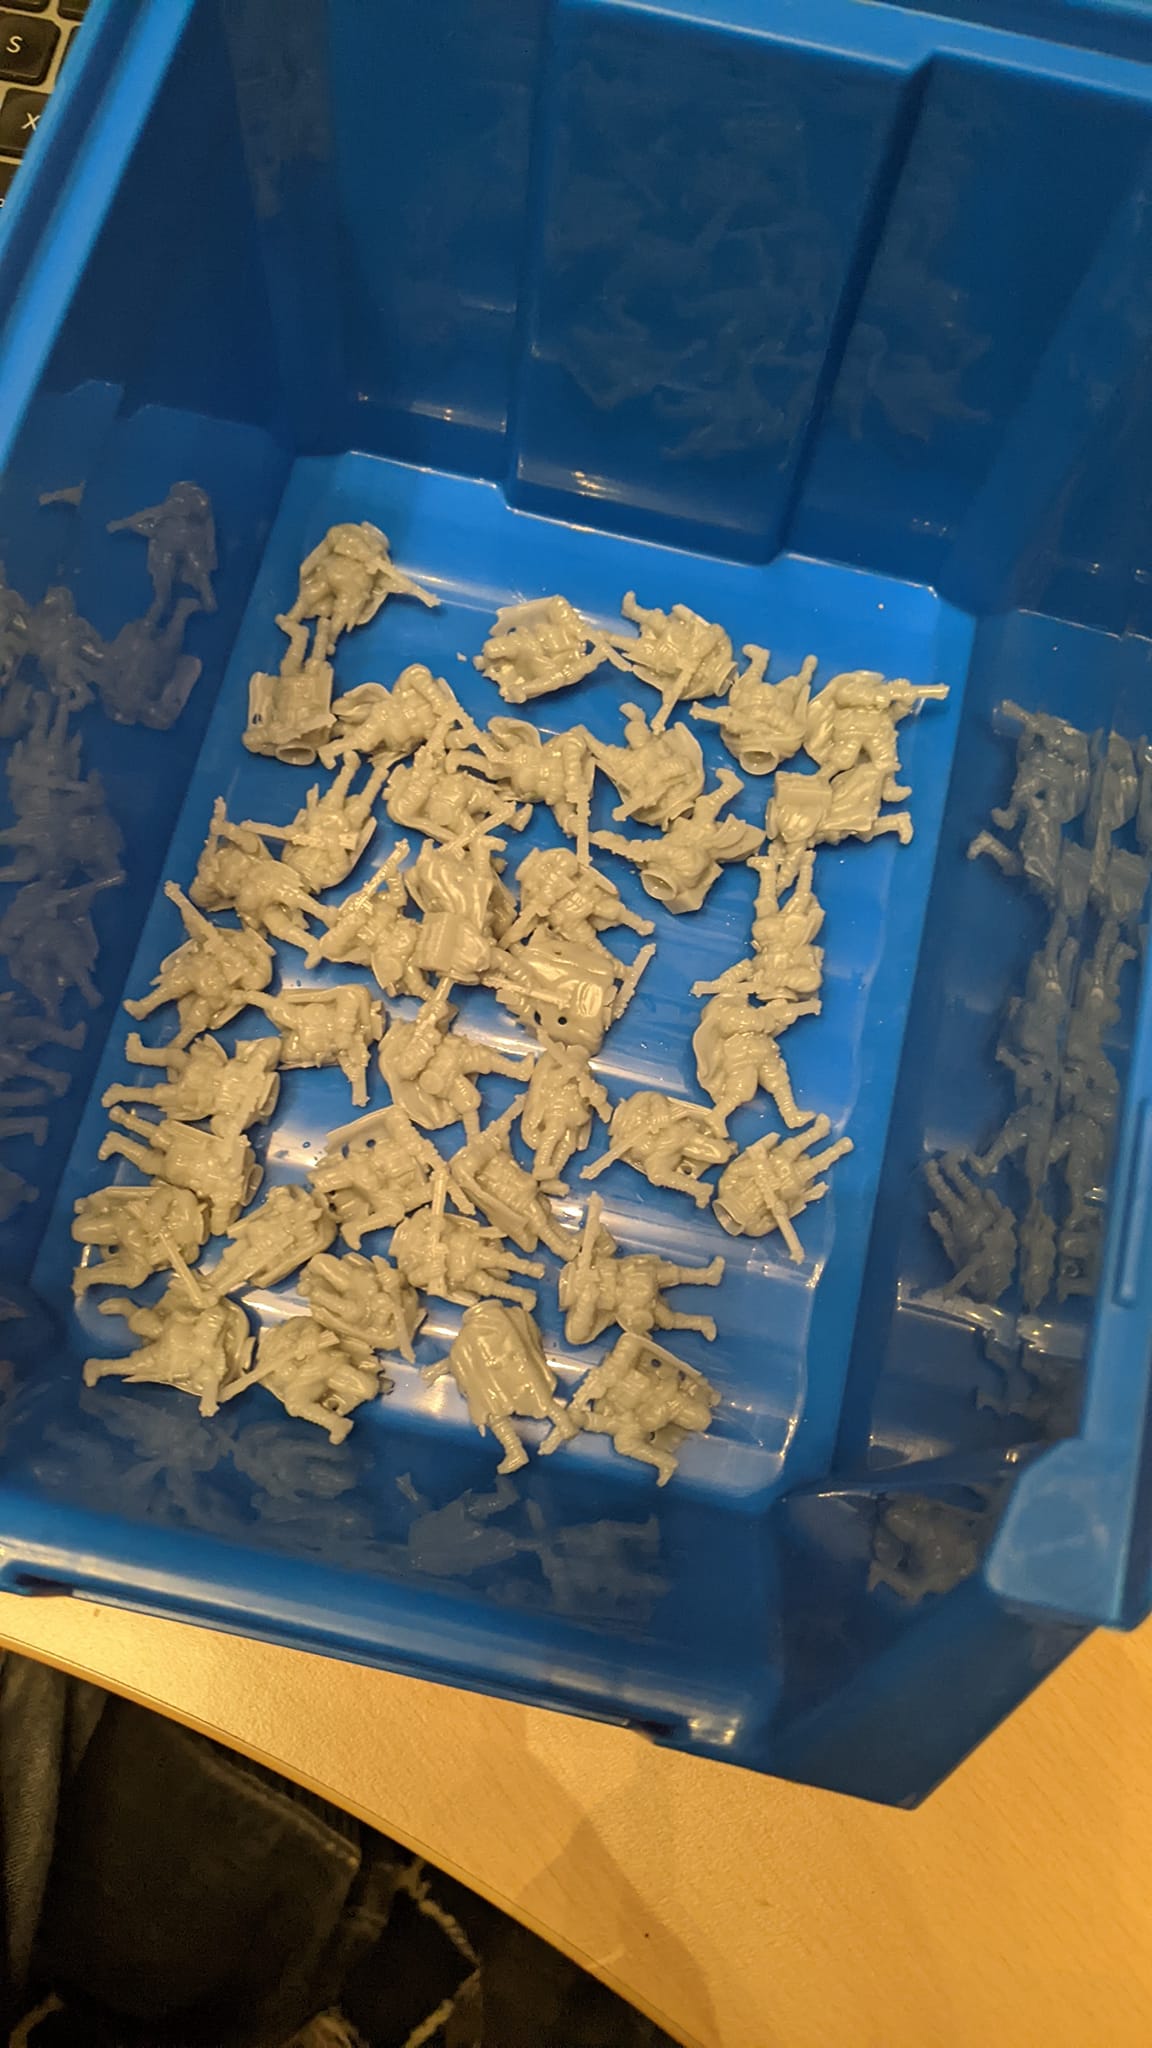 Just a couple of prints
Sorting Out a Colour Scheme
But before I could embark on painting an army, I need a colour scheme for said army. There were a few stipulations to the colour scheme.
- It had to fit in with the theme of the game
- So looking at the period of ww1 it had to be muted colours
- It had to portray the grim horror setting of the game – so grim dark.
- It had to be easy to paint.
- Painting isn’t something I overly enjoy so any scheme I do has to be fast and easy.
- It has to look great on a table.
With these stipulations in mind, I embarked on figuring out a colour scheme.
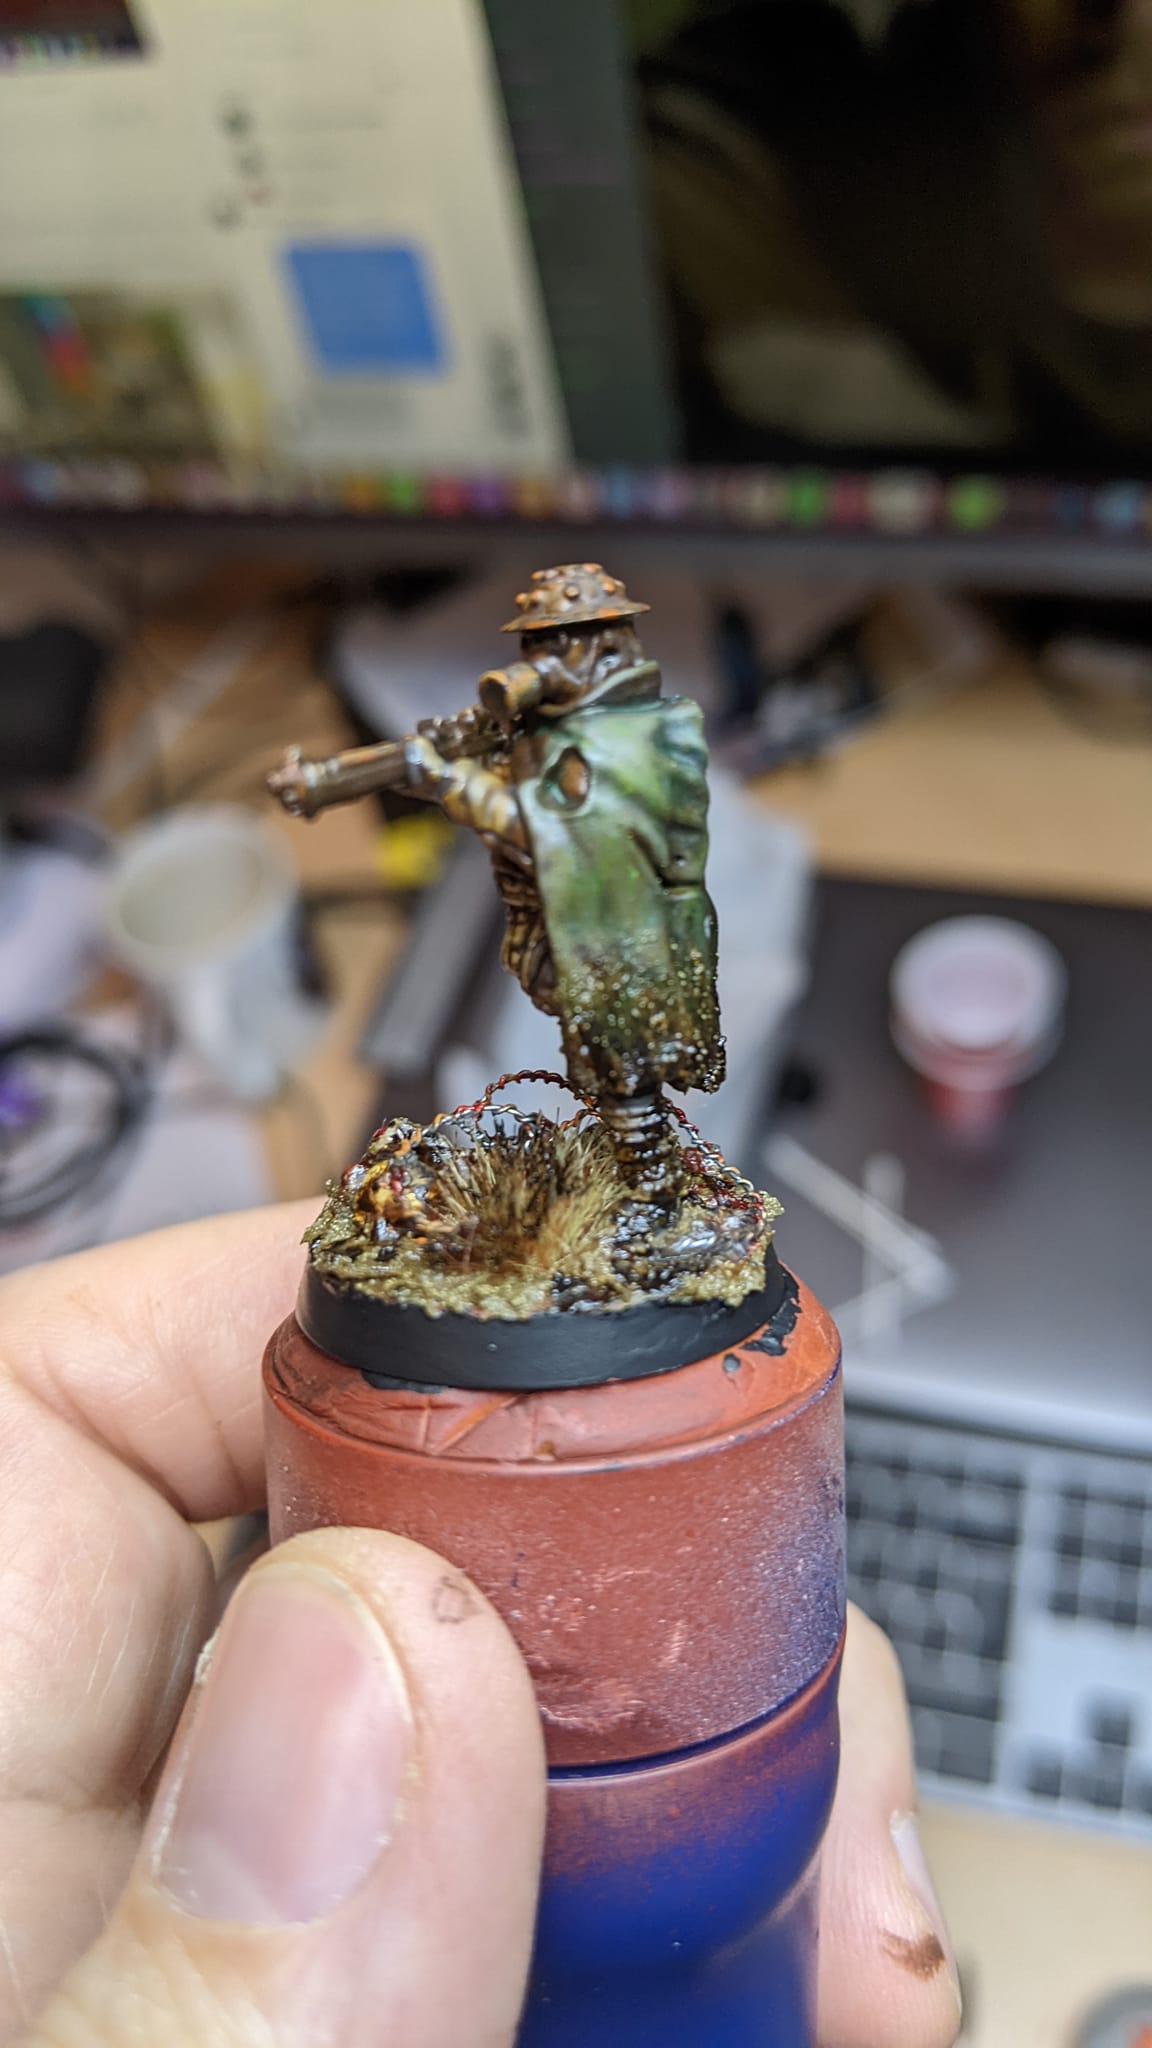
Although I say I don’t enjoy painting, and tend to choose schemes that are fast and easy to paint, I have been experimenting with oil paints as I love the grim dark style of painting. Fortunately, as Gloom Trench is a pretty grim and dark setting I decided to use oils (as well as acrylics).
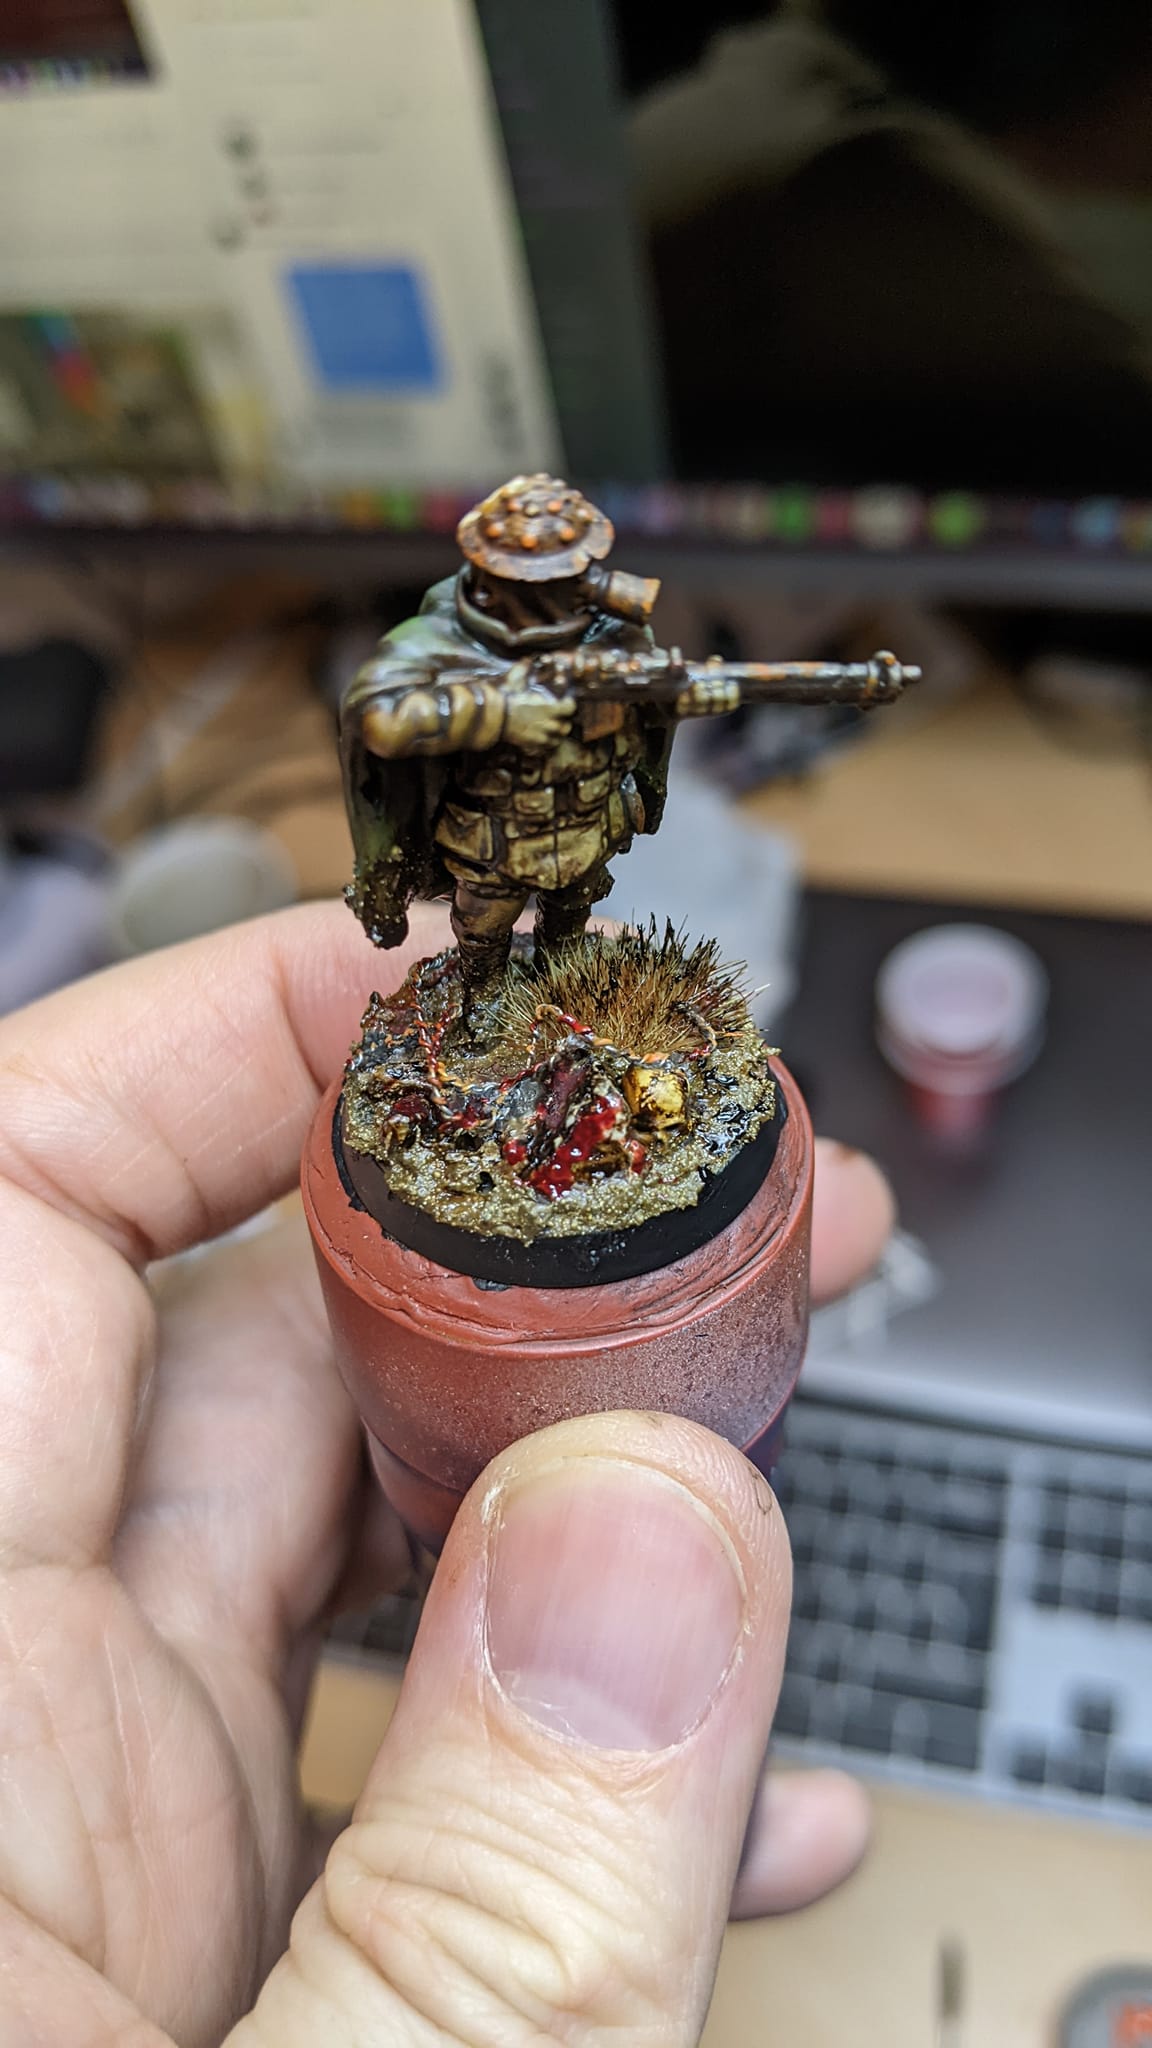
I have to say, the first attempt turned out brilliantly, in my humble opinion.
But I went over the top on the effort. I think I must have spent 3 hours on this one model. That goes against my second stipulation so I had to change it to speed that time up.
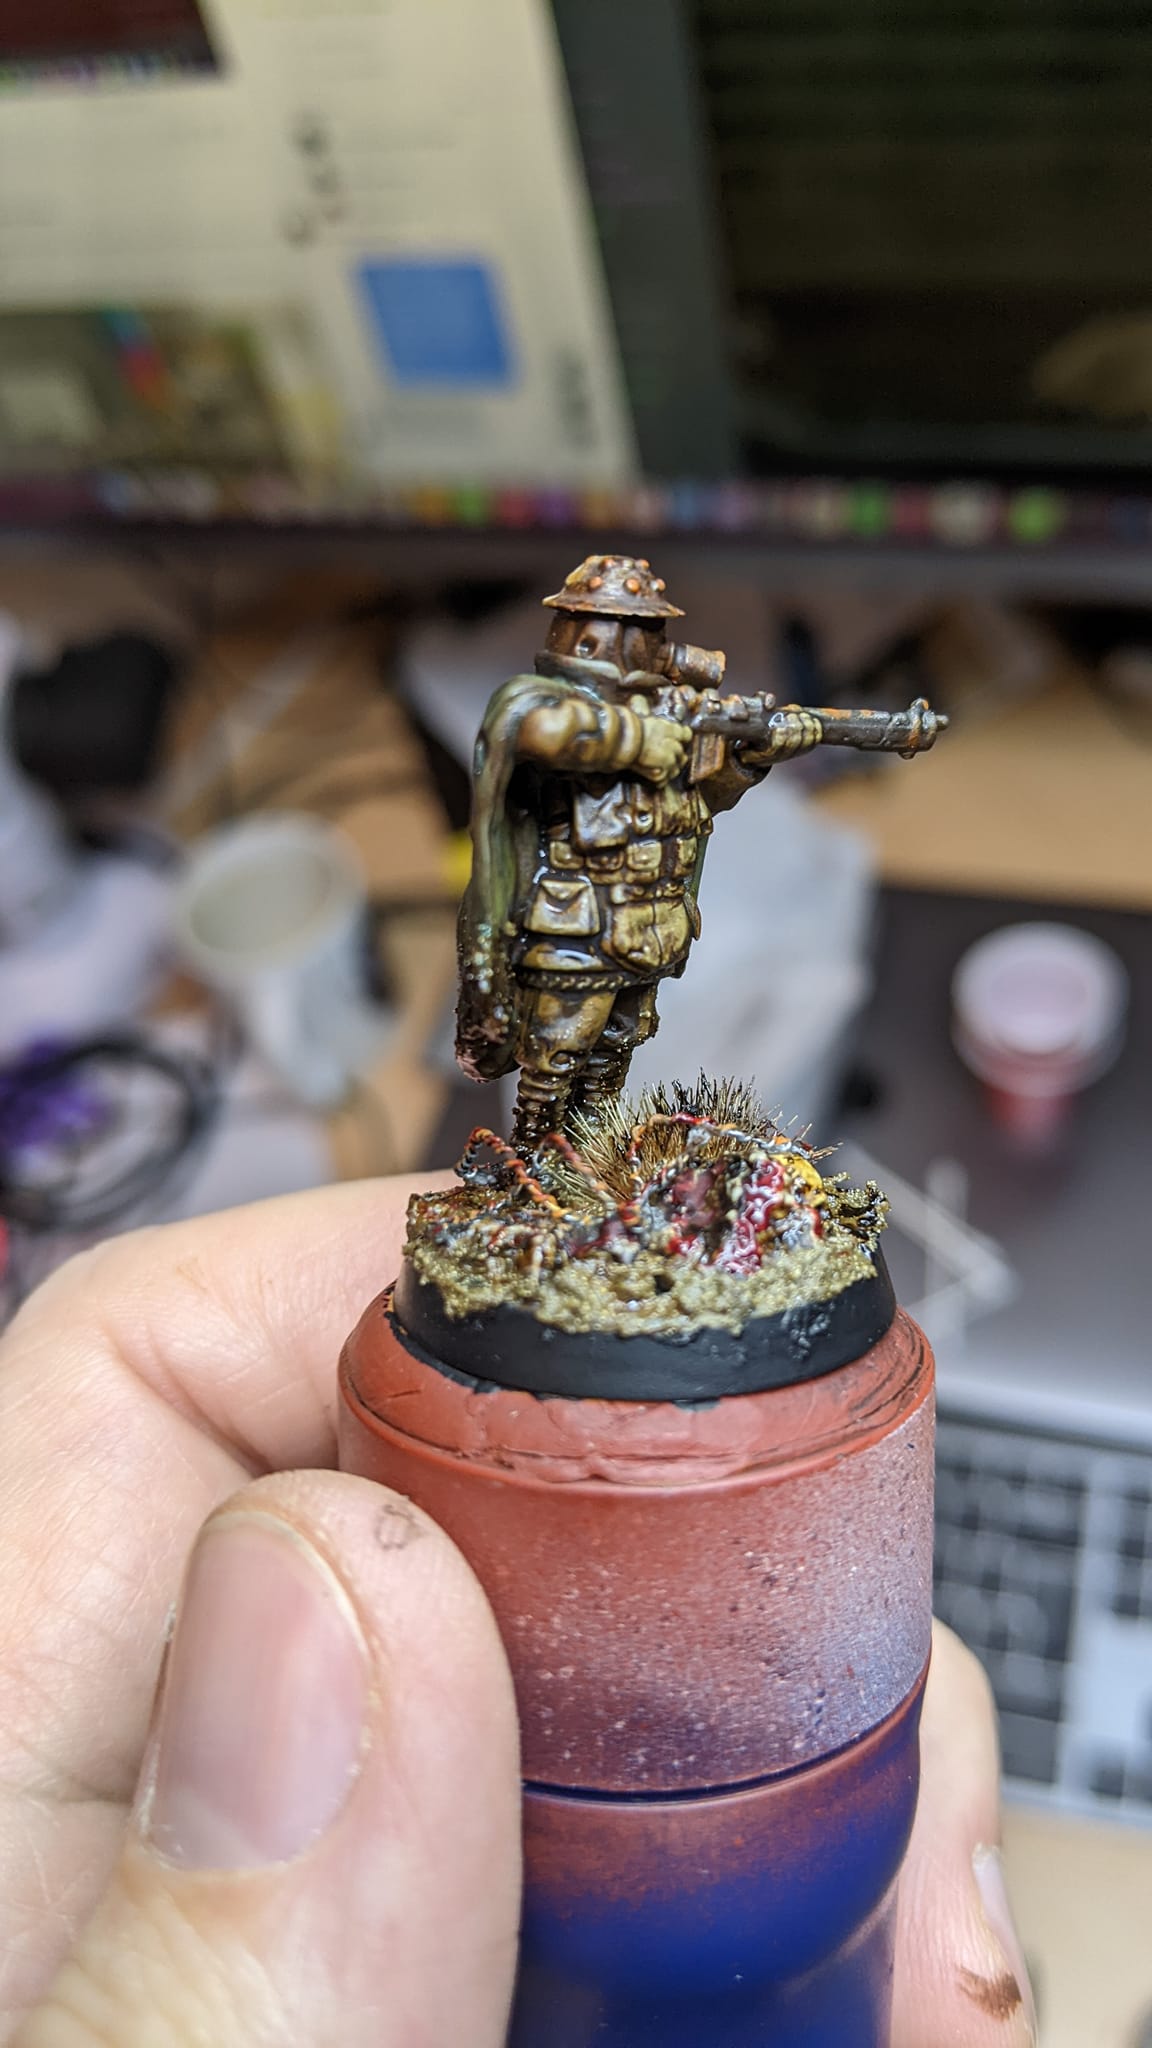
For the first attempt I used a black undercoat which meant I was having to block the main colours in by hand. Obviously, this isn’t ideal for a scheme I want to be fast to paint so that was the first thing to change.
Halfords do camouflage spray cans, and one of those is a Khaki colour, this one in fact: https://www.halfords.com/motoring/paints-and-body-repair/specialist-and-decorative-paints/halfords-camouflage-spray-paint-khaki-300ml-252069.html
It just so happens I have a couple of these cans so I decided I would use that.
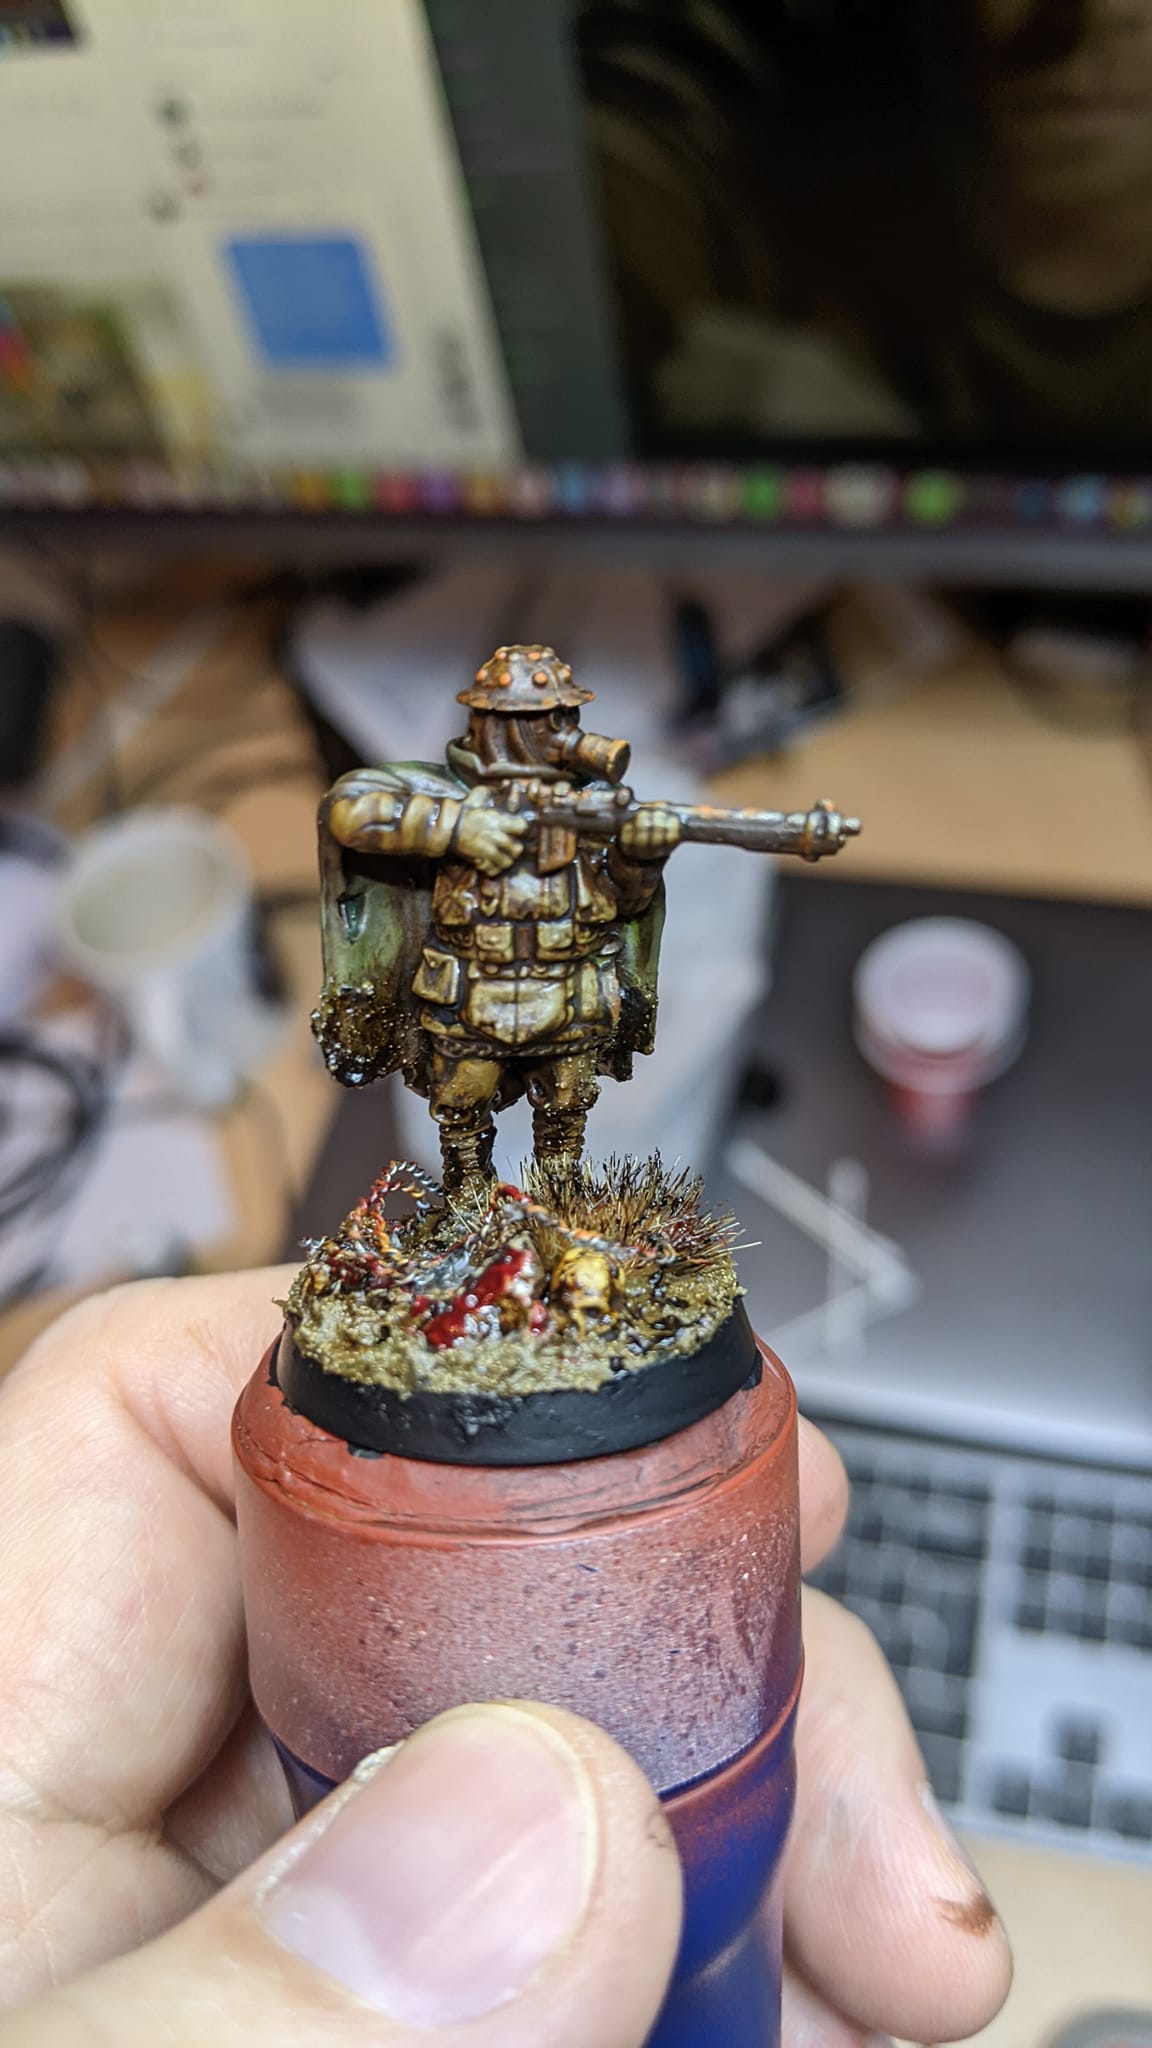
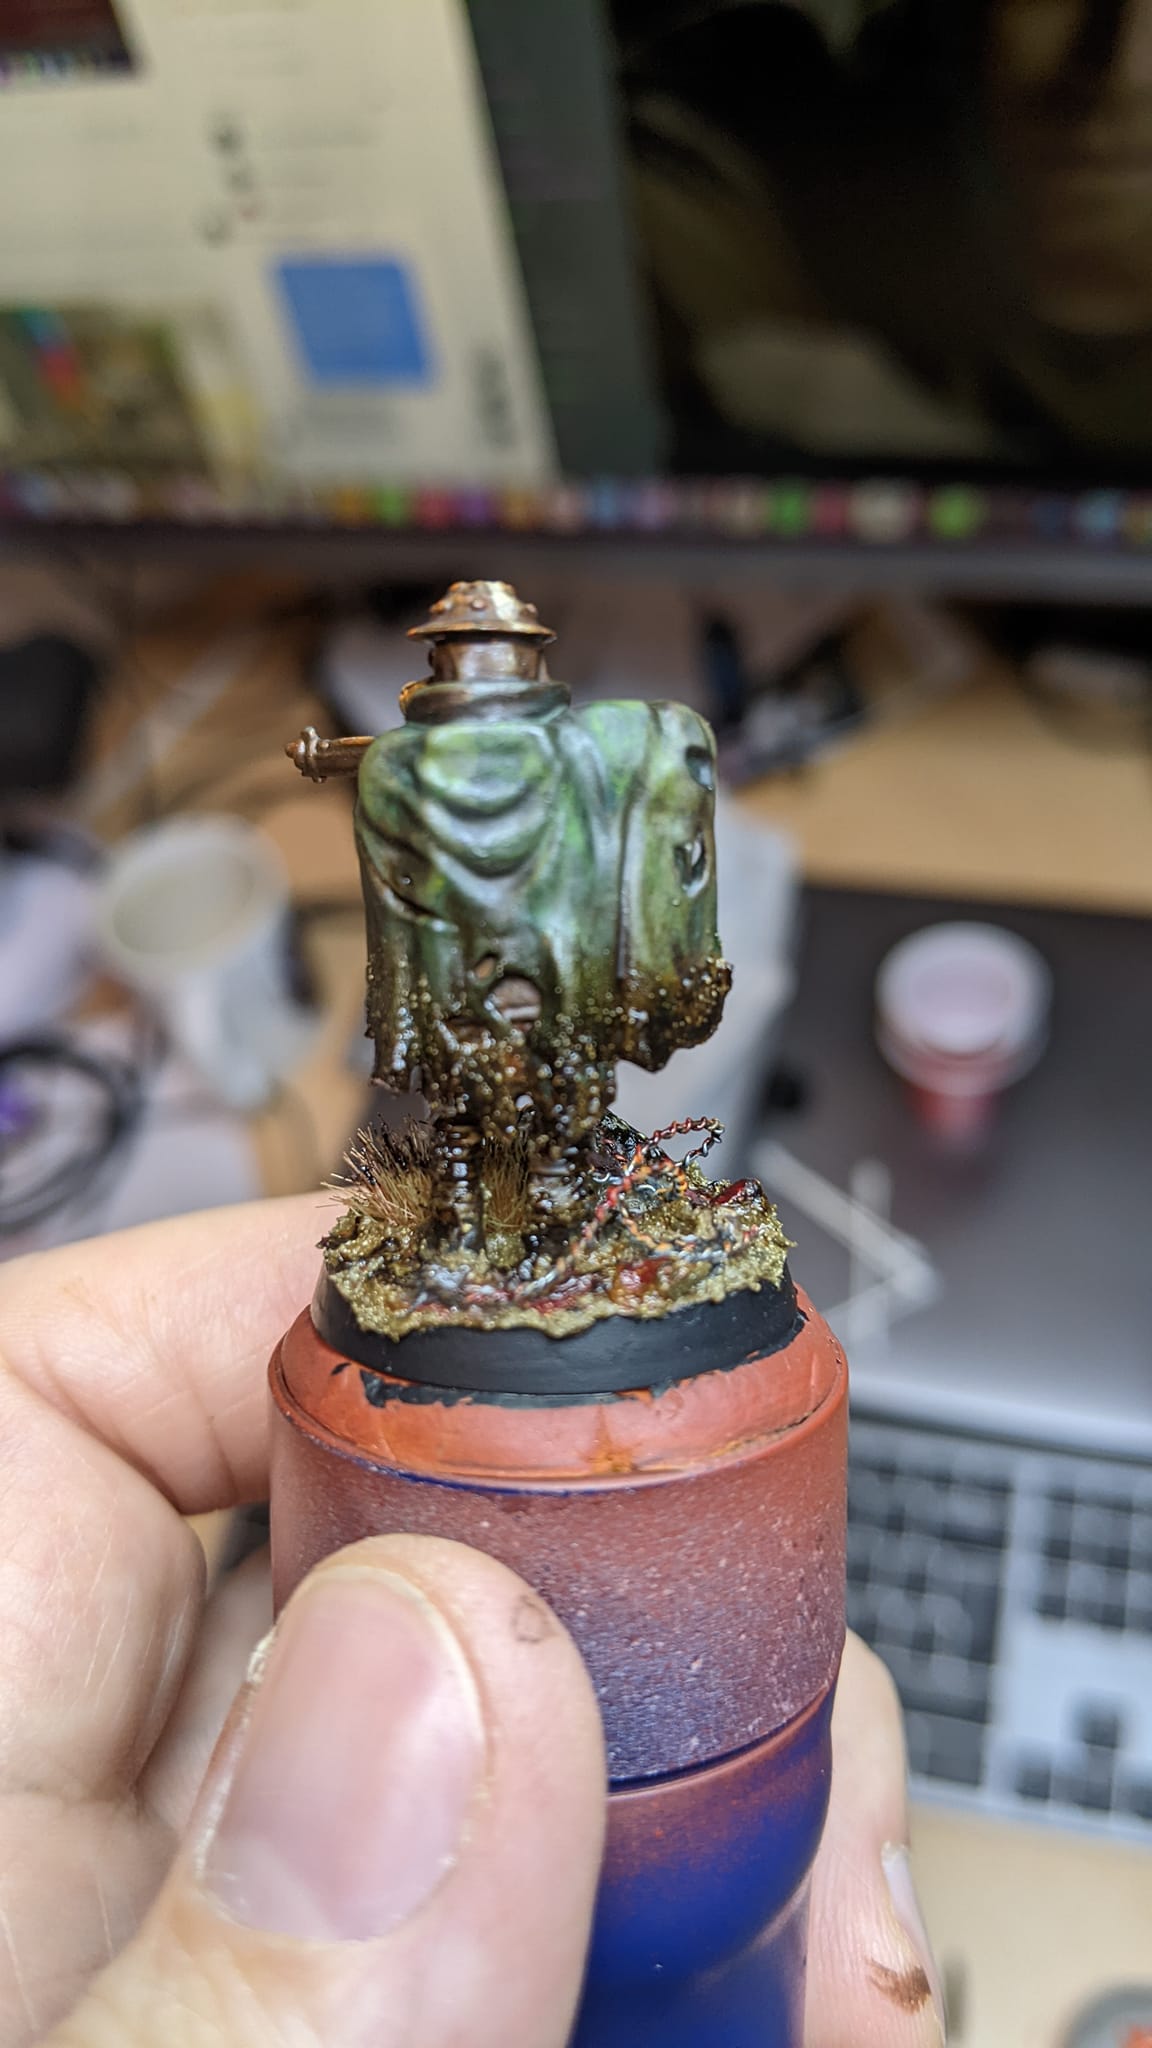
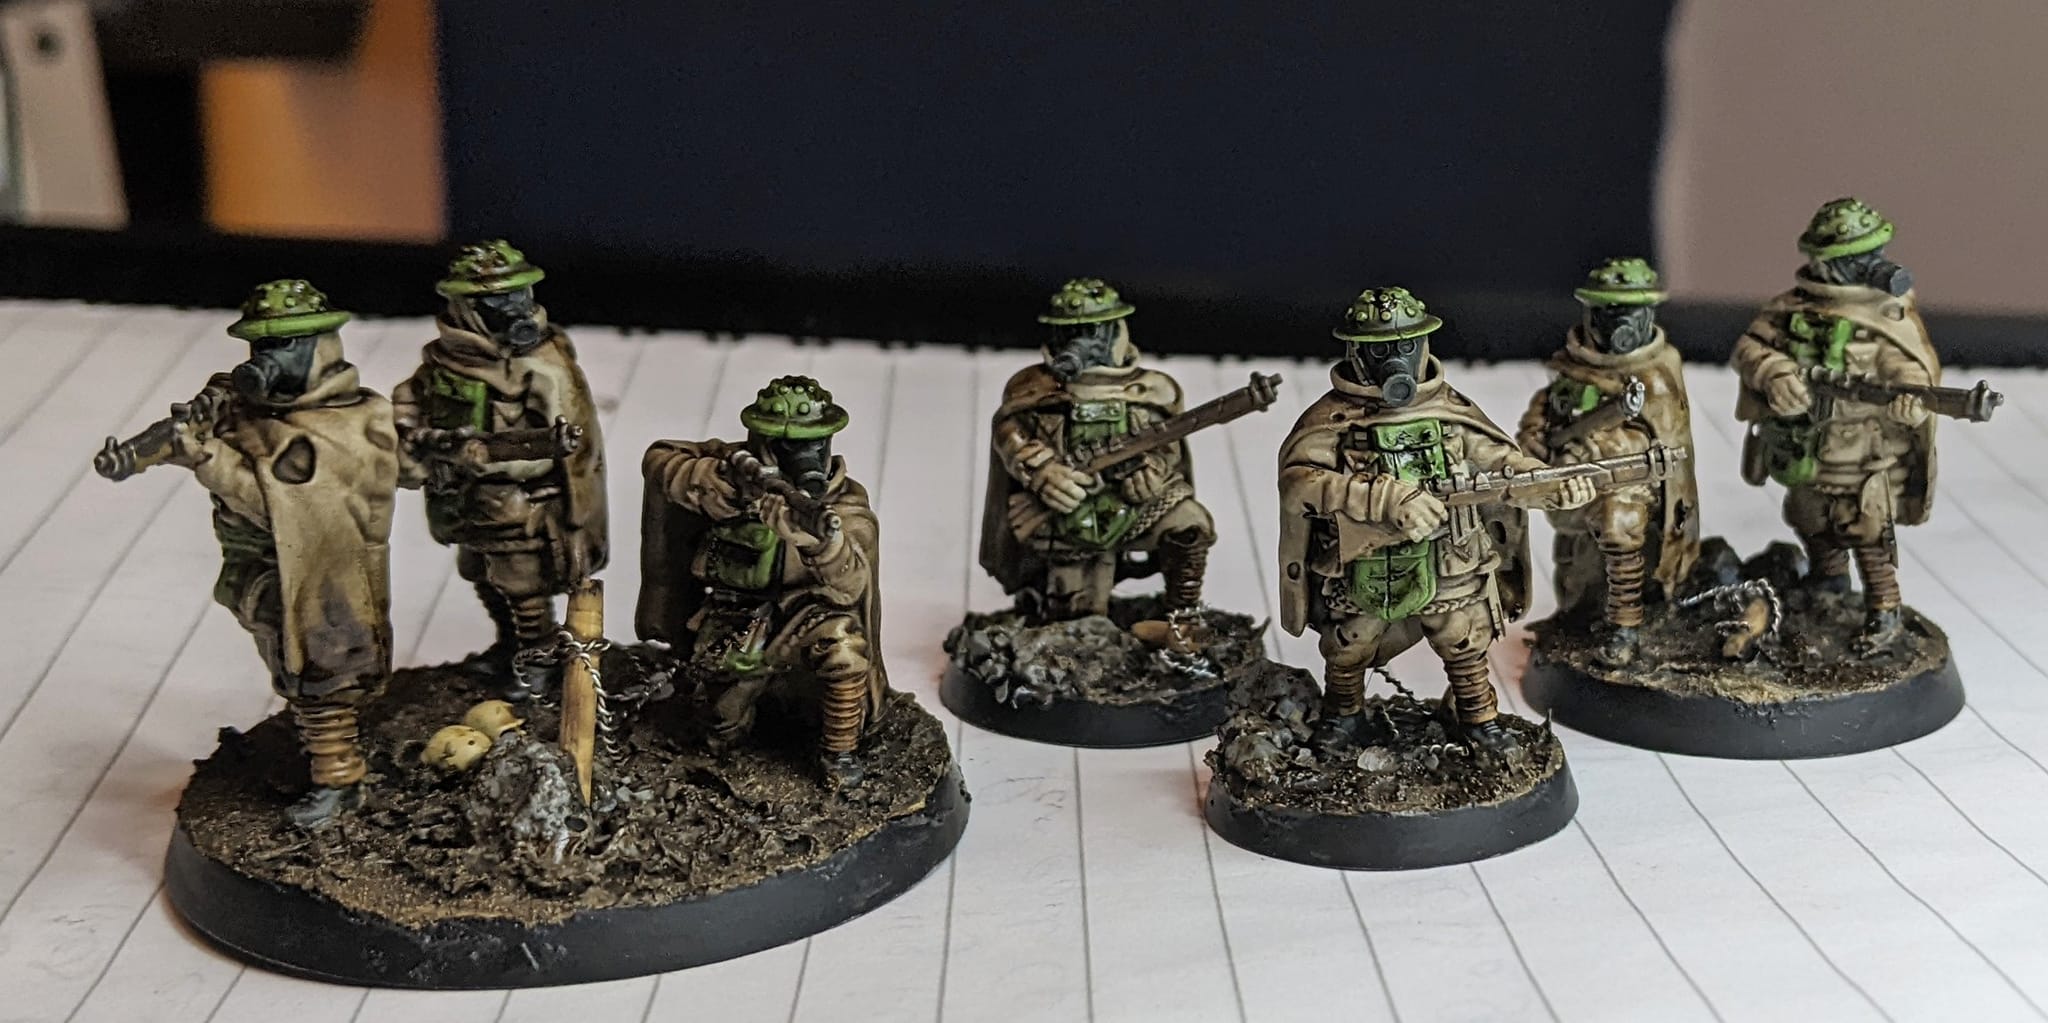
On the first attempt I also used a different colour for cloak and a slightly different colour for the webbing. I decided the spray would be the main colour for the uniform and the cloak, and I would use a green to add some colour change to the webbing and the helmet.
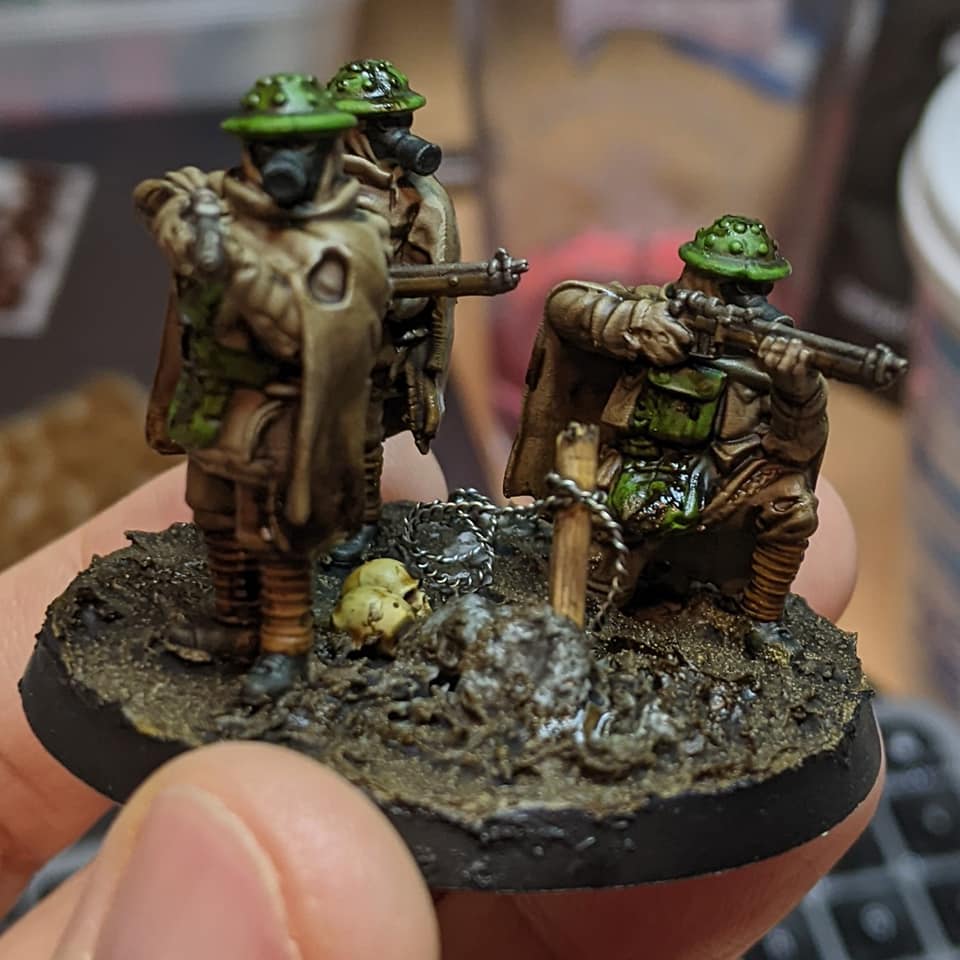
I still used some oil paint on it, Abteilung ABT 160. Engine Oil to be precise, as I just find it to be brilliant for adding that real grubby grim feel. This was applied mostly to the bottom of the cloak and lower regions of the model to represent mud and stuff picked up on the trenches.
The bases were done with a few pieces of cat litter and ballast in areas, a skull here or there and Vallejo 26.807 Thick Mud European slapped on it. This also got a coating of the Engine Oil oil paint. I also used some tooth pics to which I attached some Army Painter Barbed Wire
You’ll note they aren’t all based on single bases, good spot. Gloom Trench is pretty indifferent to basing but does suggest a ‘1,2,3 base system’ as you see in the pics. Basically, a single model on 25mm, 2 models on 30mm and 3 models on a 50mm base. There is no need to use markers for casualties as you just remove the base you need. And if you can’t, you just remove a larger base and replace it with a smaller base of the right number of models. Plus, it gives you the opportunity to do some extra modelling as the larger bases can be seen as mini dioramas.
Anyway, I’m well pleased with how this second attempt came out, and have decided it is the scheme I will be using going forward with the British. All in all I spent about 3 hours max doing the painting, then probably a further hour doing the bases for all 7 models. That is my type of painting scheme!


@fickledicegames You have every right to be proud of your painting. The first minis for the project are brilliant and evocative of the period. ? I’ve not come across this game, but I’m intrigued to create a set of minis myself but not having a 3D printer I’ve opted for some minis from Anvil Miniatures as proxies. When they arrive I’ll try to match your colour schemes with a steampunk feel. I’ll follow your project with interest. Great inspiration! ??
Thanks for your kind words @zebraoutrider, glad it’s been an inspiration for you!
The game is very new, so new it’s not really out ‘out’ yet. But the development rules are available via our Patreon if you want to get involved.
I really look forward to seeing what you create, will you be posting your efforts in here? If so, tag me in please!!!
Love what you are doing here. I use that Khaki primer for everything! It’s great. Vallejo have a colour called Camo Medium Beige which is a pretty good match if you ever need to tidy up the khaki after overspill from other colours.
Thanks @graystoak, I appreciate you taking the time to comment.
I love Halfords sprays, they are my first port of call for rattle cans.
Ooo, that’s a brilliant tip, I will get a bottle of that ordered. I normally end up having to mix some point to try and match it, or just live with the mess. lol
Hey no worries. Is this game your baby? Did you sculpt the figures as well? I didn’t realise it was an upcoming Kickstarter.
Yes mate, I was bored and was itcging to create a world and game. Not my first venture.
No, I can’t sculpt, or draw. The sculpting is done by L_v_3d on Instagram. The concepts are done by theartofschwager
I just come up with the ideas, feed them all the details and then review and sign off on it all.
I do all the rules, that’s the bitni CAN do. ?