![Make Your Own Star Wars: Legion Heroes! Rebel Agent & Officer Set Review [7 Days Early Access]](https://images.beastsofwar.com/2025/12/unboxing-atomic-mass-games-star-wars-legion-rebel-alliance-agent-_-officer-coverimage-225-127.jpg)


Old Witch’s Dancing Hut


Recommendations: 257
About the Project
I love converting miniatures. I love making terrain. In this project, I am combining these 2 loves to make Old Witch a dancing hut to make the entire swamp jealous.
Related Game: Warmachine
Related Company: Privateer Press
Related Genre: Steampunk
This Project is Completed
Preface
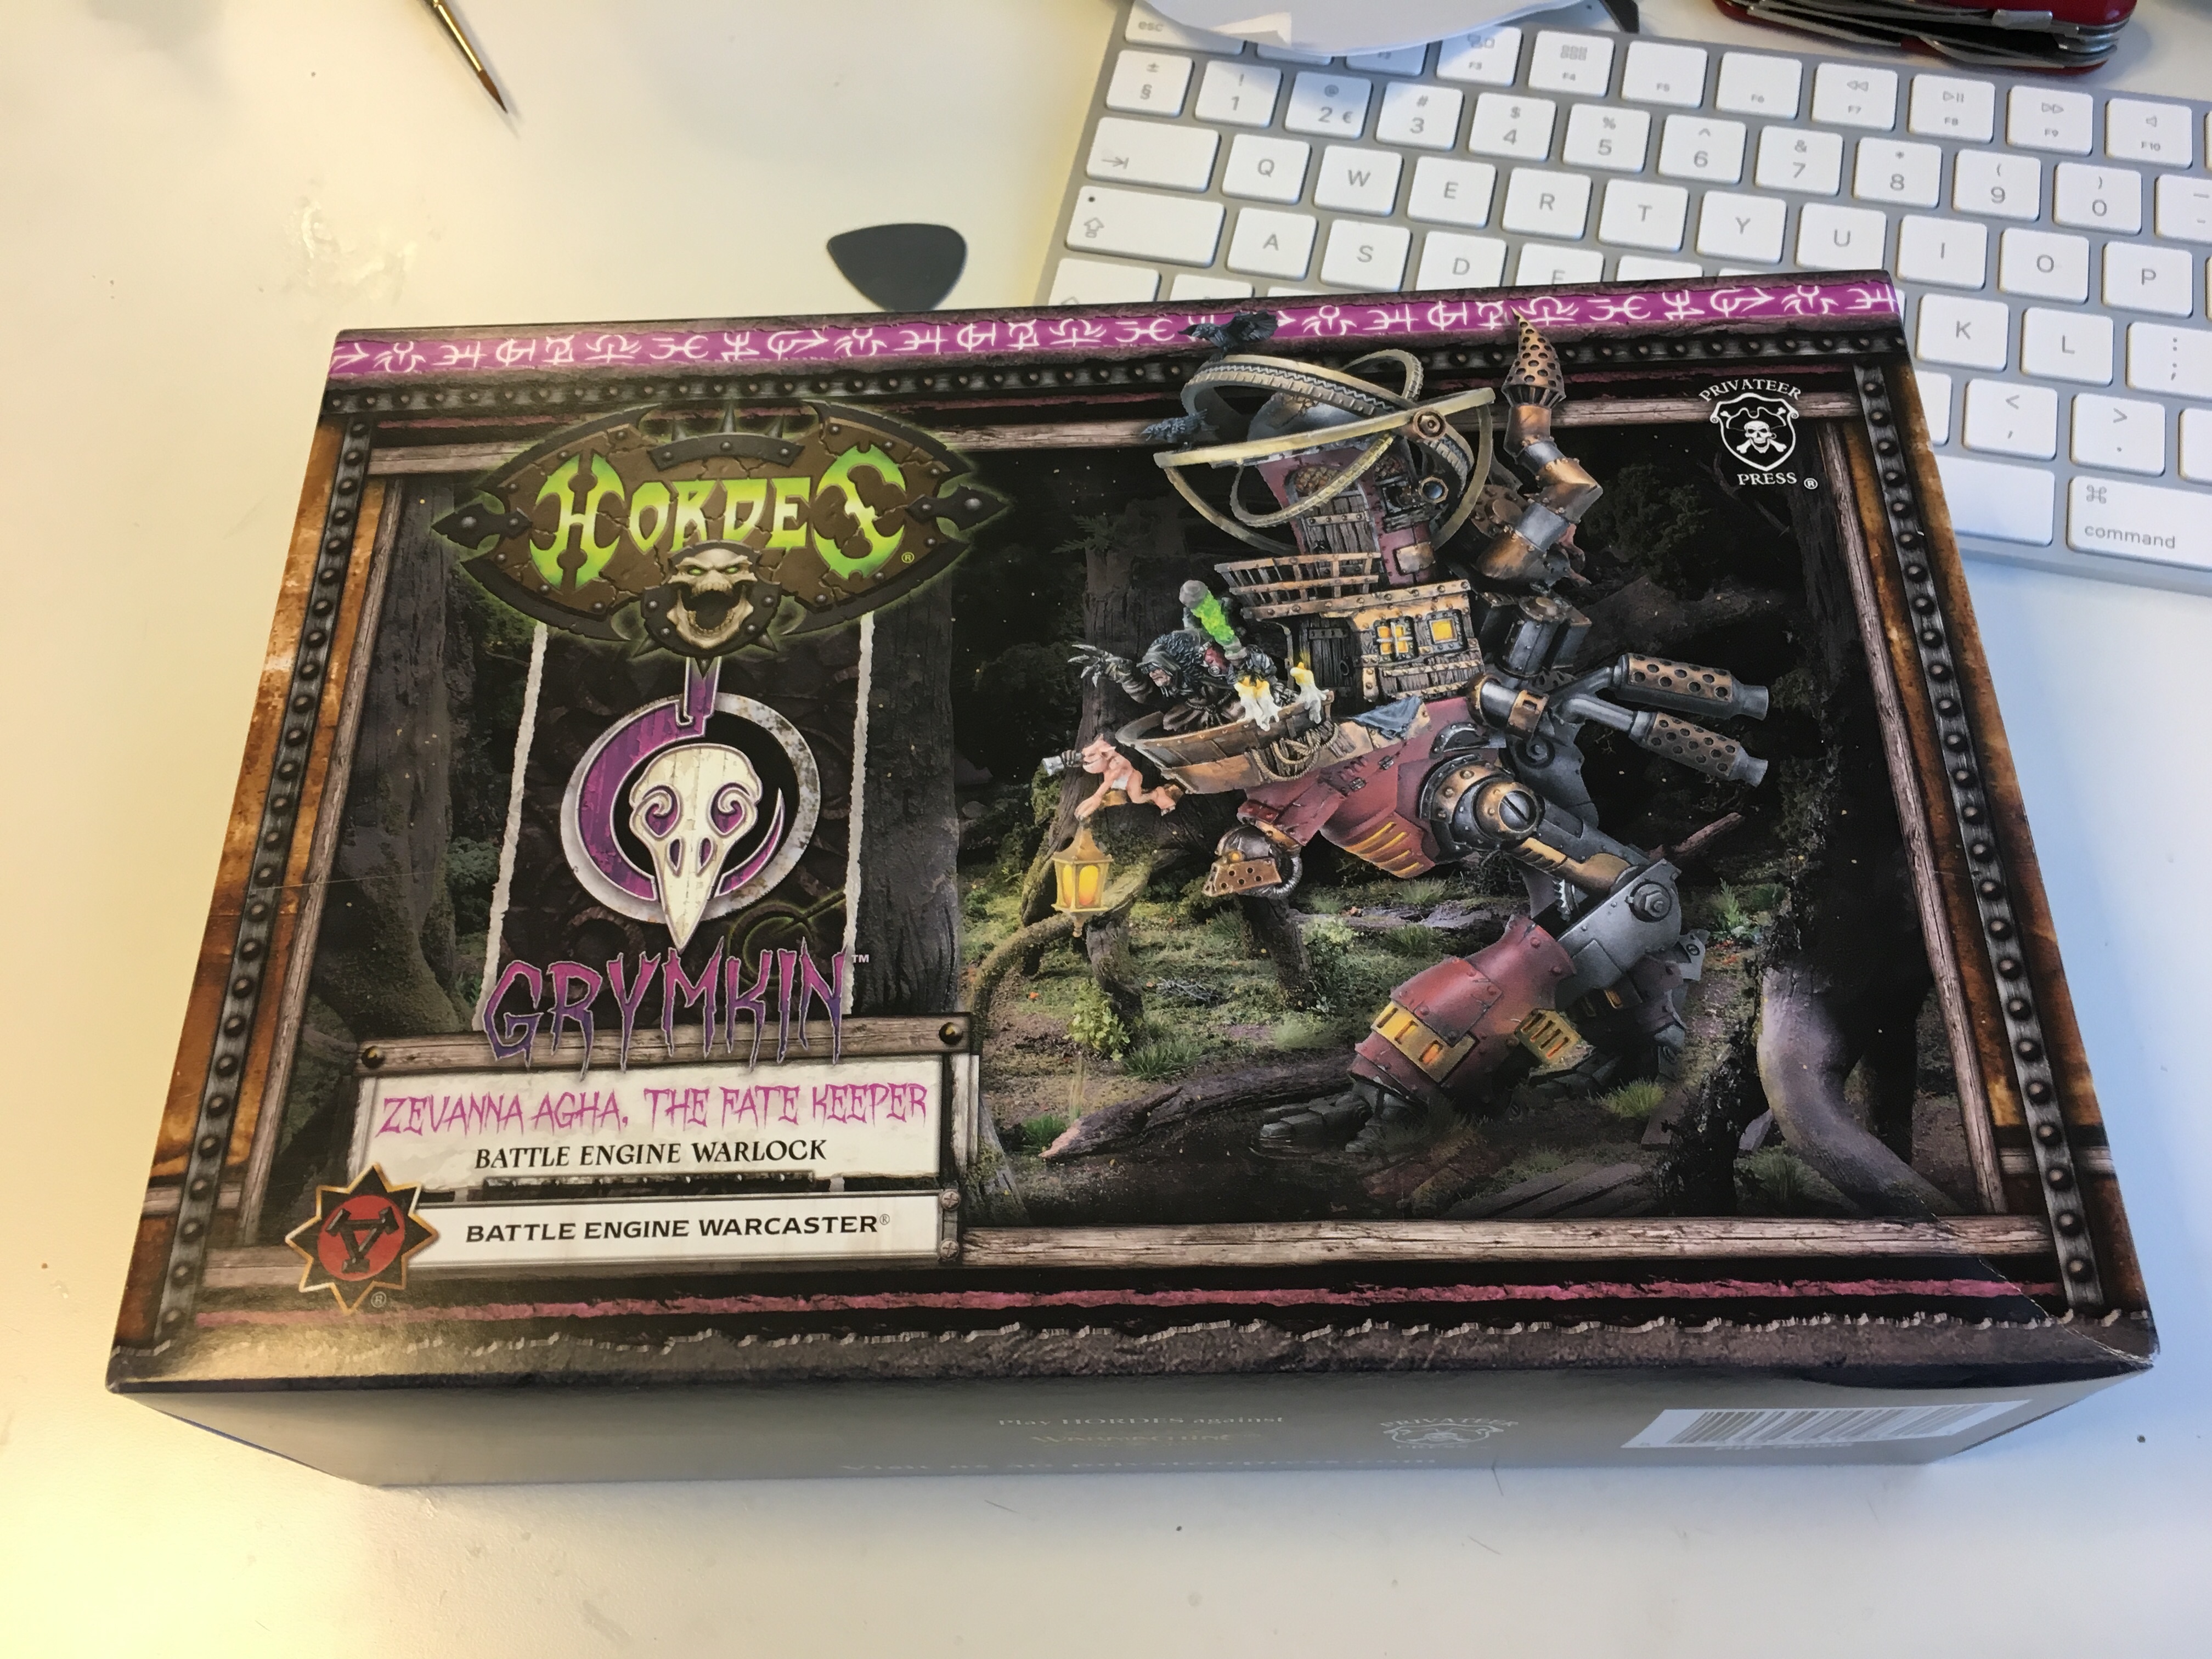
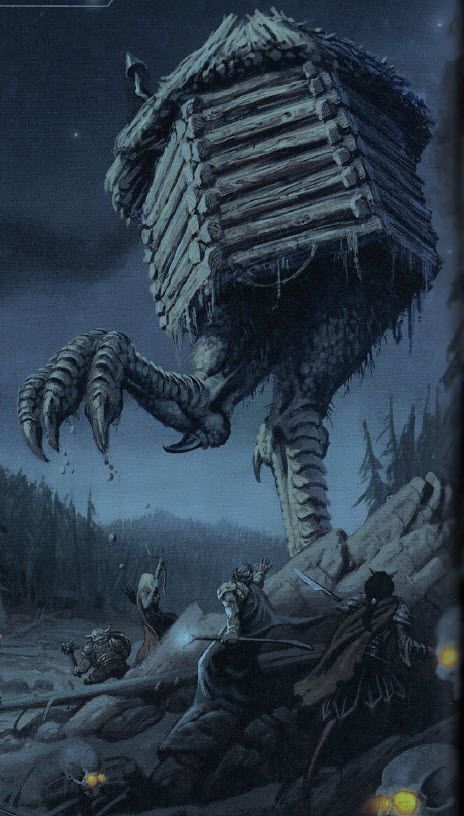
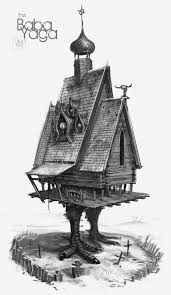
In february 2018, I started a project that had been hanging around in the back of my mind for quite some time. Ever since the official model for Warmachine’s Old Witch 2 came out.
I loved the idea of turning her trusty scrap jack in a walking hut. Old Witch is loosely based on the old Baba Yaga form Russian Folklore, so I really digged the concept of having a steam punk version of Baba Yaga’s dancing hut. And then the model came out.
To say I was disappointed would be a huge understatement. I understand that there are limitations to production and material cost, but the tiny thing that made up the official model was just too puny to my taste. Moreover, if you look at the model, you will see that the model for old witch is even too big to fit in her own doorframe, let alone be able to fit into the tiny chamber behind her.
Now, I have always been a big fan of converting miniatures (as you might have gathered by now). What you might not know, is that I am also a big fan of making terrain. Miniatures are cool, but sometimes you just need a bigger canvas to tell a compelling story. The only downside to terrain building, is that you can’t take it with you to show off to other people at tournaments.
And so I started with my next project: making an epic version of Old Witch’s dancing hut. It is a slow-burn project, that phases in an out of my project cue. I have no idea when it will be ready in other words.
Also a final caveat: this will not be a full tutorial. Doing tutorials take a lot of time and I just don’t have it at the moment. This will be an illustrated report of the journey I am taking to build this model, so you can come along for the ride and hopefully enjoy the view.
Browsing for ideas
The first step in any process is finding ideas. This usually is a combination of looking at the model and browsing the web in search of other people’s interpretations of what I have in mind.
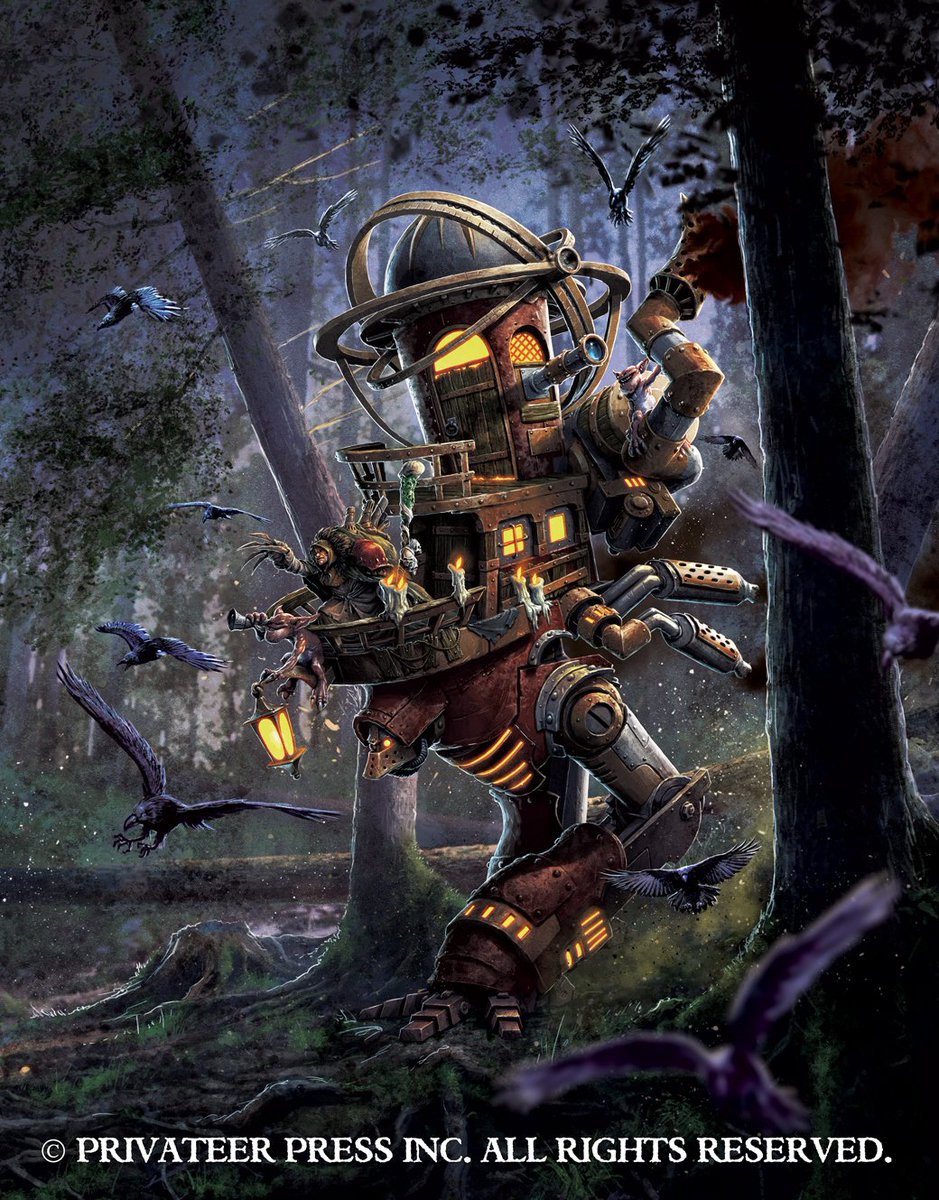
First, let’s look at the model. There were a couple of things I liked:
- The balcony with the old witch on it.
- The tower with the globe on top
- The legs underneath the buiding
- The engine and smoke stacks.
What I didn’t like, was mainly the main ‘room’ of the hut.

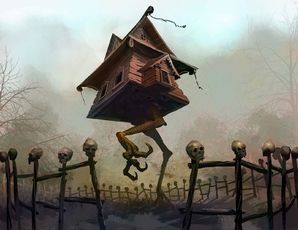
When browsing the web, I found out there were mainly 2 kinds of interpretation of the hut. The first one was a hexagonal shack with a thatched roof. I liked the idea, but decided not to go that route. Partly because I like the building to have a direction (requiring more of a rectangle shape). Partly because it felt like this idea would be very difficult to steampunk up. Partly because it just doesn’t look epic enough.
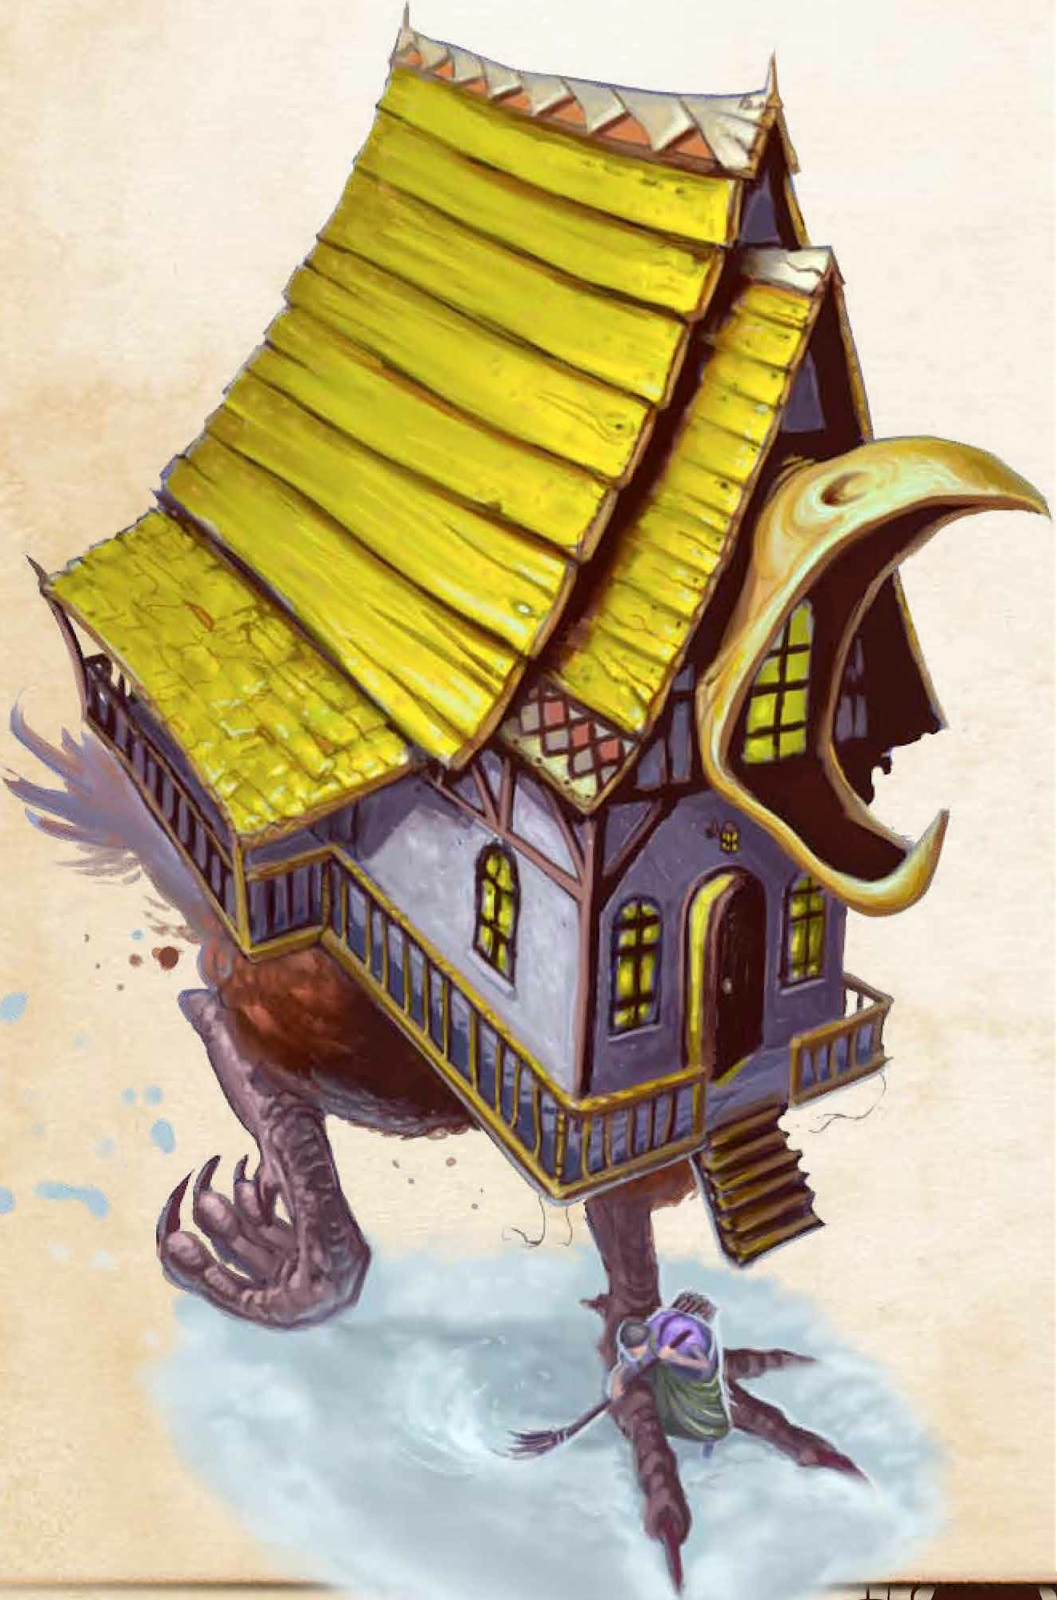
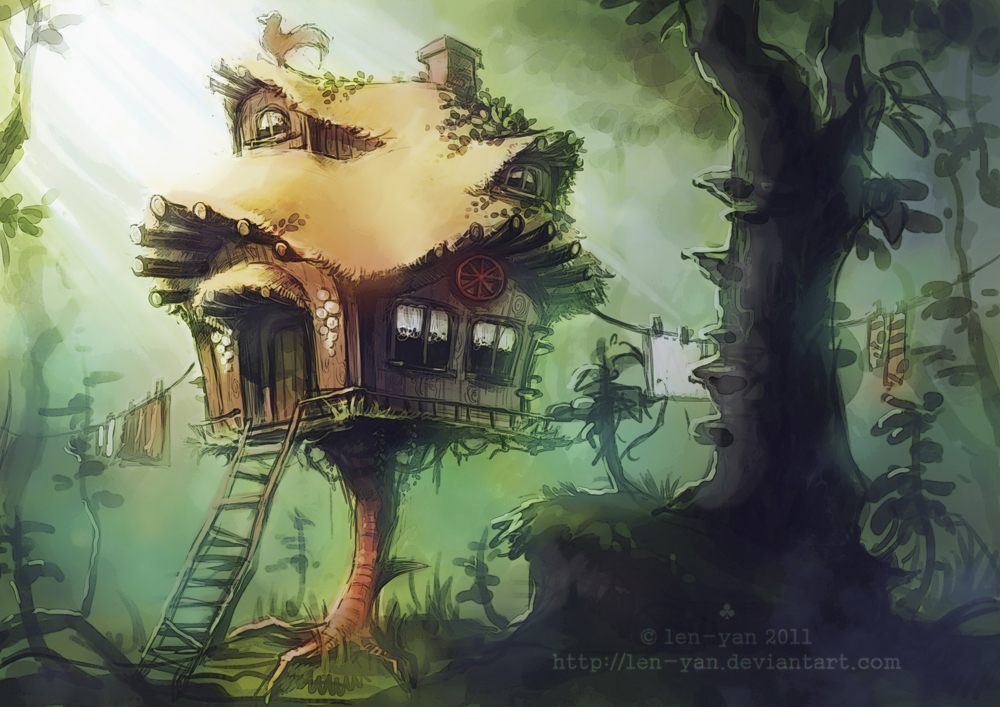
The other interpretation I found was for a bigger hut. Usually more rectangularly shaped, with a gable roof and more lean-ons.
I liked the idea of a bigger hut. I liked that it was more like a real house. The high roof looked really Russian. Especially if I could somehow combine it with an onion-shaped dome. The lean-ons were great because it allows you to break up the shape and to make it look really rickety. As if the witch has built her house in steps, constantly bolting stuff on.
Around this town, I was talking to a mate bout this project. And he basically told me that I should have an interior for the hut. Goaded me into it, to be honest. So I went looking further.
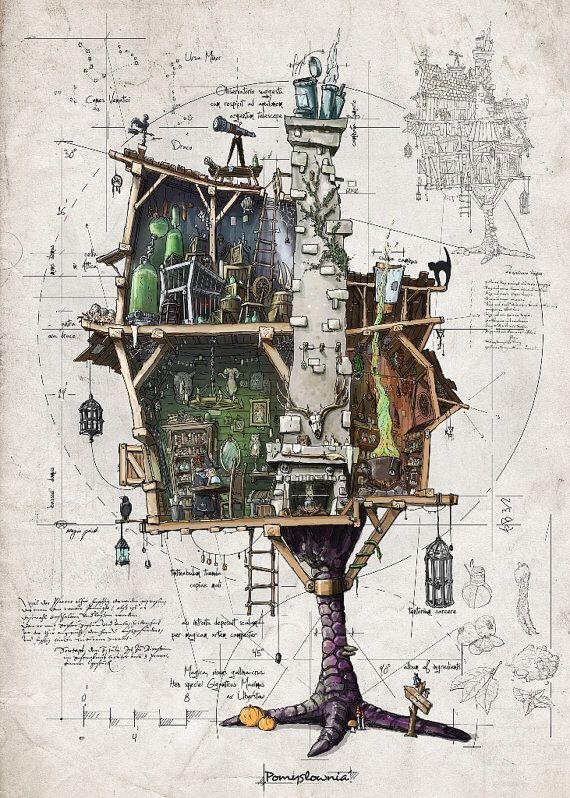
One image that really struck me was one of a cut-through of the hut. I loved this image, because it showed the hut filled to the rafters with all kinds of junk. Exactly what I thought the Old Witch’s hut would look like. She’s a hoarder after all.
So I used this set-up as my main design concept, keeping some of the other ideas in the back of my mind.
First Steps
One thing I knew before I started, was that I didn’t want to make a plan of any kind. If this was to be a ramshackle building, it had to be built like that. One bit at a time, mixing up angles and materials.
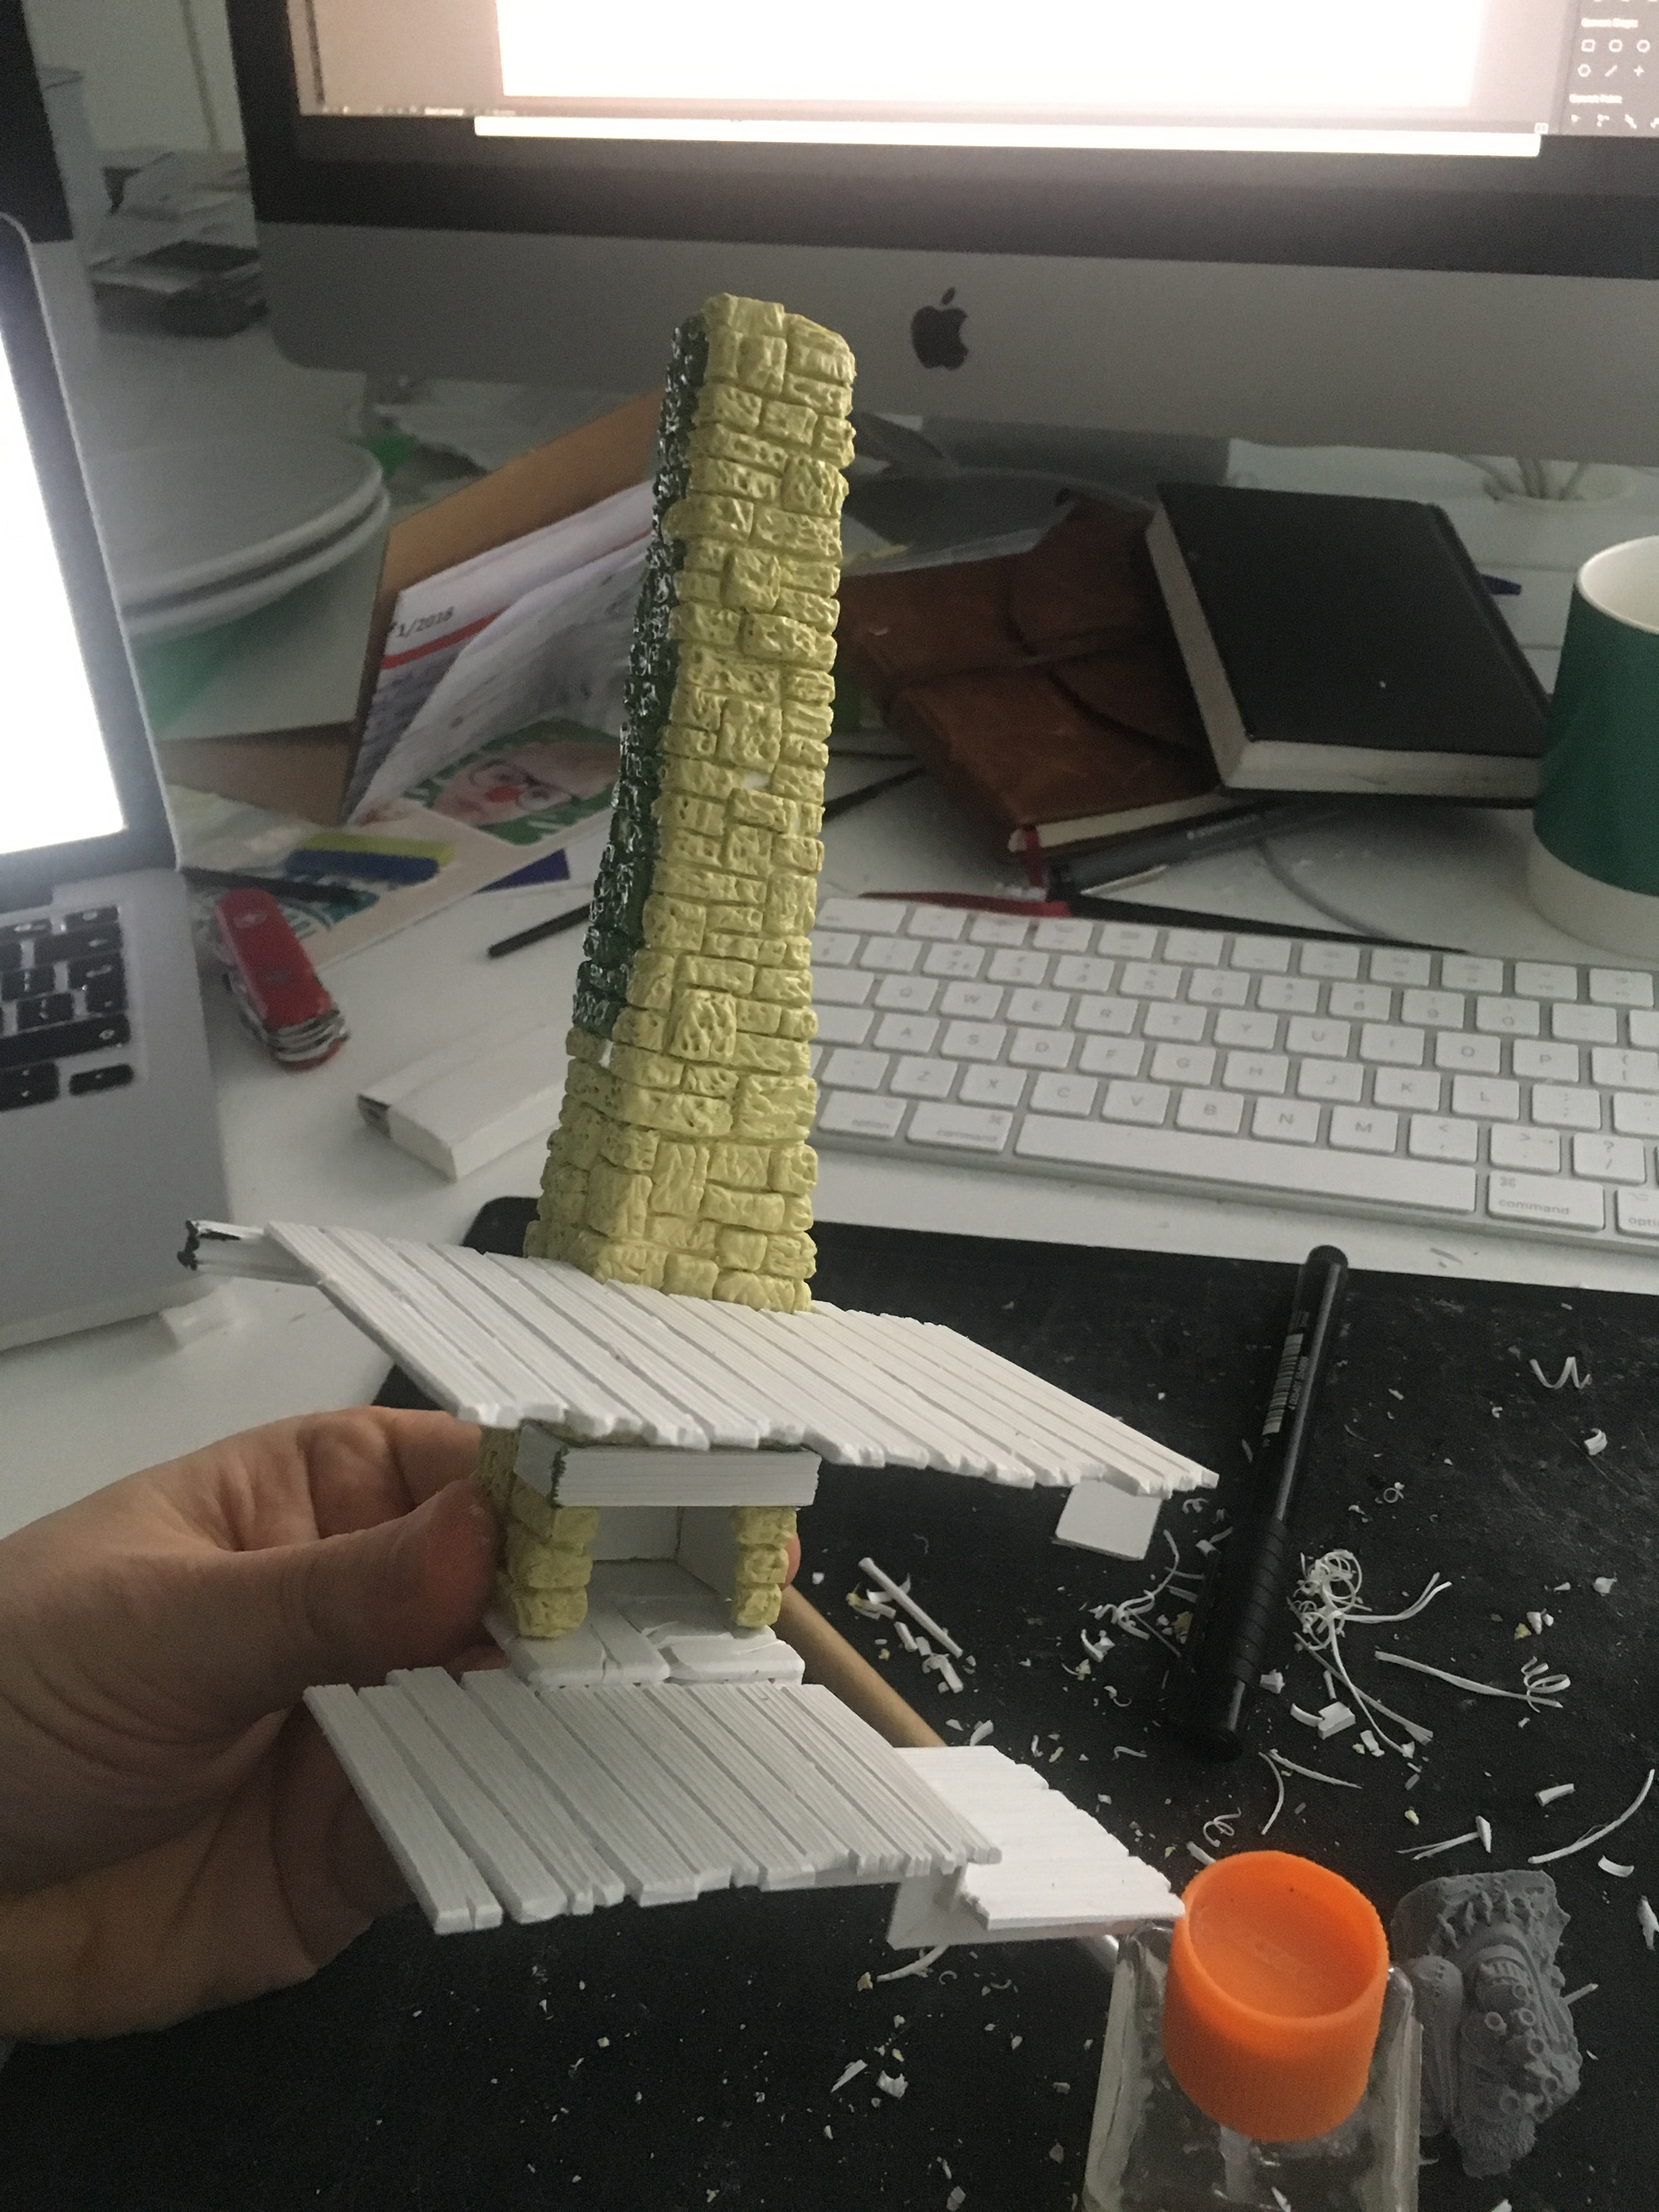
So I started with the floor.


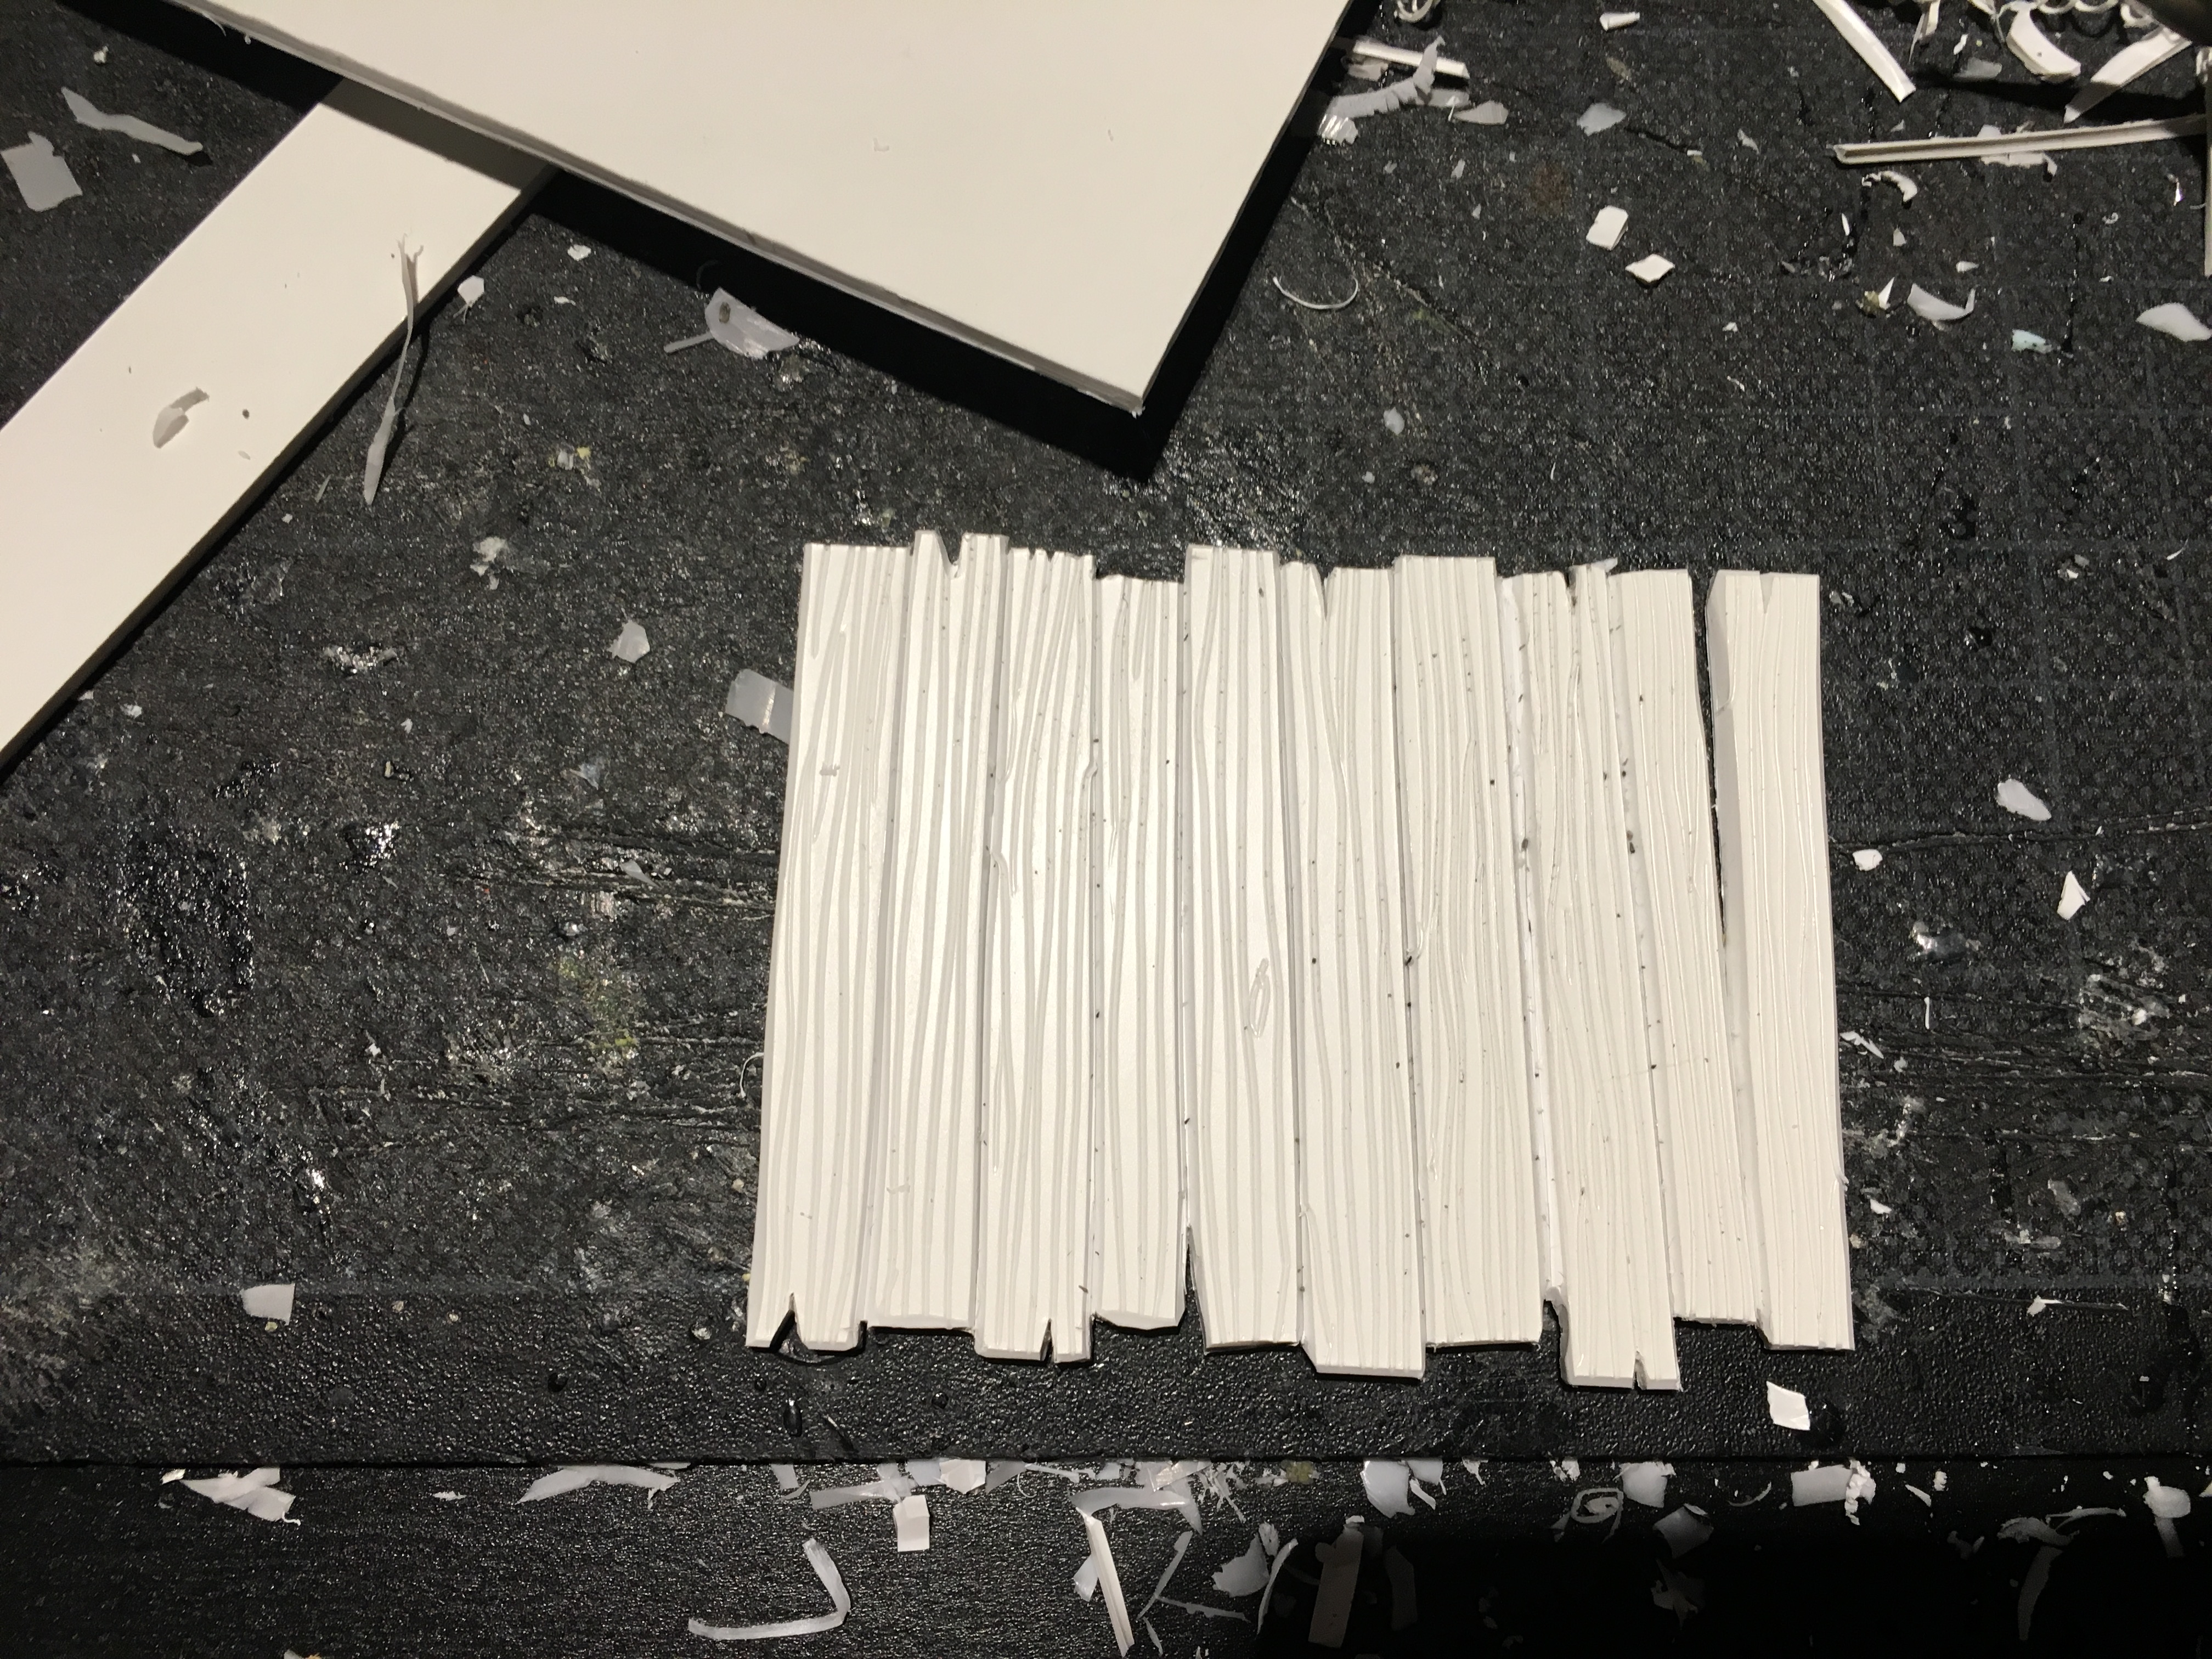
The floorboard was cut from a single piece of styrene. It is a bit harder to make the planks look random, but I really needed the structural sturdiness that this provided.
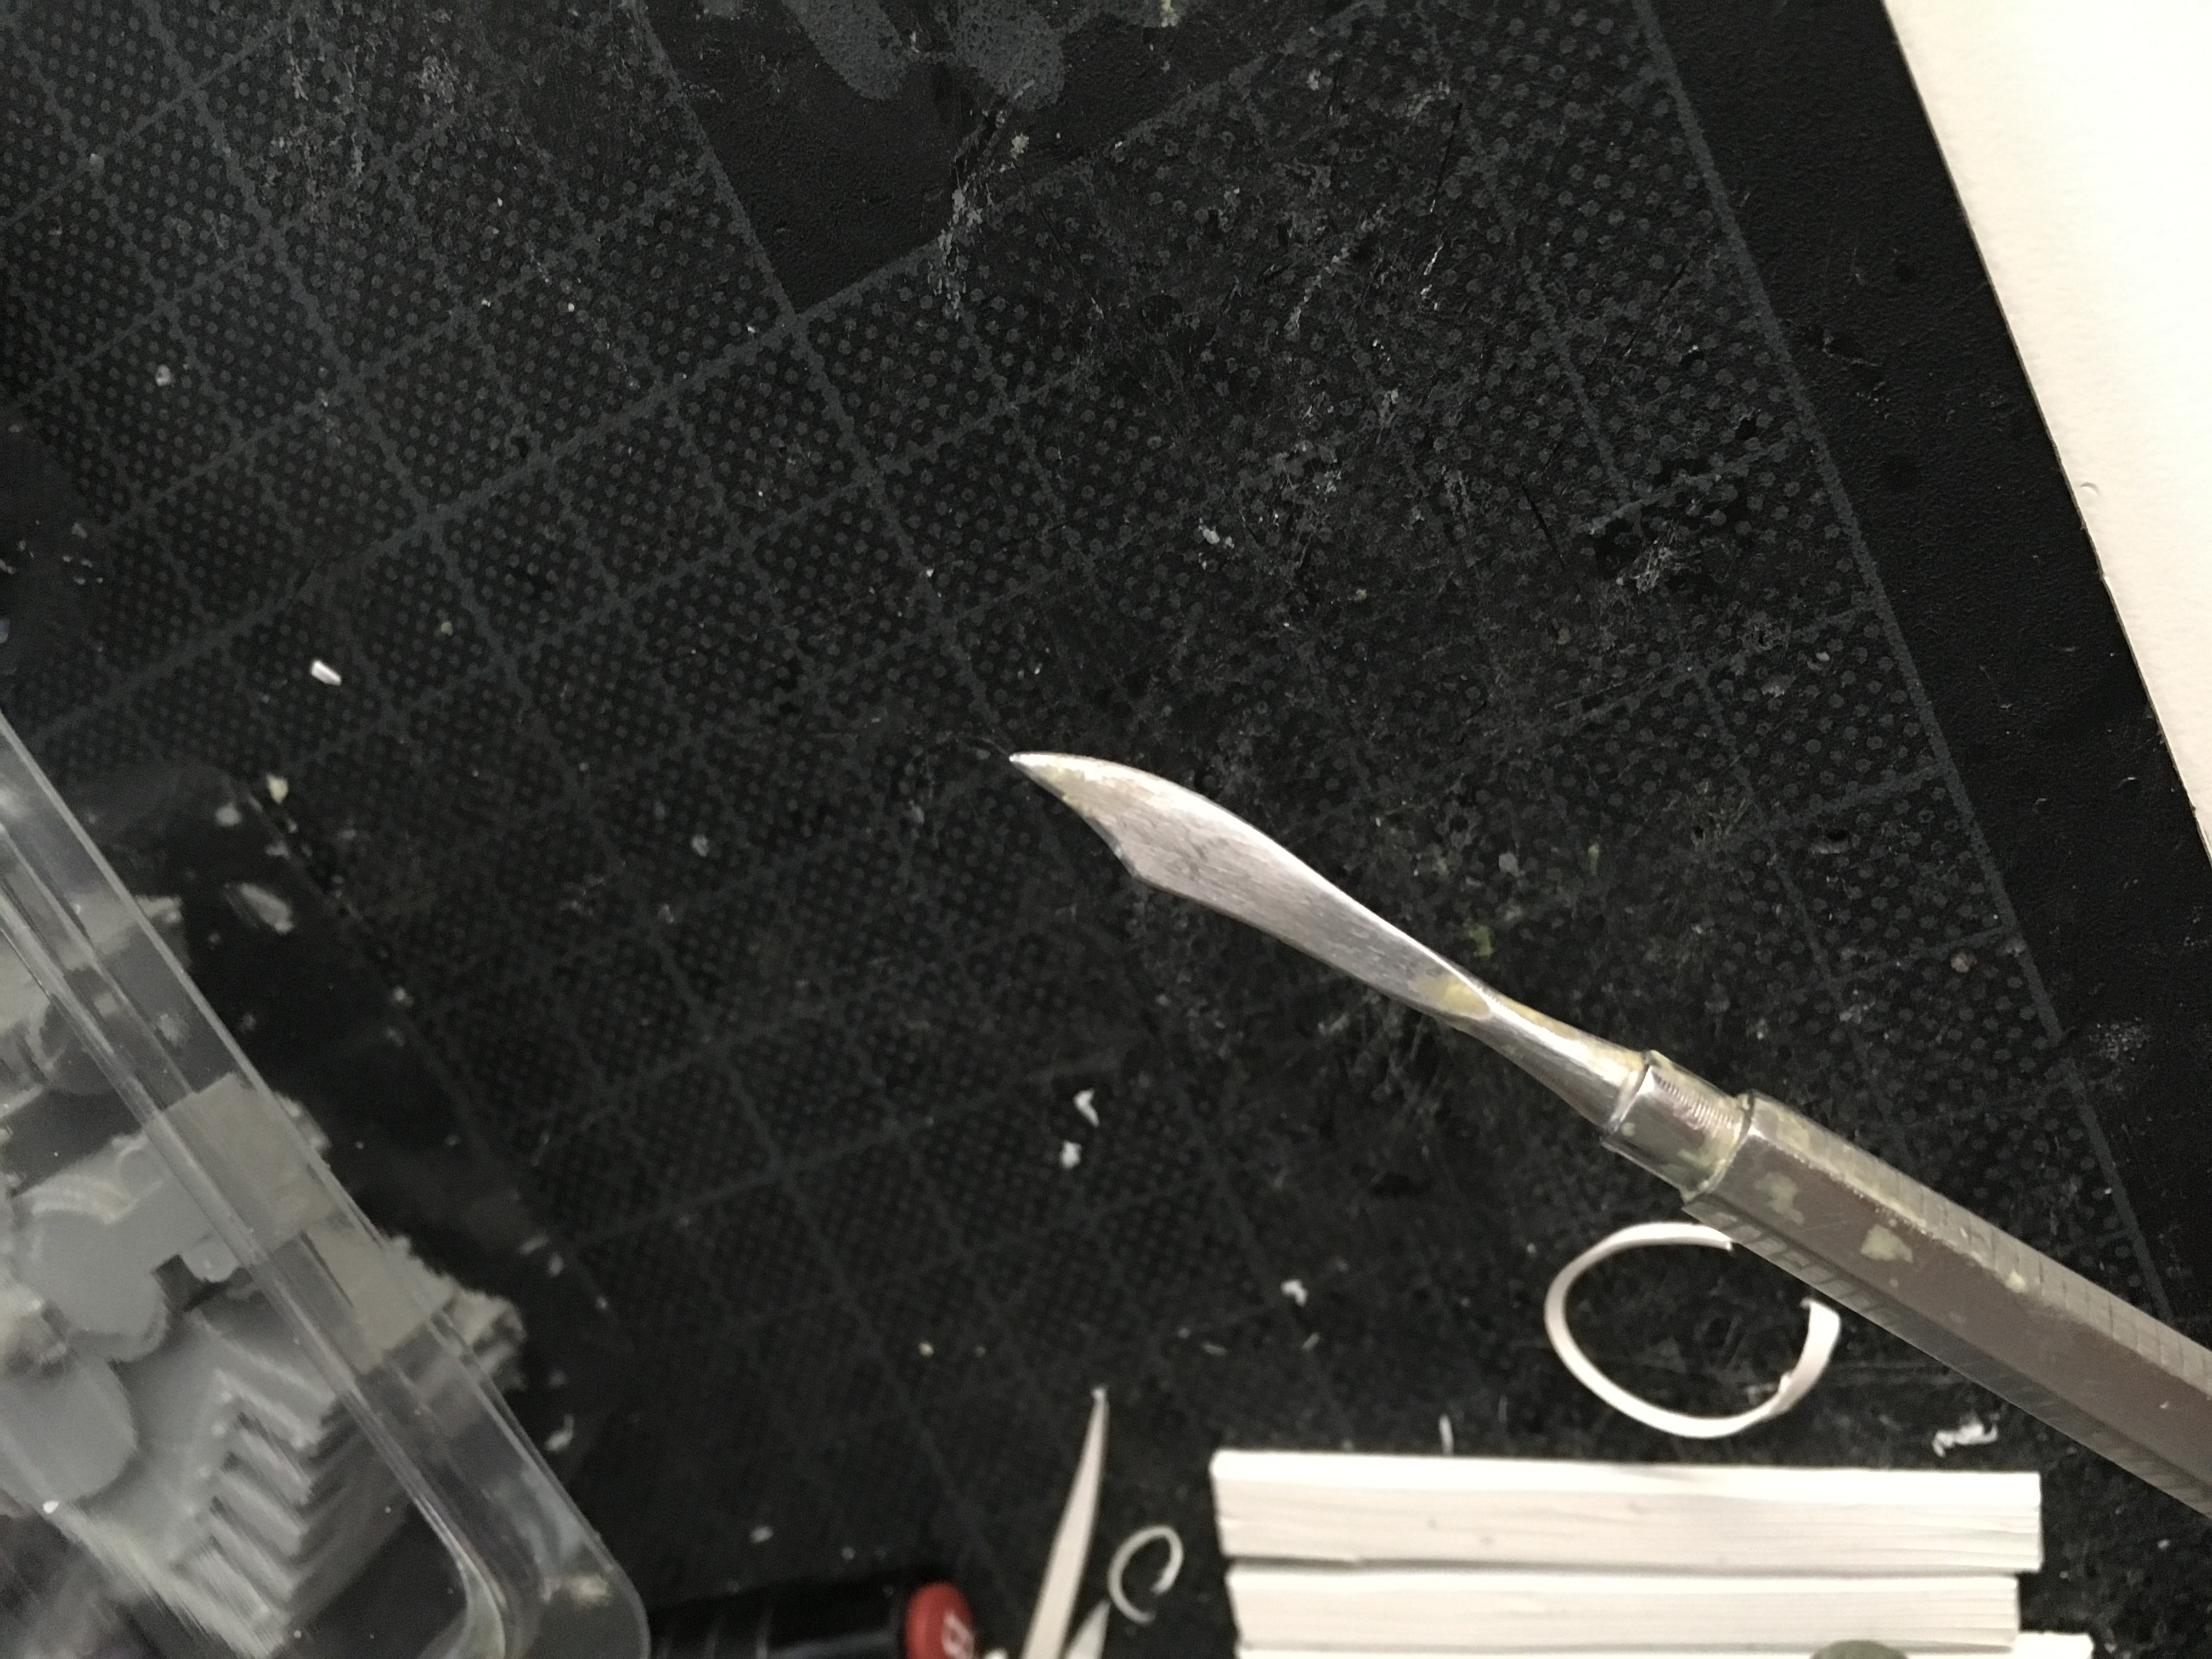
As I do with all my planks, I sculpt the general shape first. Then I take the back of my sculpting tool (the sharp point) and carve the woodgrain into the plastic.


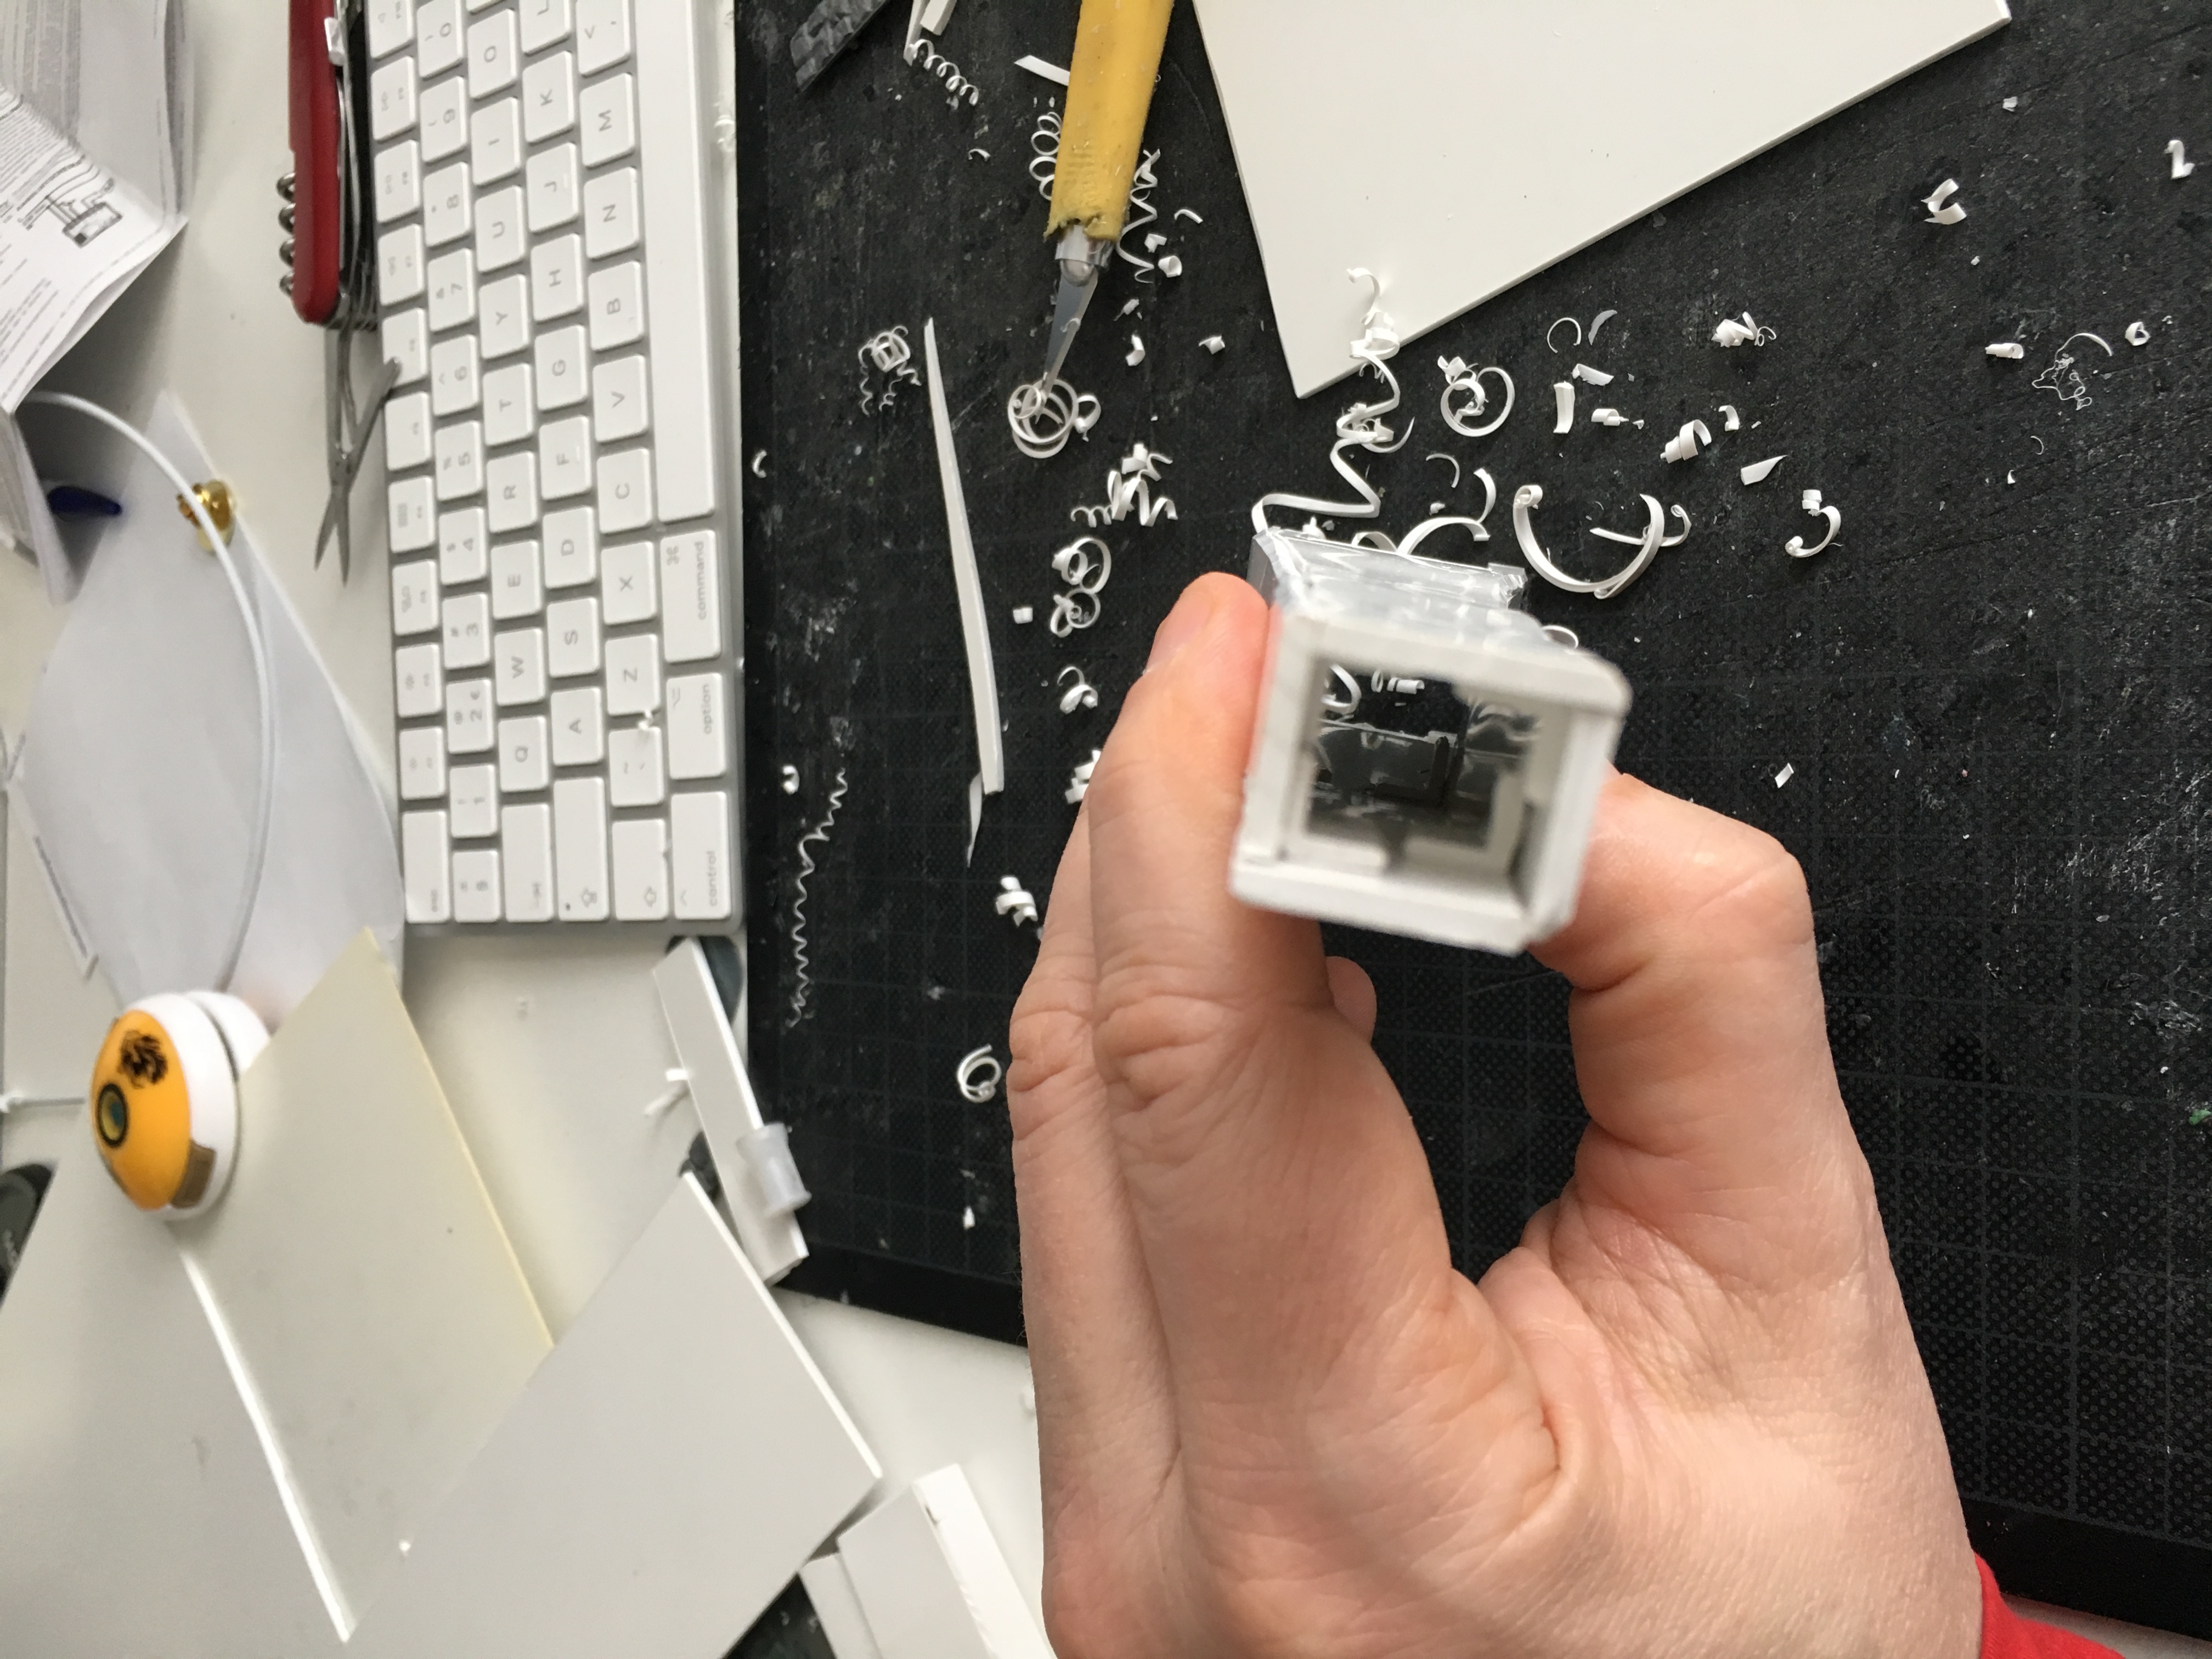
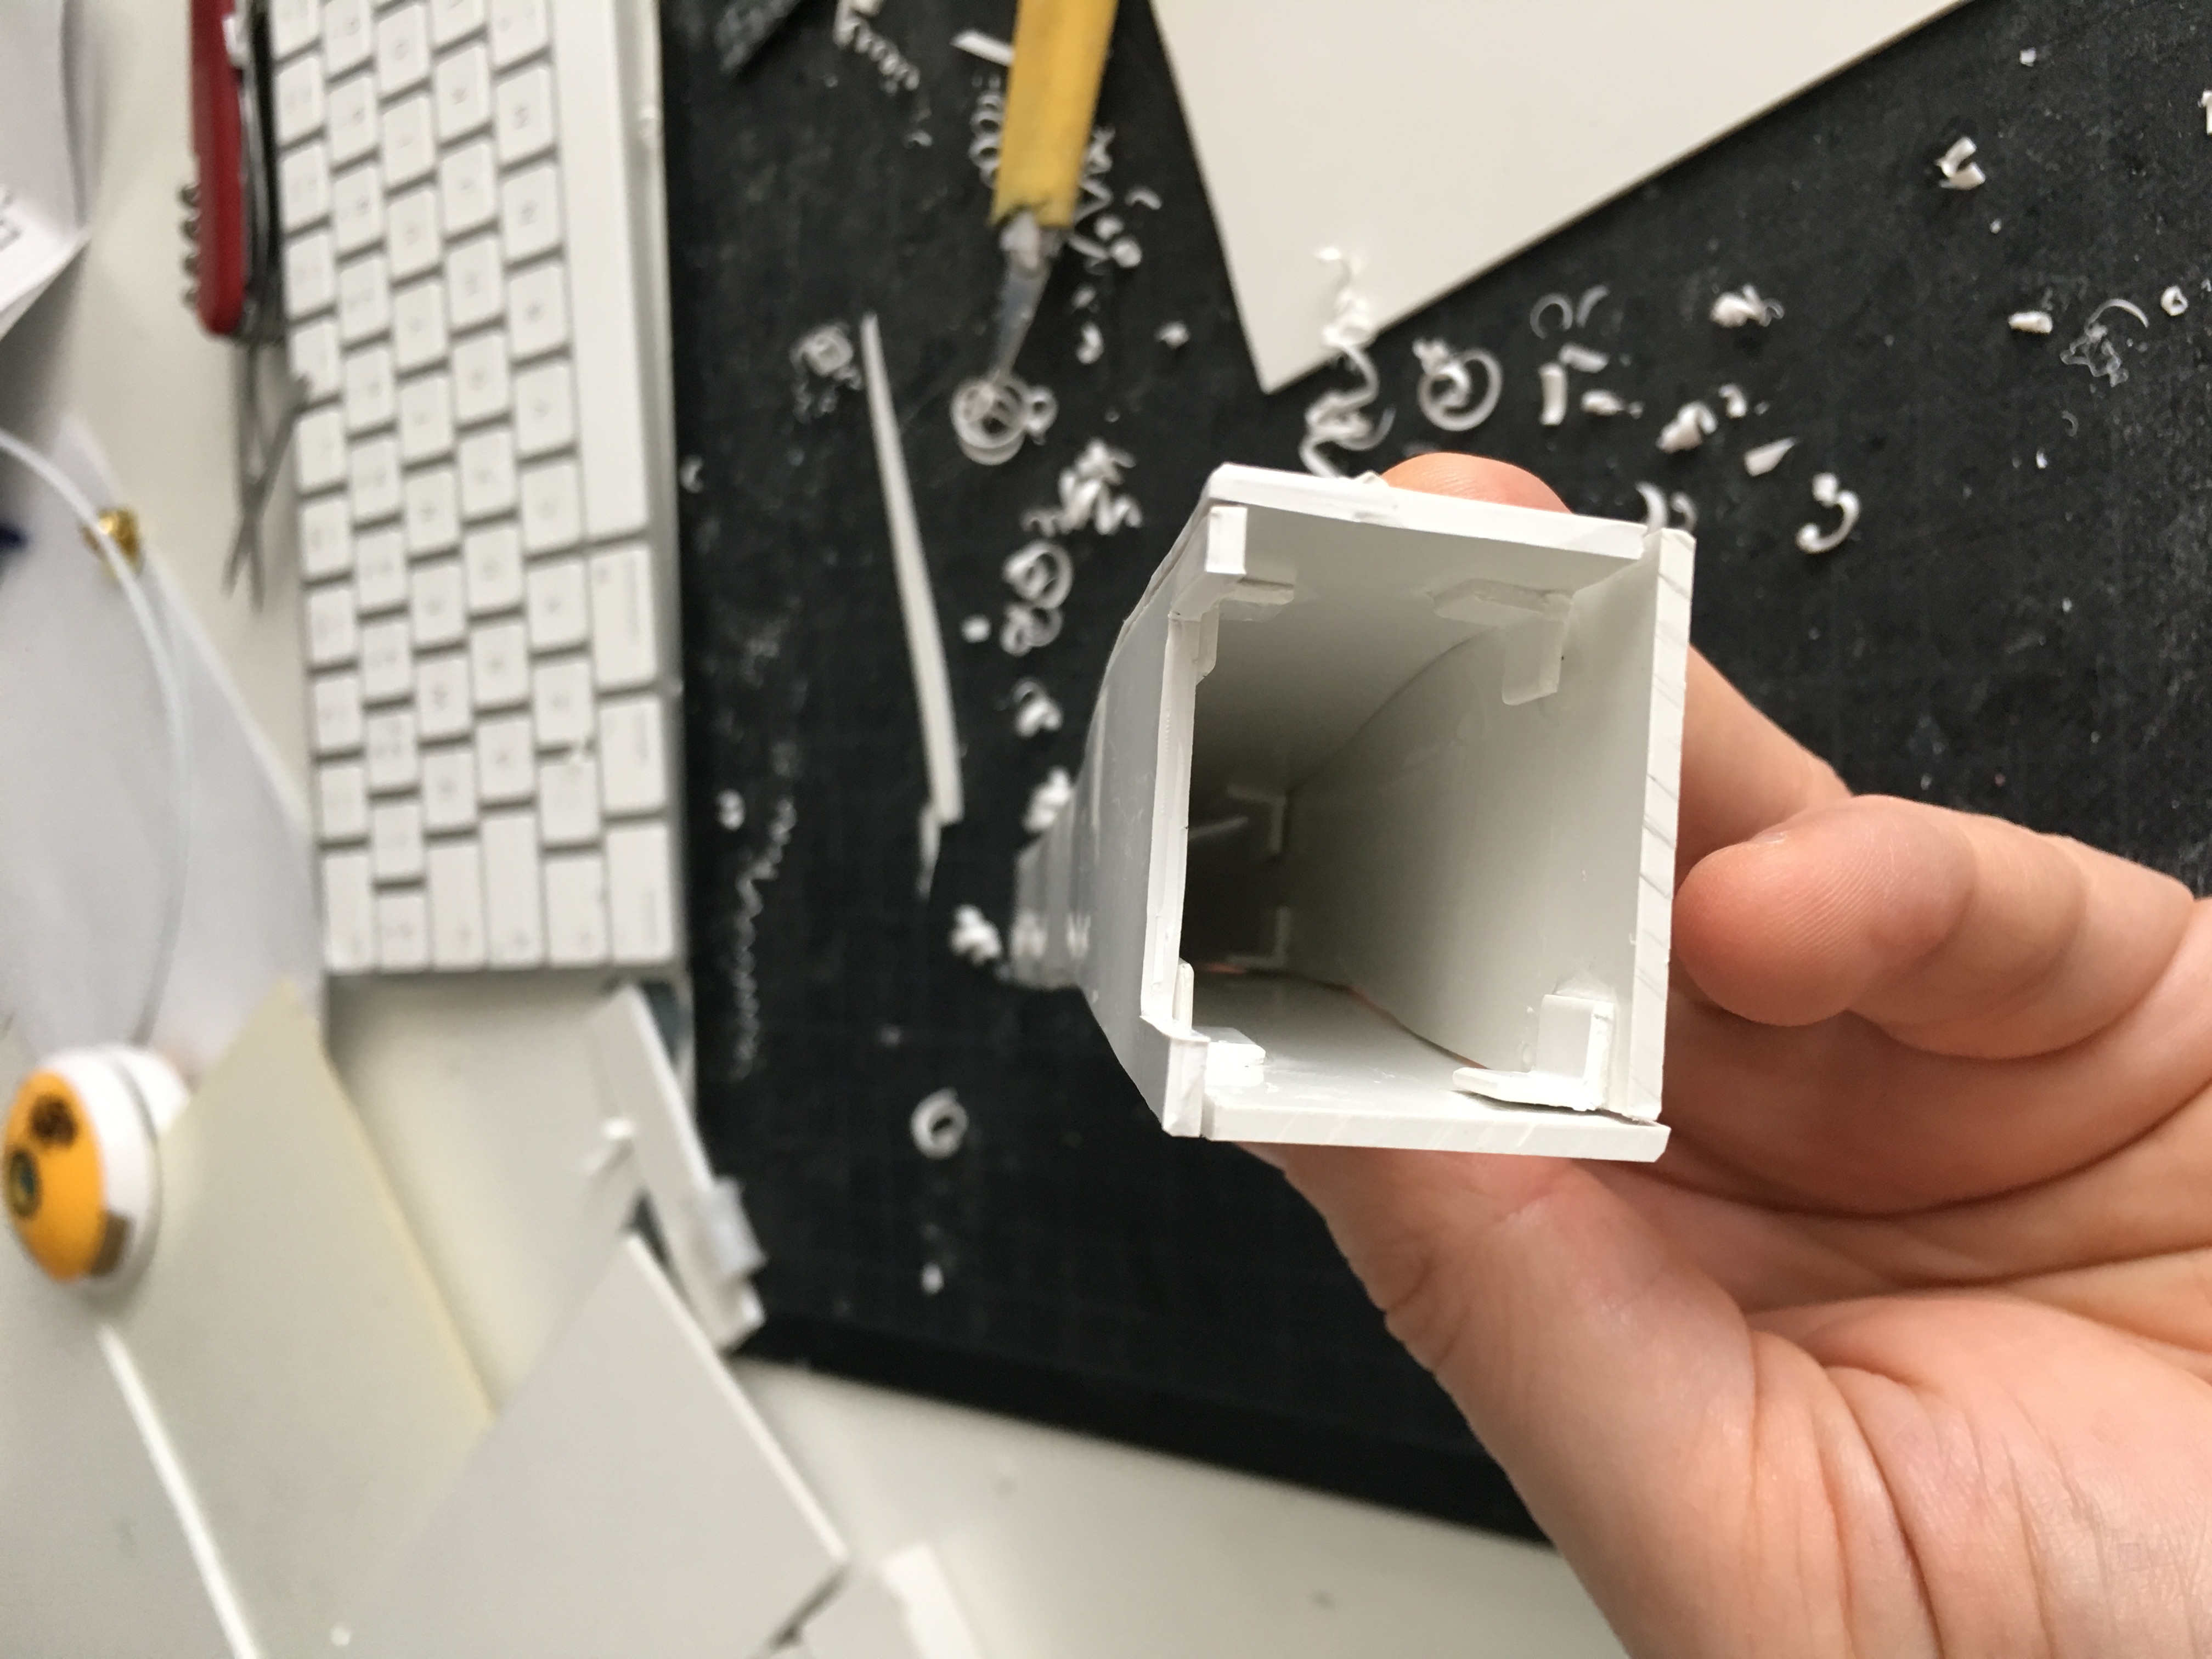
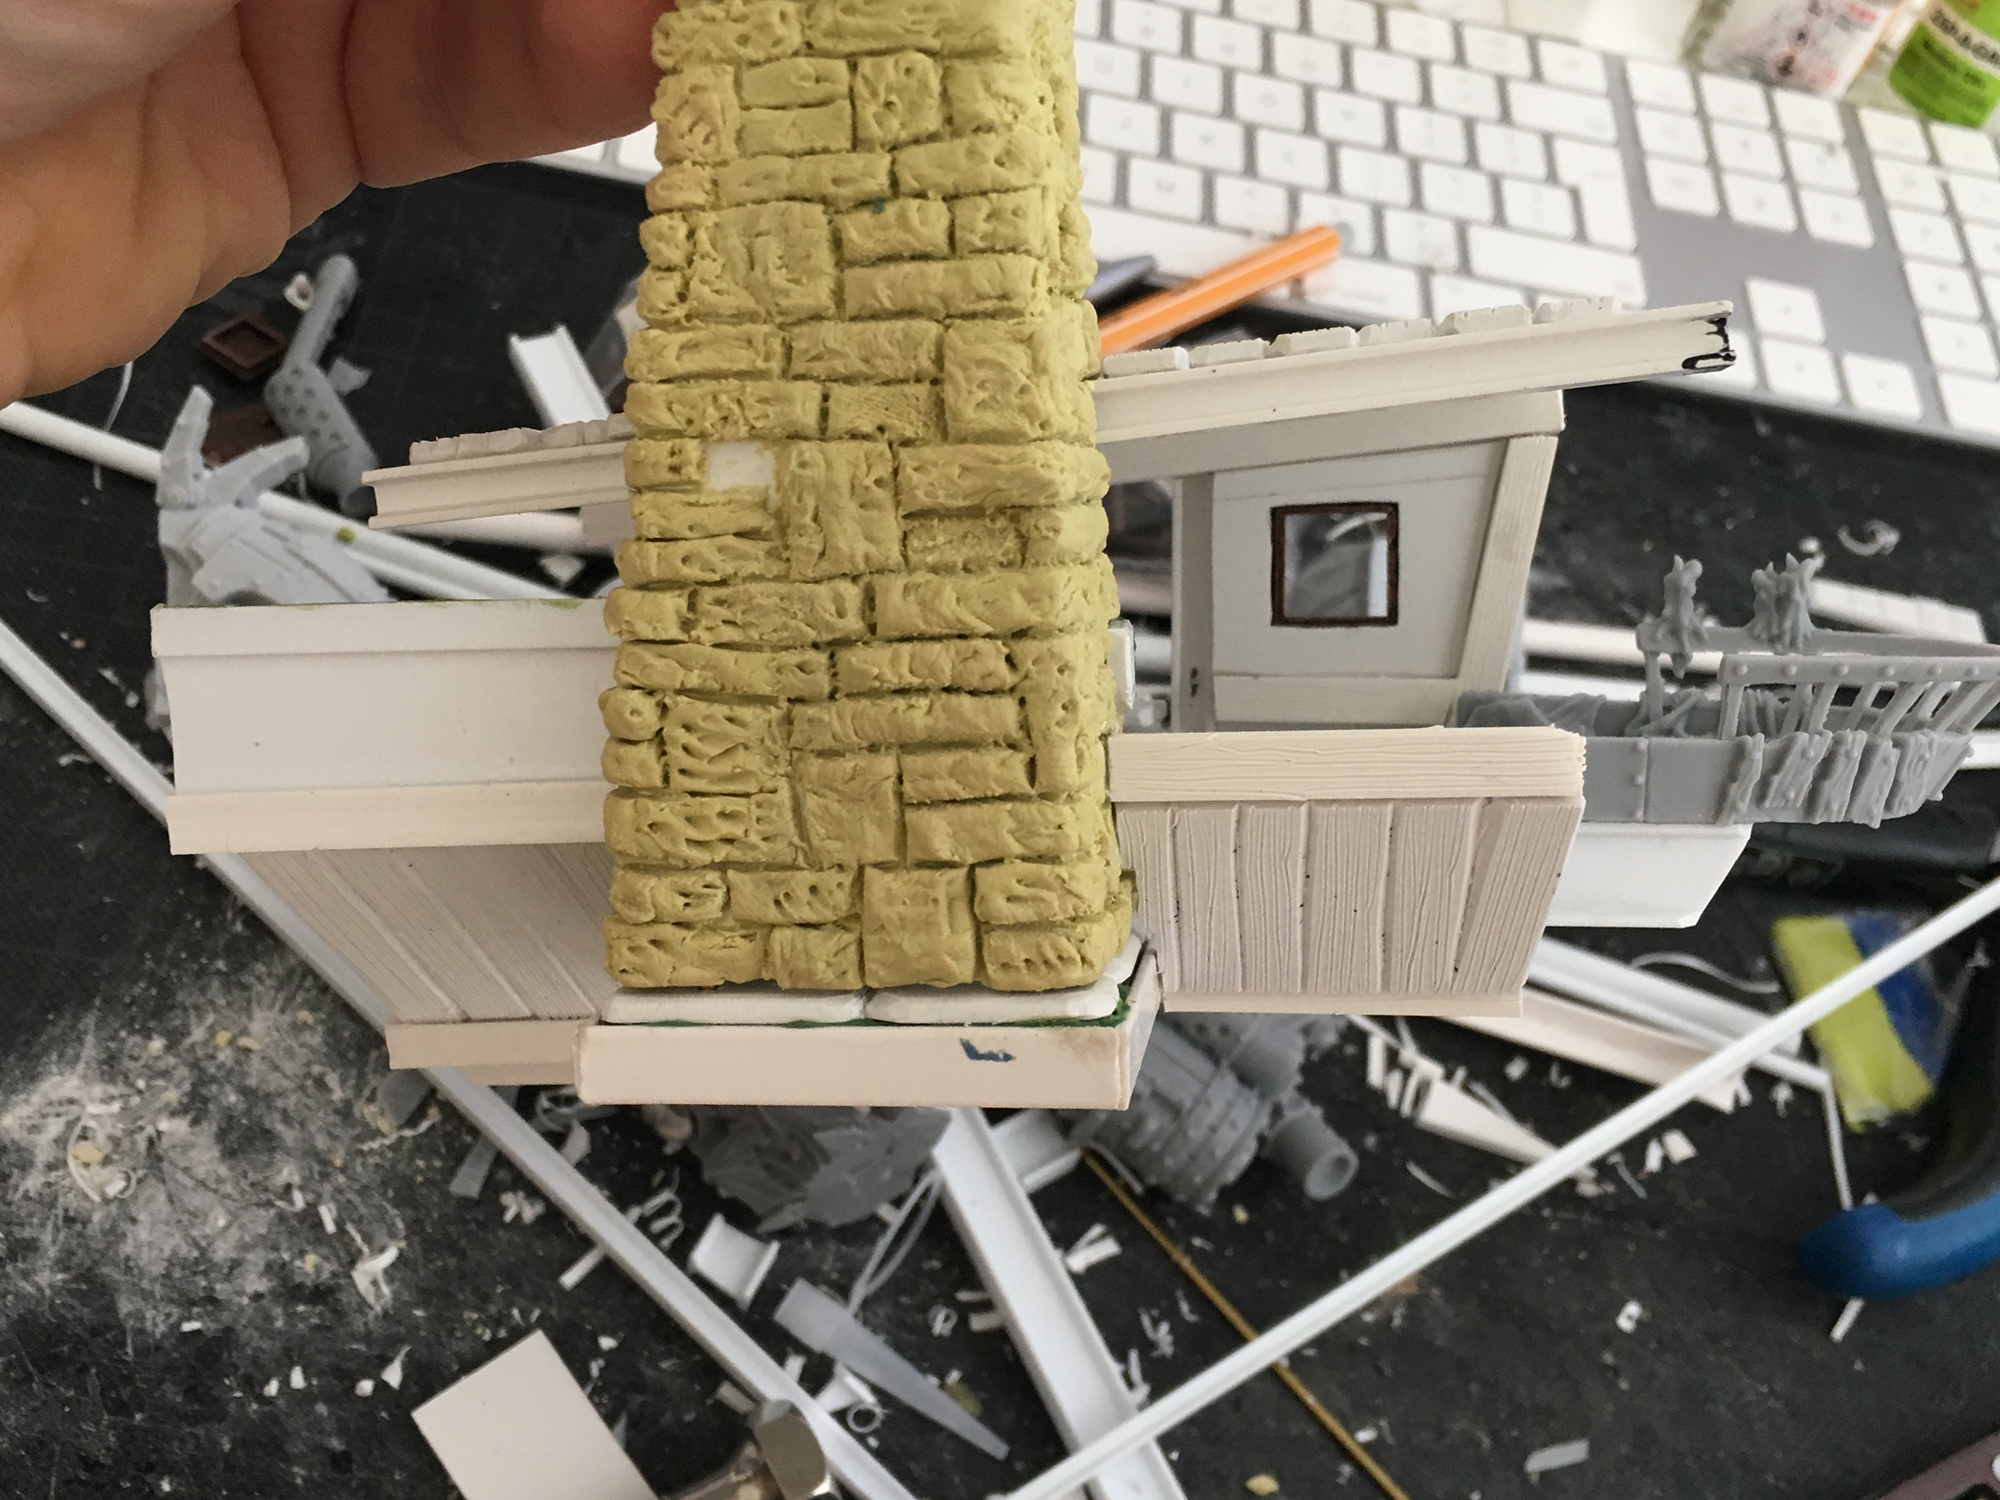
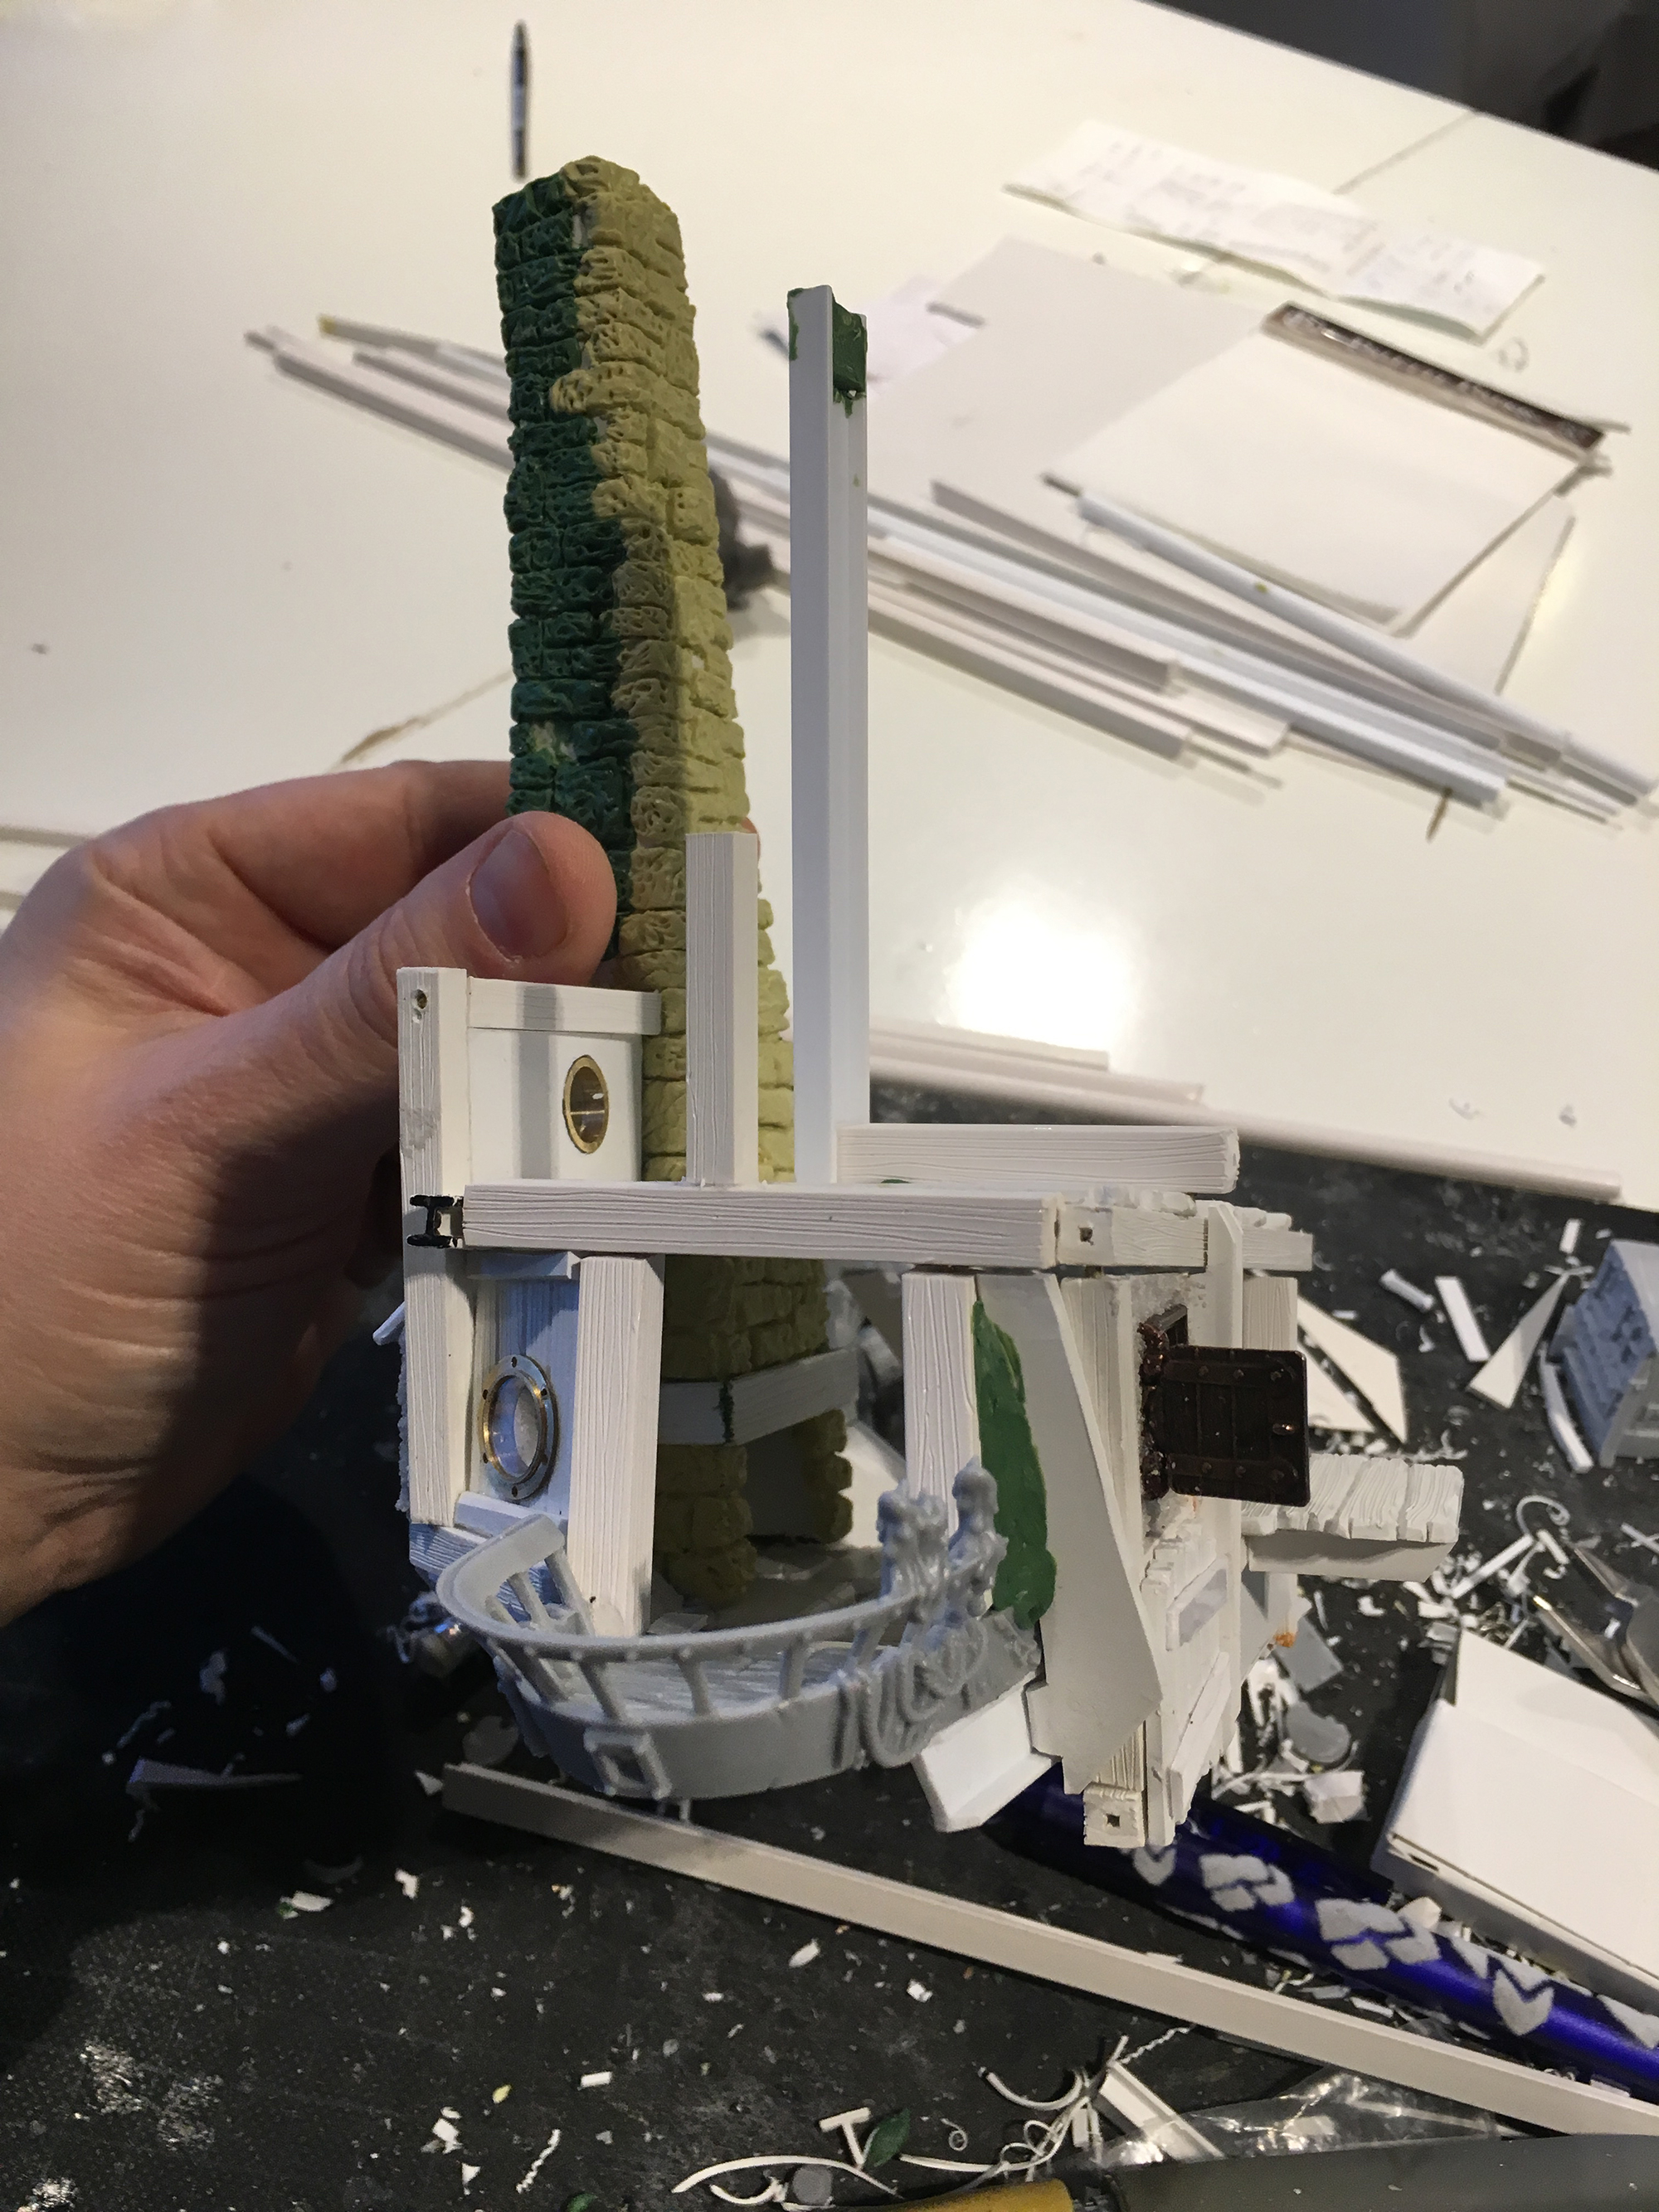
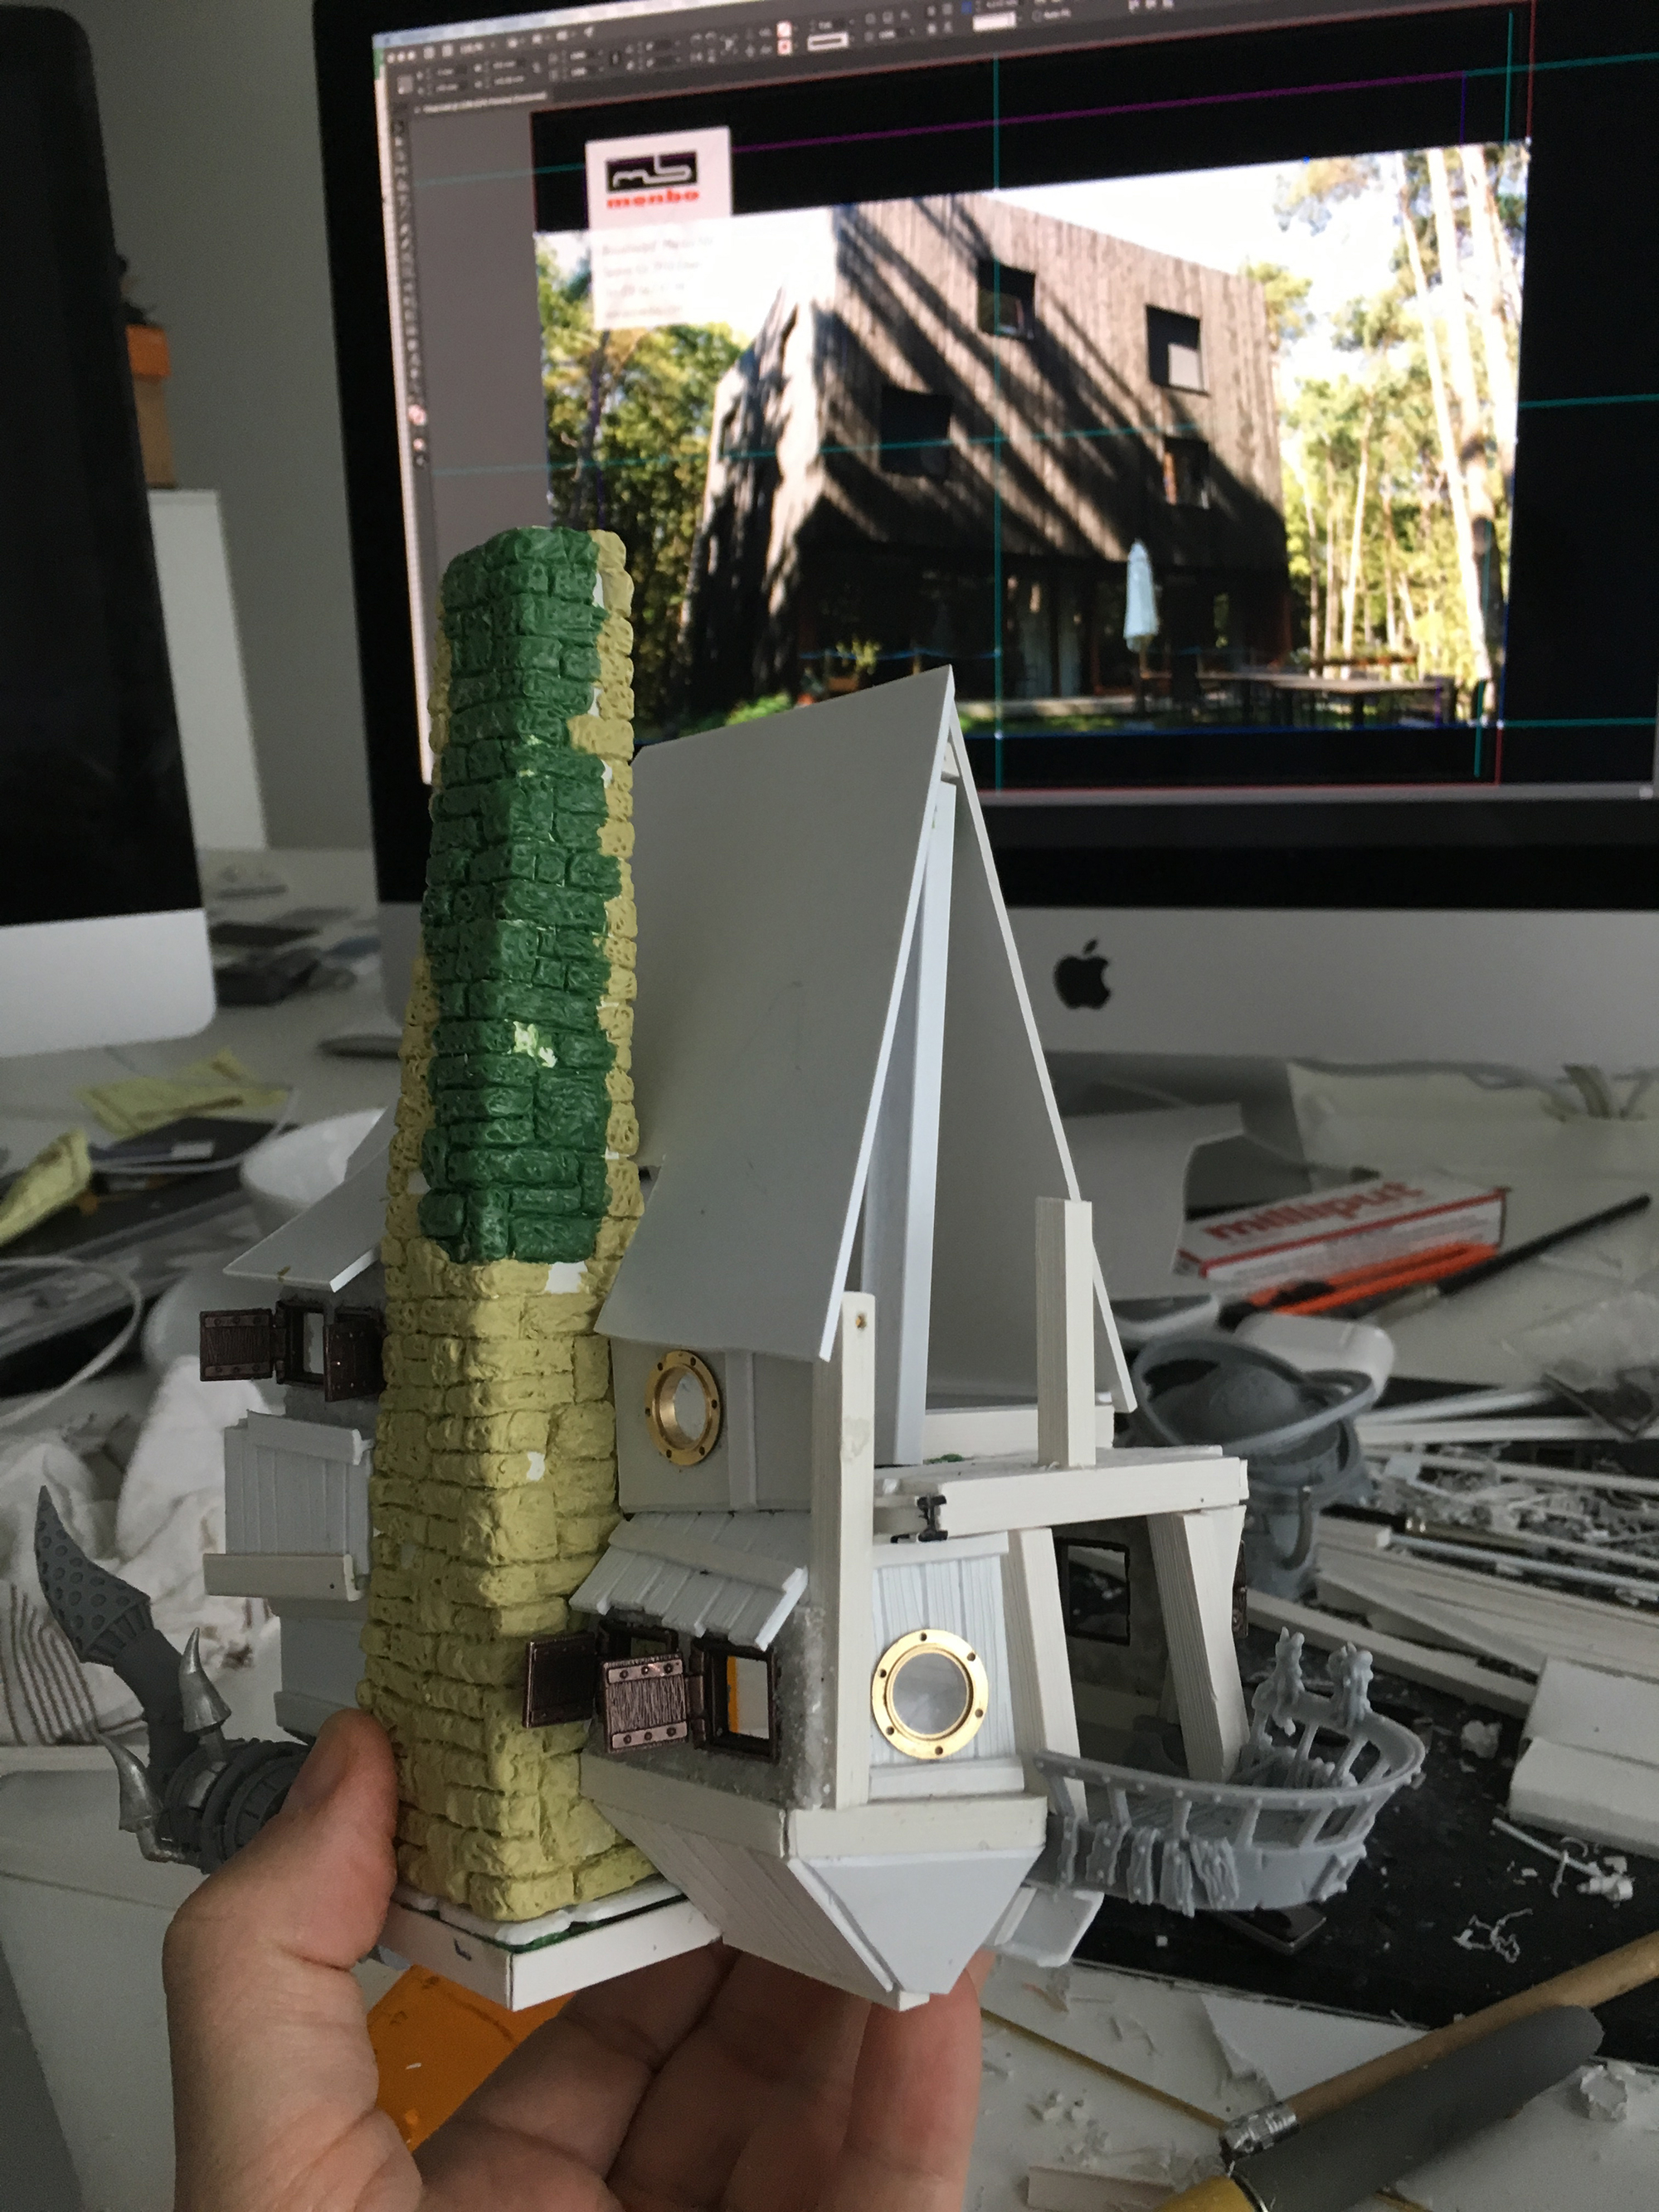
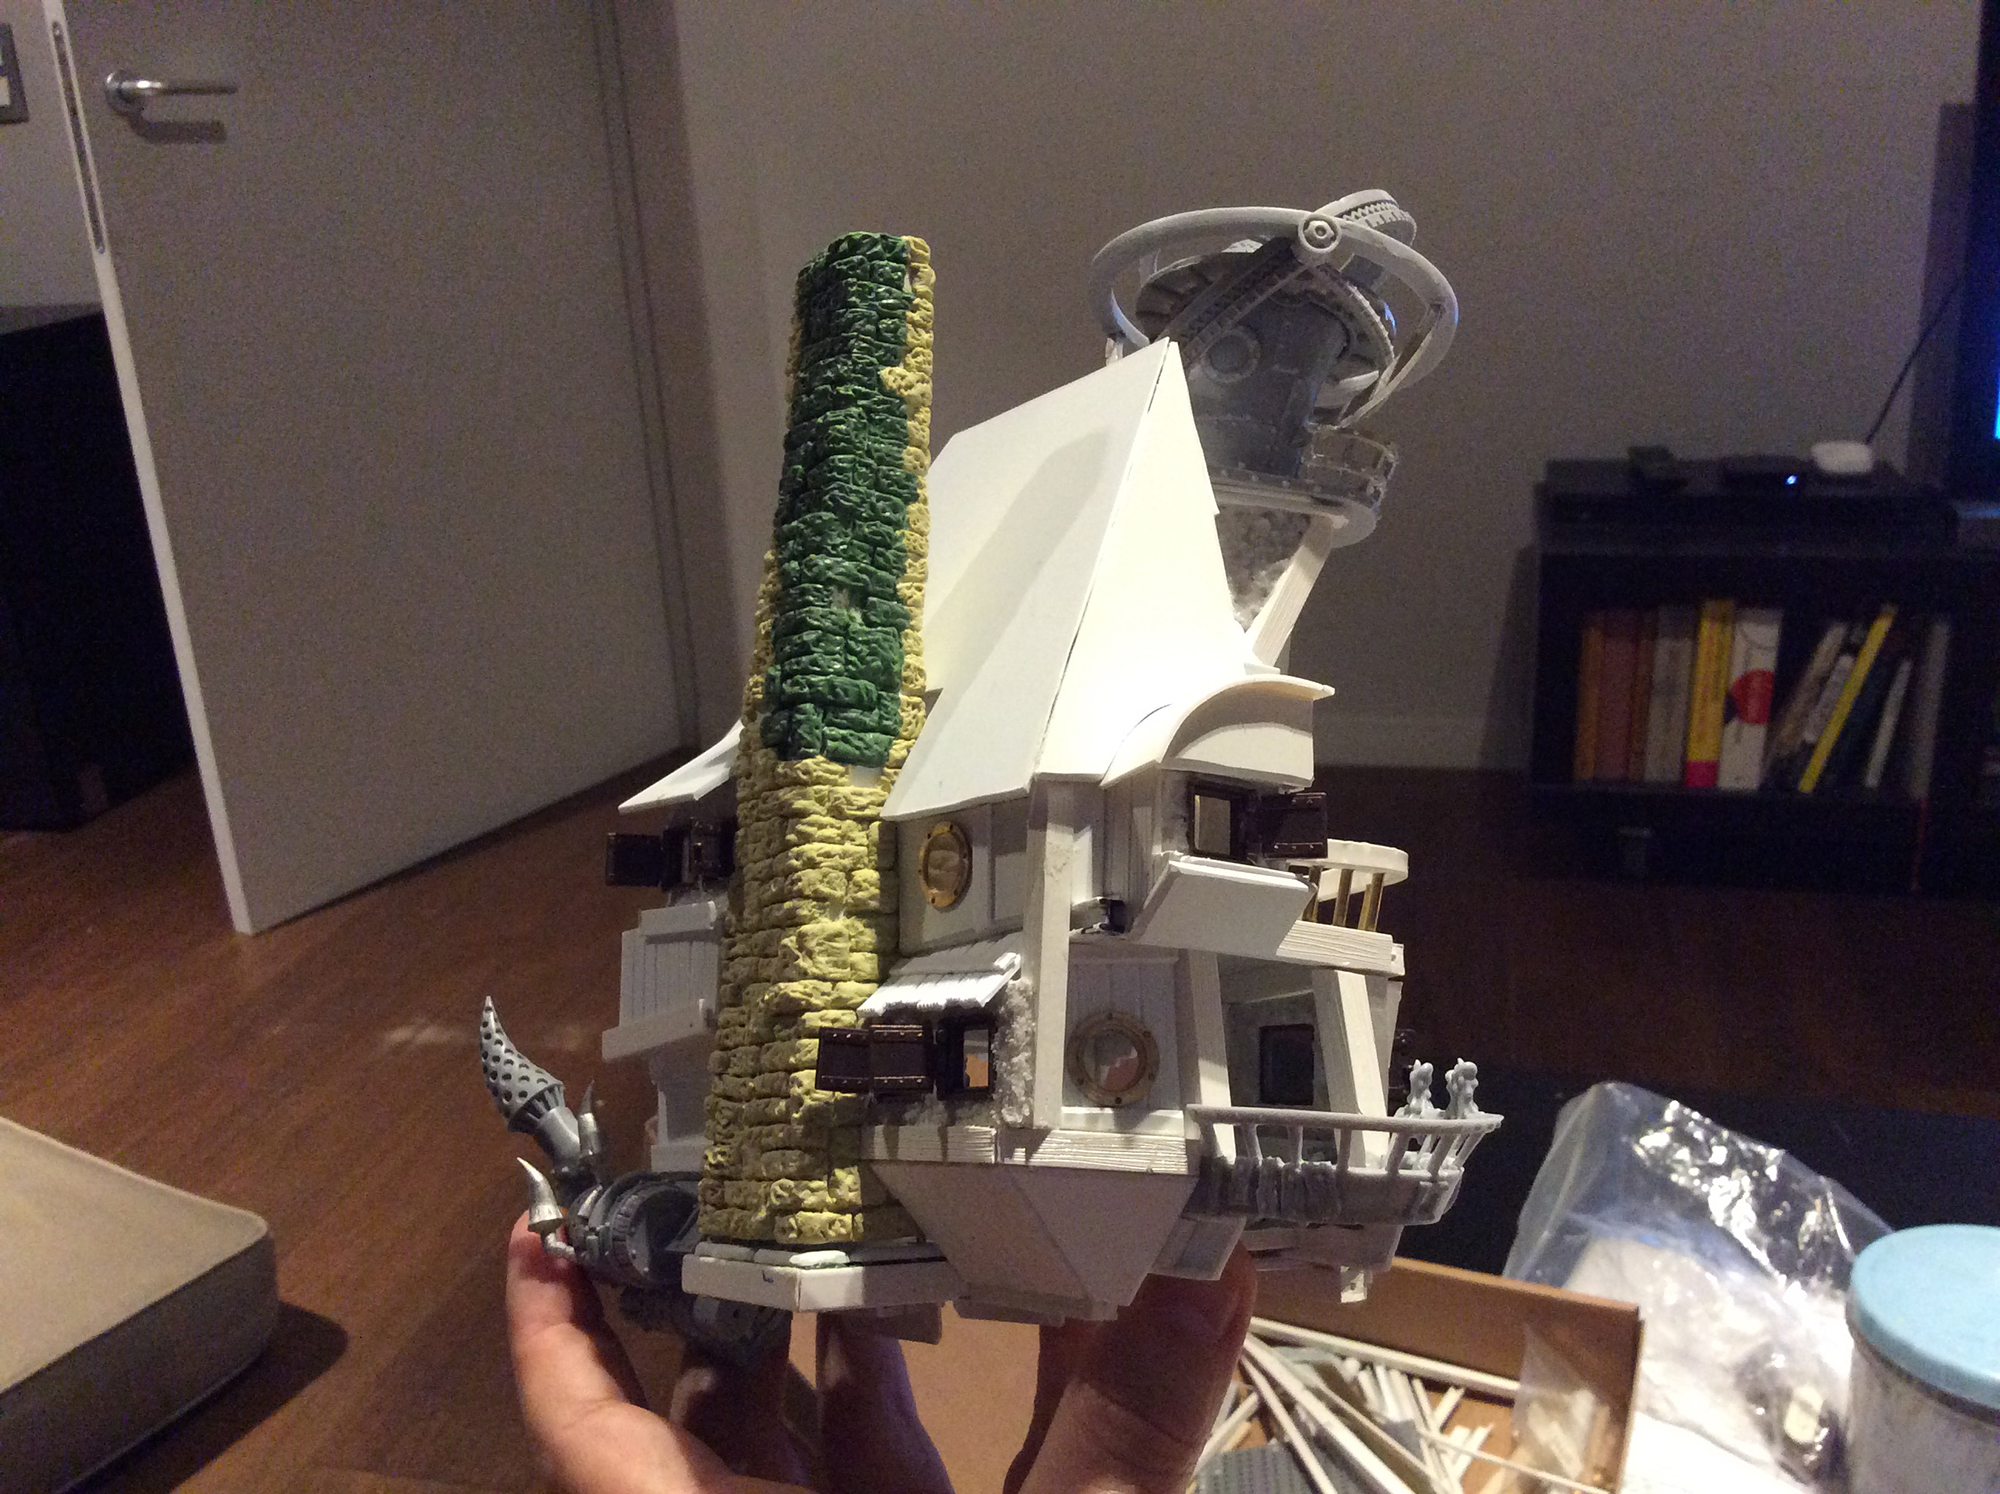
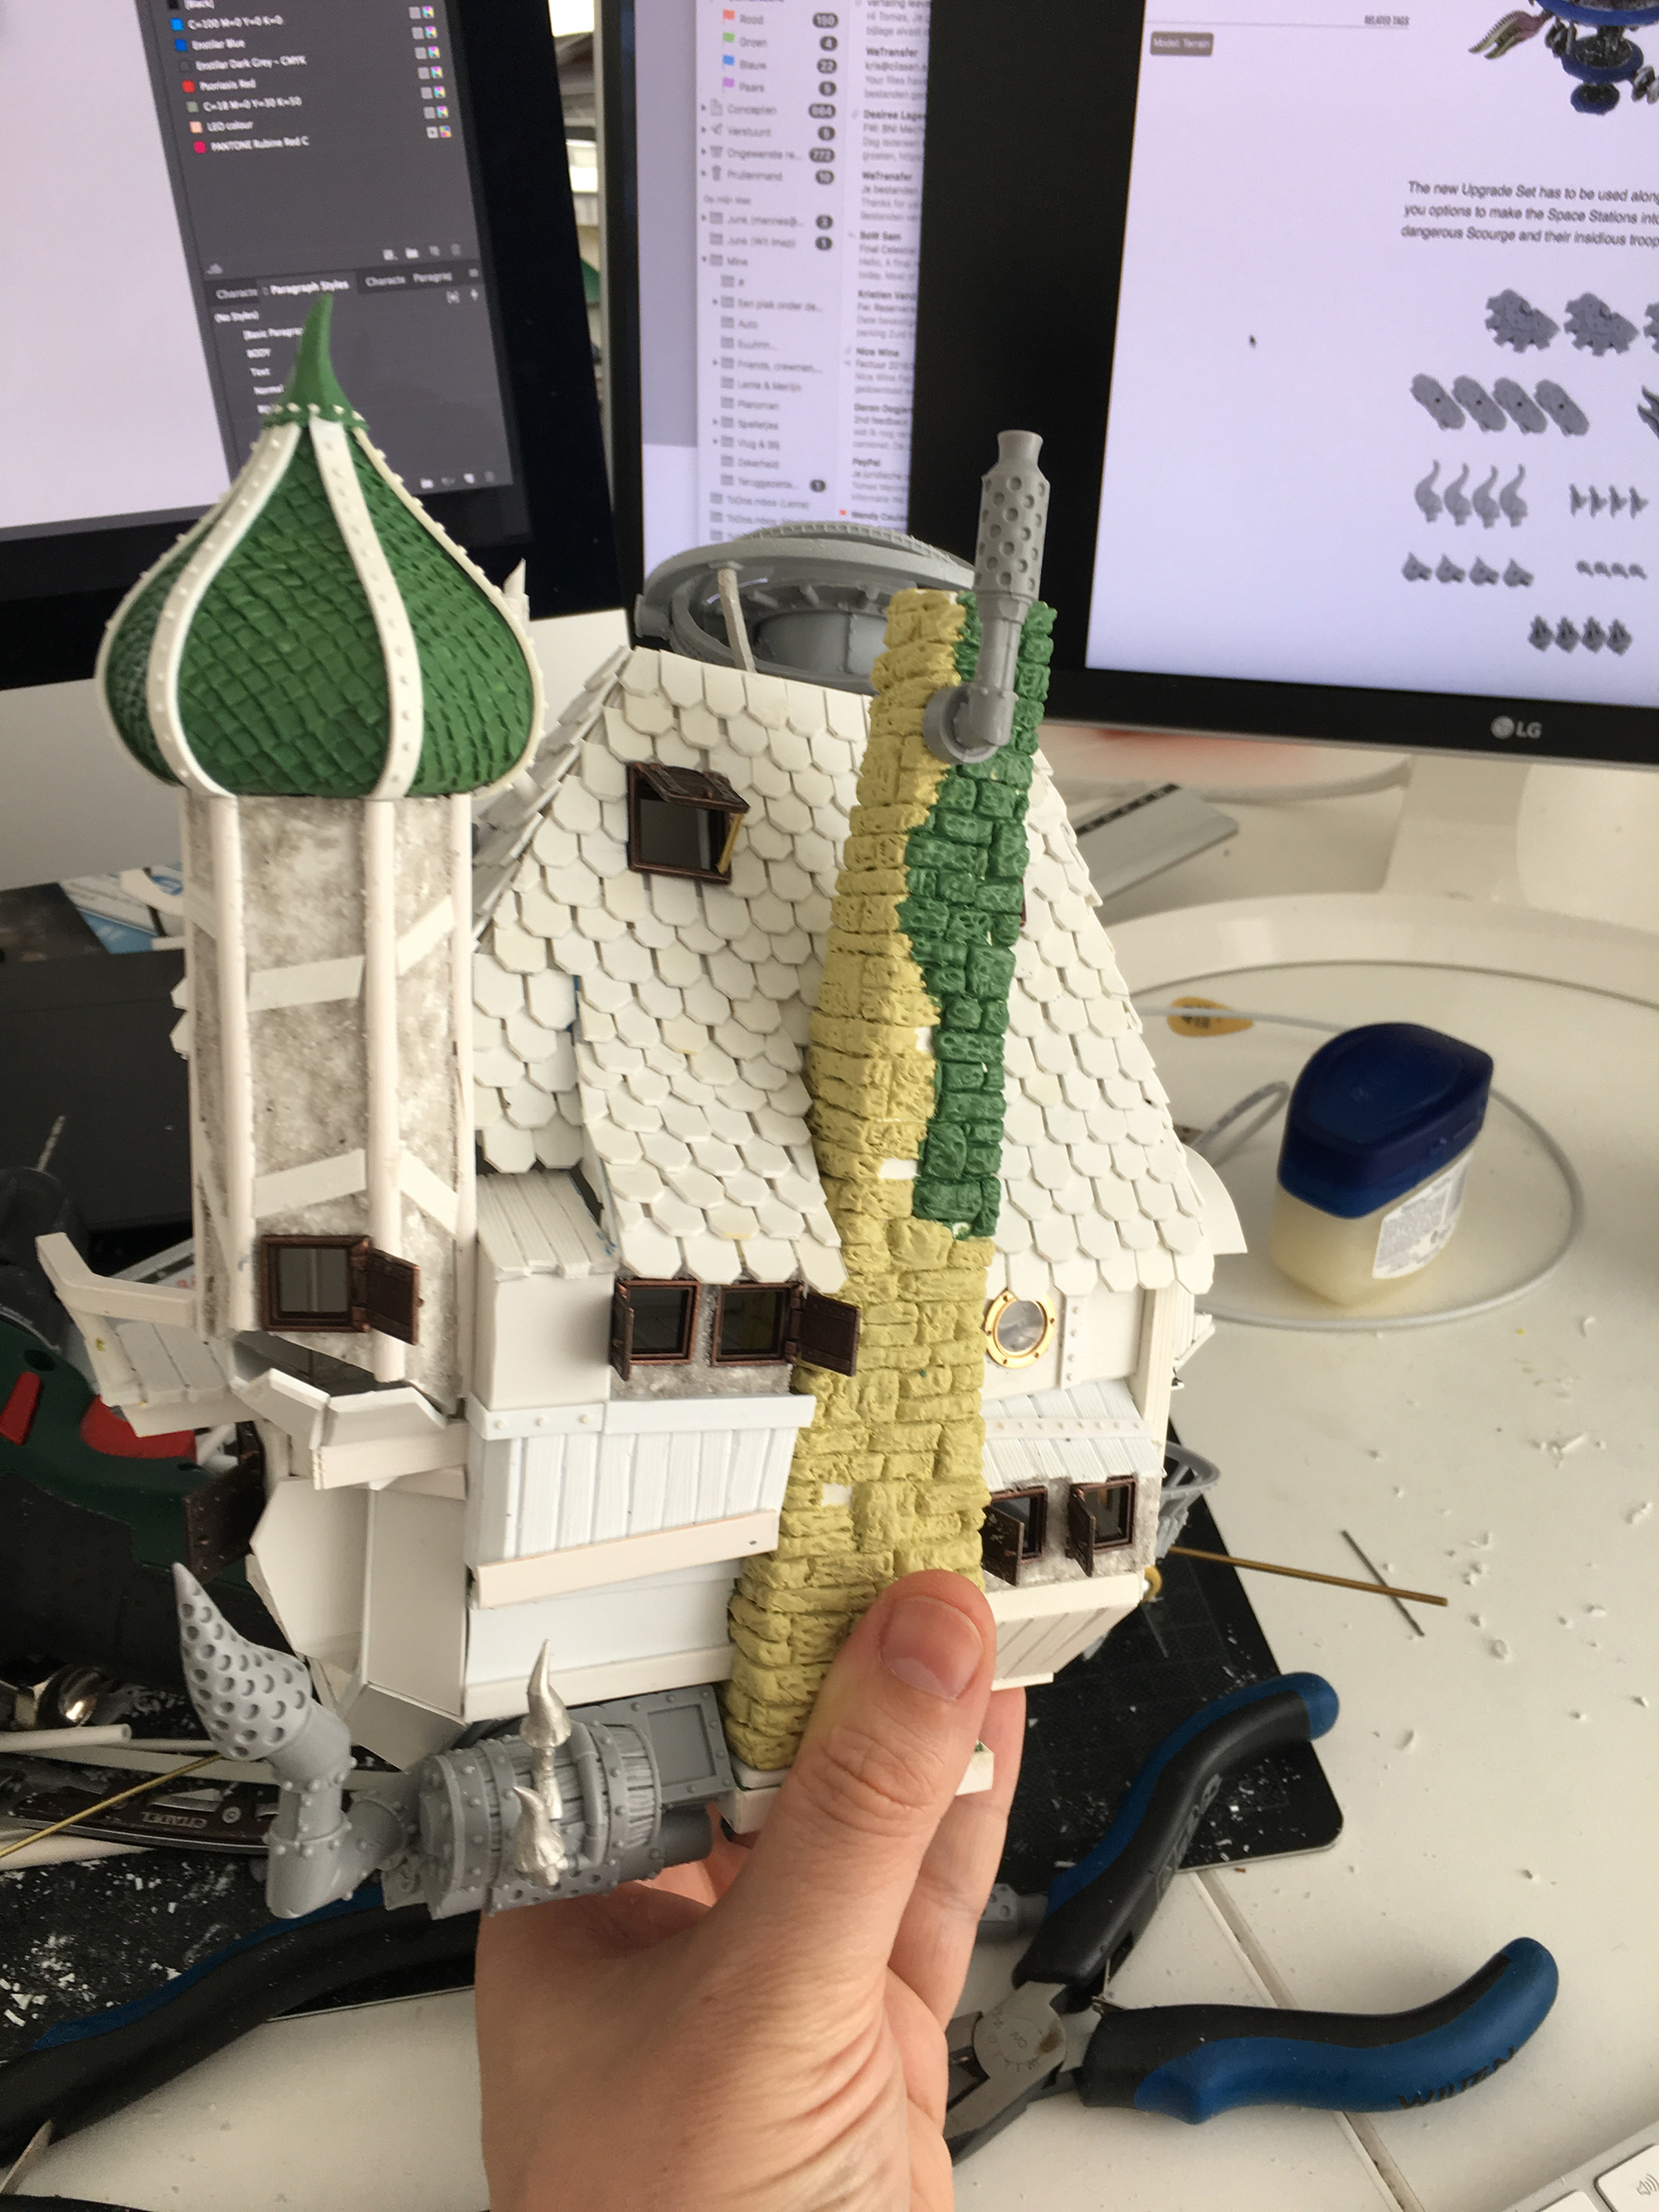
Next up was the chimney. I wanted the chimney to be the basic spine of my model, from which everything else would be hanging. So I mad it first.
4 sheets of styrene were cut out and glued together I used some L-brackets and superglue for this. Styrene glue doesn’t cure fast enough and it was a difficult shape to hold (because most of the sides aren’t straight).
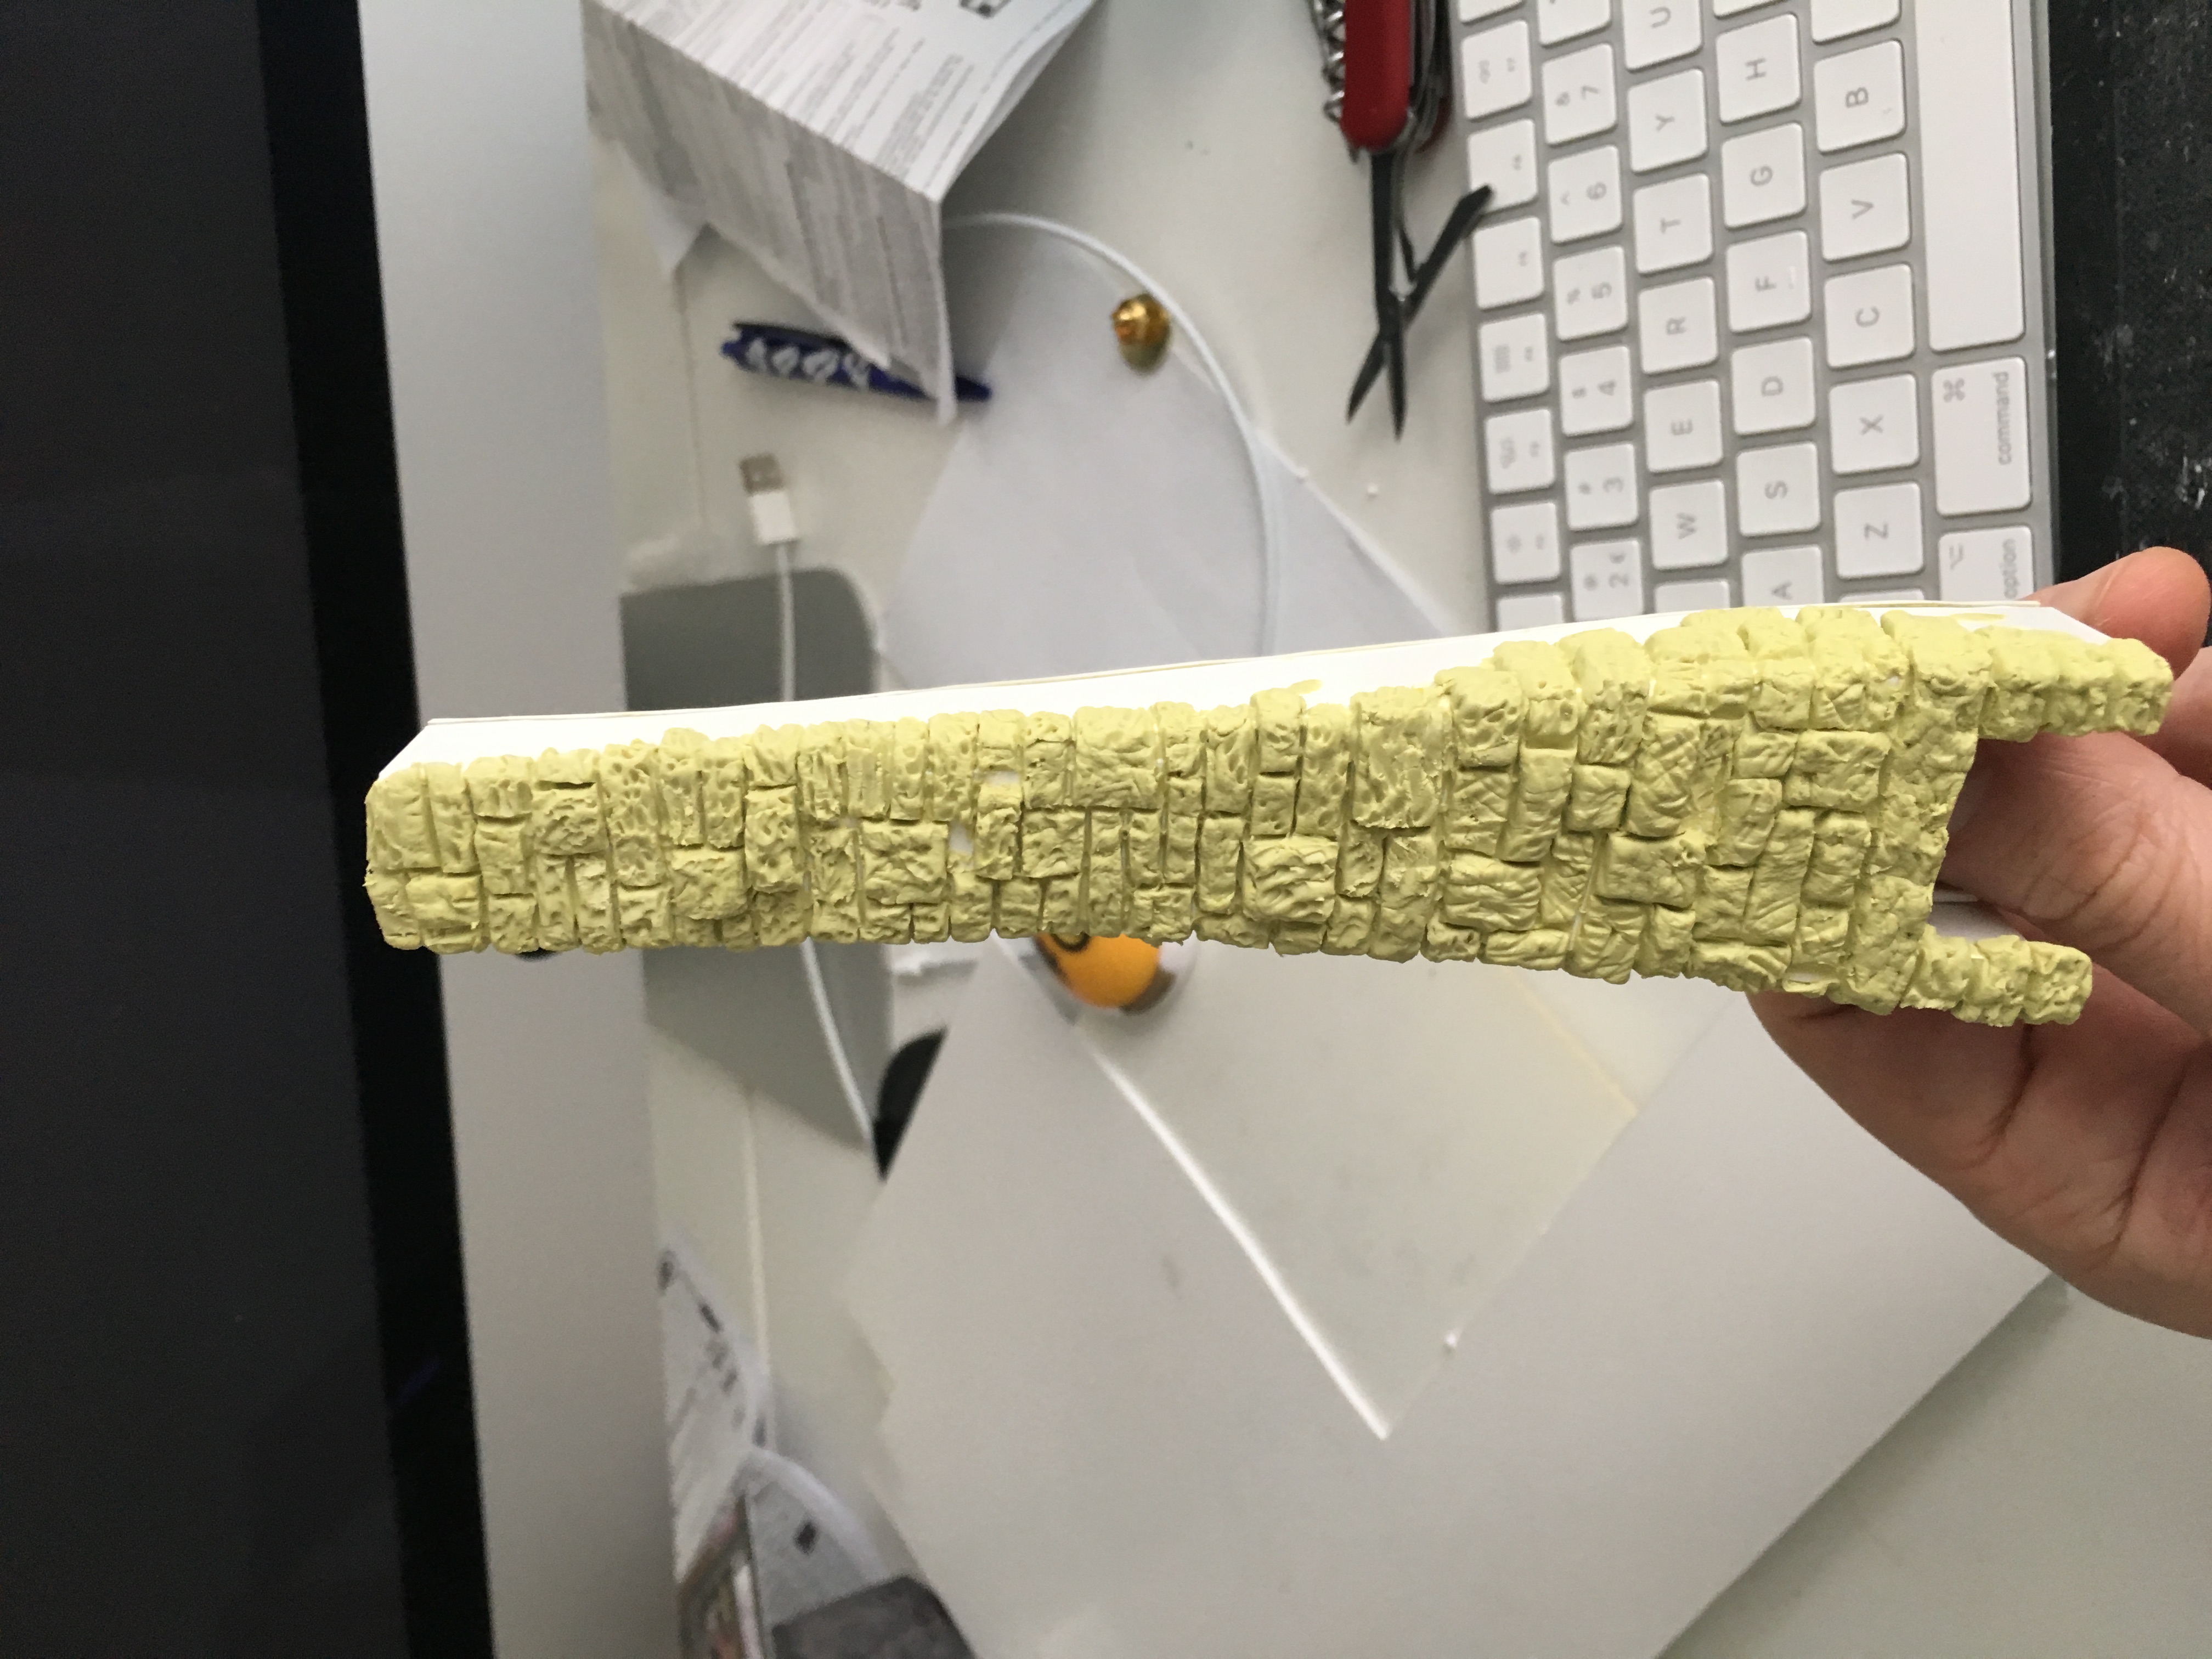
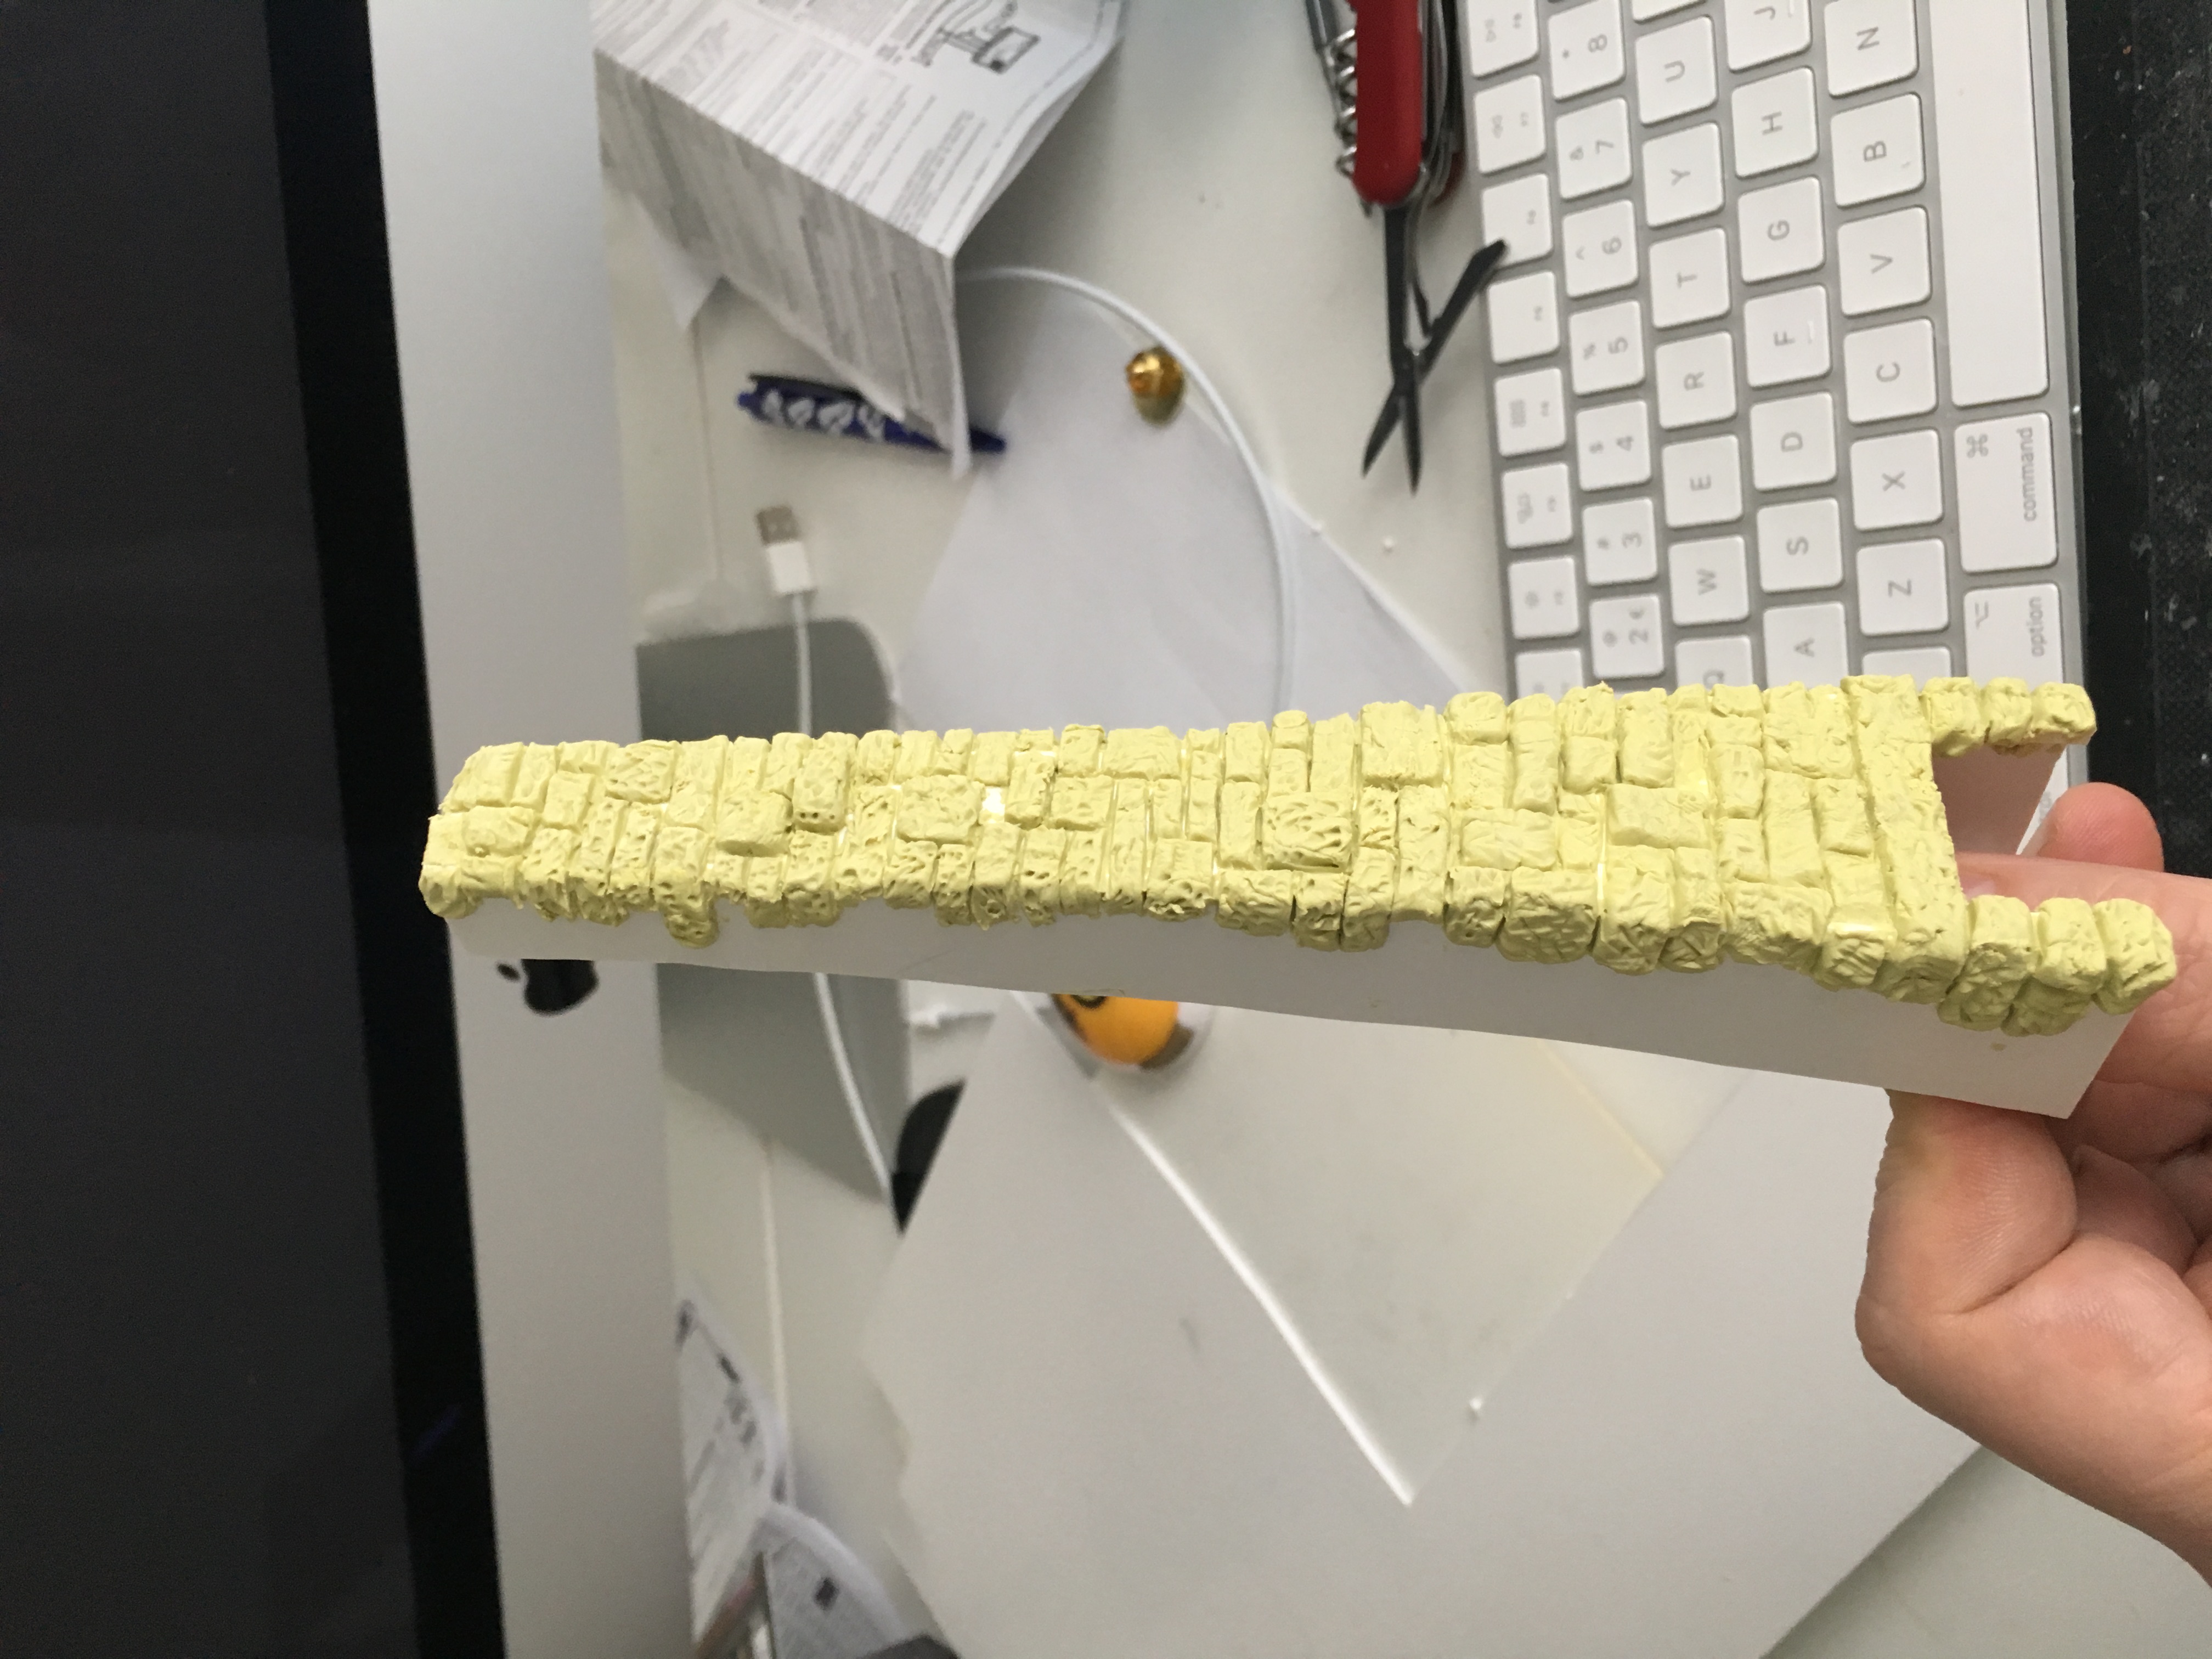
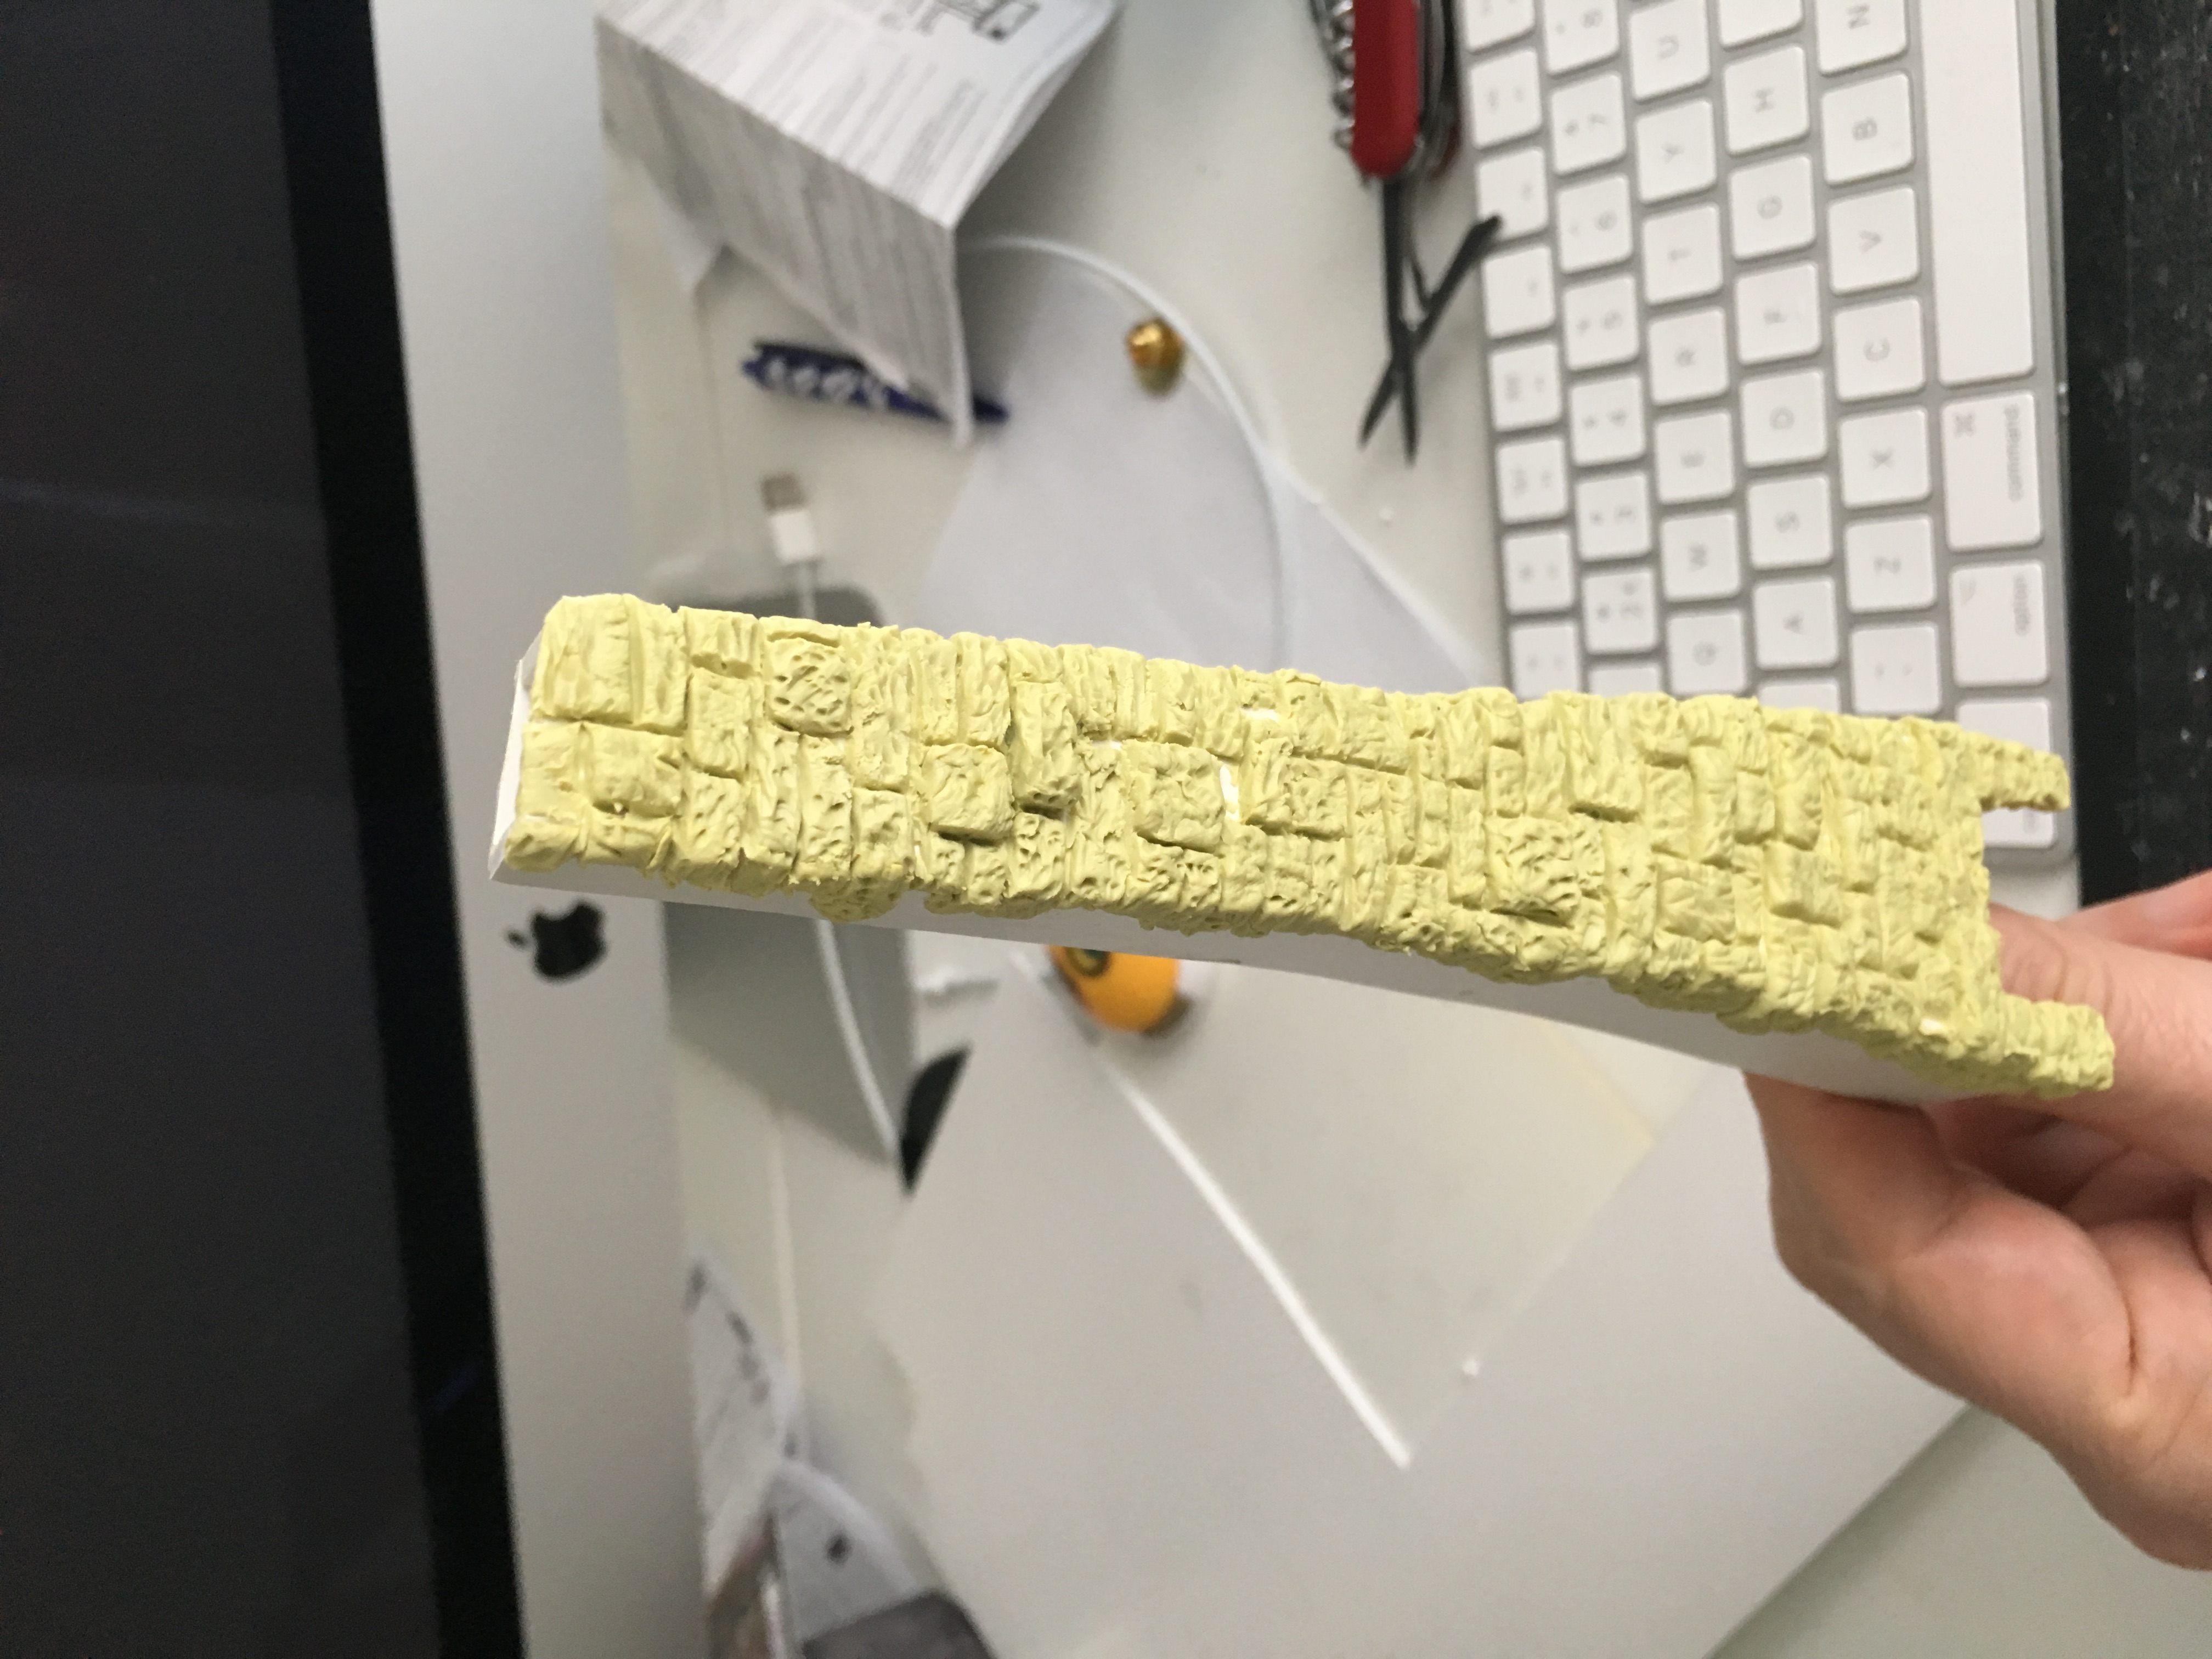

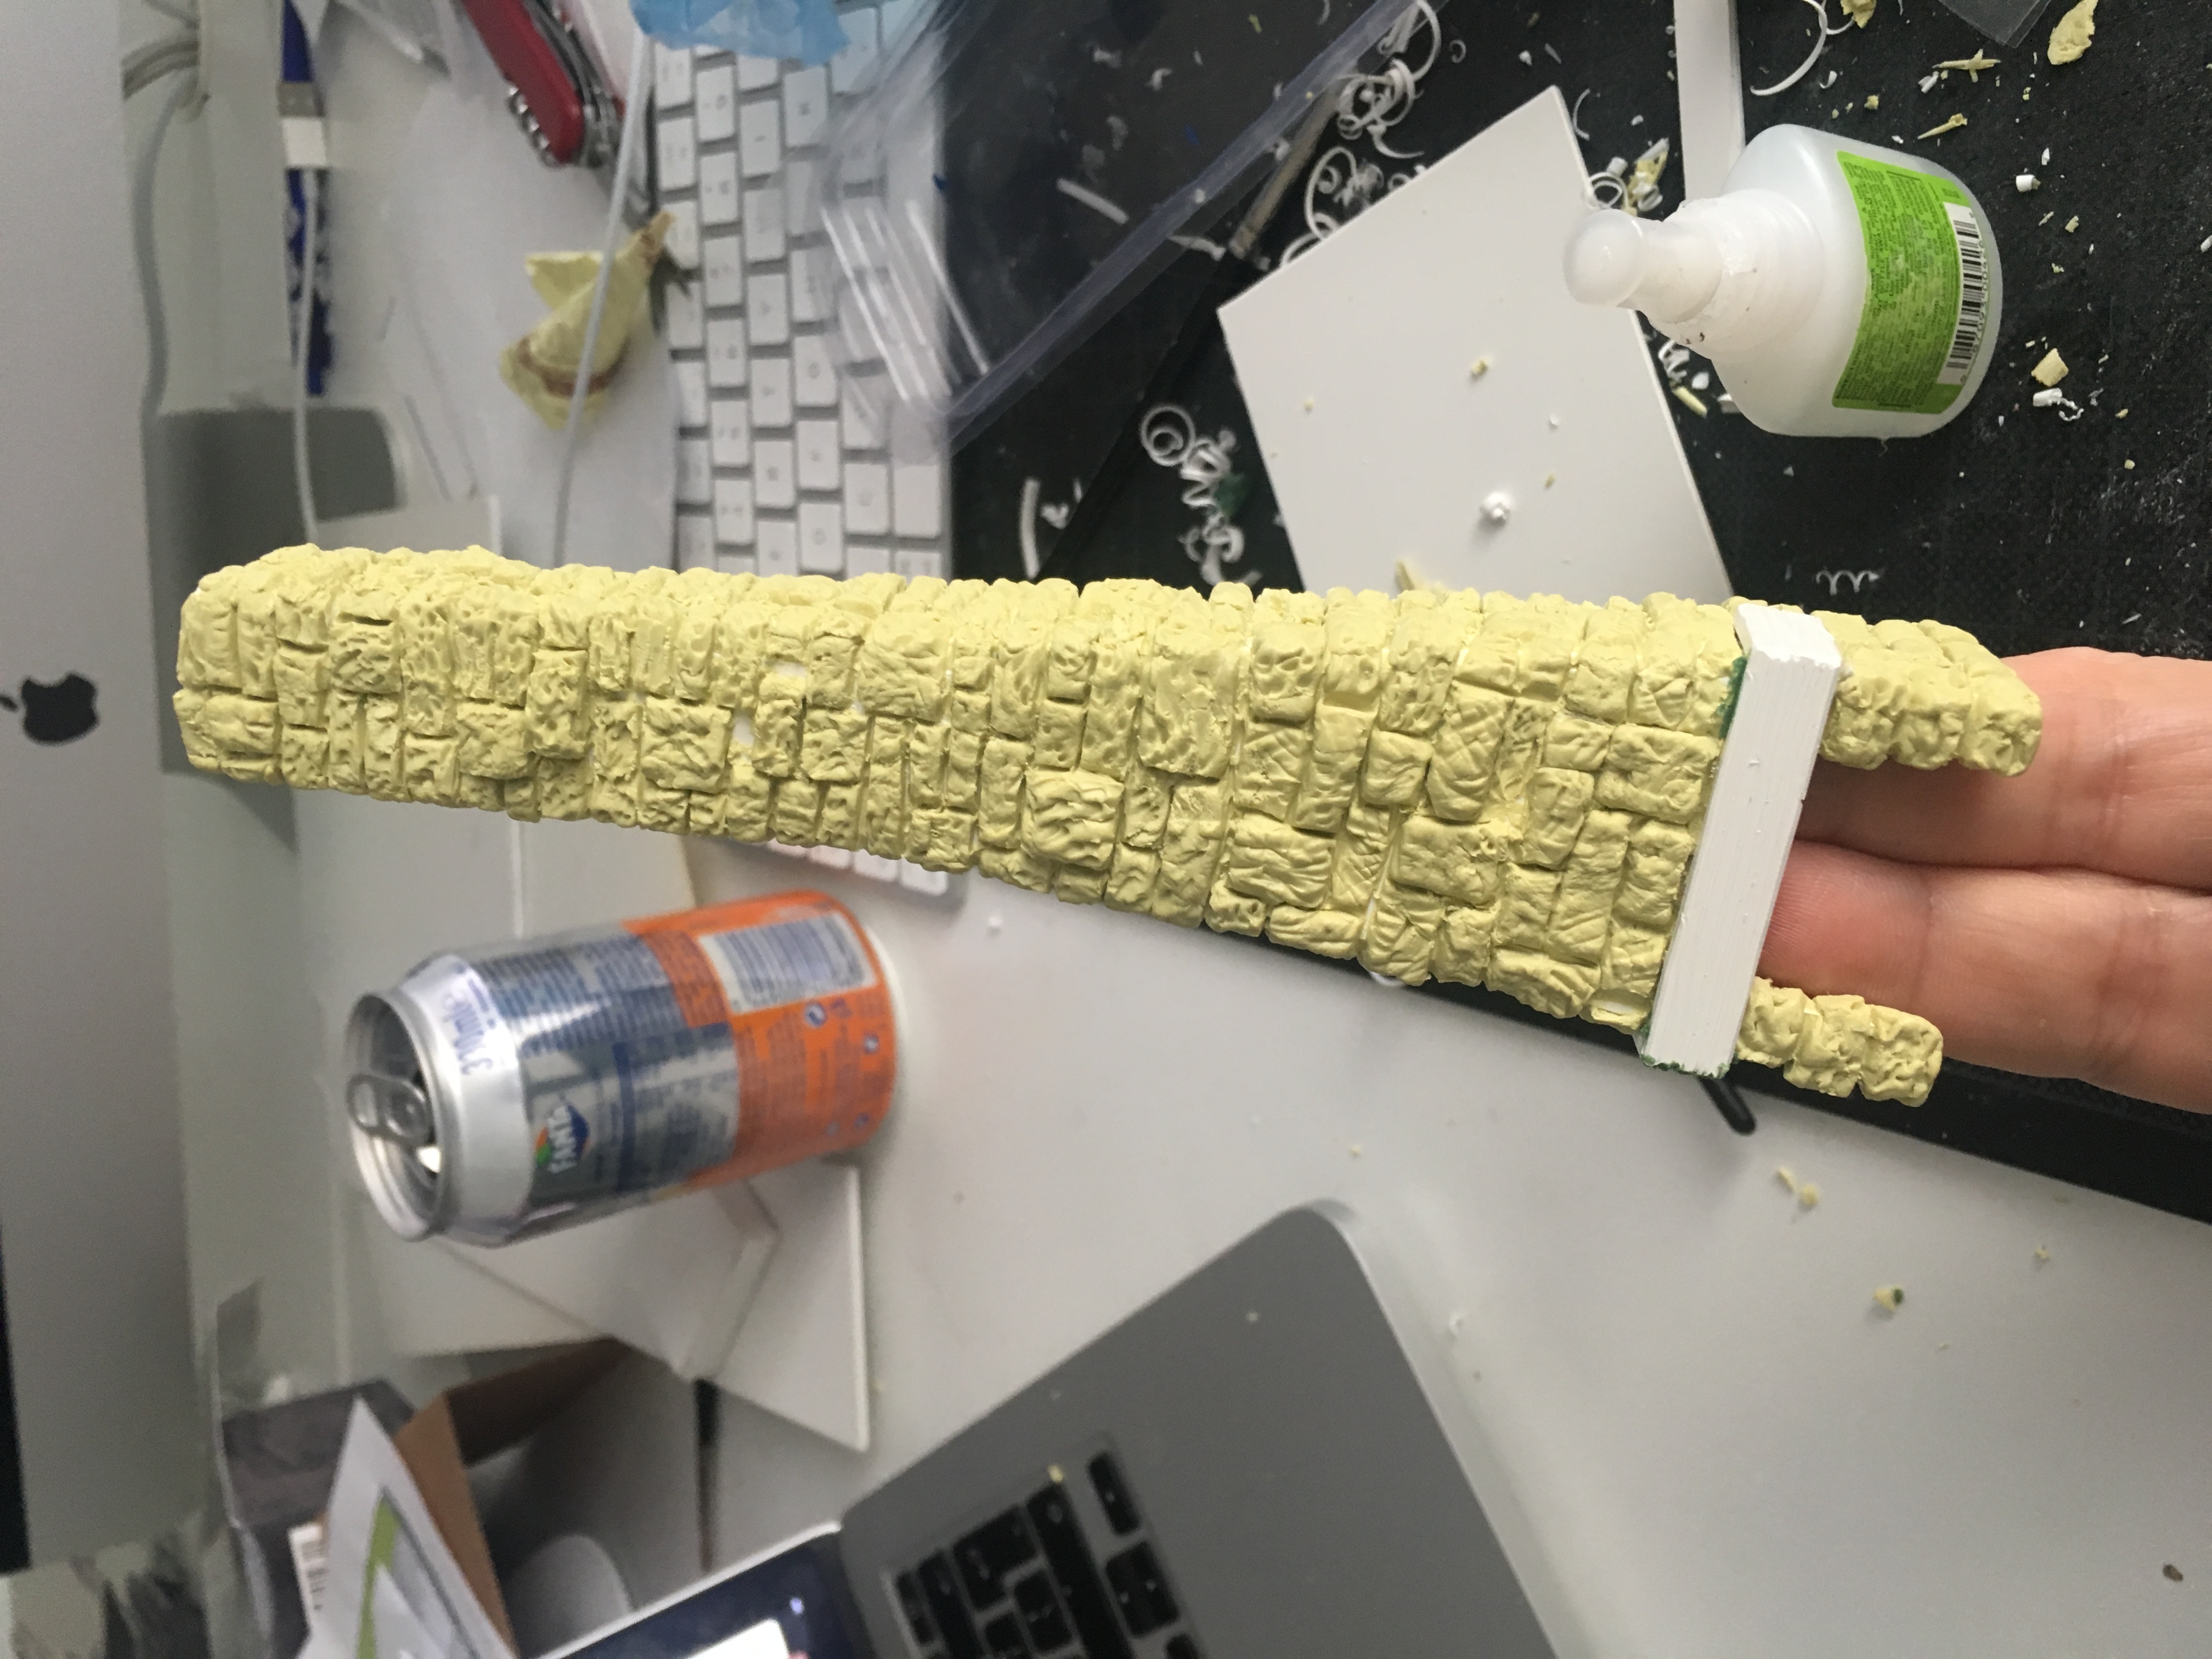
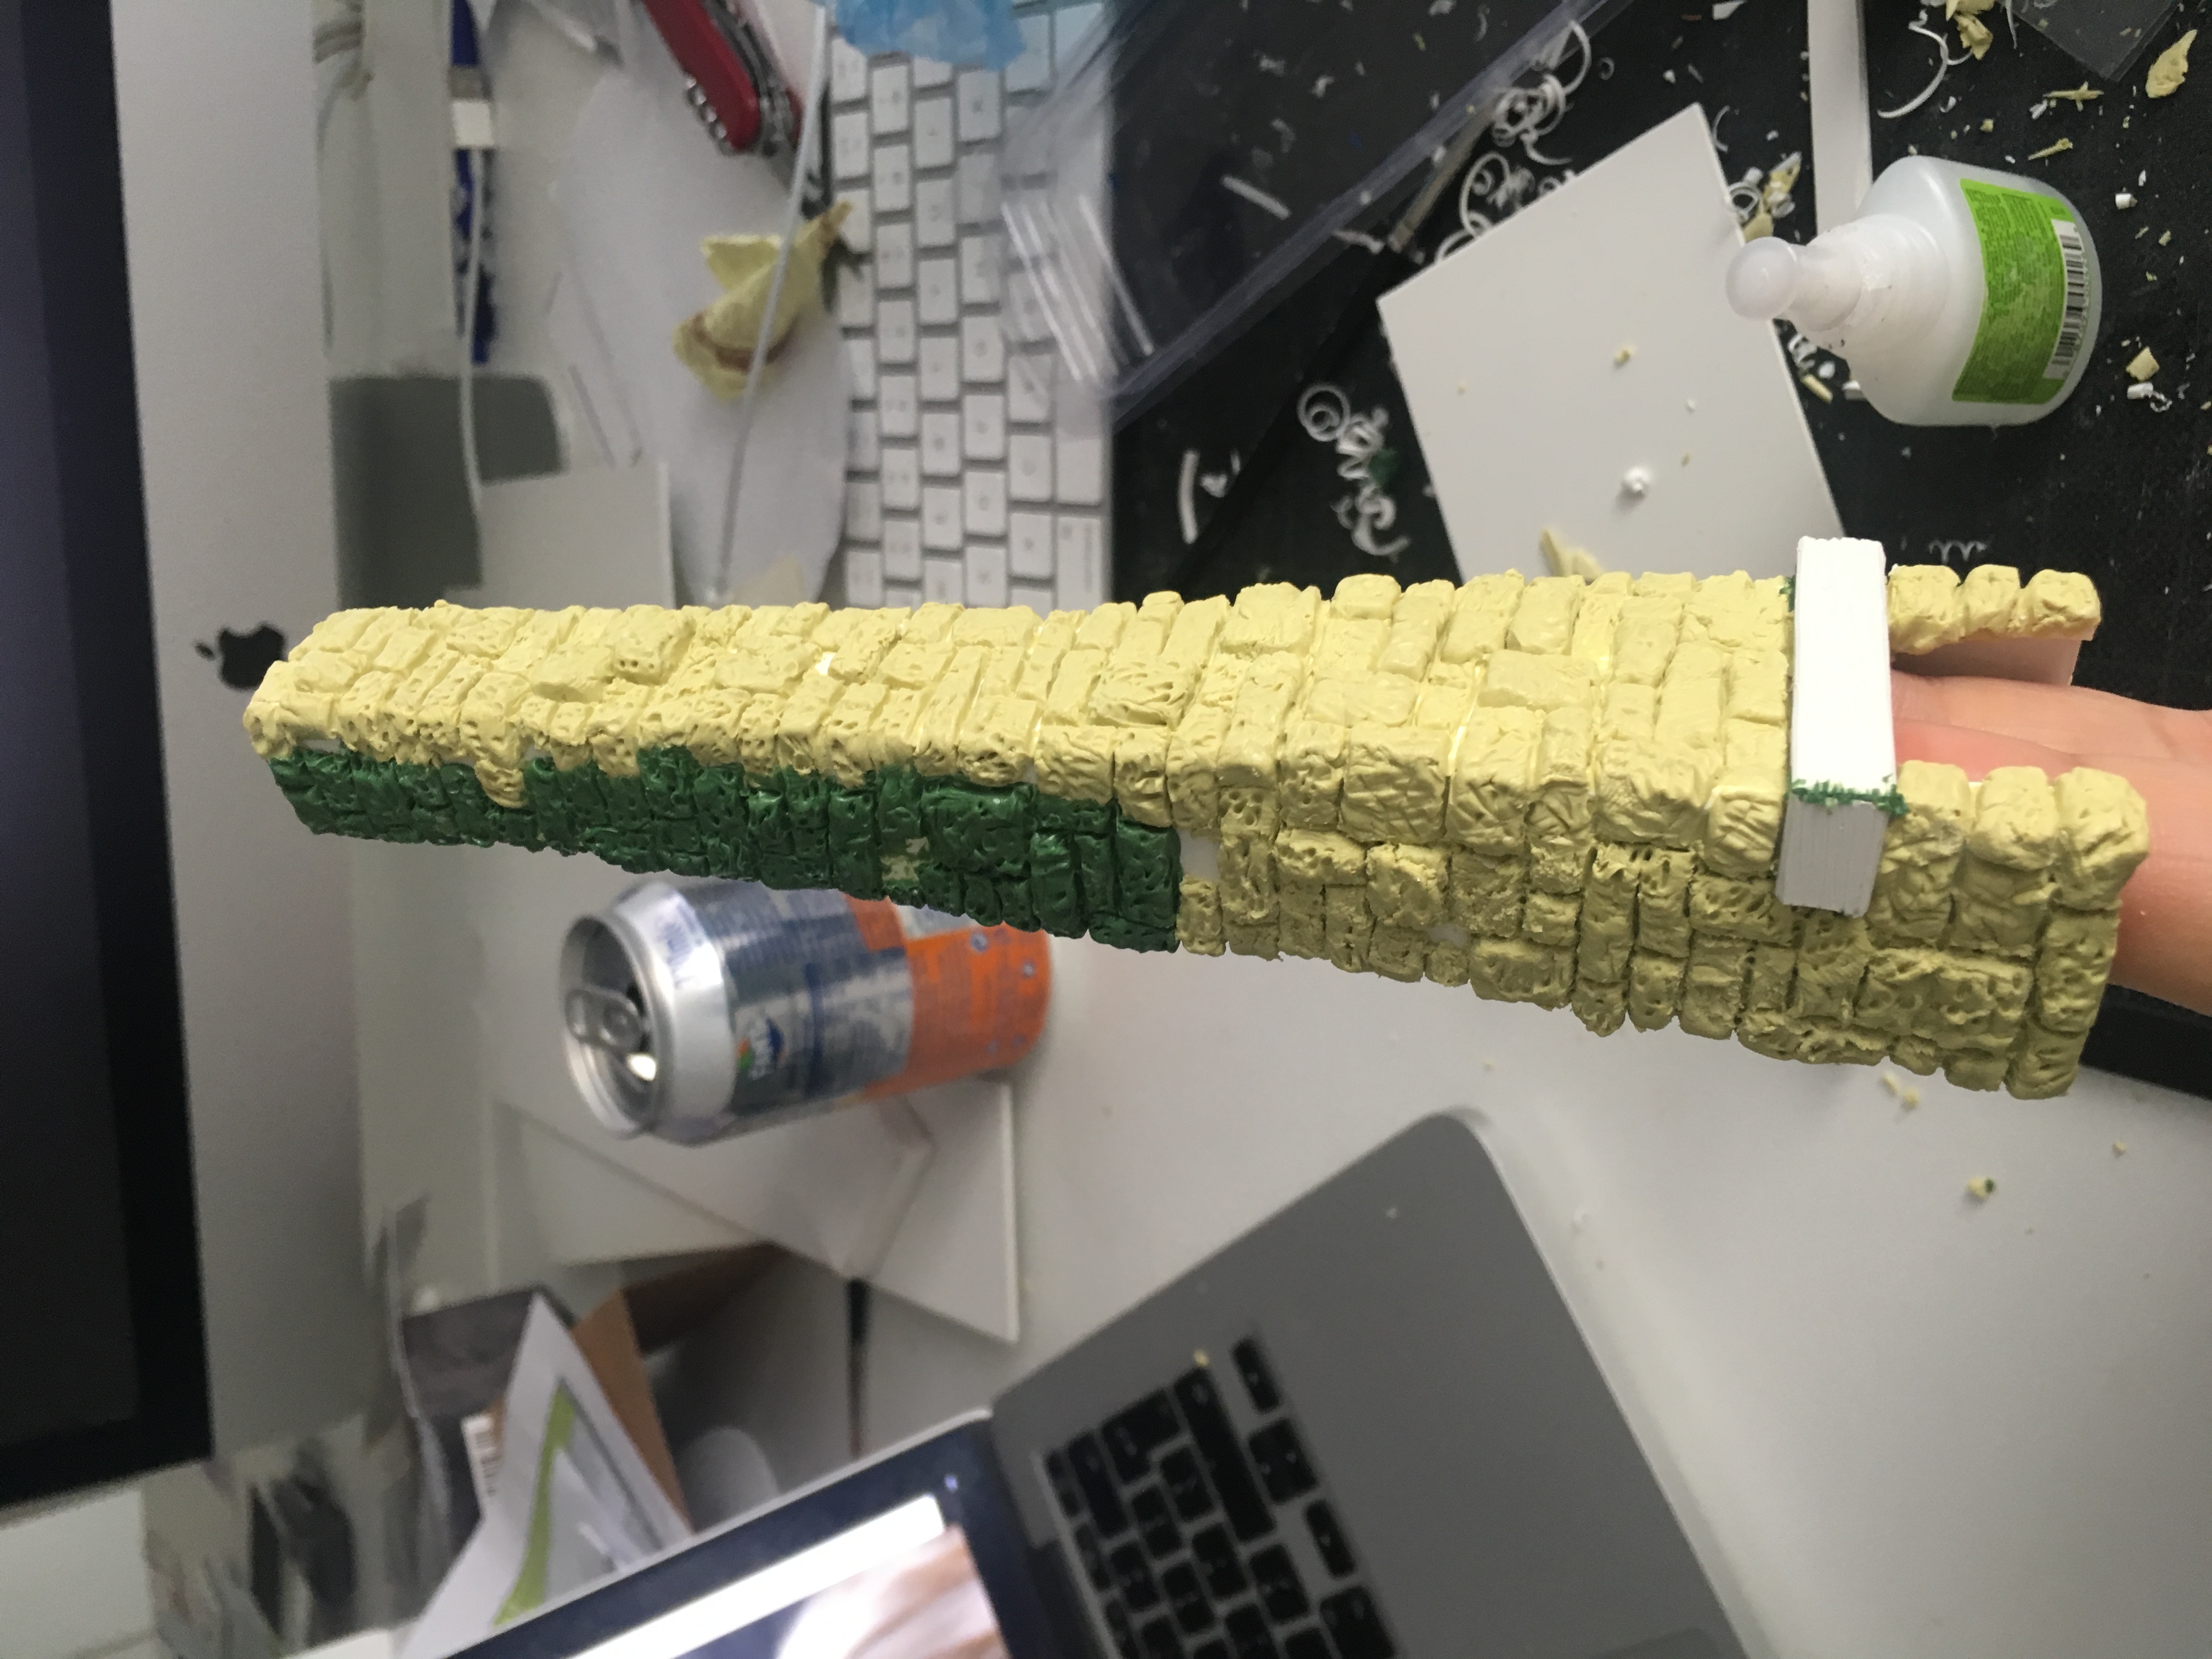
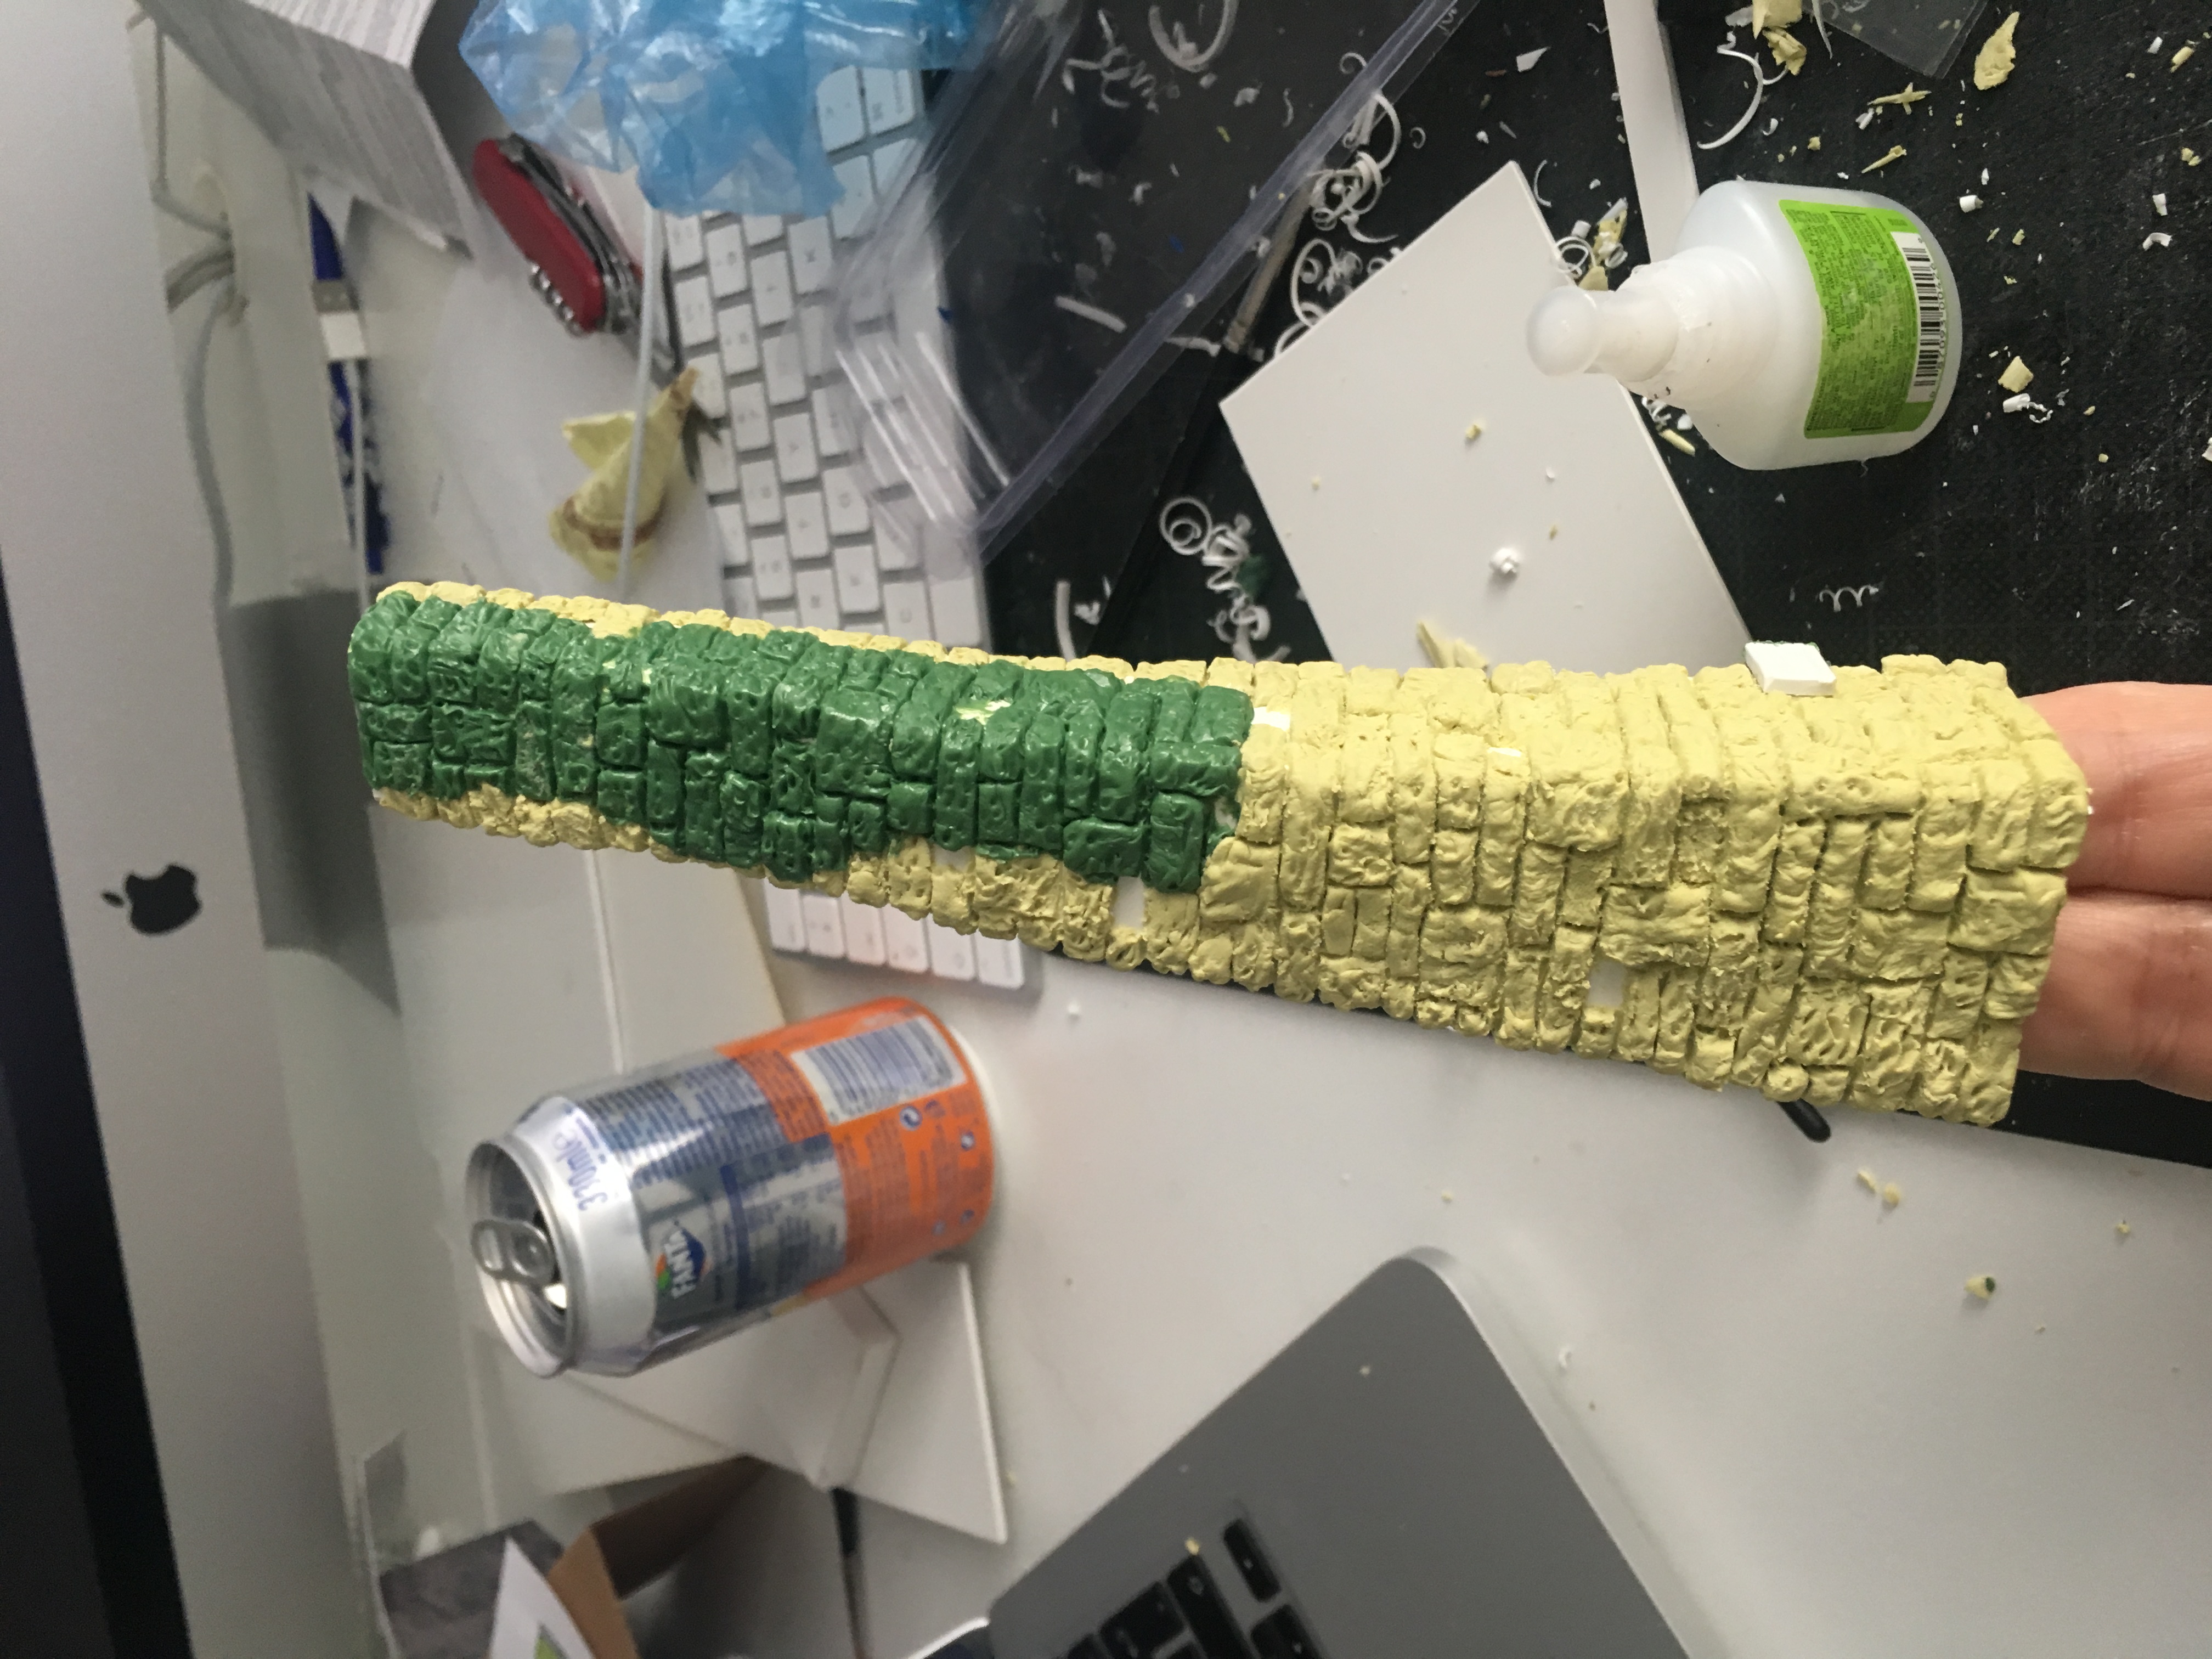

Divided over a couple of sessions, I used modeling putty to sculpt the brick onto the chimney. Some bits of carved styrene were used to make the mantle.
Next level
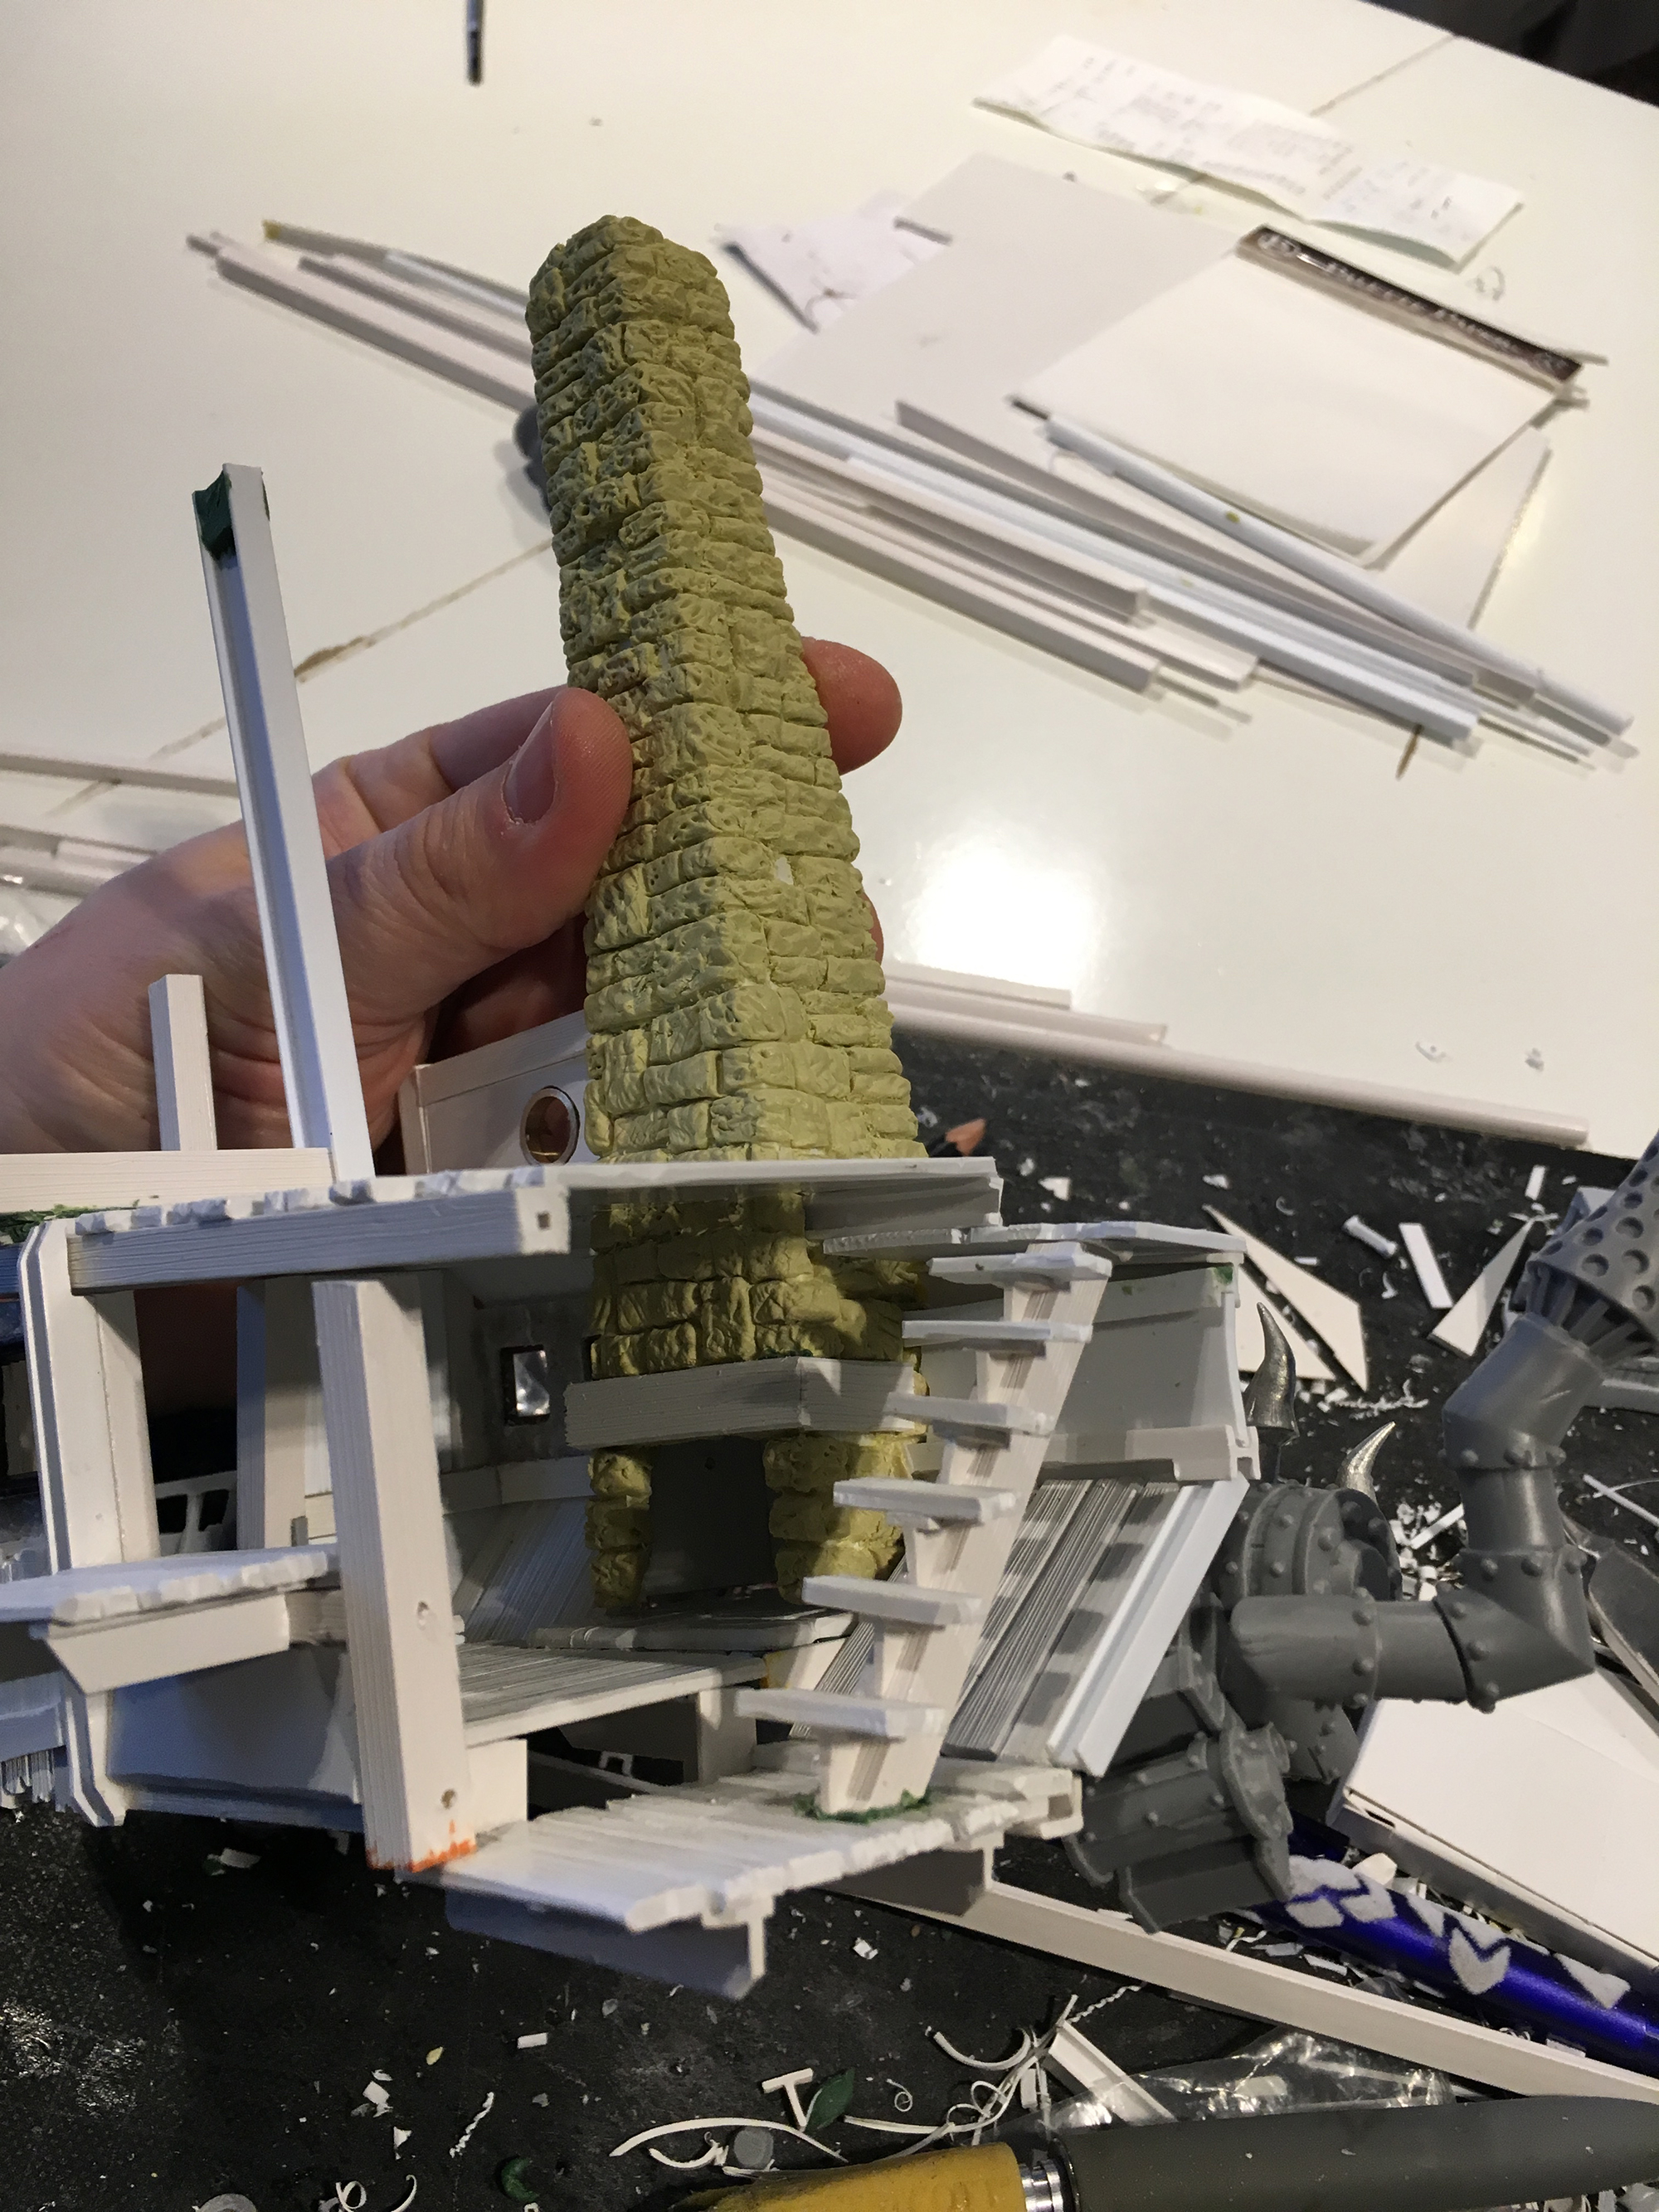
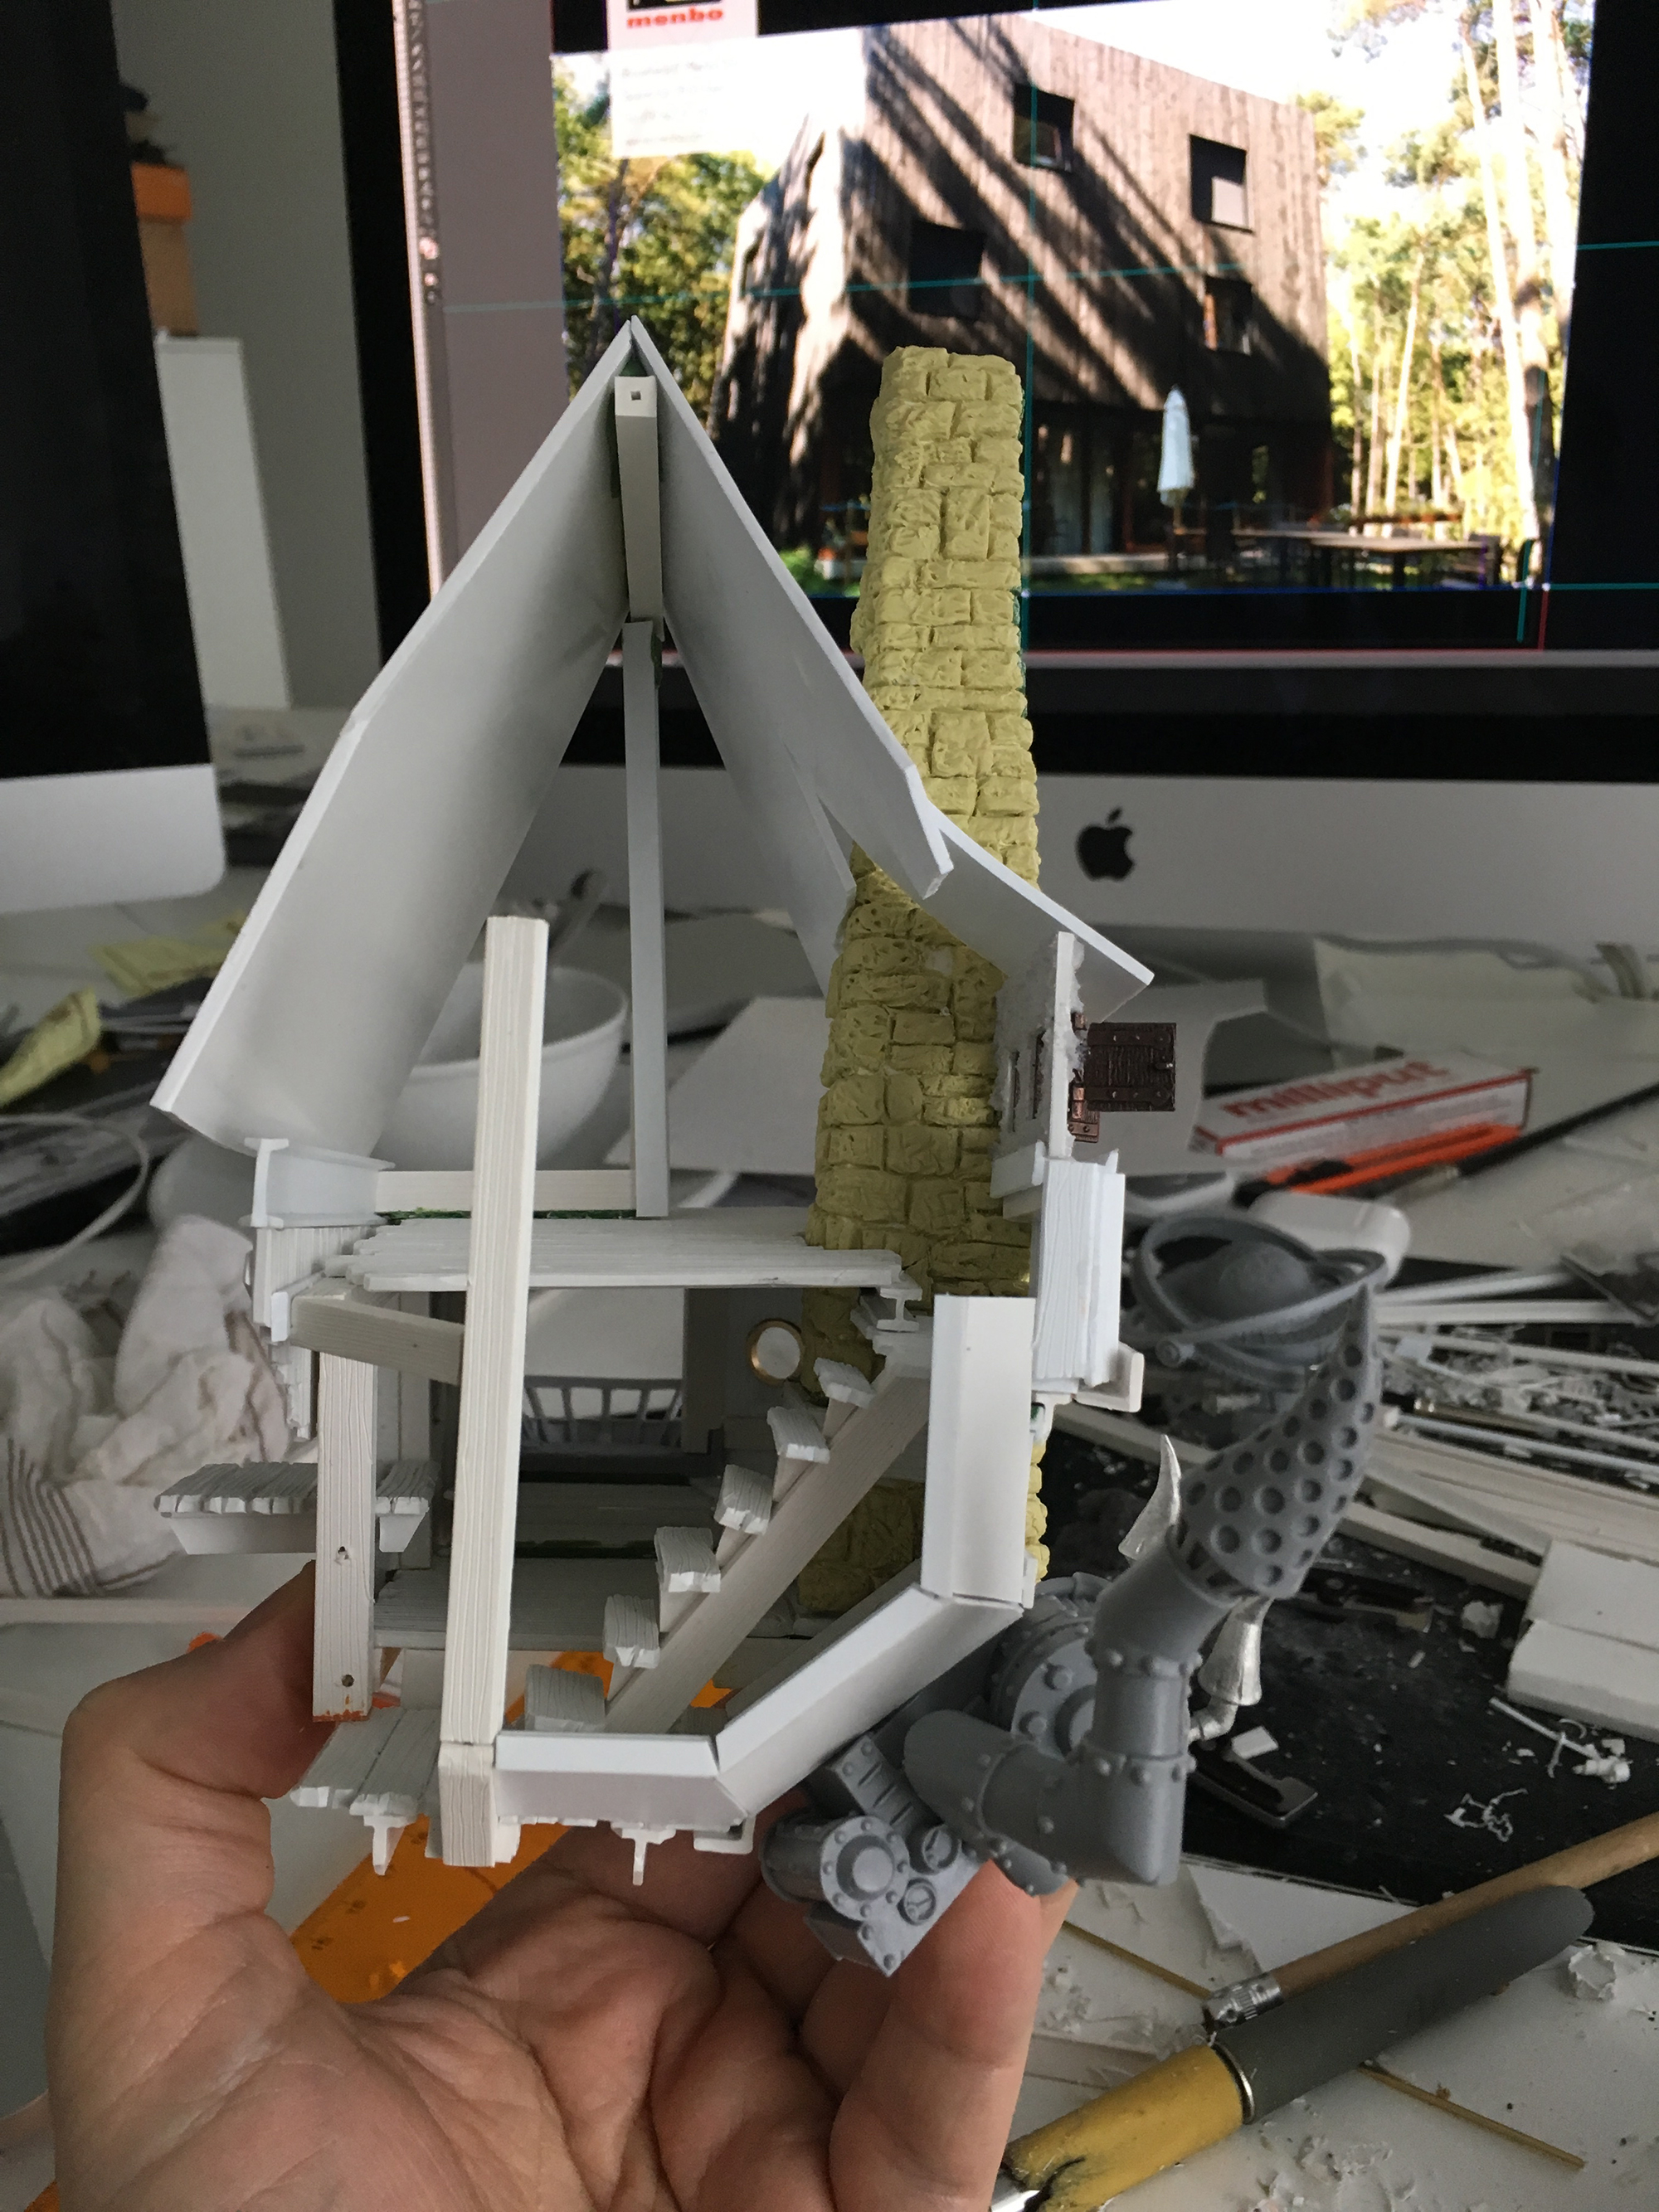
With the ground floor and chimney in place, I wanted to get the other floors ready first. I wanted the building to look really ramshackle and one of the ways of doing that is by making sure that nothing in the entire thing is quite parallel. Especially the floors.
Another way of making things look rickety is by breaking up floors and walls. So I made an extra level for the ground floor. For the first floor, I shoved a beam all the way through the chimney. This takes care of sturdiness and stability.

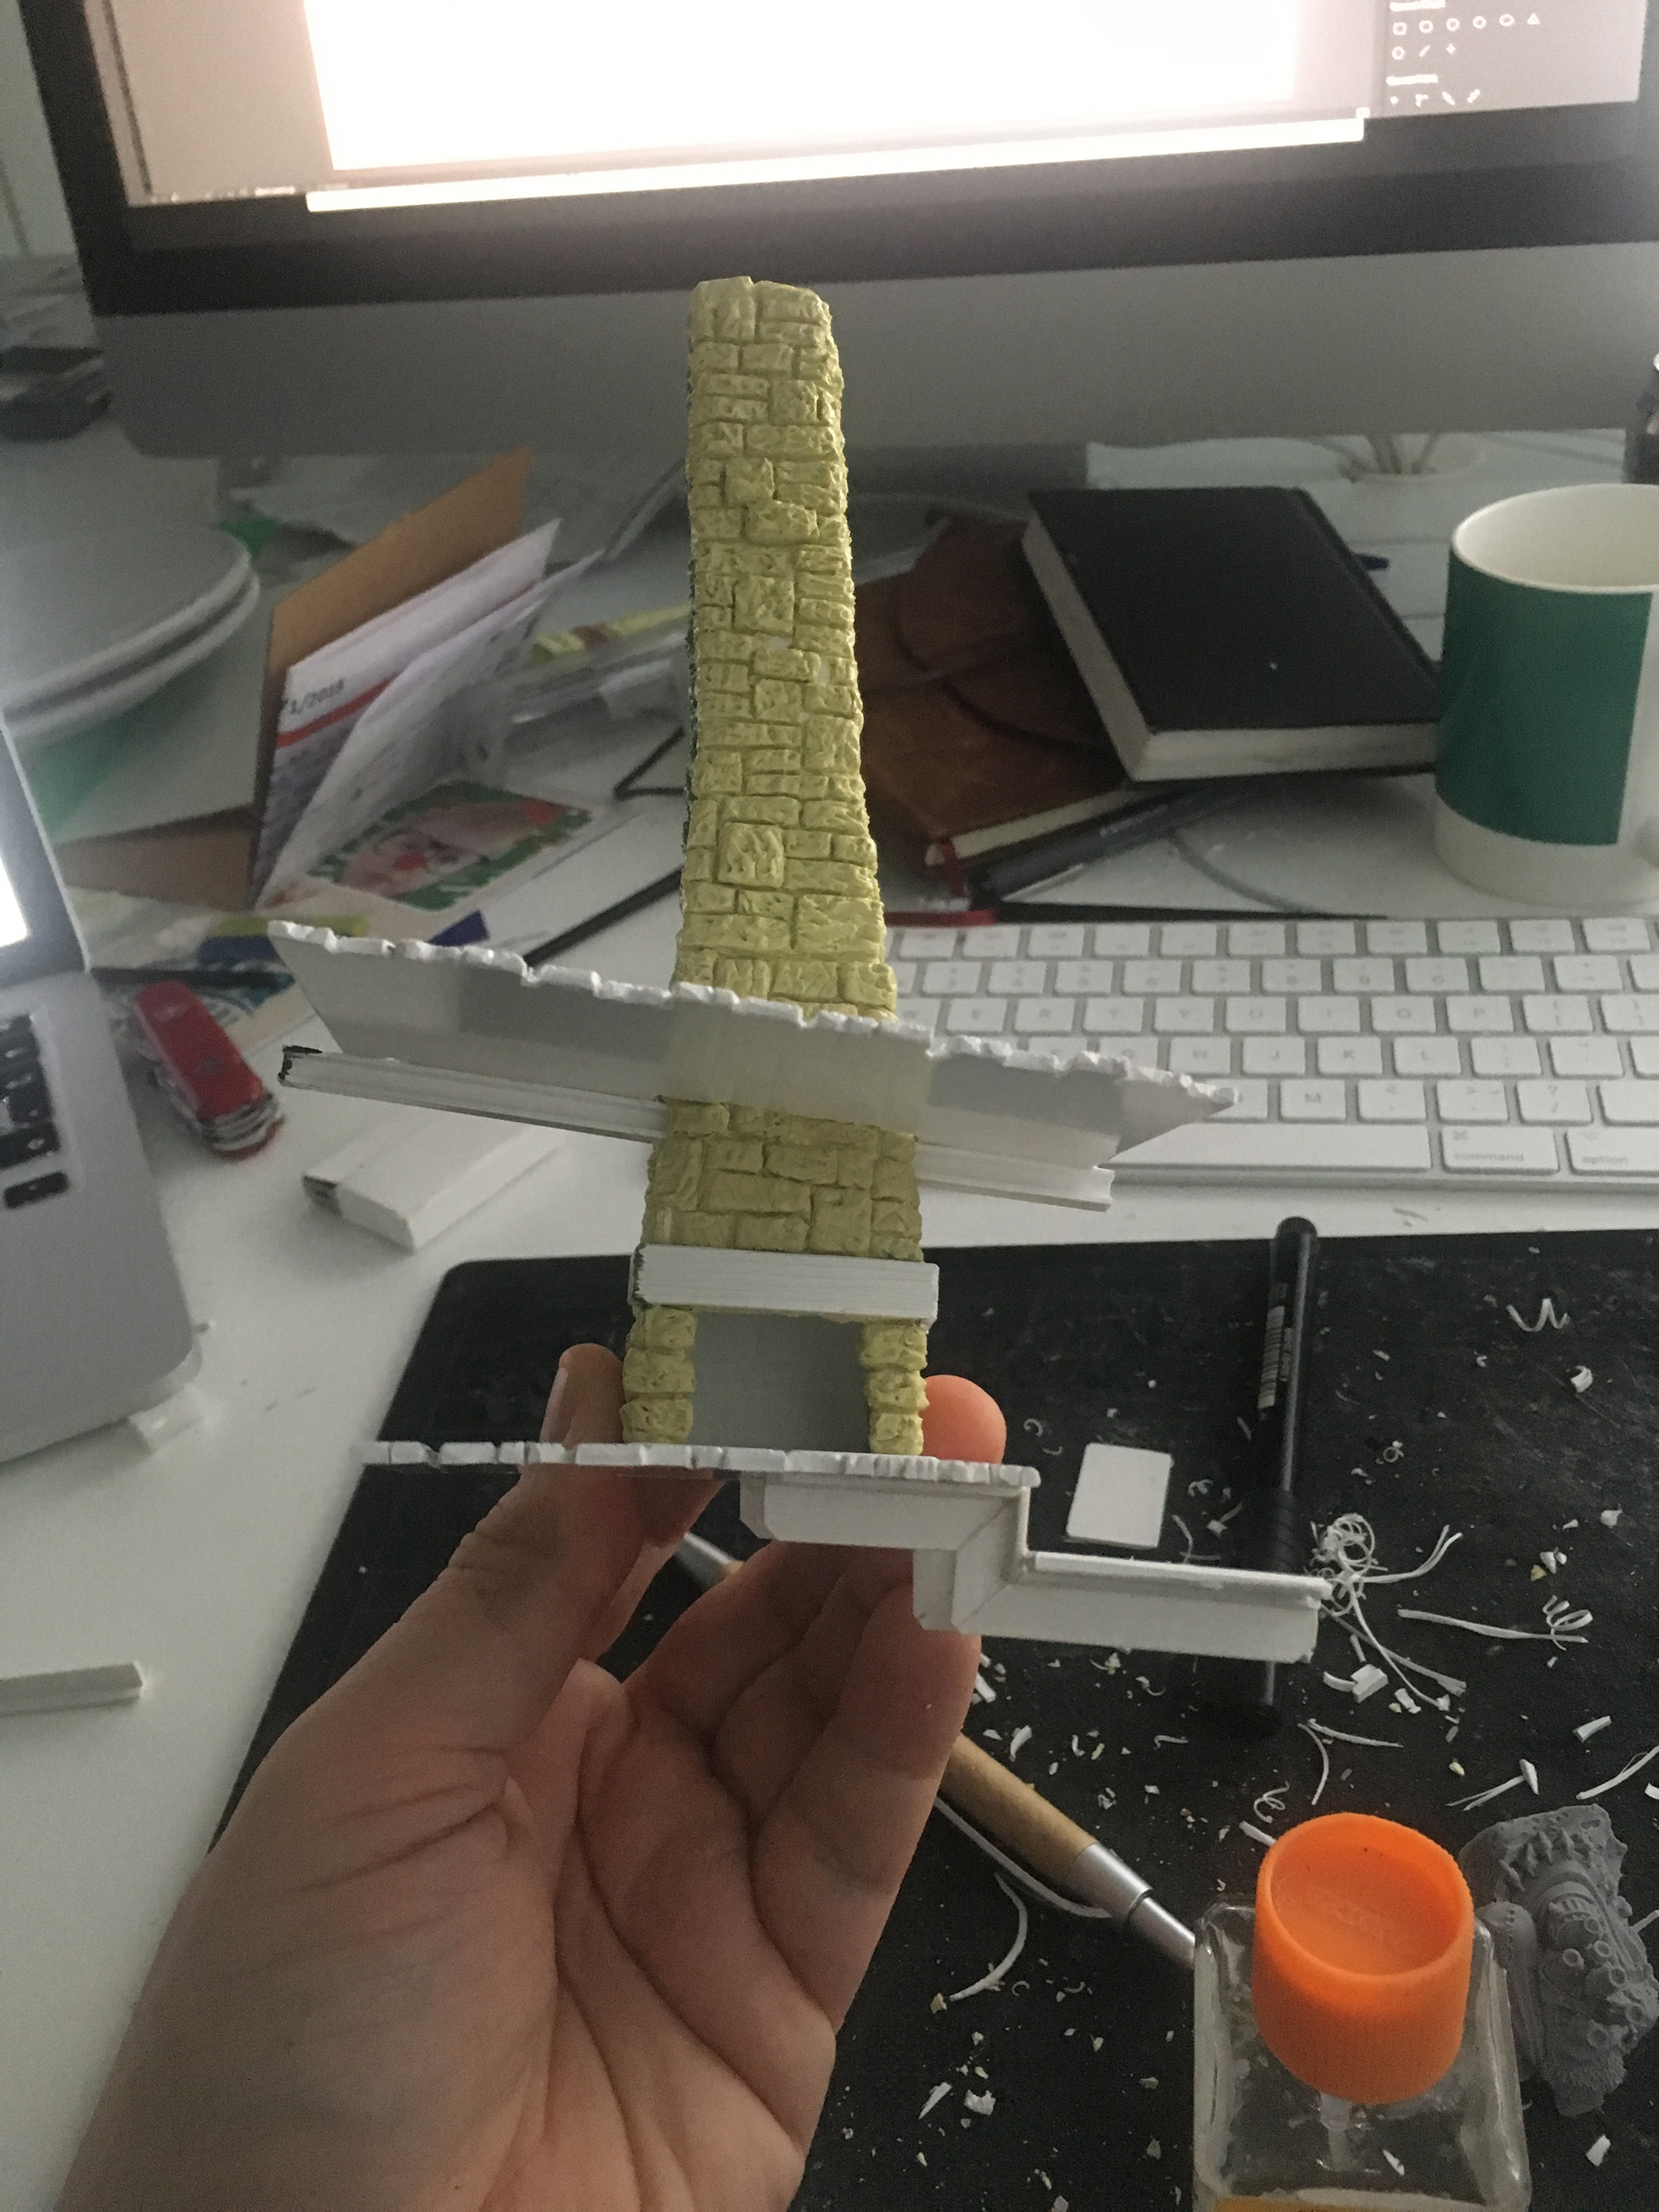
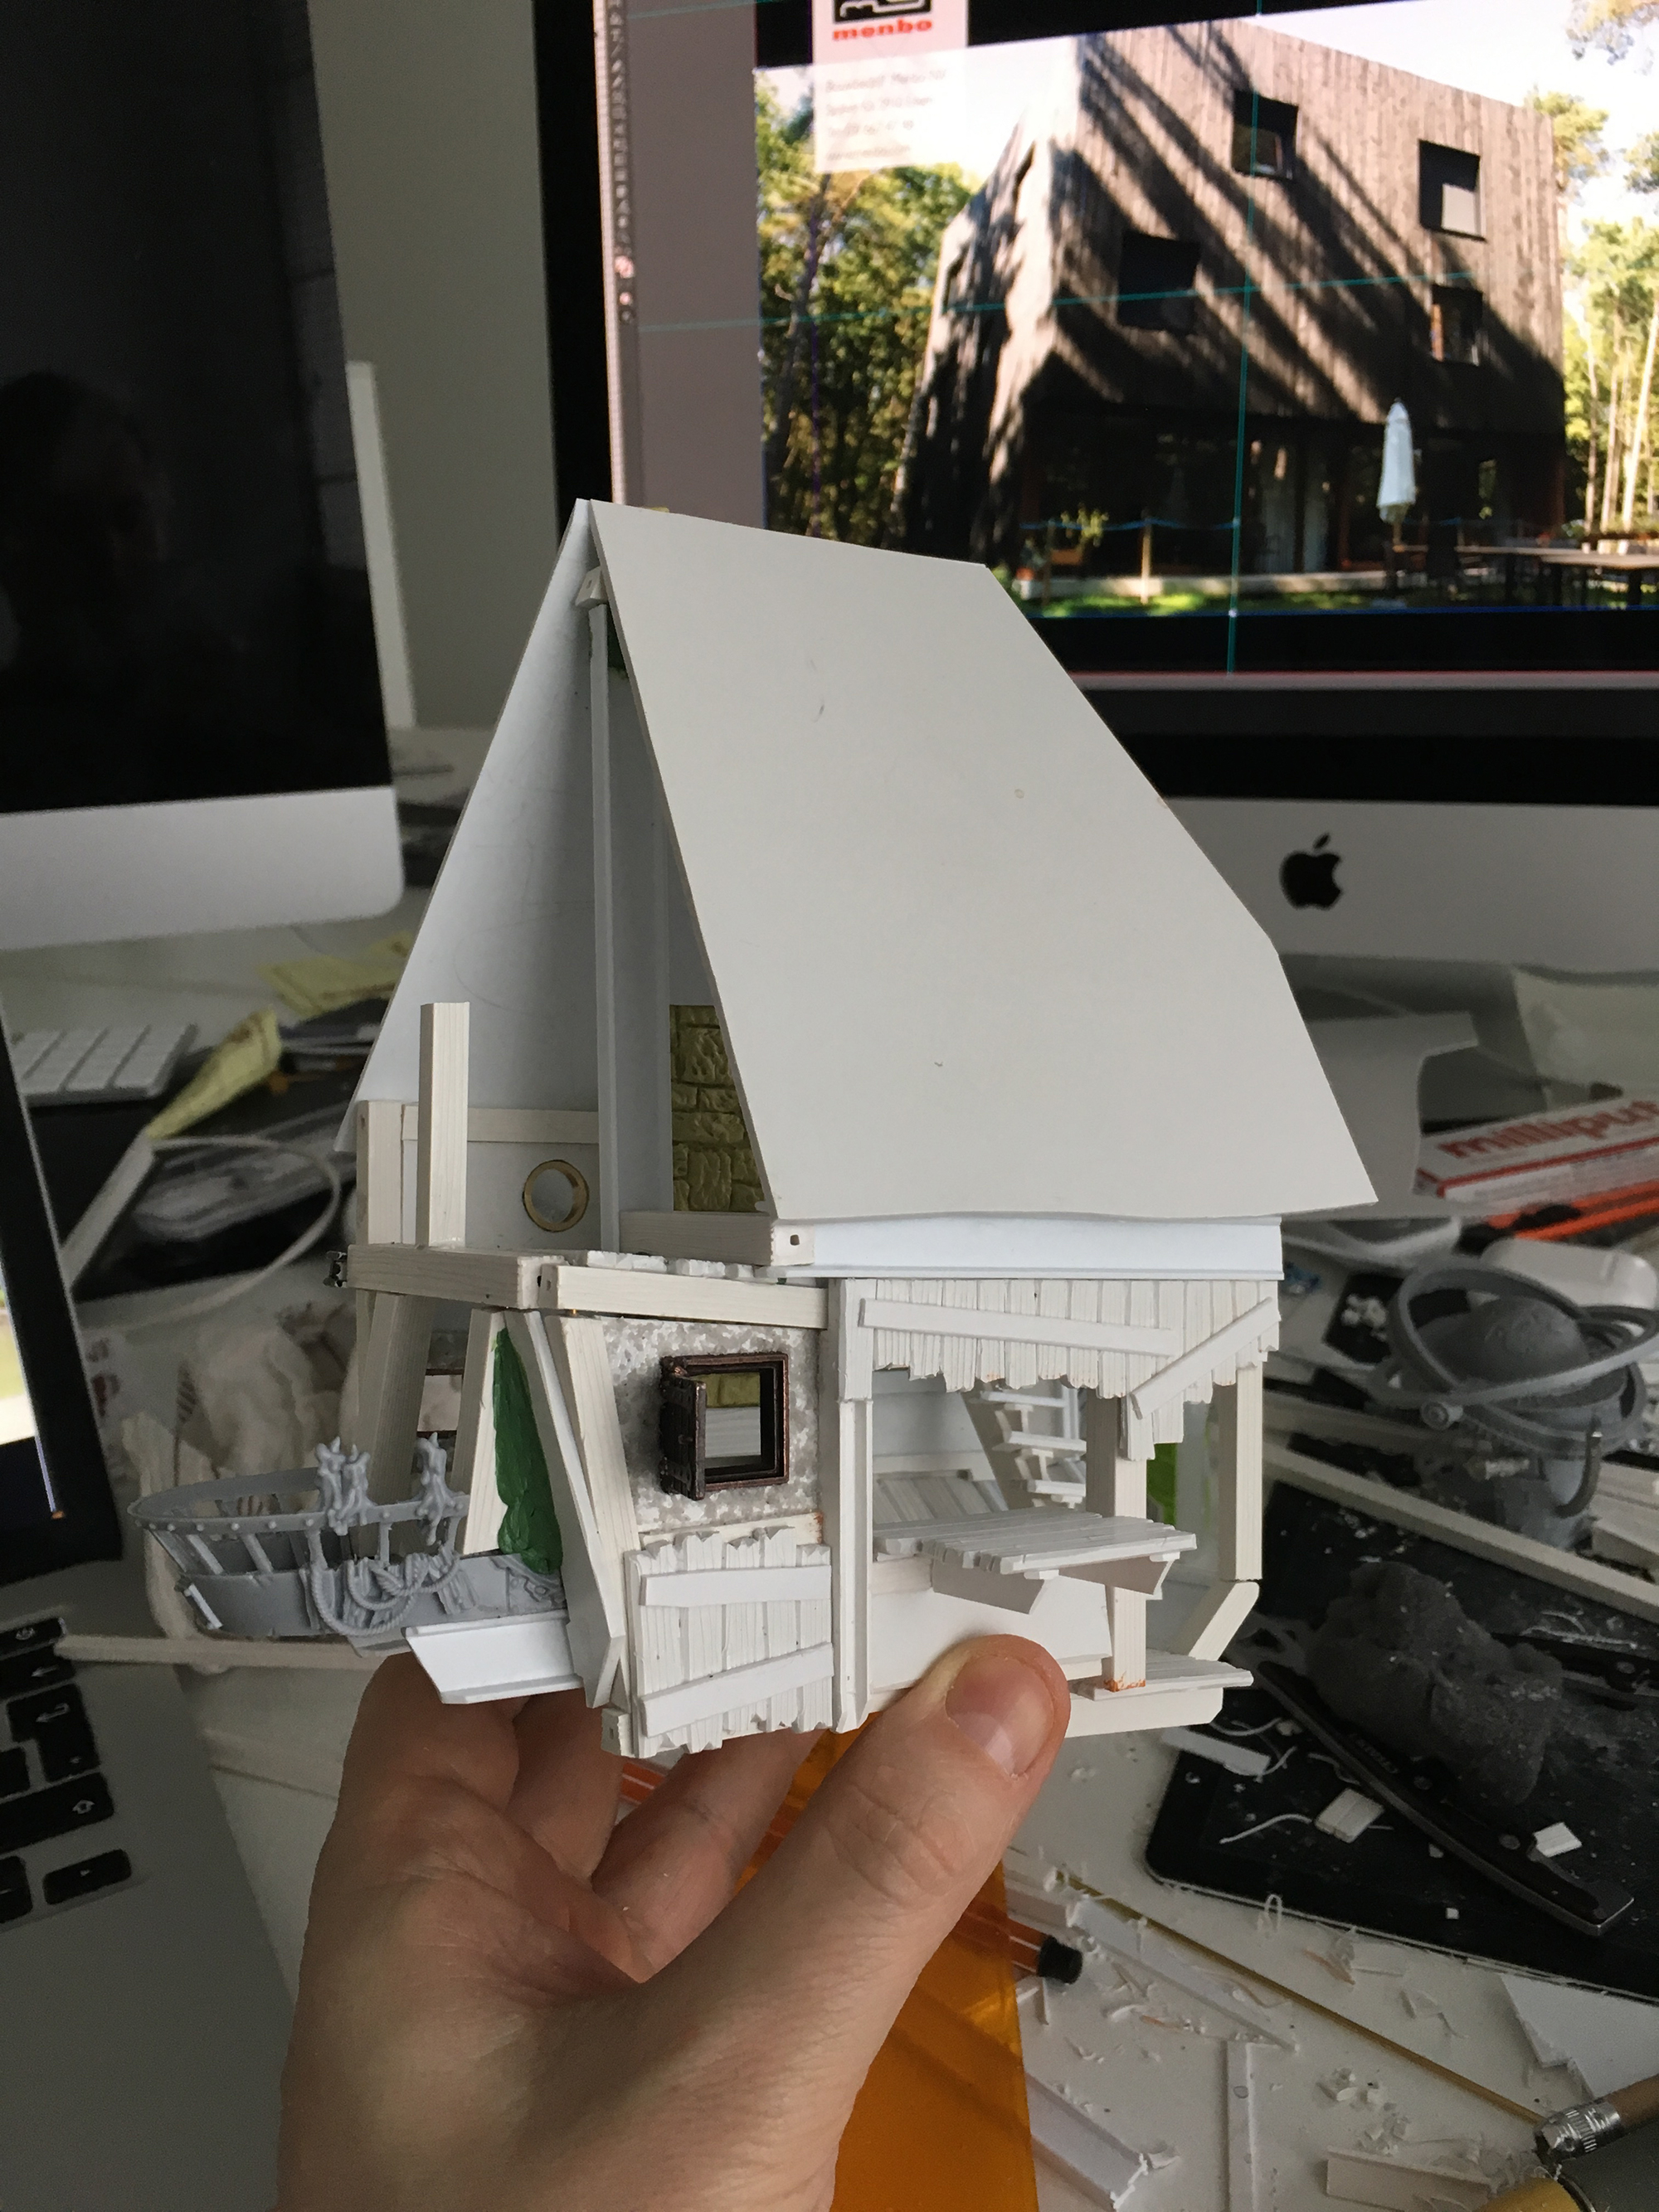
With the floors in place to serve as a frame, I trimmed down the blcony and glued it to what would become the front part. I then started on the walls. First, some upright beams, with walls attached to these. It was all unplanned, just taking a piece of plastic, seeing where it fits and putting it there. I love seeing a project literally coming together in front of you, without knowing exactly how it will turn out.

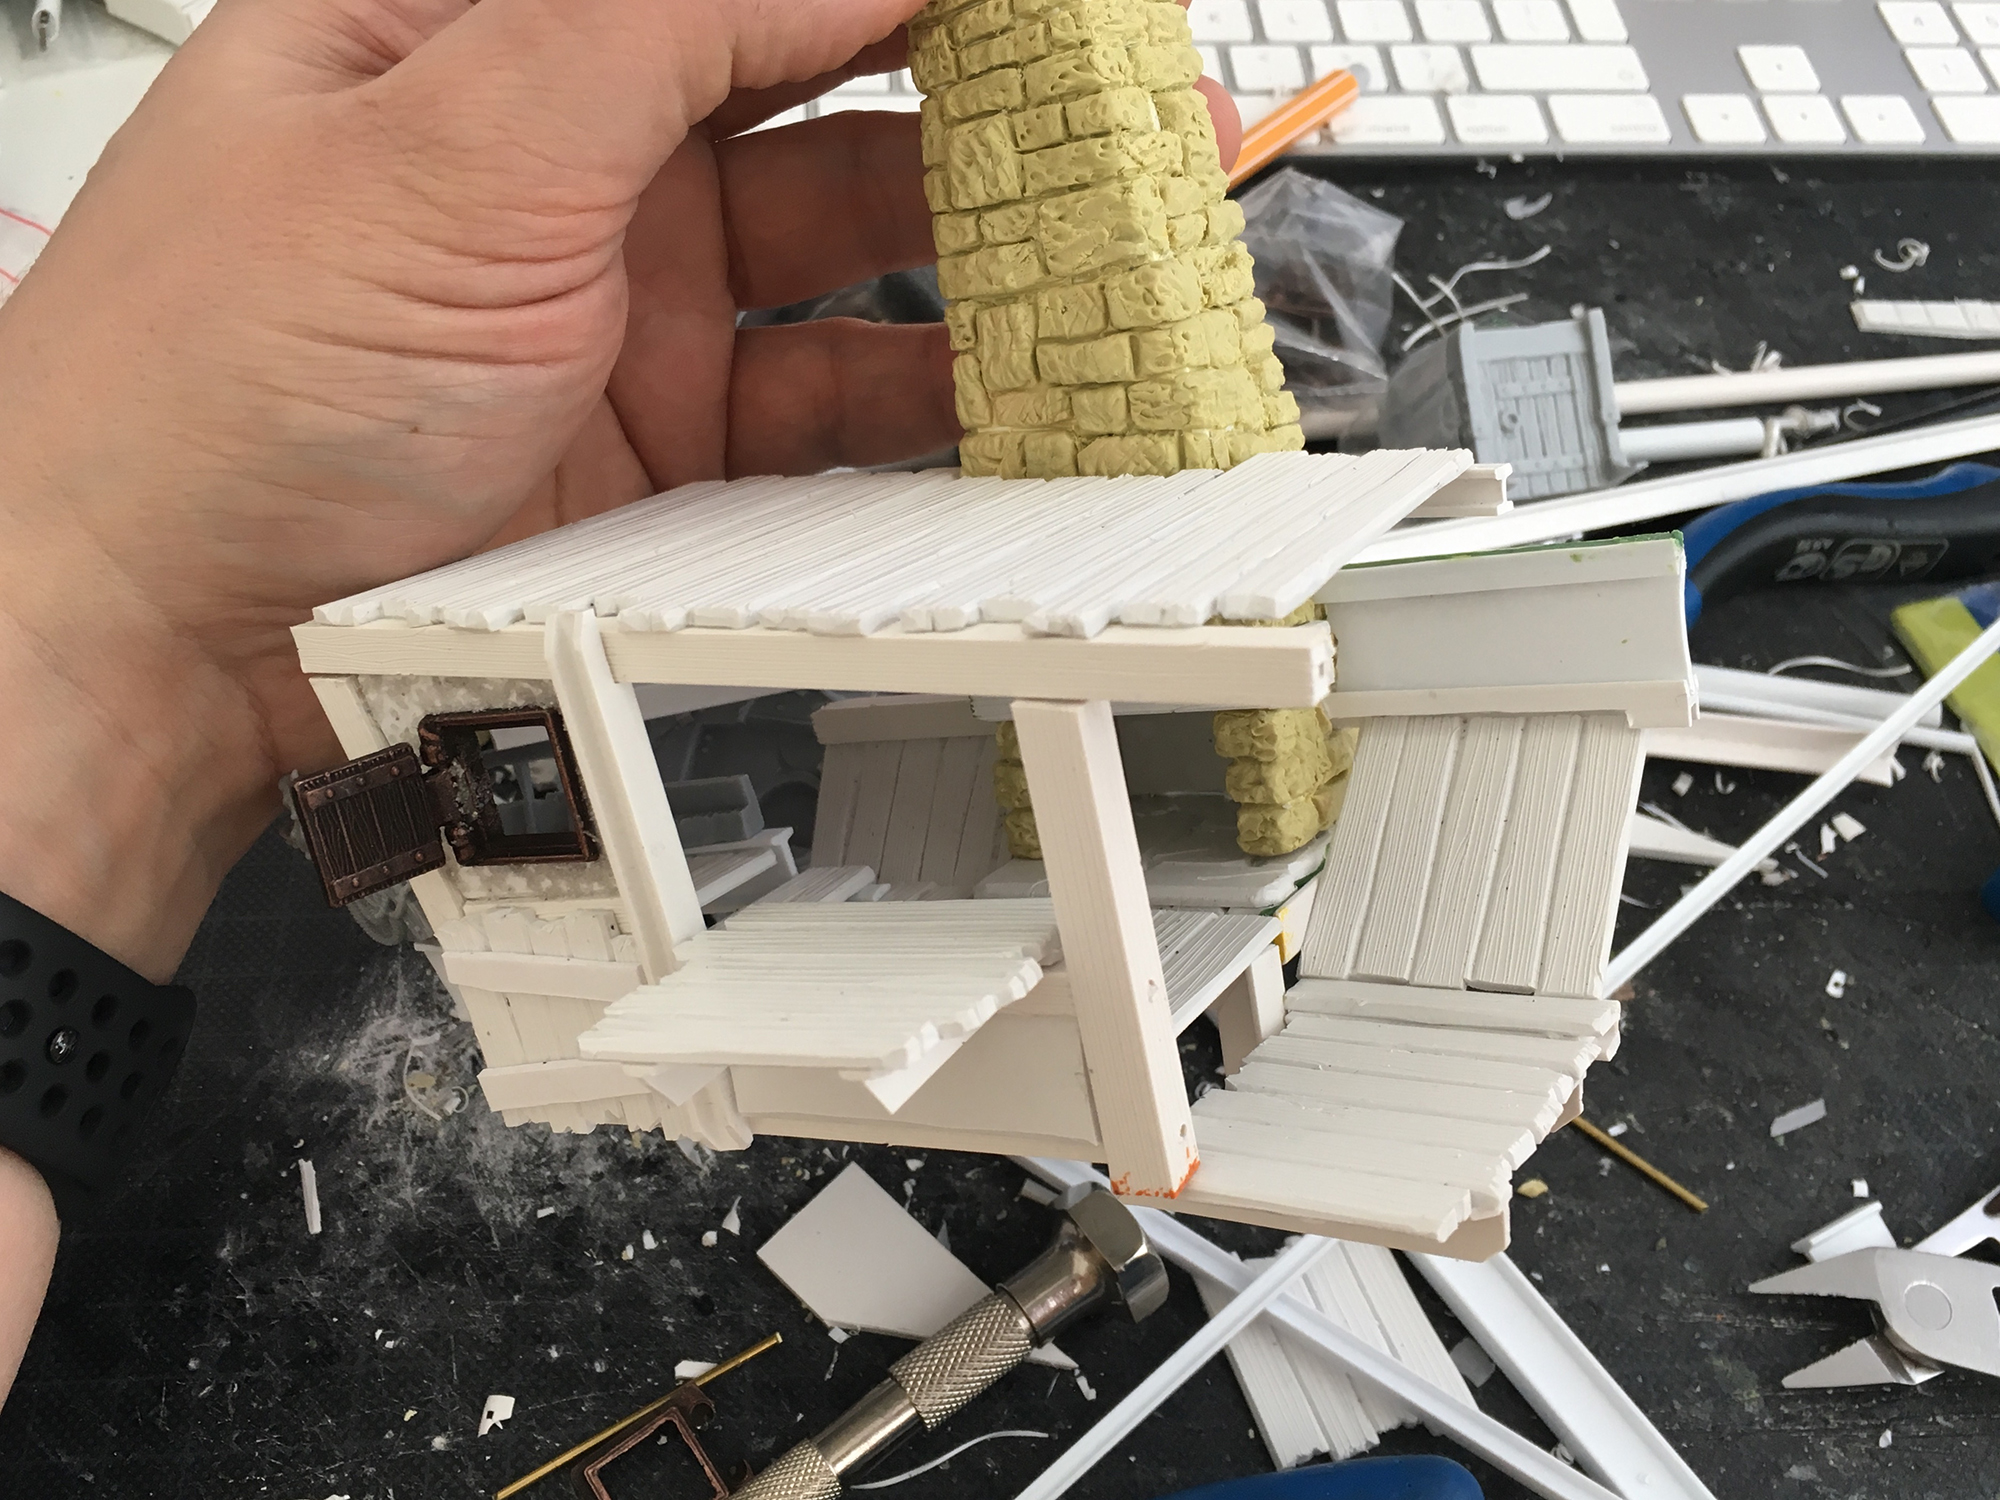
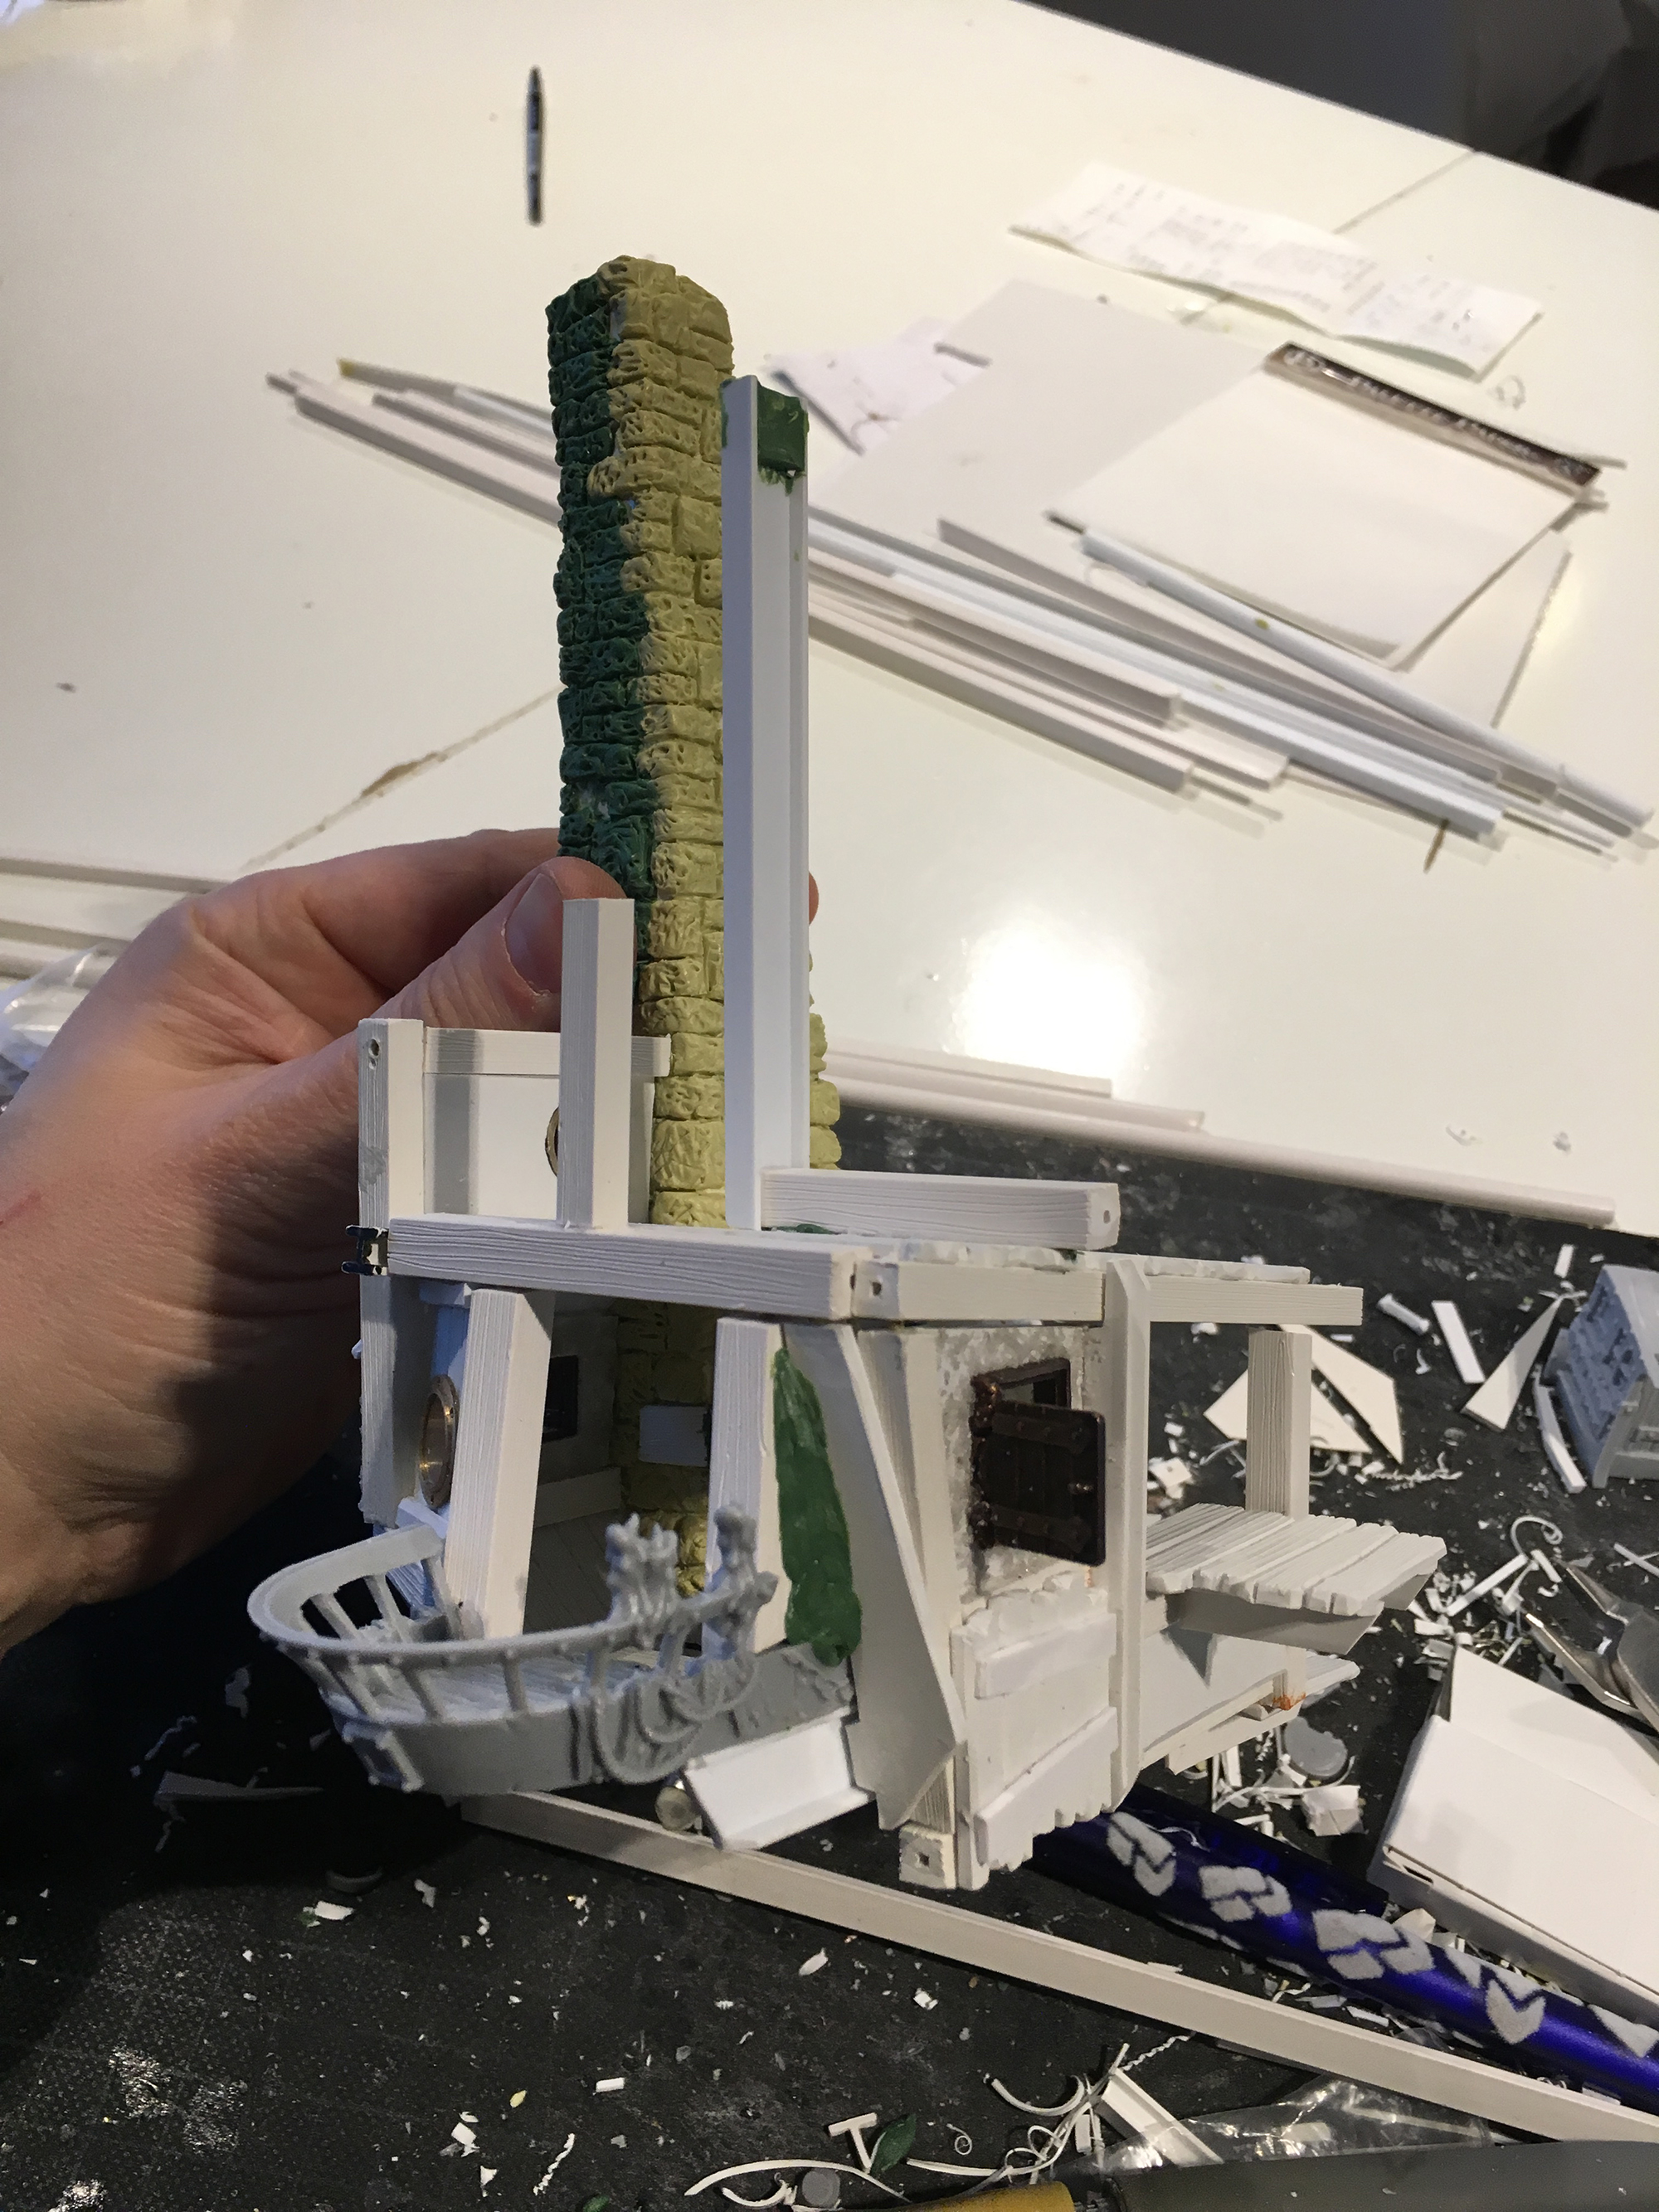
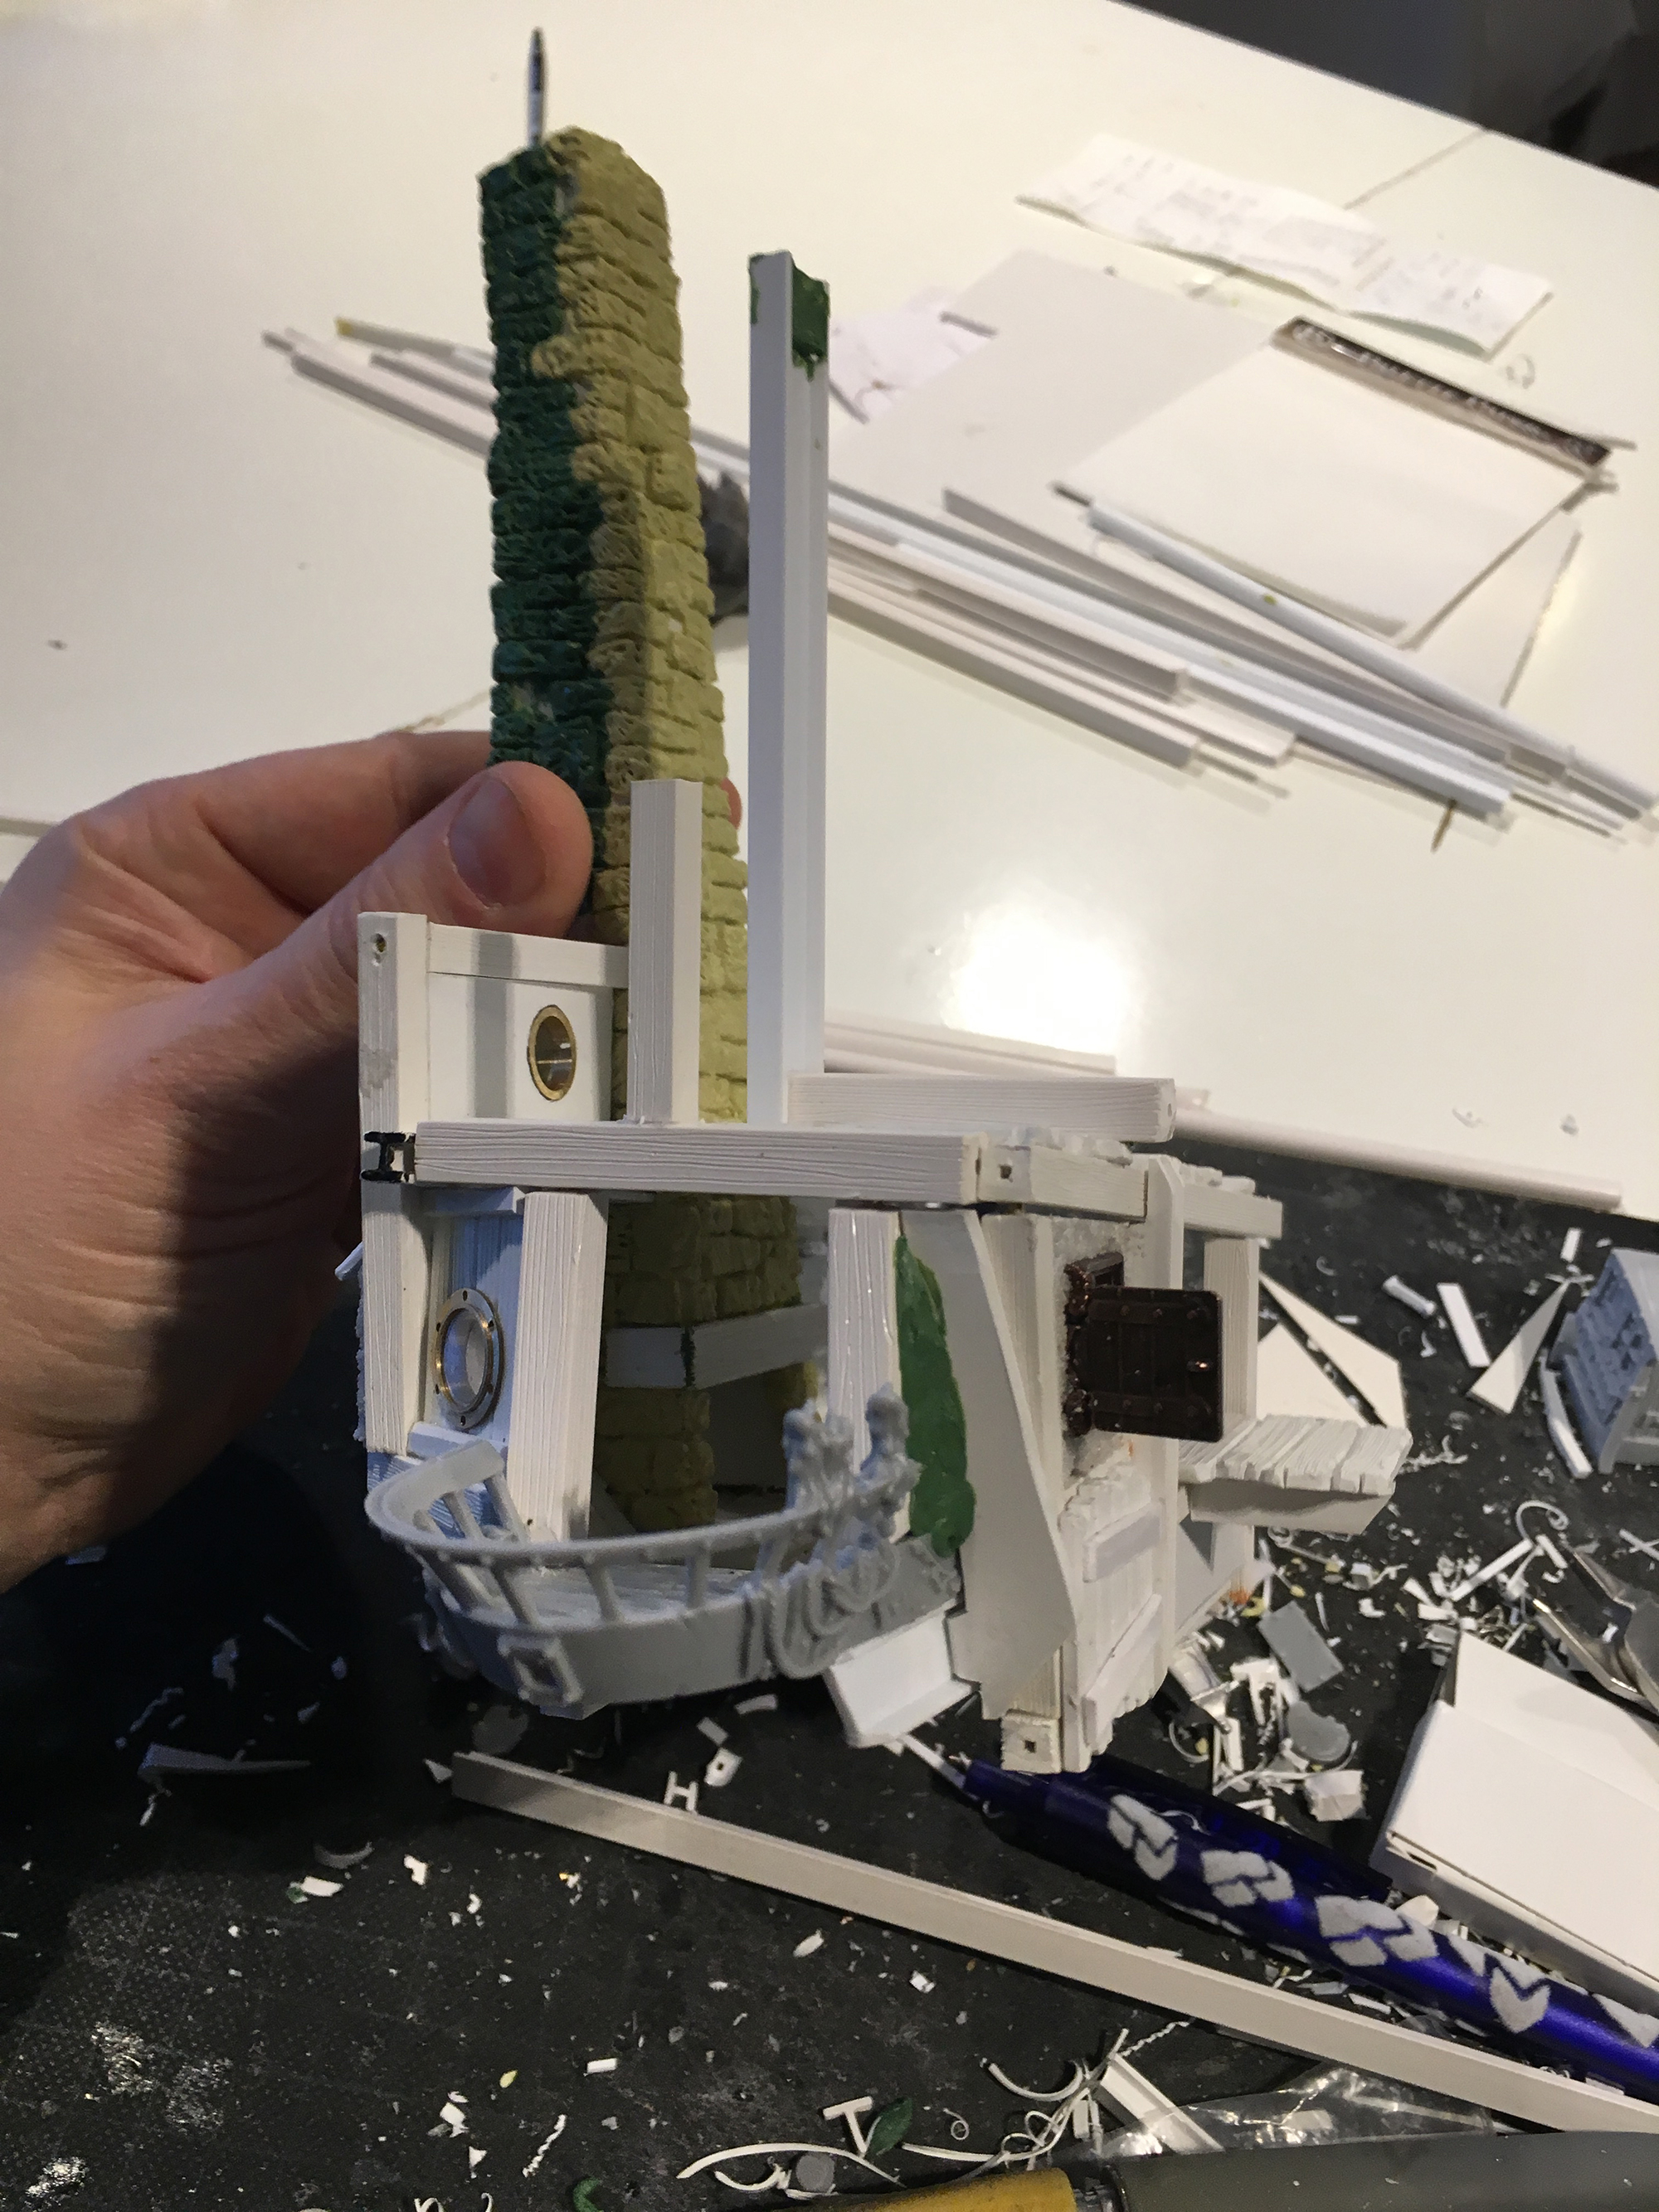
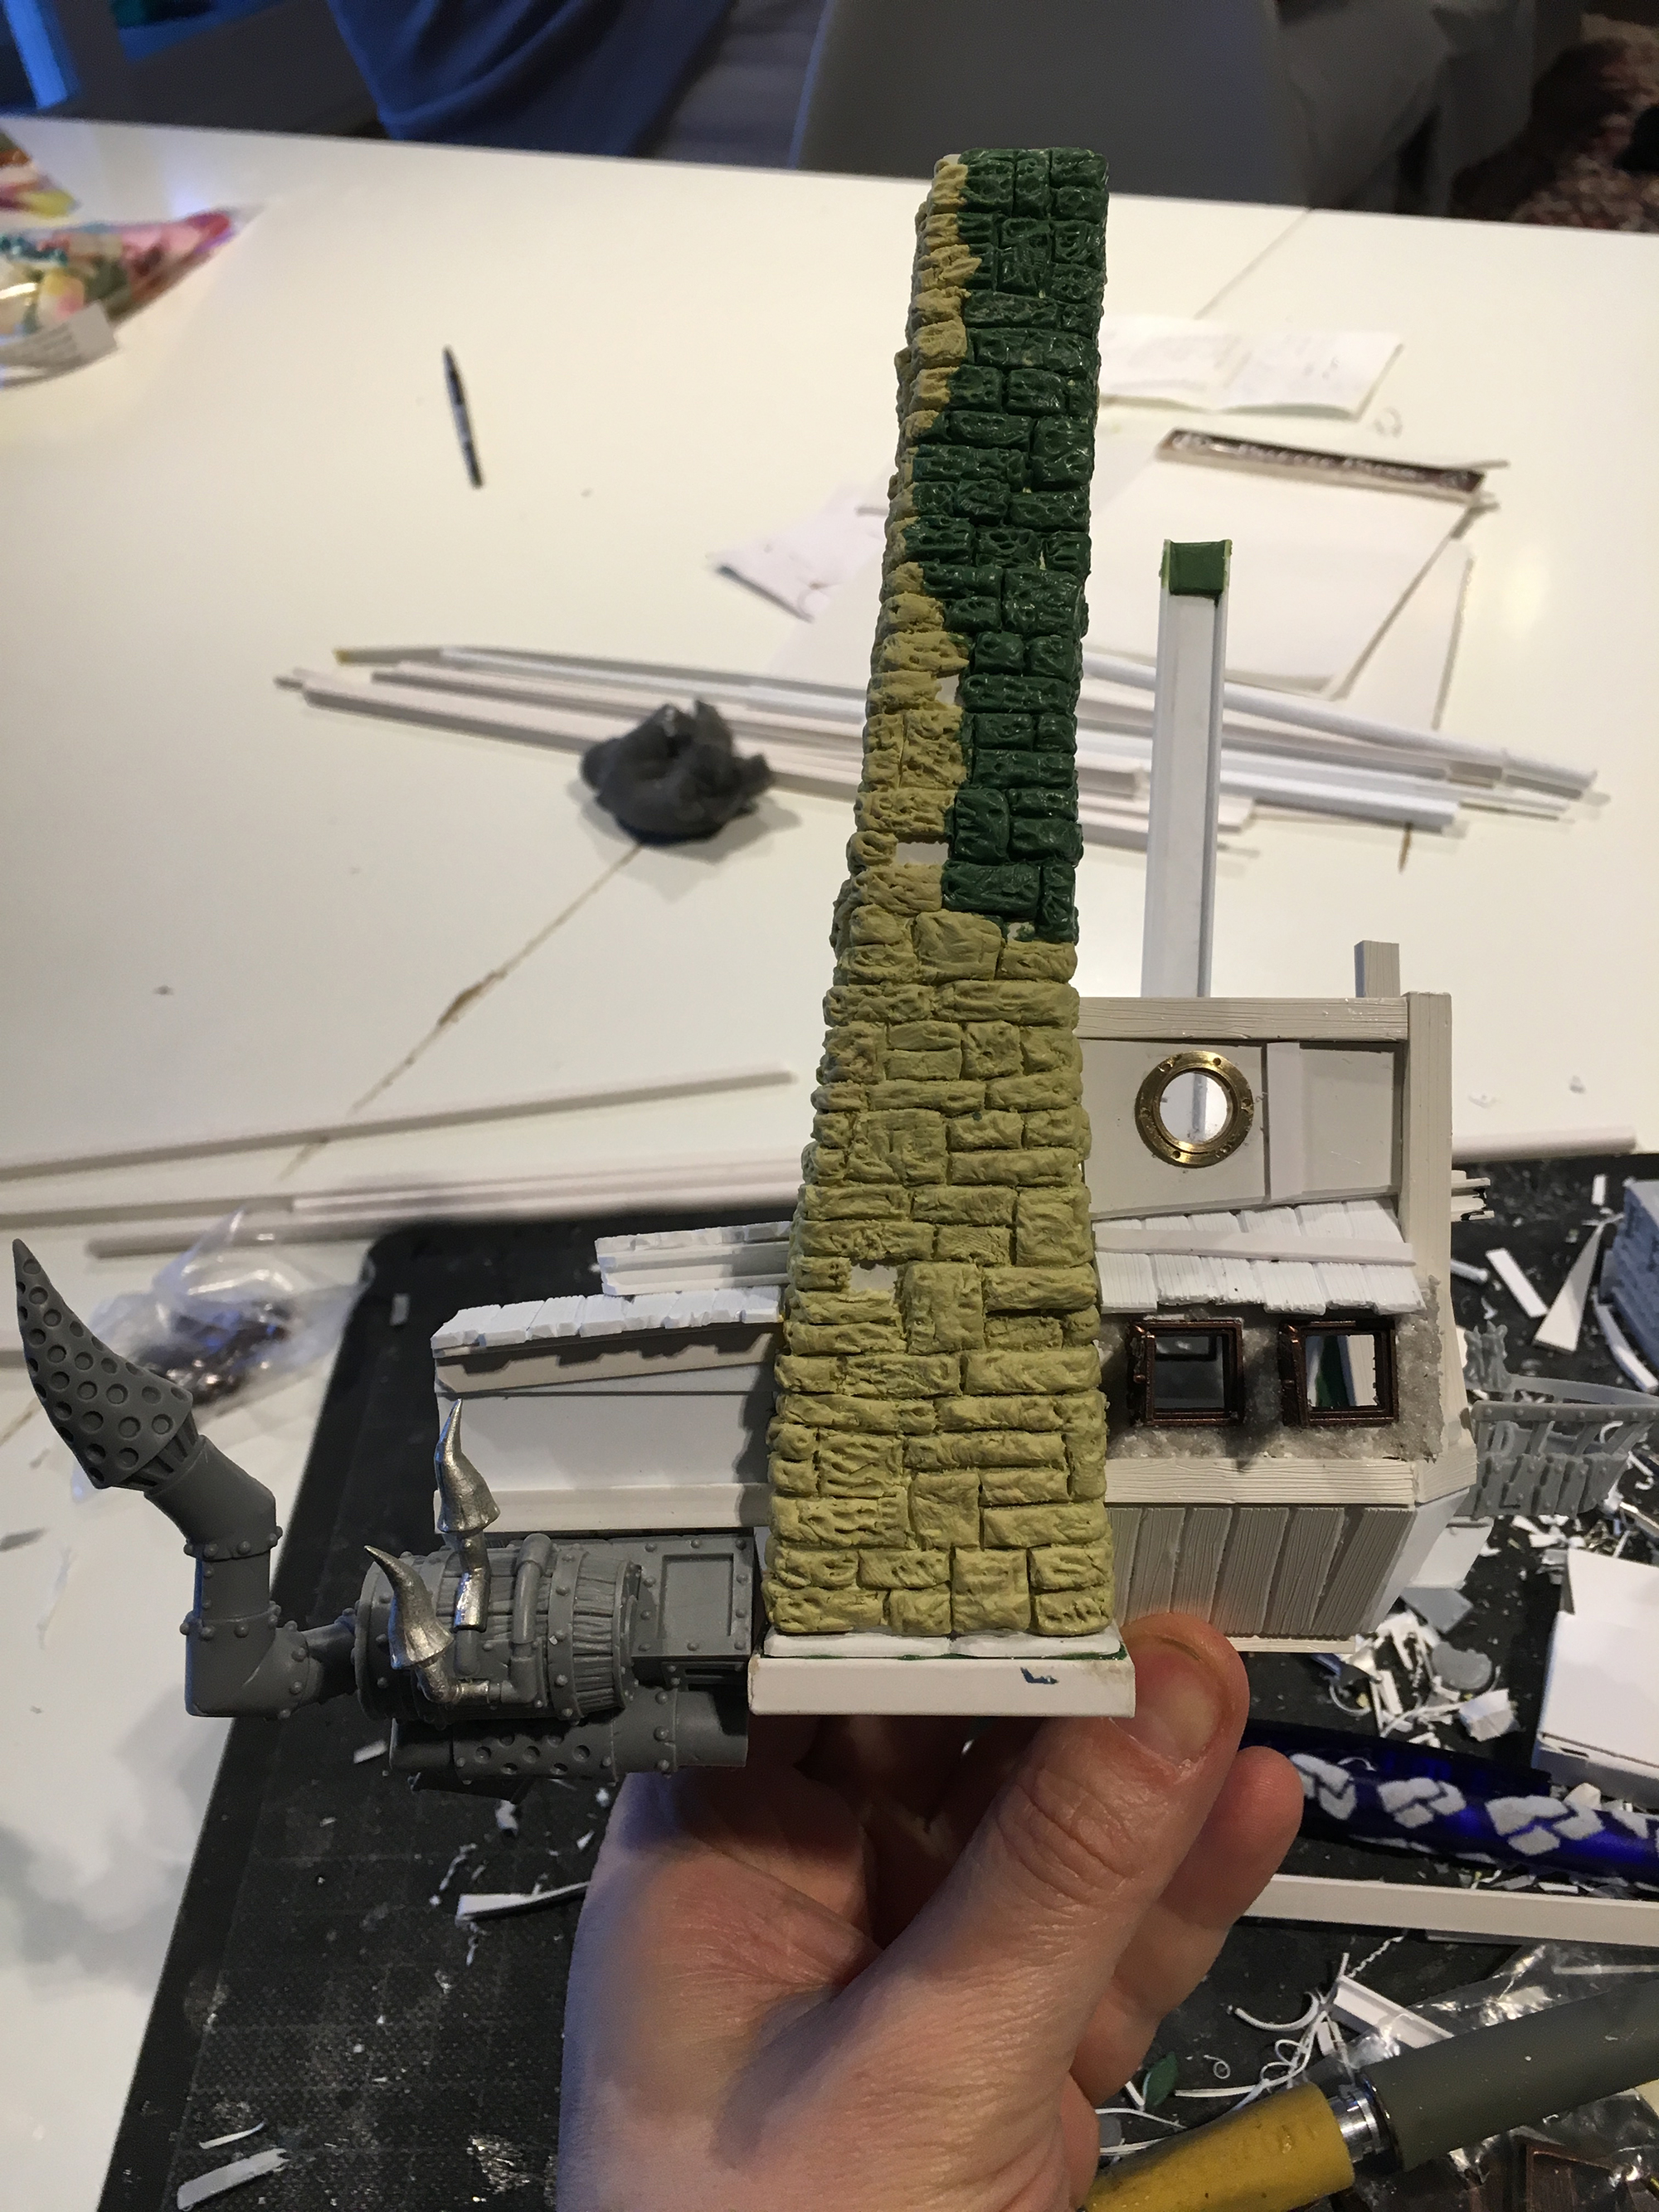
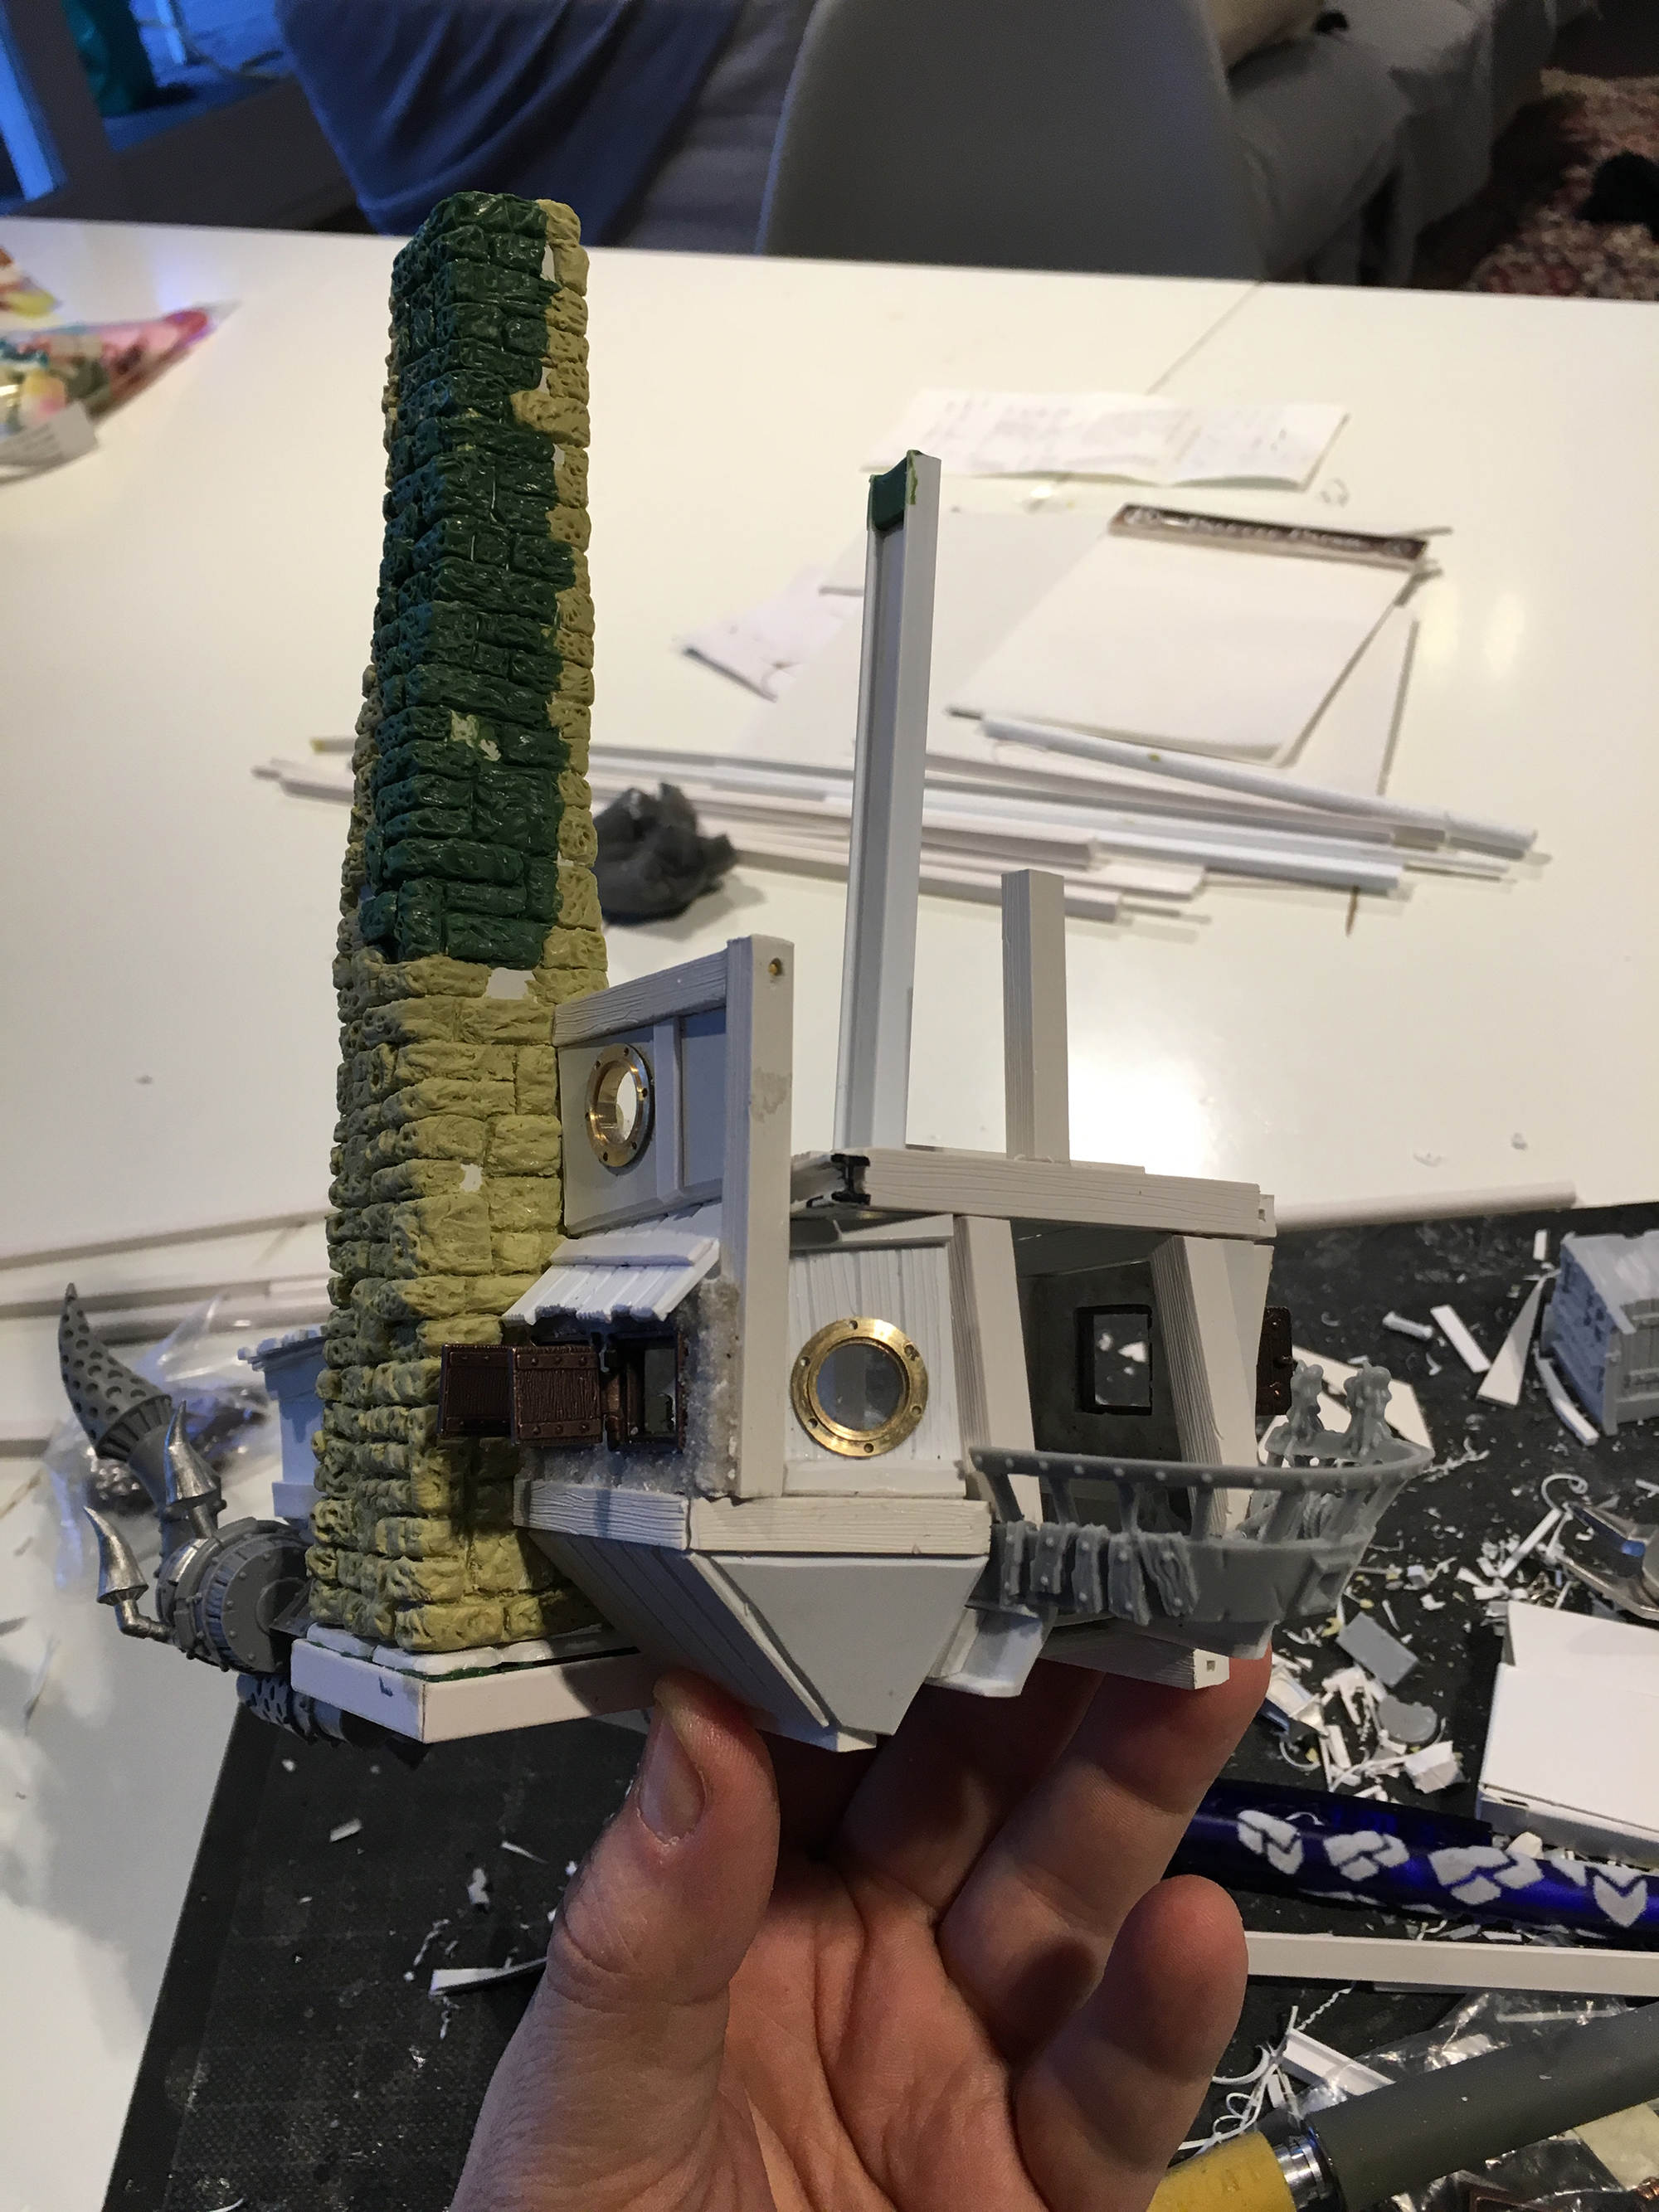
At this point, I got some commentaries from people who thought it looked more like a boat. I have to say that was a bit intentional. First, because I felt like it suited the style of a mobile home. Second, because for me, a boat really fell in more with the whole steampunk style than a regular hut.
In the end, I liked the idea of the old witch standing at the helm of her hut, navigating it through the forests and battlefields of Immoren.
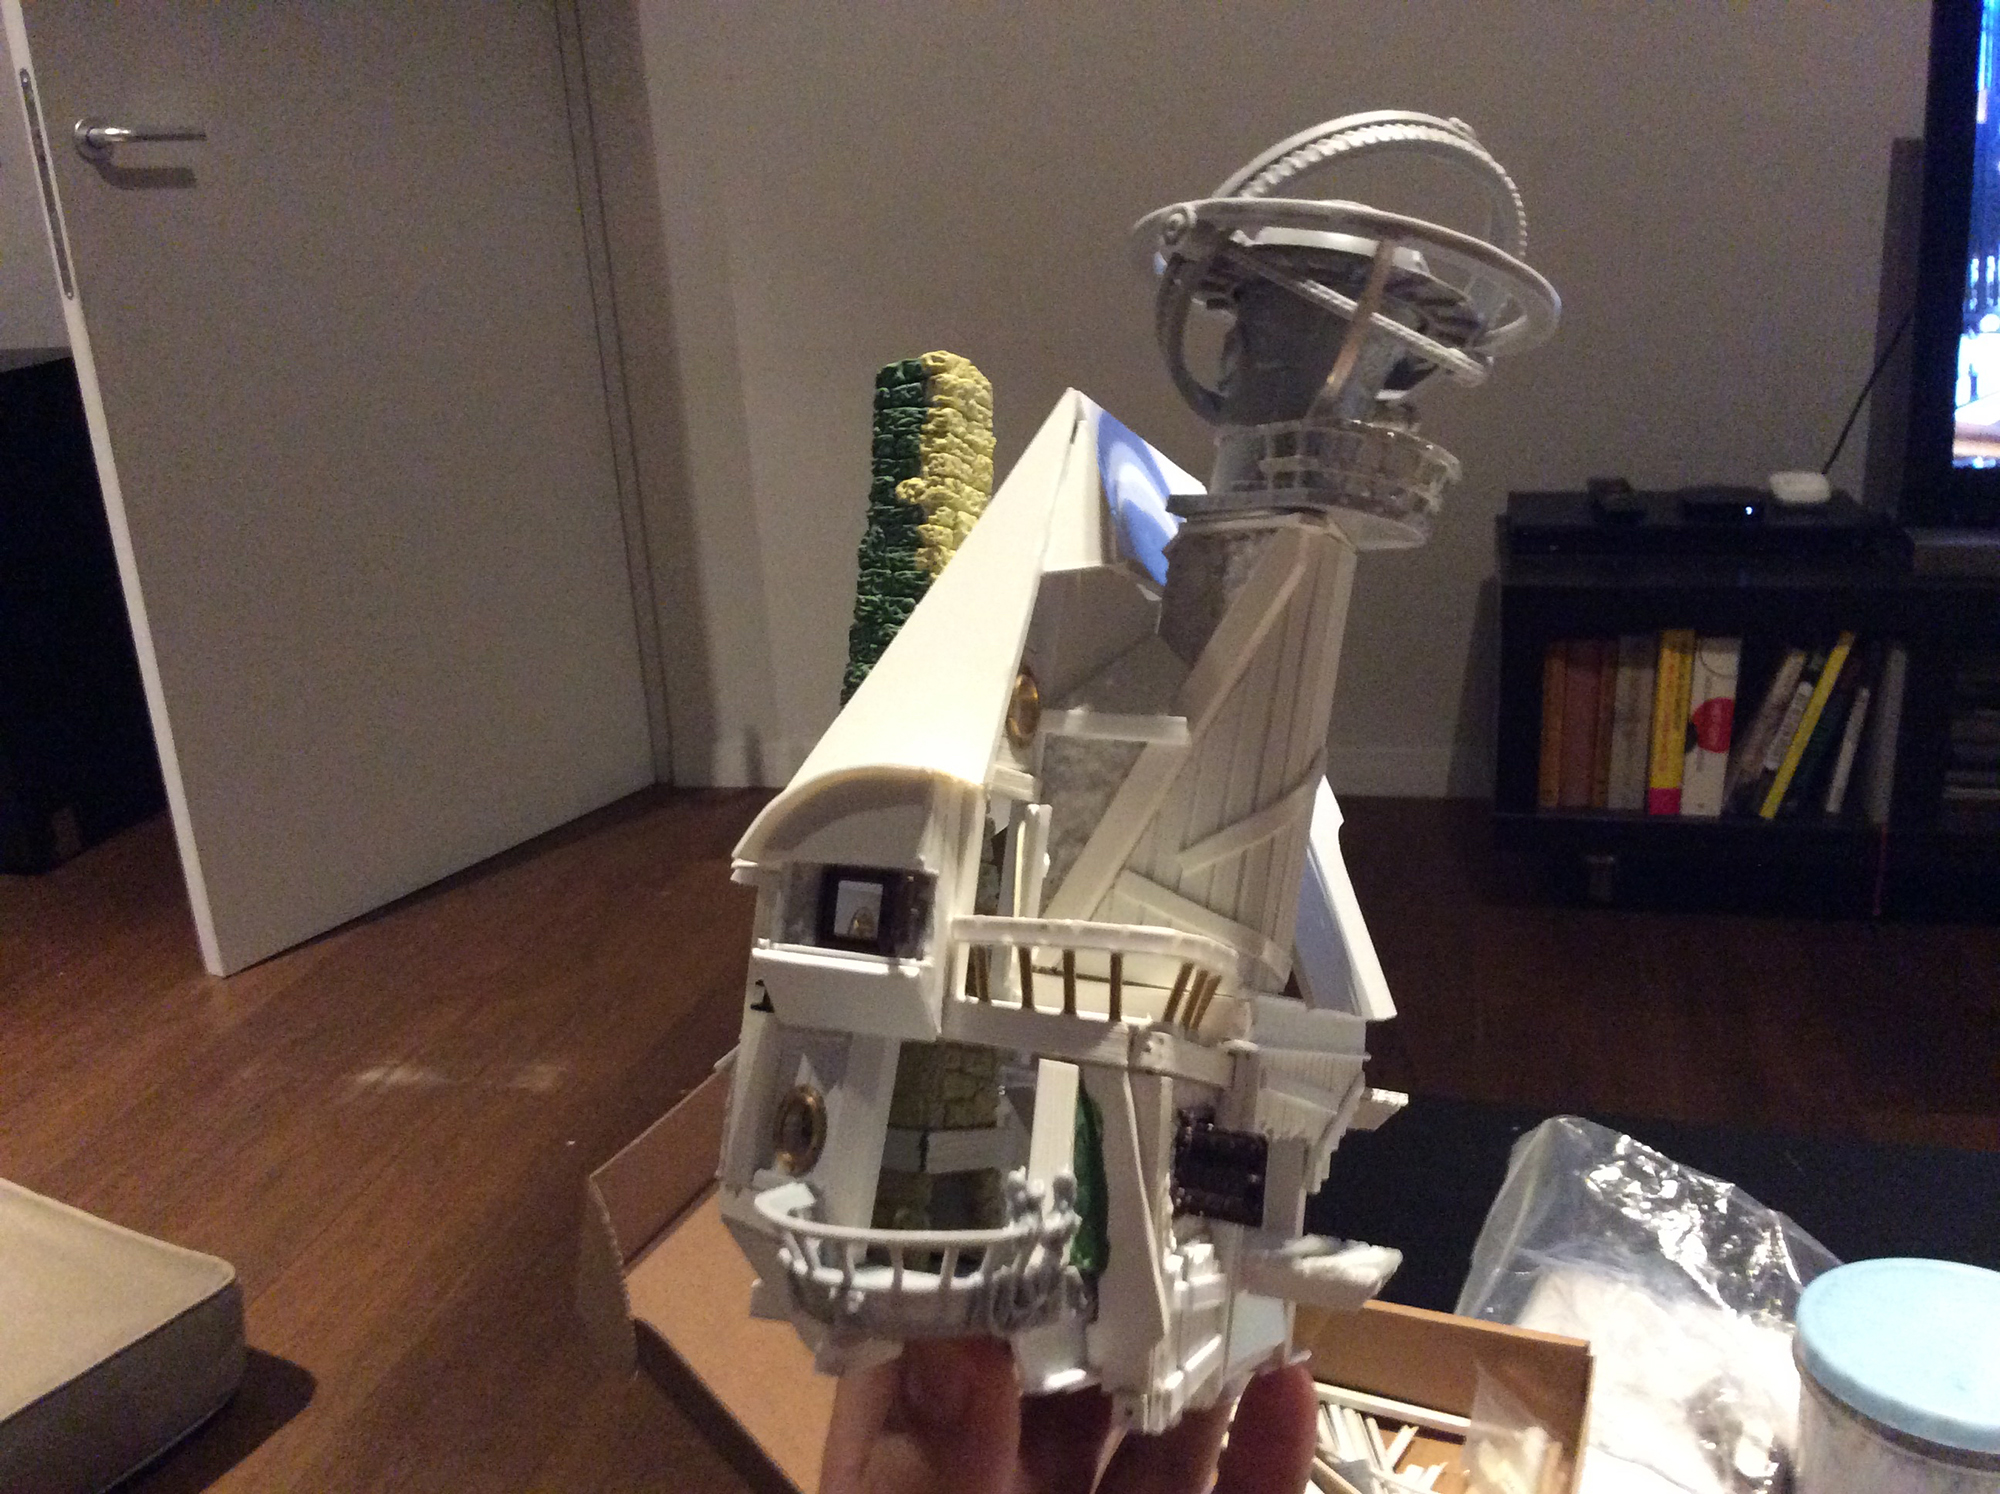
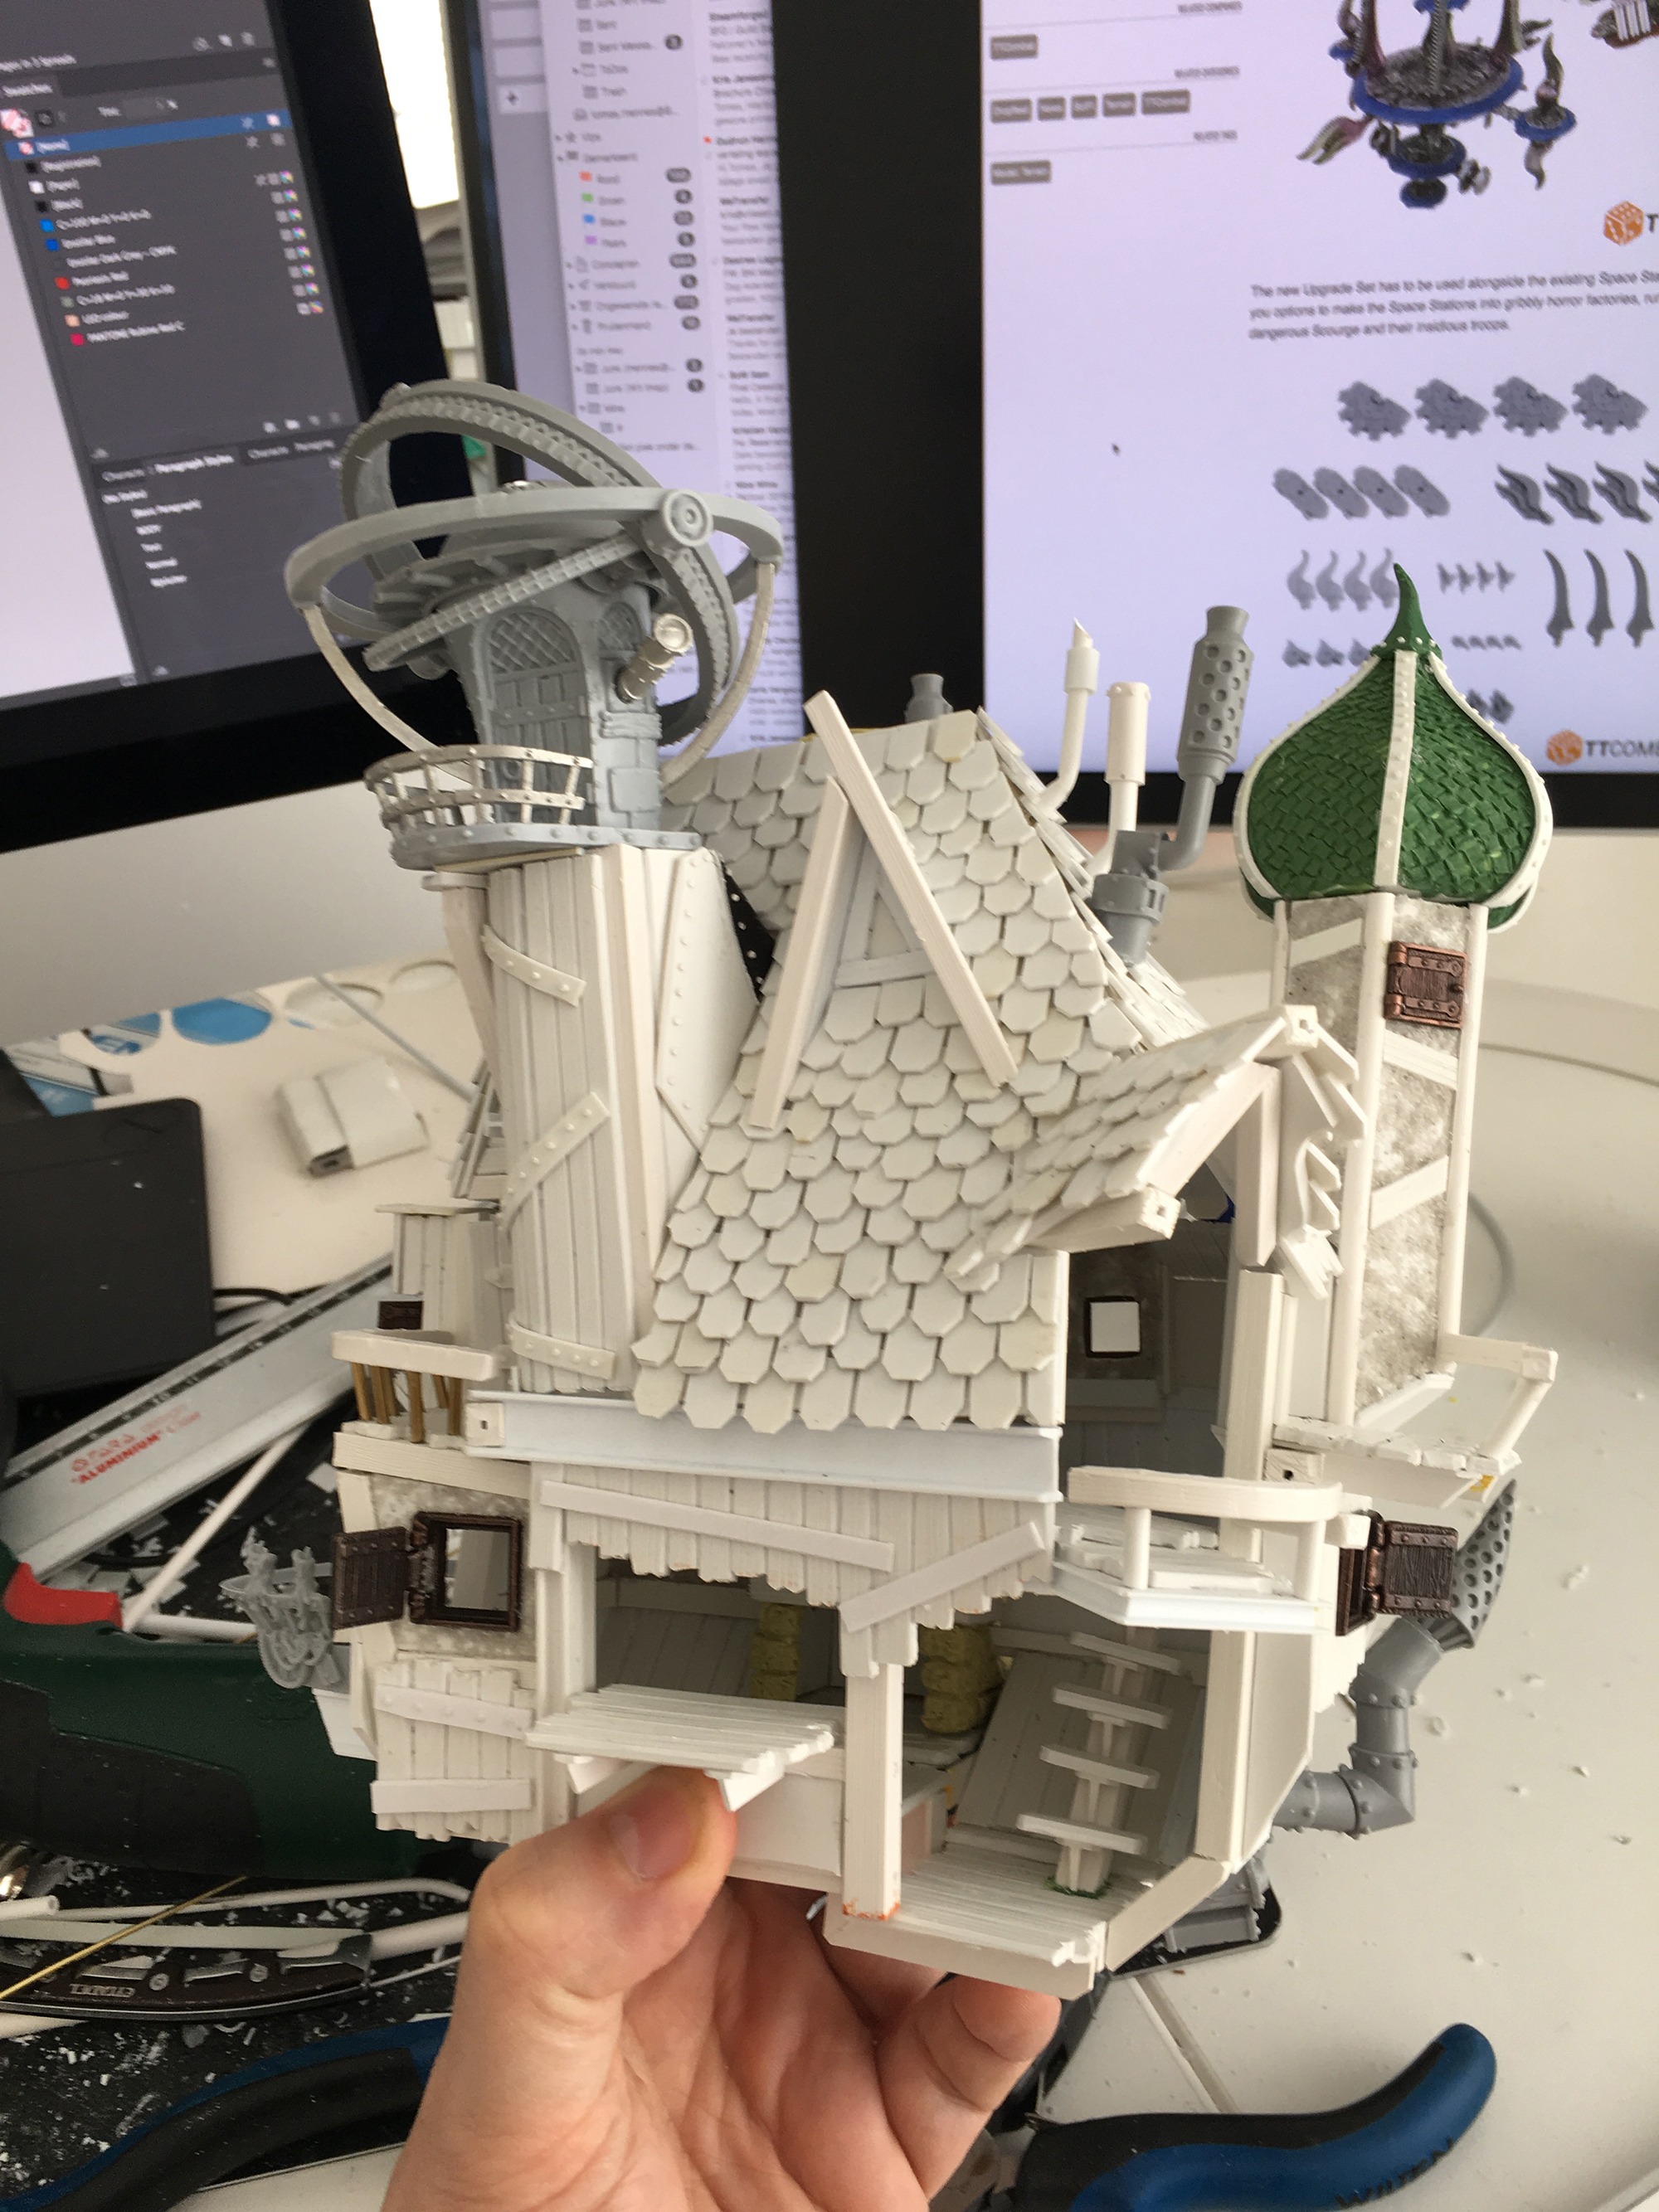
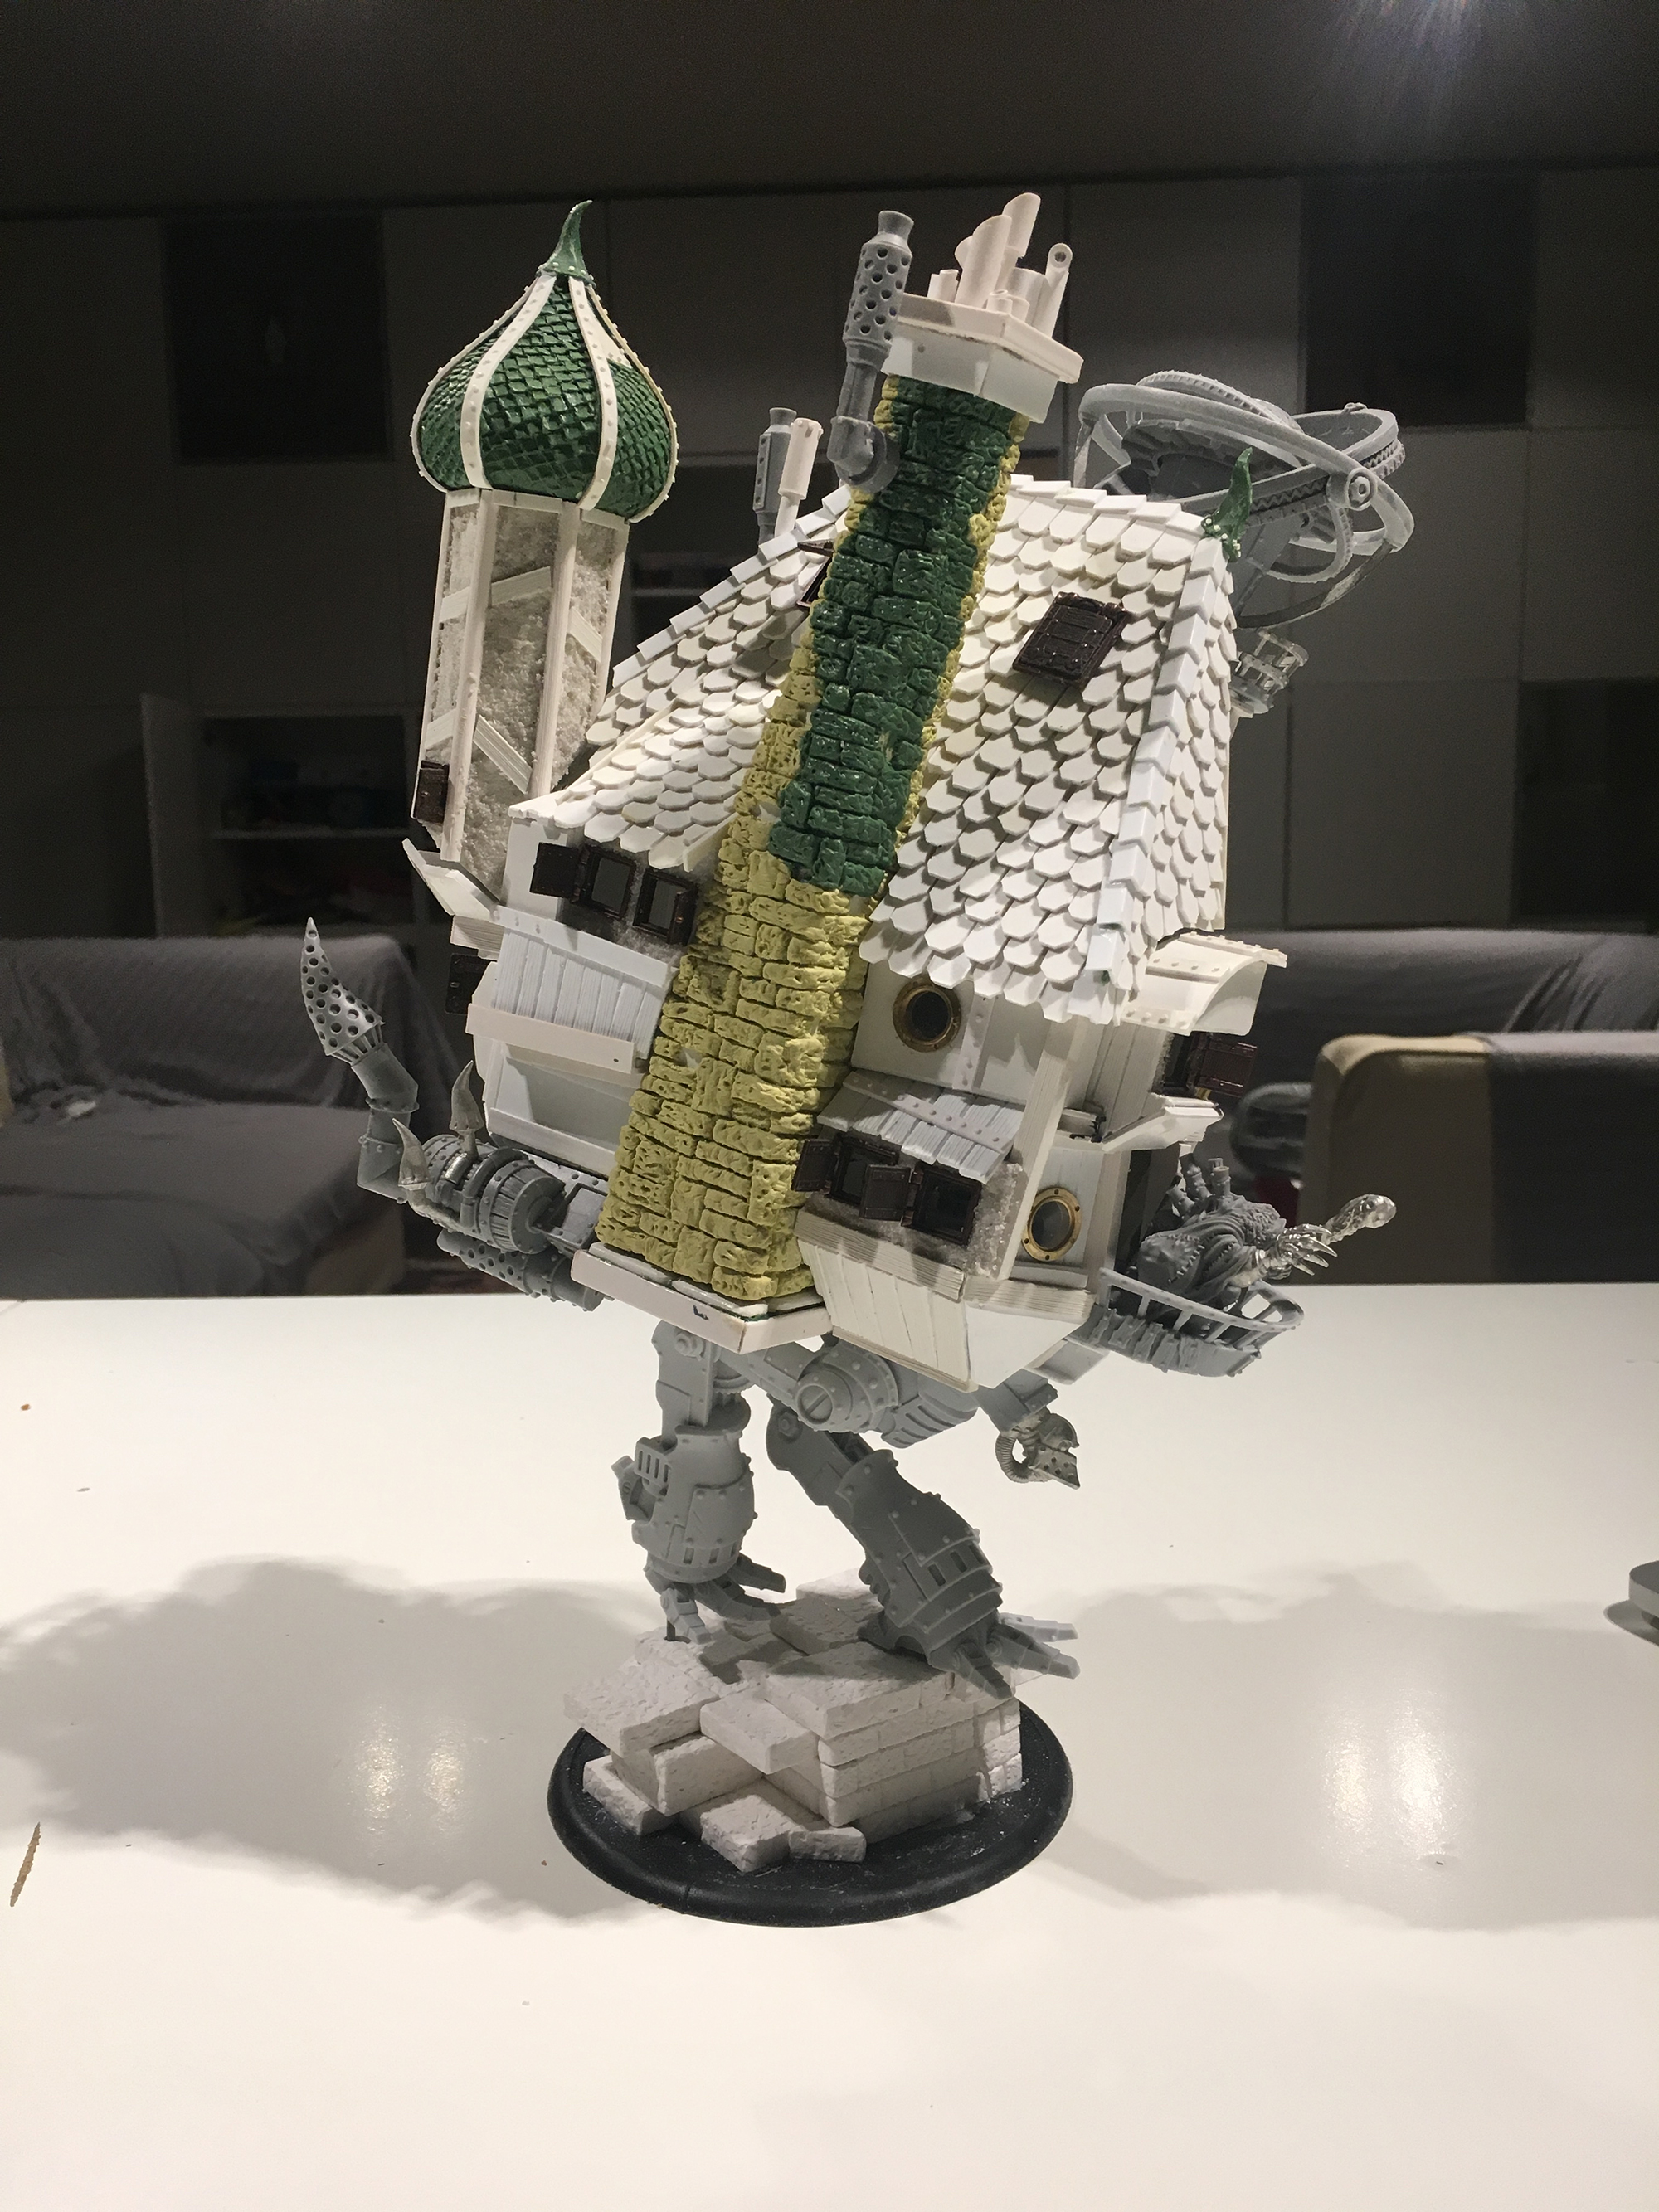
A Tale of Two Towers
So, with (the beginning of) the main structure in place, I started working on the roof, to get a feeling for the general shape. I knew I wanted a high roof, providing the wall on one side of the hut, while stopping at the top of a (low) wall on the other side. I started with 2 sheets of styrene that I glued together at the right angle, with greenstuff to provide sturdiness.

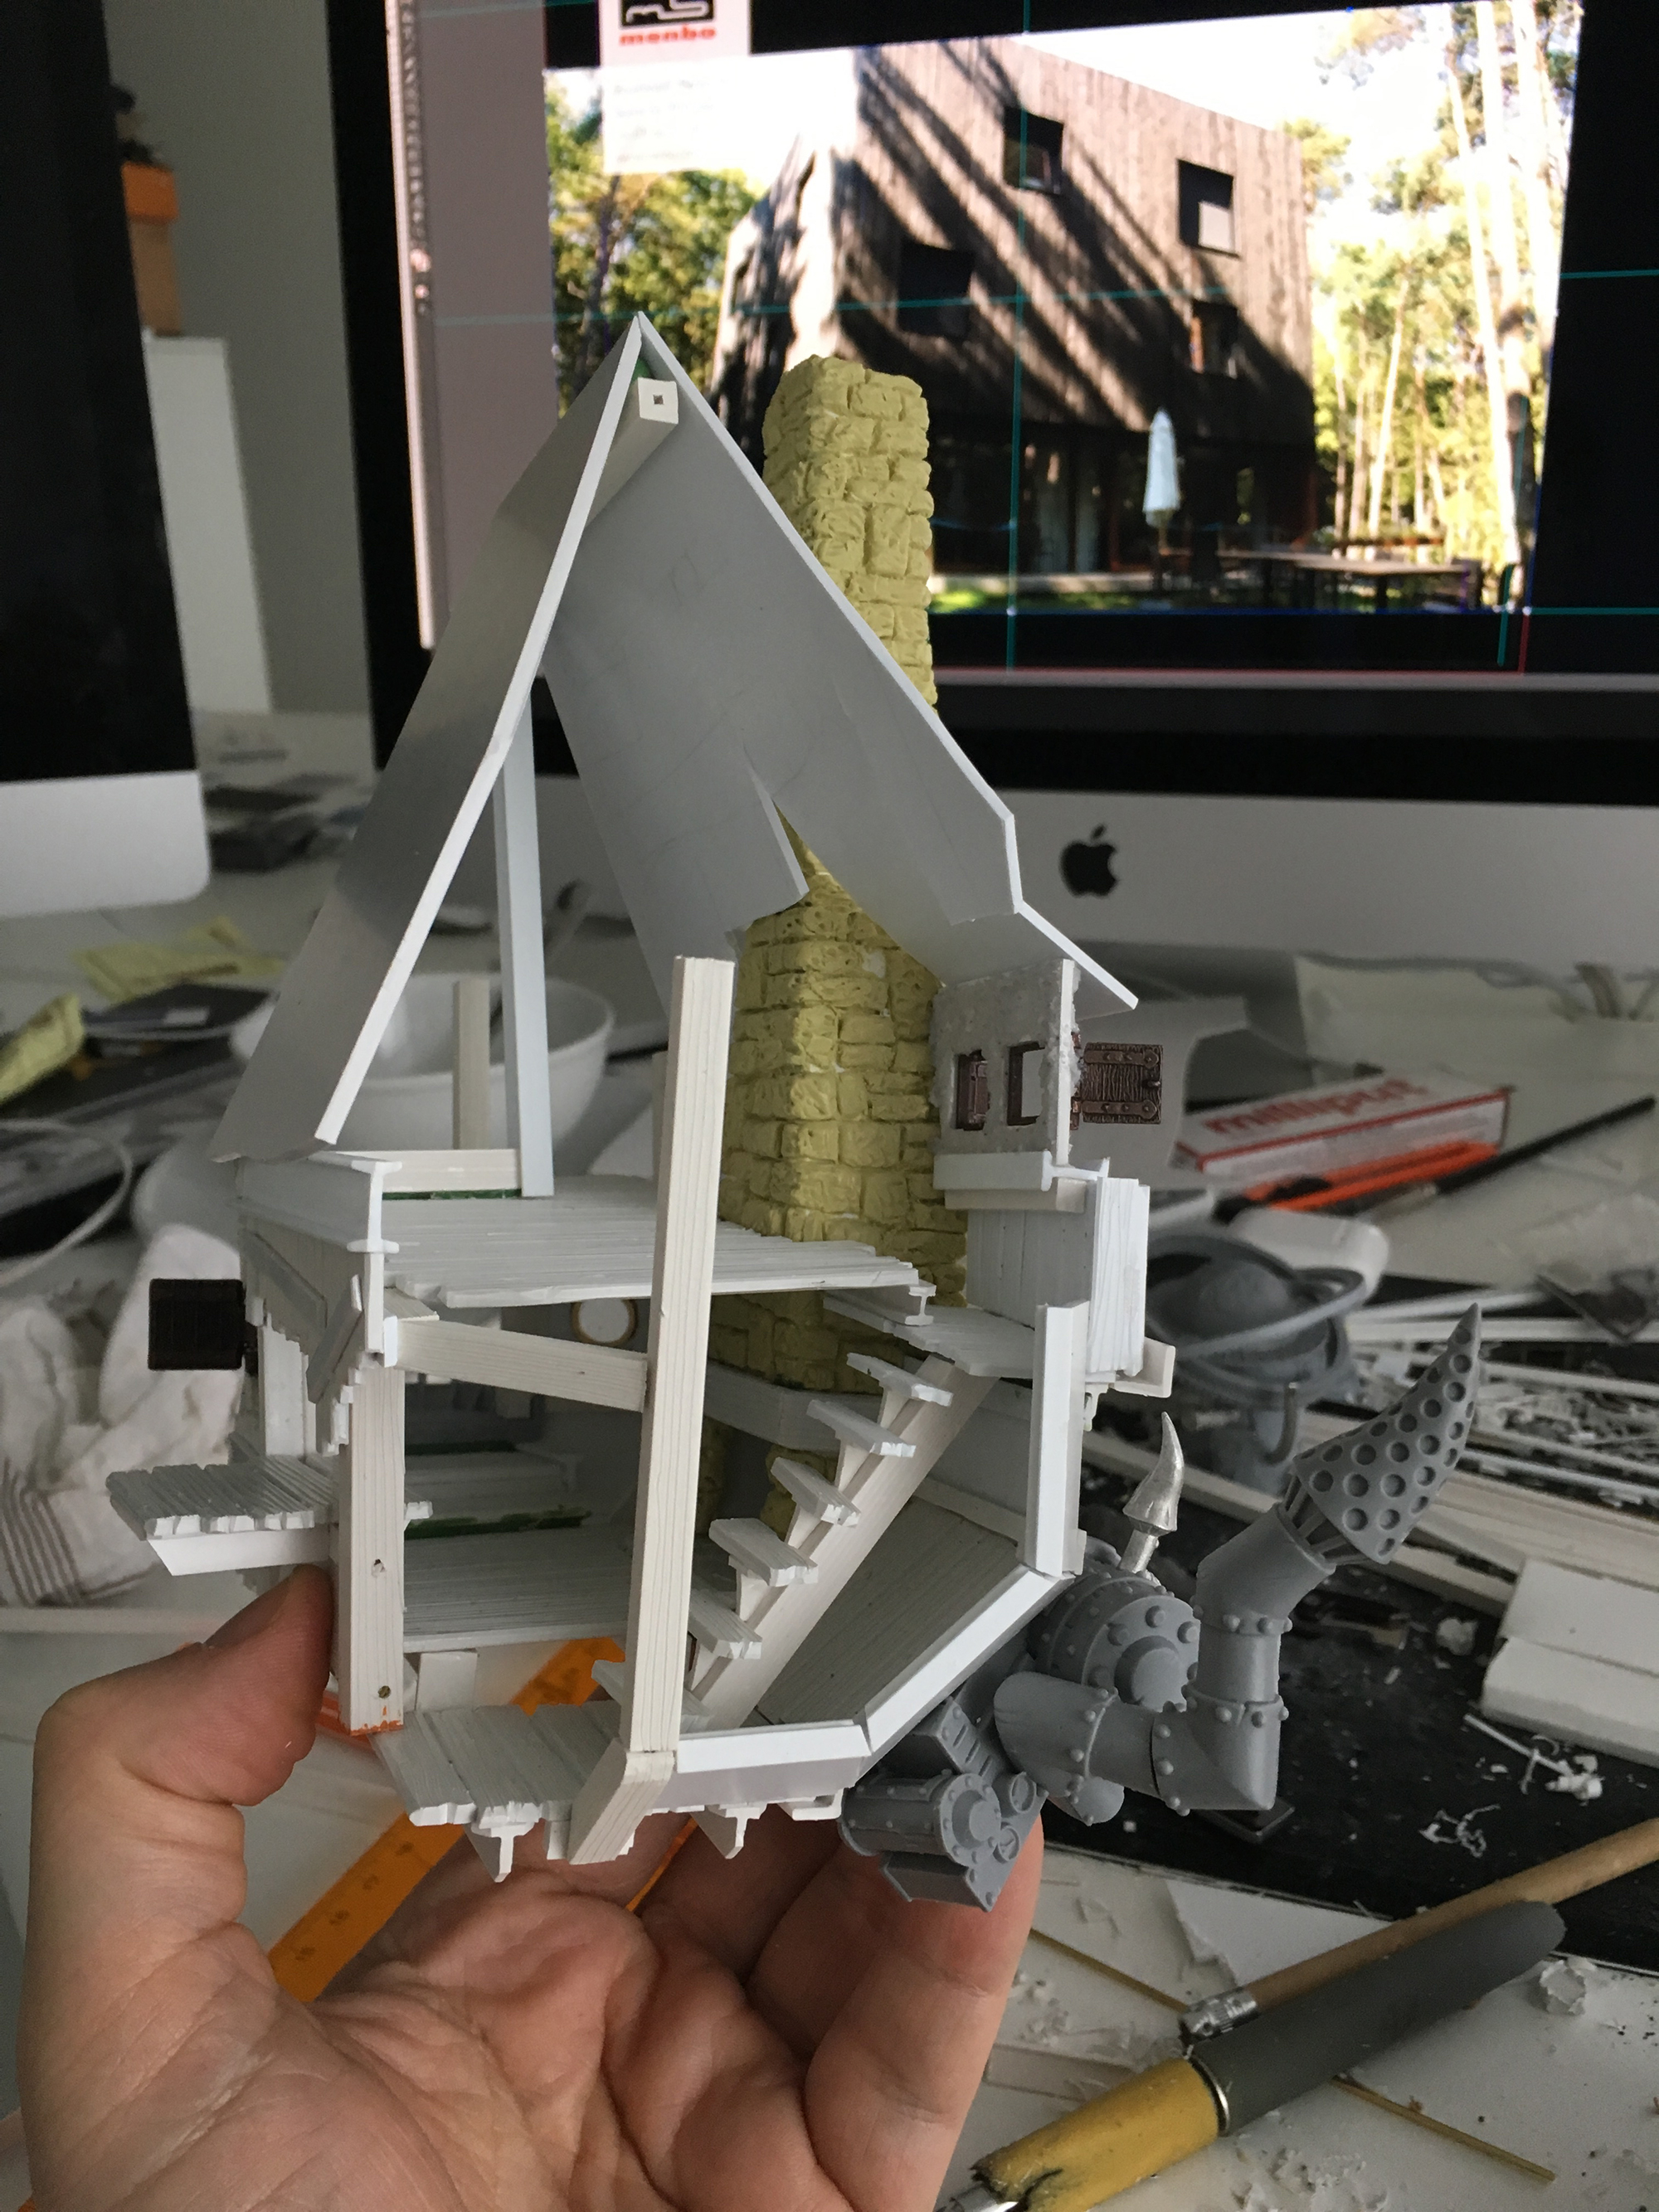
As I told you, I really liked the little top of the original model, with the spinning planetarium on top of it. I wanted it higher though, so I built a tower to put on my model. Some trimming to the front end of the roof made space for this astronomy tower. (drink a shot, Sam. 2 can play this game).
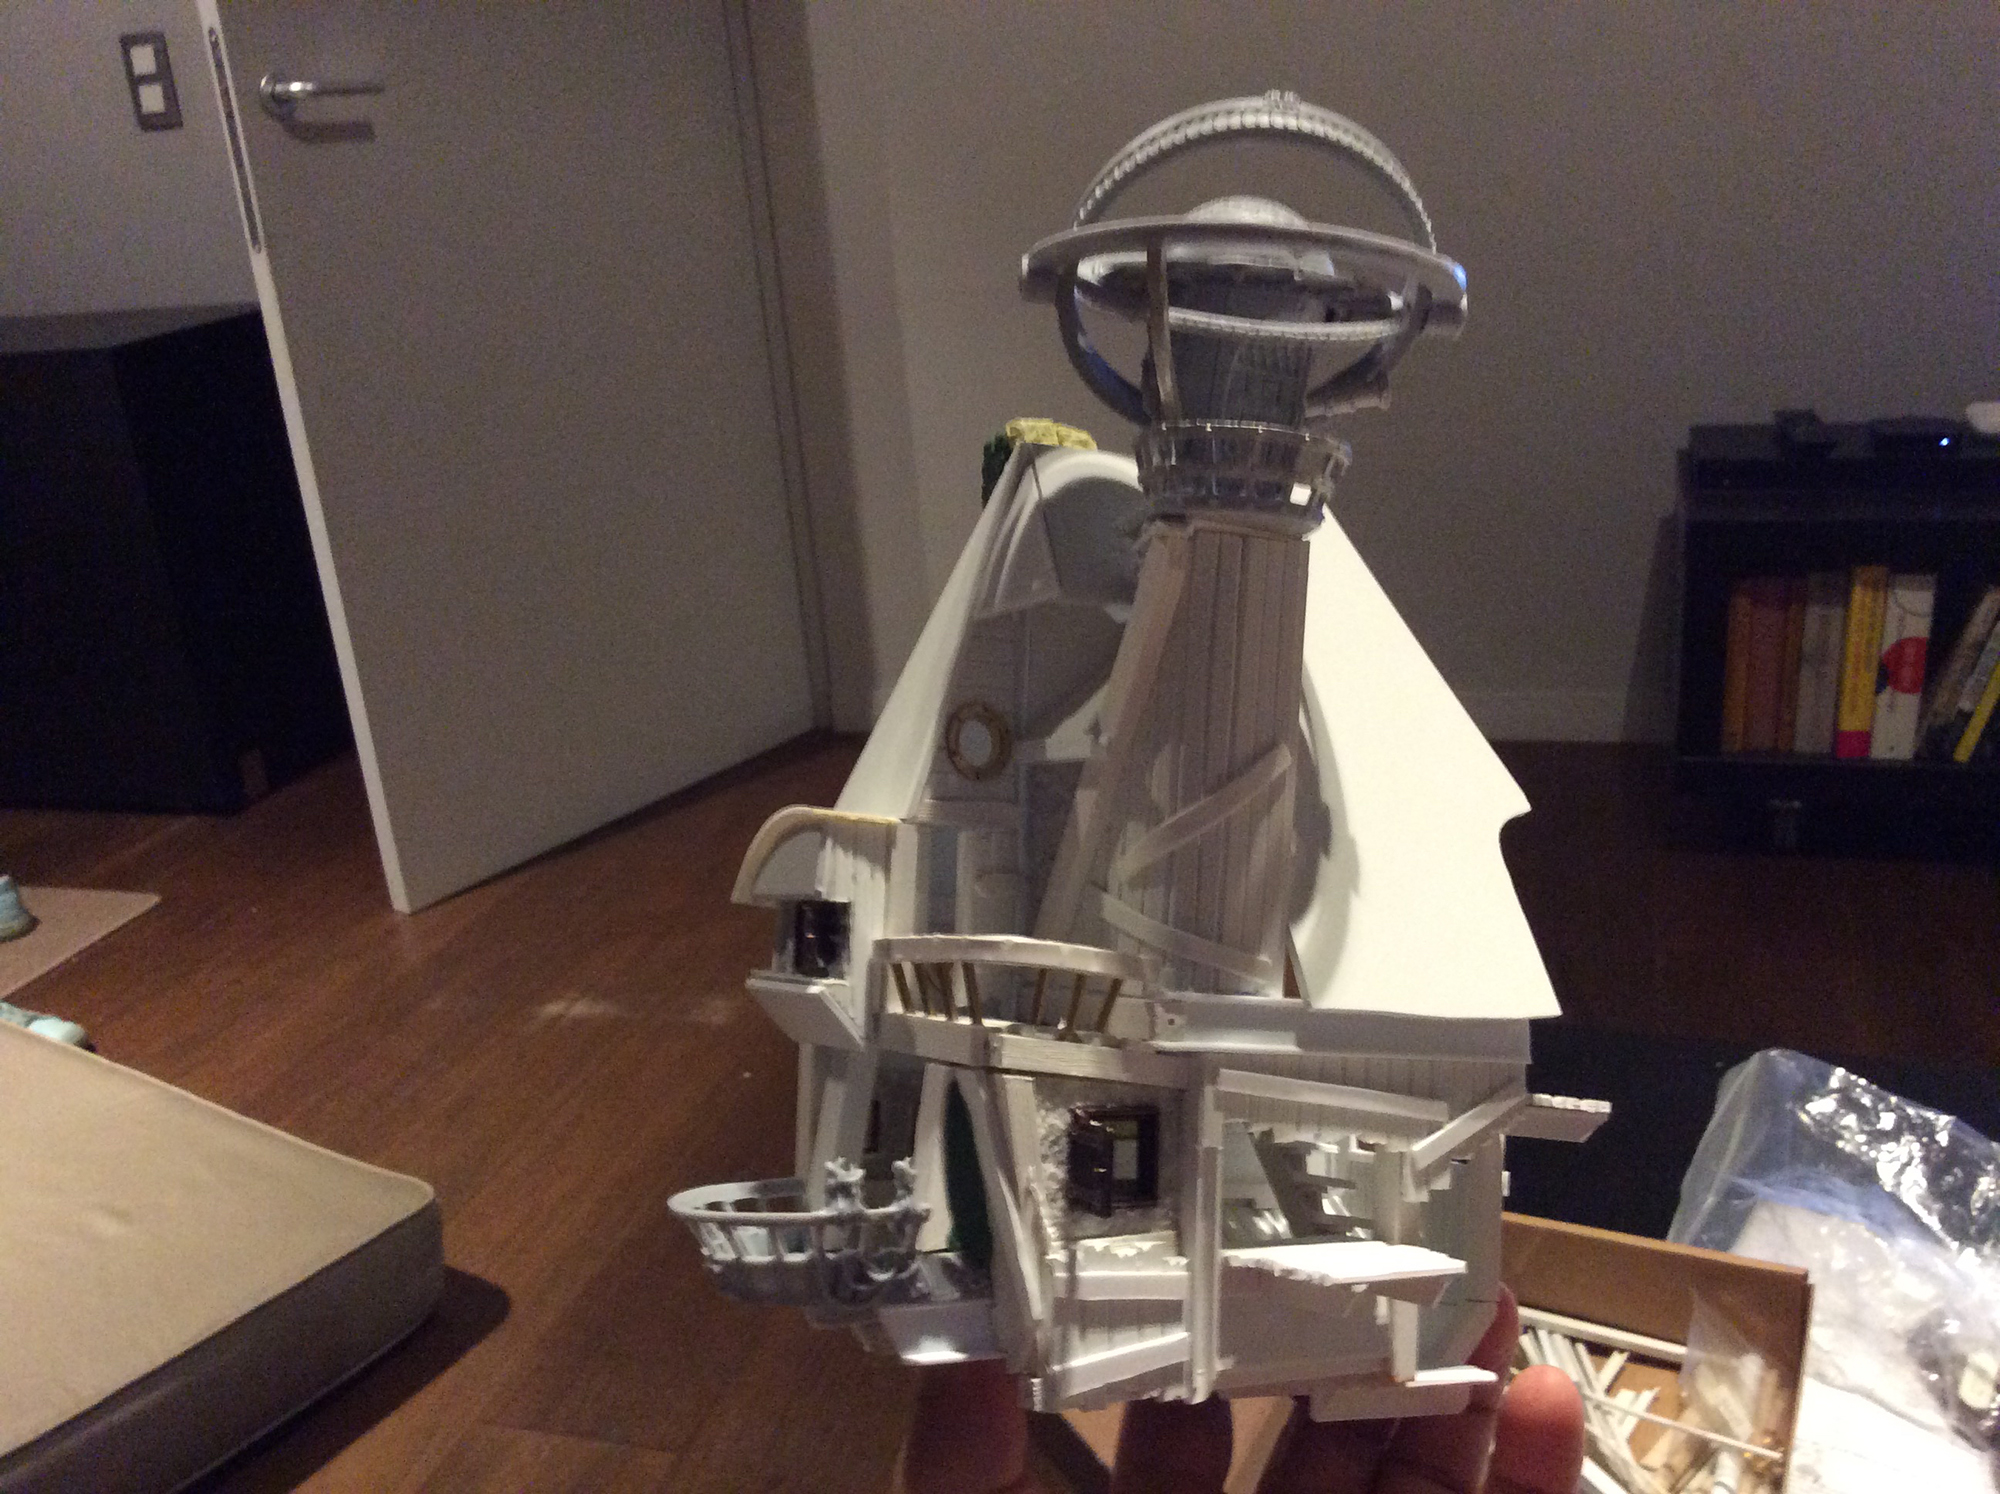
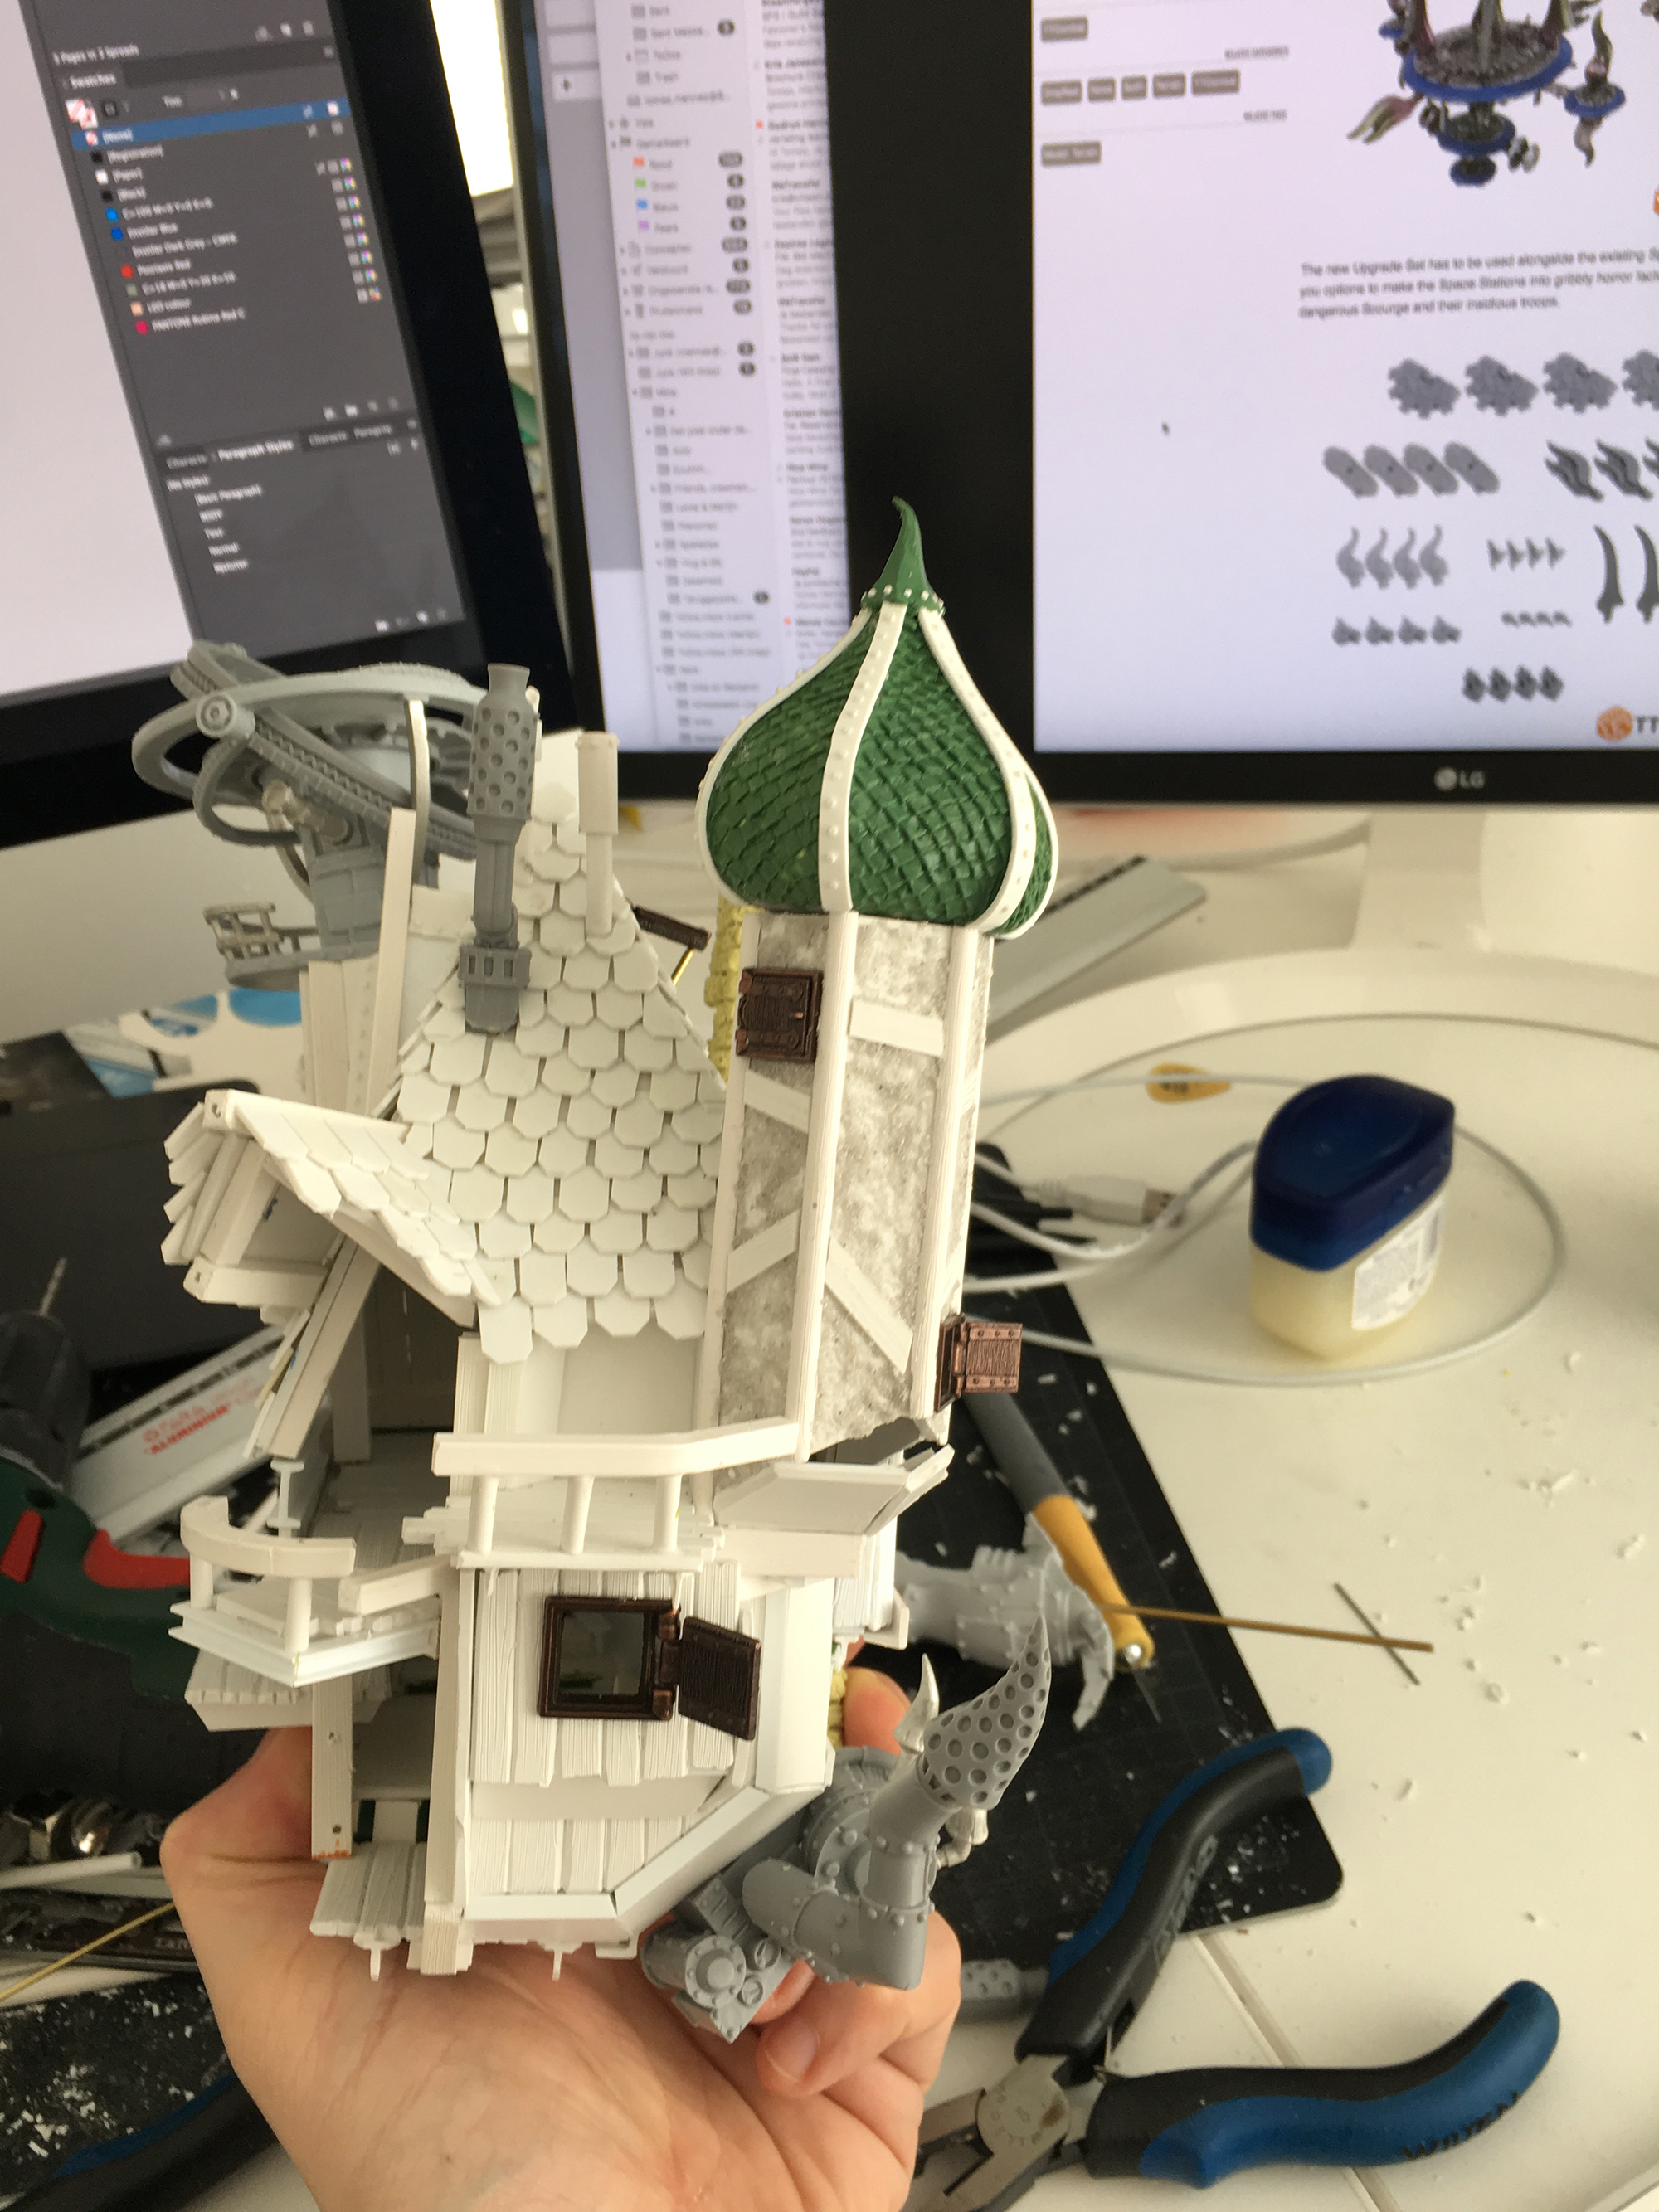
I really liked the first tower, but felt like the model needed a second one to balance it. And back in the concept phase, I really liked putting an onion tower on there. So here was my chance.
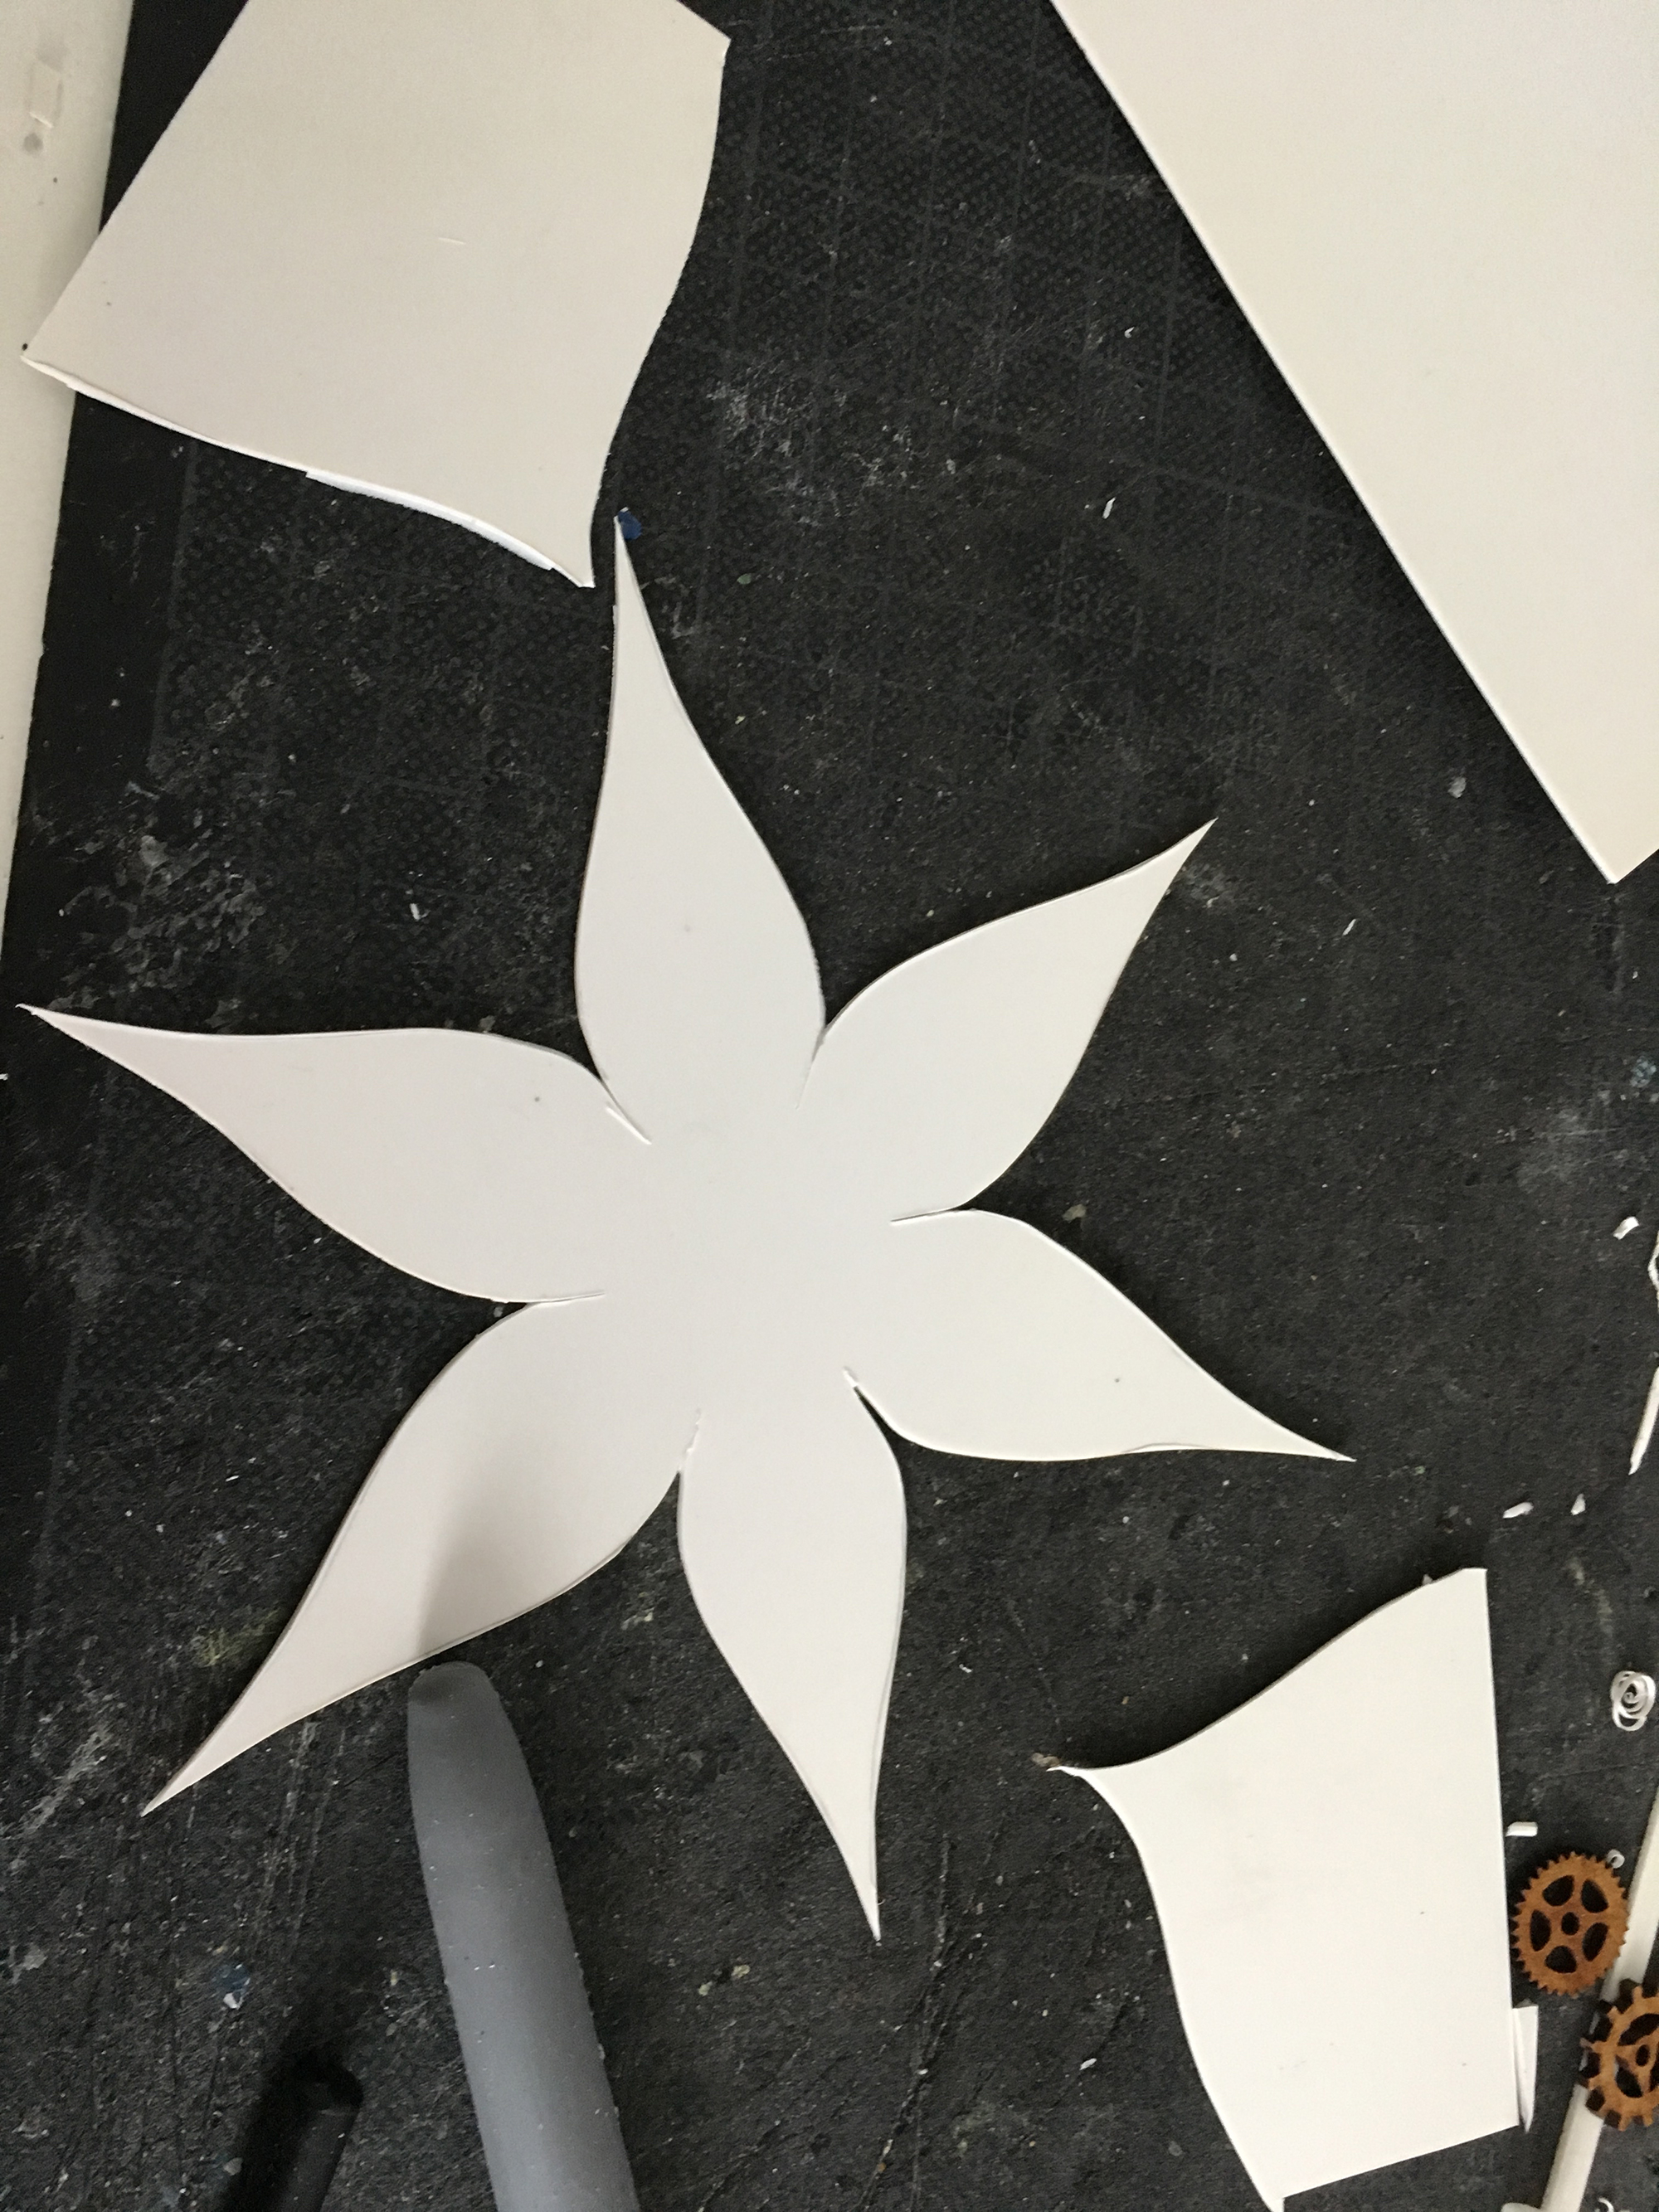
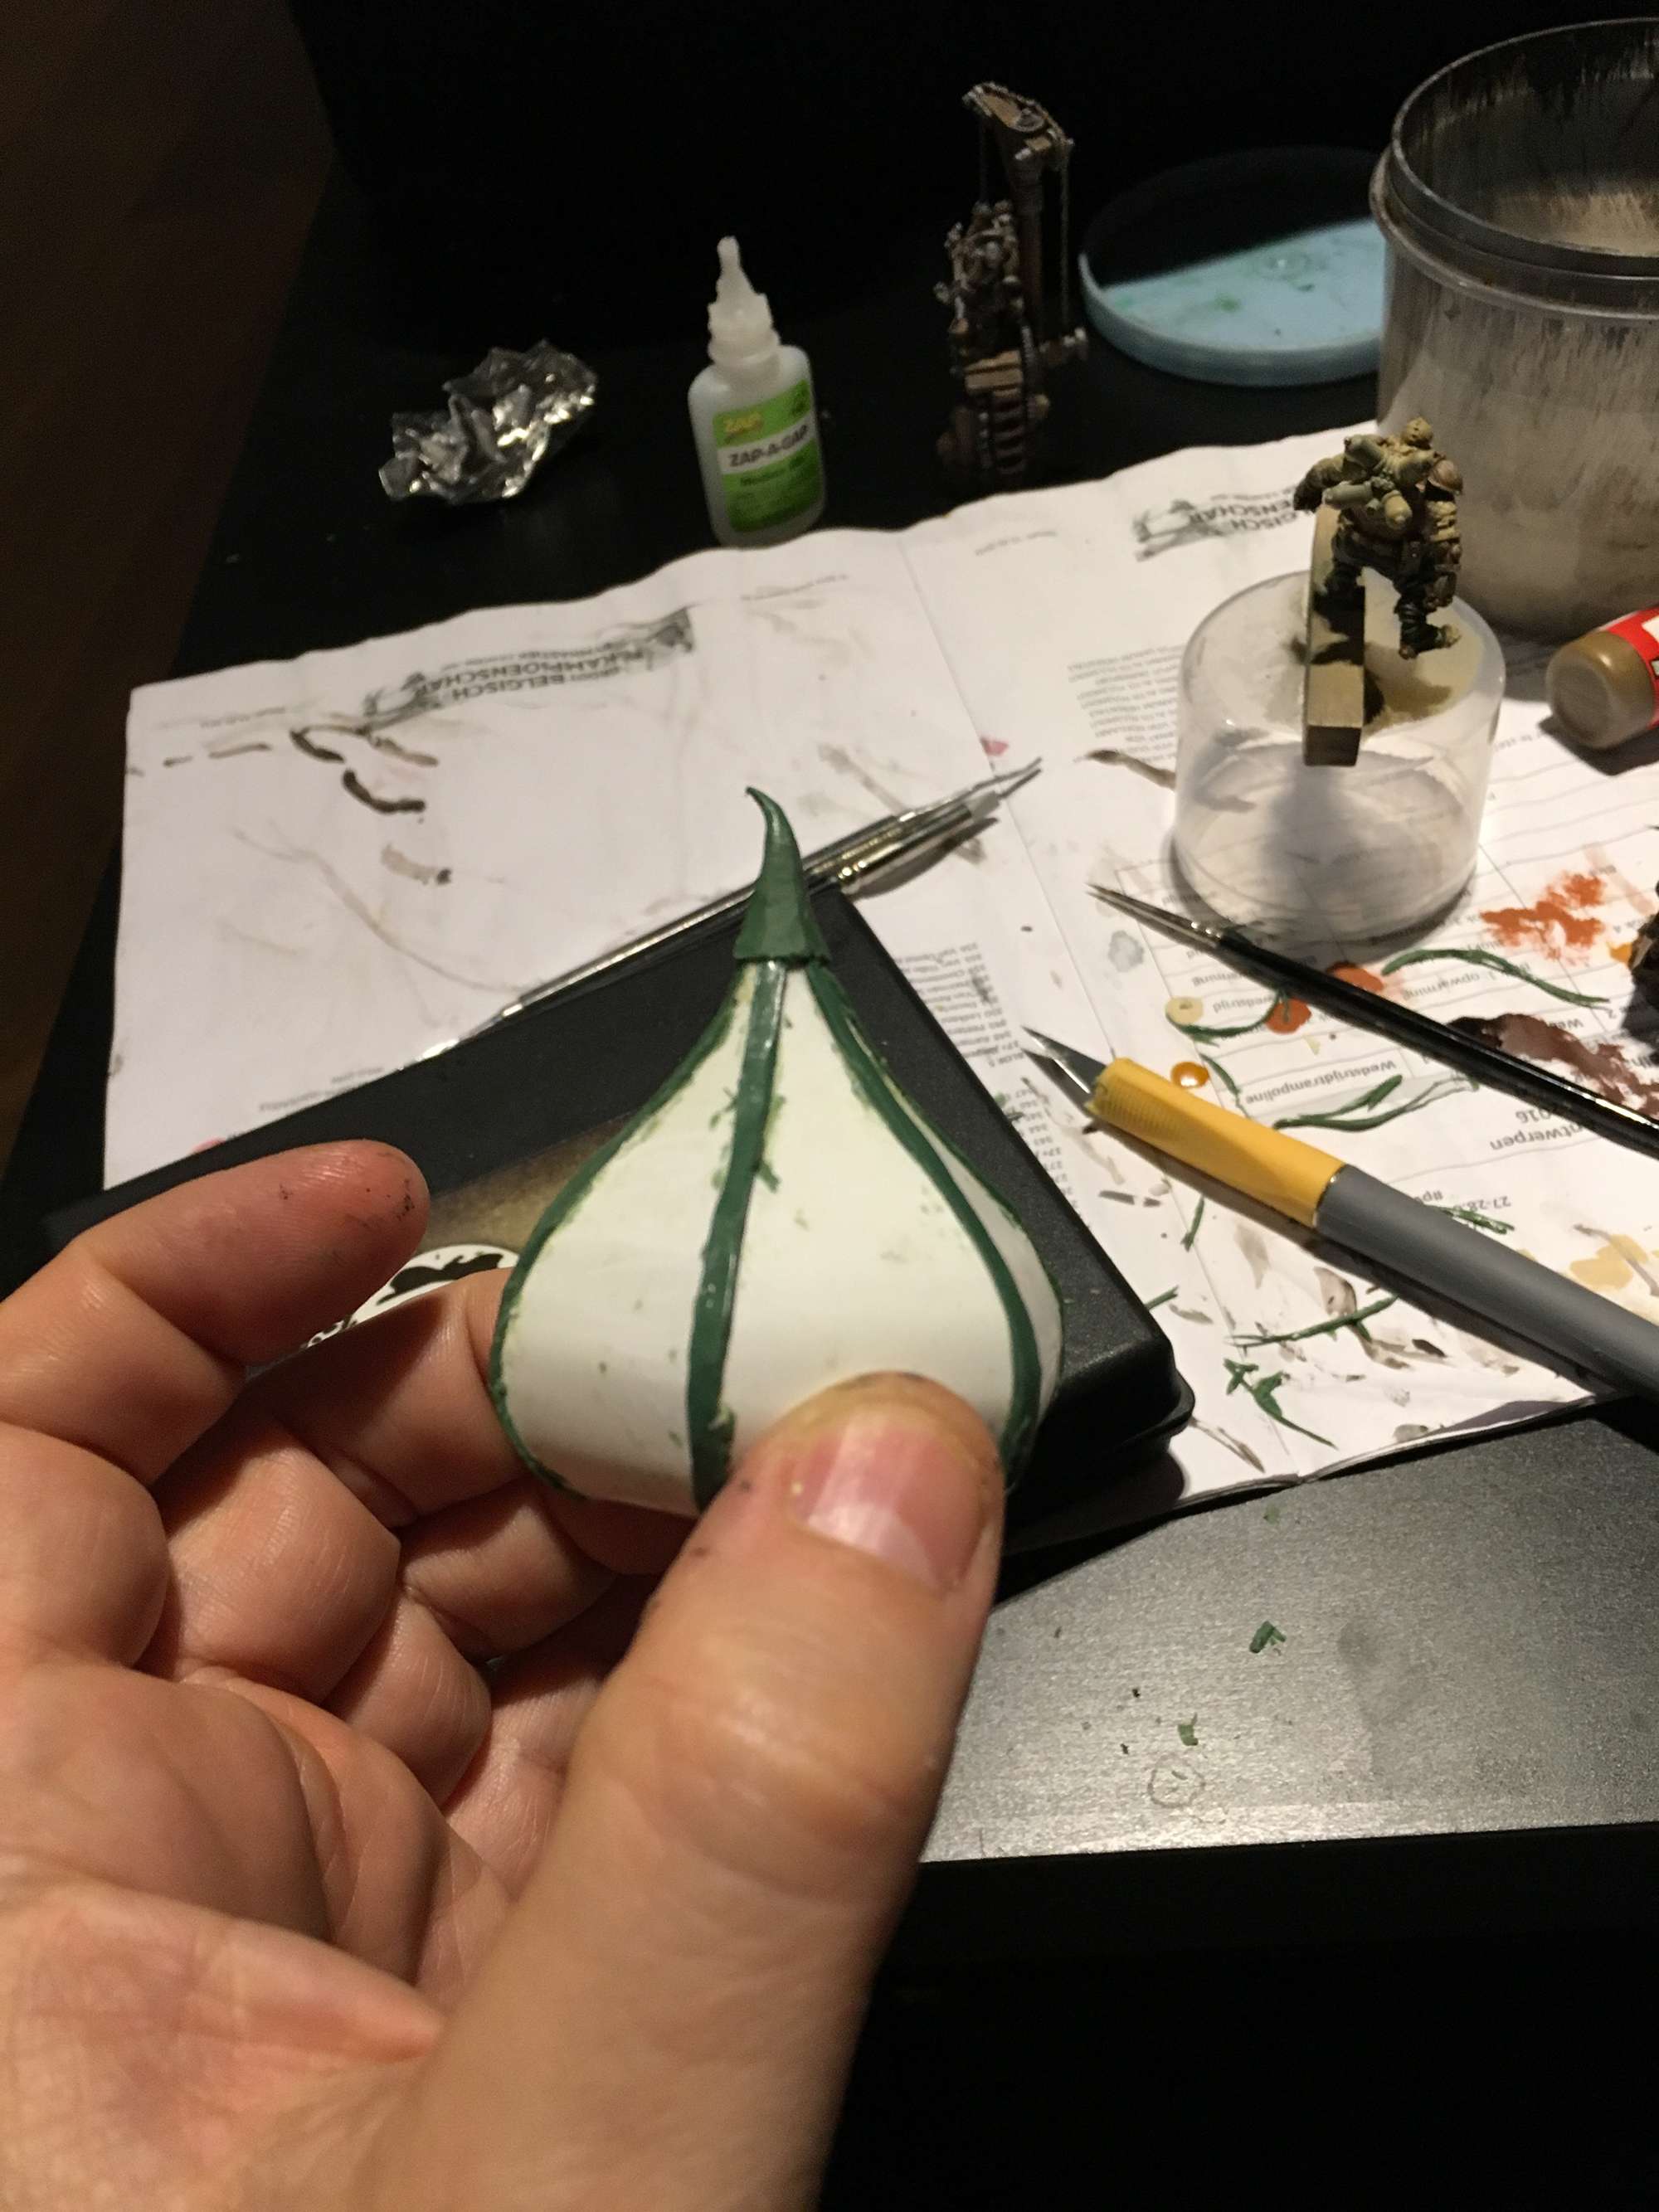
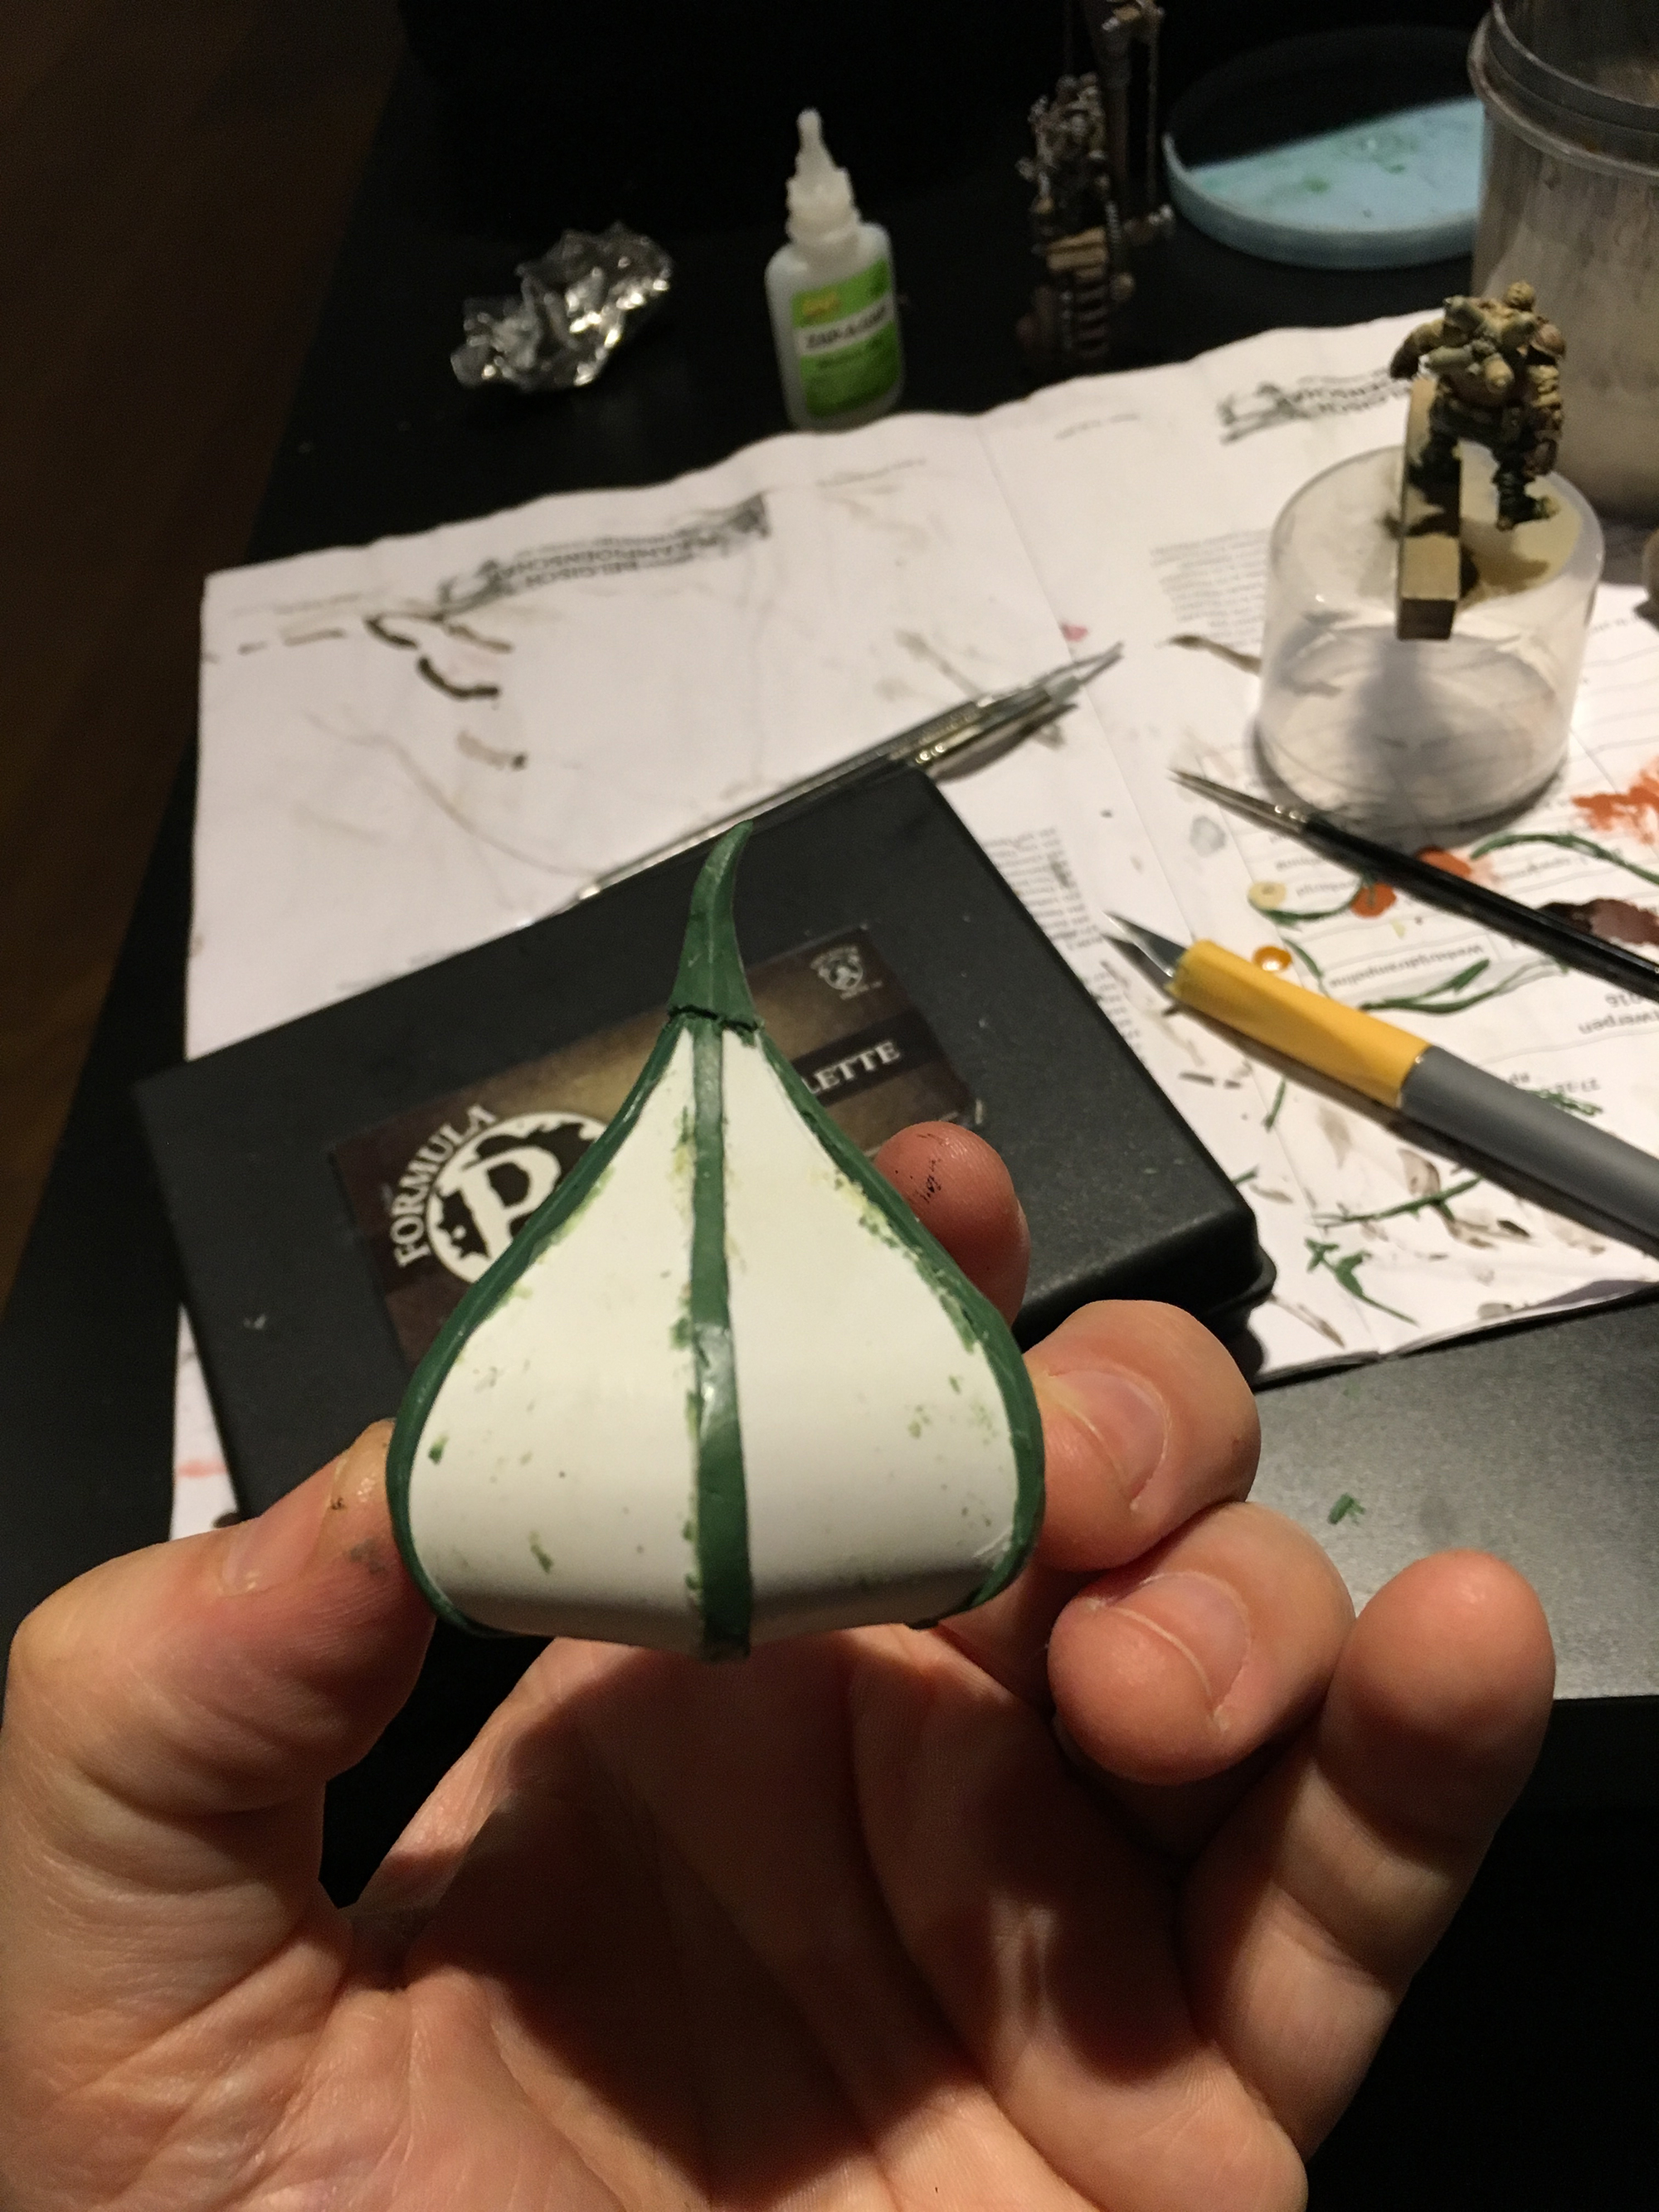
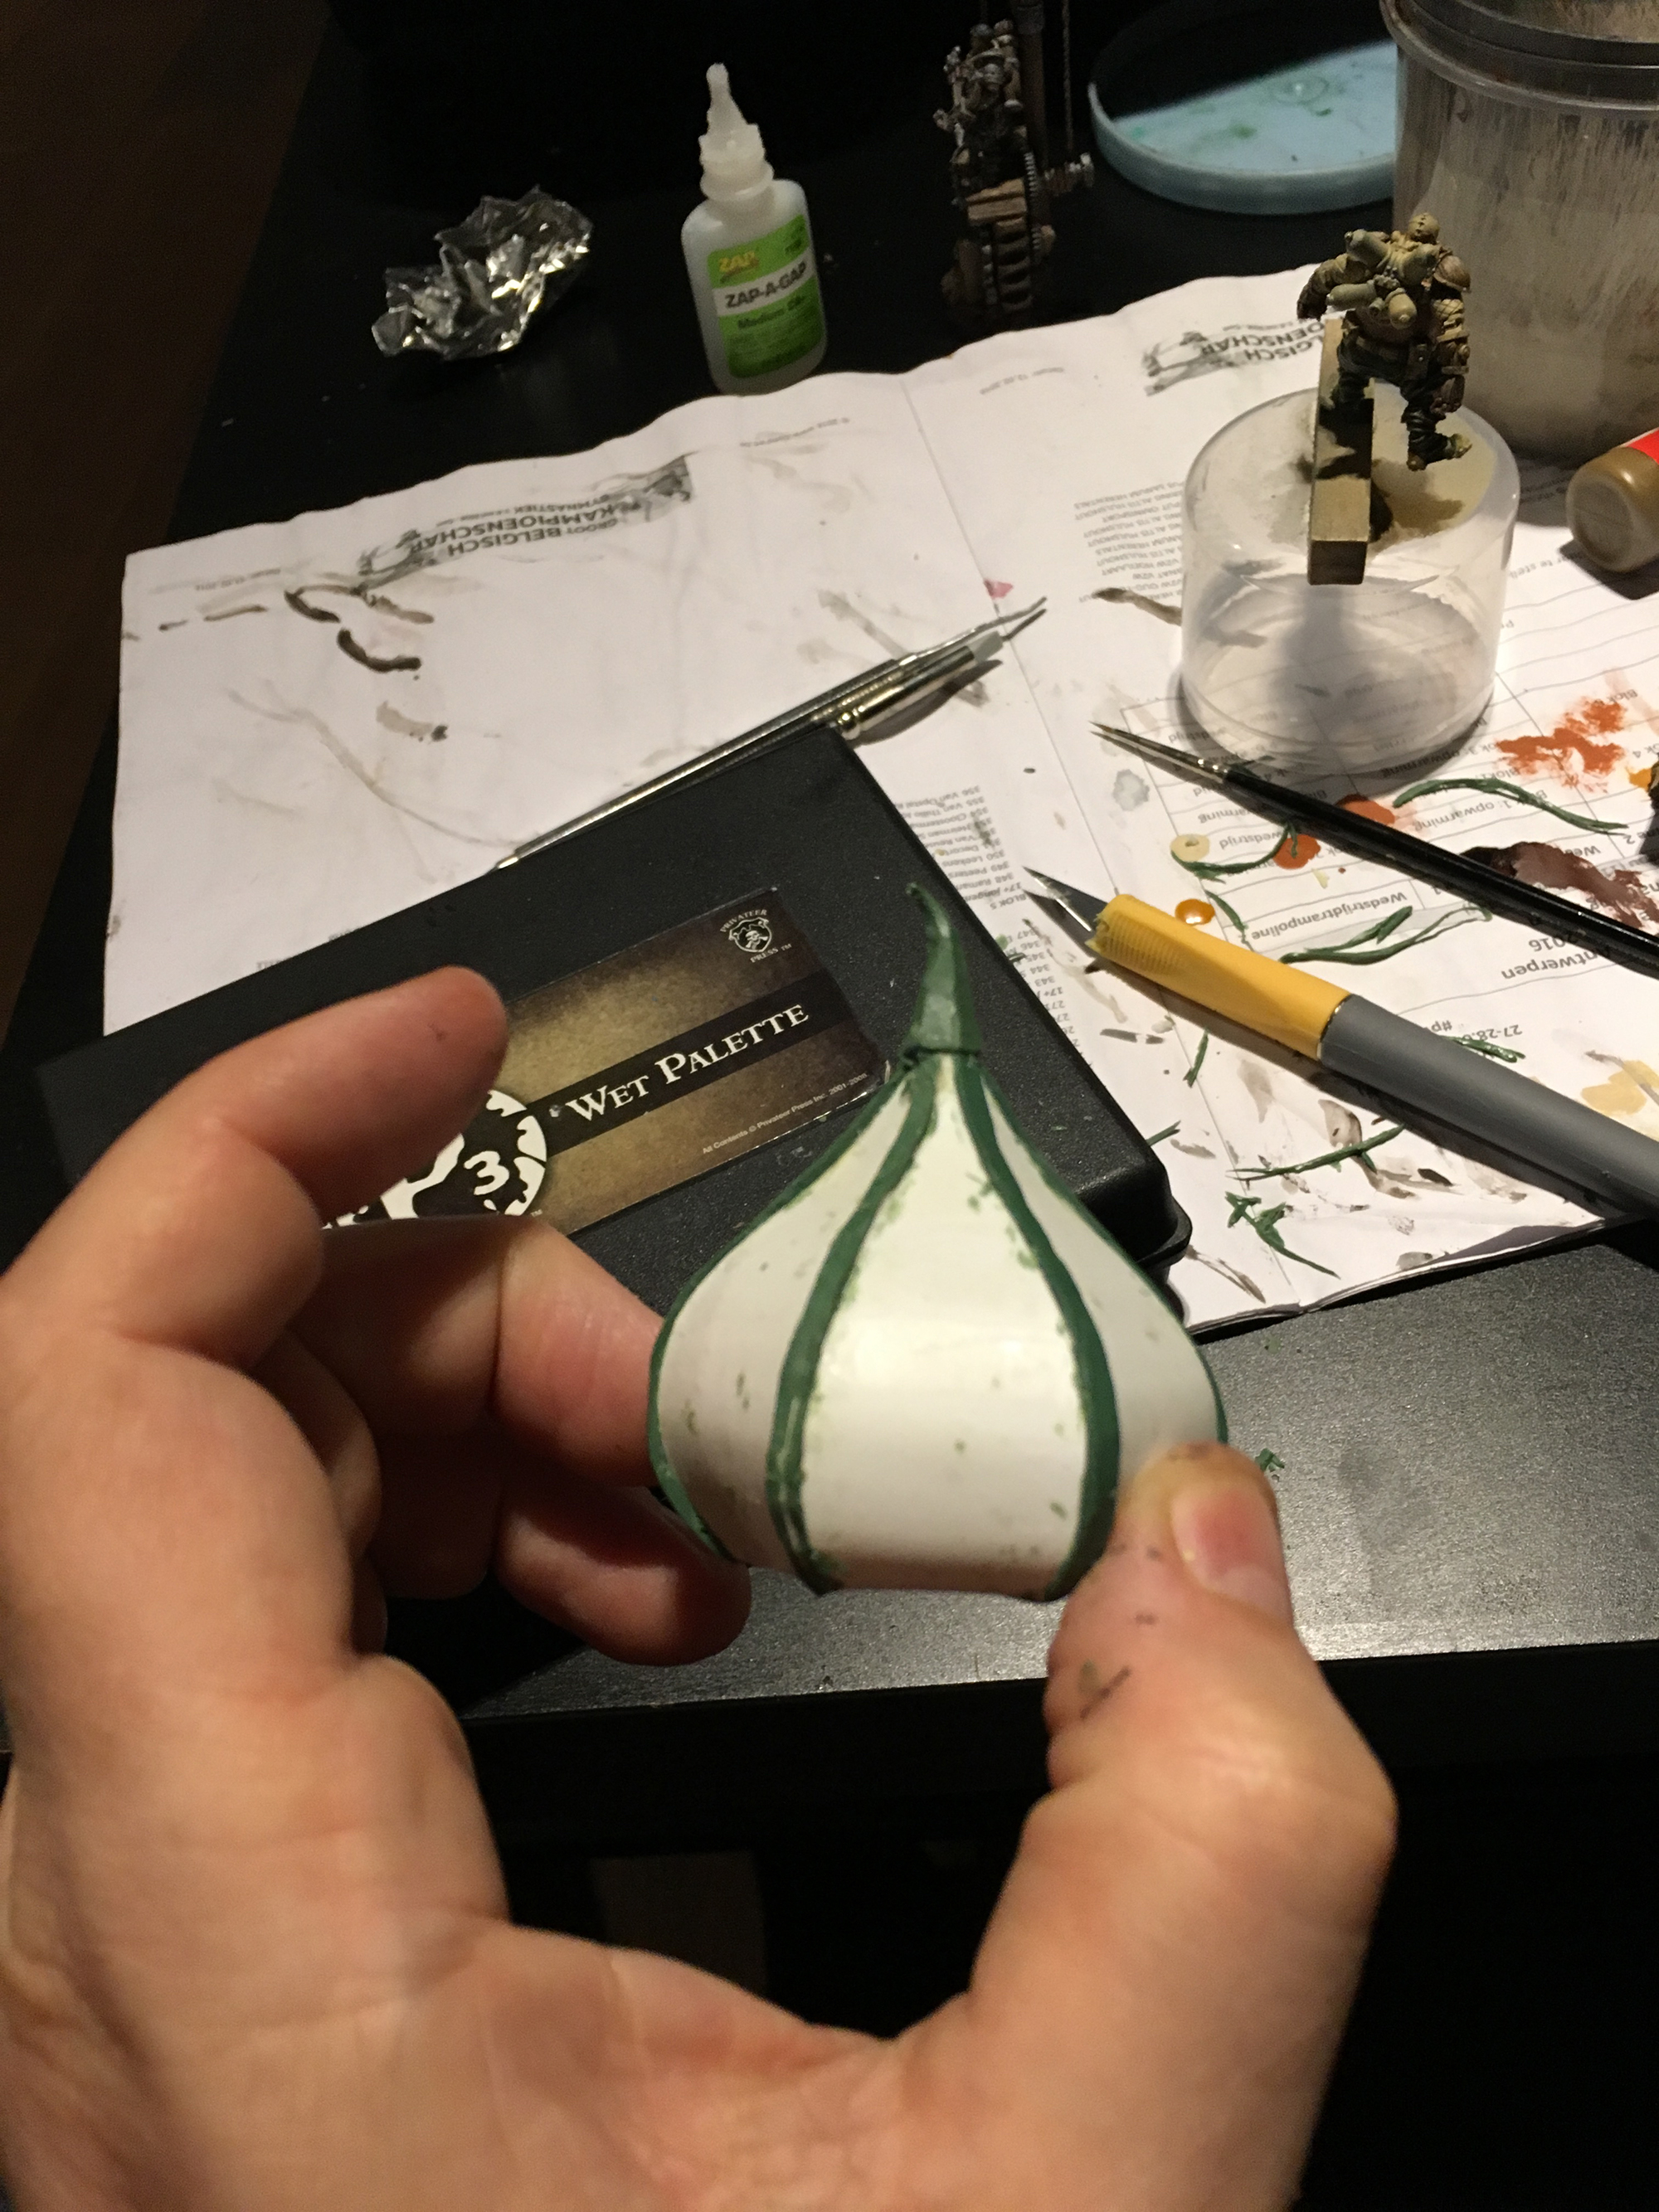
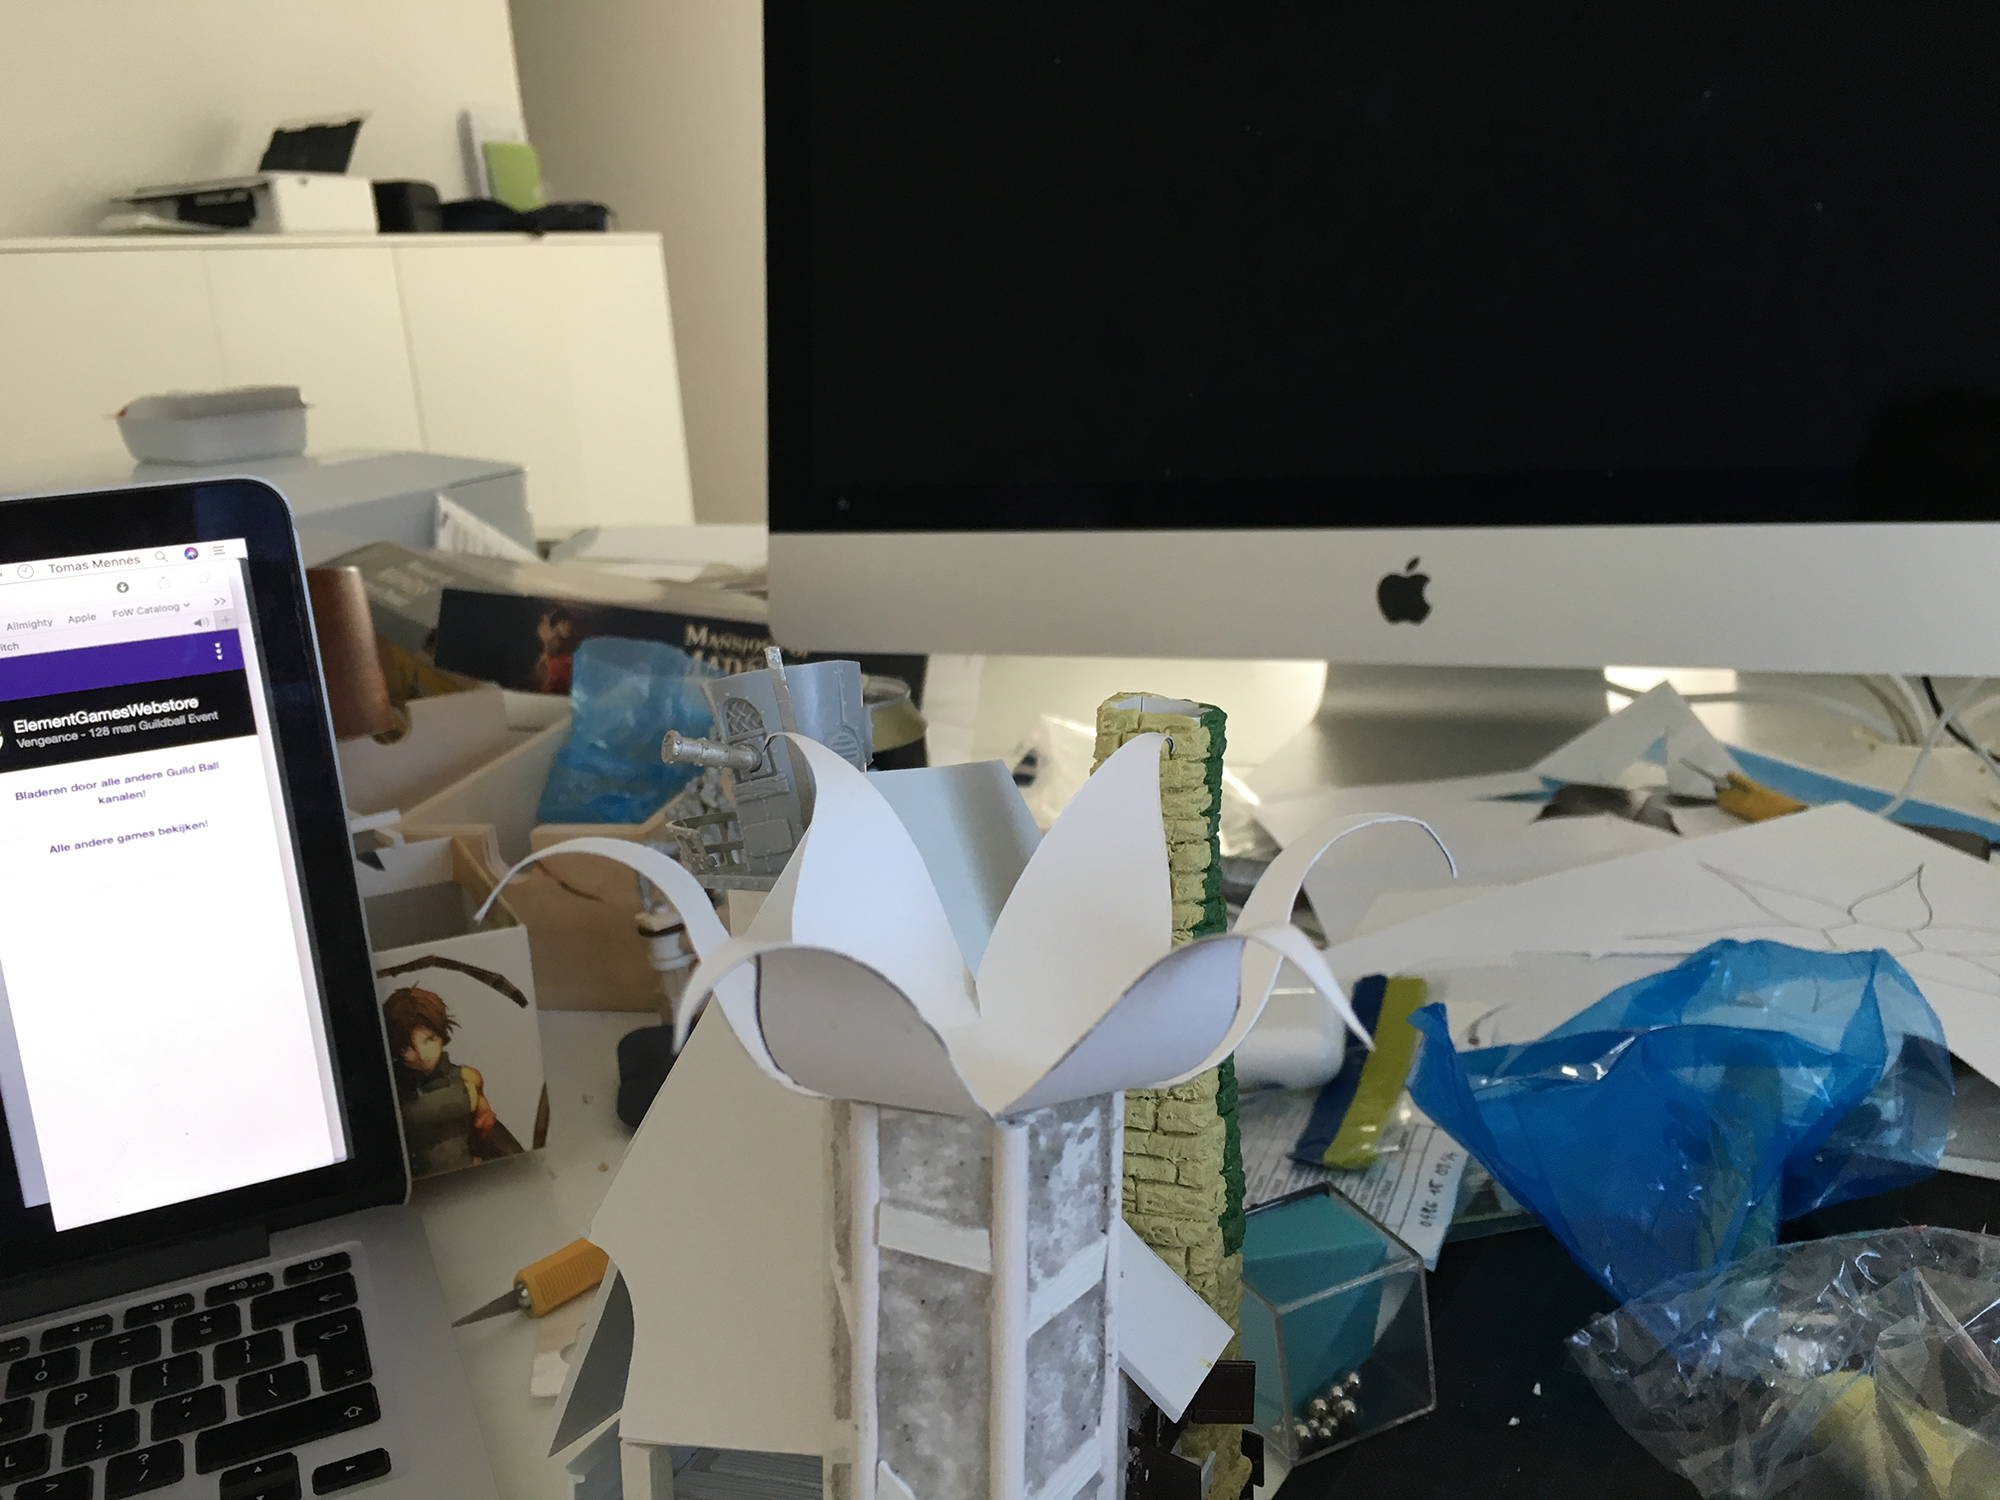
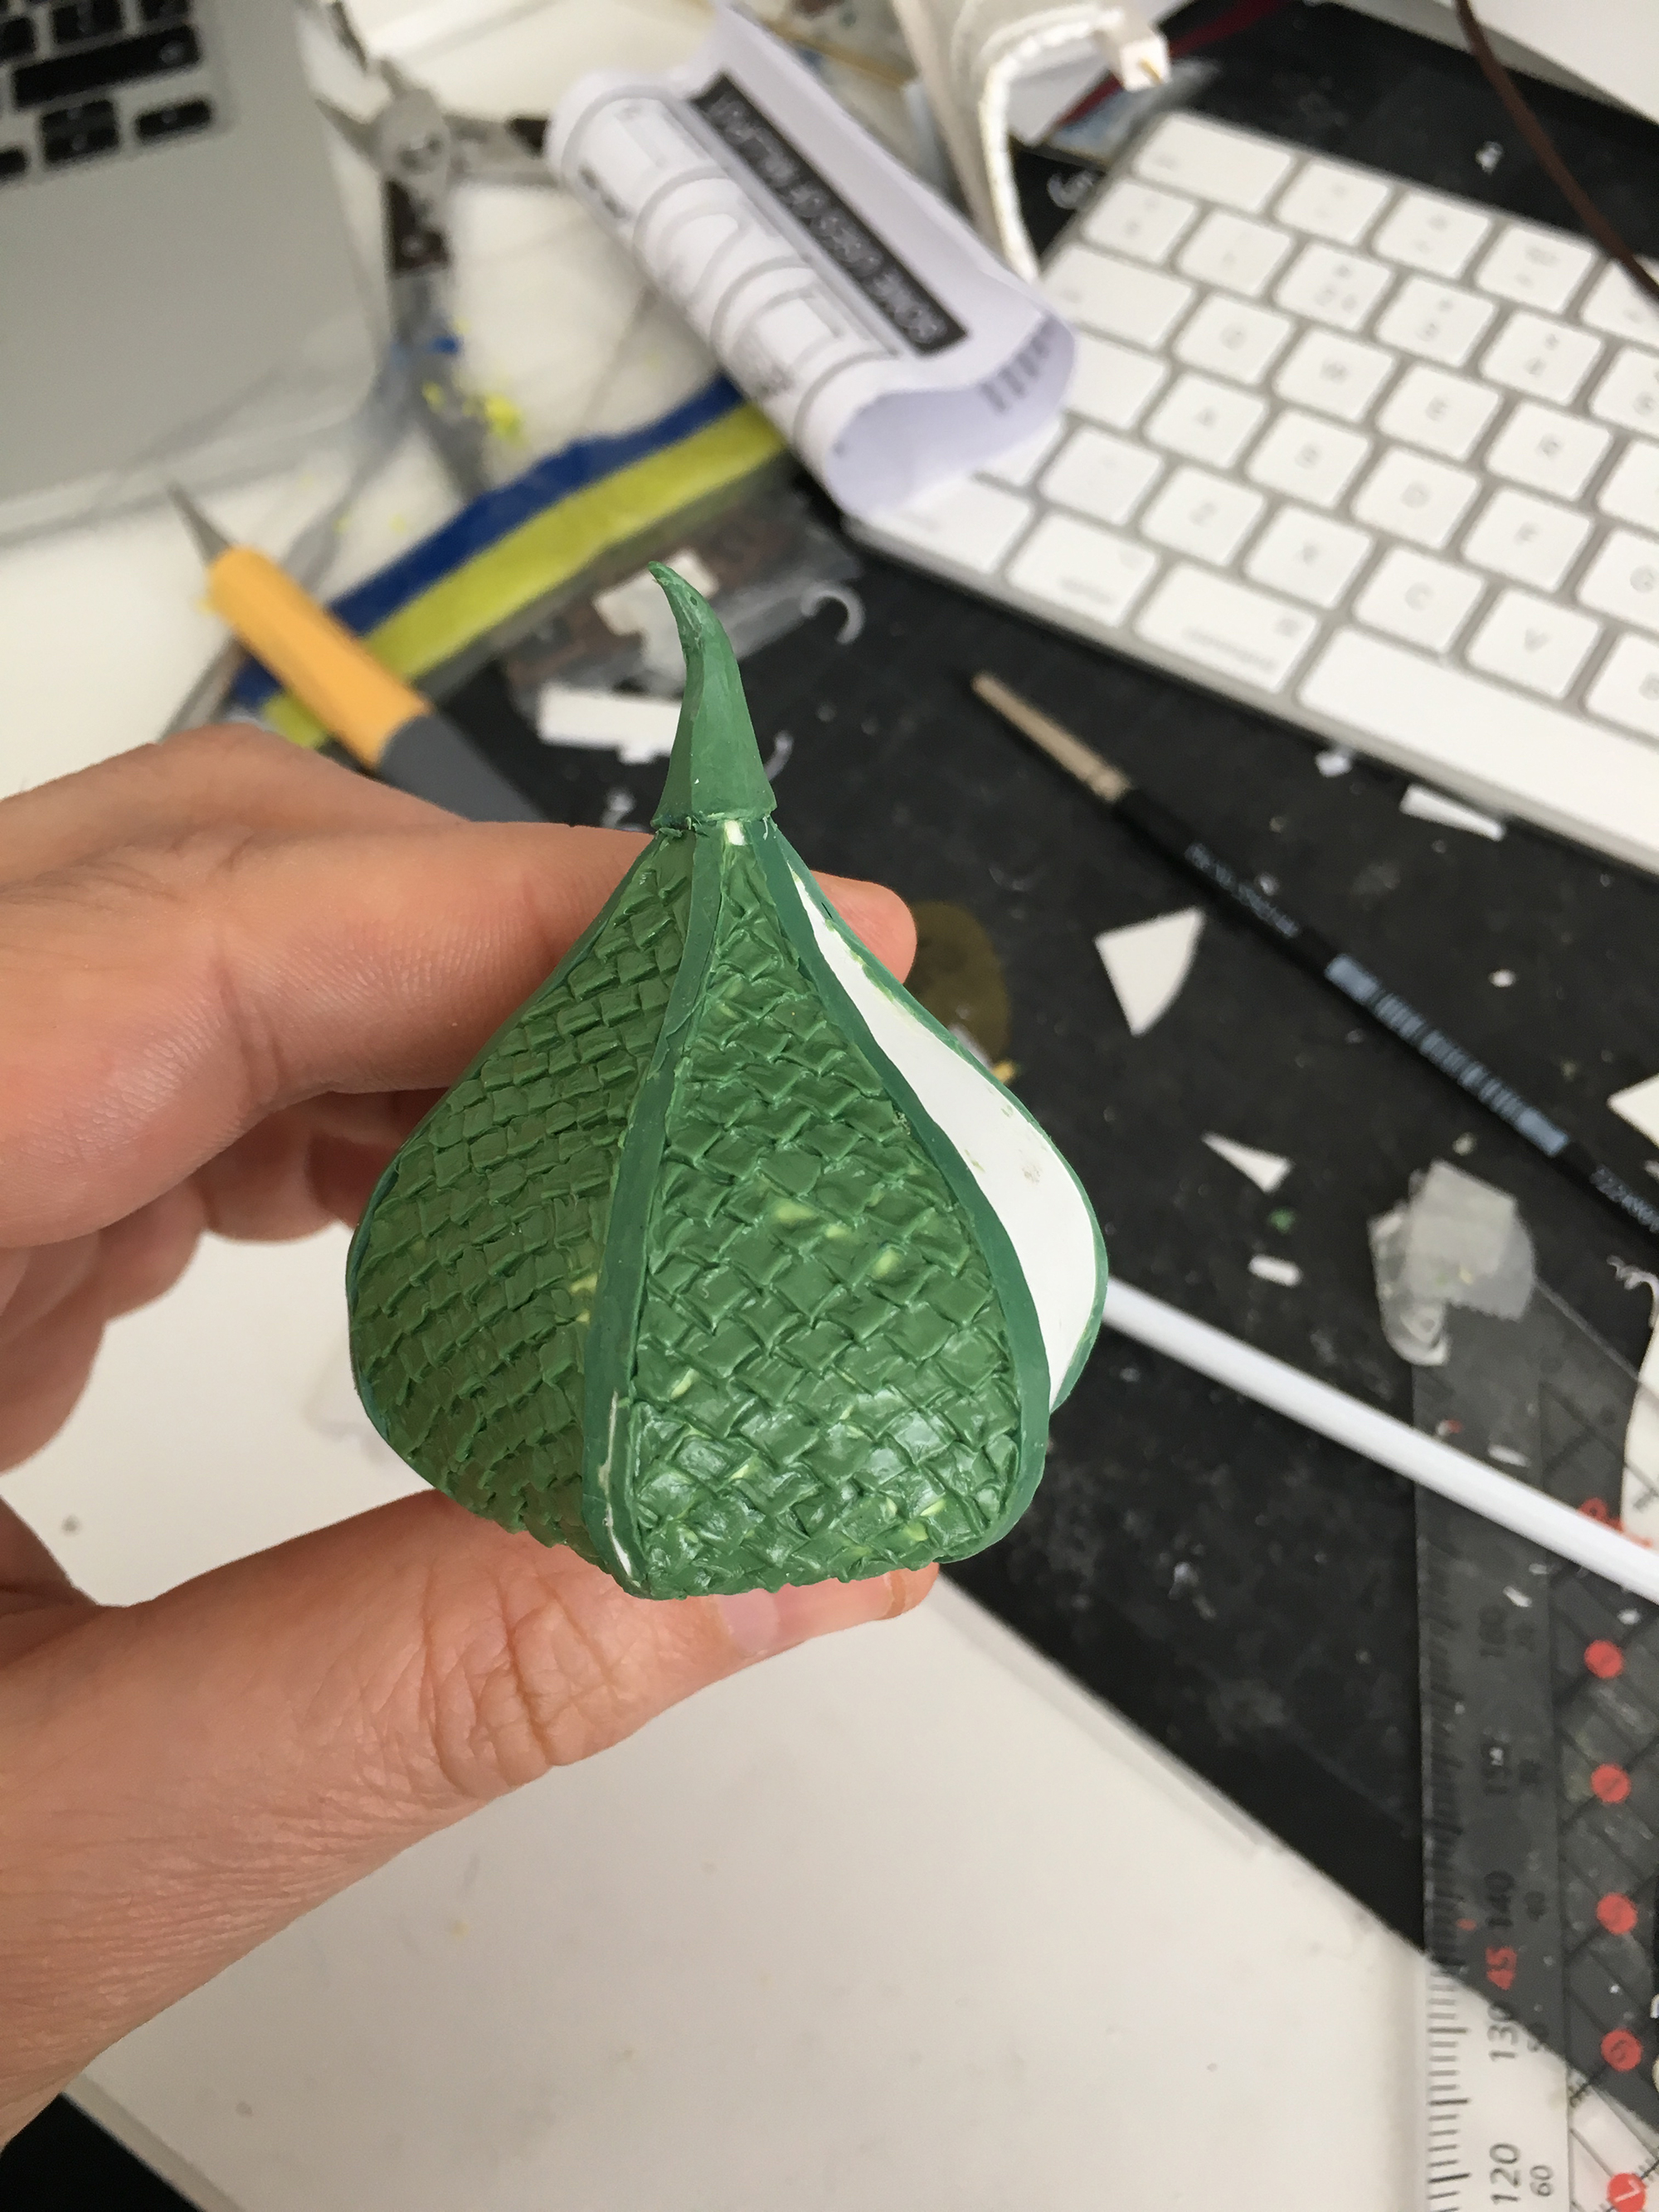
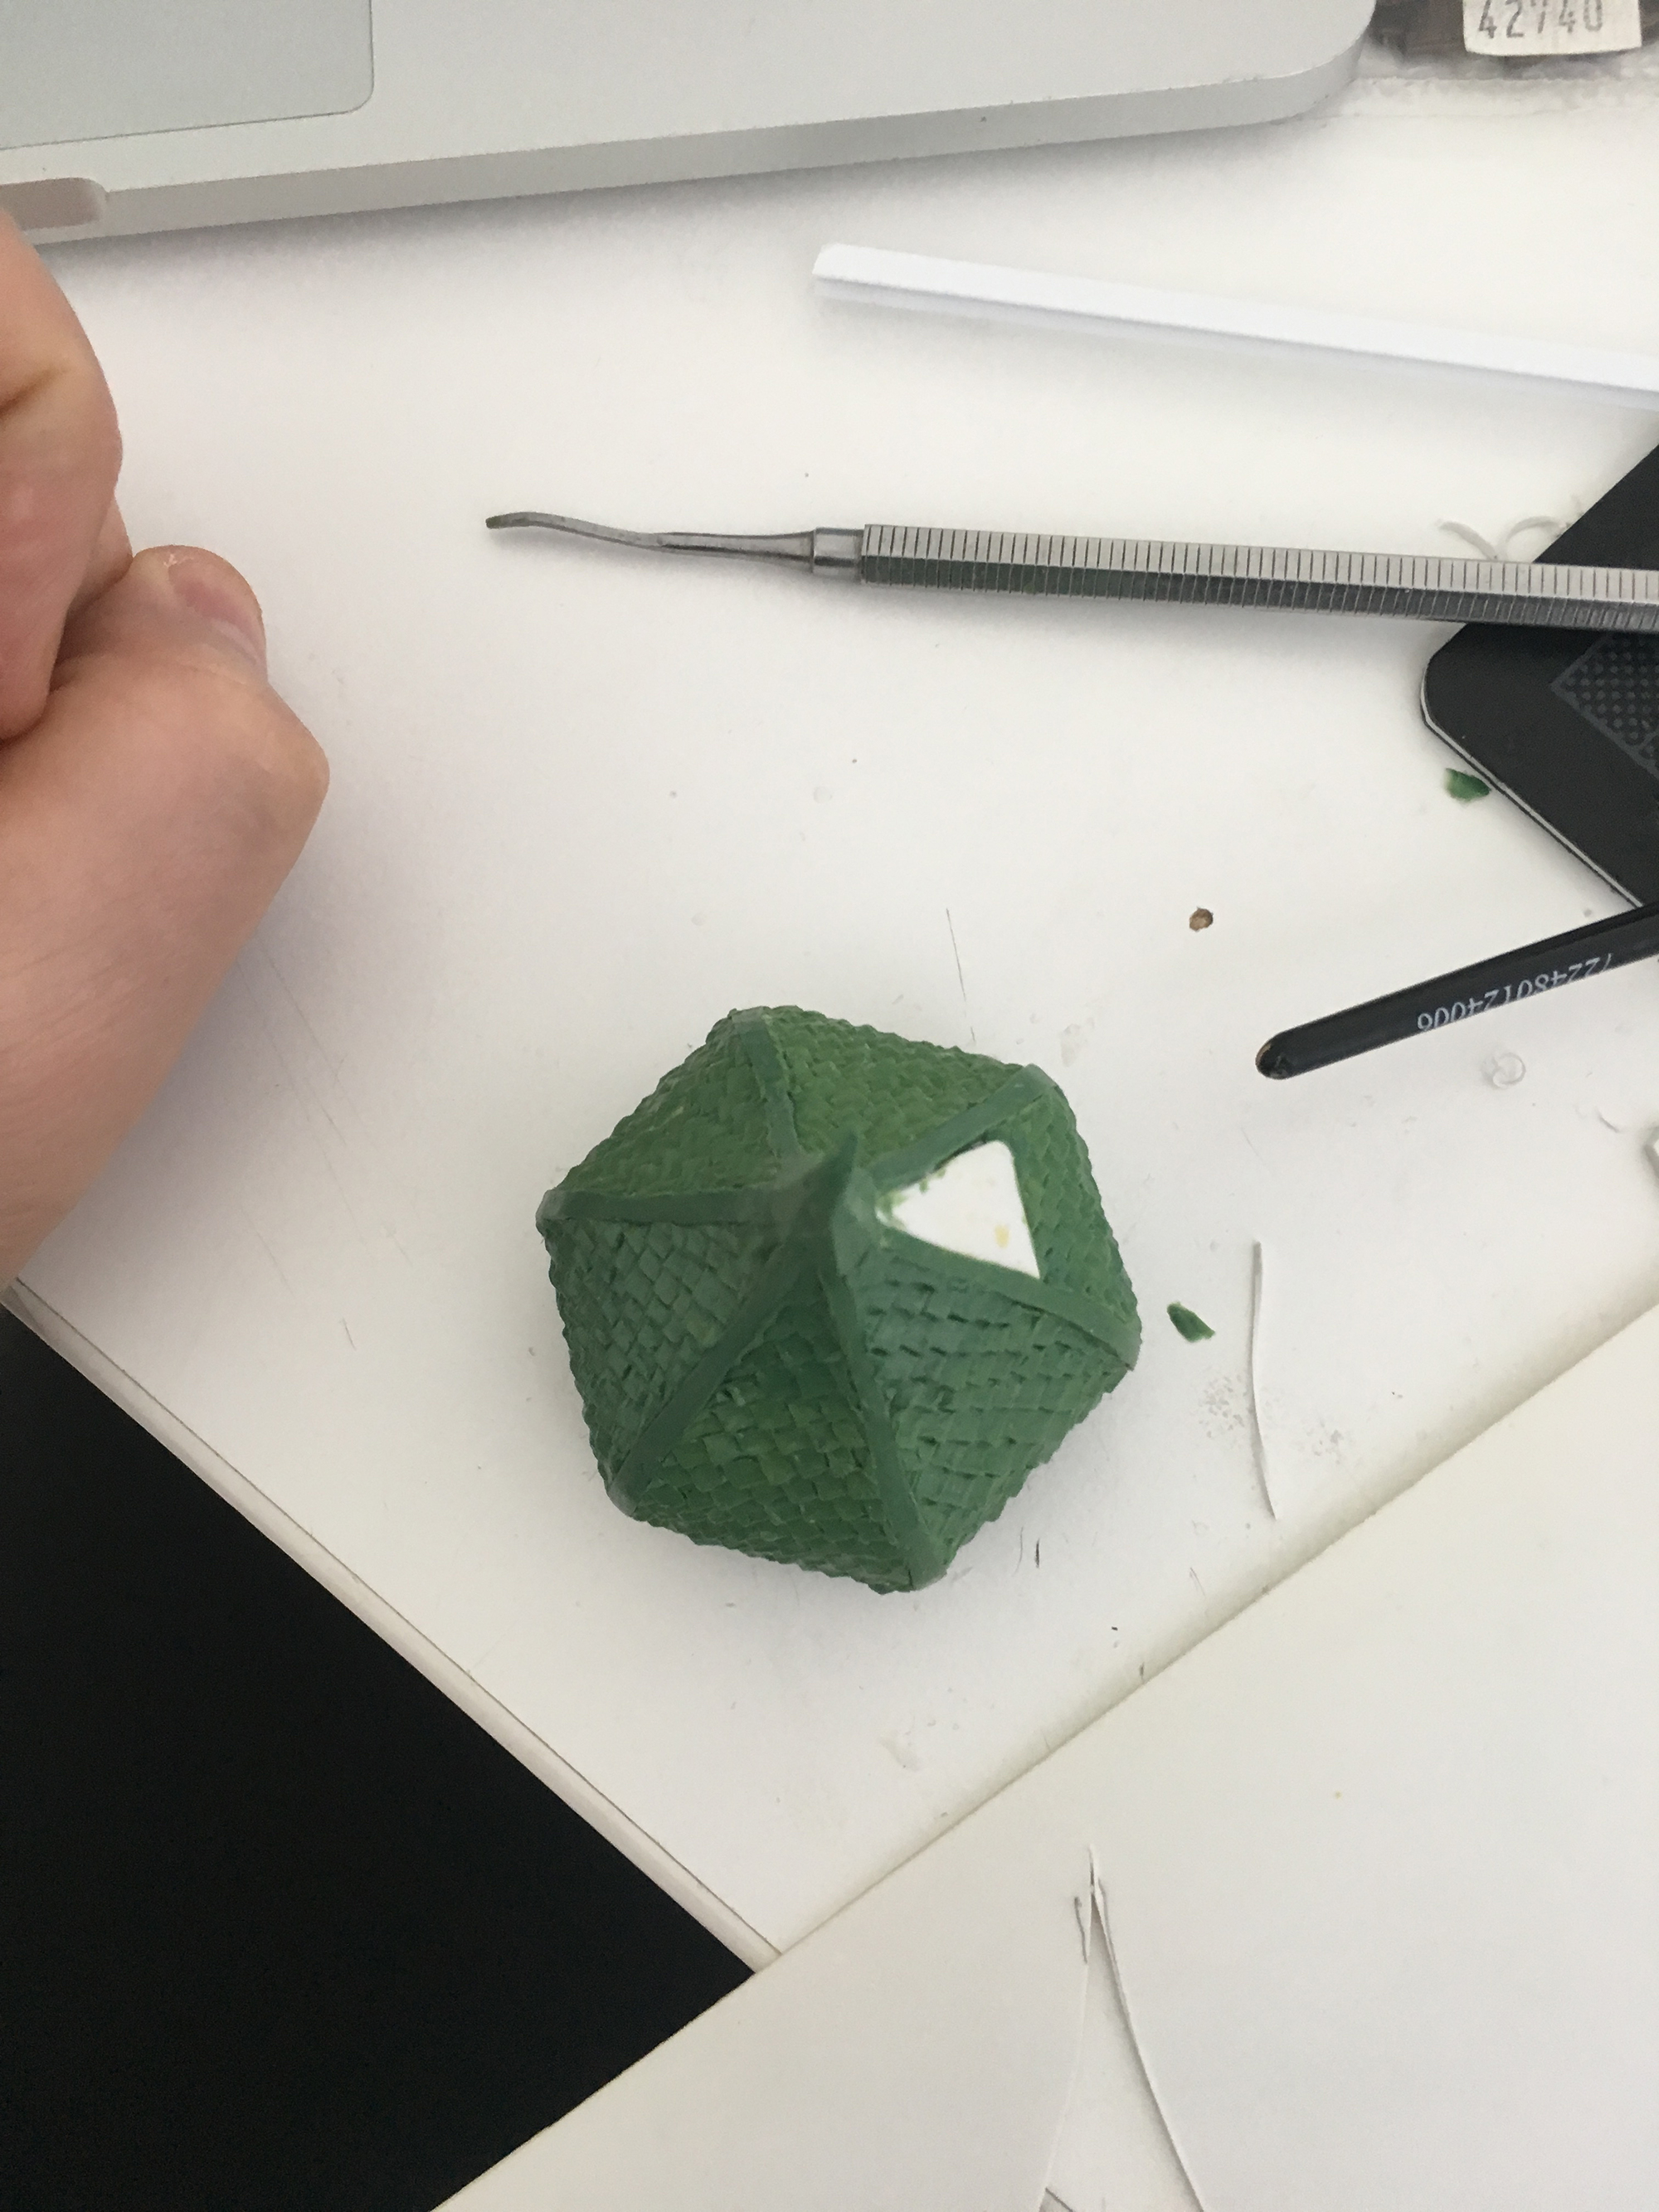
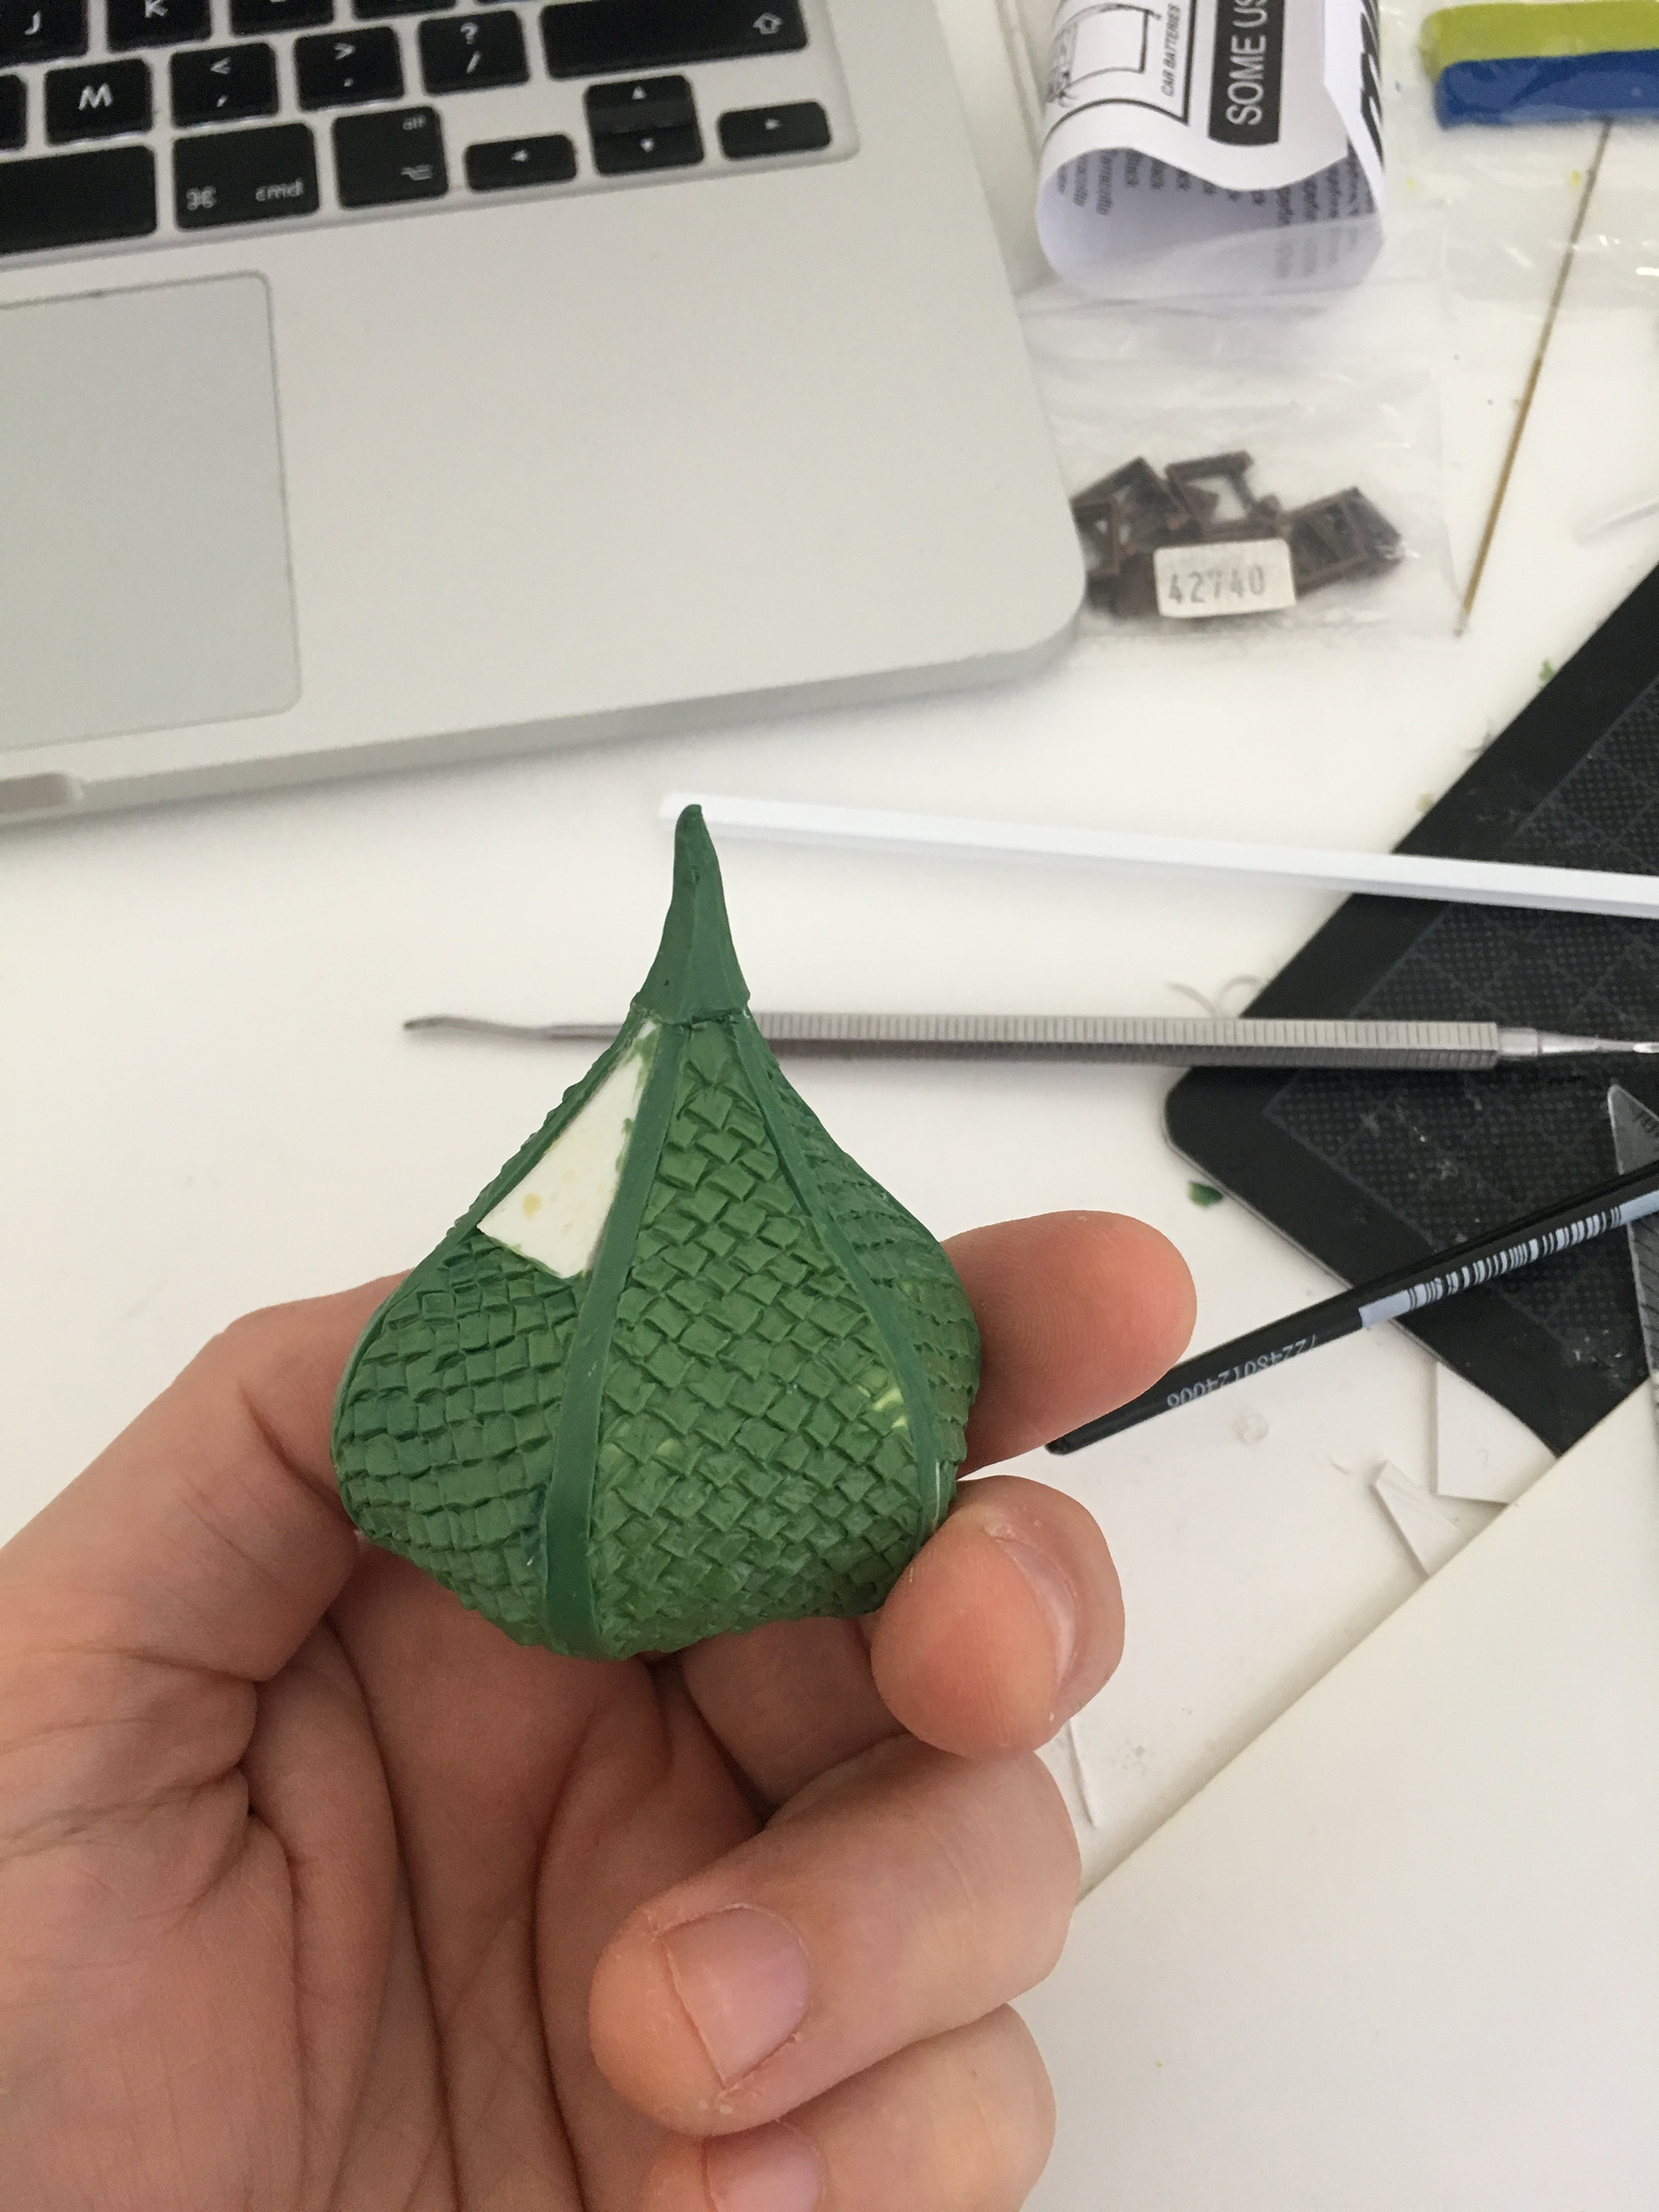
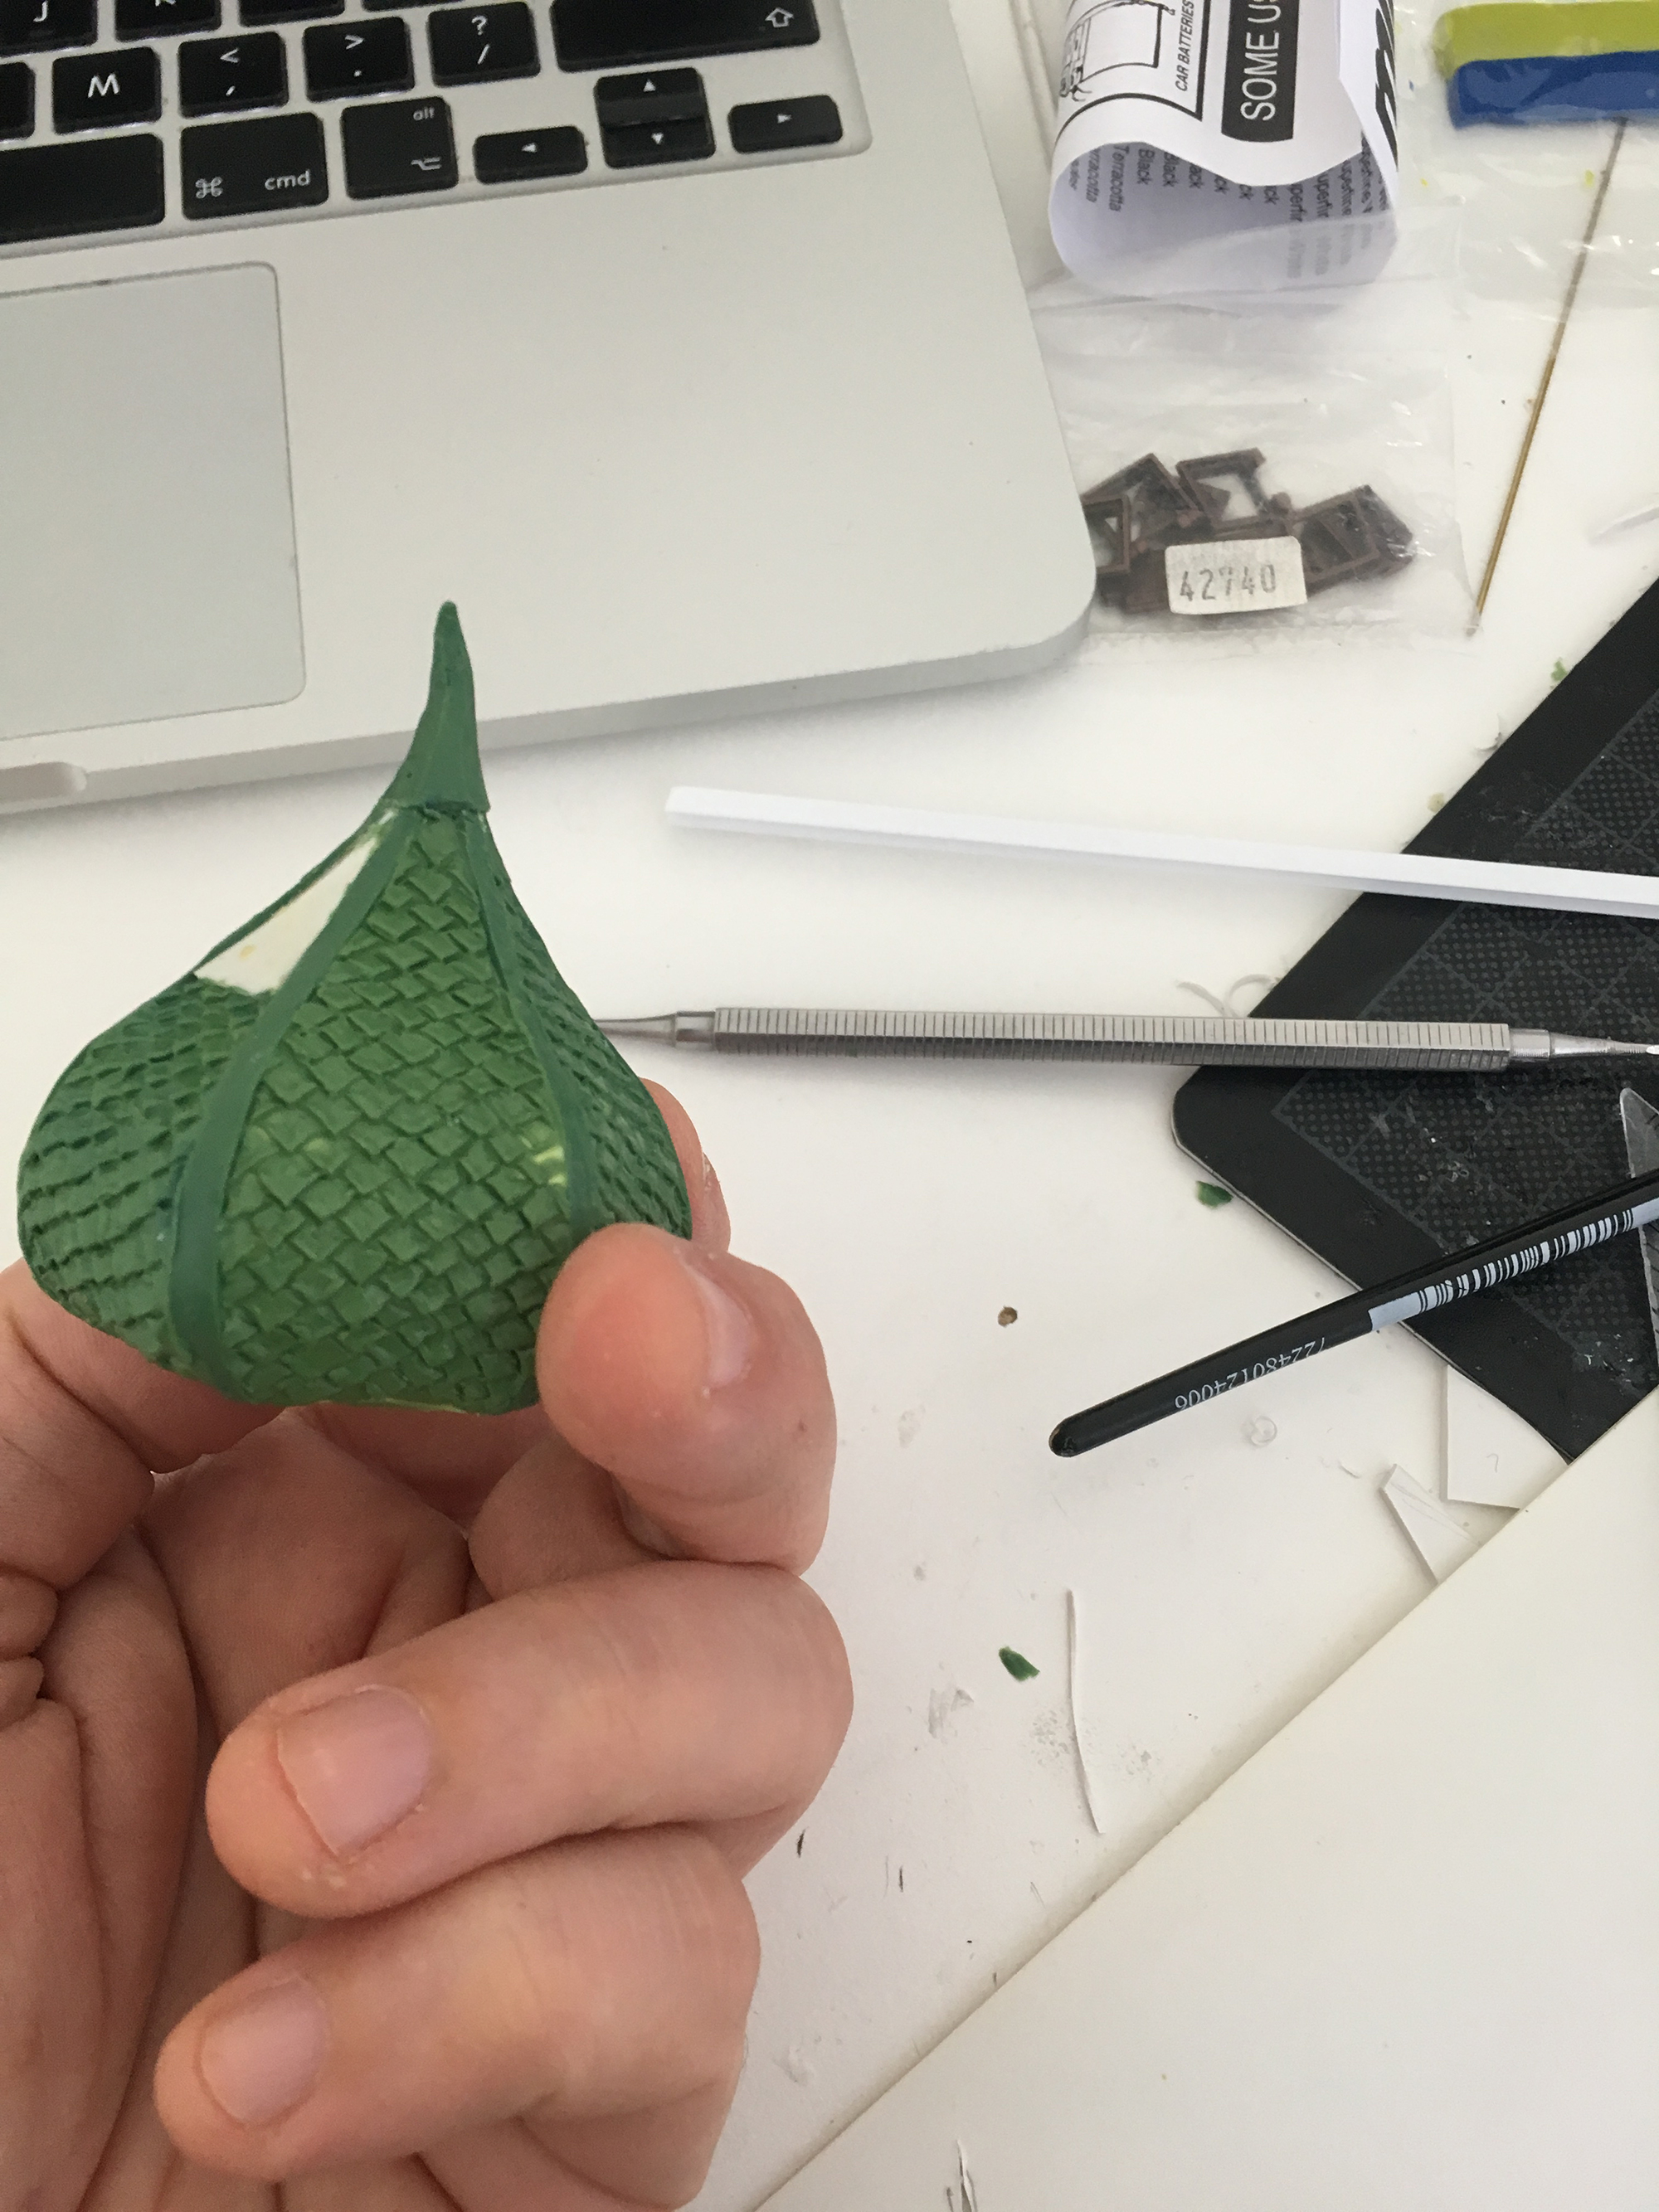
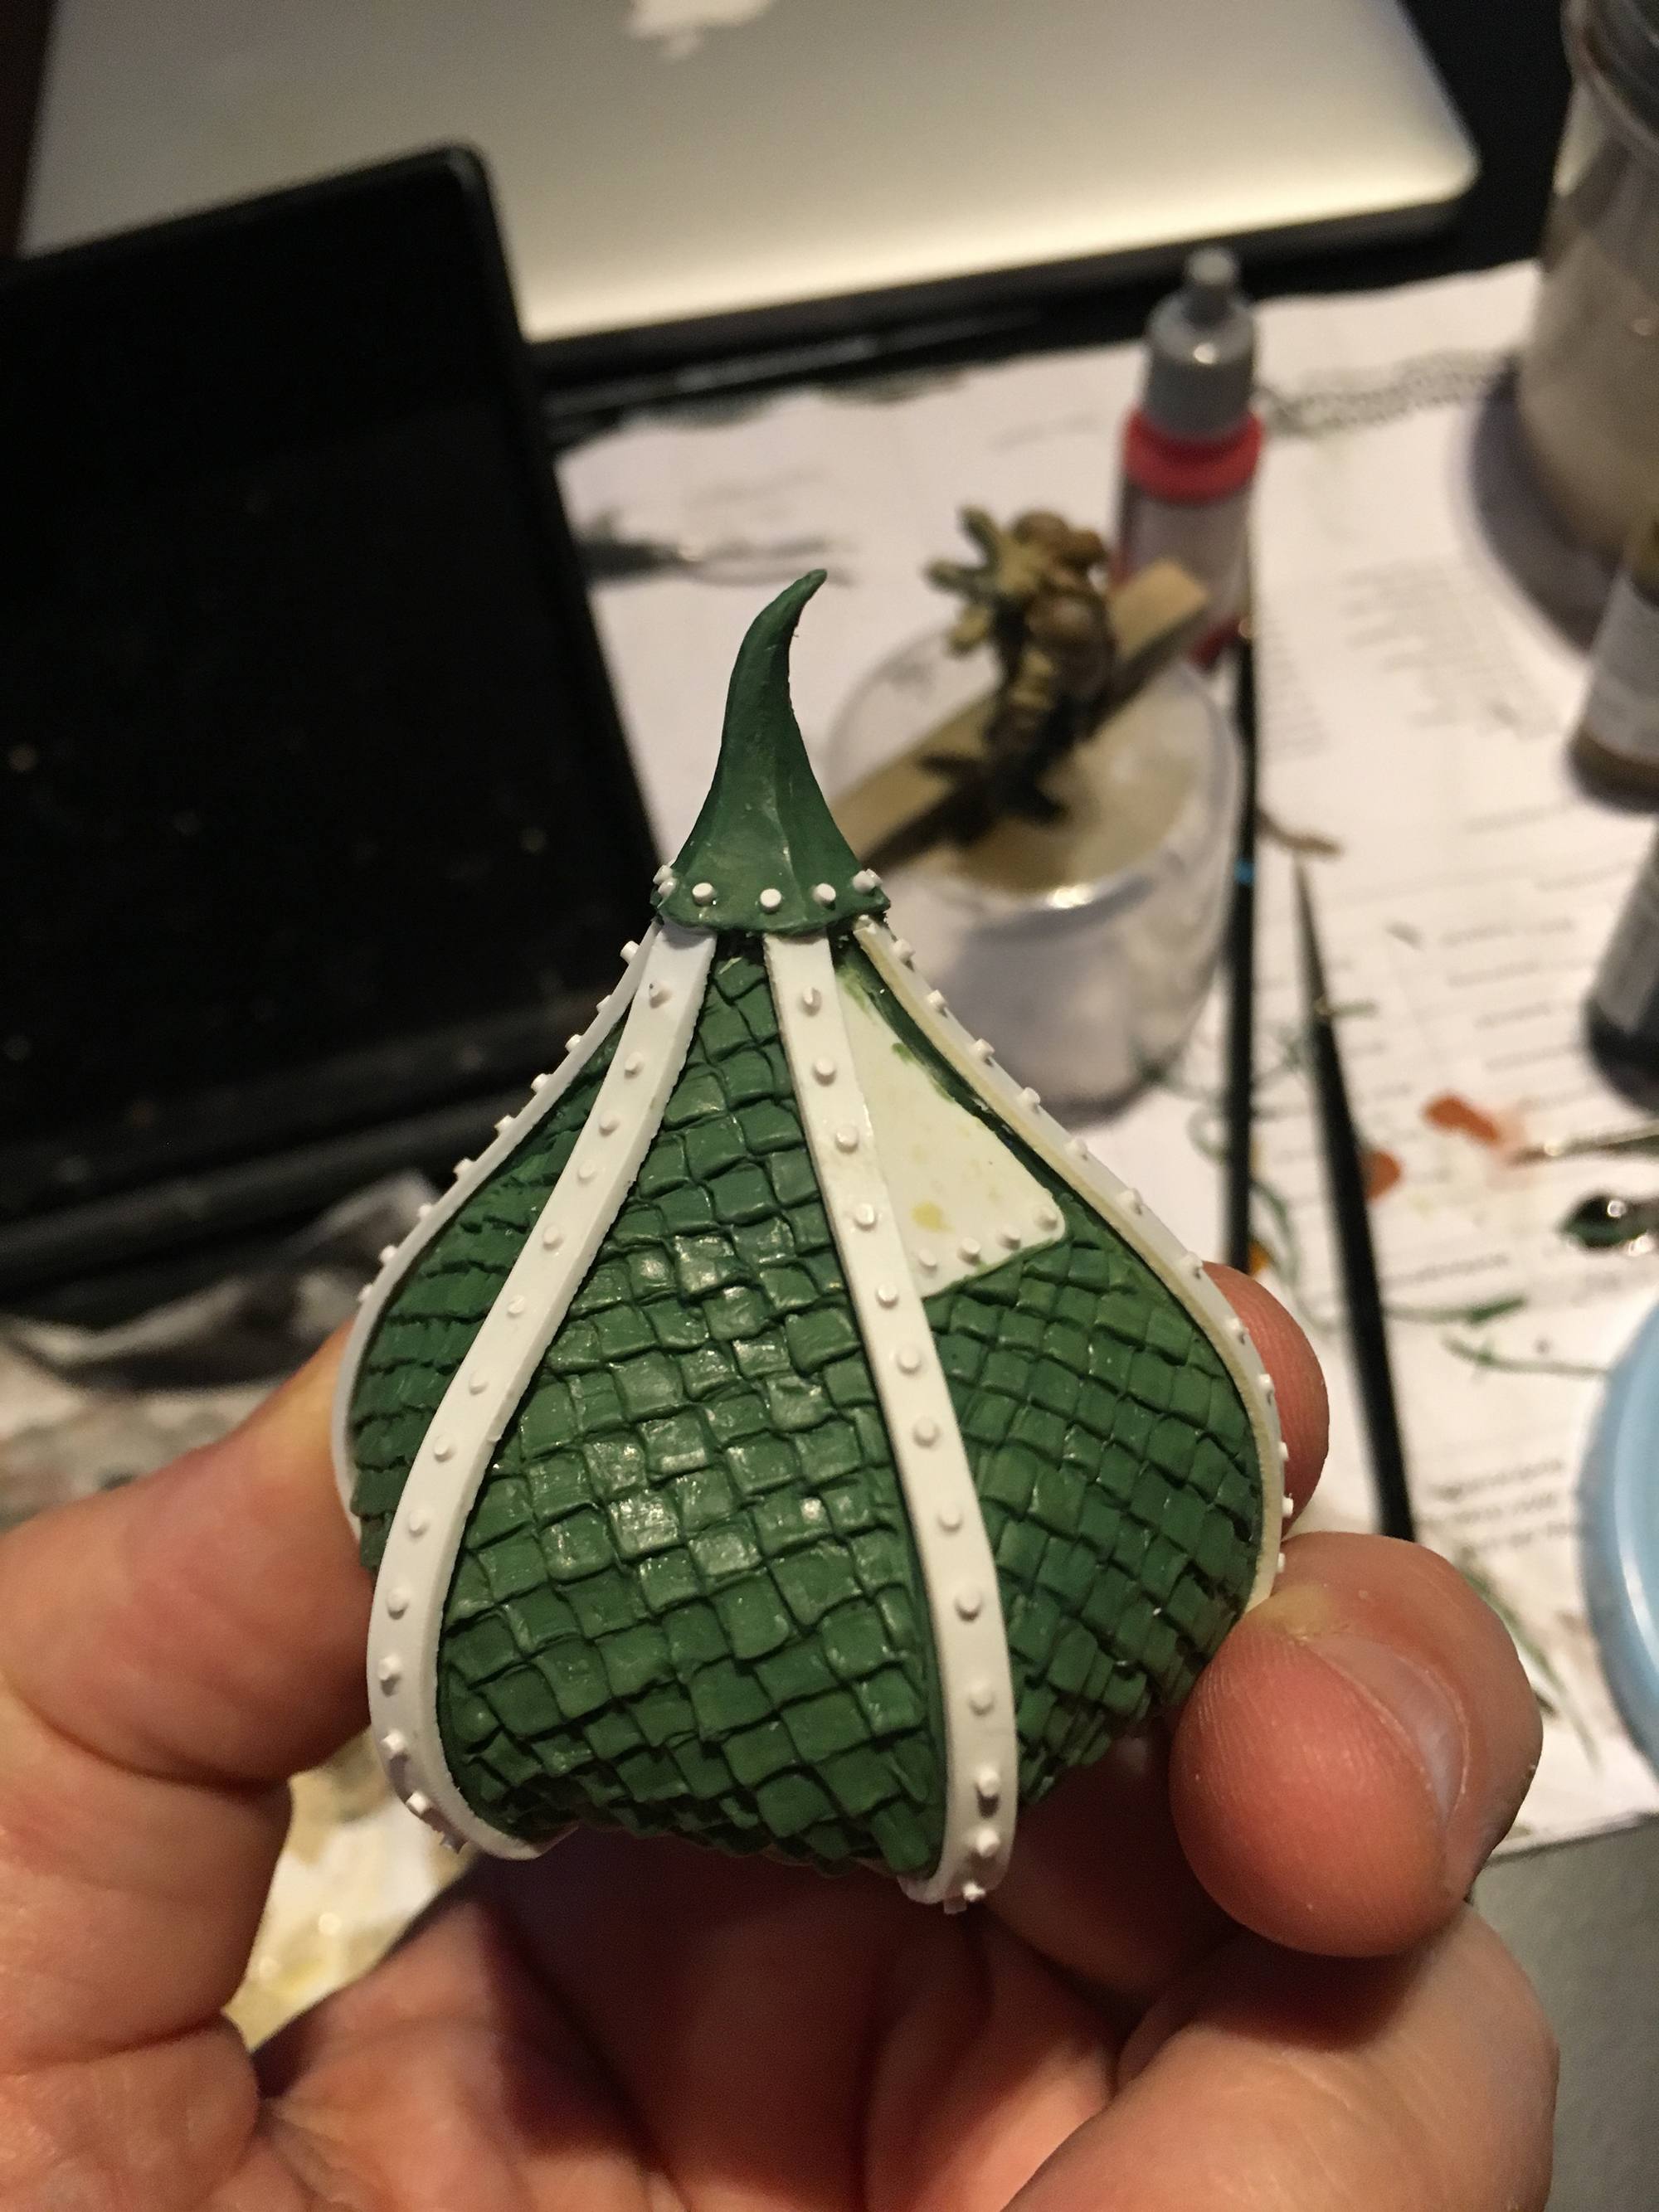
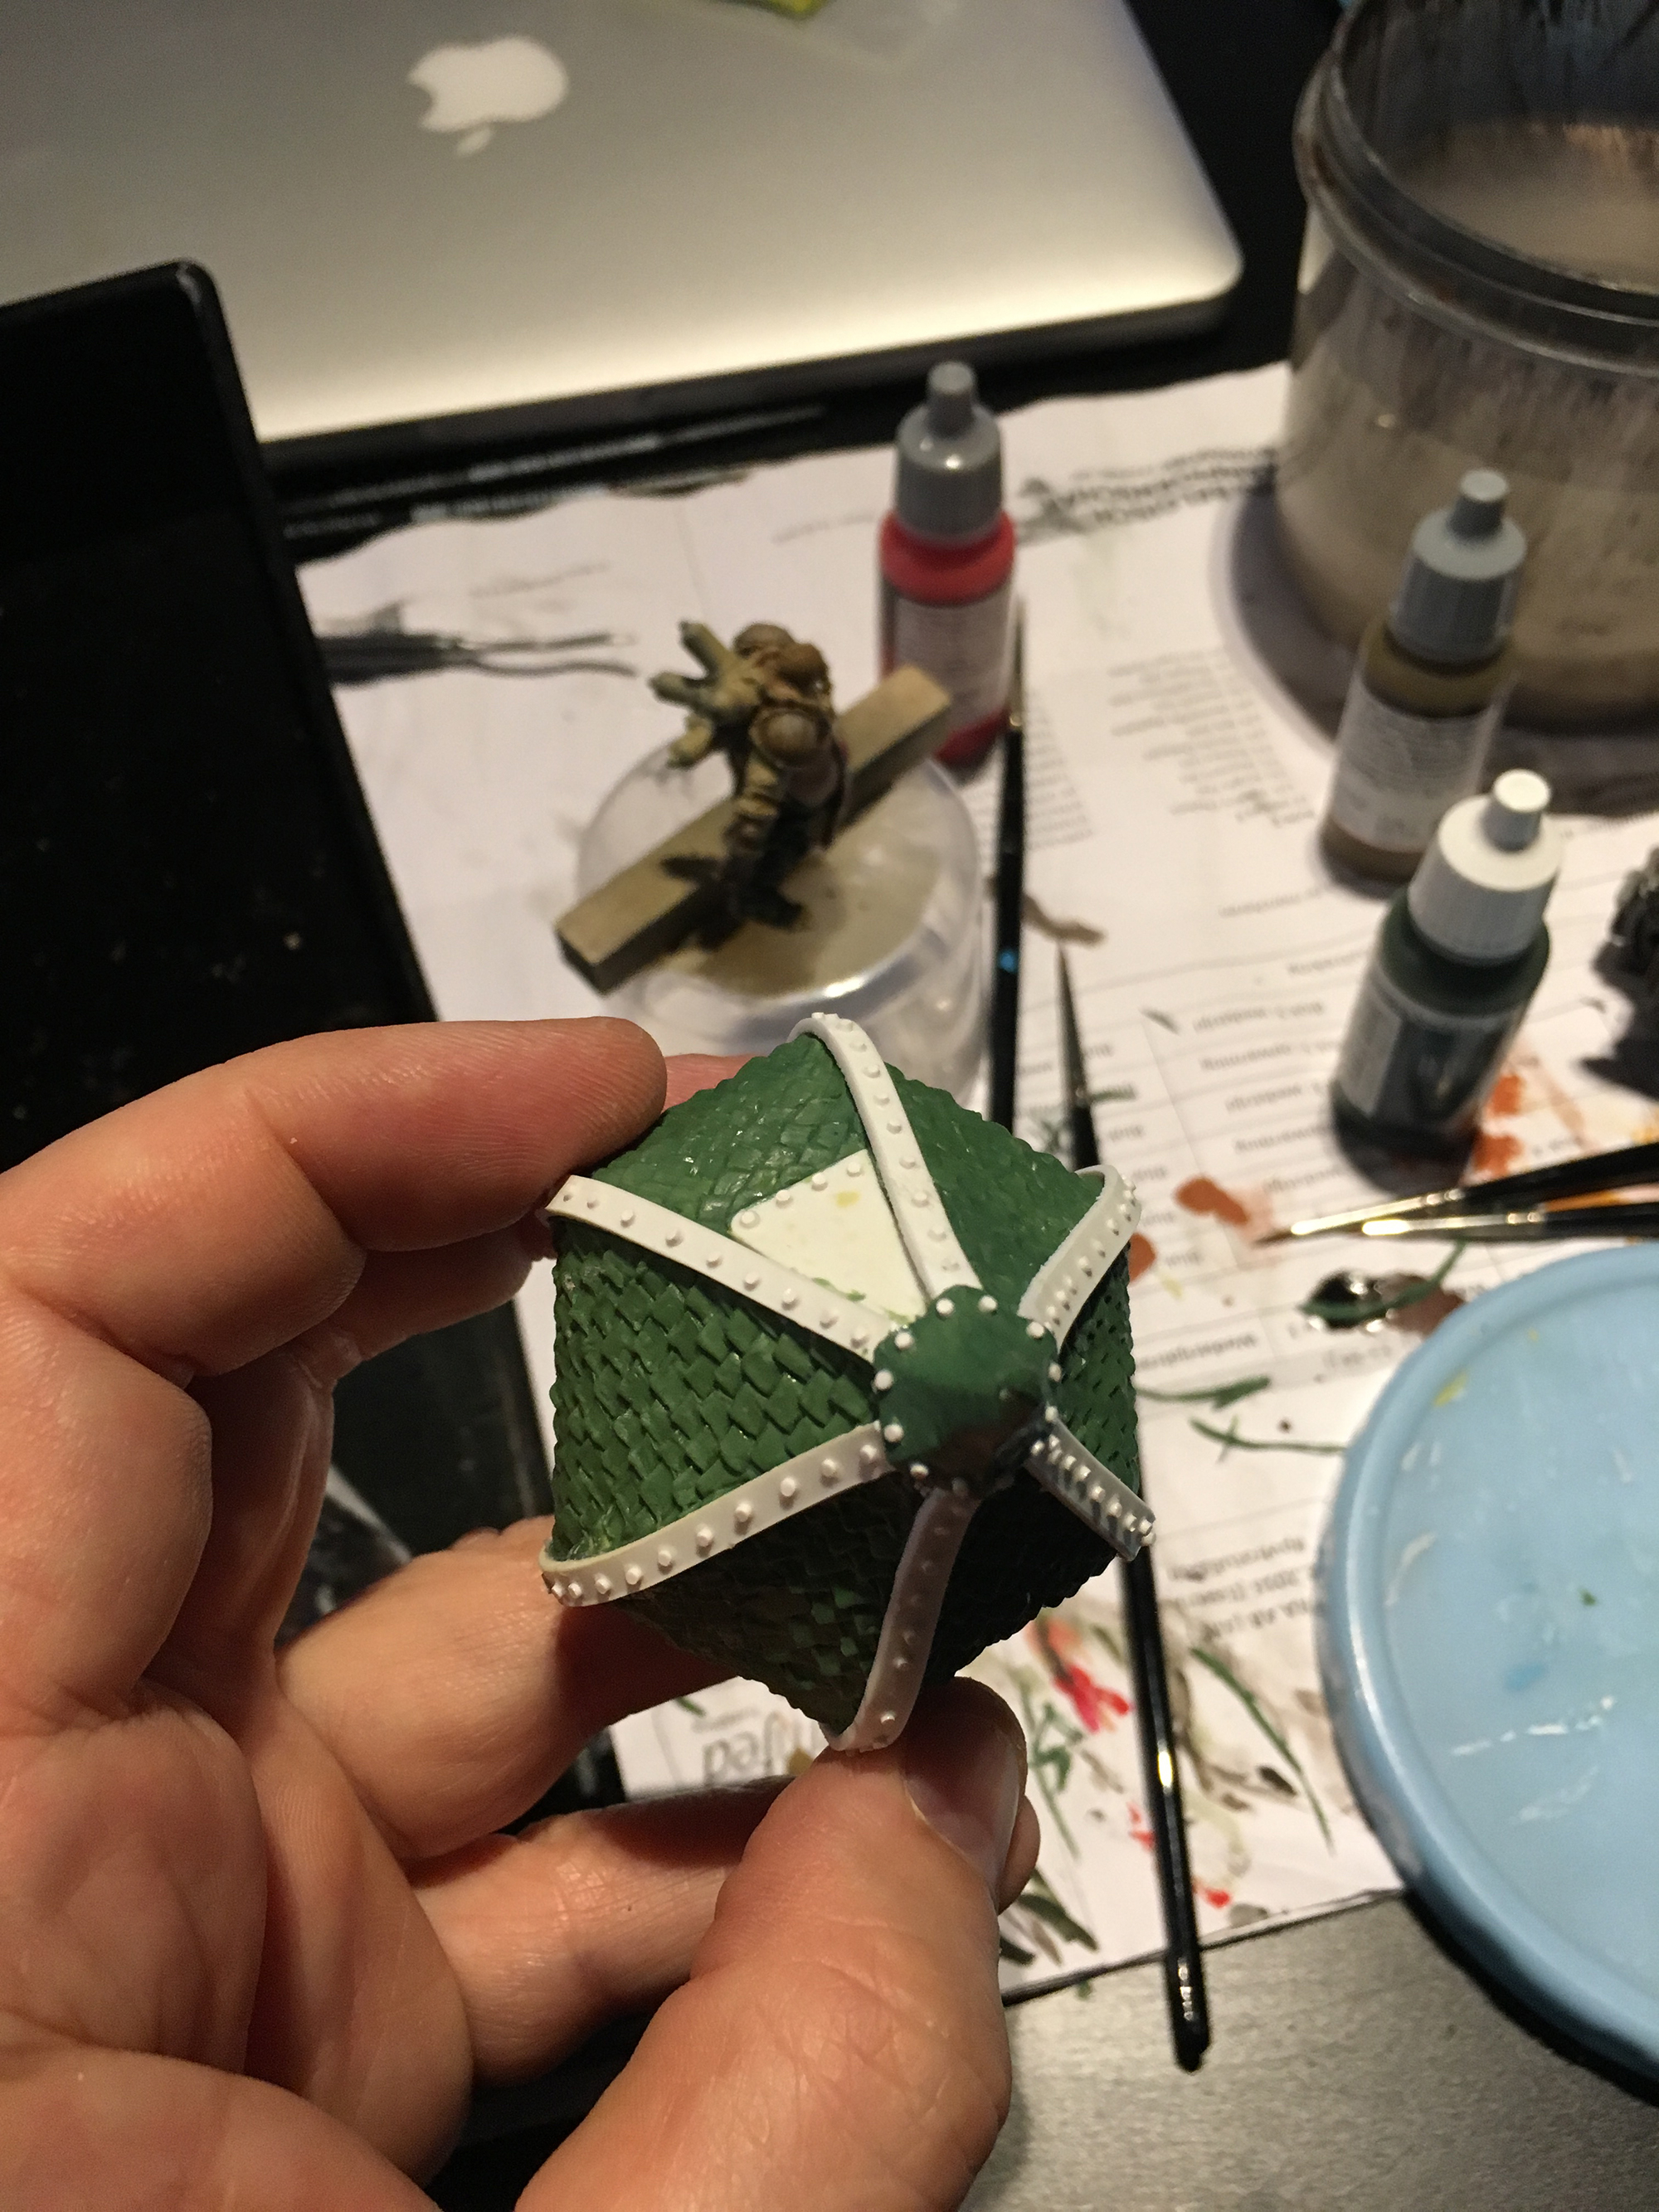
The dome started as a piece of thin plastic sheet, cut in a kind of flower form. When you bend the sides up and glue them together though, it ends up being a very cool dome. Some greenstuff to make shingles and some plasticard to finish it and presto, my dome was done!

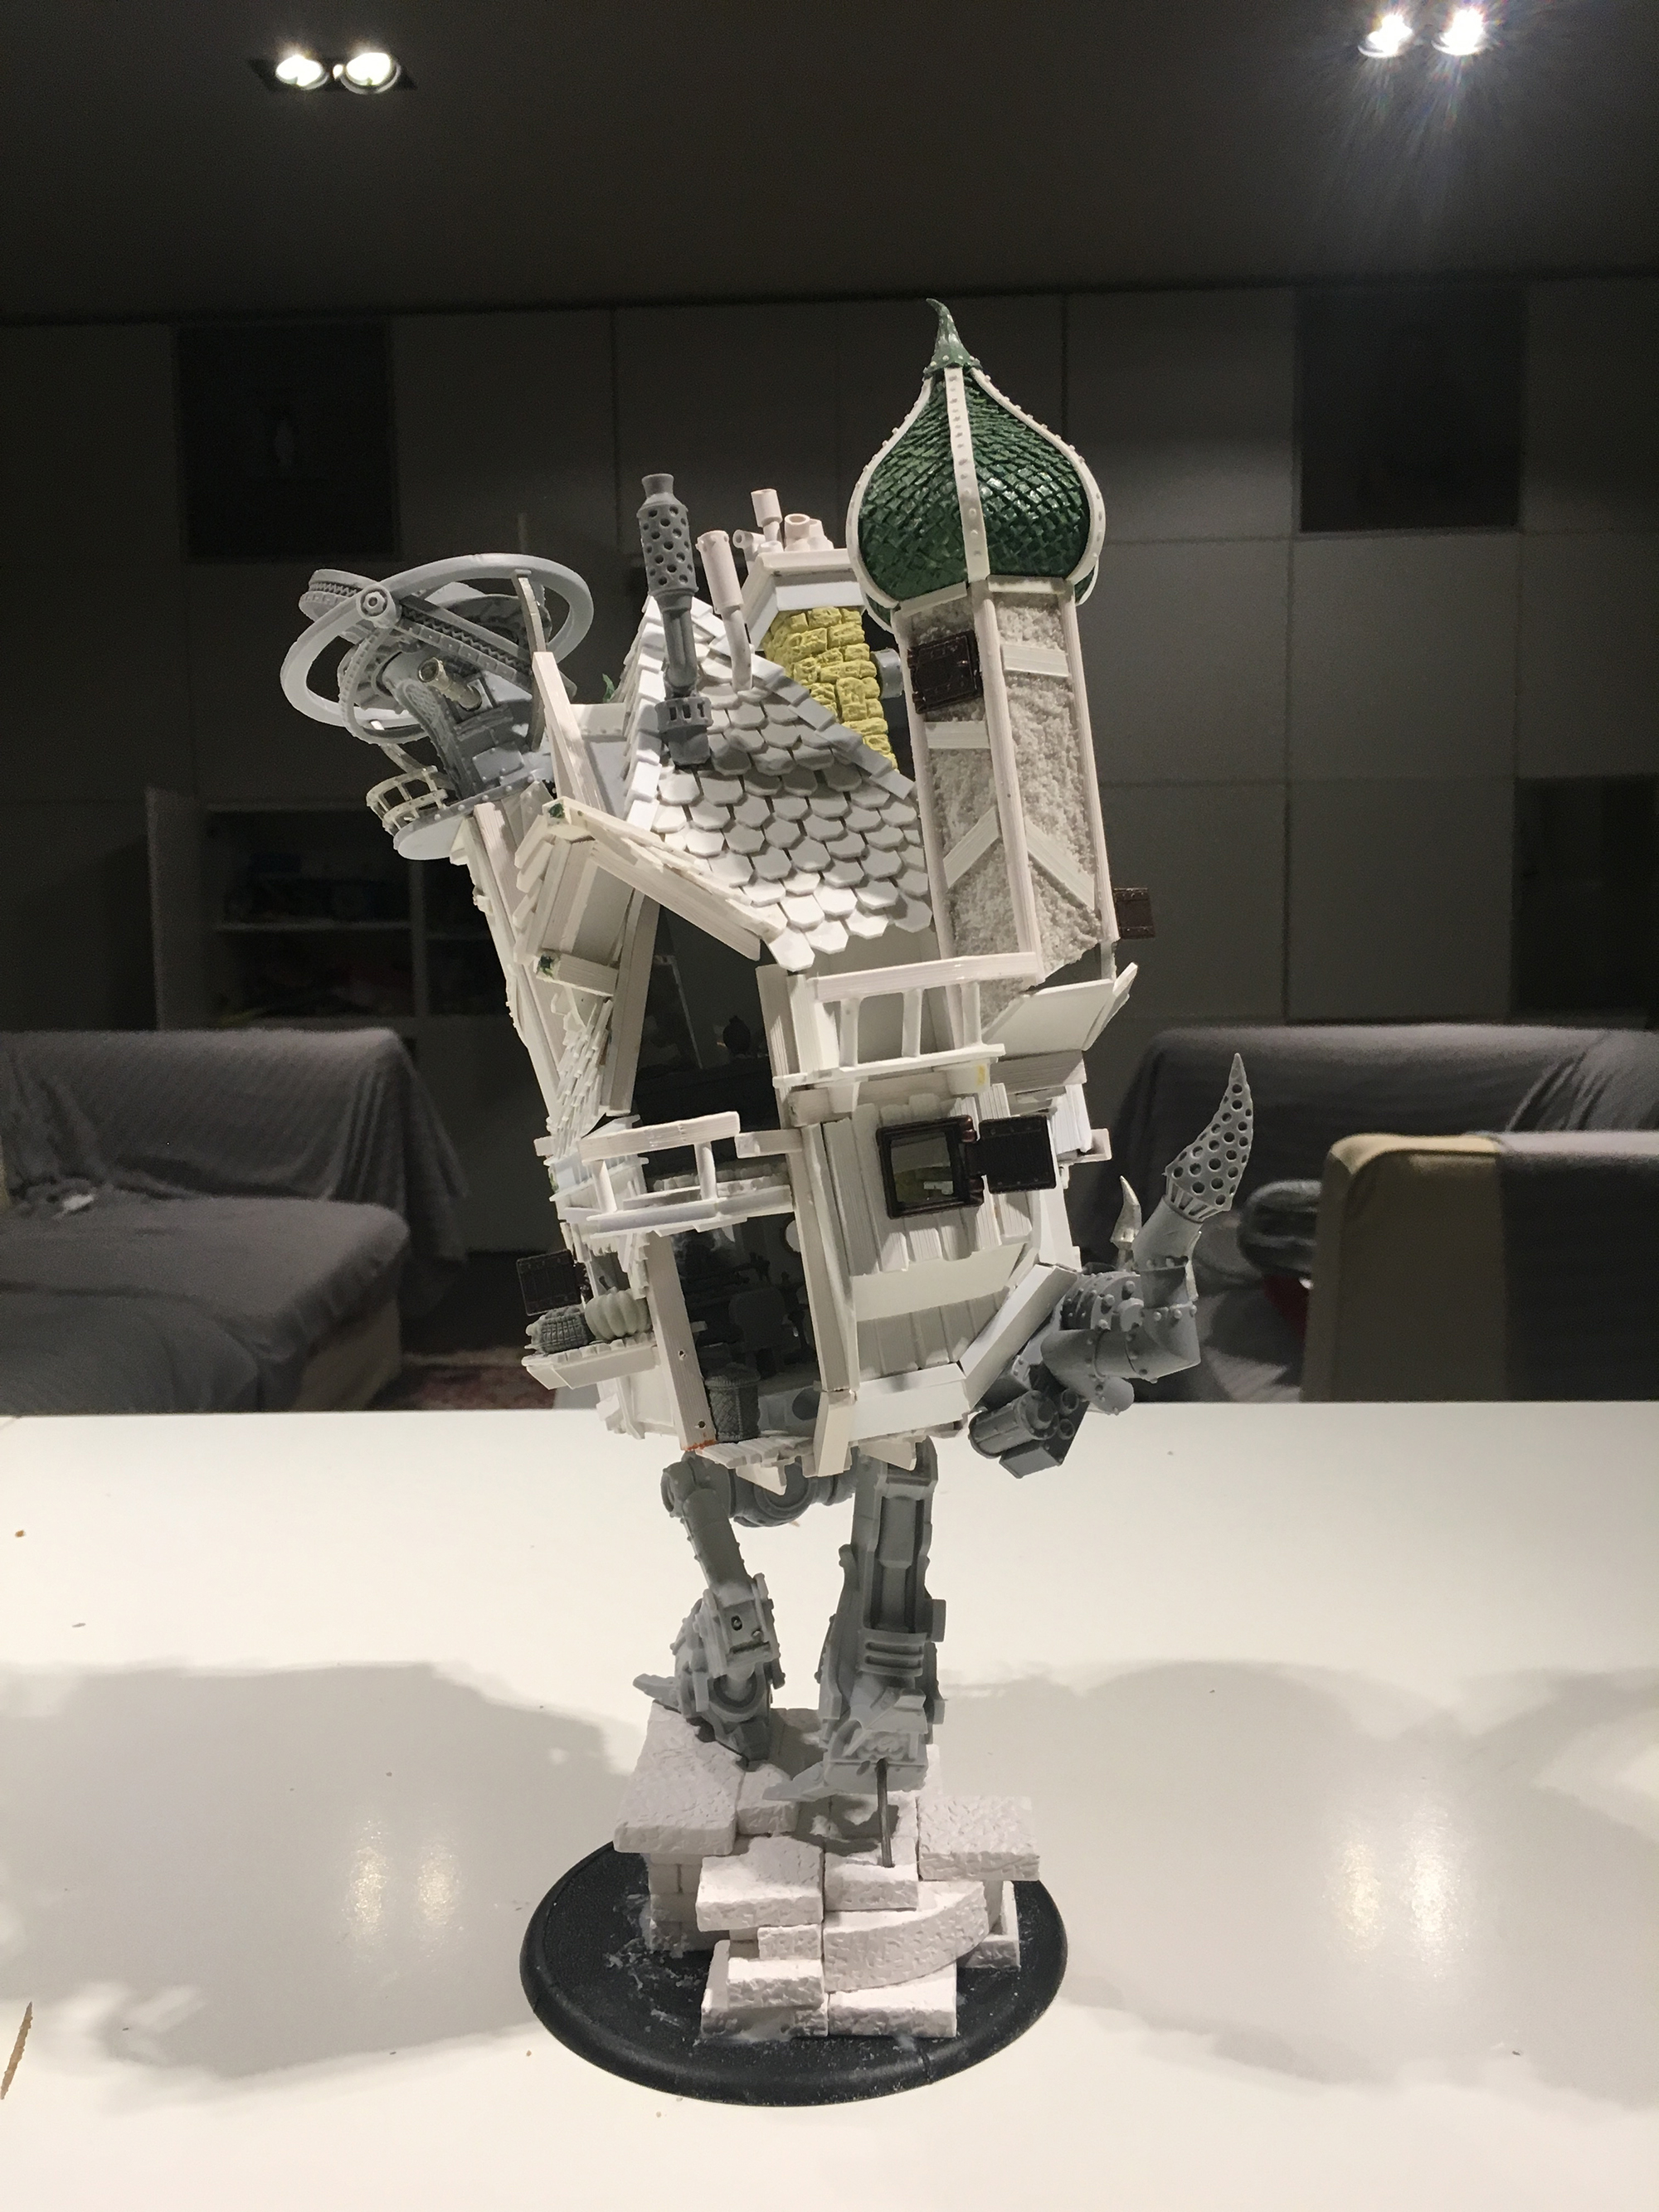
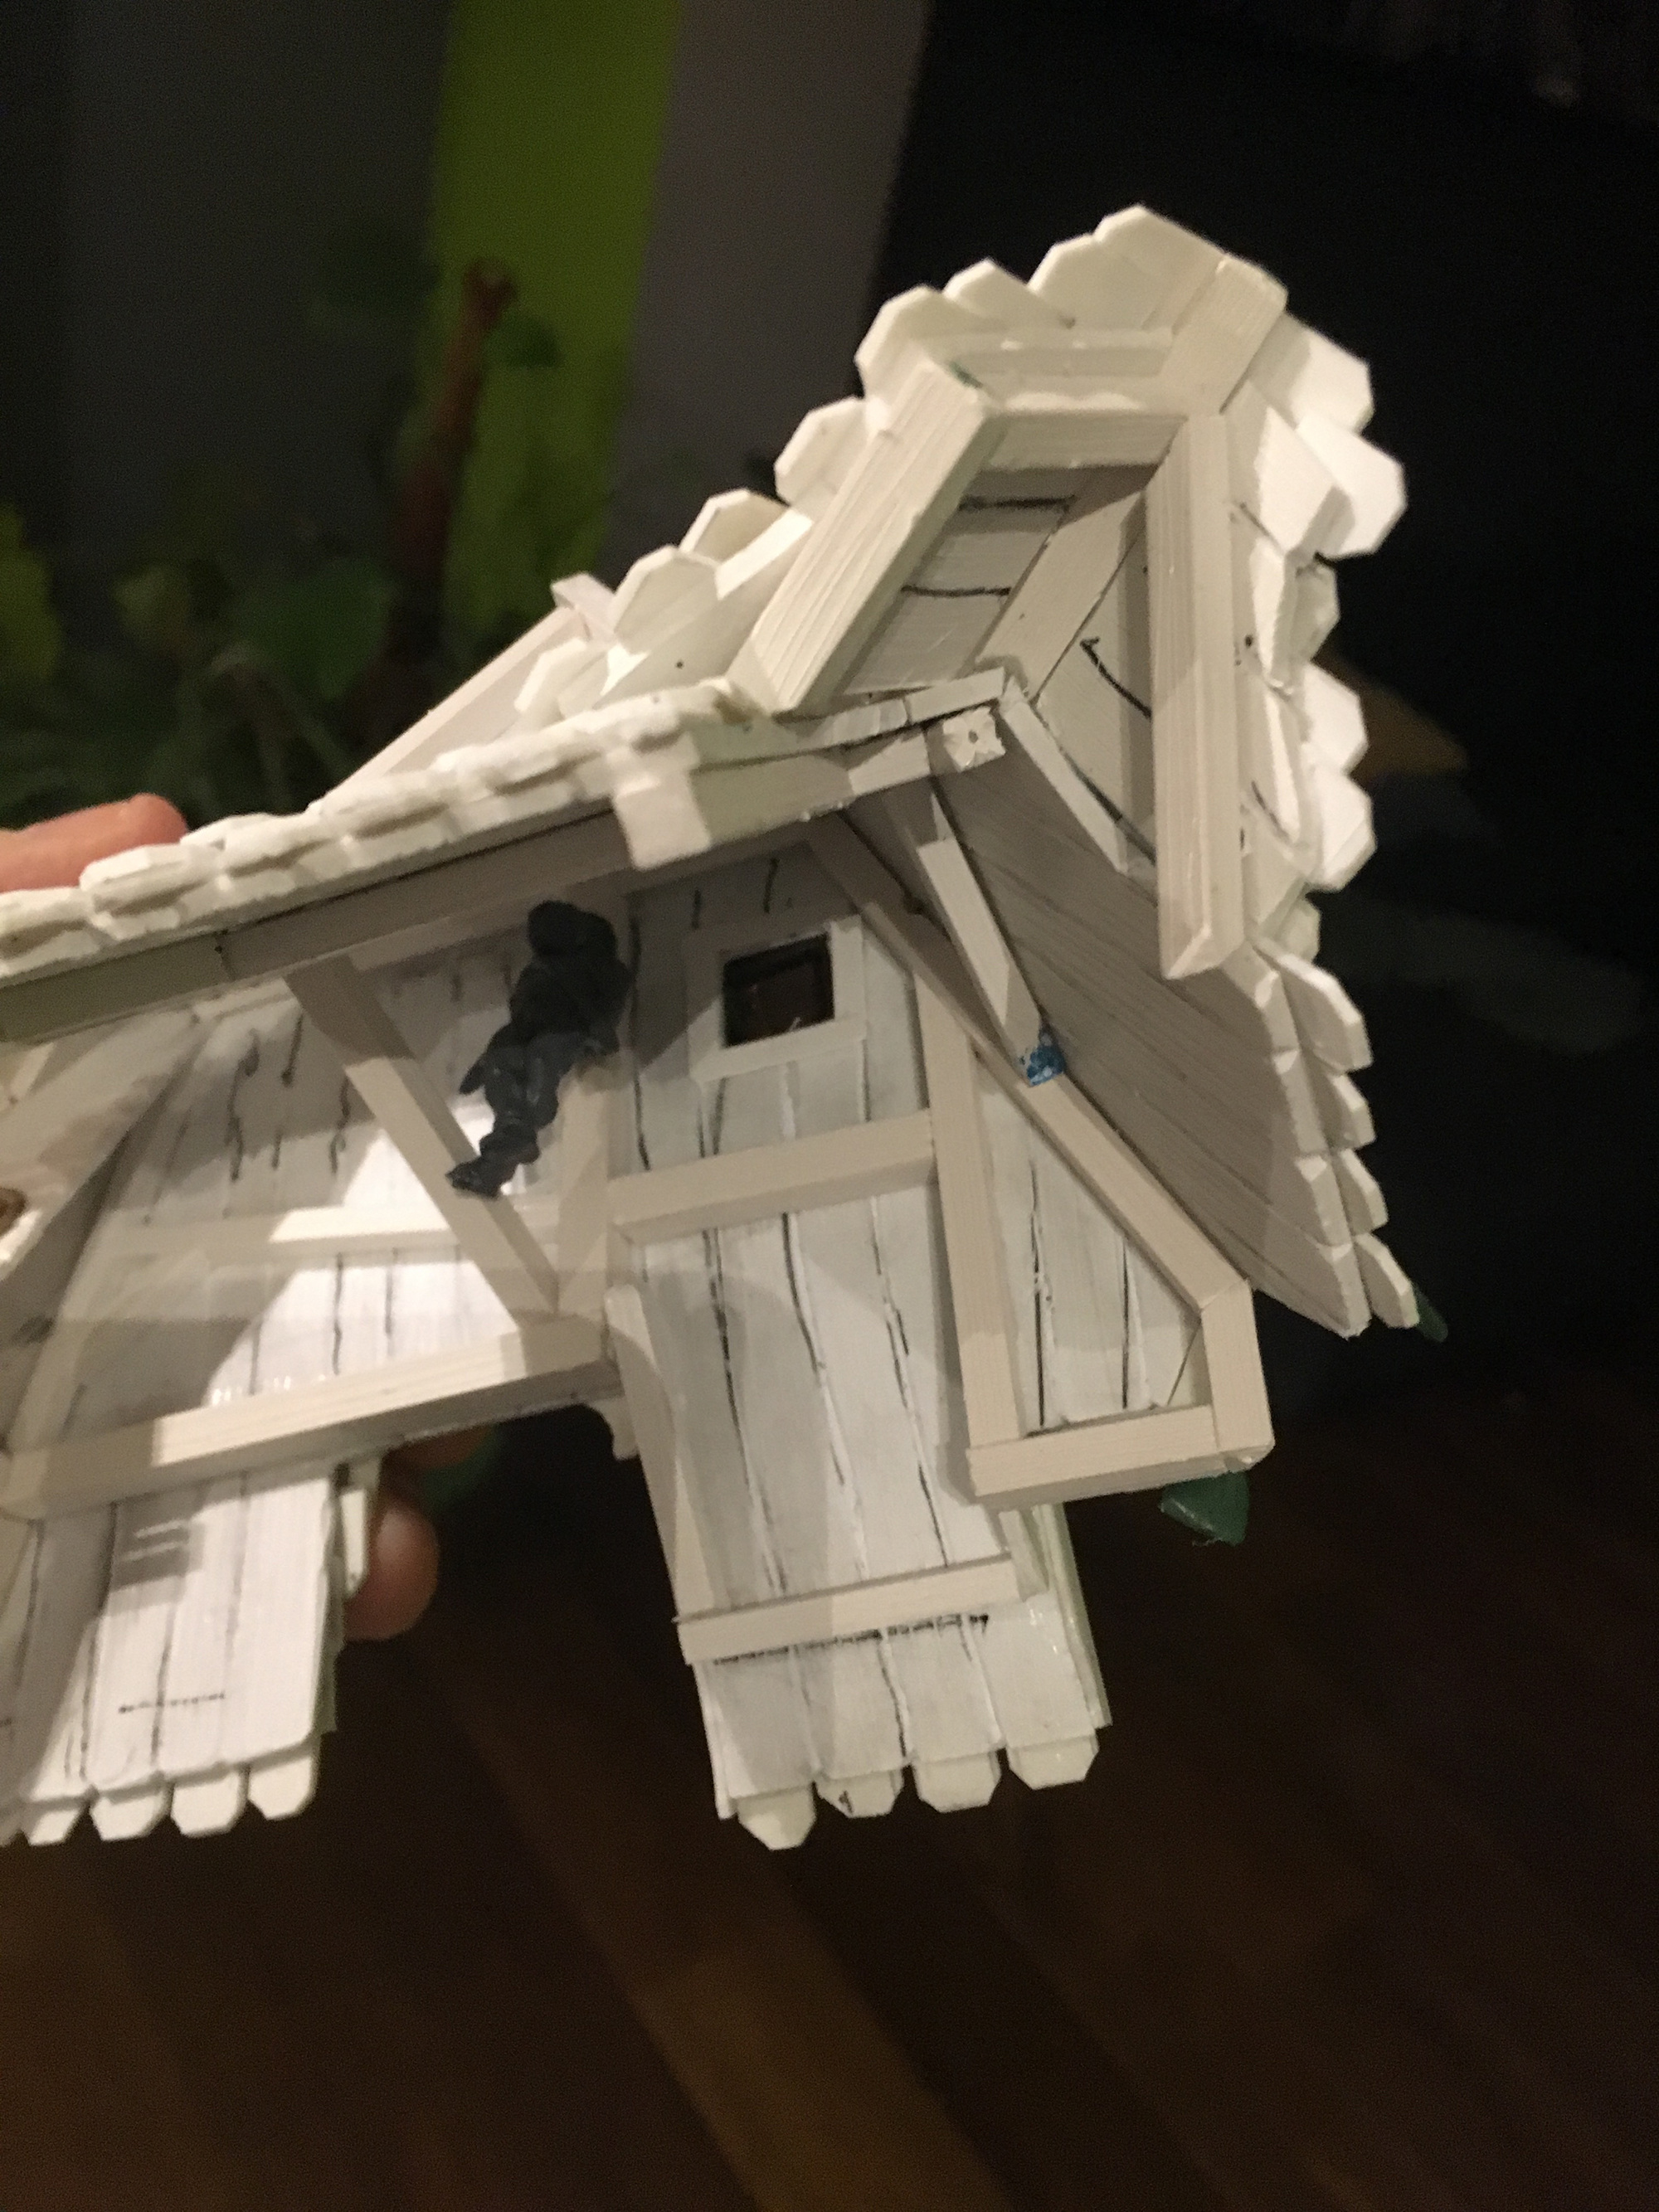
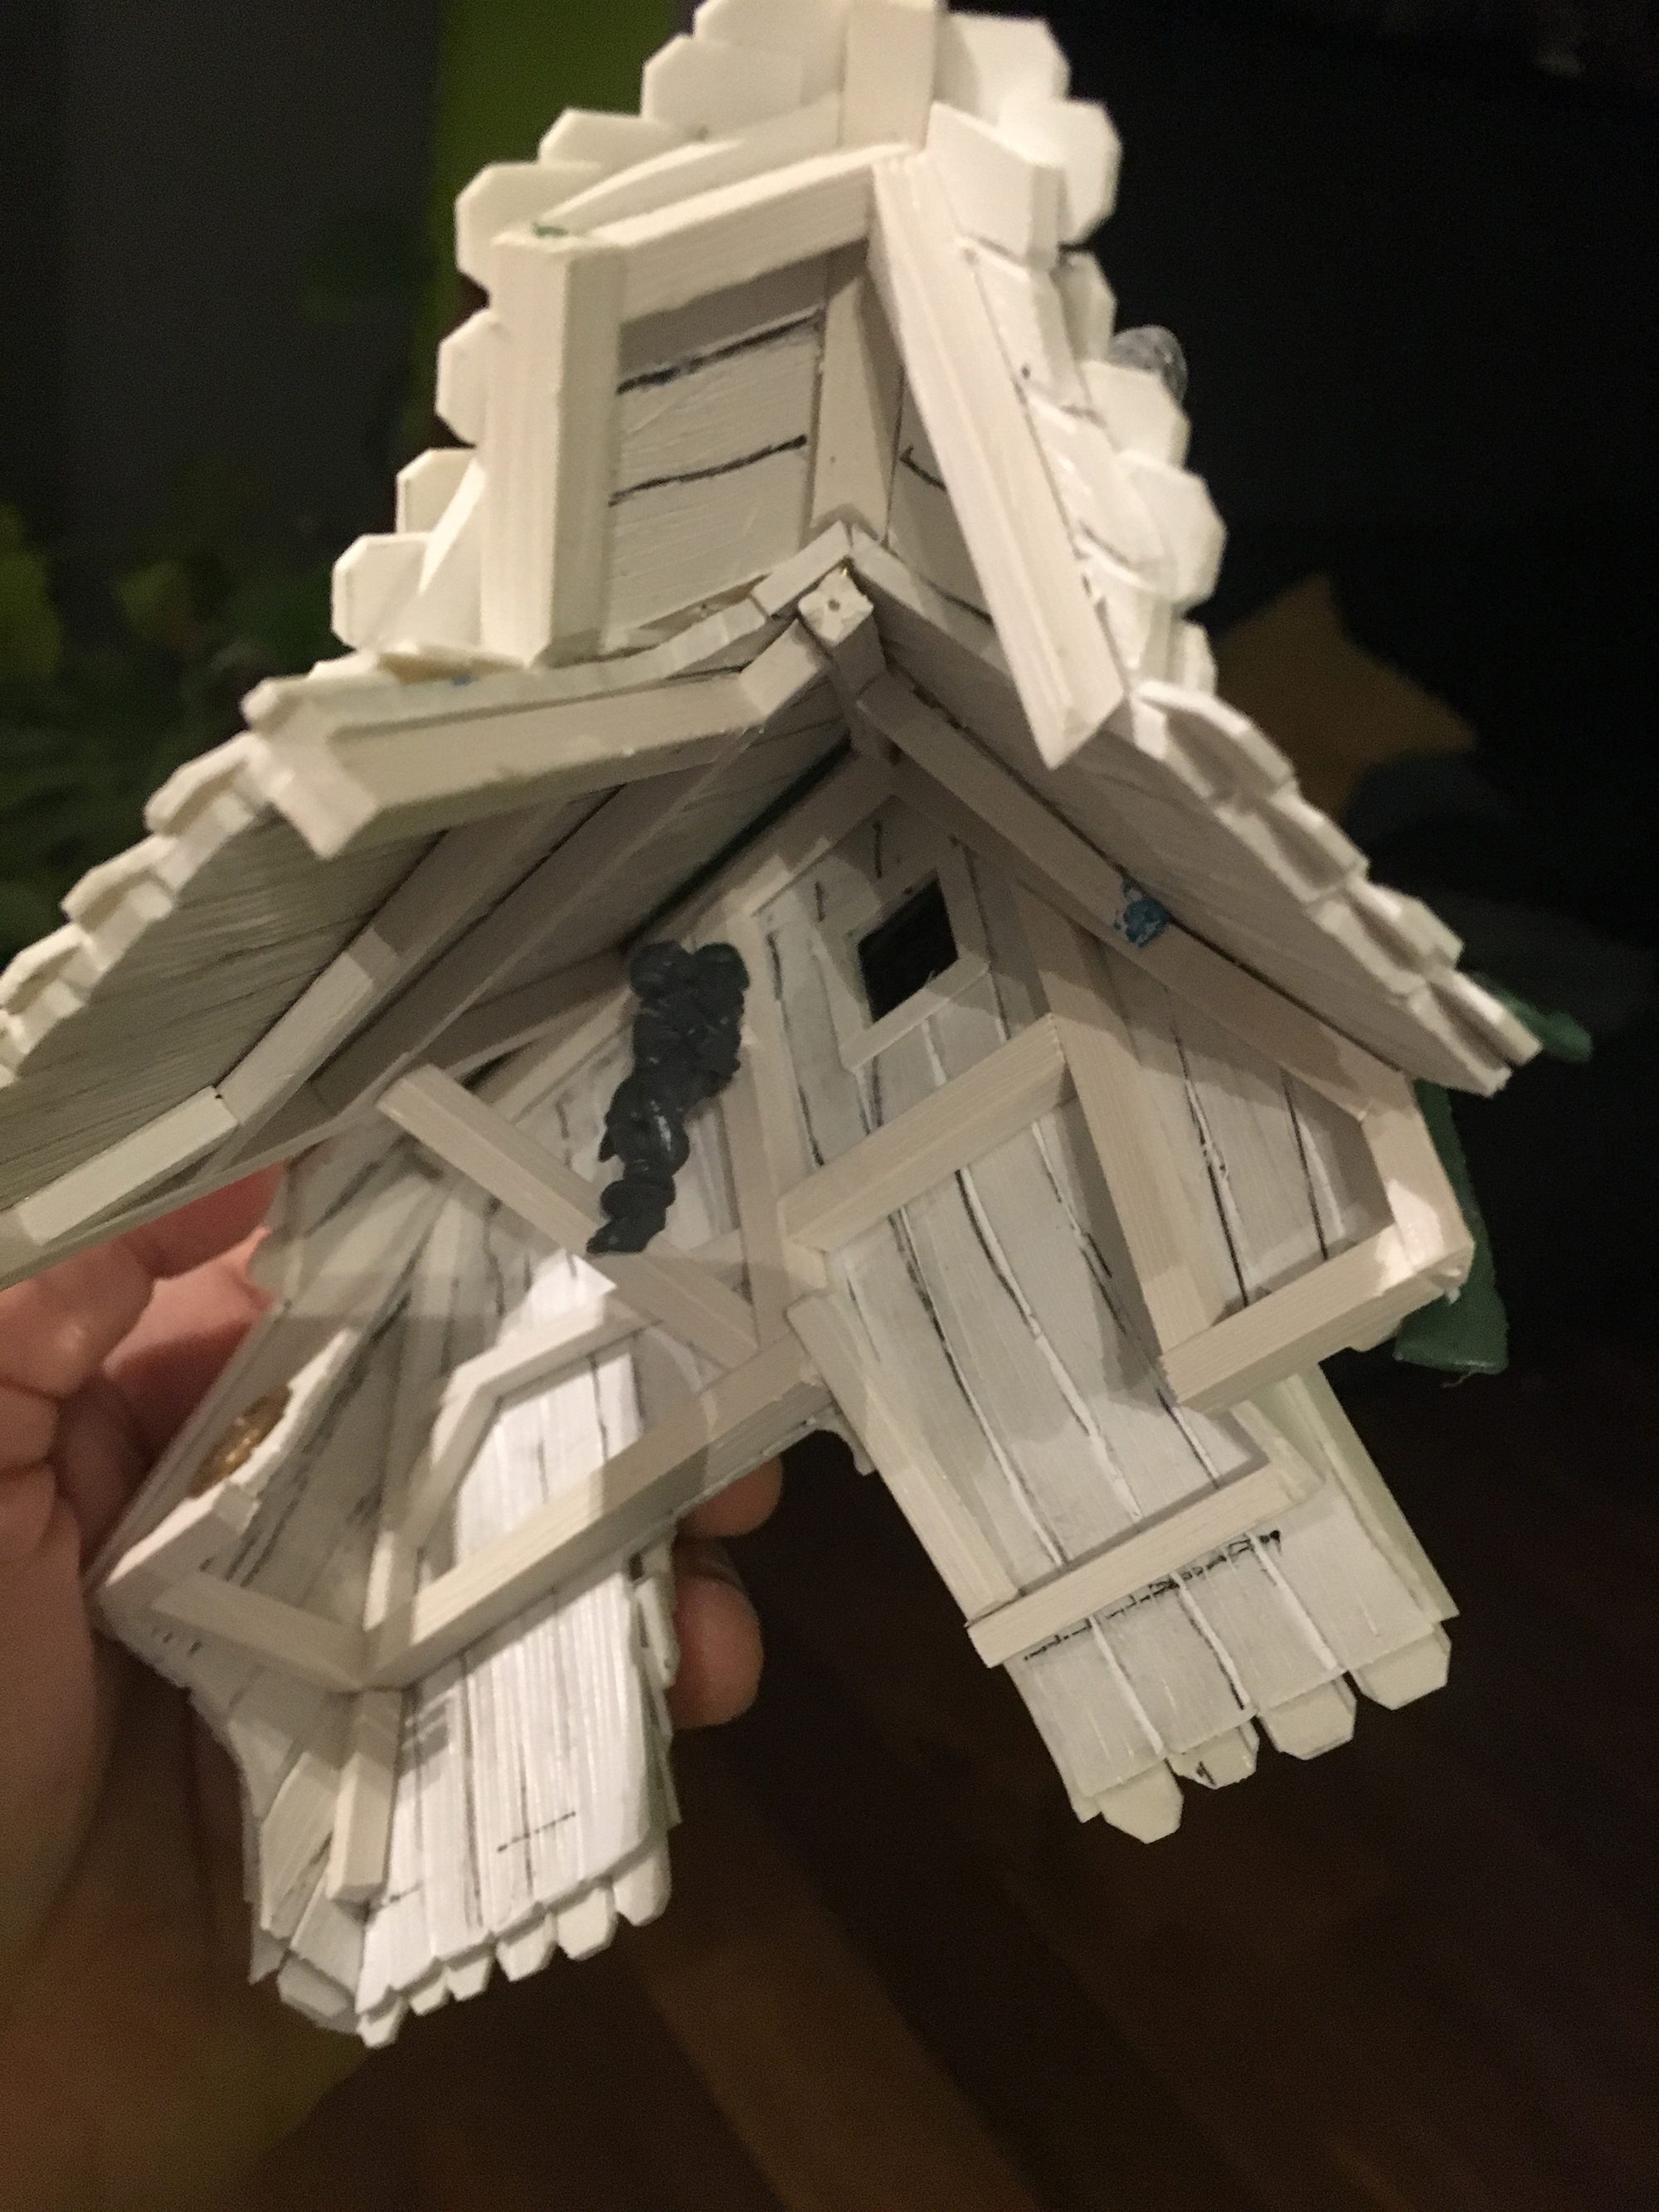
A roof over your head
With the basic structure in place, it was time to start tiling the roof.
I wish I could say there is a short-cut for this, but alas, there is none (at least none that I know of). The best way to make a tiled roof is still by cutting out the tiles one by one and gluing them on. It is the most flexible and most natural looking once you’re done.
I used plasticard instead of cardboard this time. It’s a bit harder to cut, but I had vowed to myself not to use cardboard on this project. Plastic is more sturdy and easier to paint.
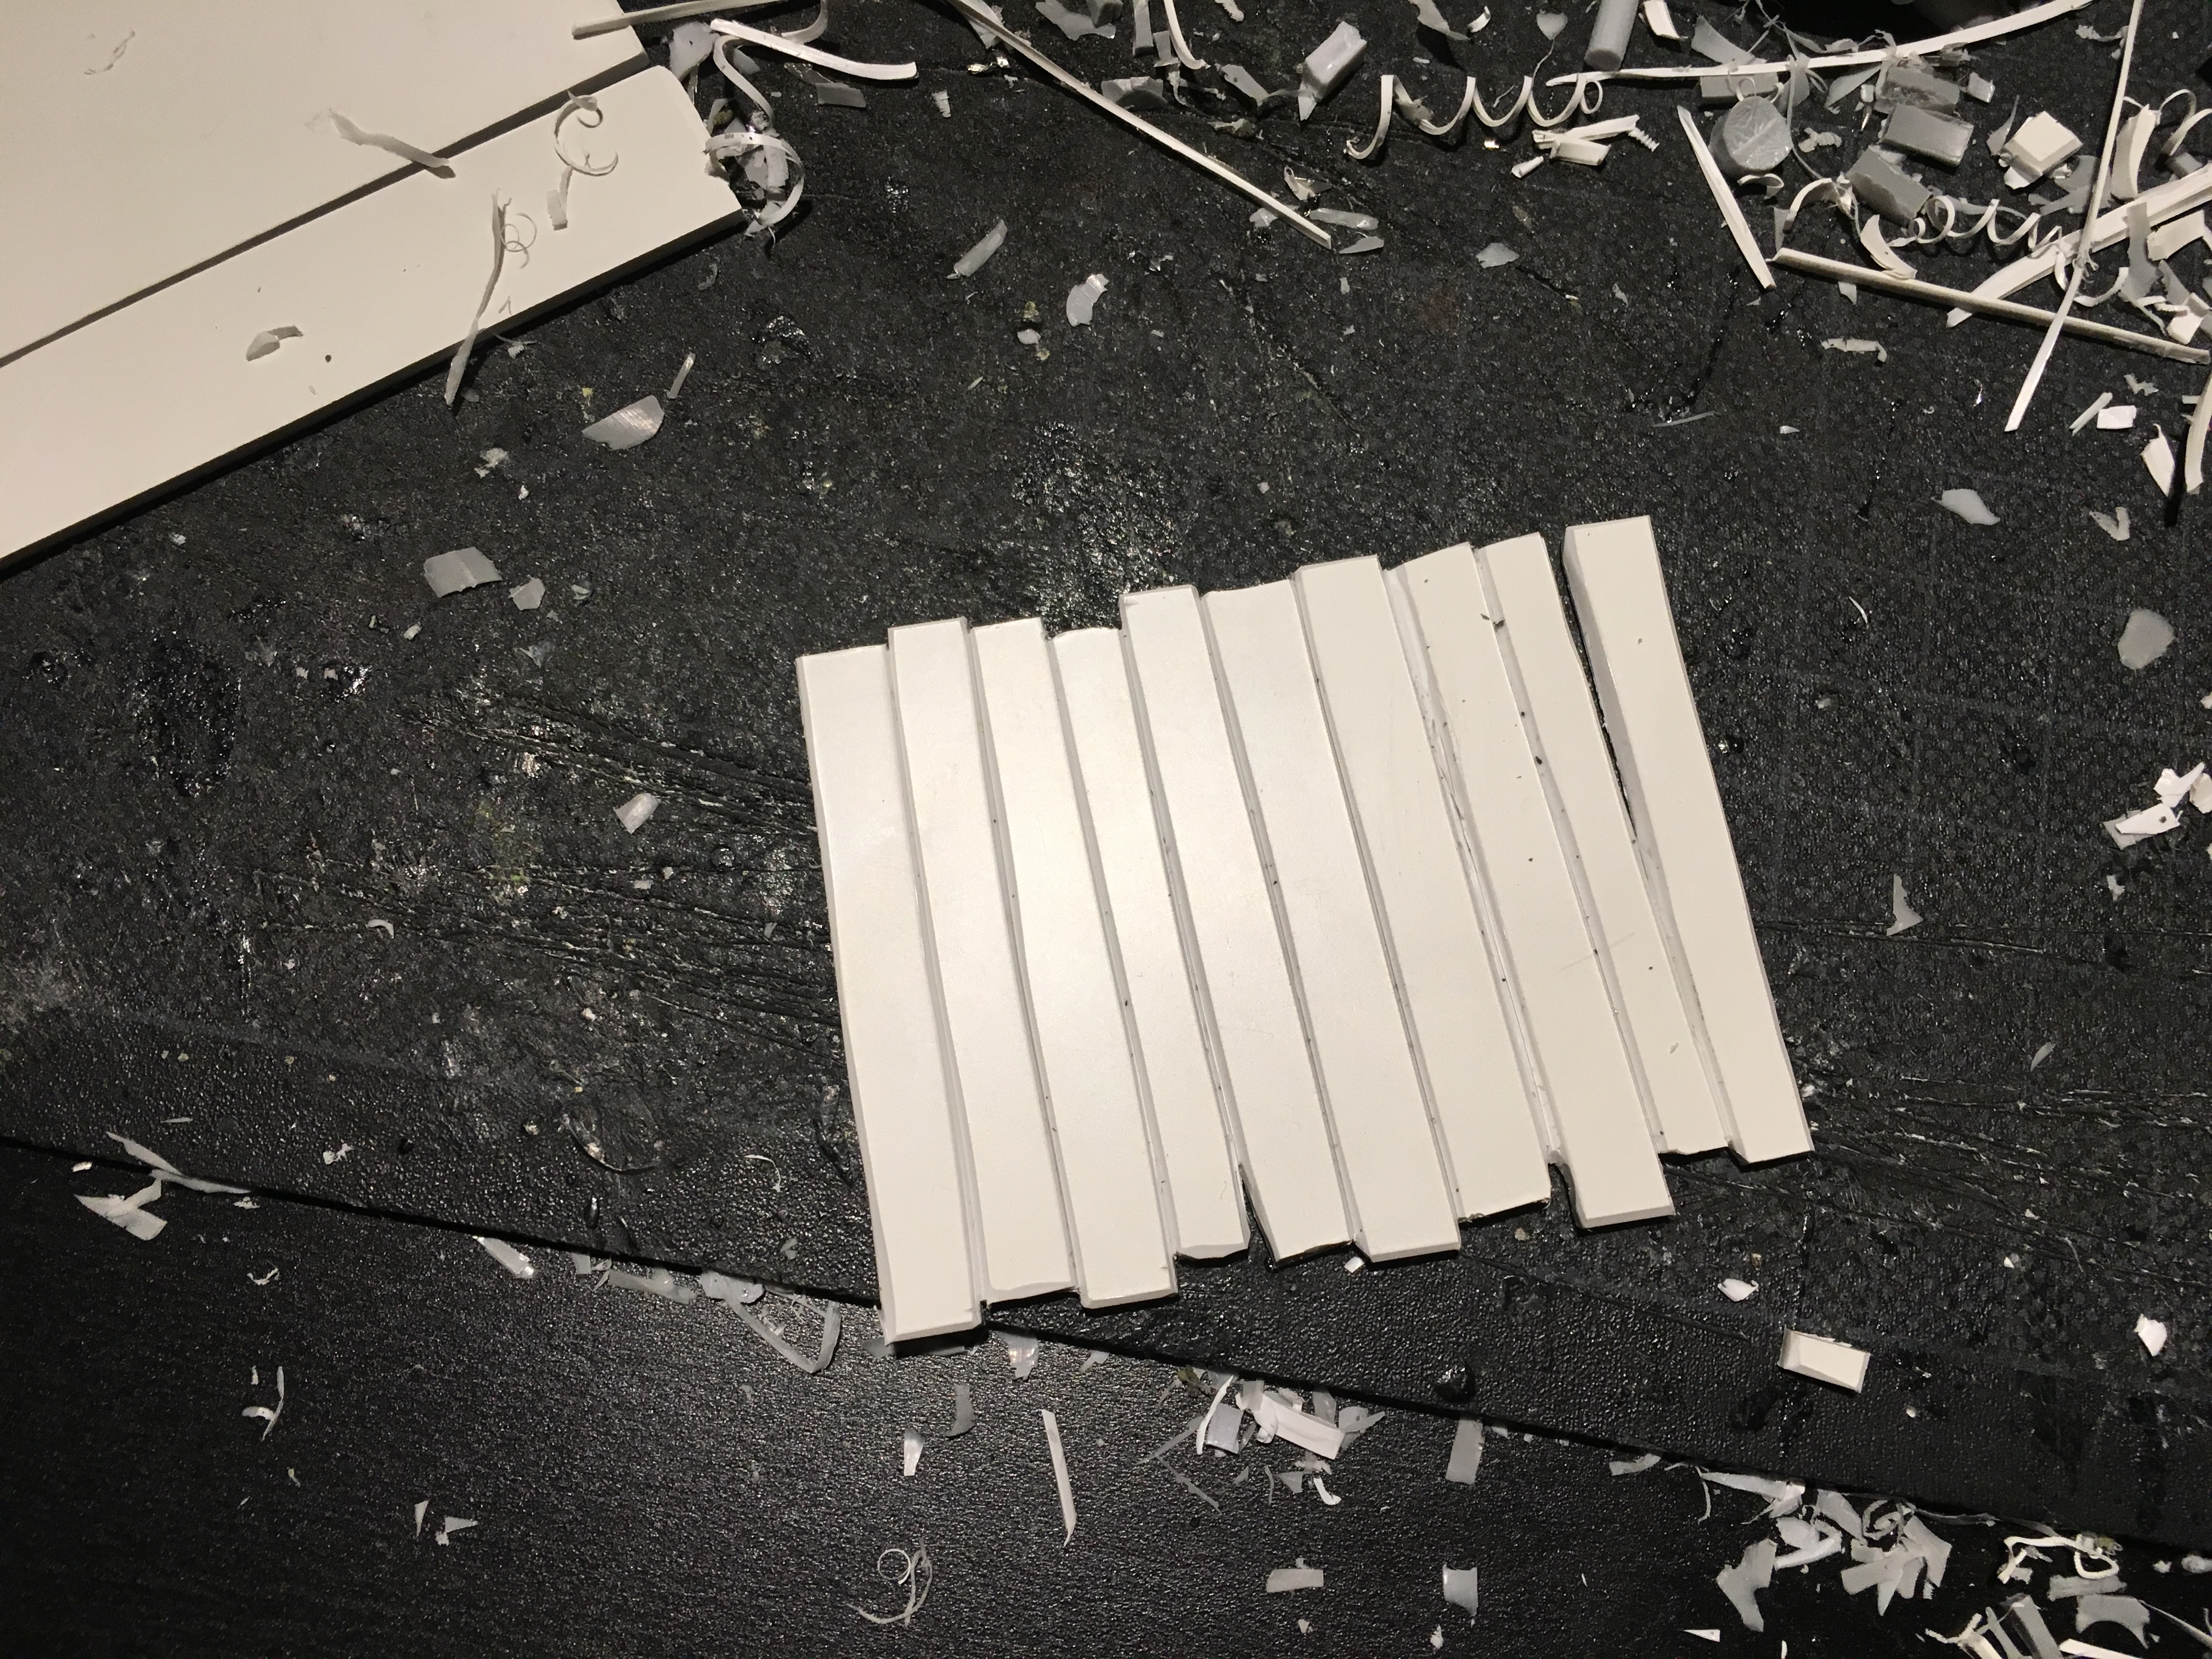
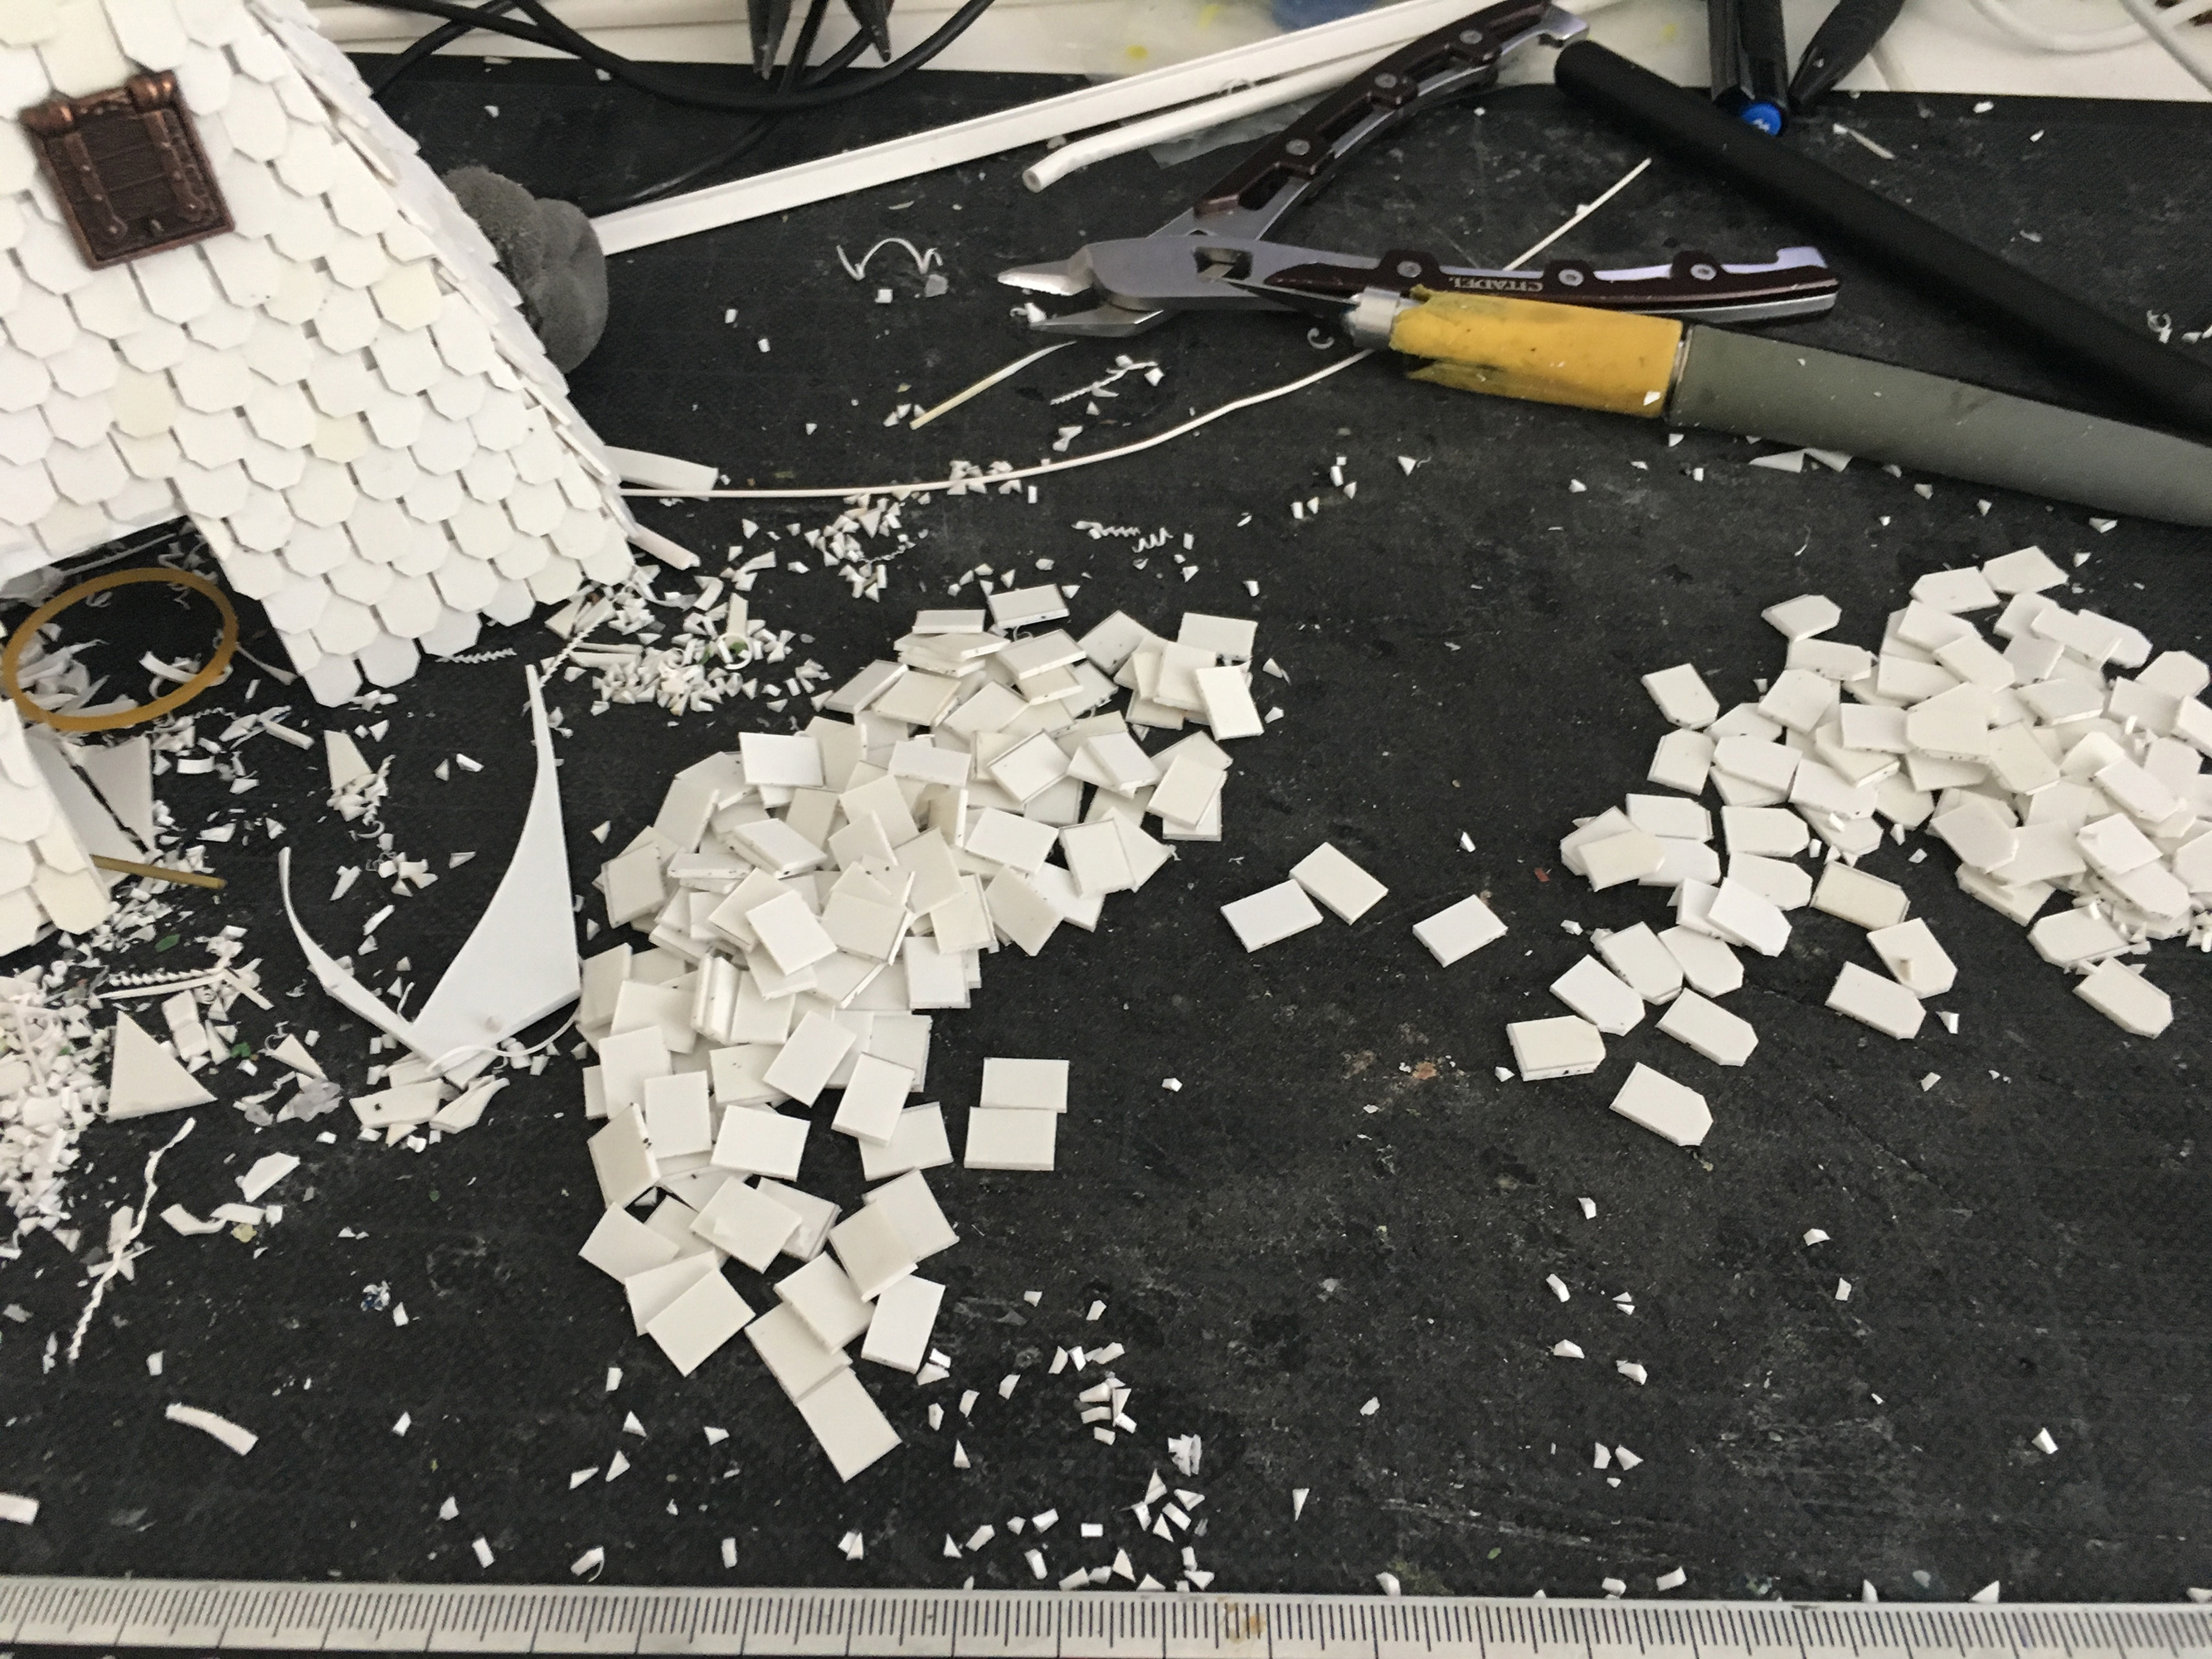
So I started cutting out rectangles and then chamfering 2 of the edges.
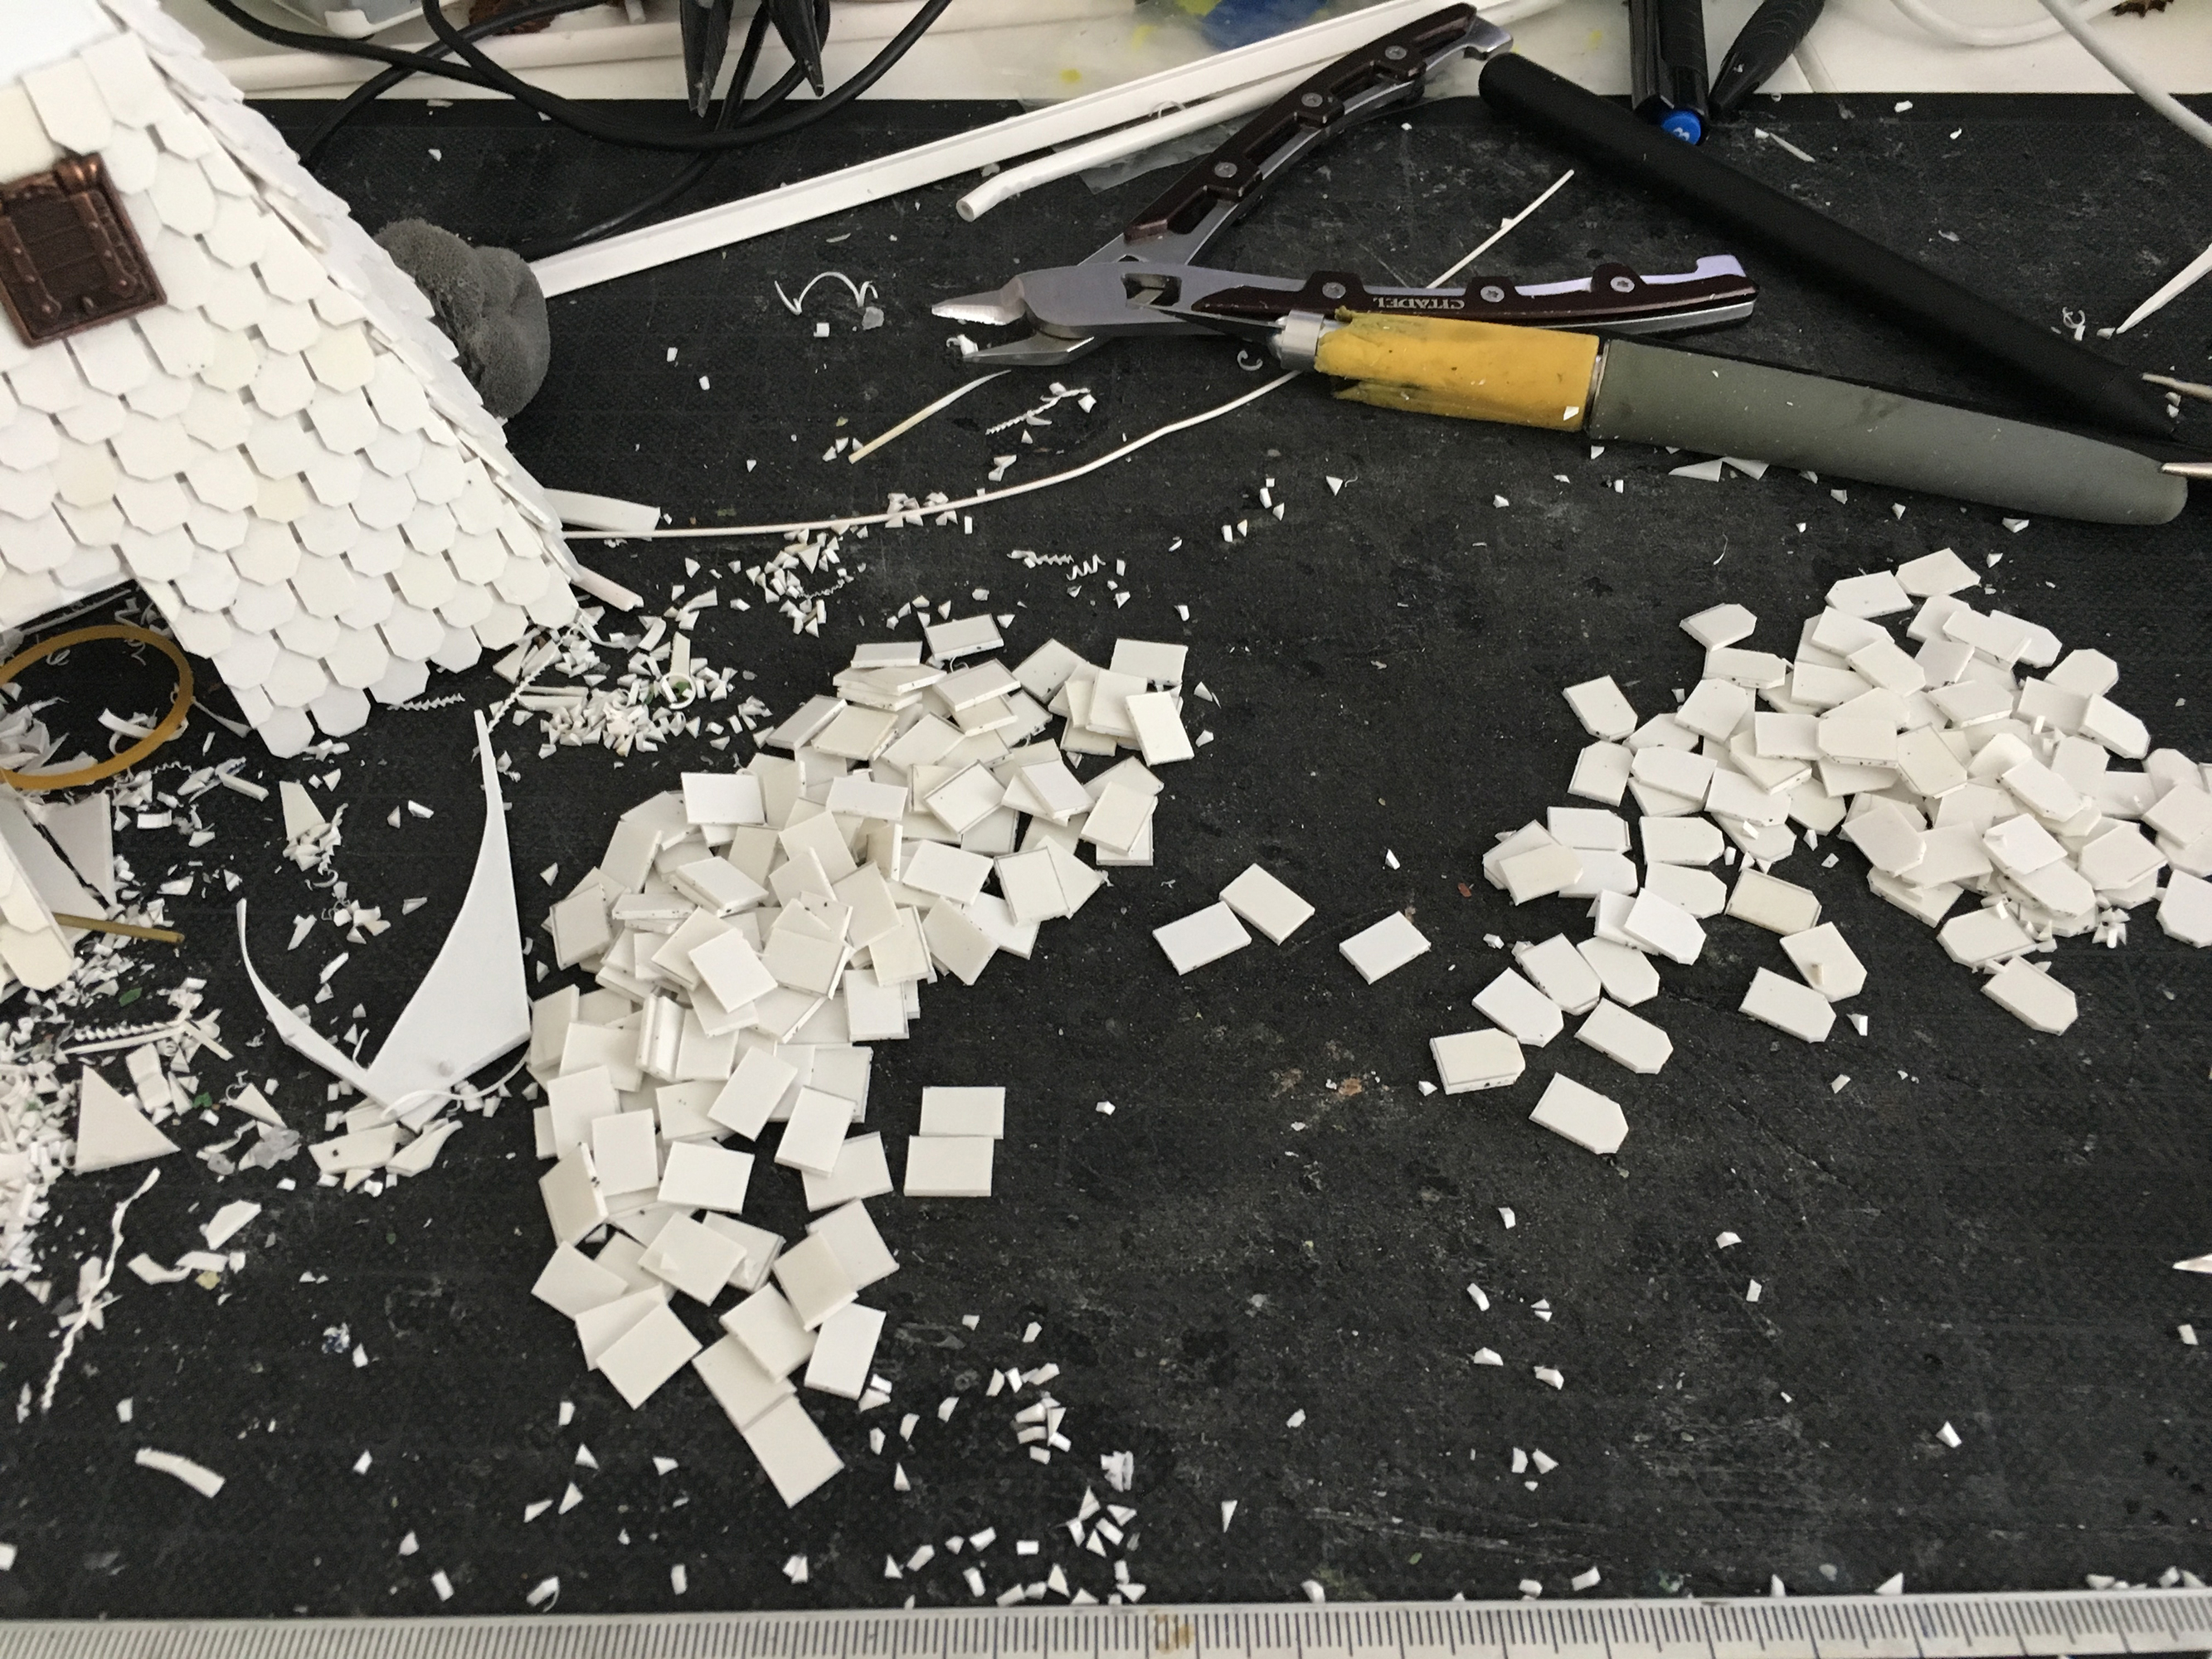

And with the tiles all cut out, I started off gluing everything to the frame. Start at the bottom and just work your way up.
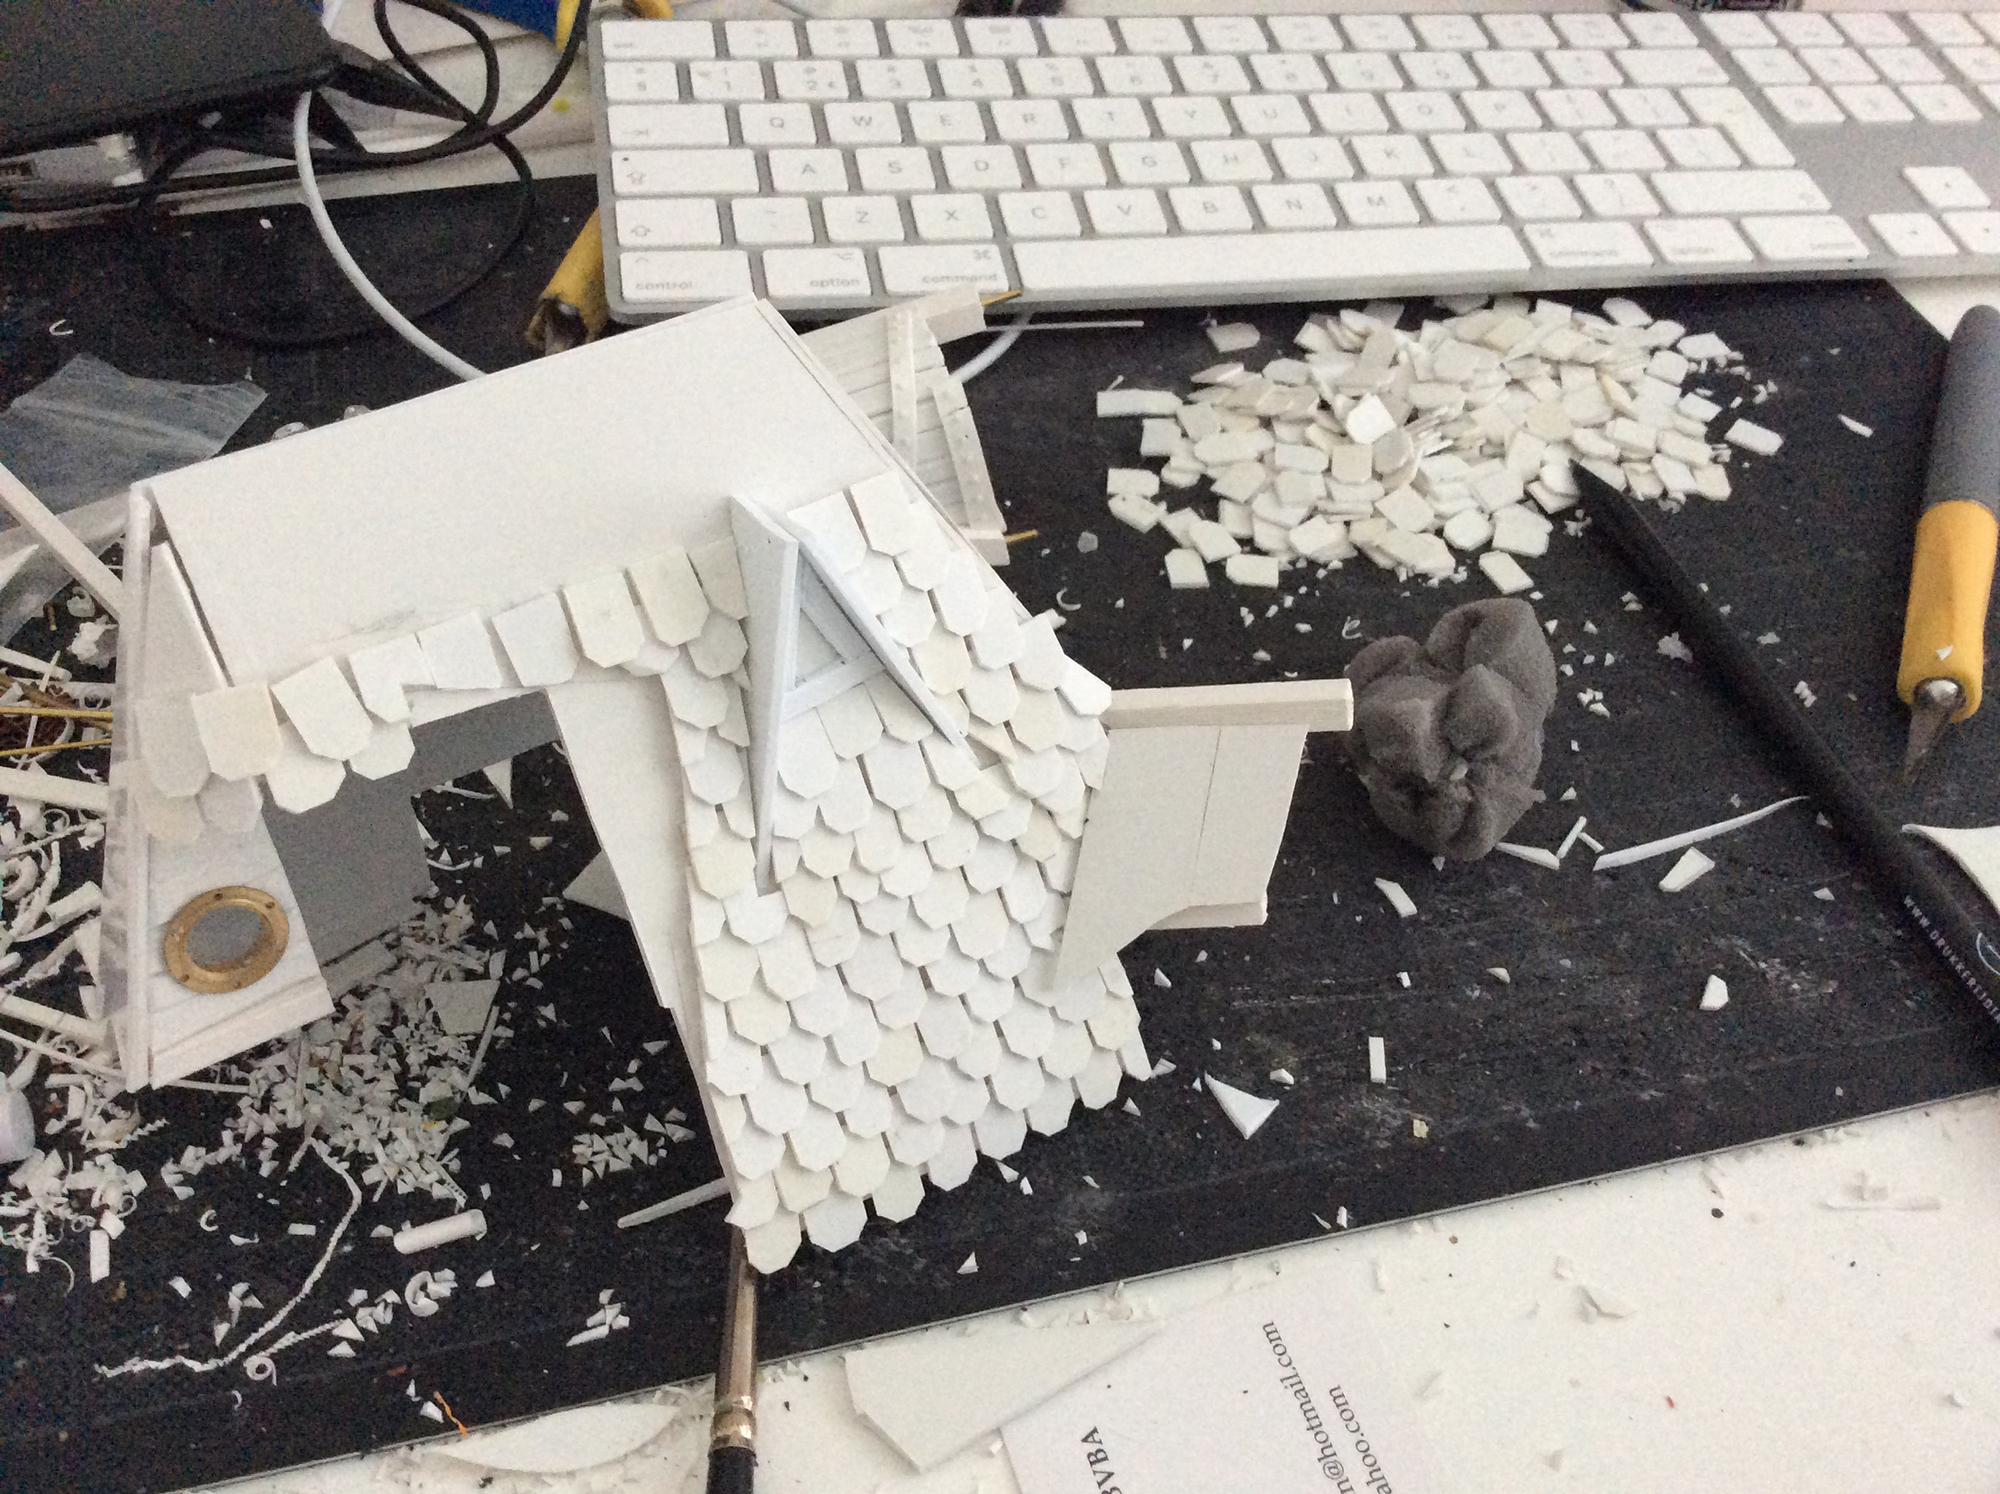
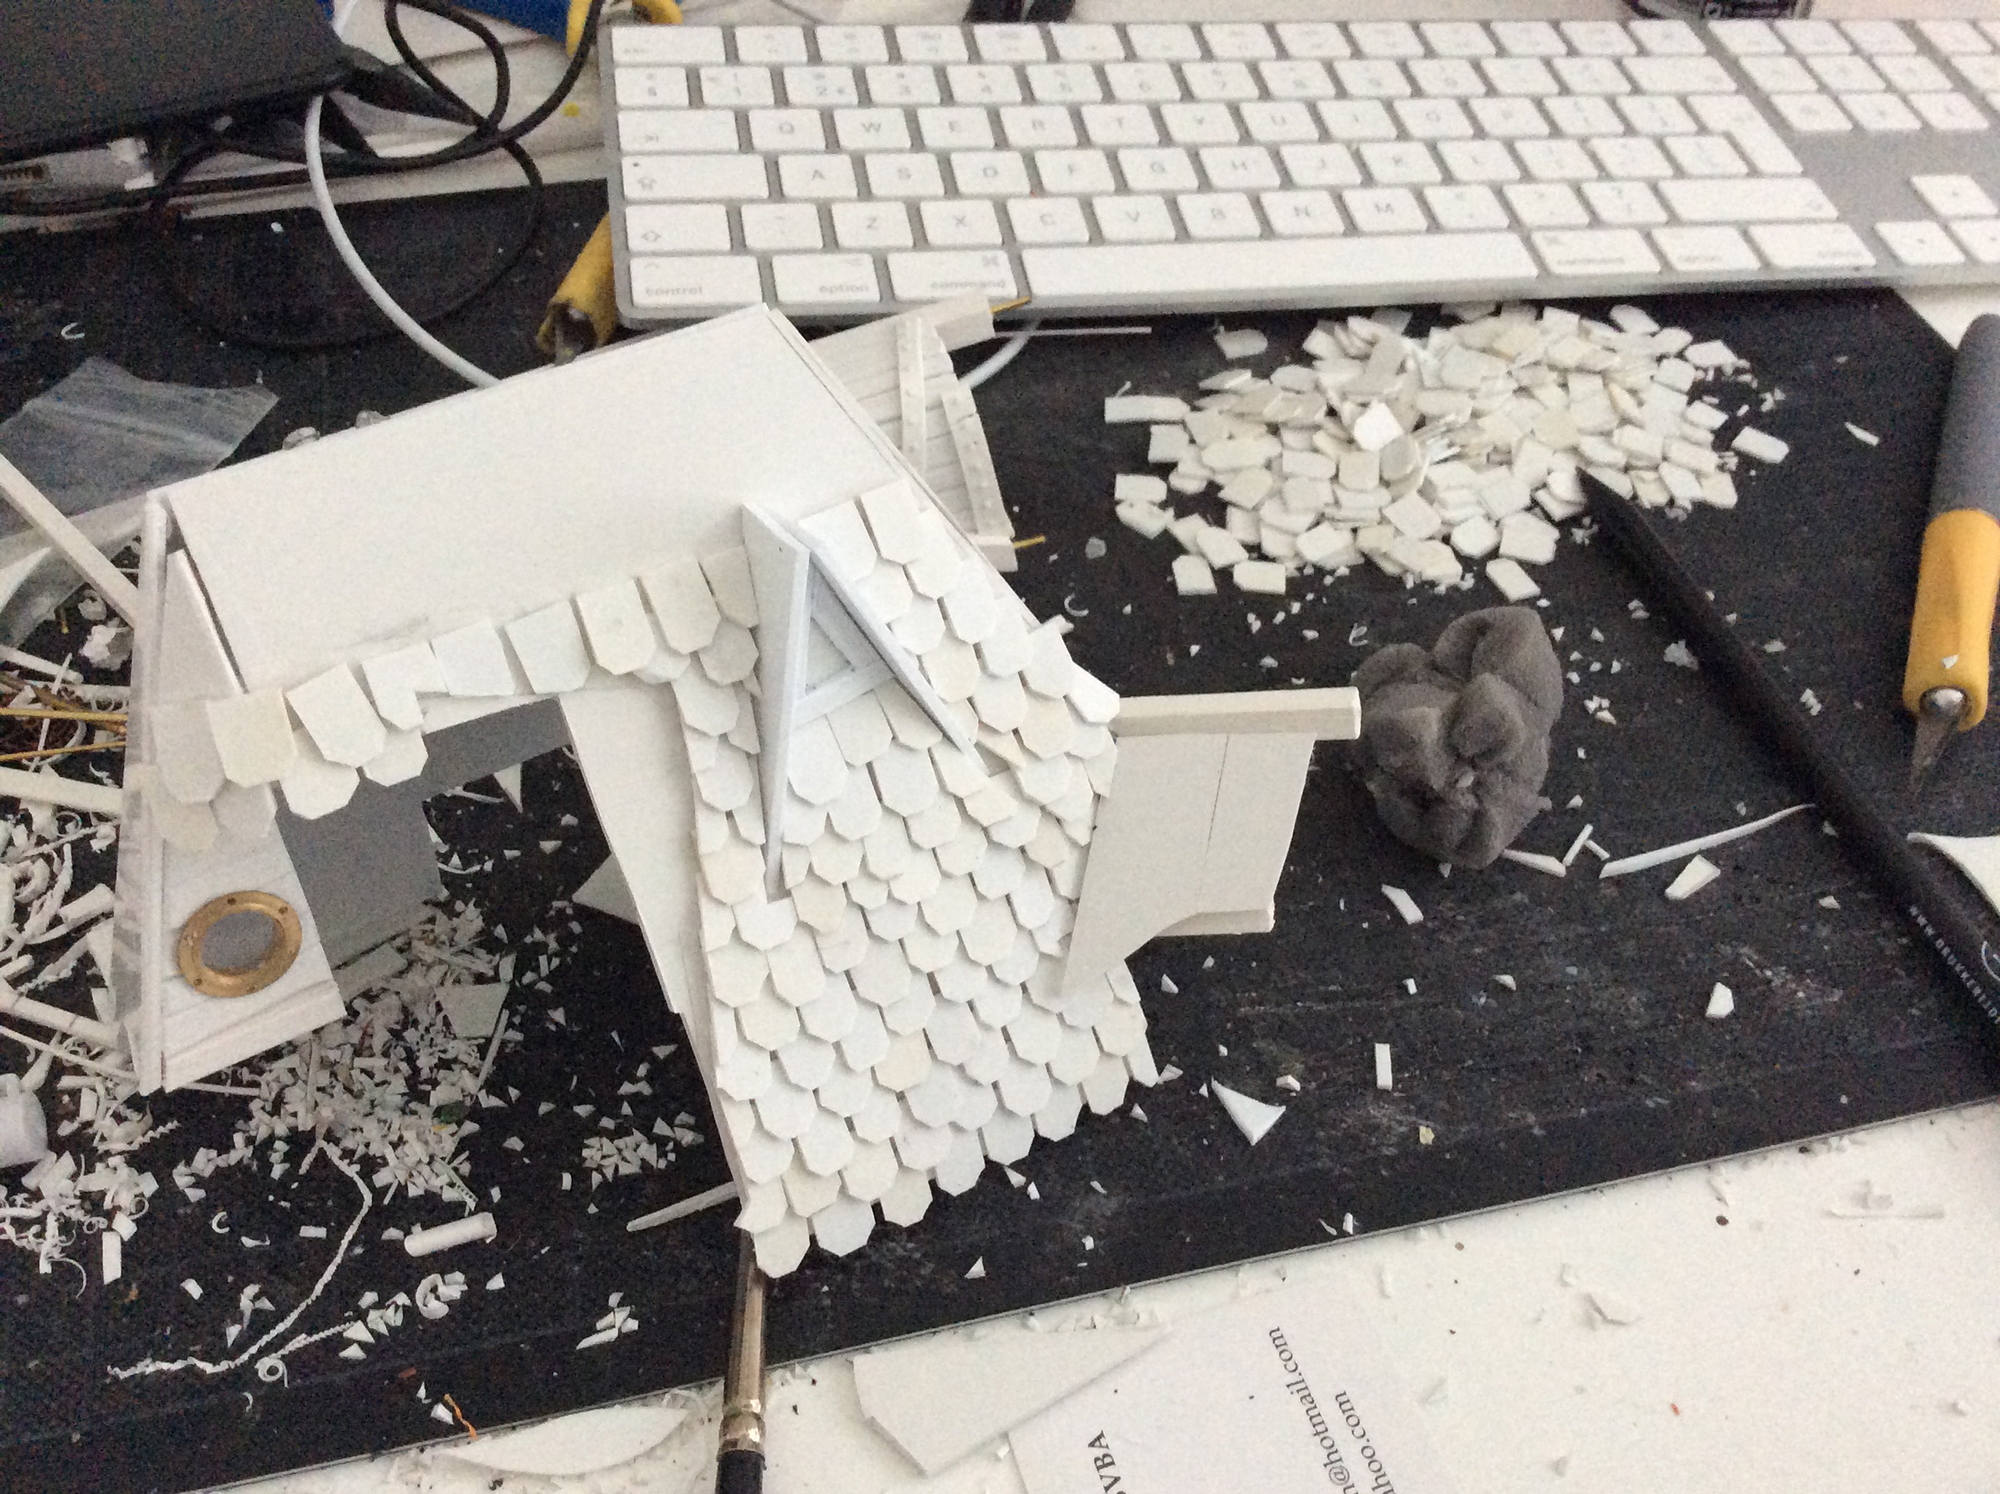
Like I said. It’s all pretty easy. It just takes a lot of time, but once you’re done, the end result looks pretty cool.

Getting a leg up
Let’s be honest here, the original model has a gigantic problem. PP decided to make the legs in their usual resin. Not the best choice of course if you have a lot of weight balanced on those chicken legs. Which gets even worse when they decide to use a less than perfect mixture for the resin.
Sadly, this is what has happened here, Multiple people have been complaining about the legs bending under the weight of the model. Usually, they only fin out that they have faulty legs once the entire thing is glued together. Not wanting to take the risk of having to completely disassemble my model again, I decided to pin the legs completely.
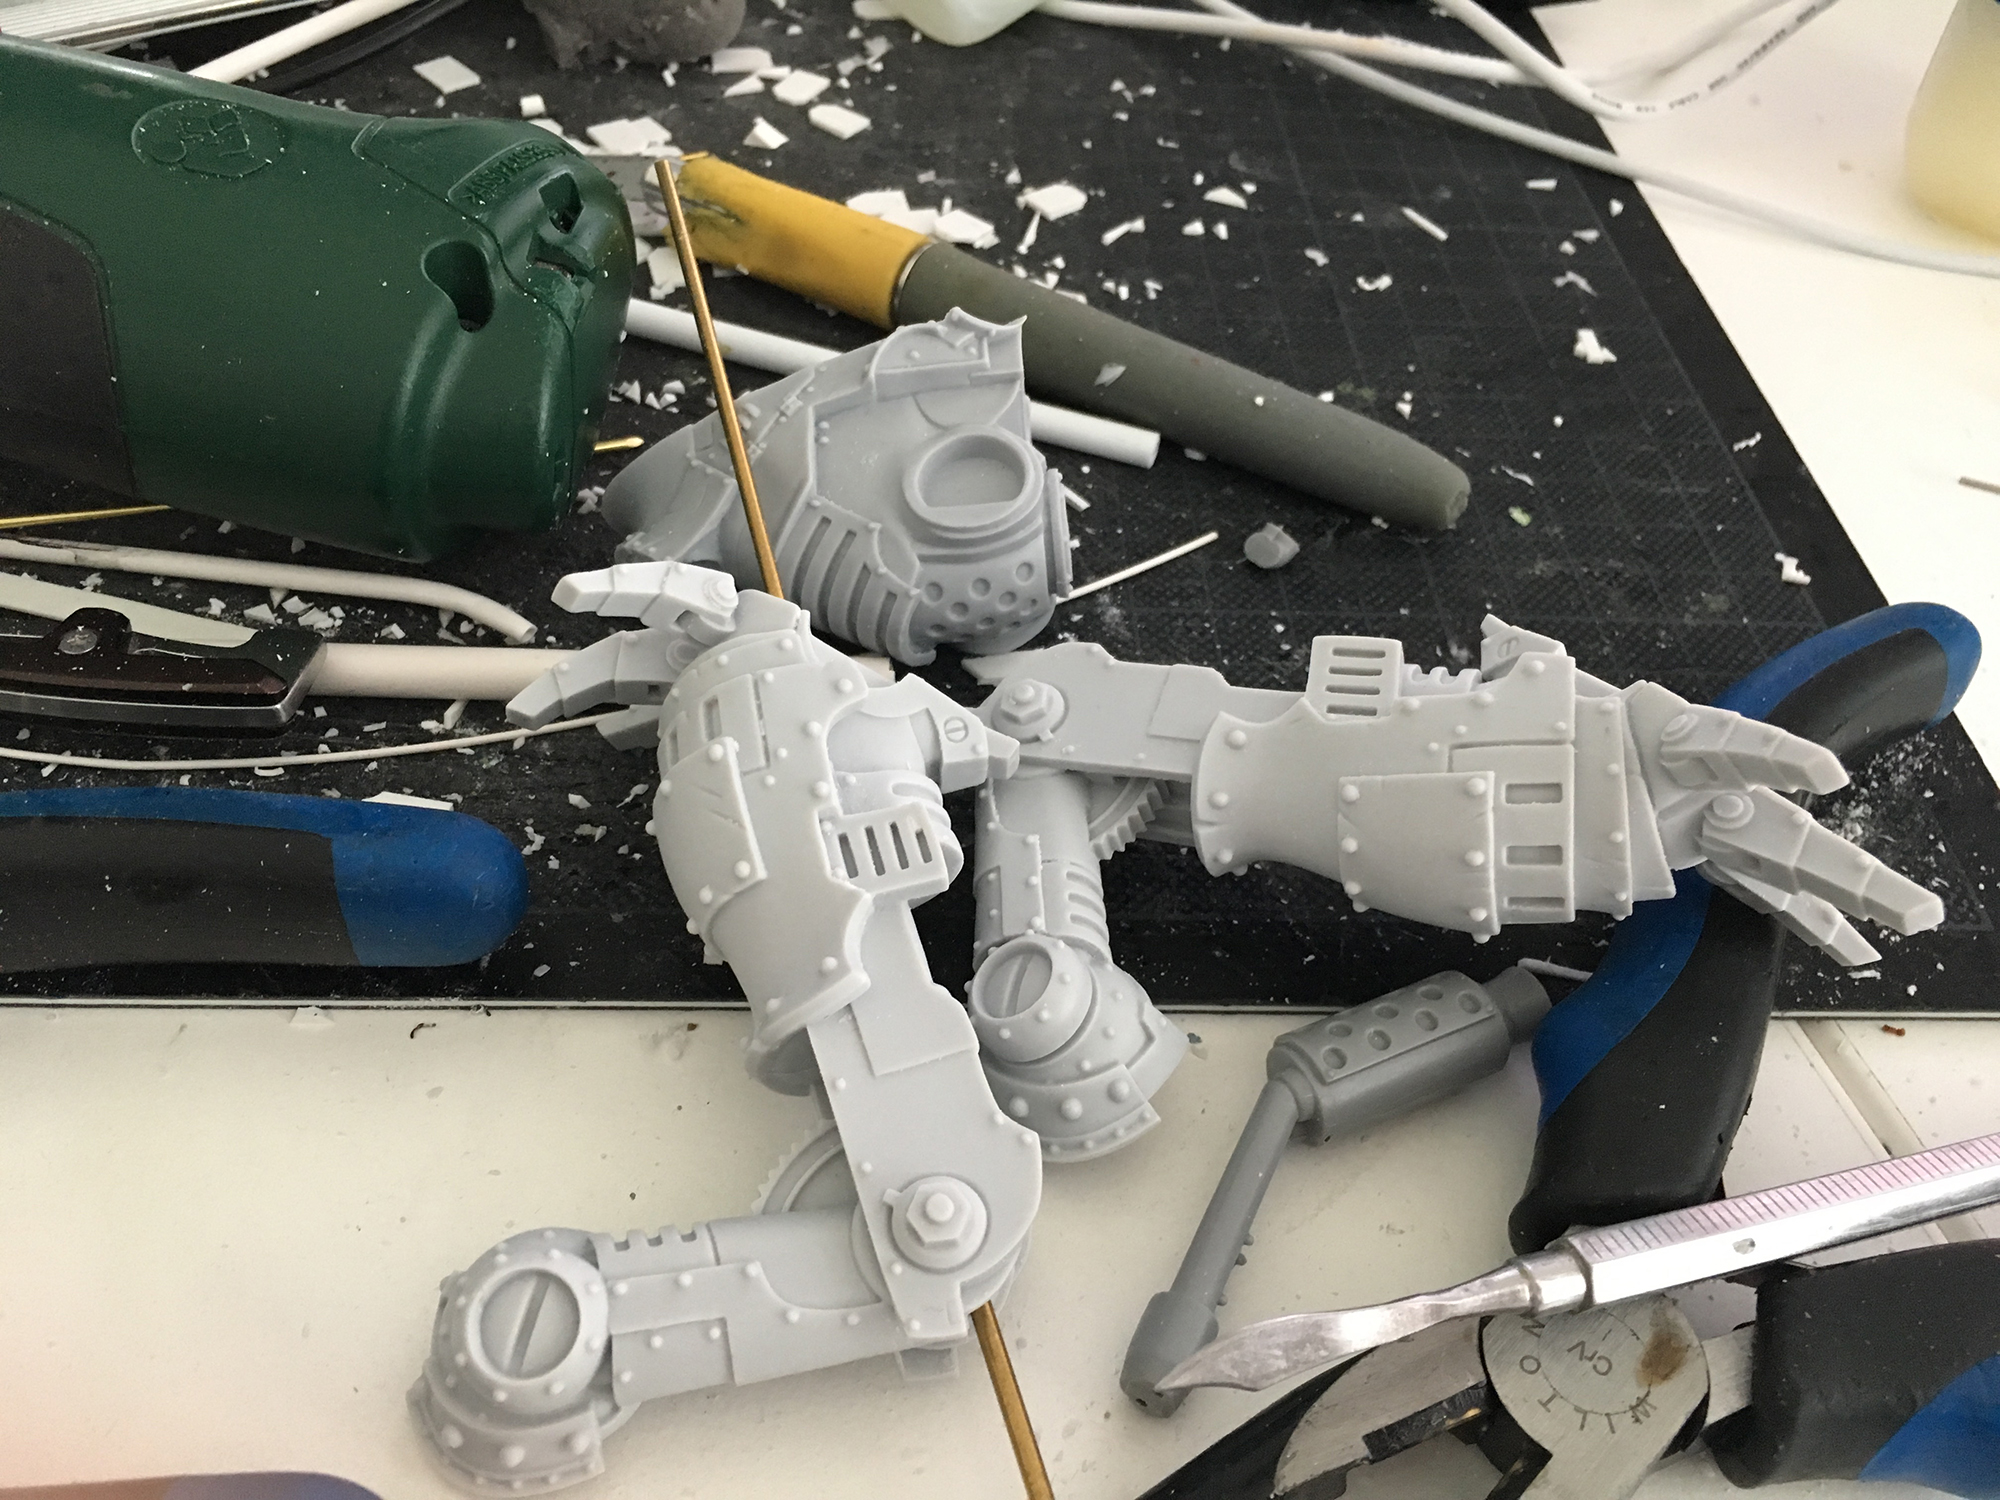
Drilling all the way through the legs certainly isn’t easy. I had to drill from both ends, guesstimating the angle so the 2 parts would touch. After a lot of teeth gnashing it worked though. Instead of brass rod, I used steel rod this time. It is a horrible material to work with (I had to buy a power tool just to be able to cut it), but the legs ended up stronger than I would ever have expected.


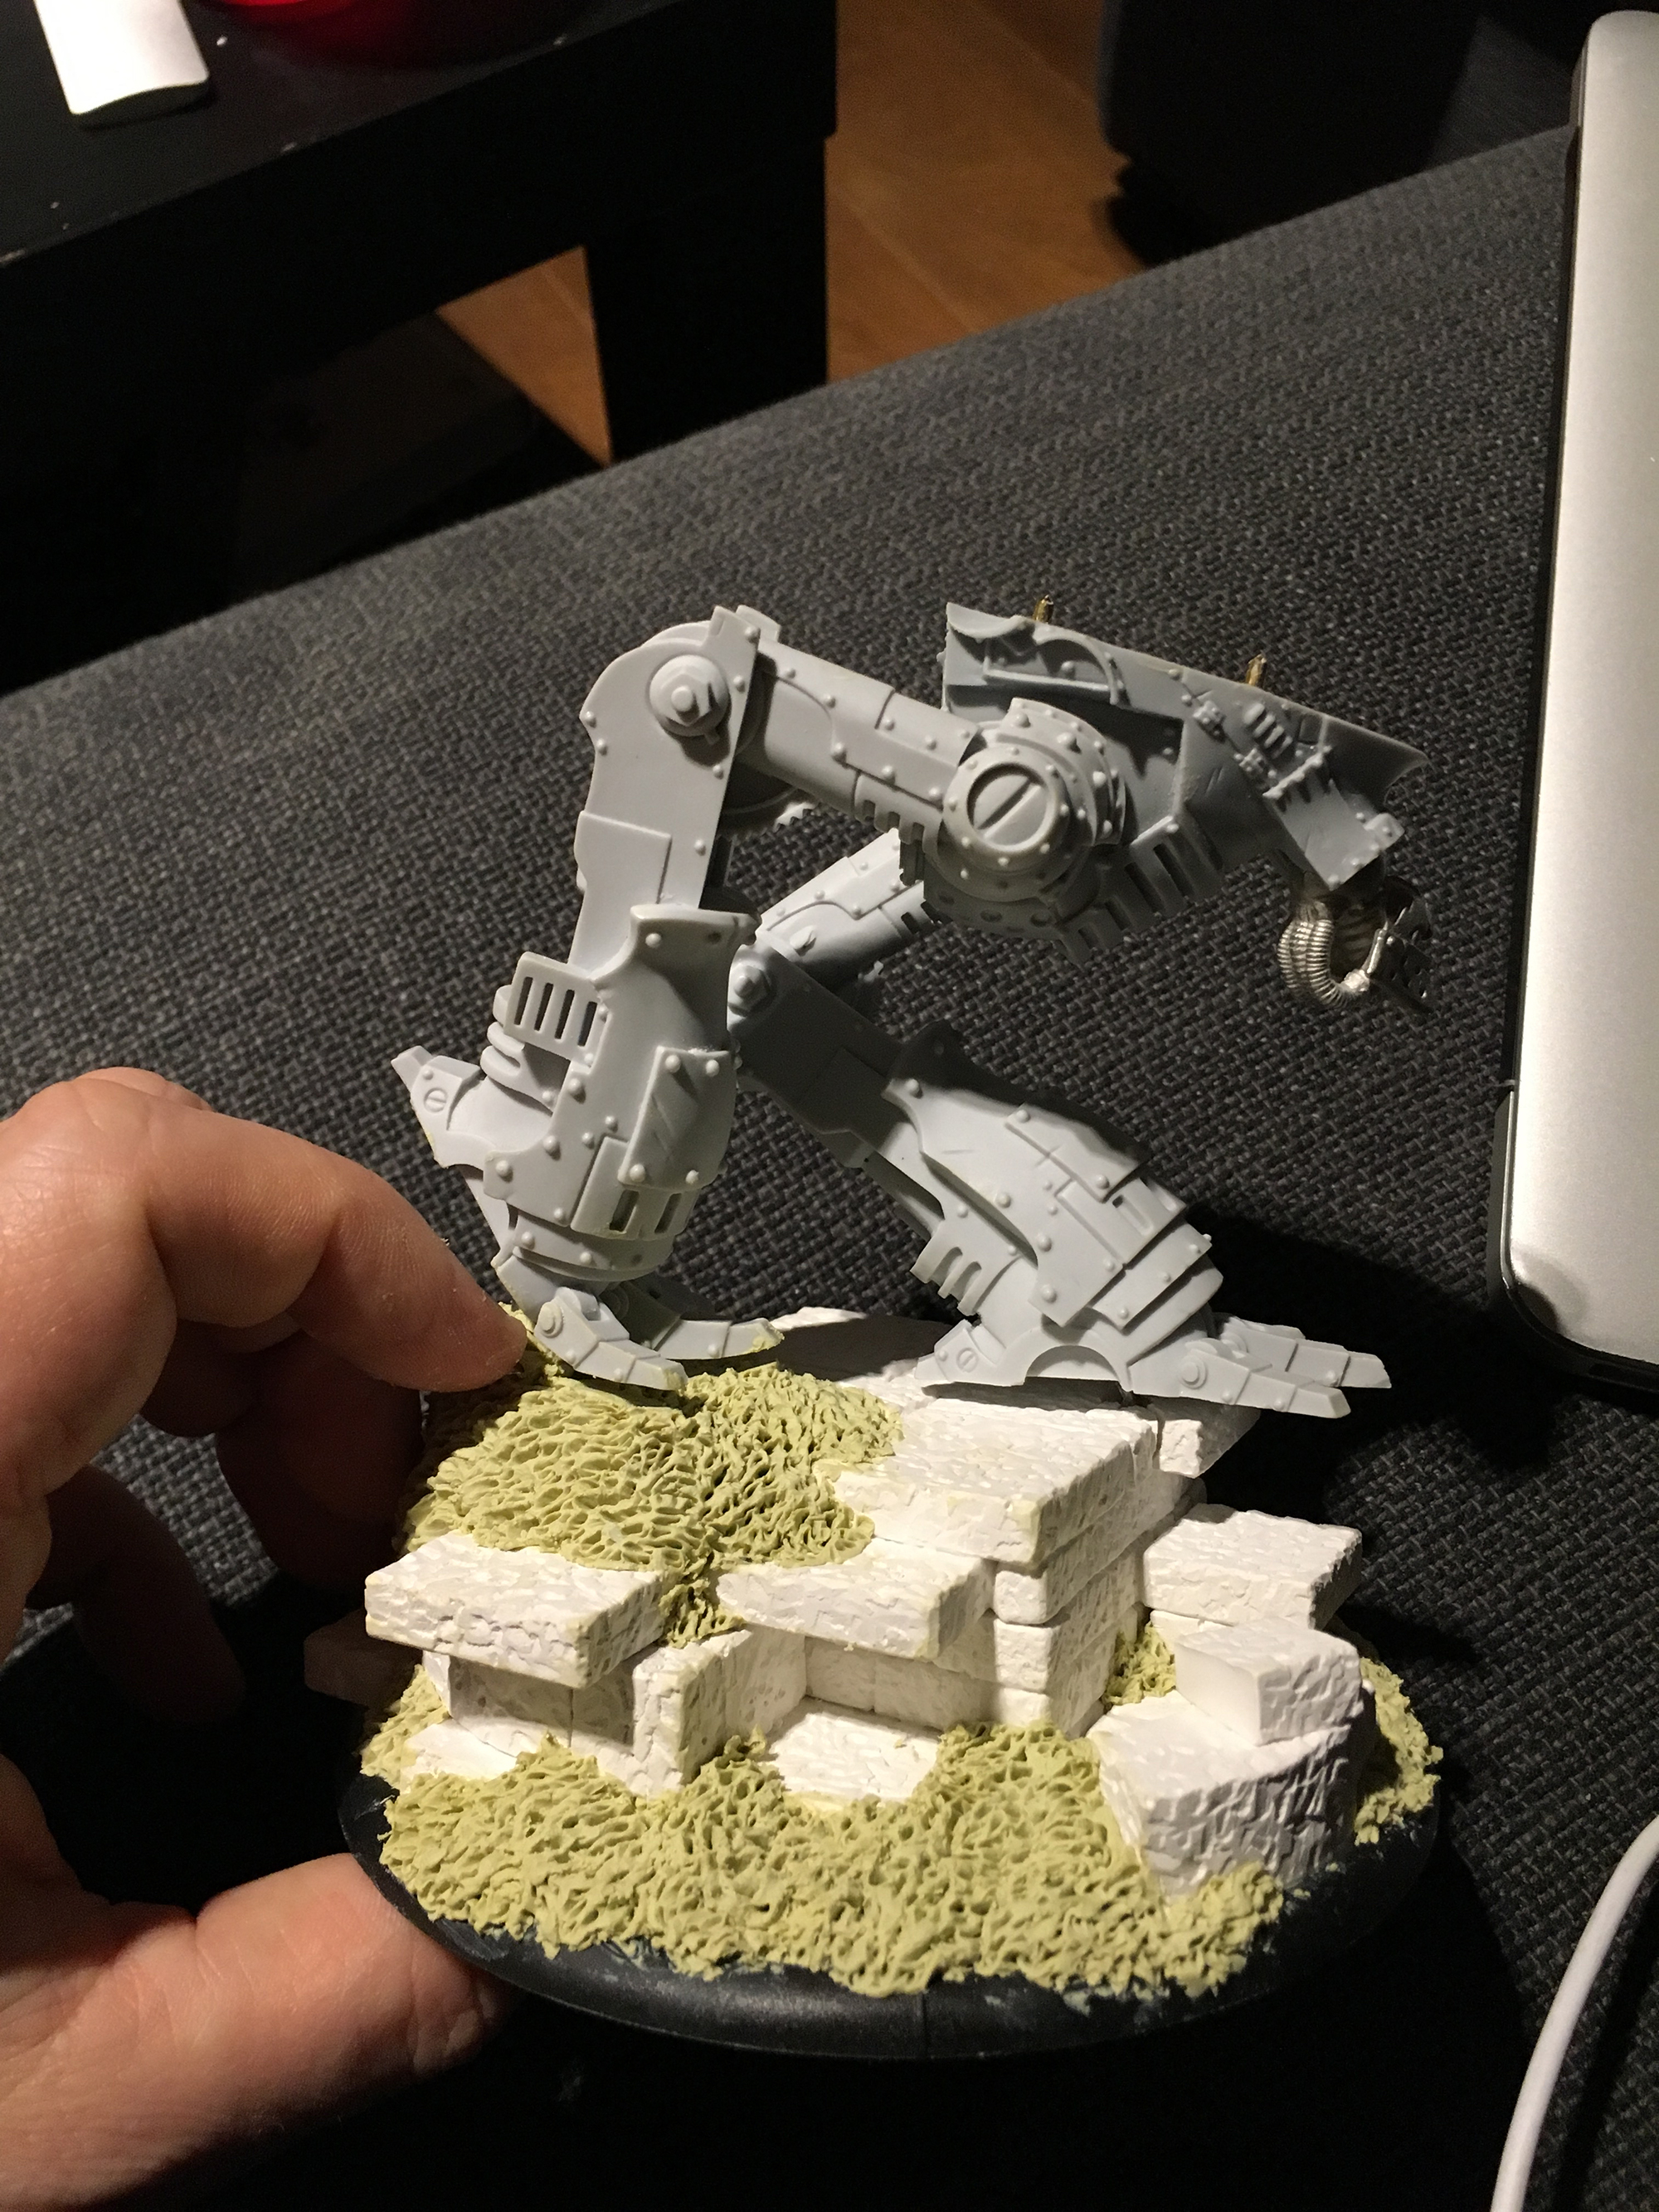

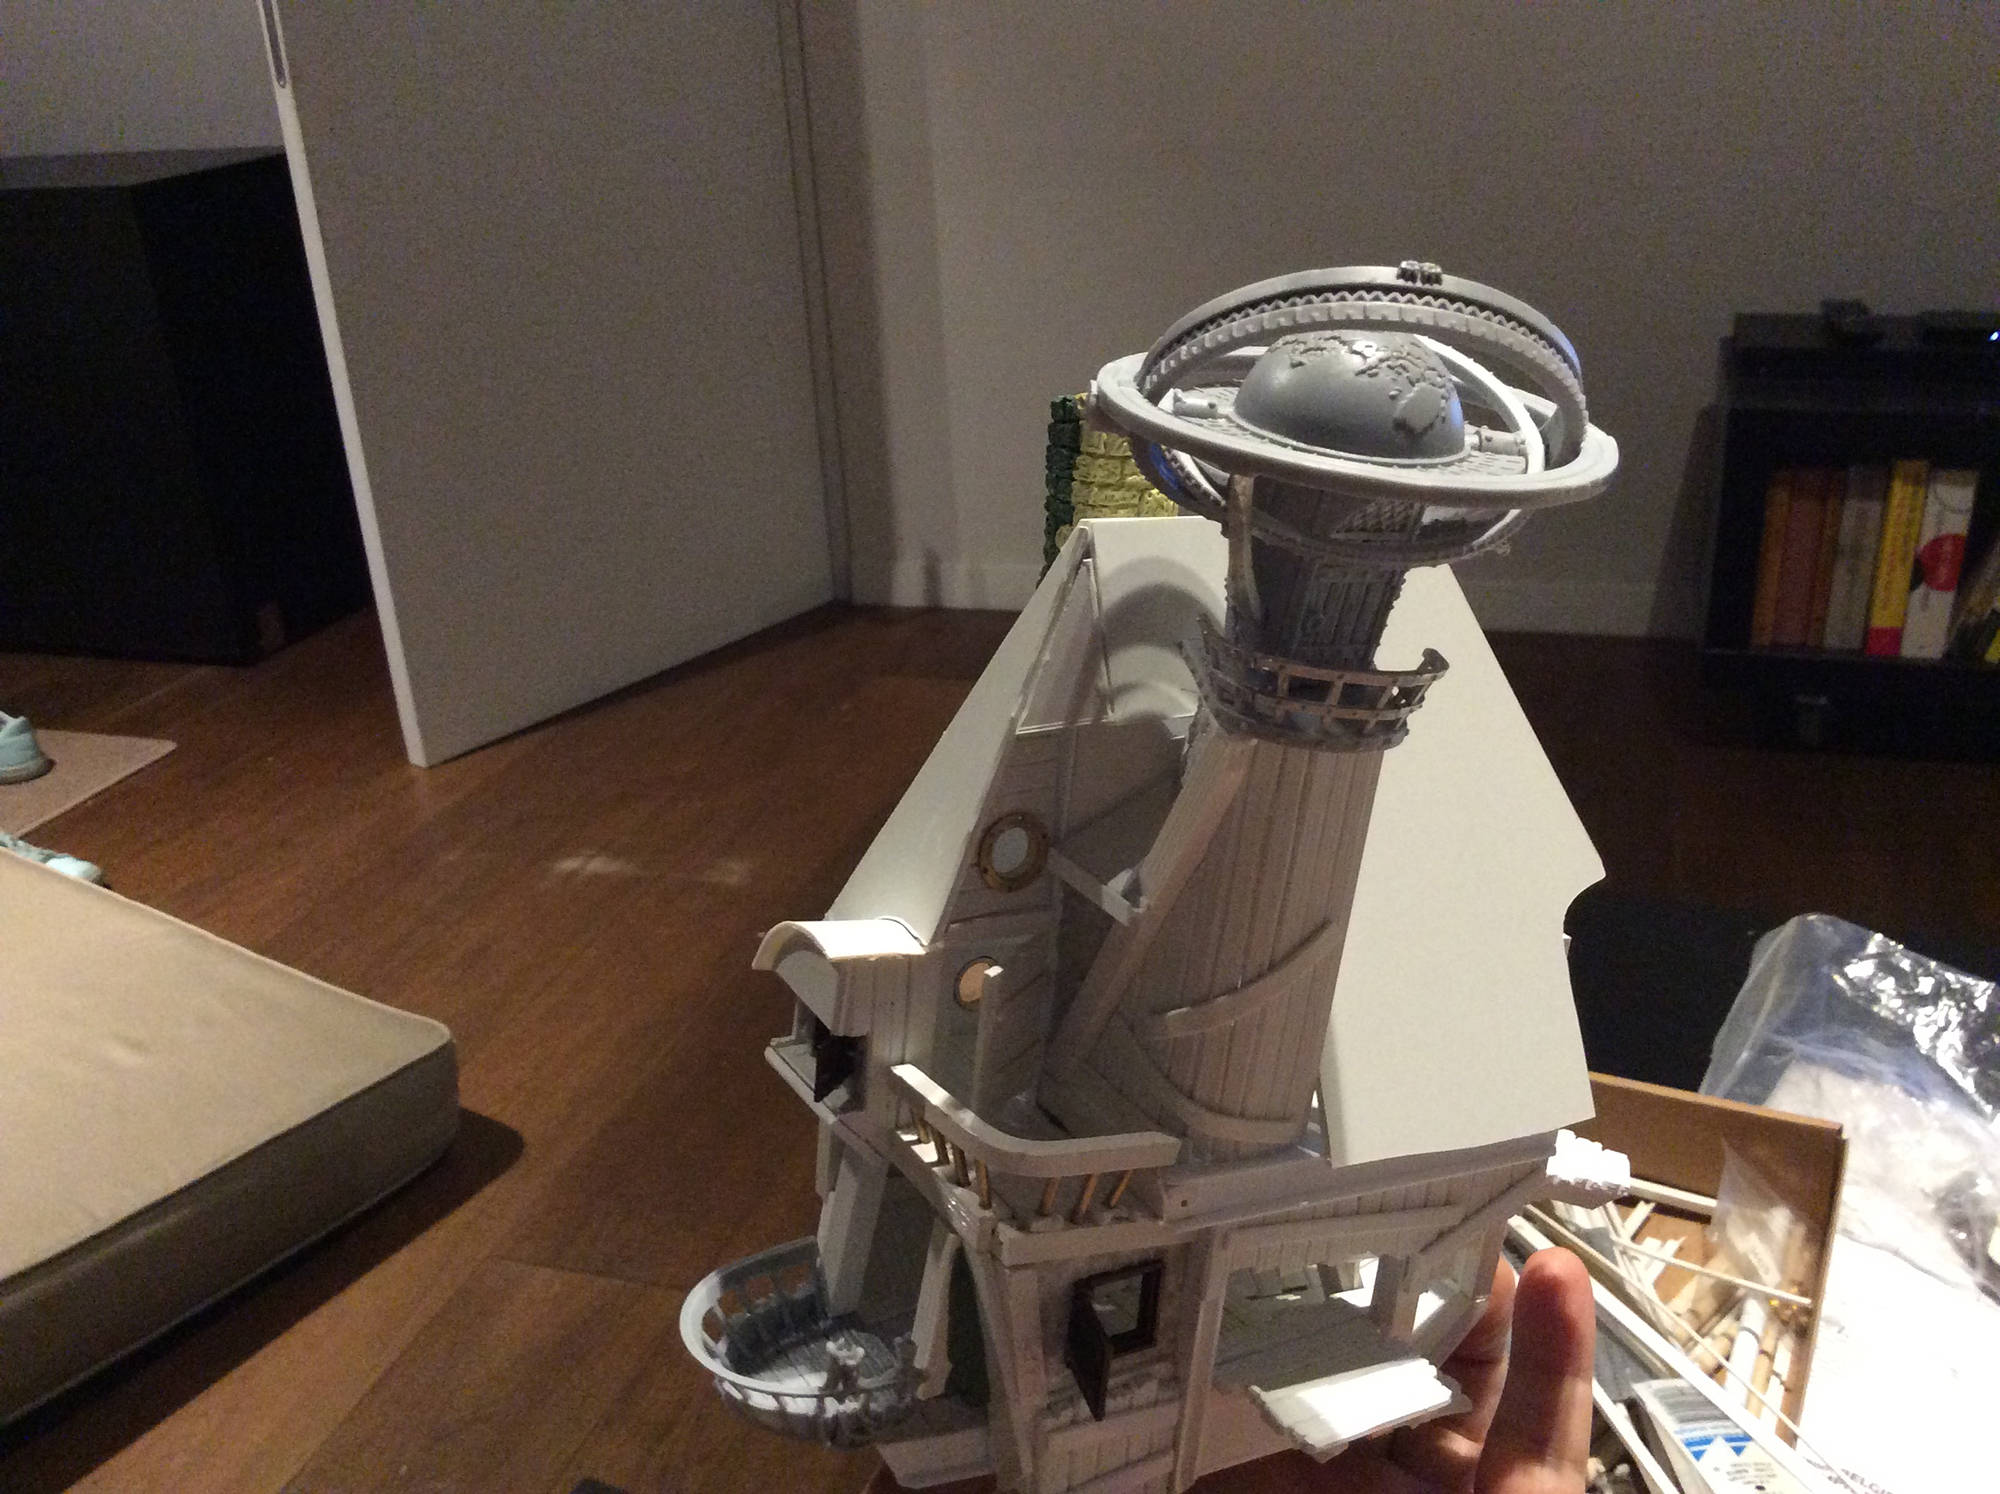
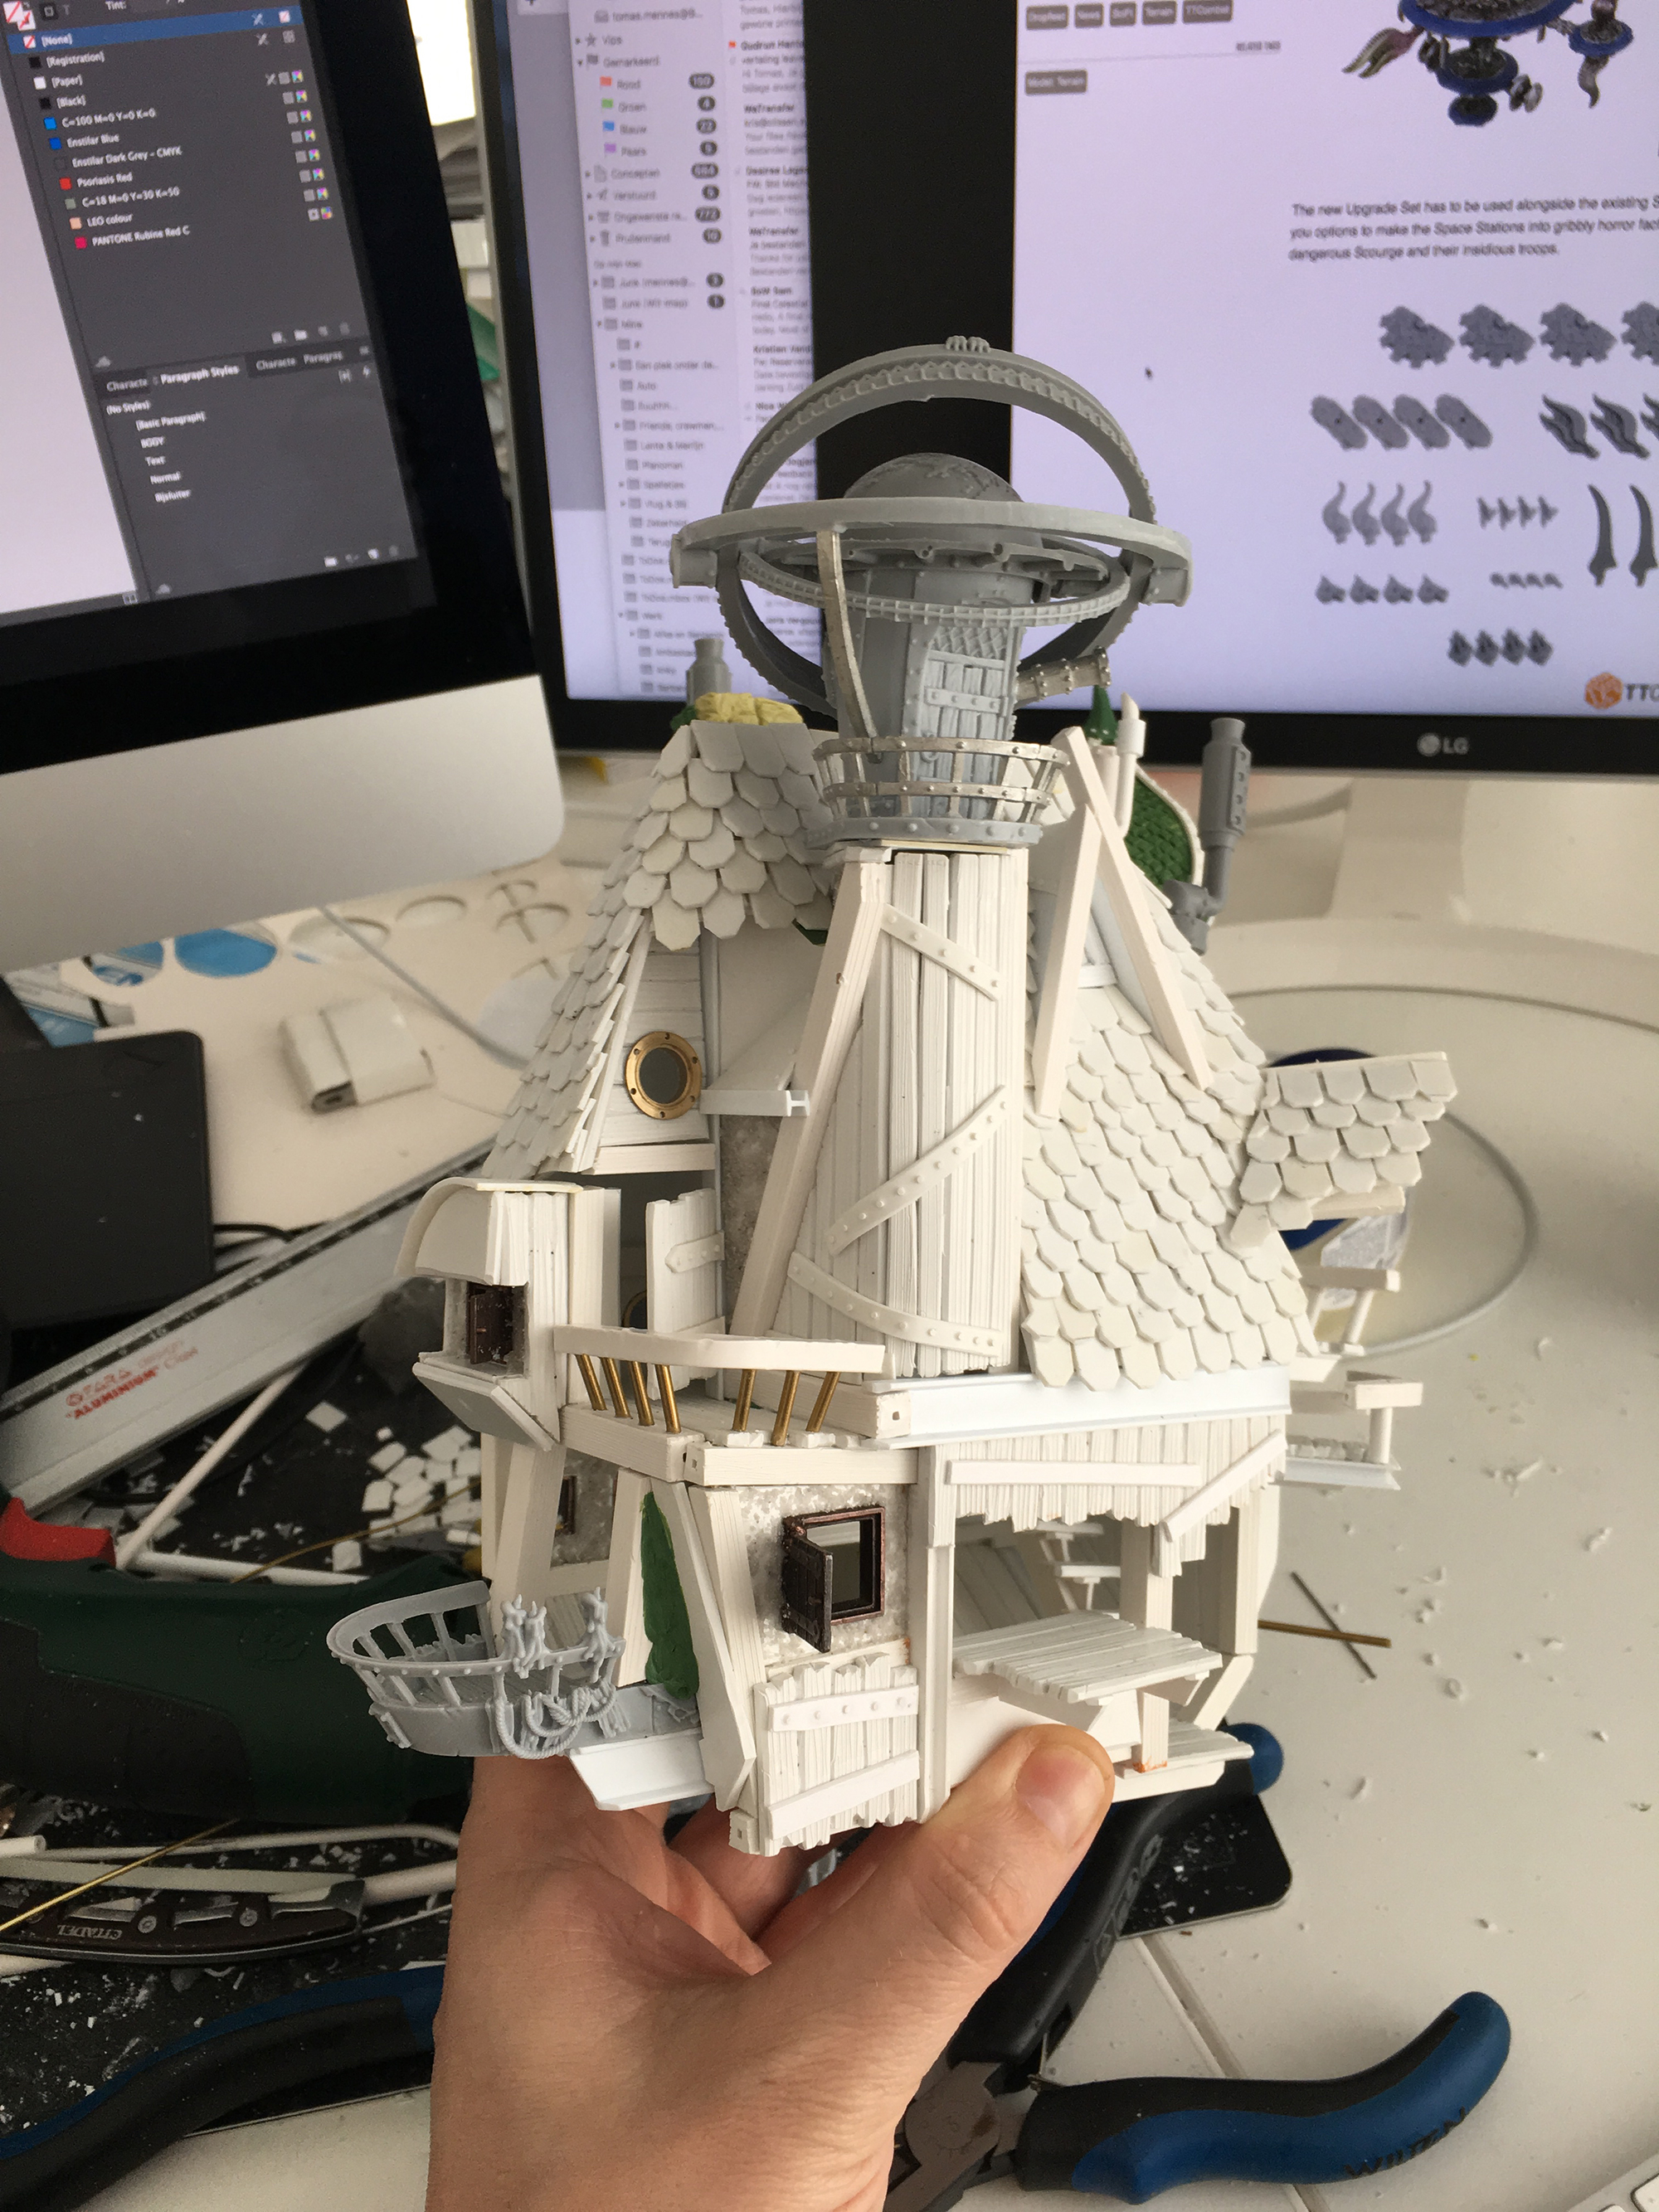
The proof of the pudding is in the eating. So I put the whole thing together, balanced it on its base and let it sit for a week to see if everything would be sturdy enough.
And lo and behold, the basis shape and structure ready.


Time to start detailing the thing
An eye for details
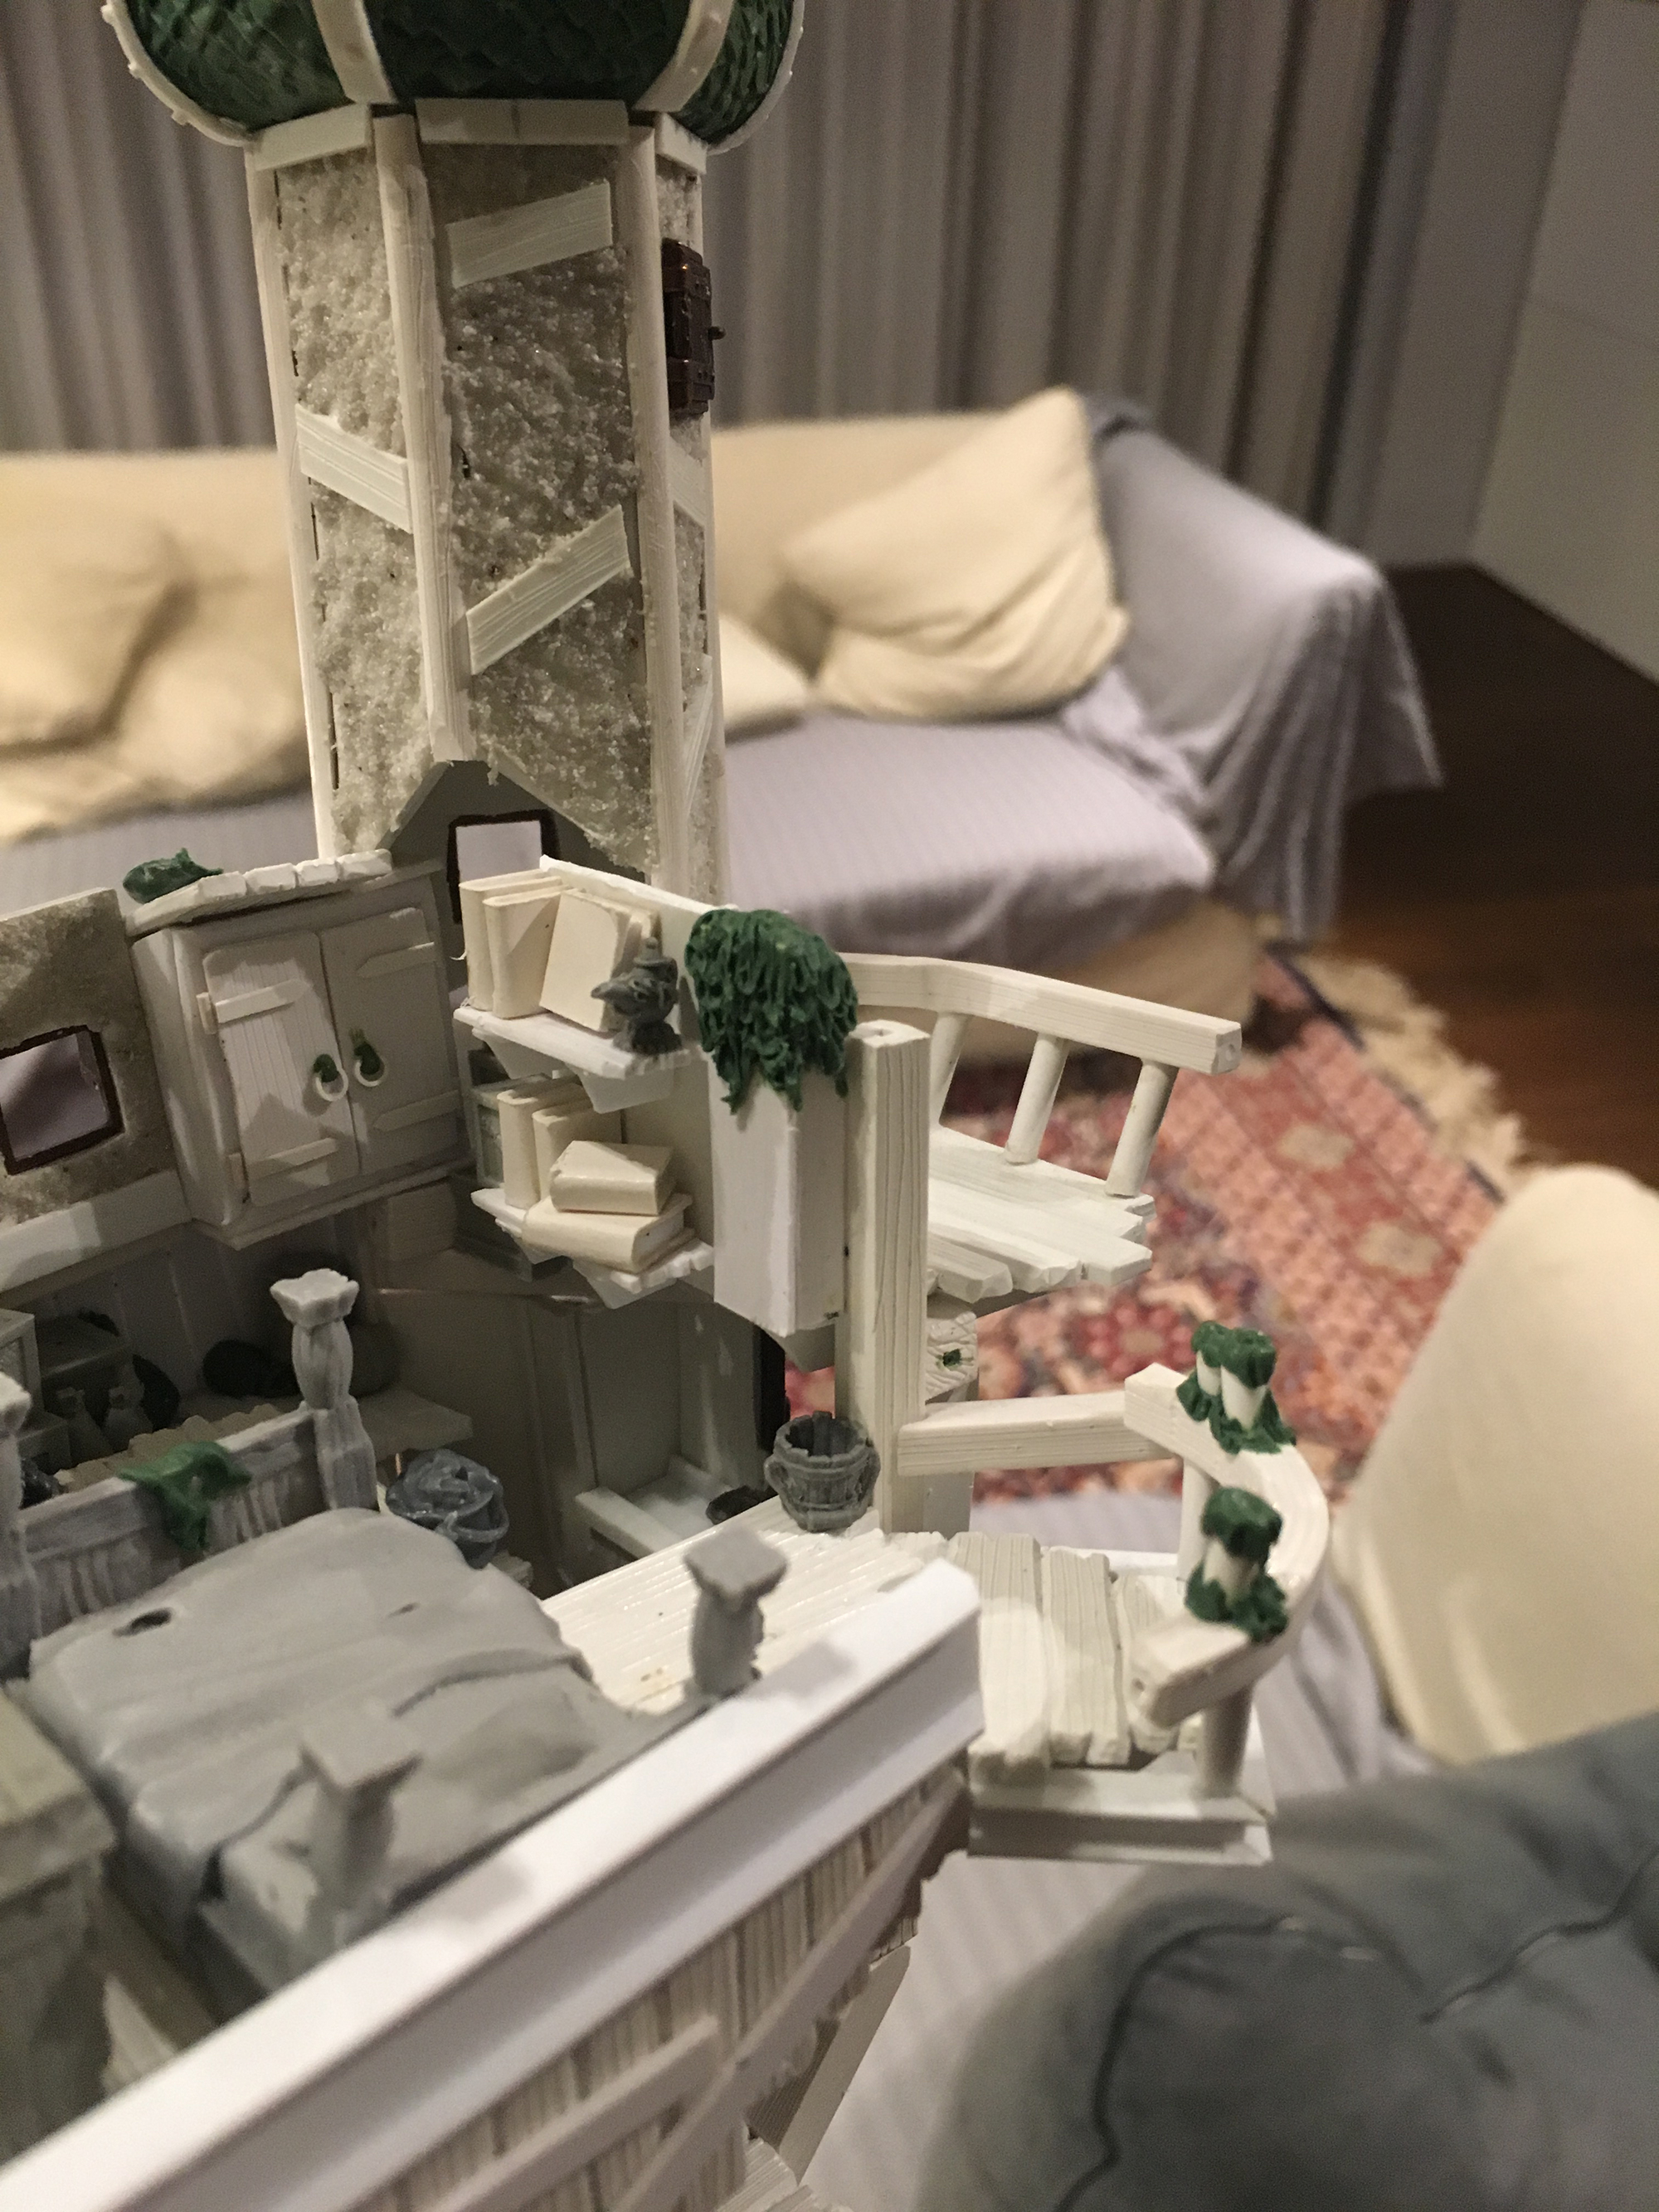
With the basic shape done, it was time to start detailing the hell out of this thing. I wanted the shed to be overflowing with details, to make it look like theere was actually a hoarding witch living in it.
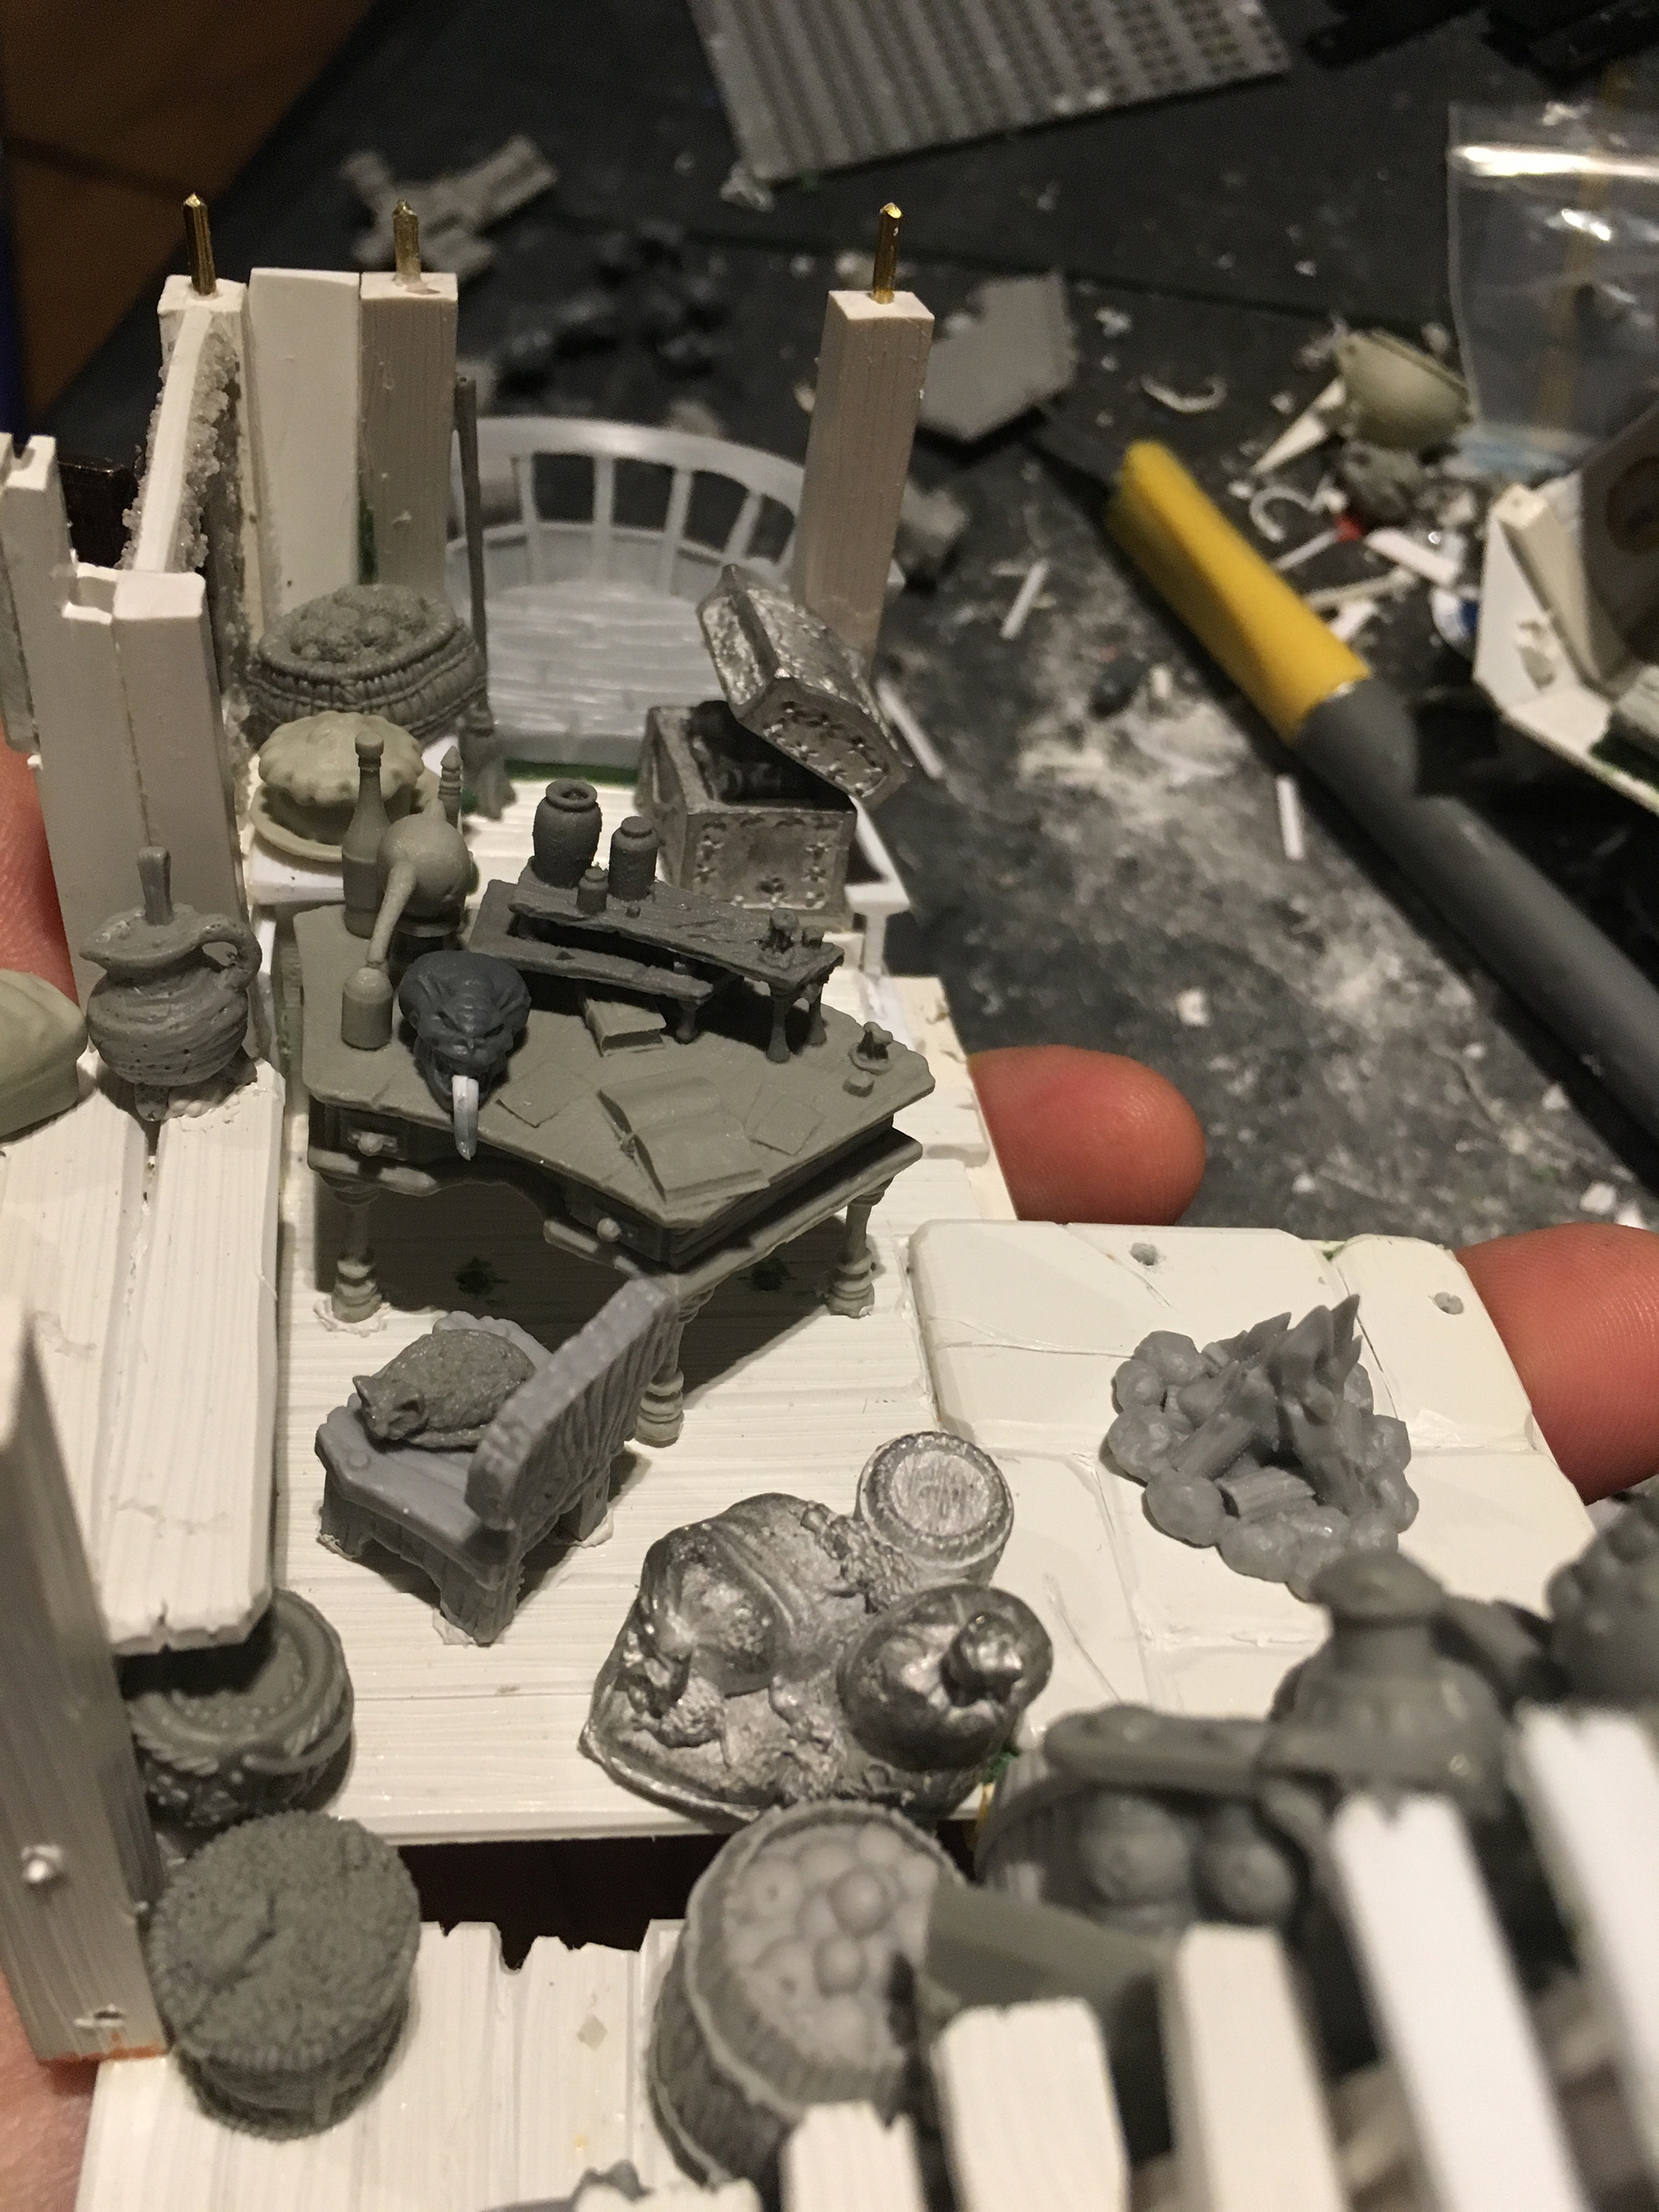
I started with the bed room. The furniture like the bed and cabinet I found online from the fine folks at http://zealotminiatures.com
The shelves, books and all the other details were handmade from plasticard and cardboard.

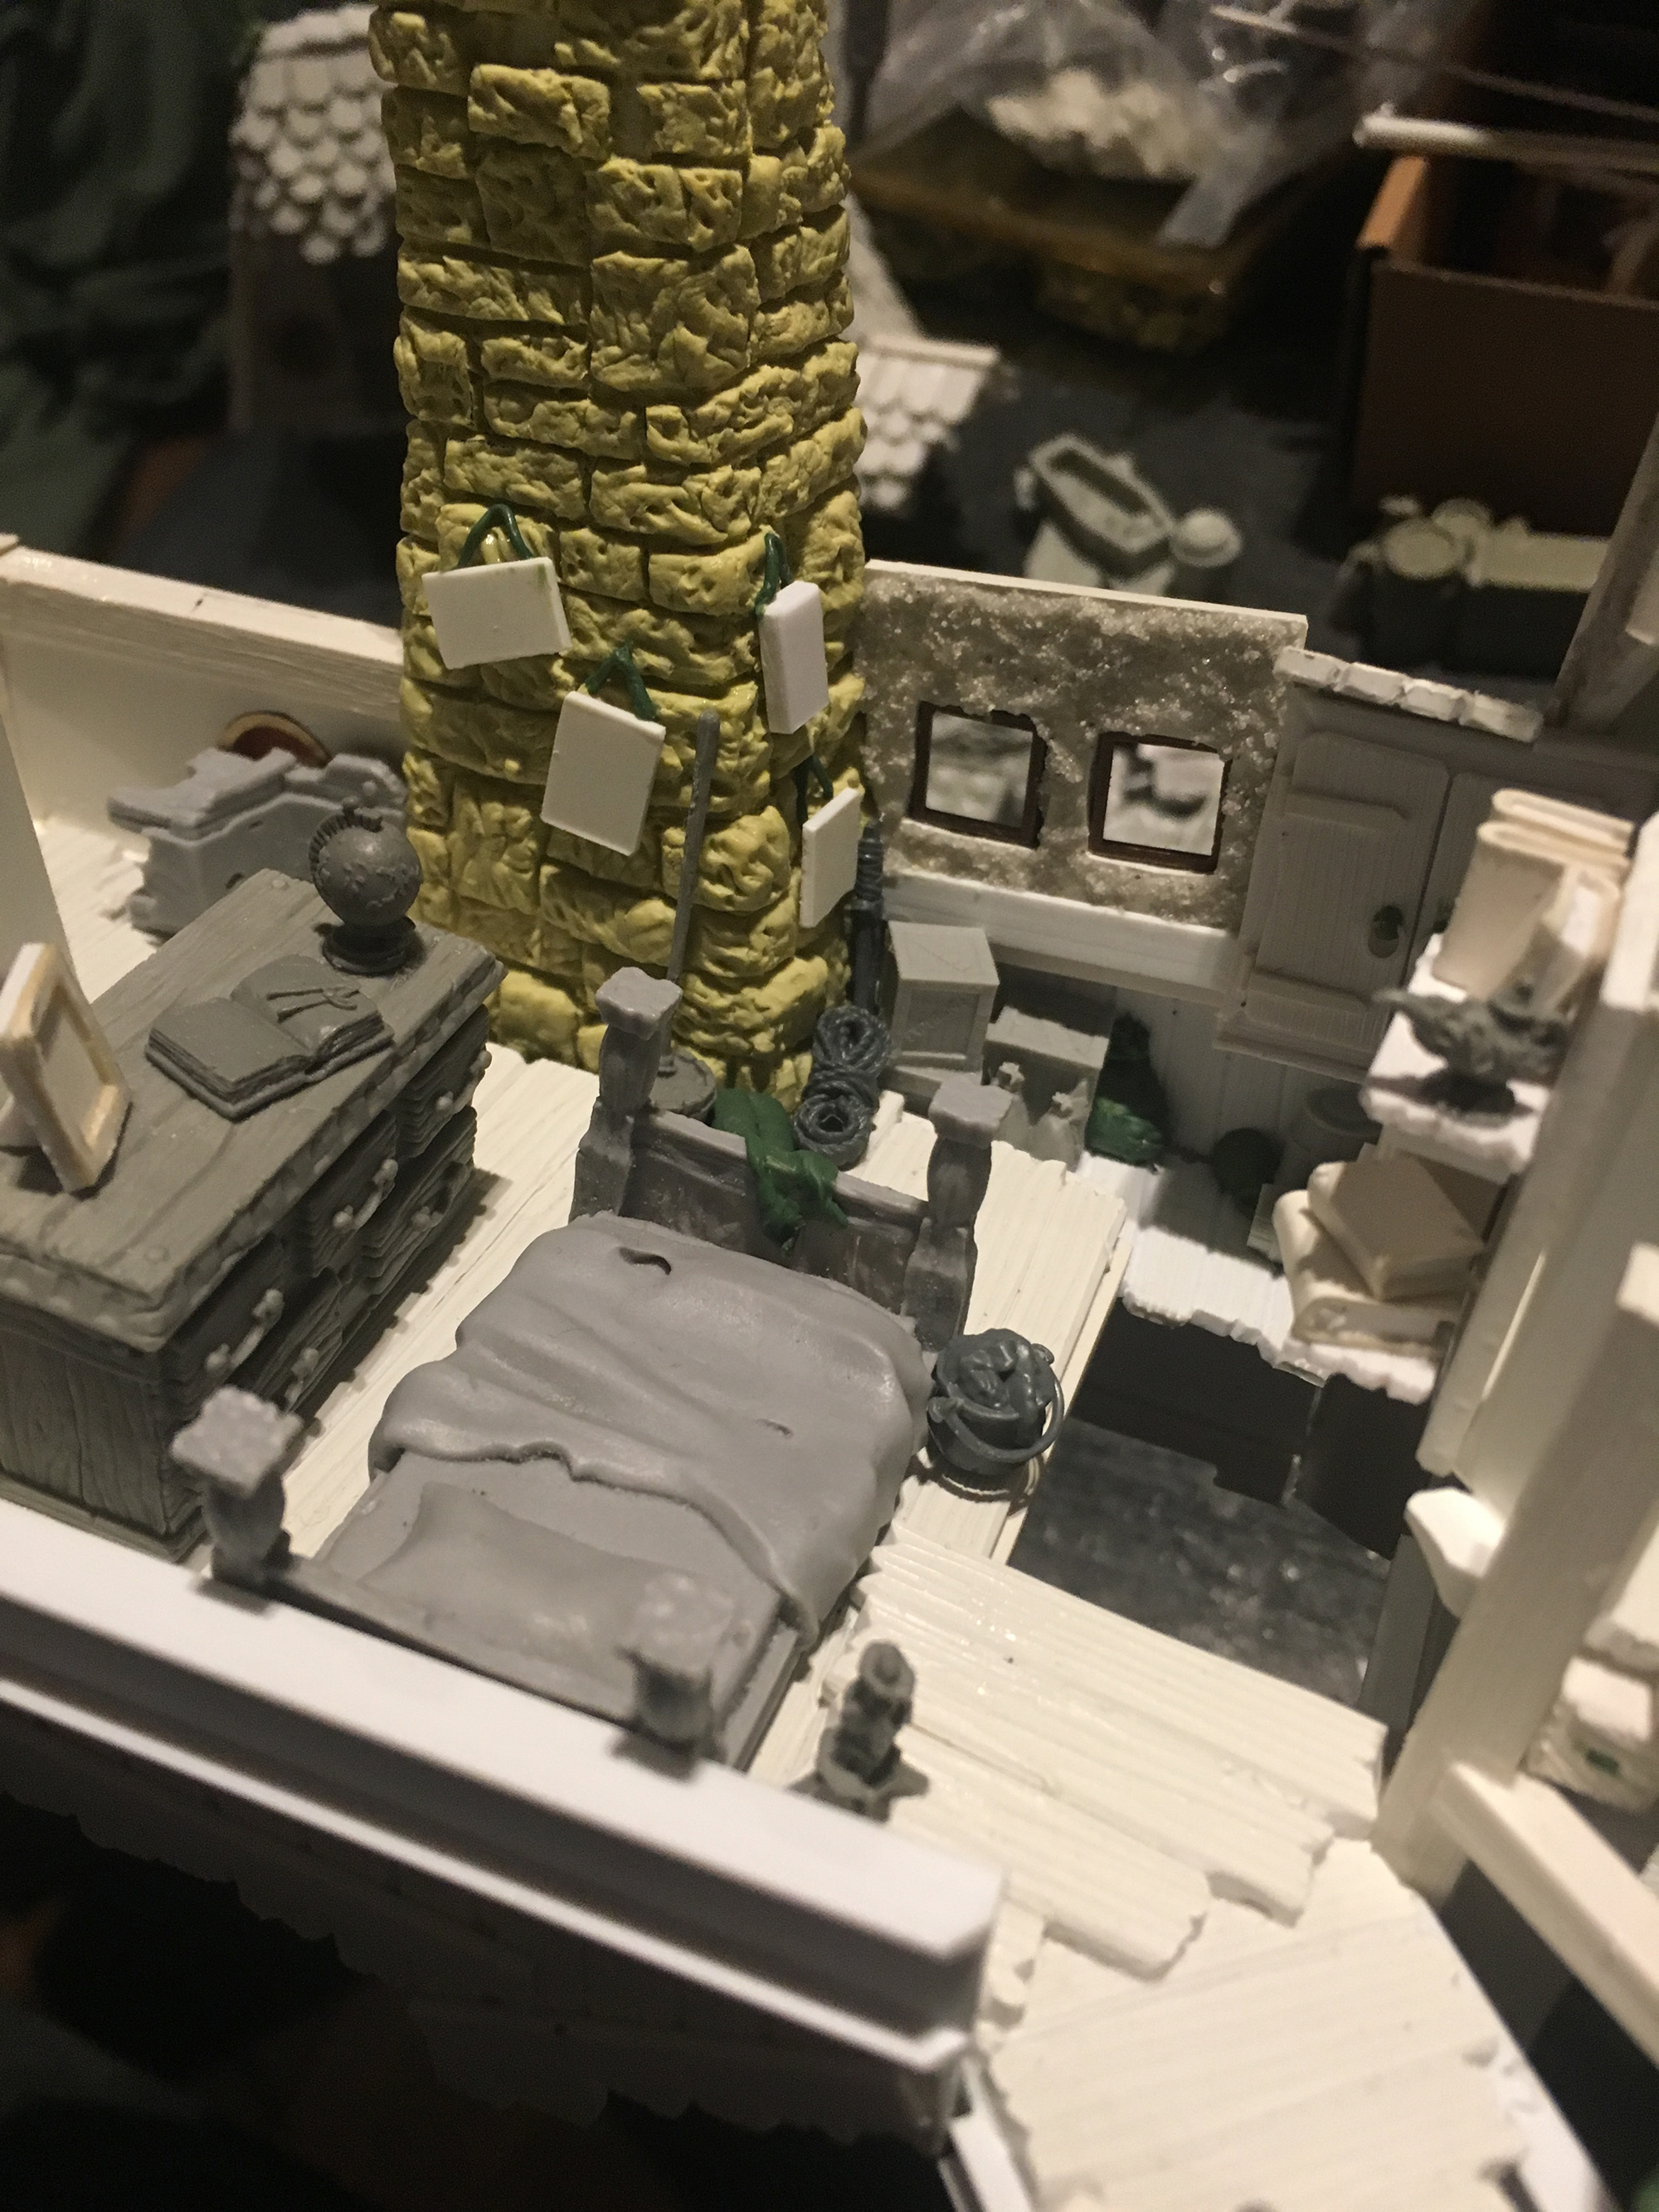
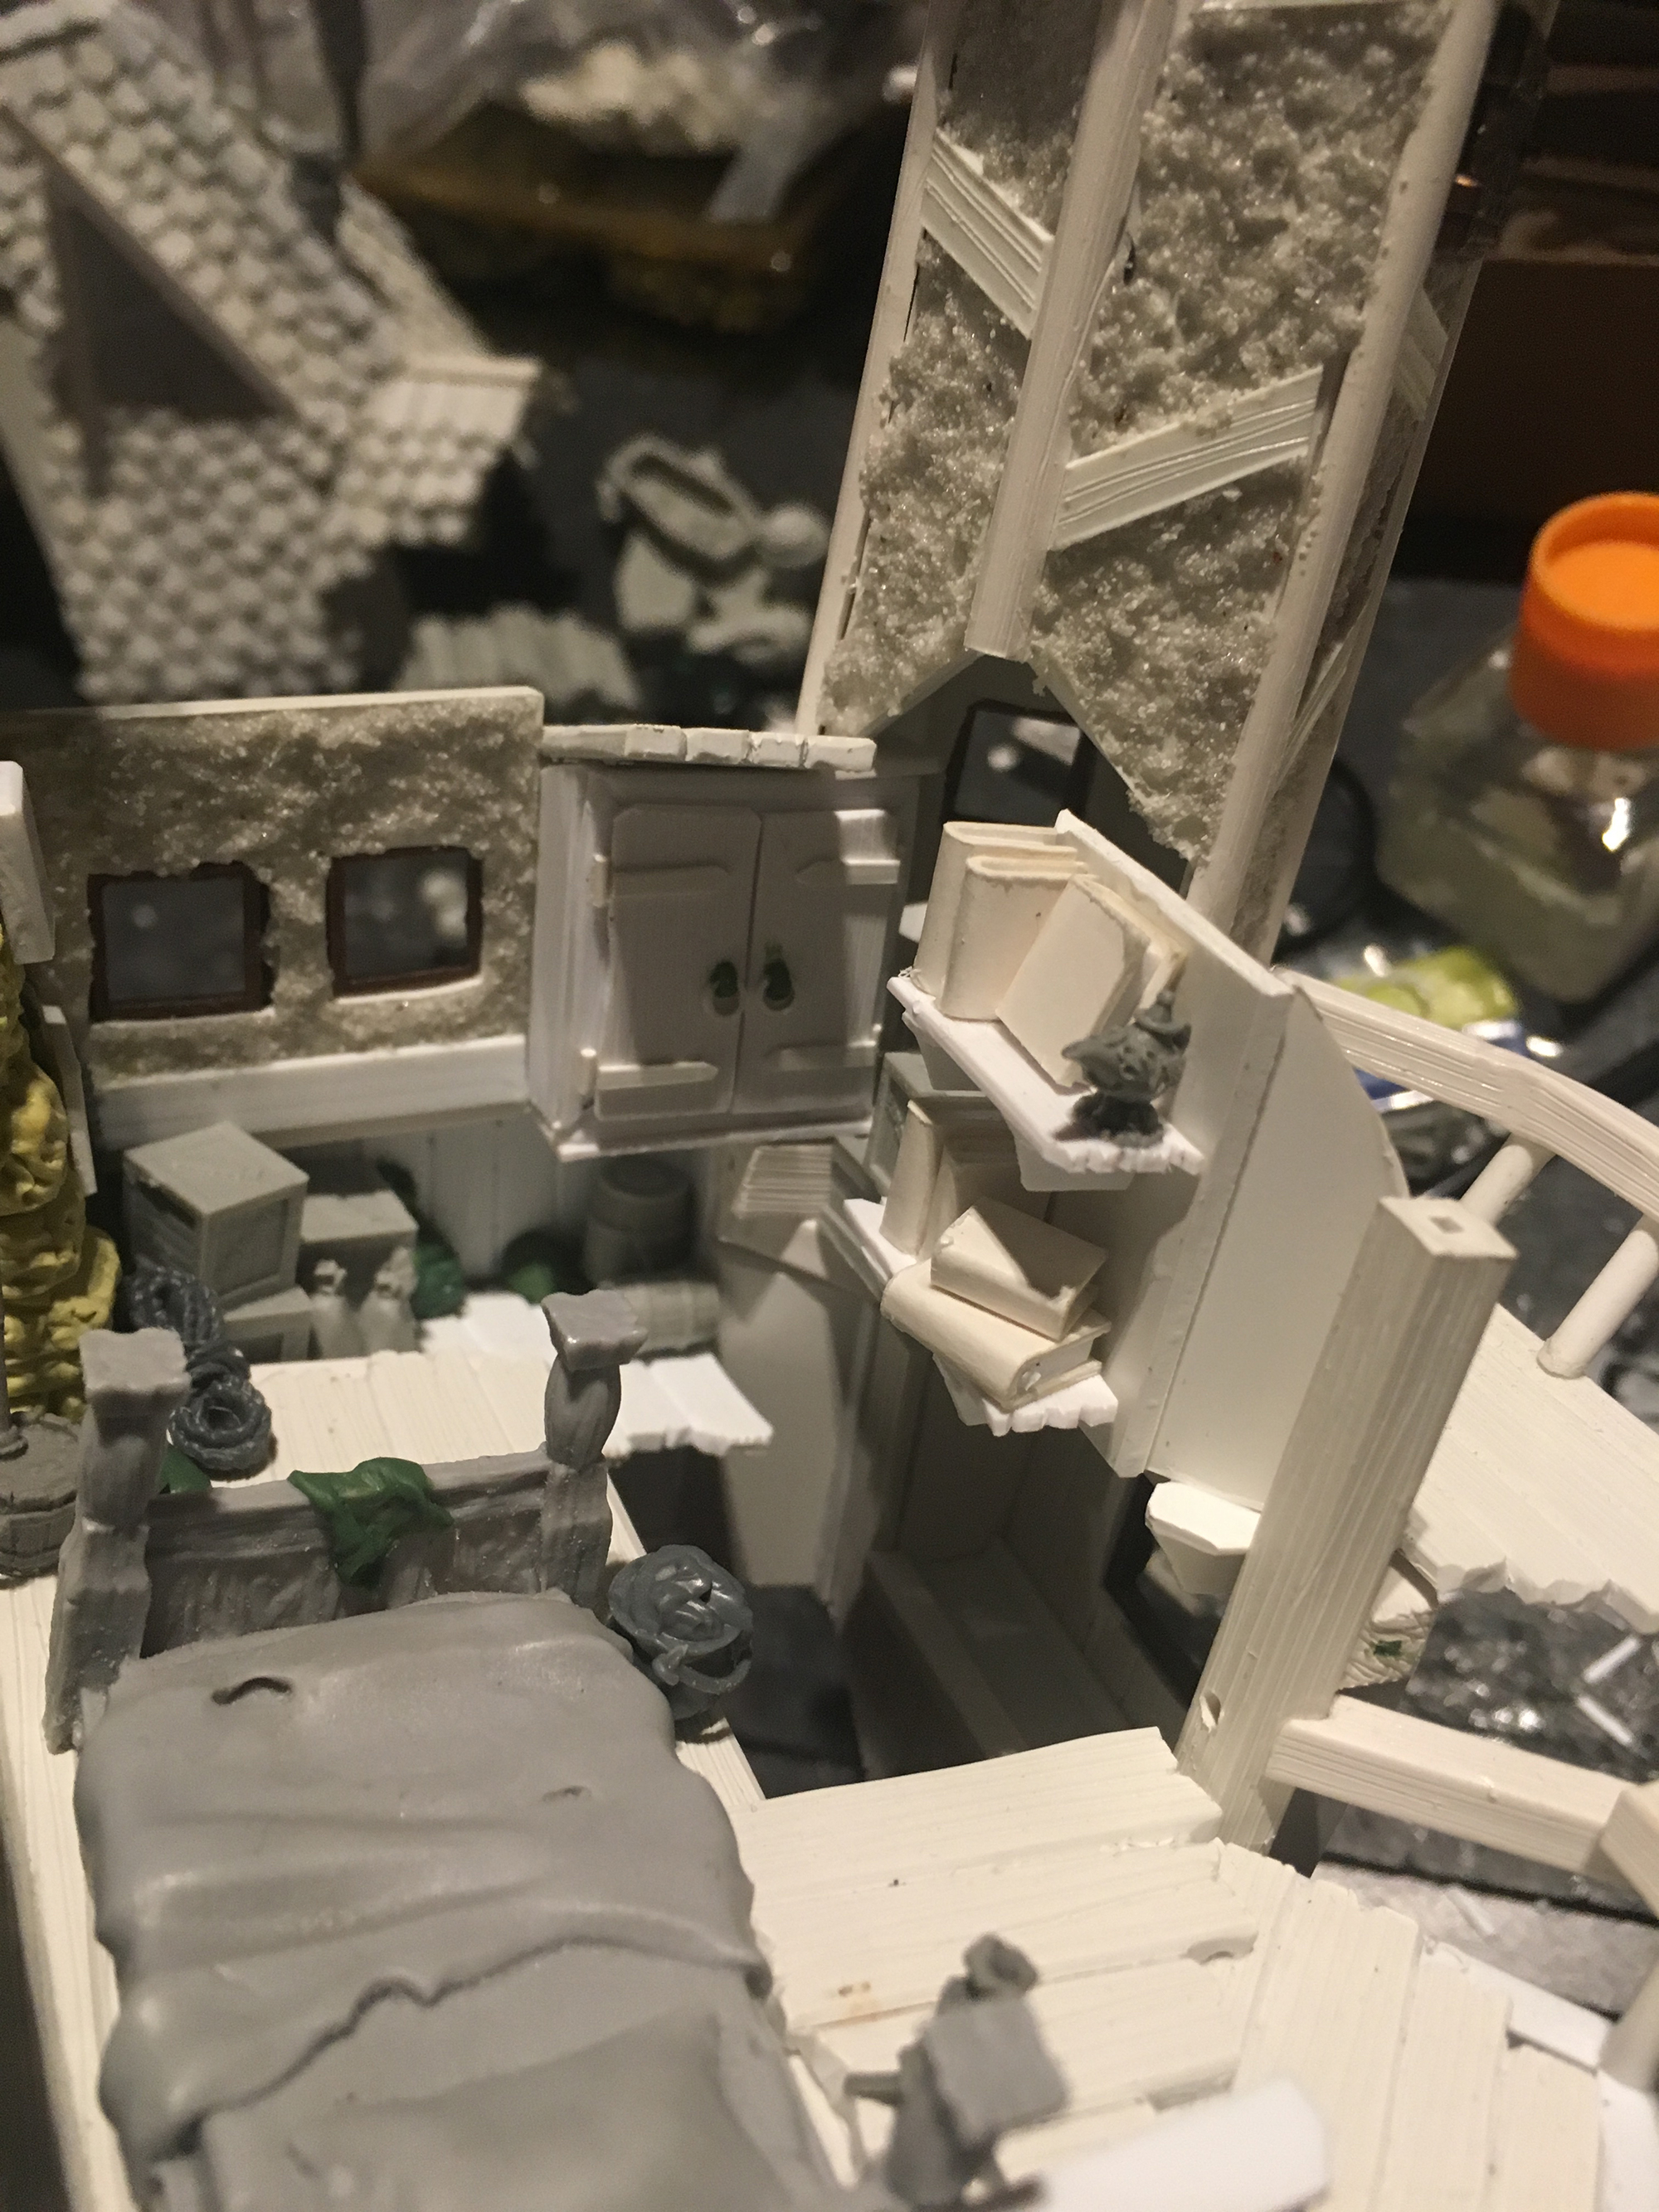

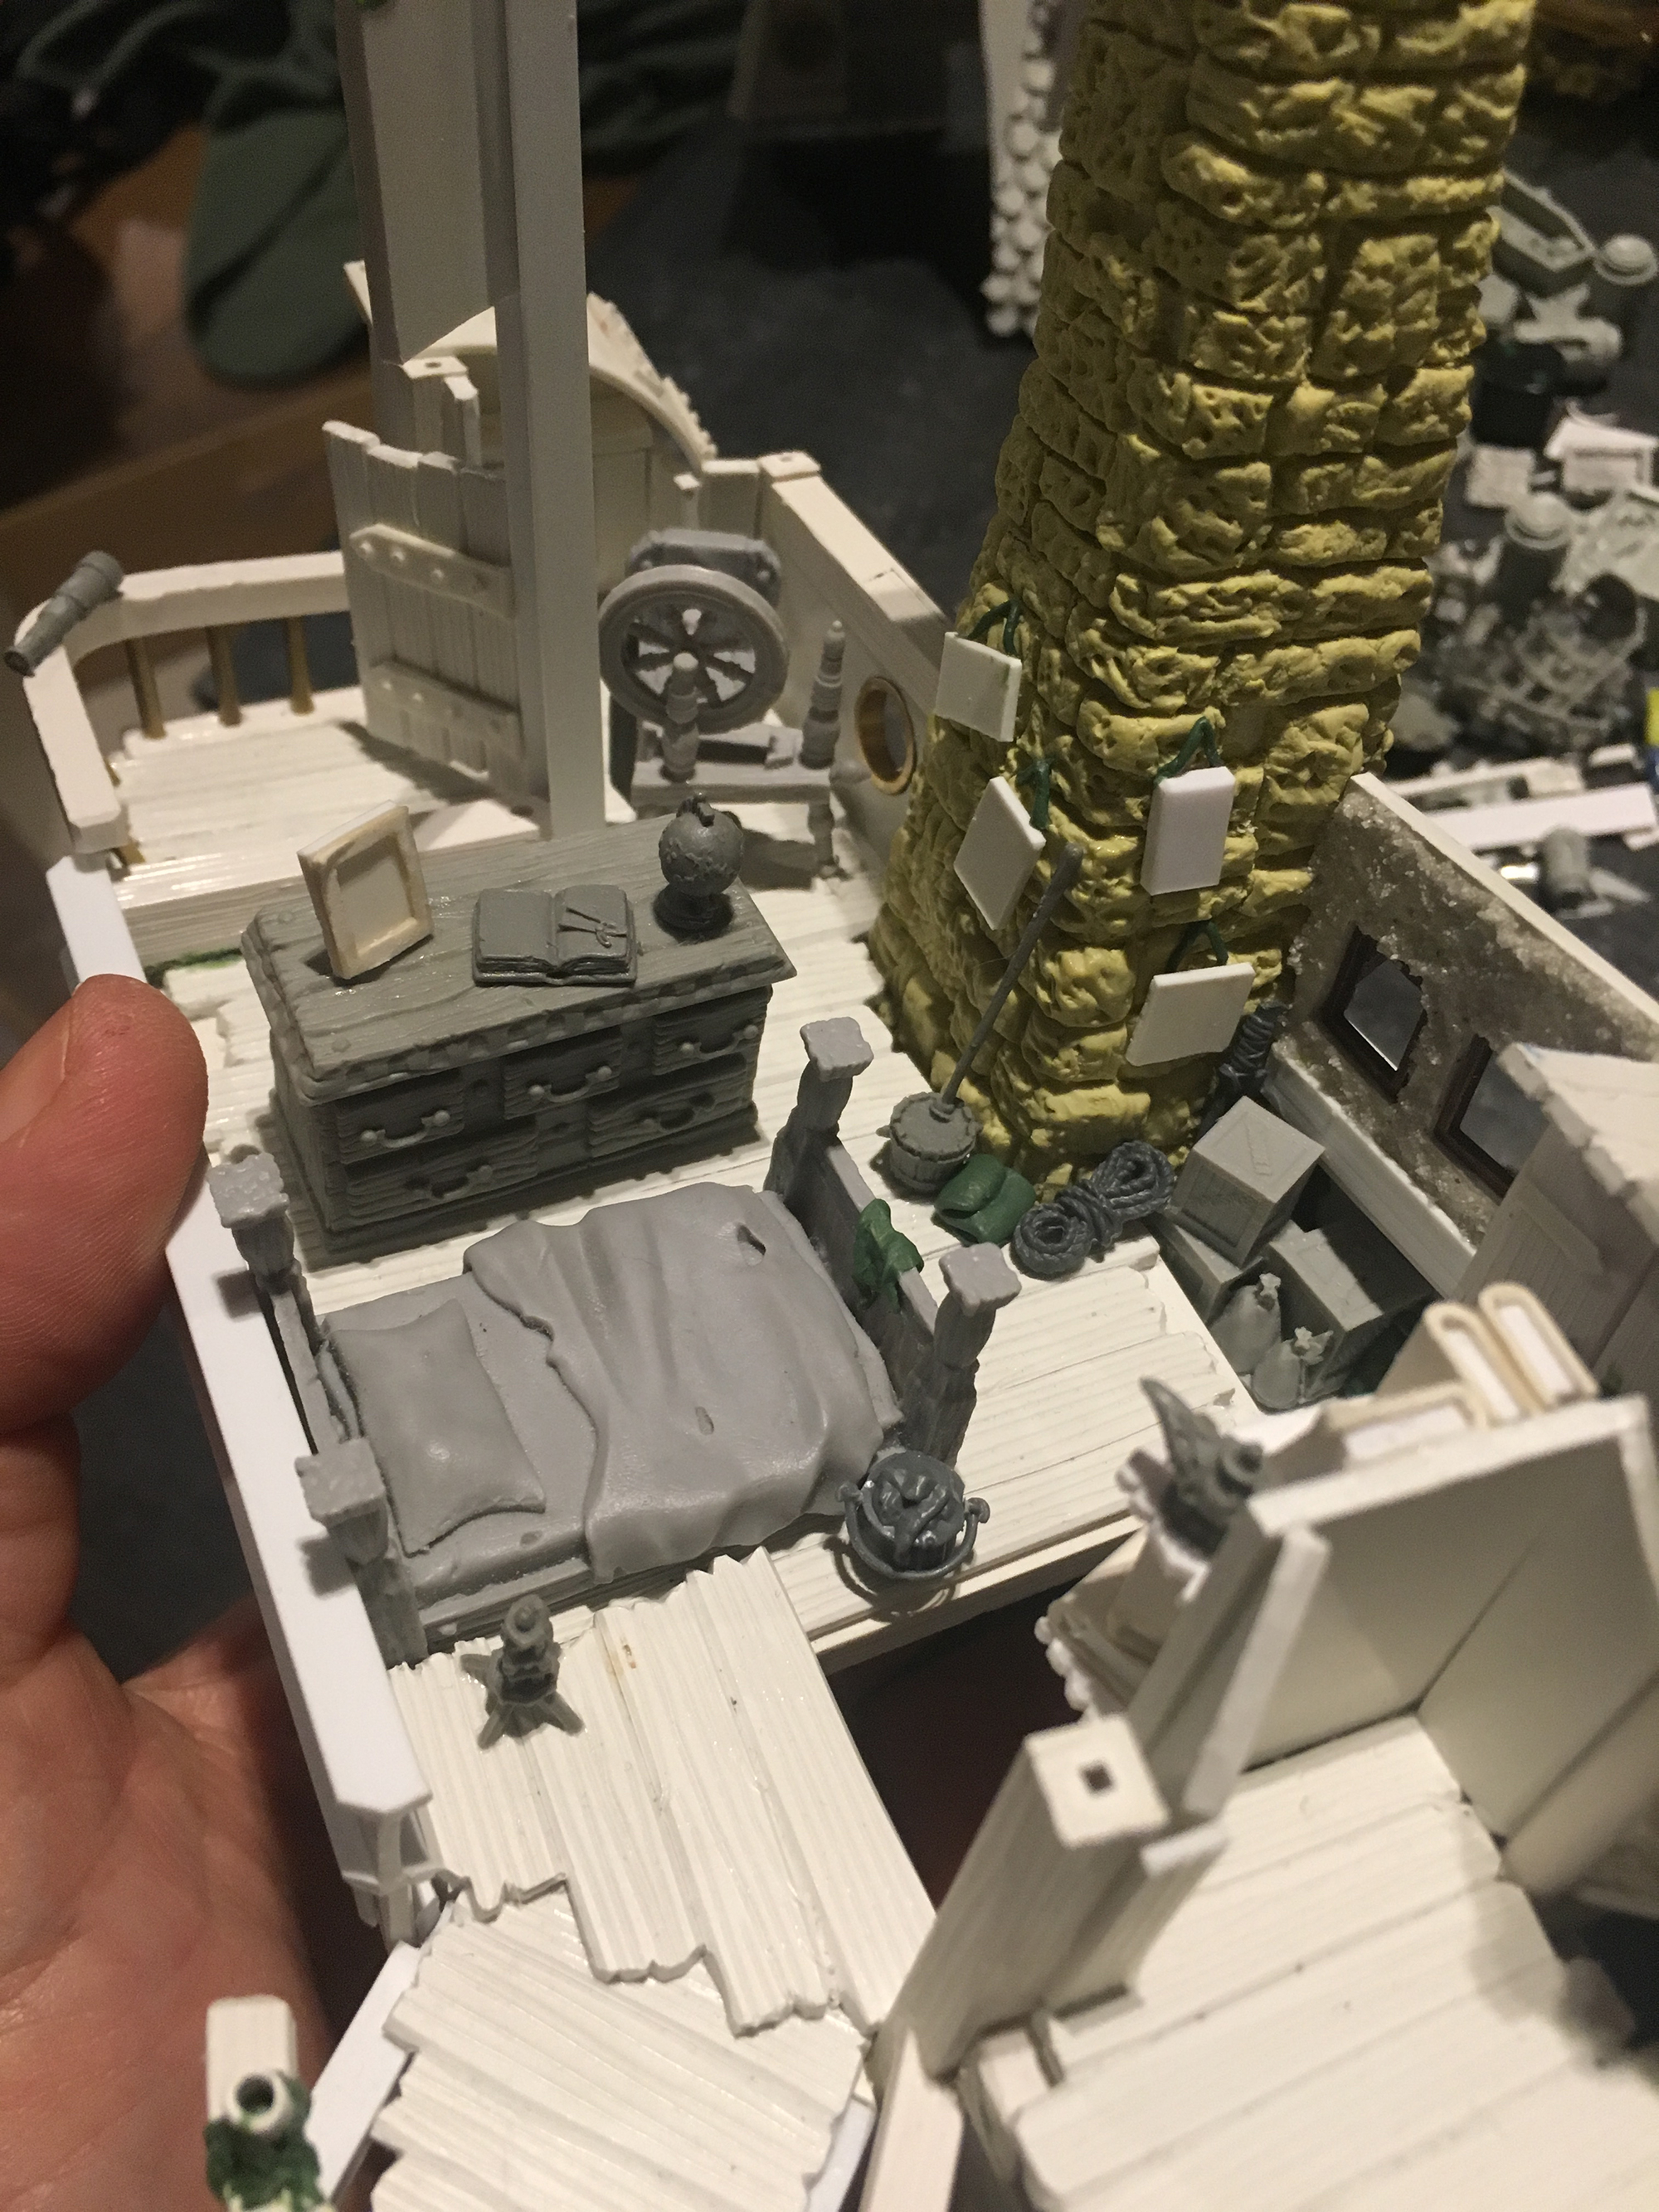
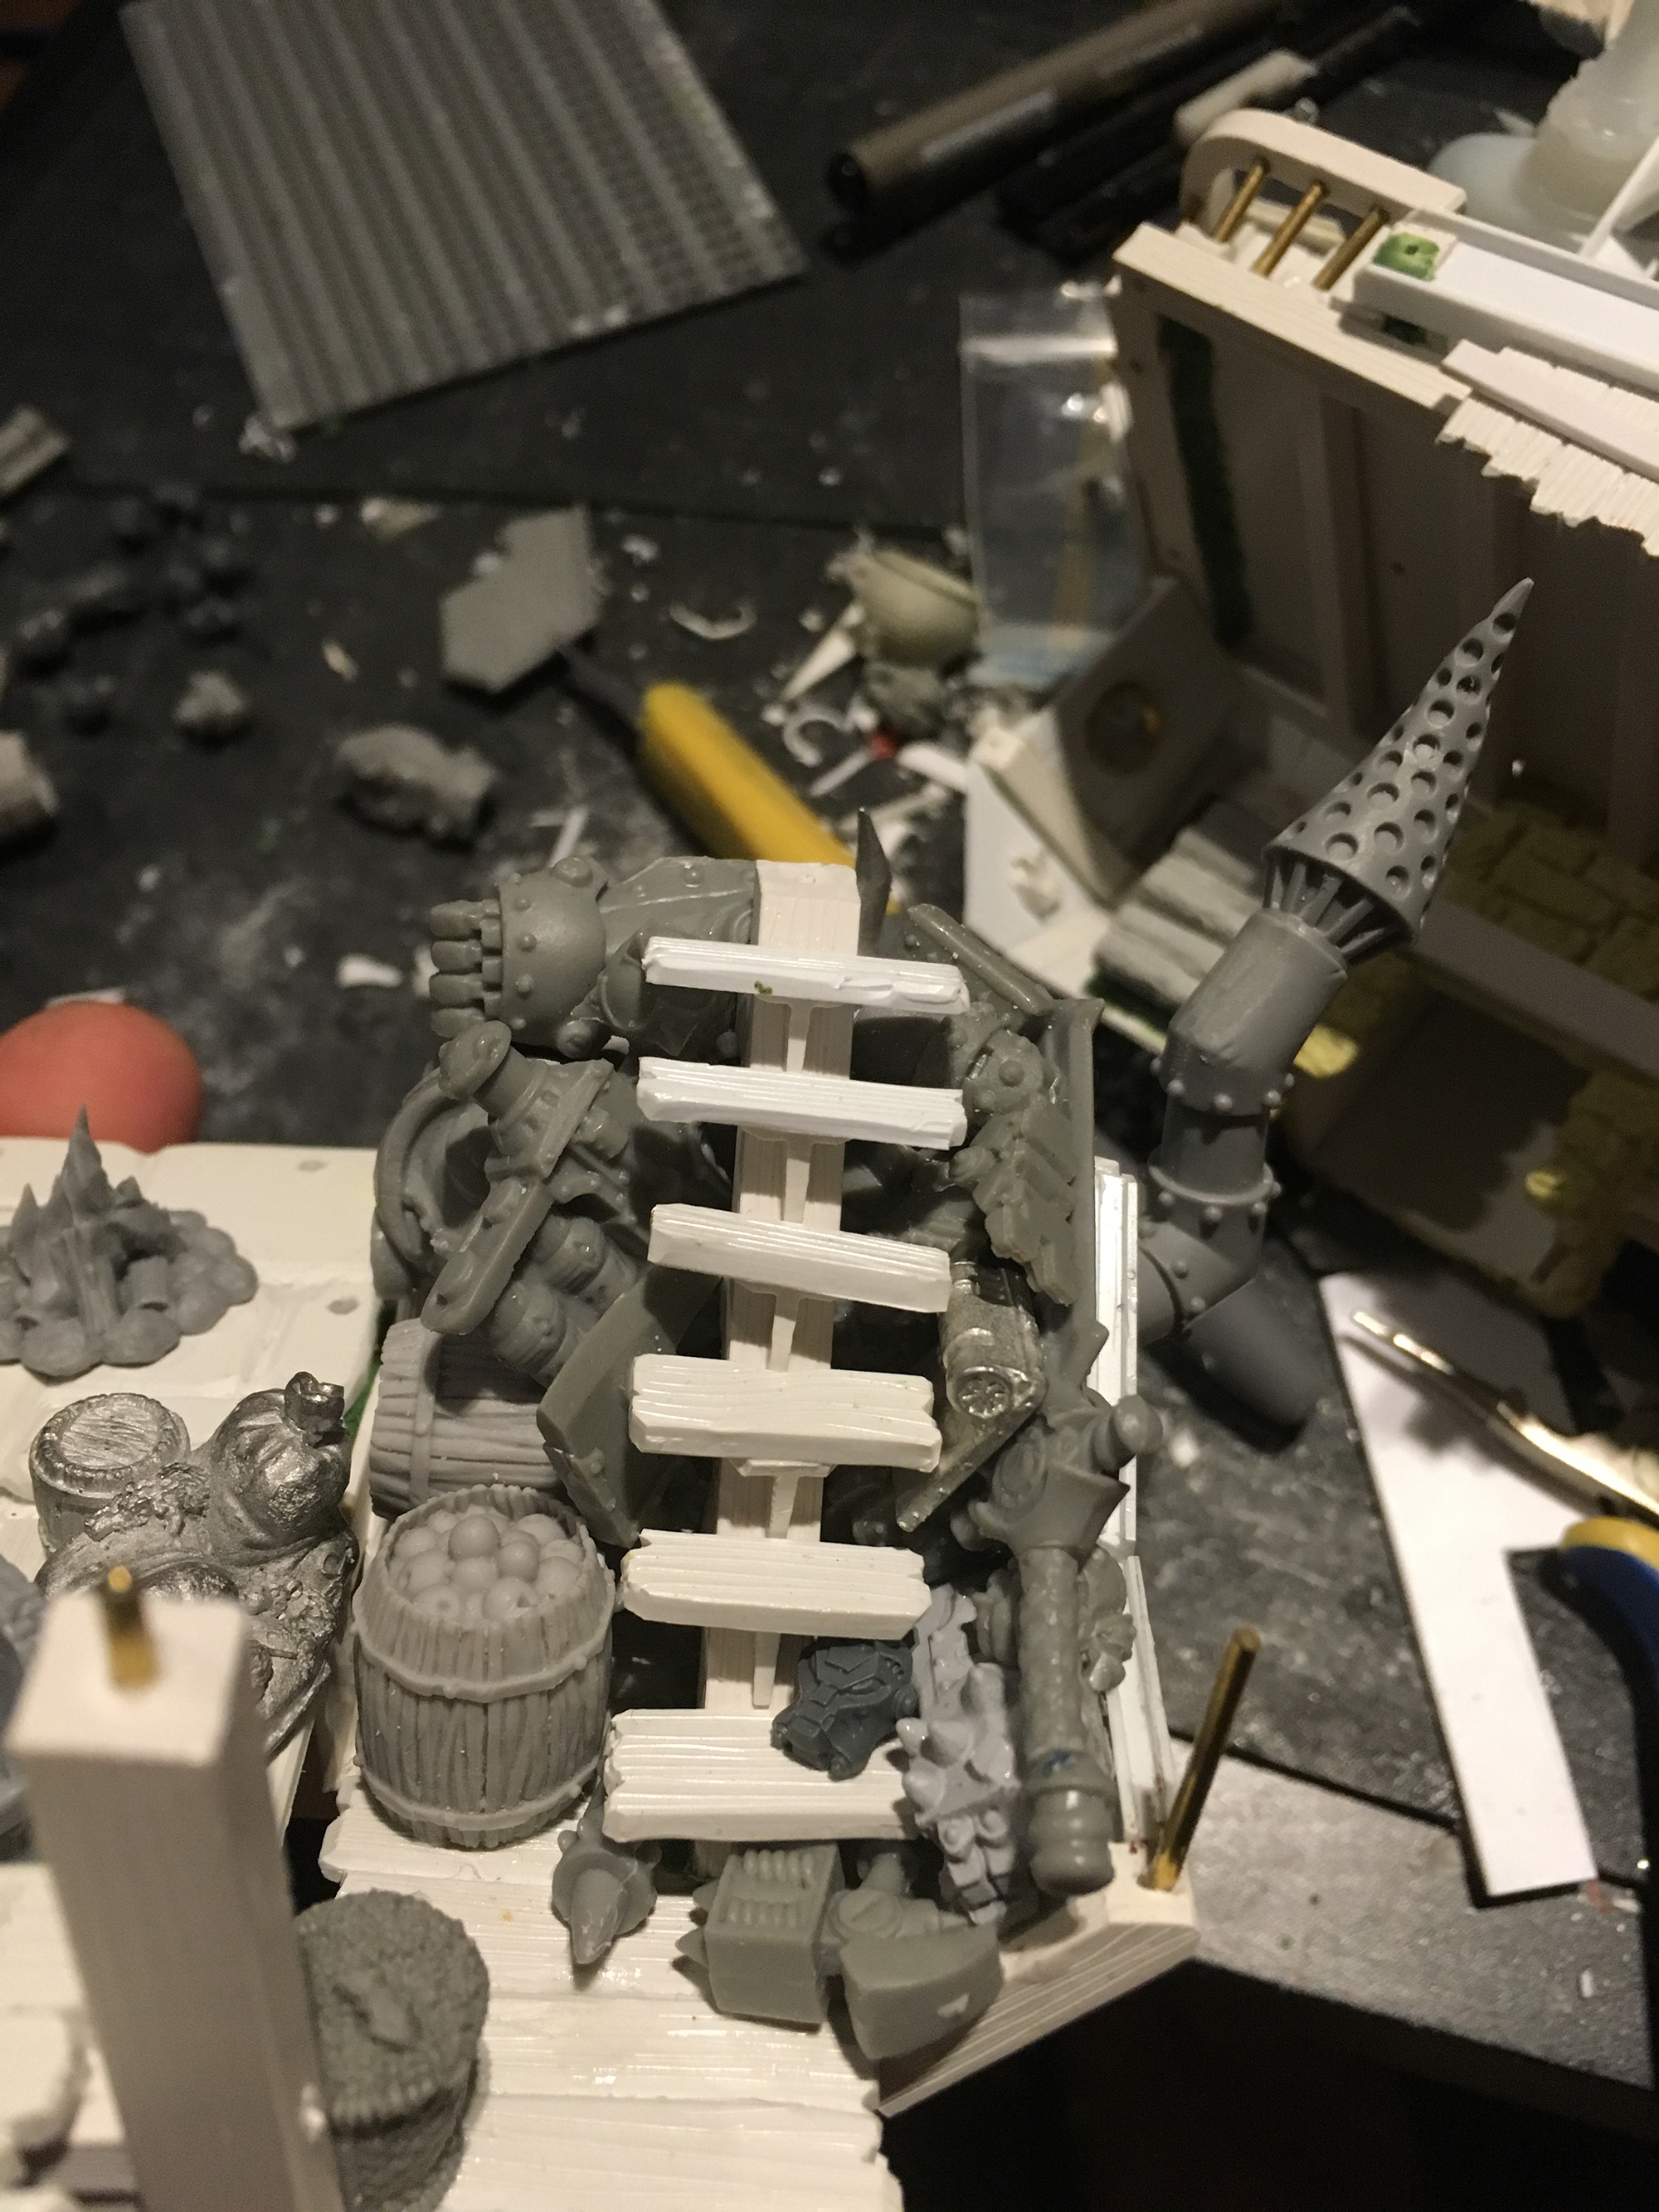
The next part was the inside of the roof. I started with a structure of wooden planks and beams. This took a lot more time than I would have liked, but it was an essential part of making the hut look good. There’s just no amount of stuff you can hang in there to cover all this space up.
I wasn’t too happy about the shelves next to the right post, So I decided to swap it for a clock.
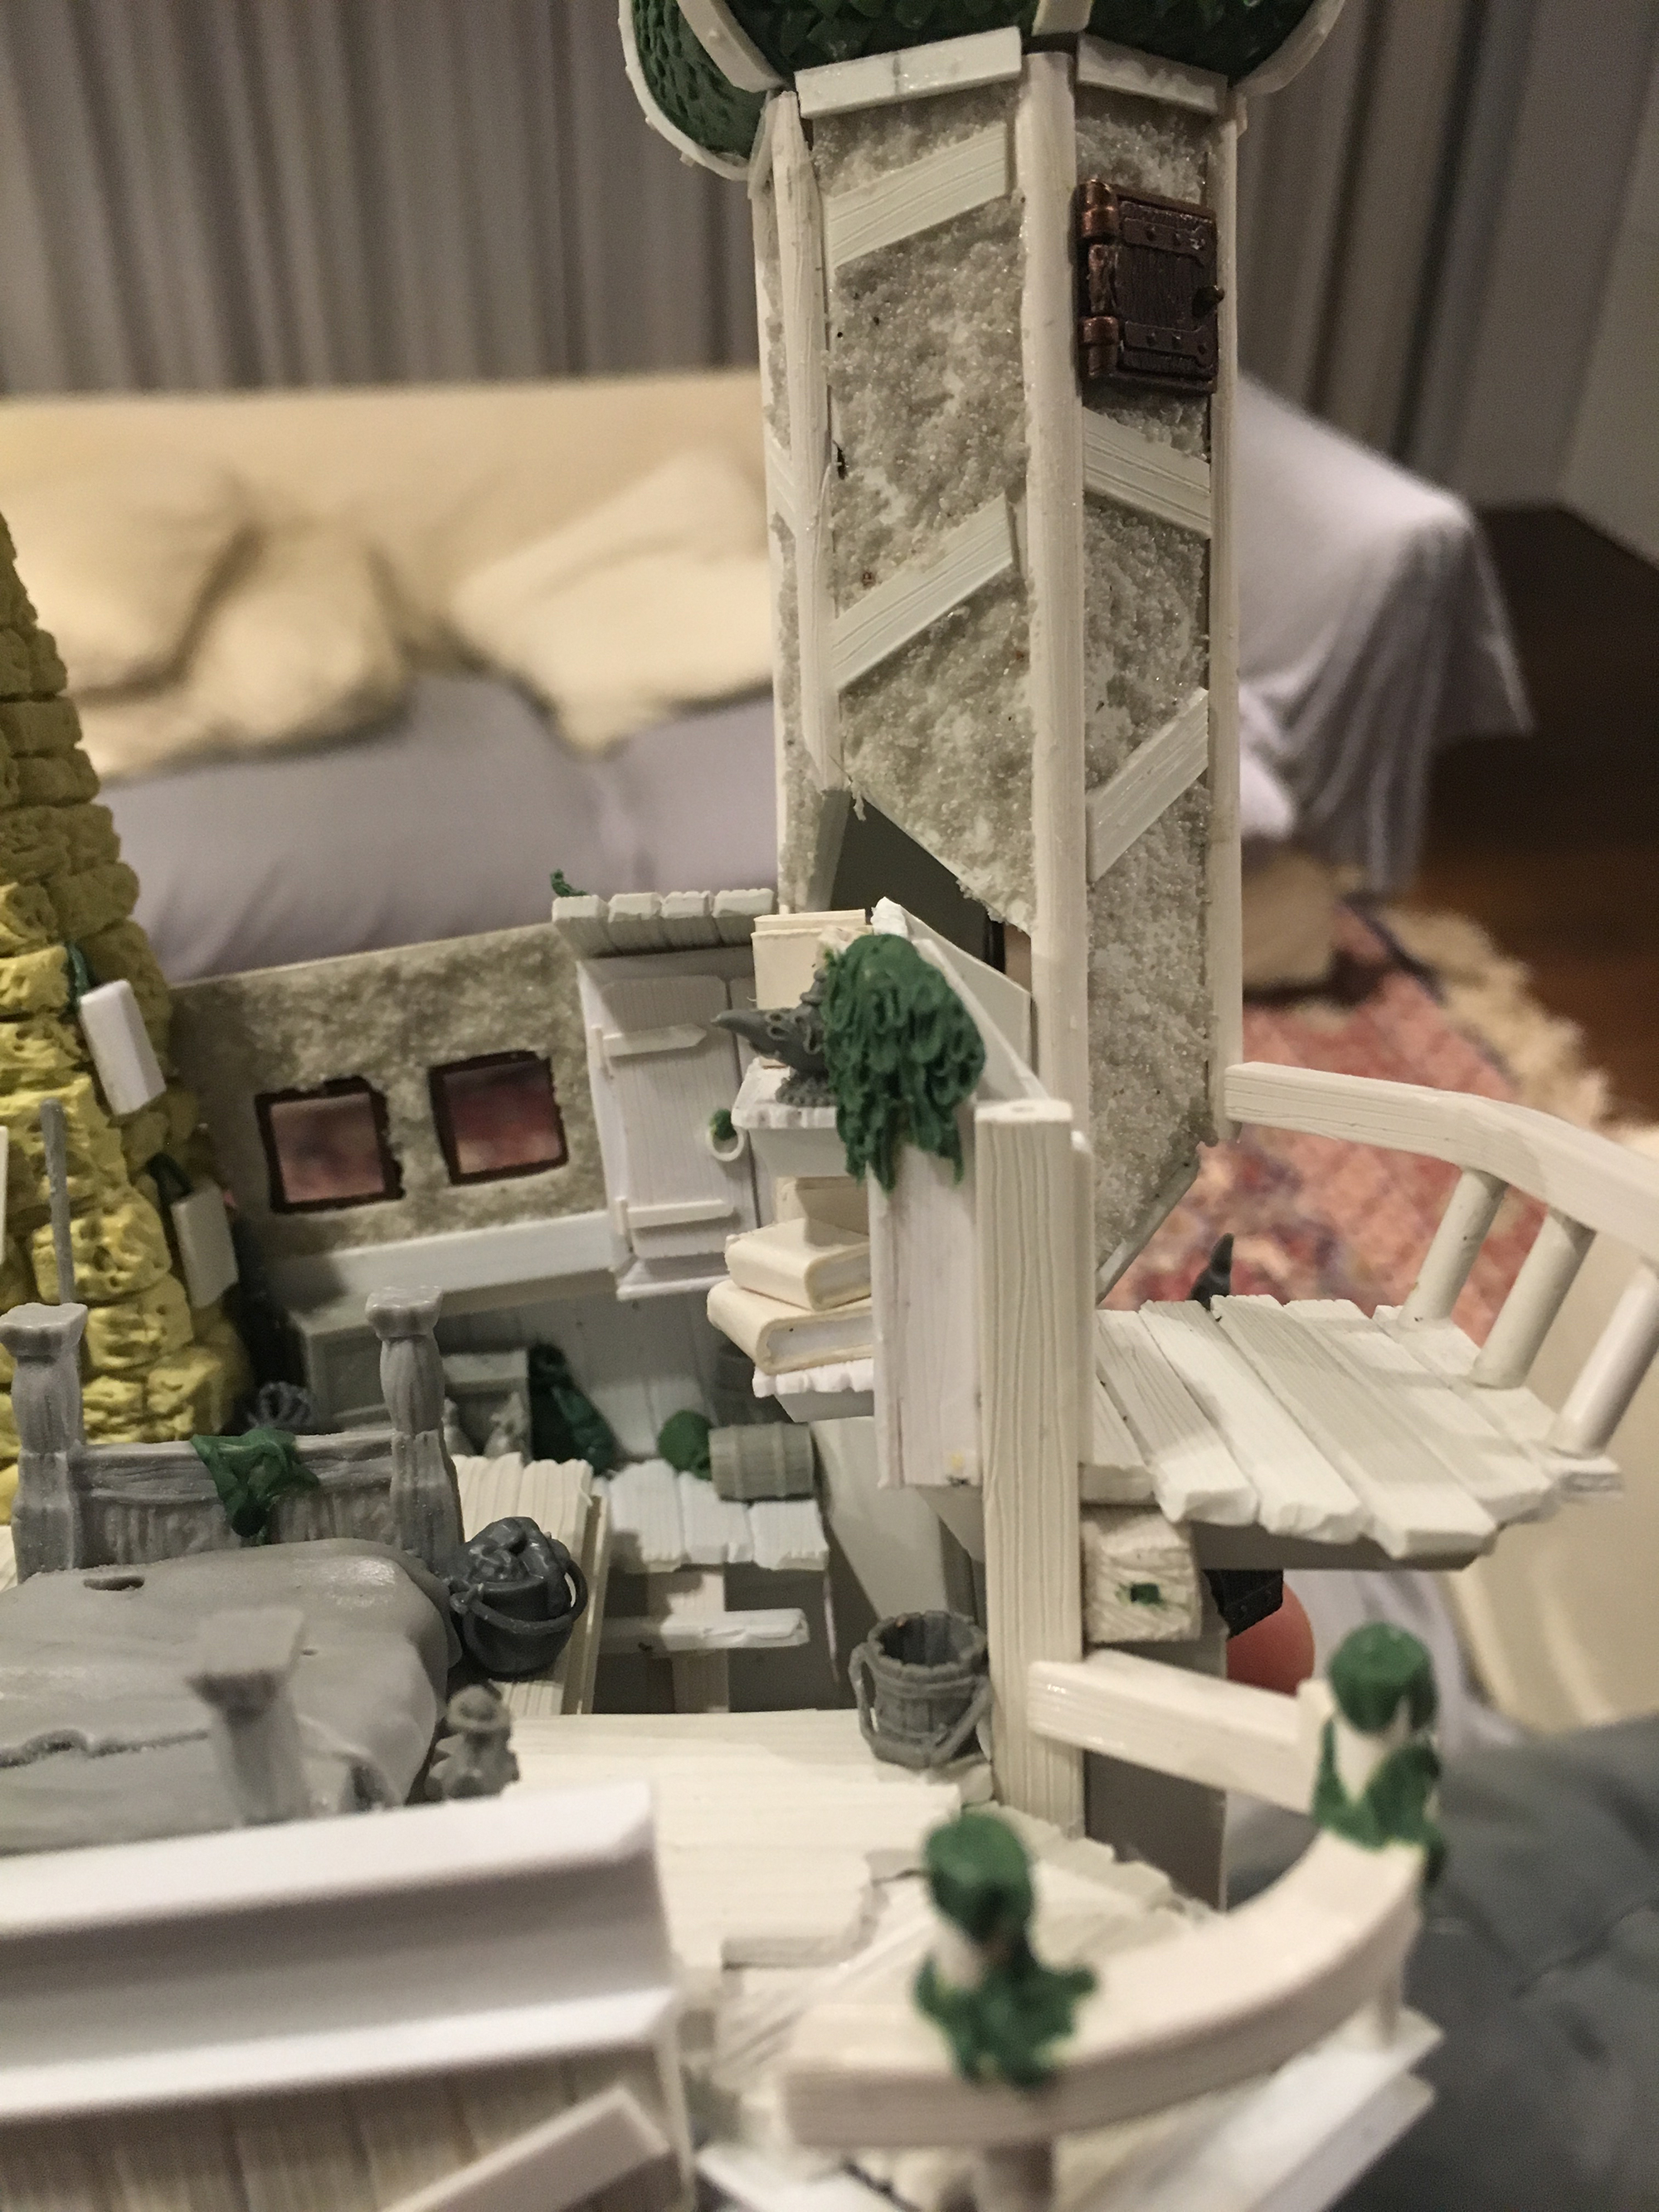

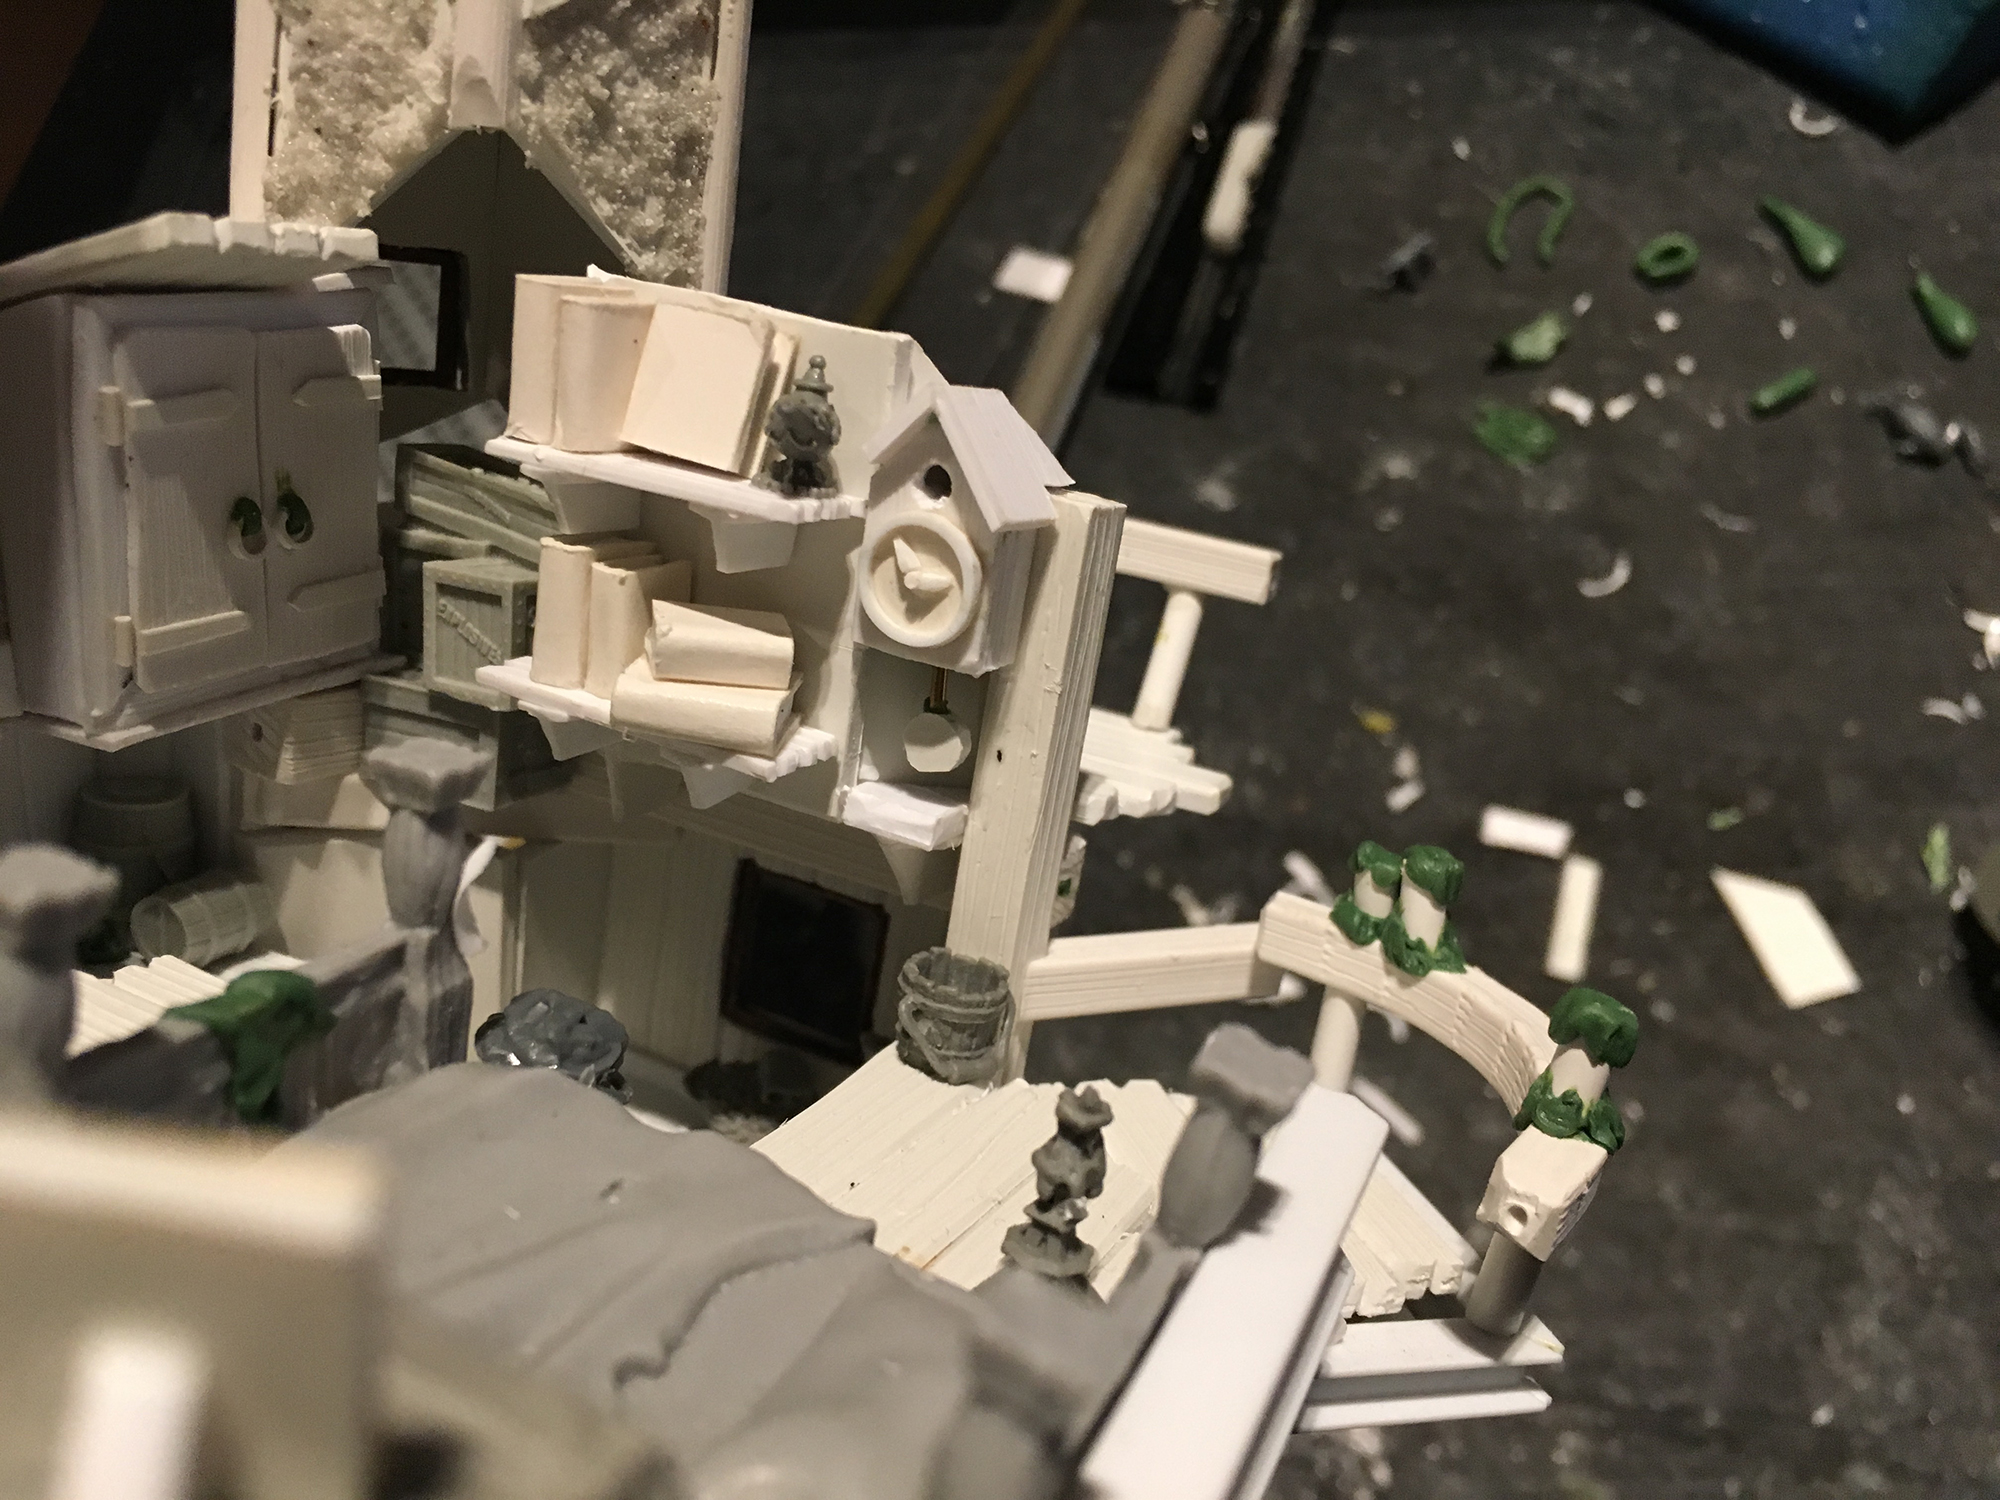
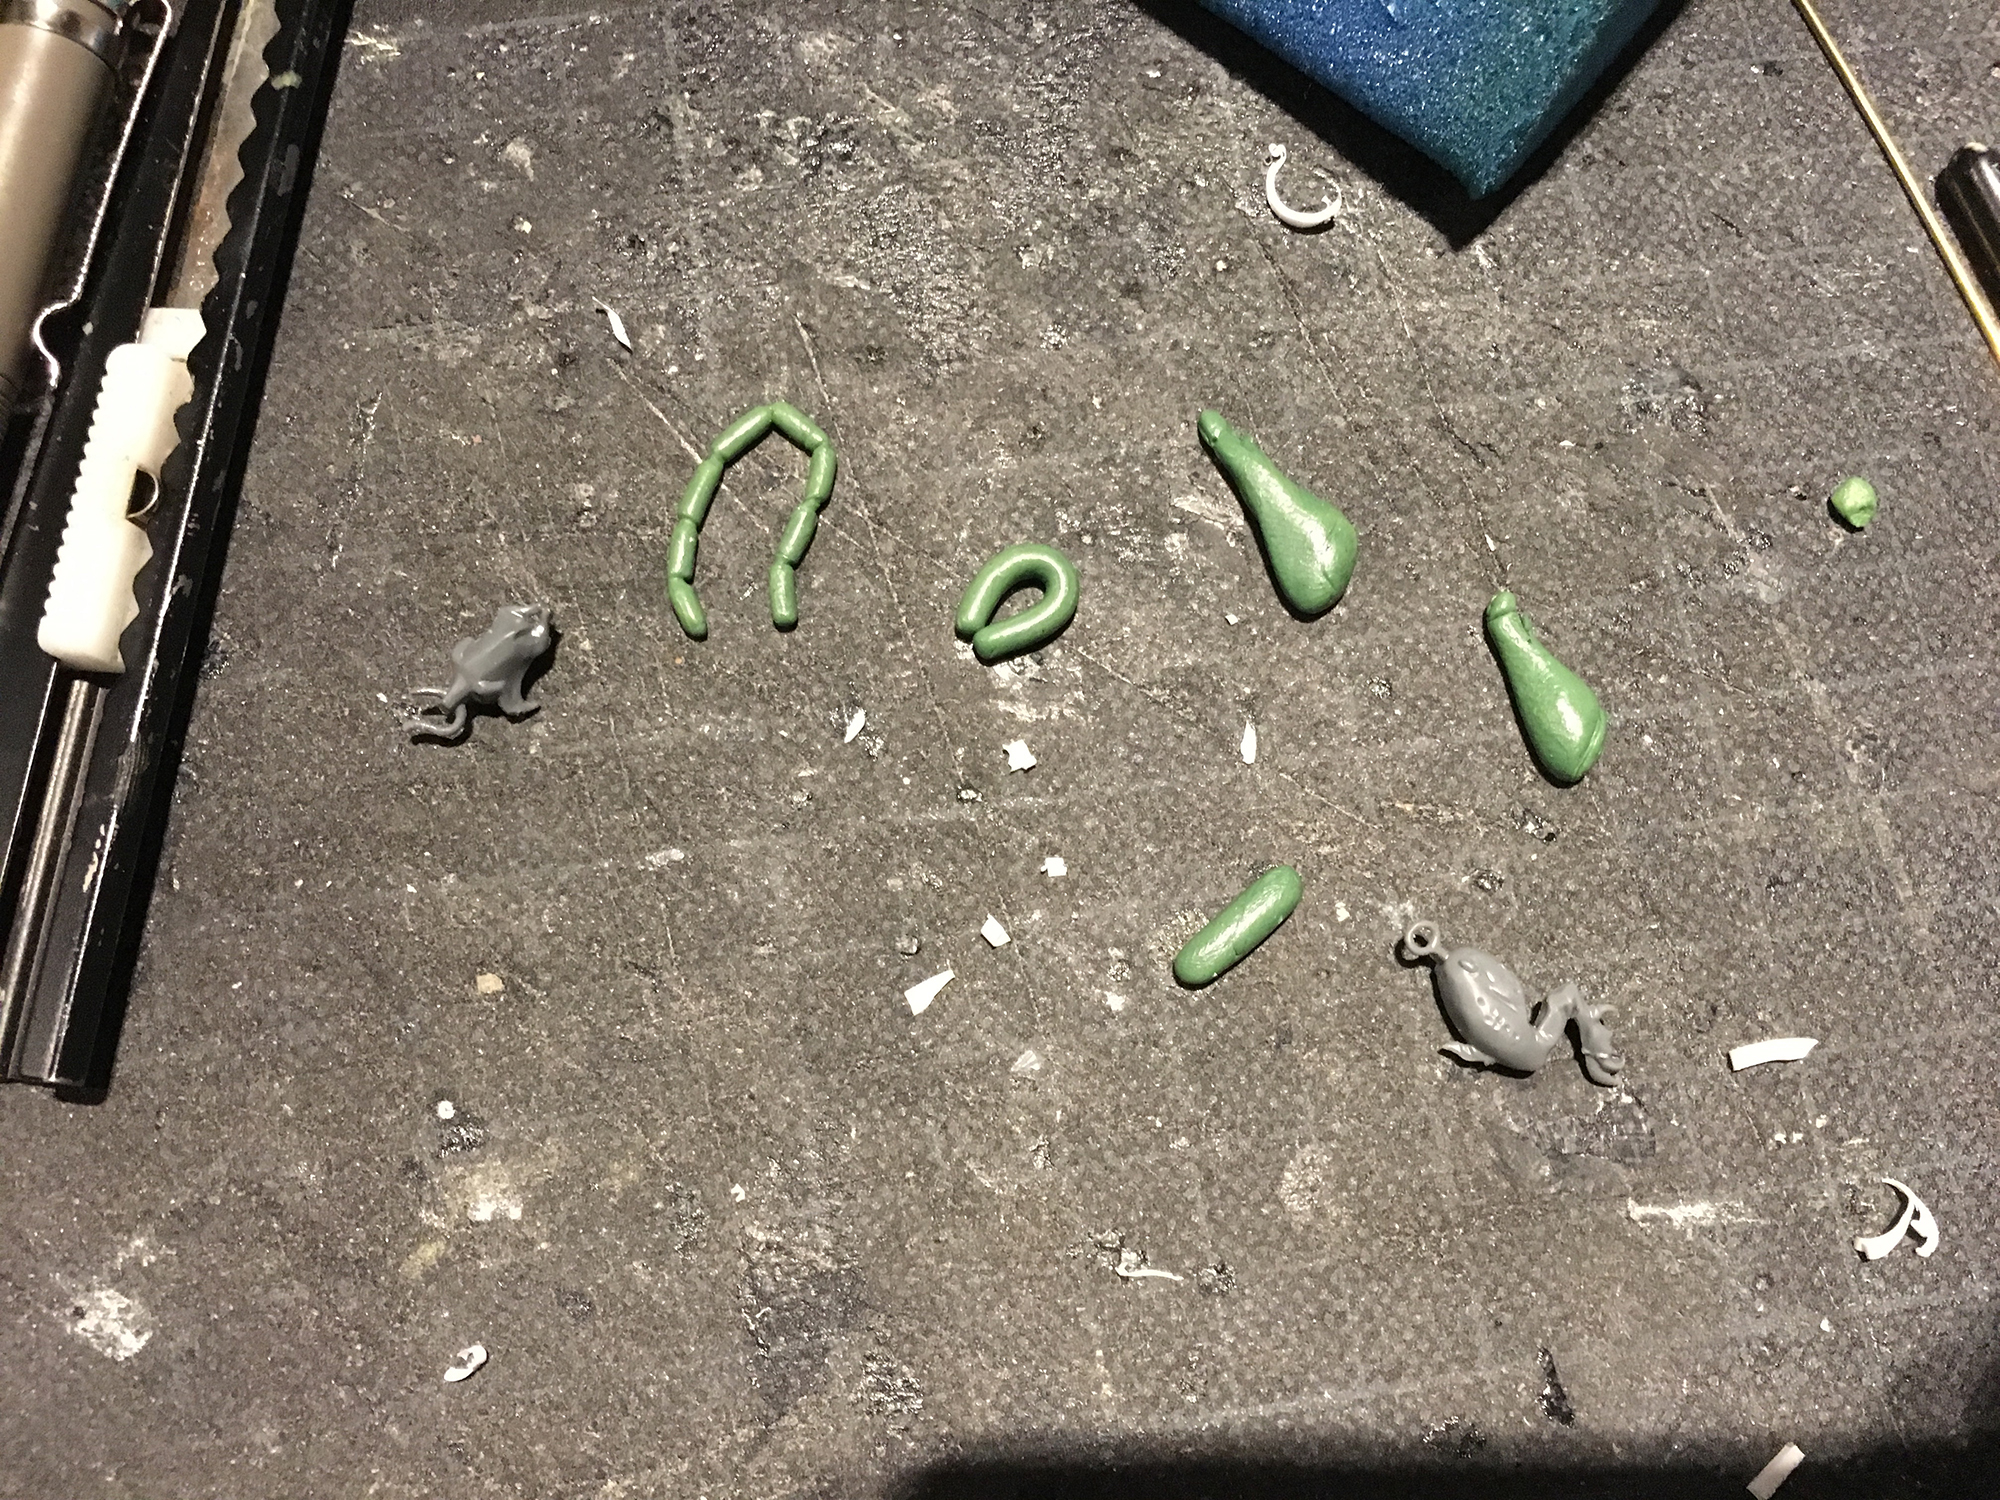
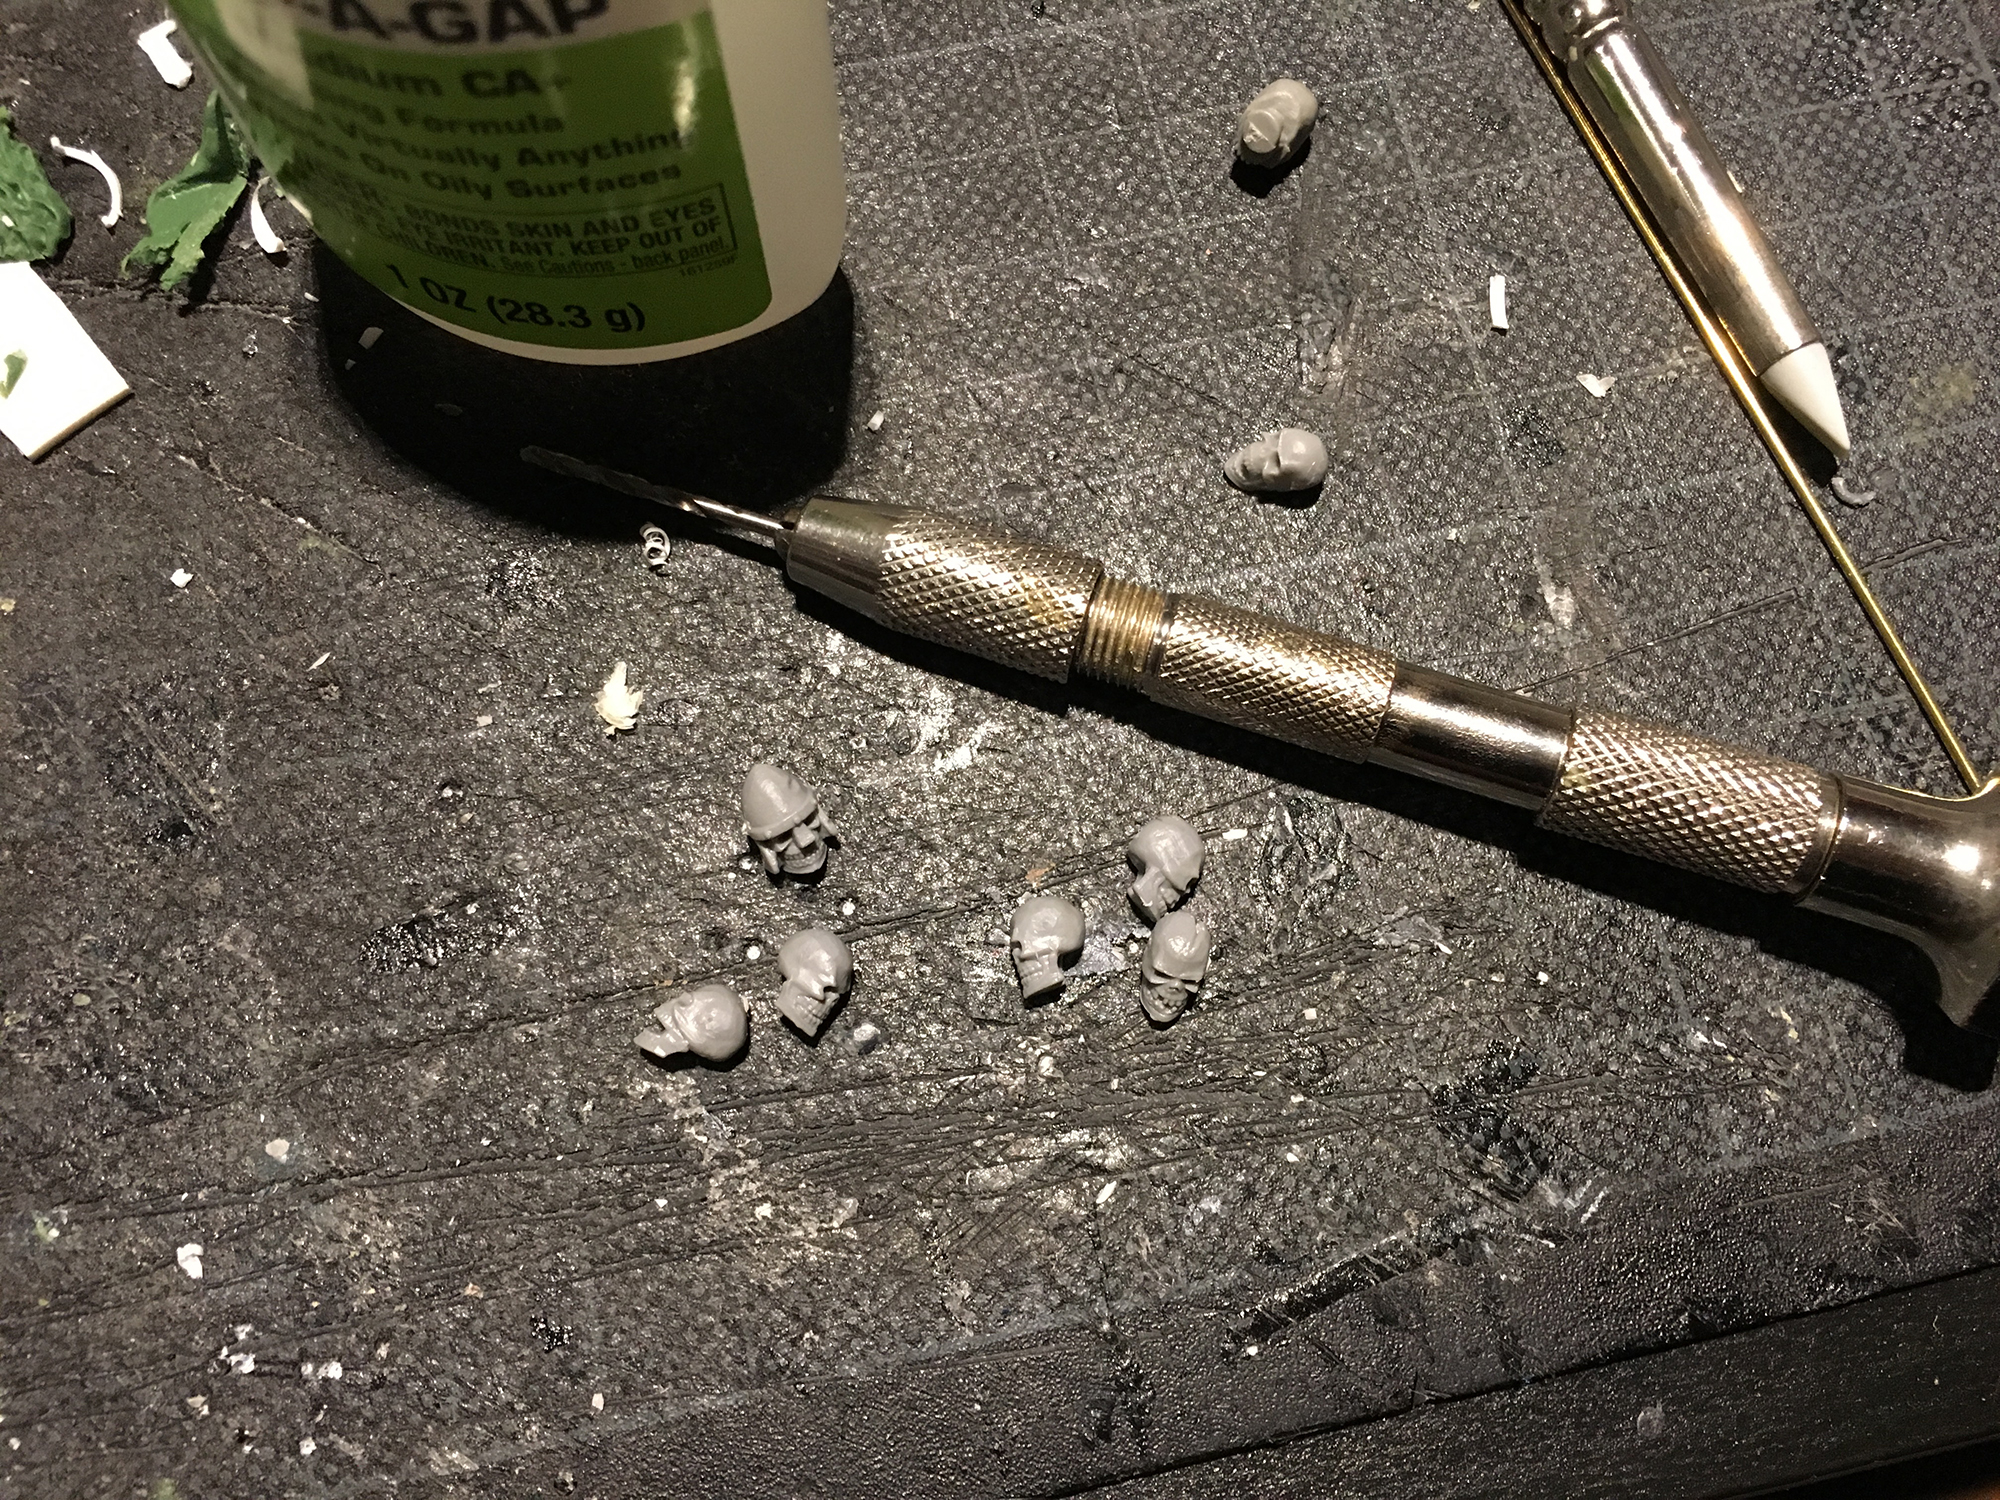
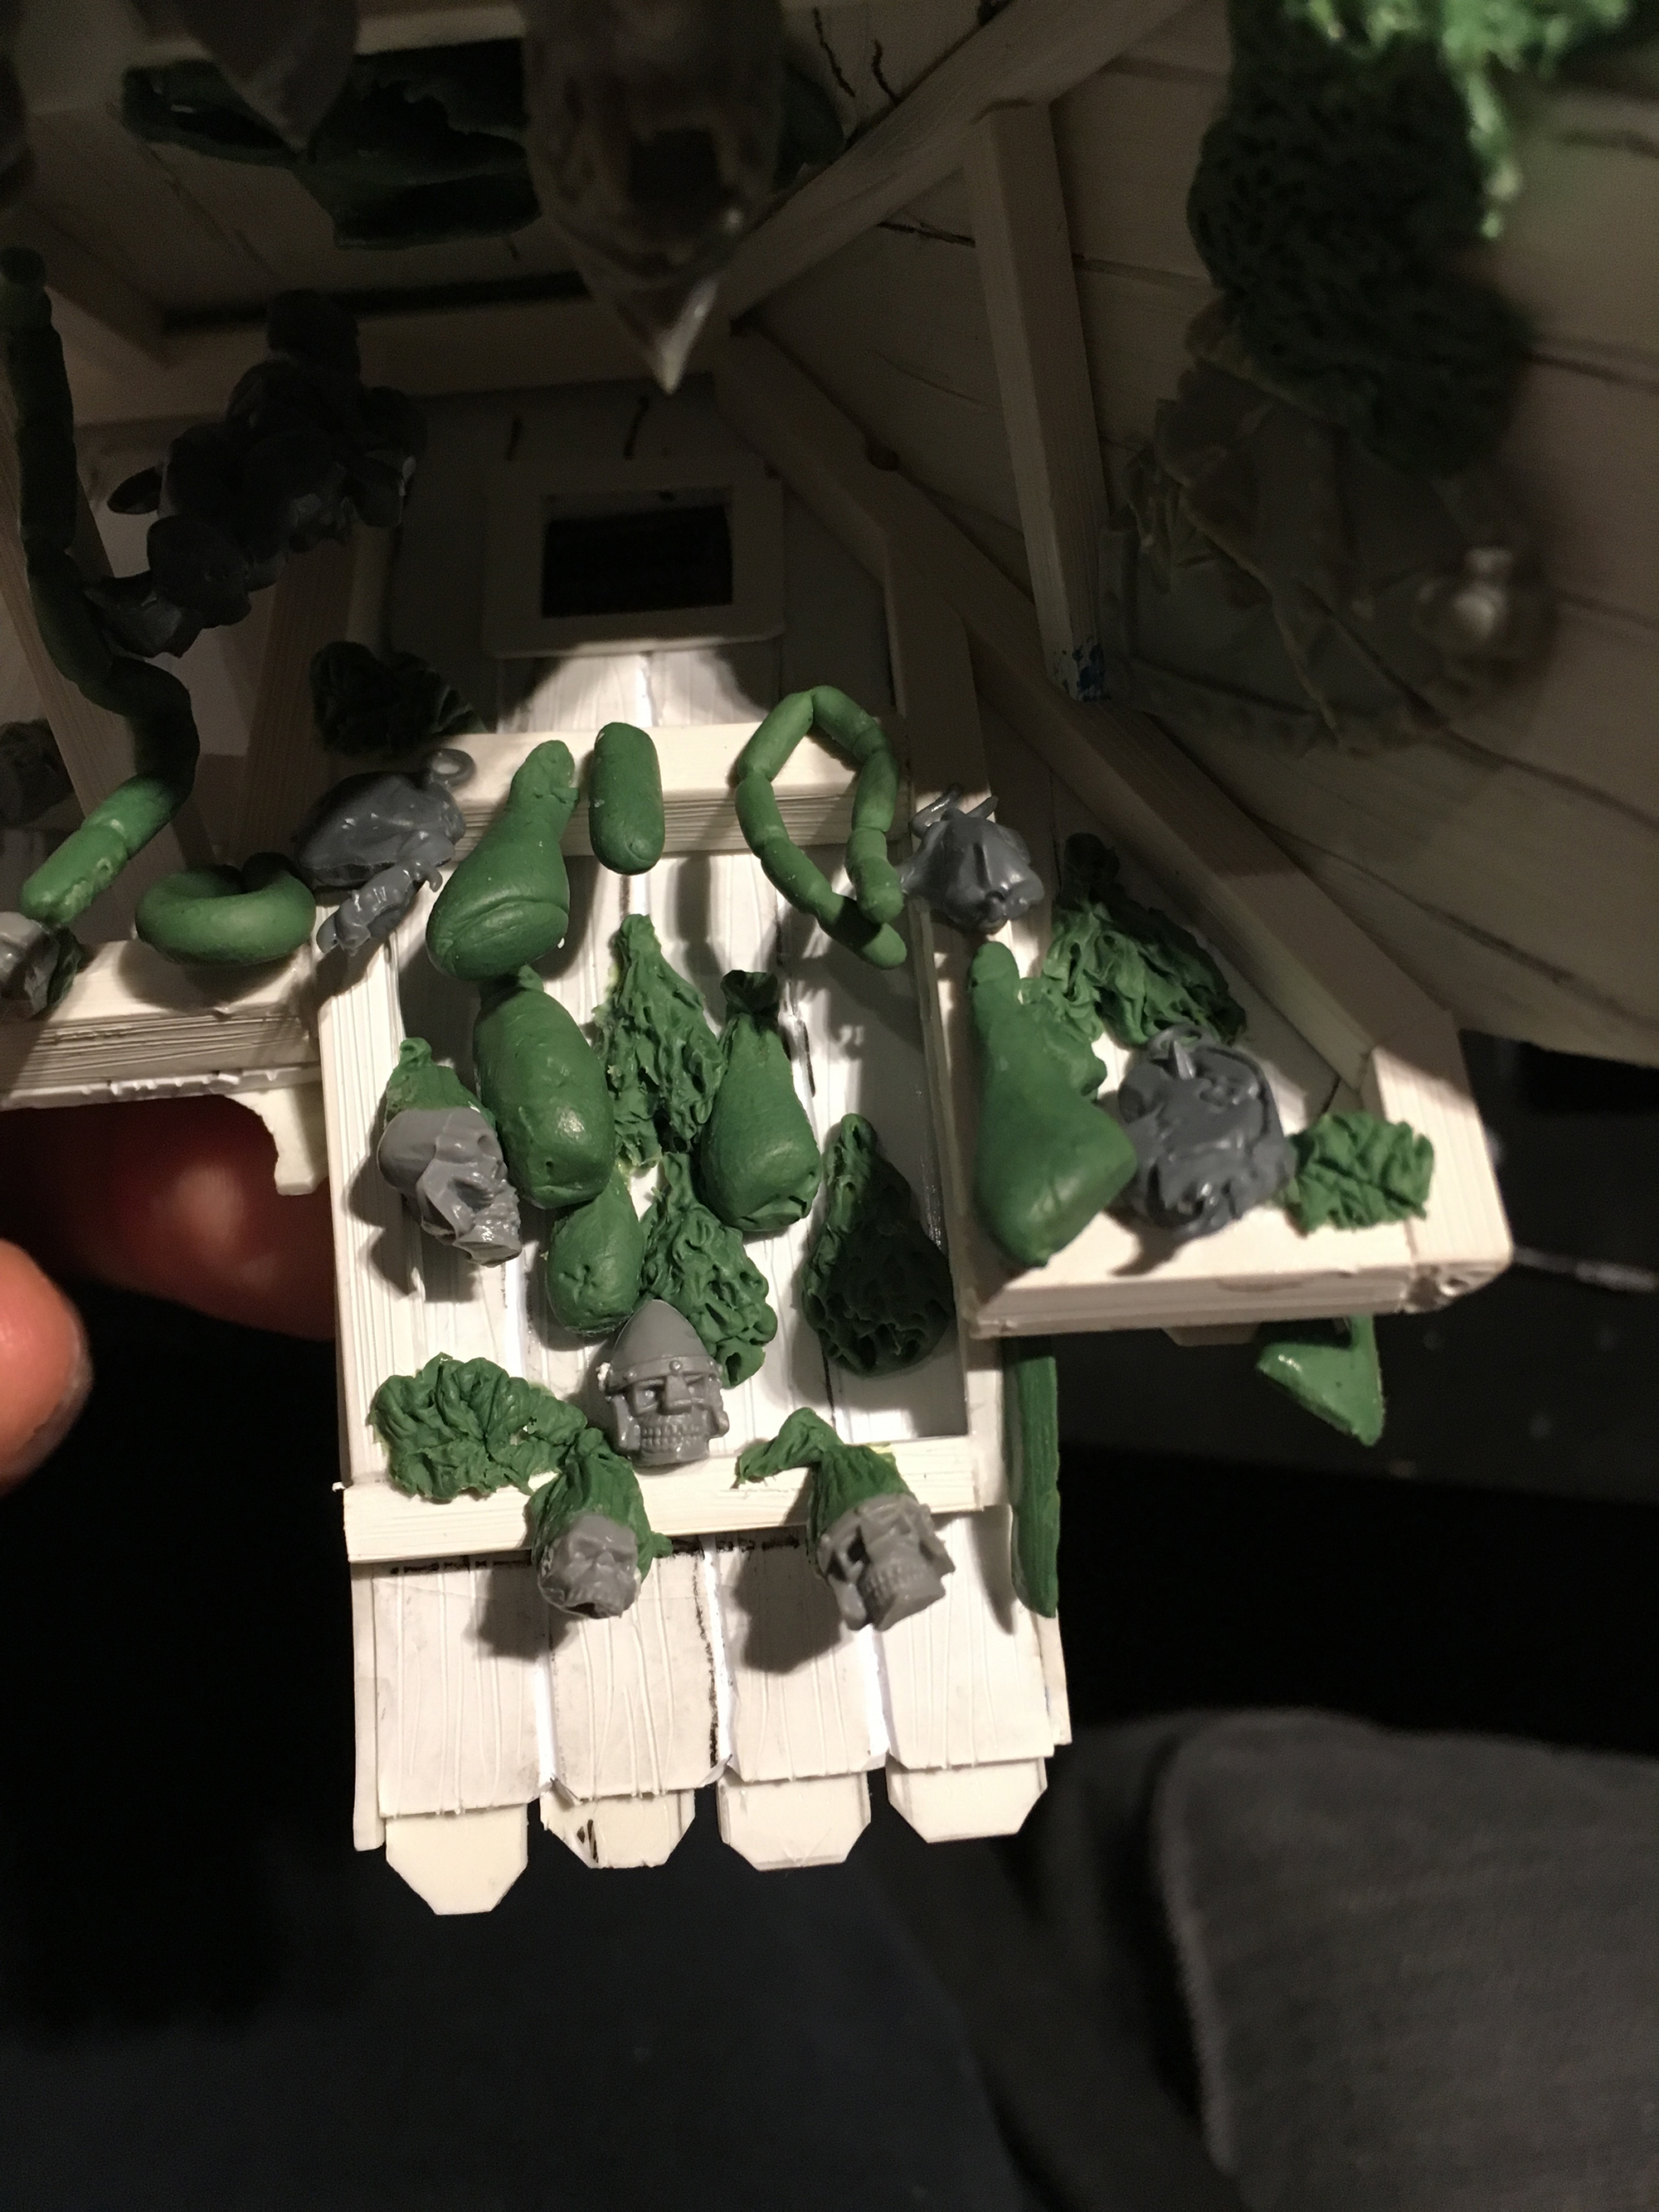
For the inside of the roof, I wanted it to be filled with food and trophies. So I got my greens tuff out and started to sculpt hams and sausages, intermixed with some skulls. and other tidbits.
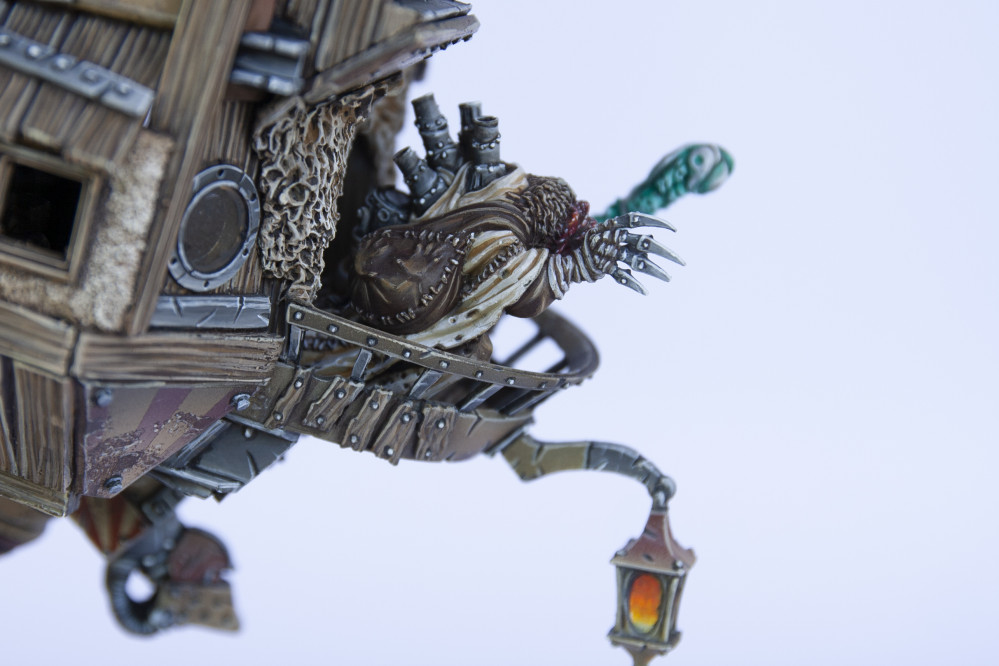
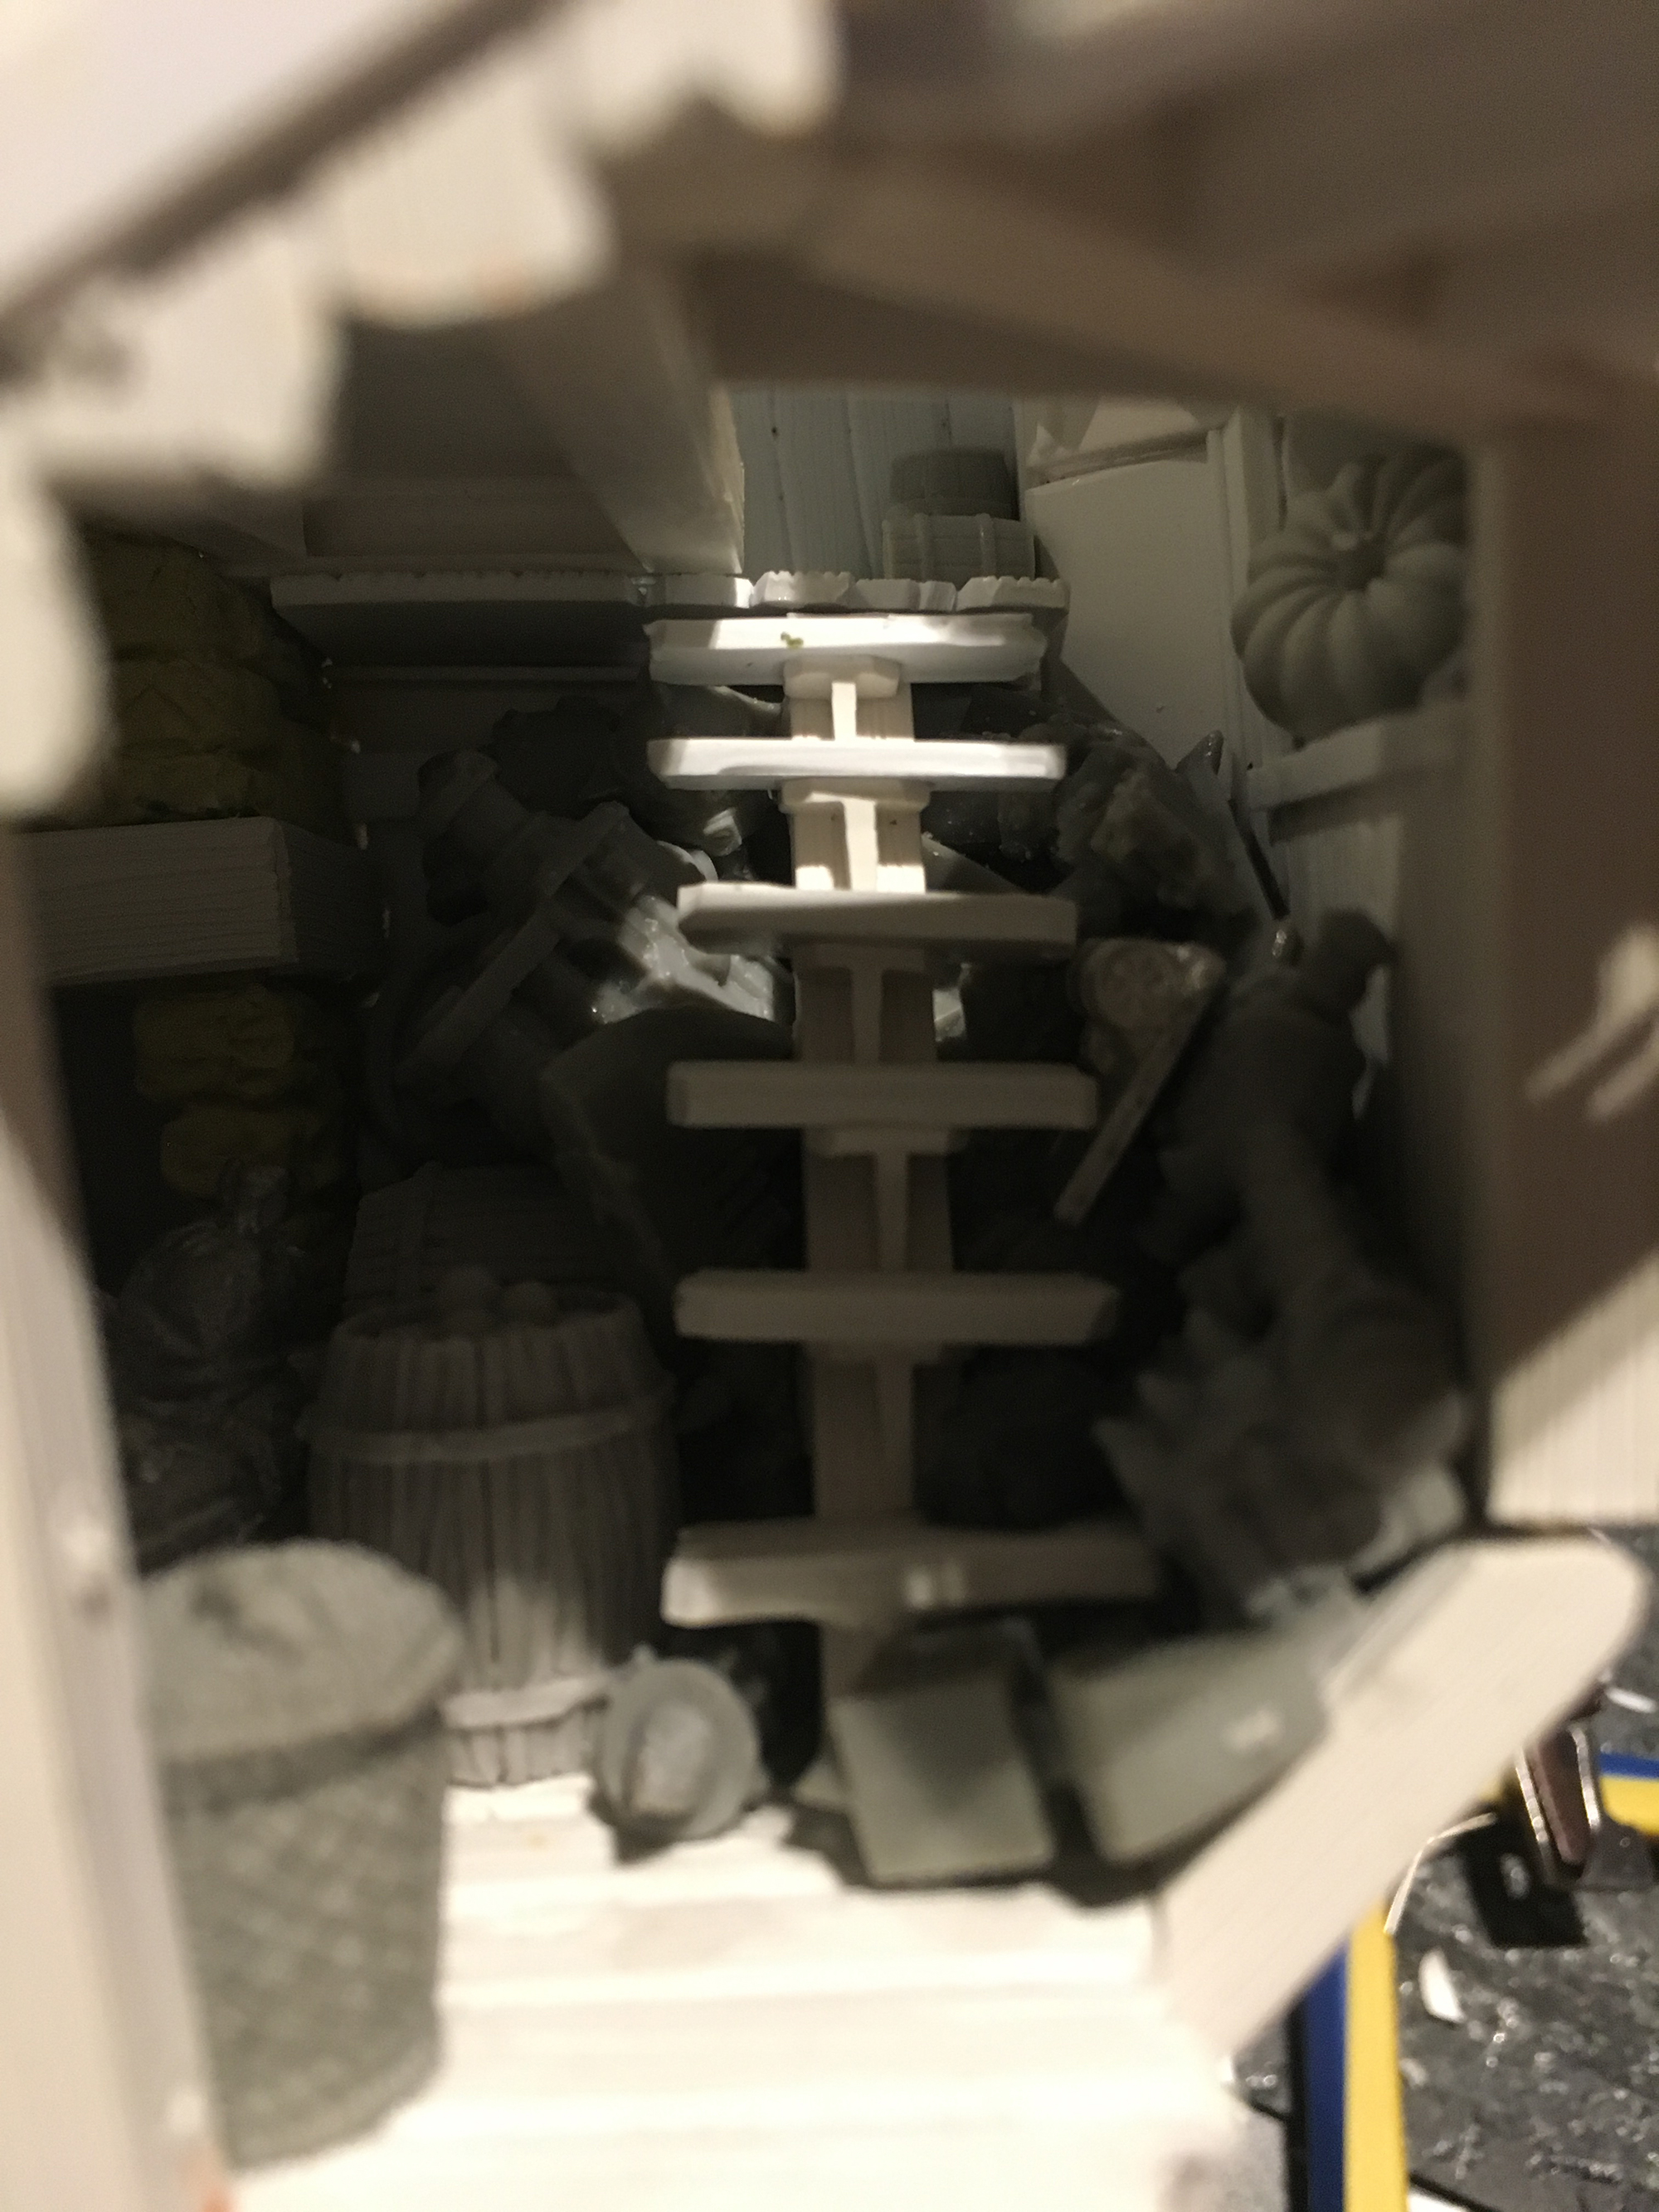
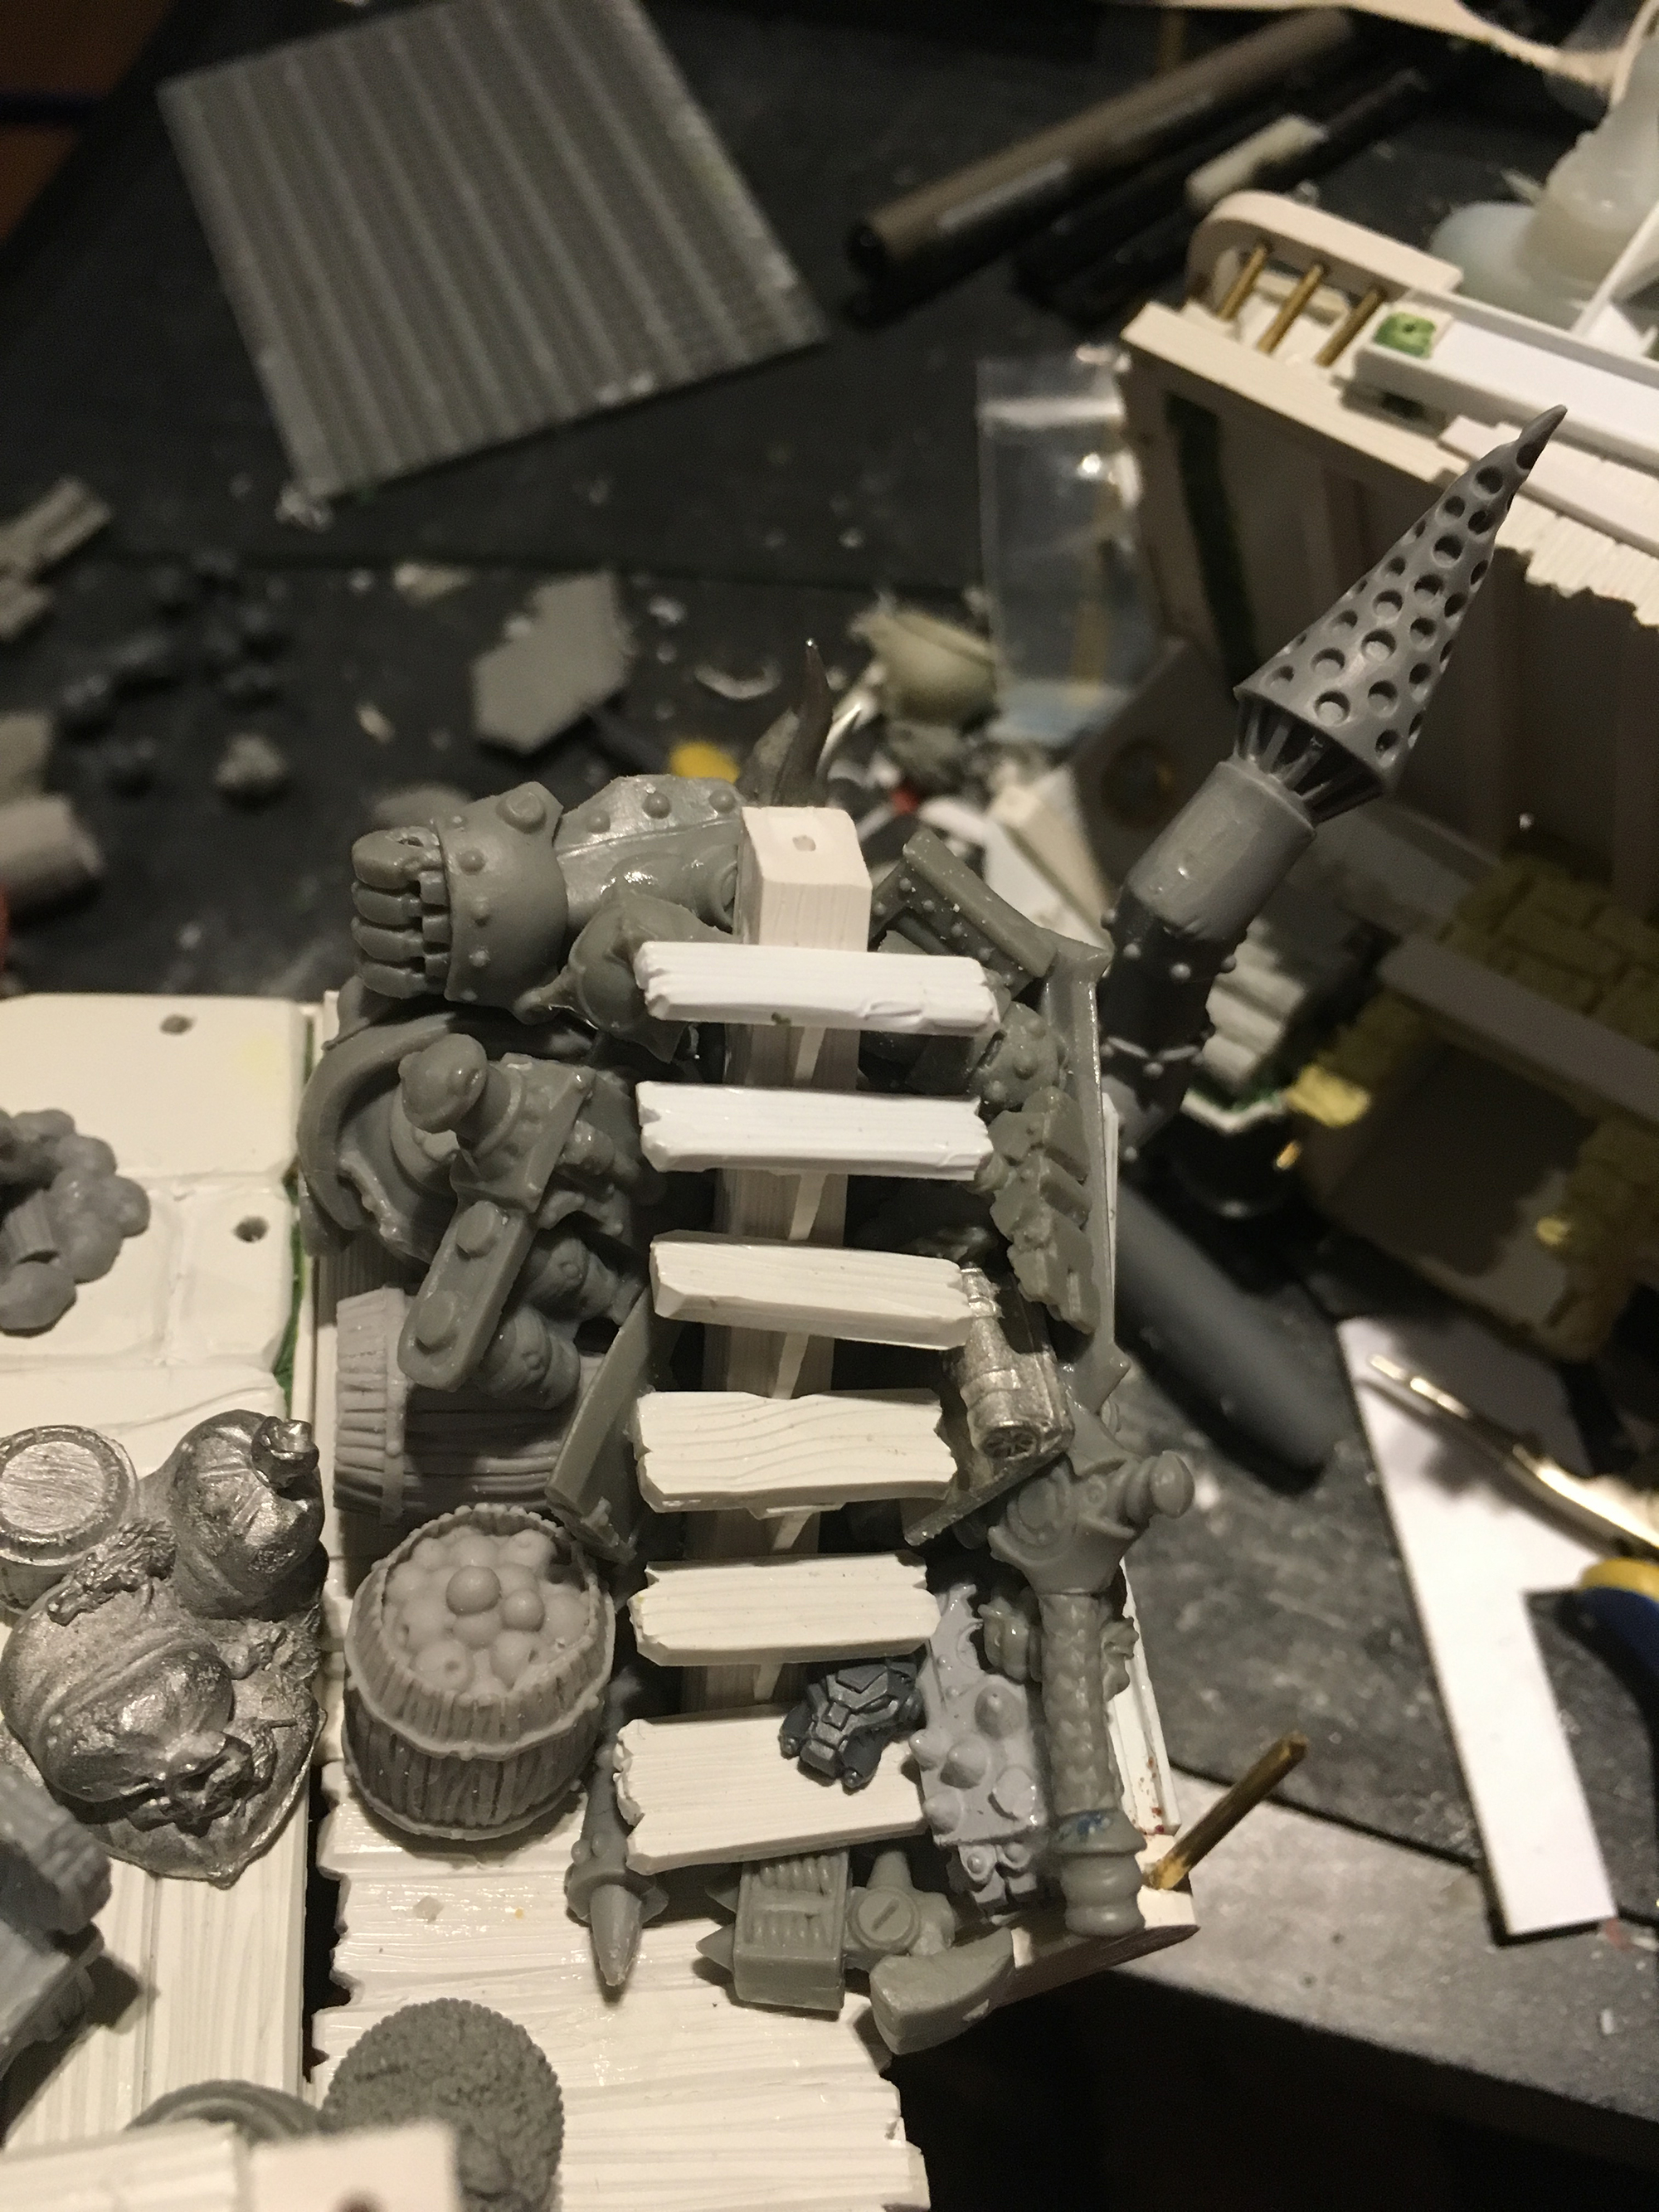
Unfortunately, I forgot to take pictures of the detailing of the rest of the interior. The only ones I have left are from the pile of junk she has killed/pillaged when roaming the battlefields of Immoren. Safely stored away in case she needs a part to upgrade her trusted scrap jack hut. And one from half way through detailing the lower floor.
Sadly, I forgot to take pictures of the finished, unpainted build. So next will be painting everything.