


I was told to make a terrain project


Recommendations: 62
About the Project
So, I recently shared on the discord channel that I had managed to get my hands on a Deadzone 3rd edition starter set. I was basically told, "turn it into a Terrain Fest project, or it didn't happen." So, here it is. Since I still don't have oodles of time on my hands and I'm about to be crushed by my Pile of Potential, I aim go down the quick and dirty route again.
Related Game: Deadzone
Related Company: Mantic Games
Related Genre: Science Fiction
Related Contest: TerrainFest 2023
This Project is Active
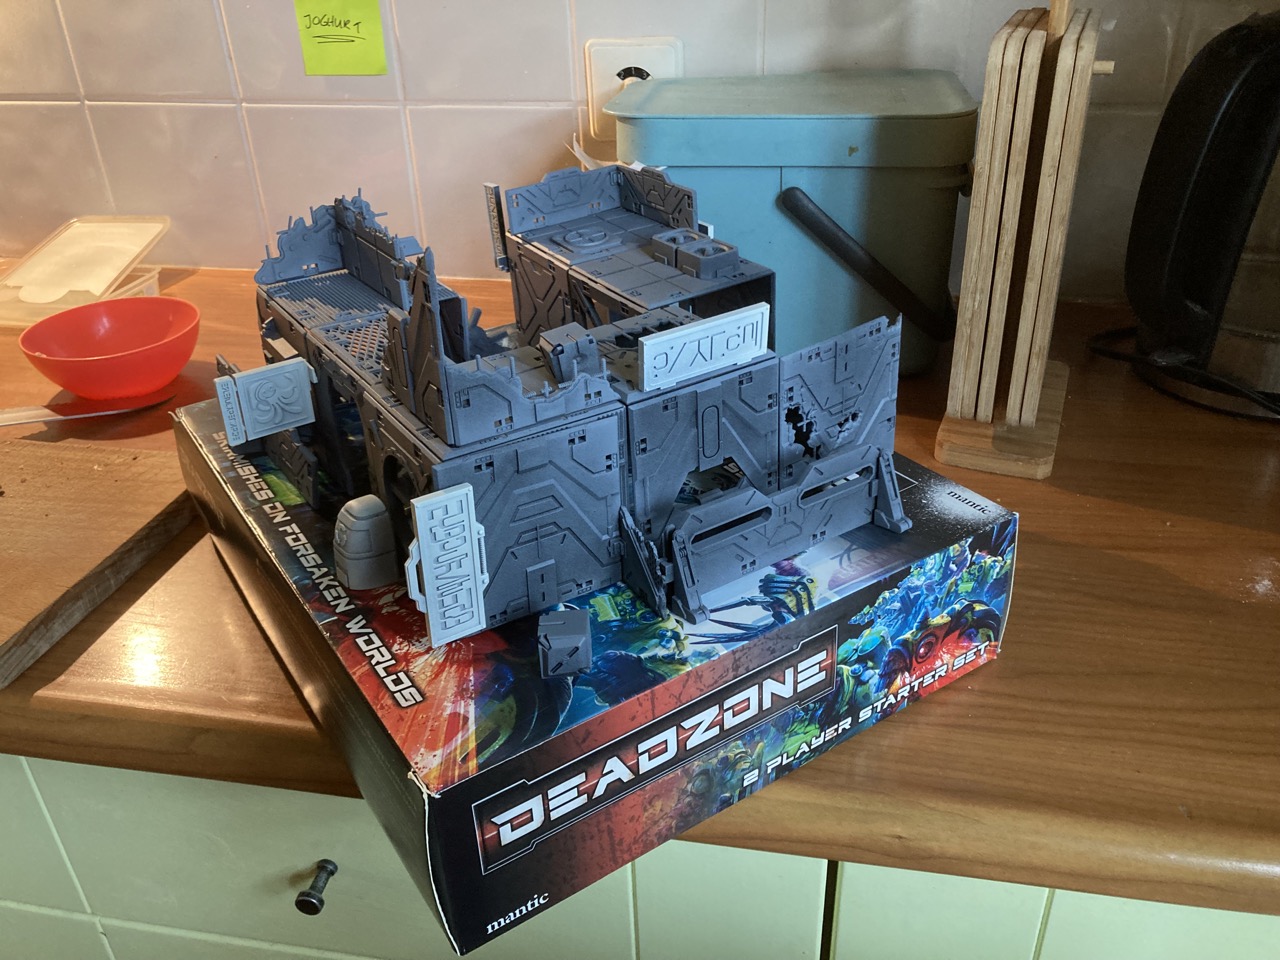
Final entry, for now
Unfortunately I wasn’t able to update the project before the end of Terrain Fest, but it didn’t sit well leaving it like this. To be honest, there are still two signs to paint, and some weathering to add to the waste bin. And I need to paint the minis that were in the box, of course!
Thus, better late than never, I present you the last entry for the project, for now 😉
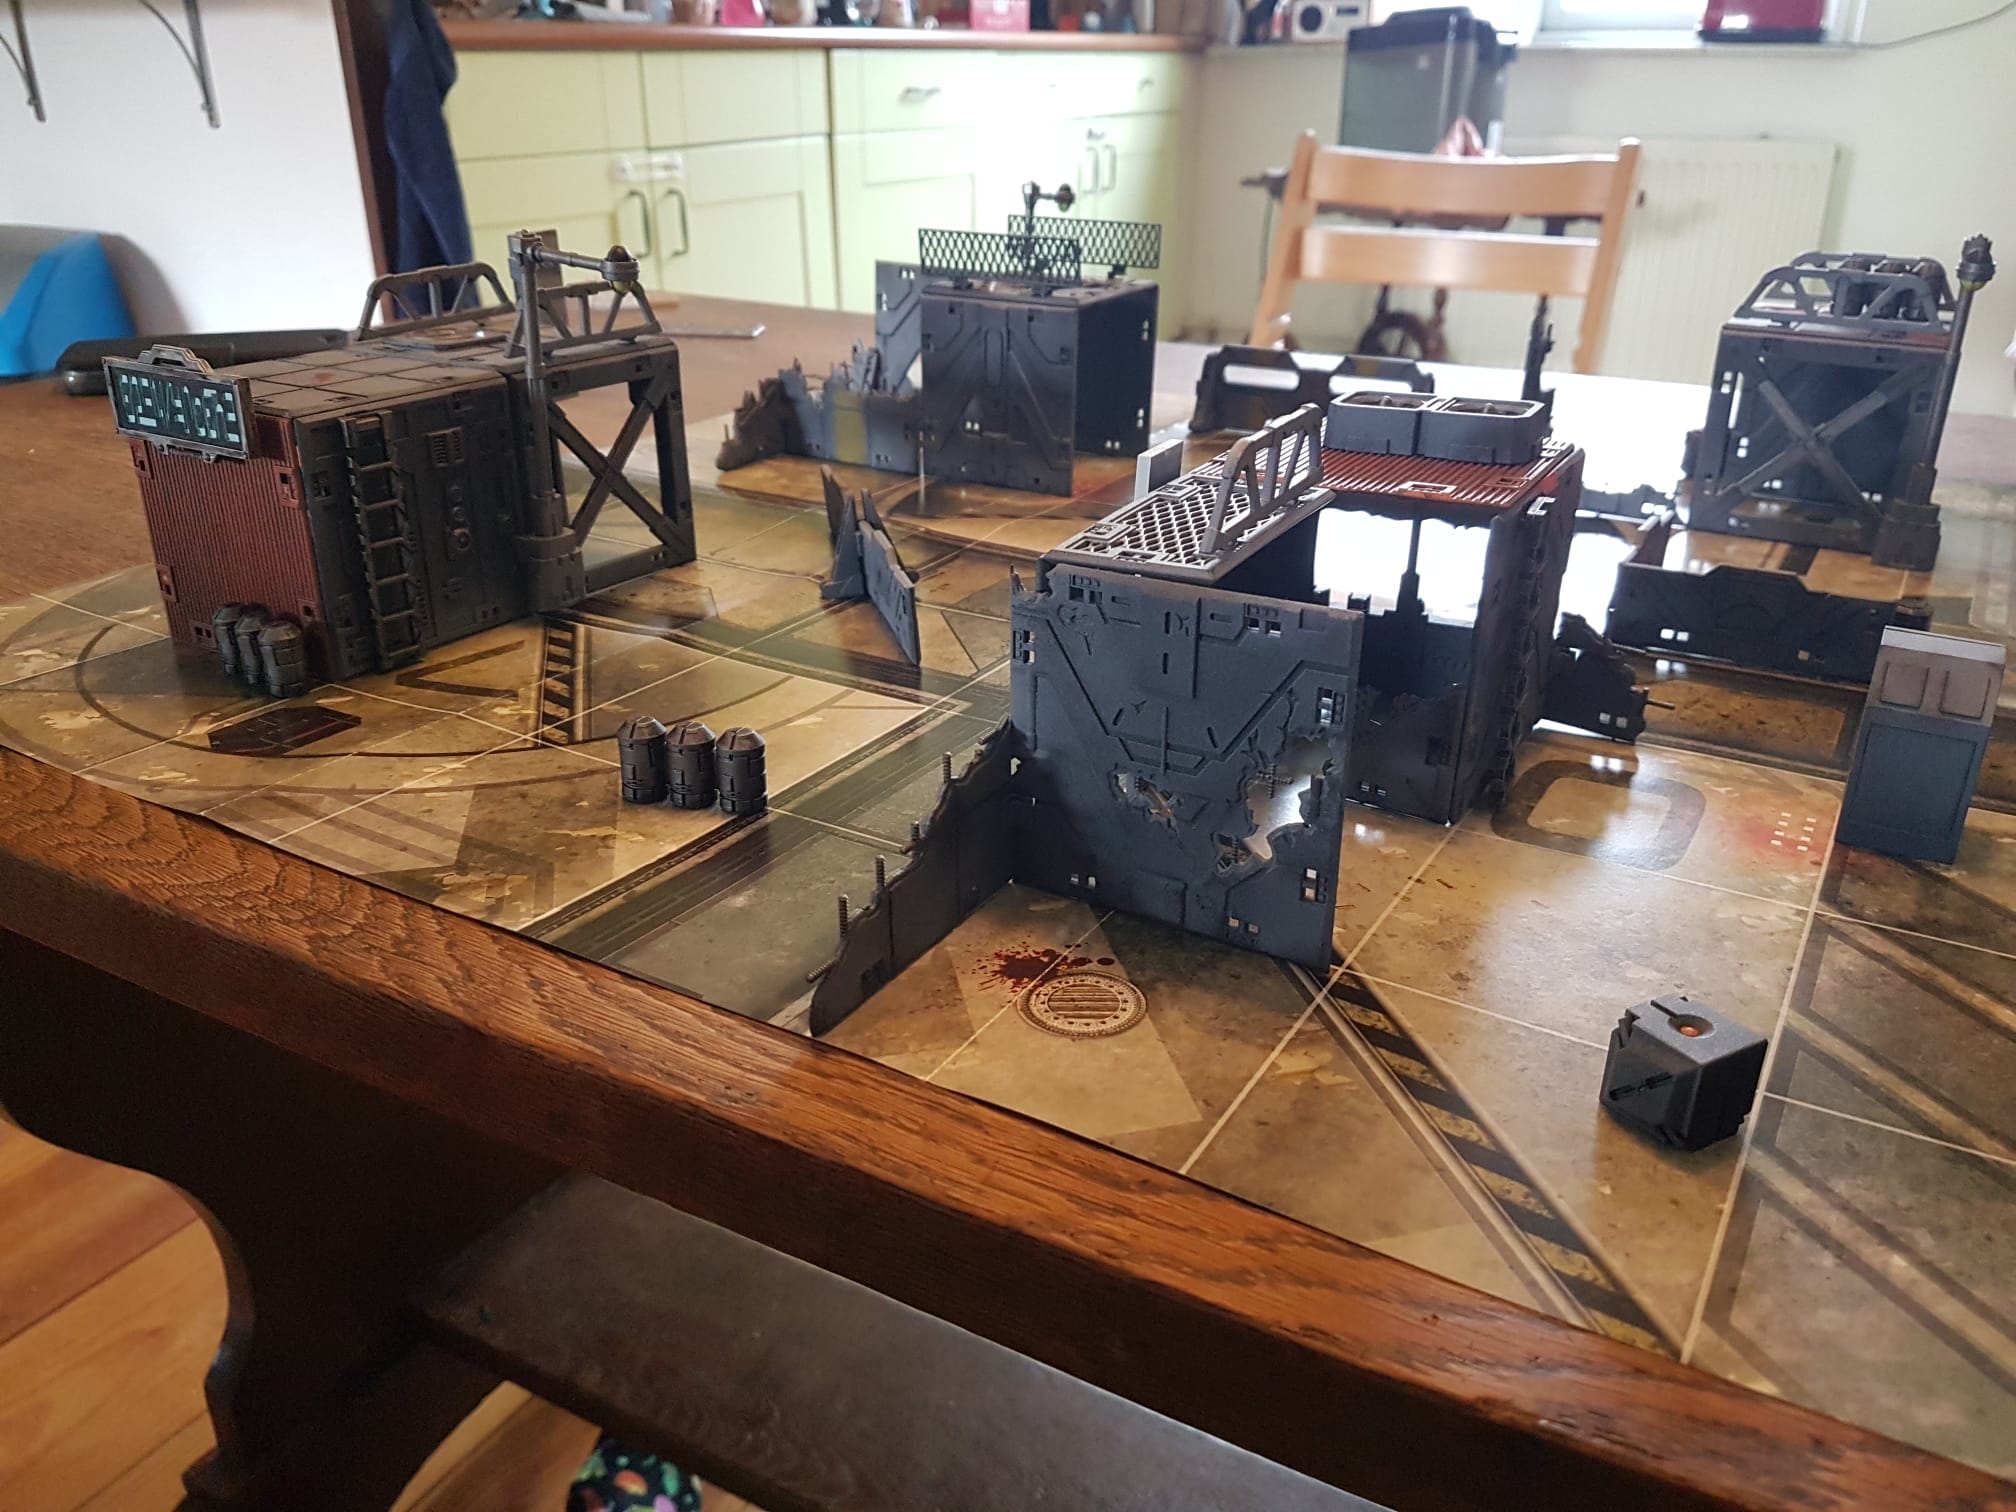
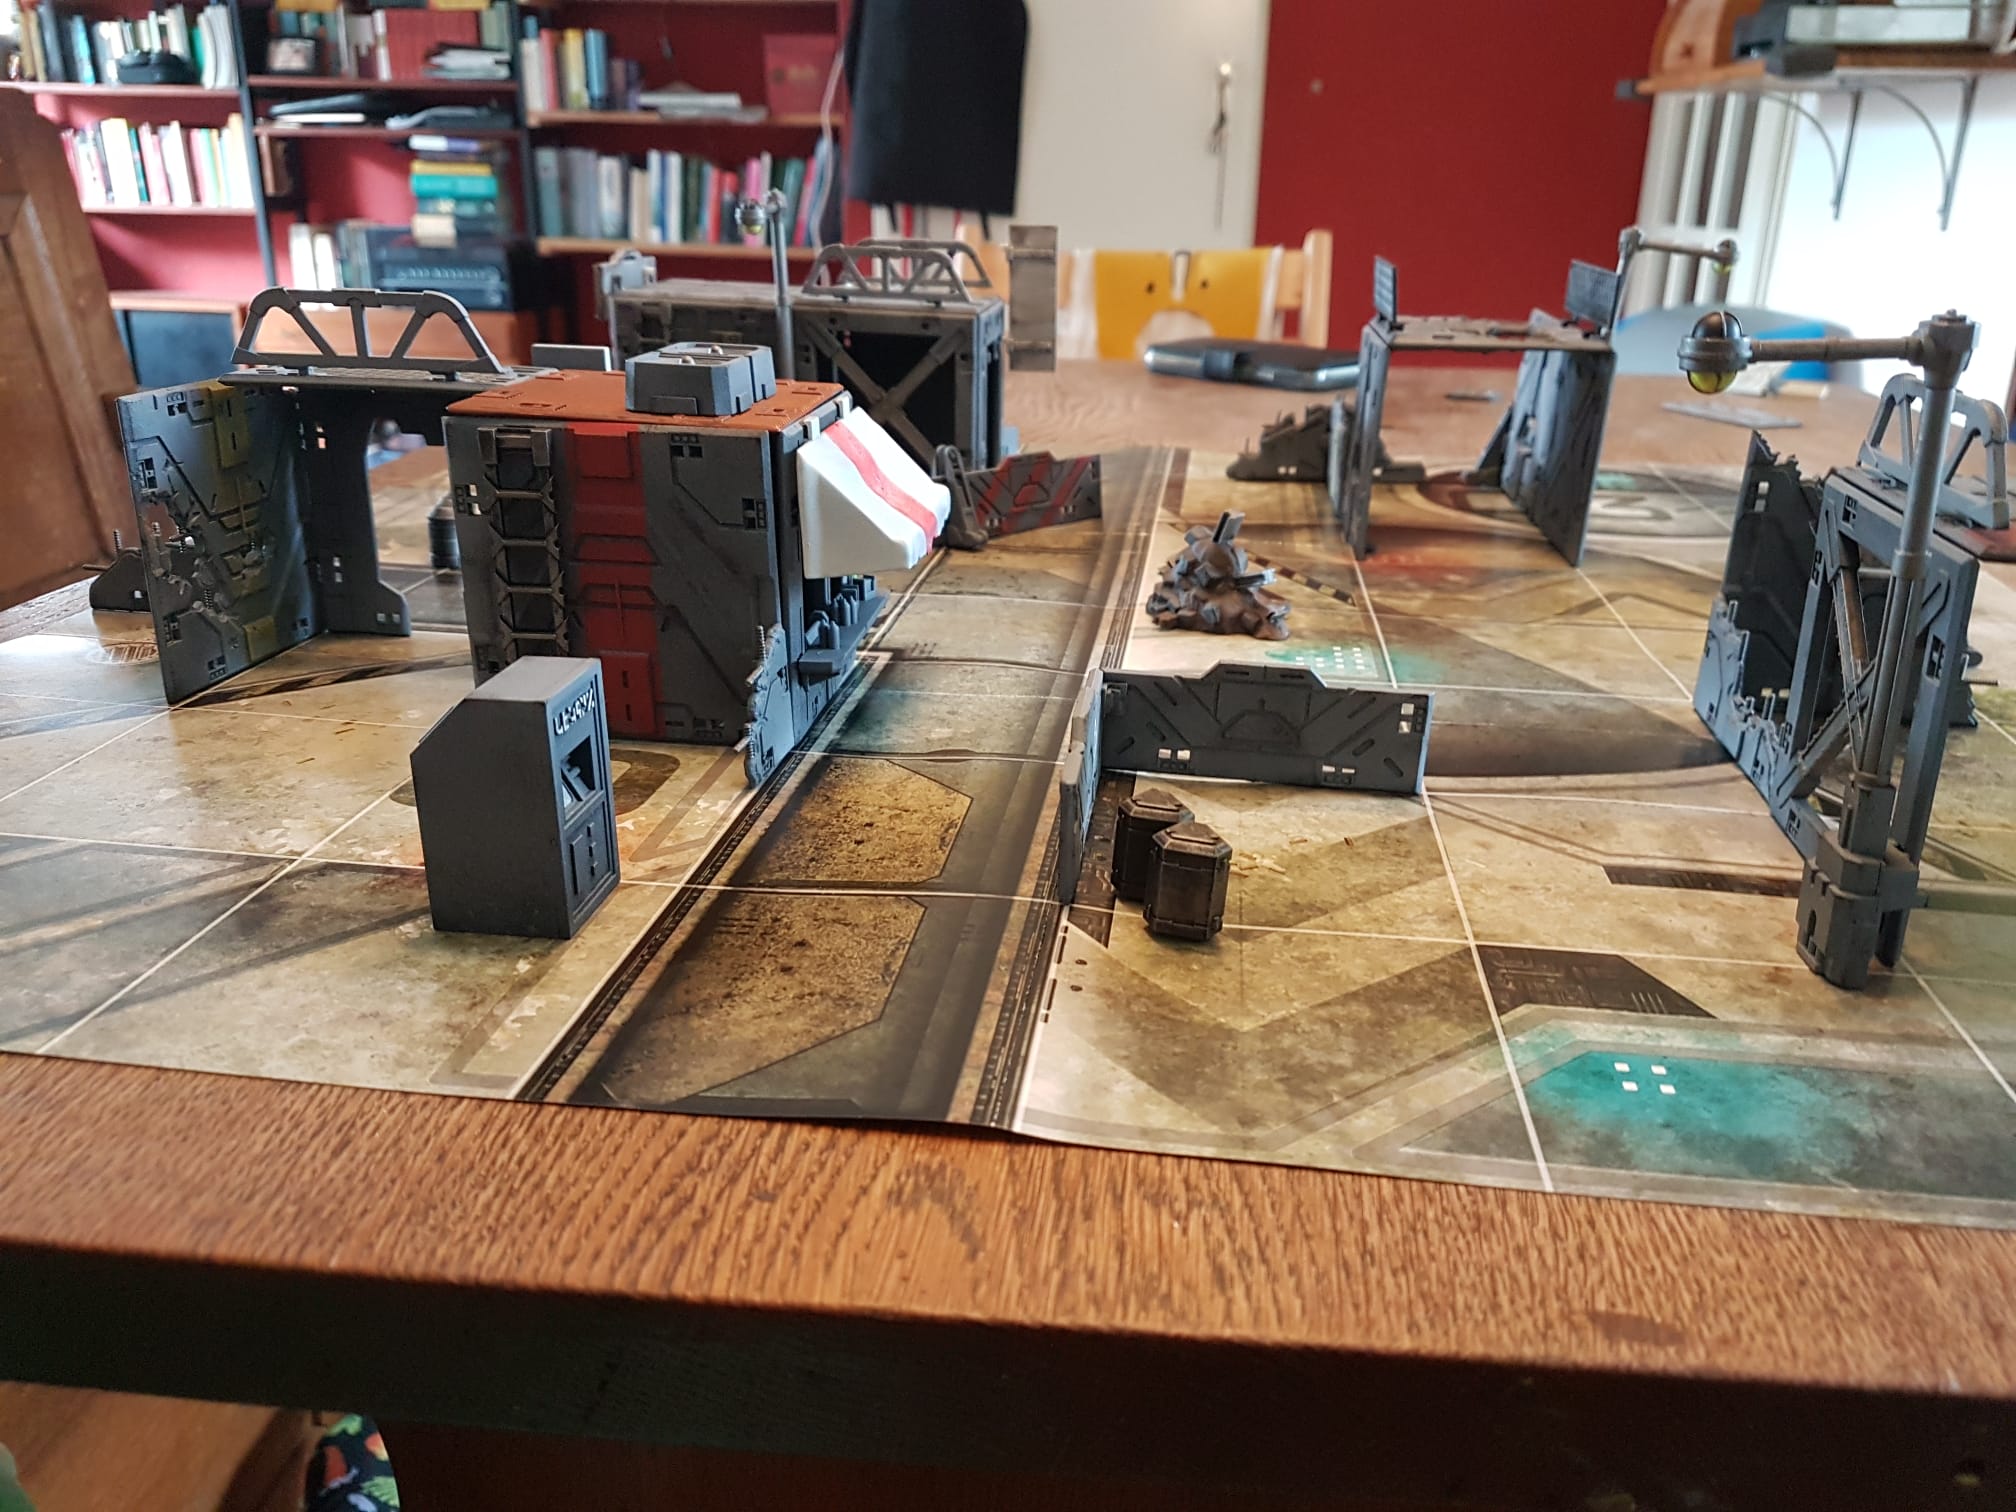
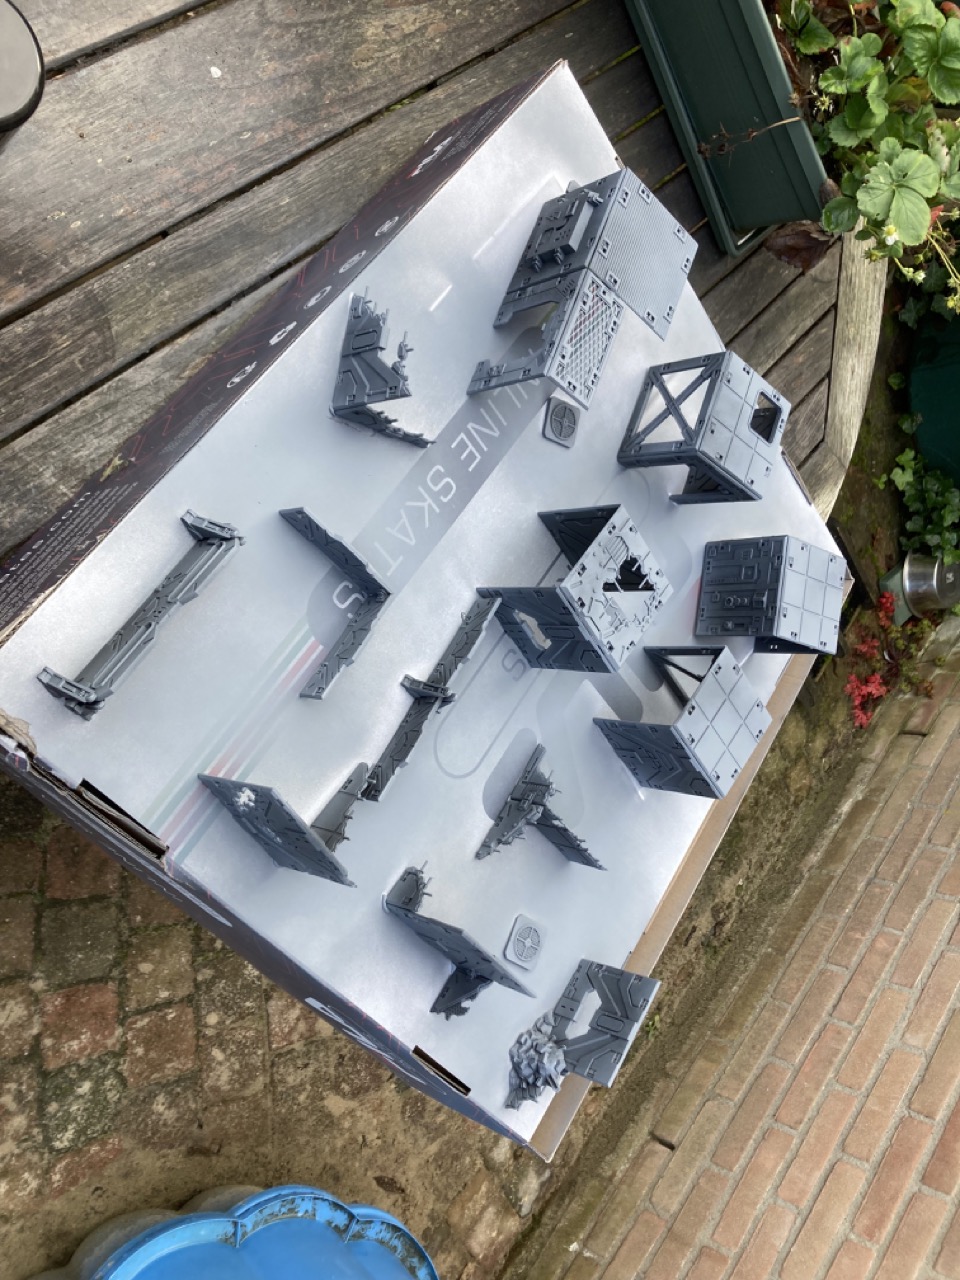
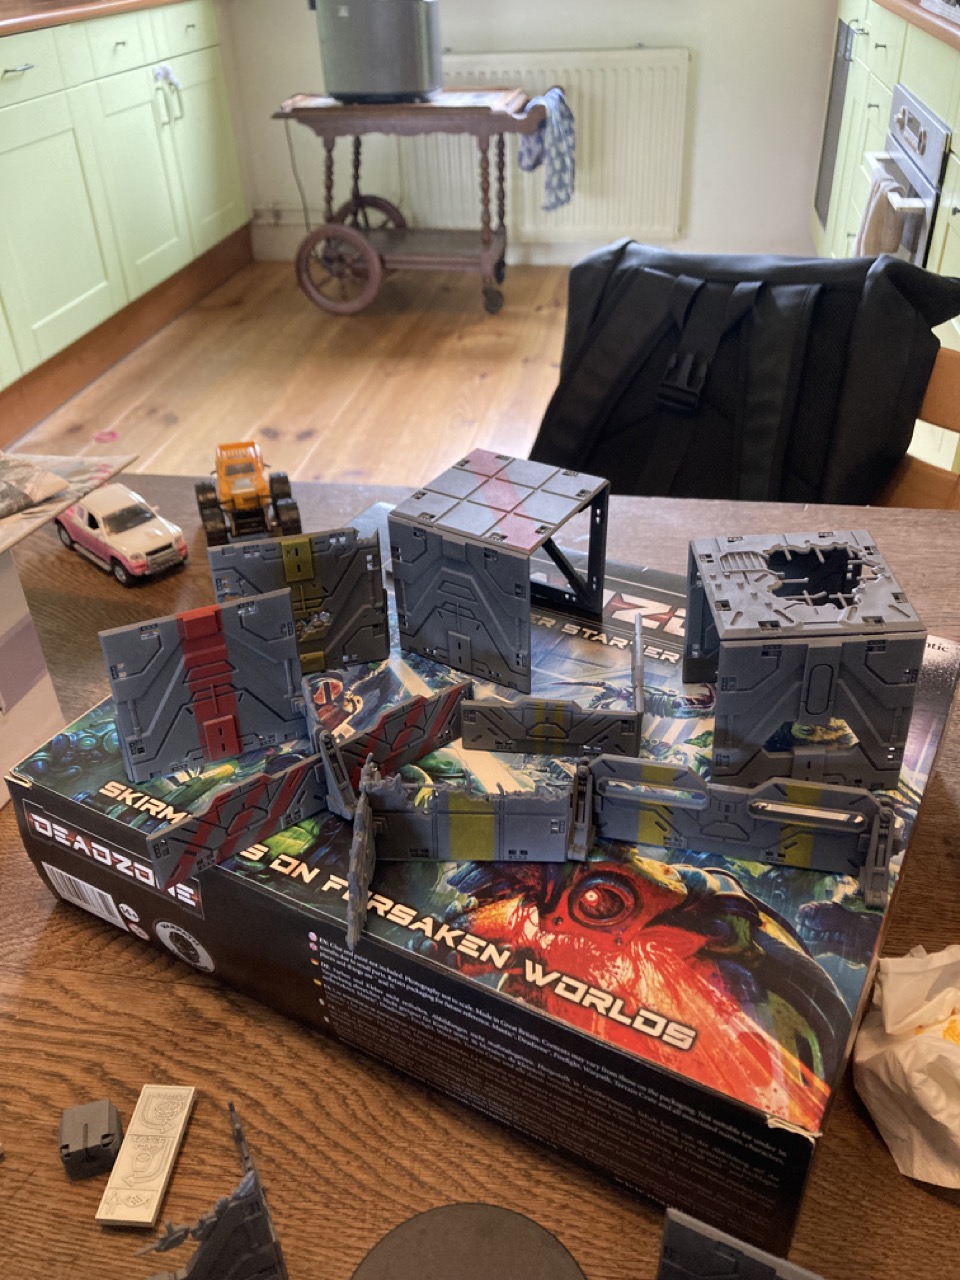
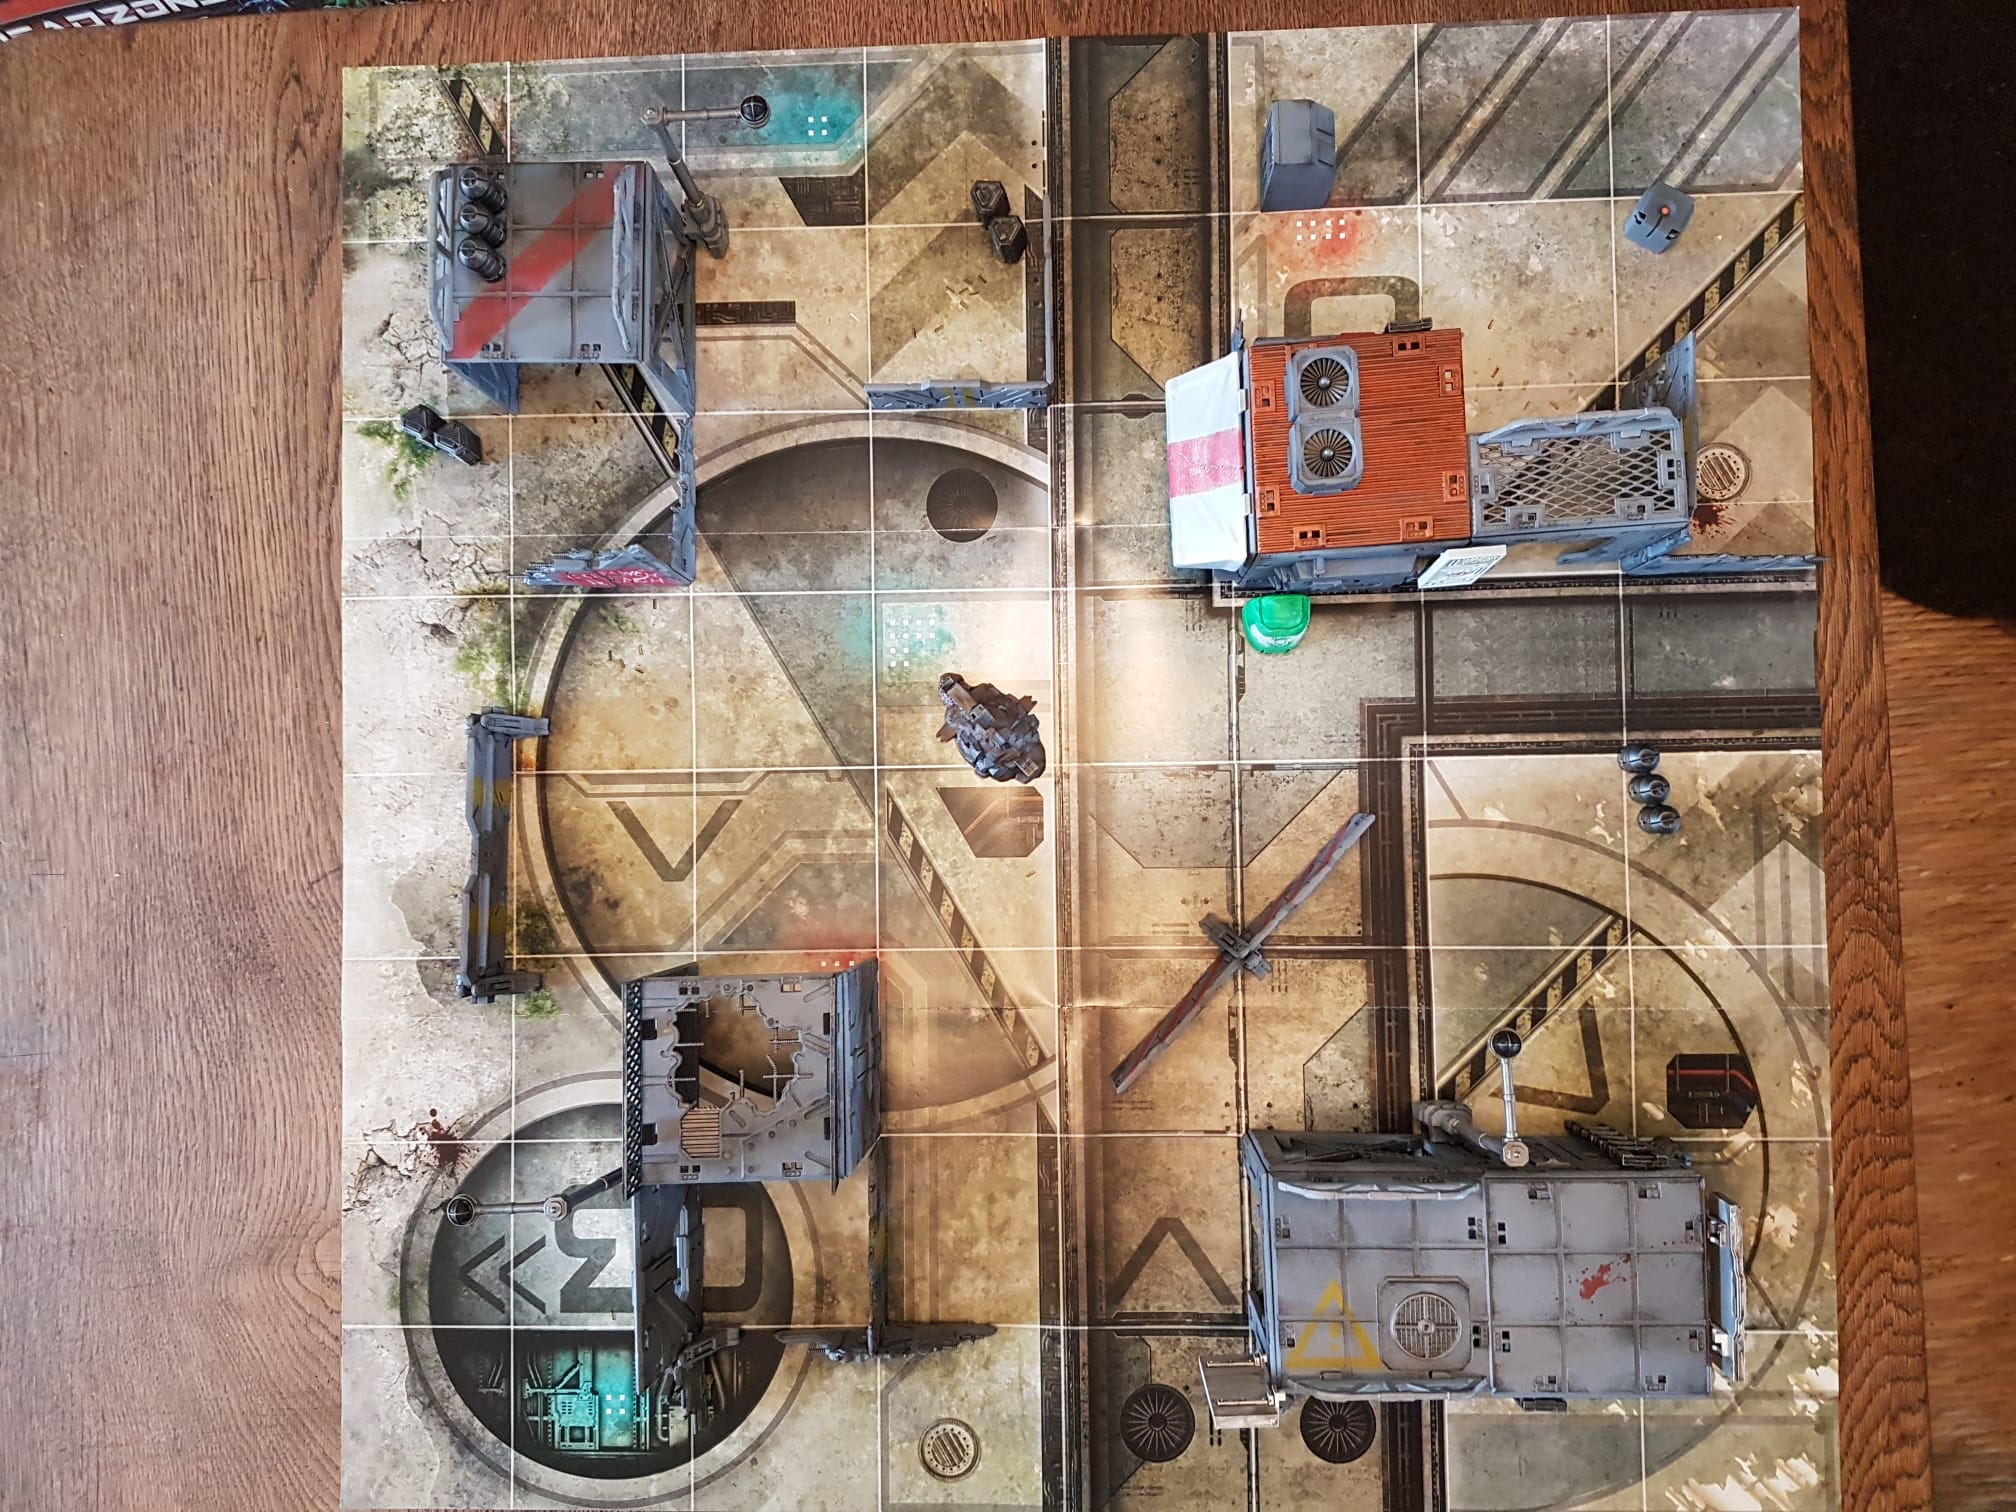 An overview of everything
Photos from around the setup
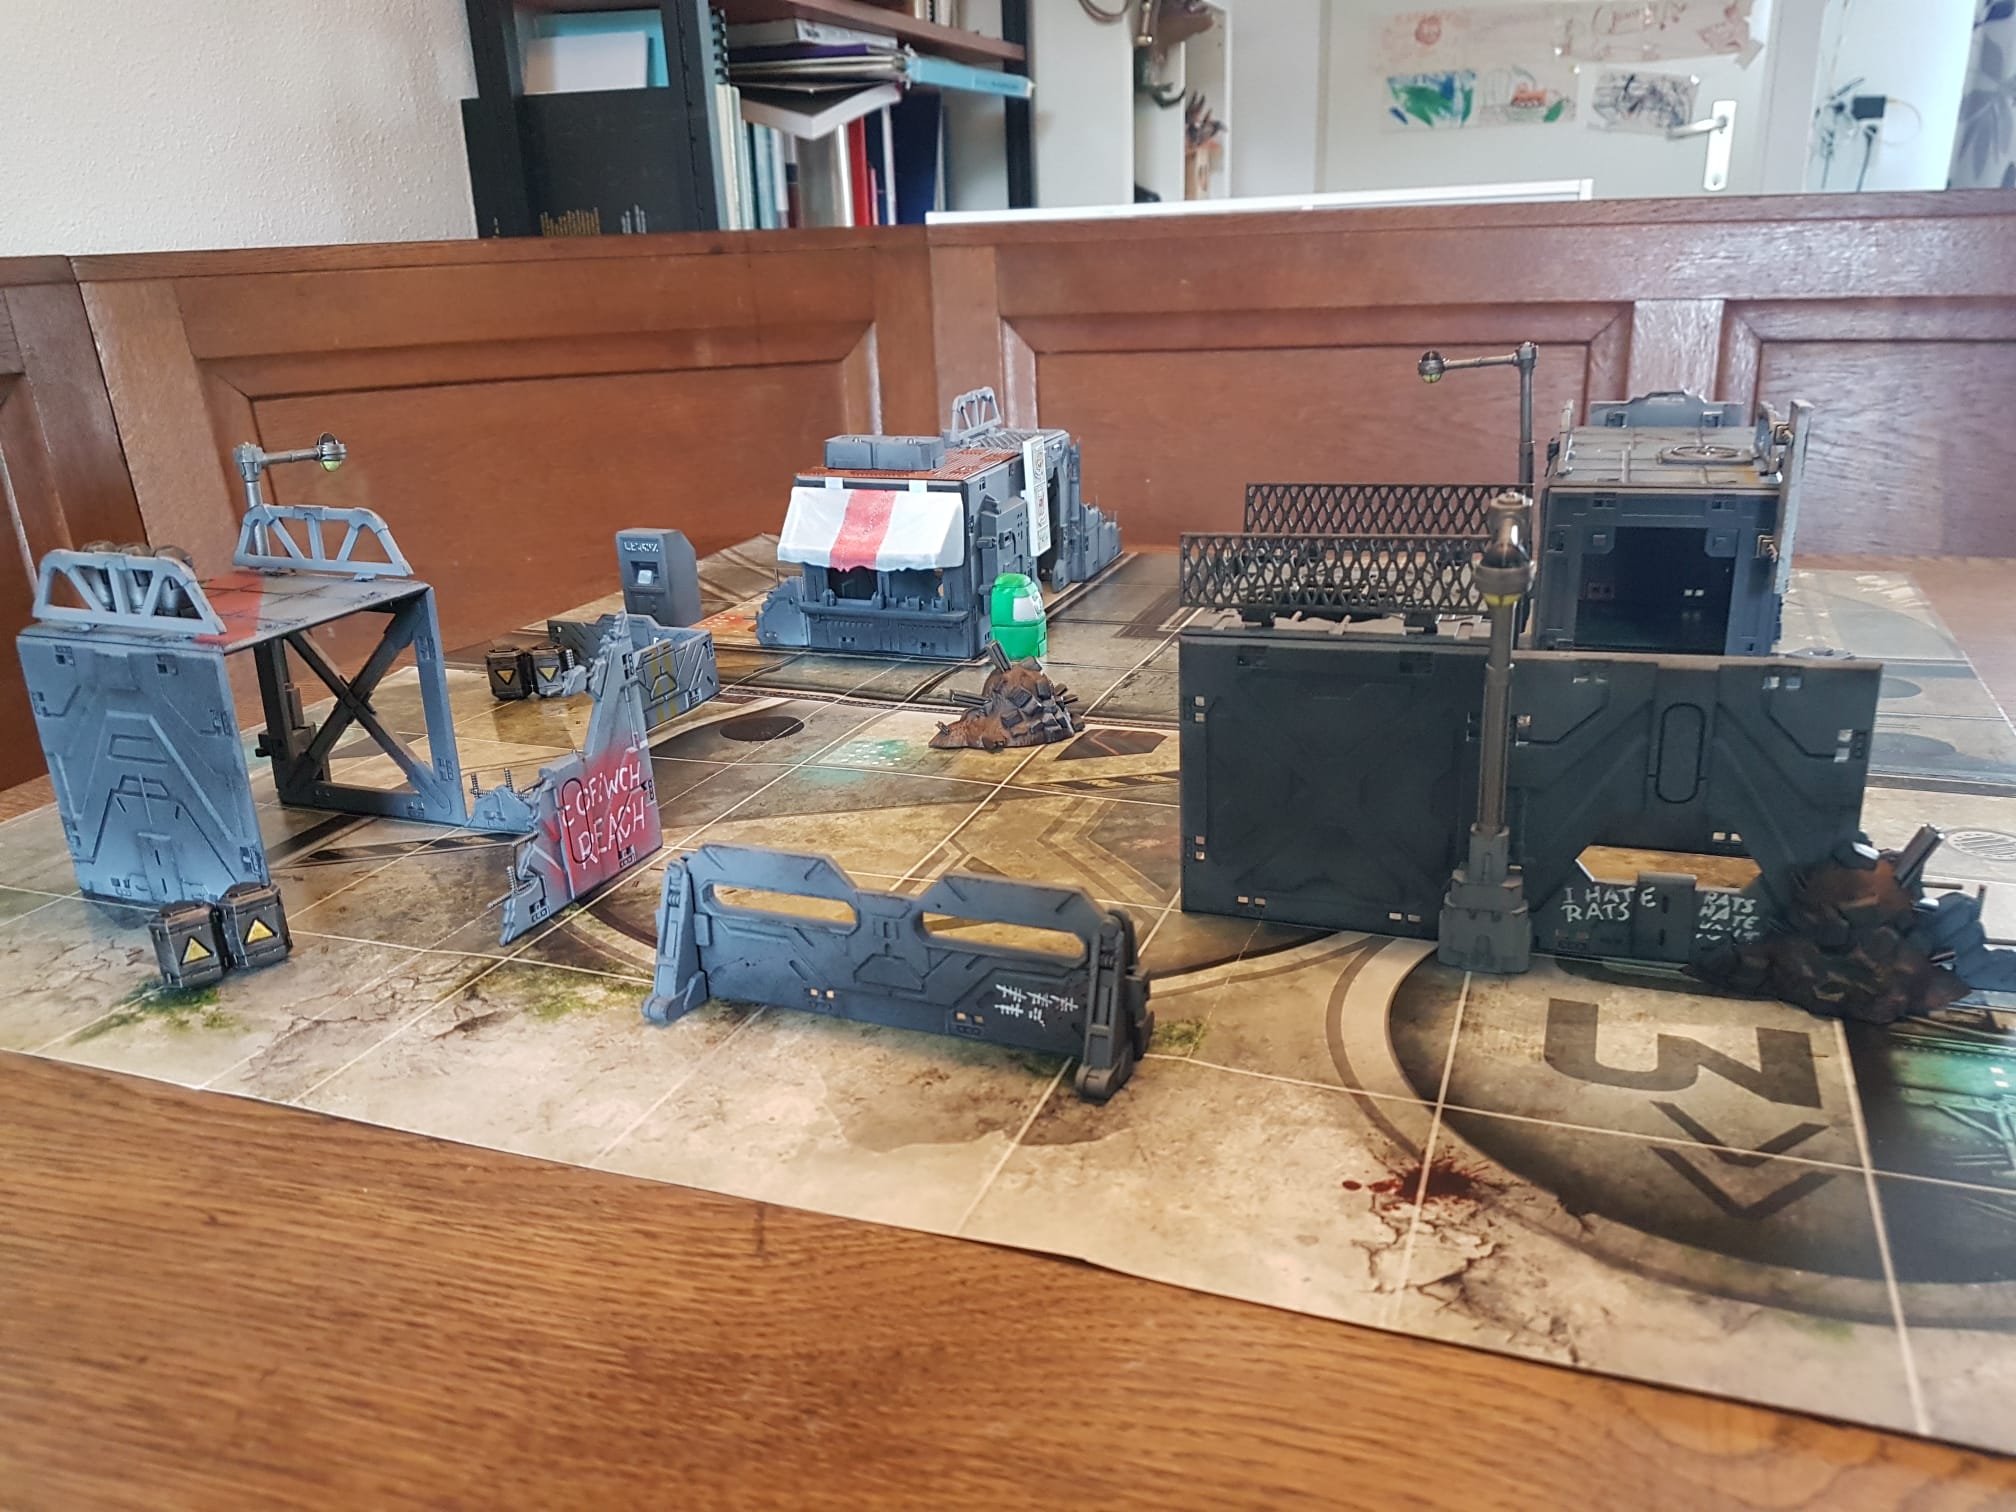
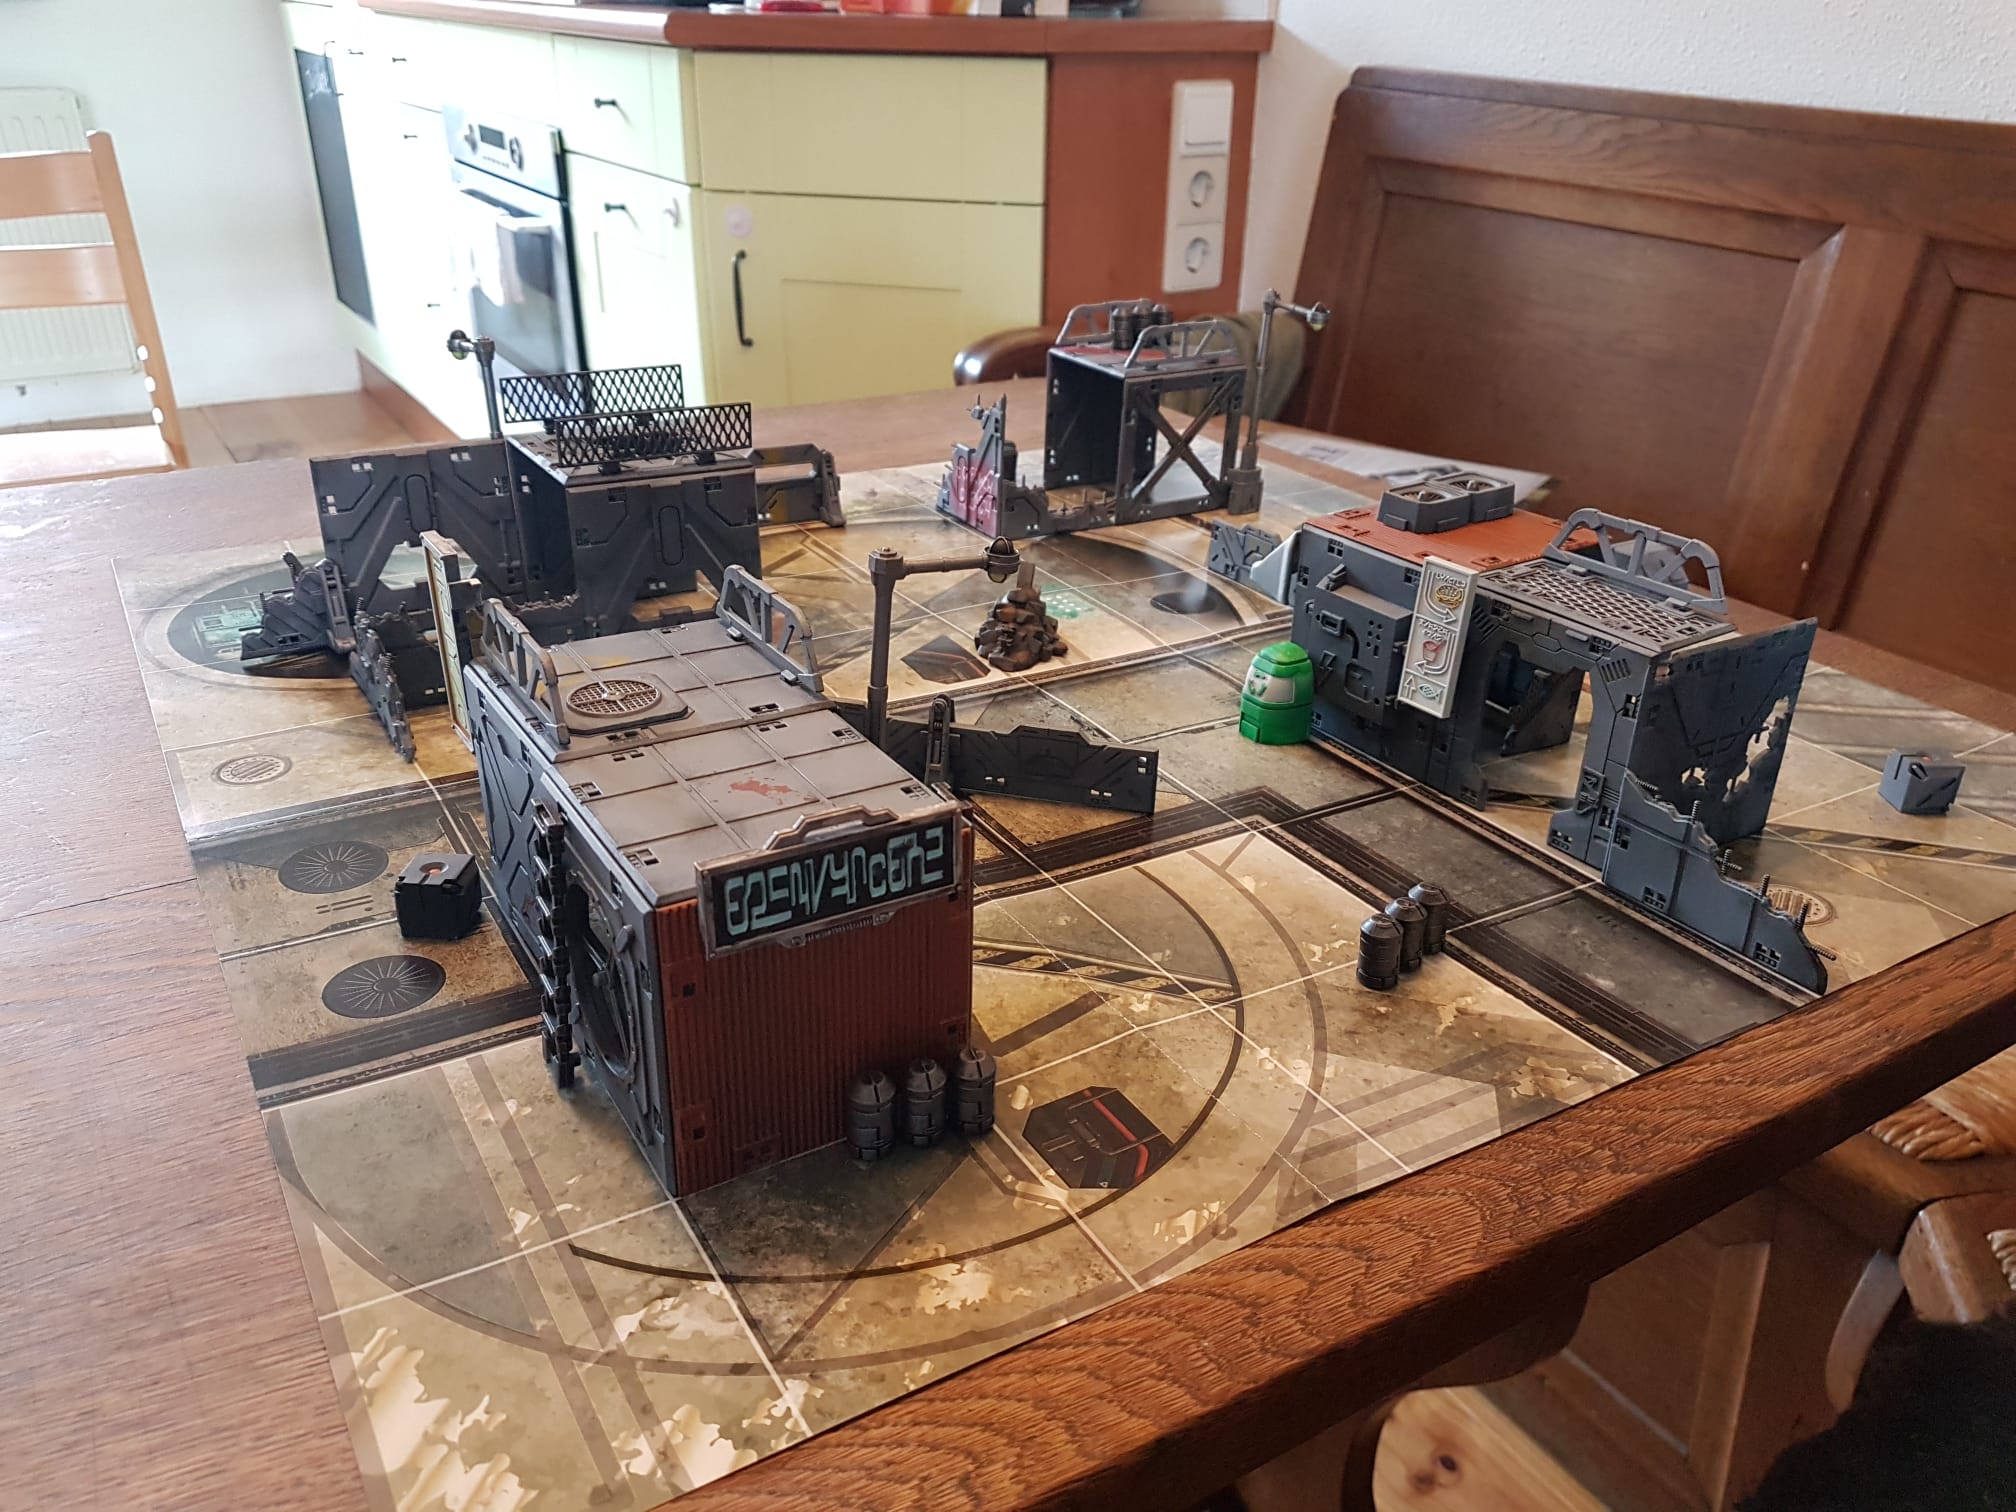
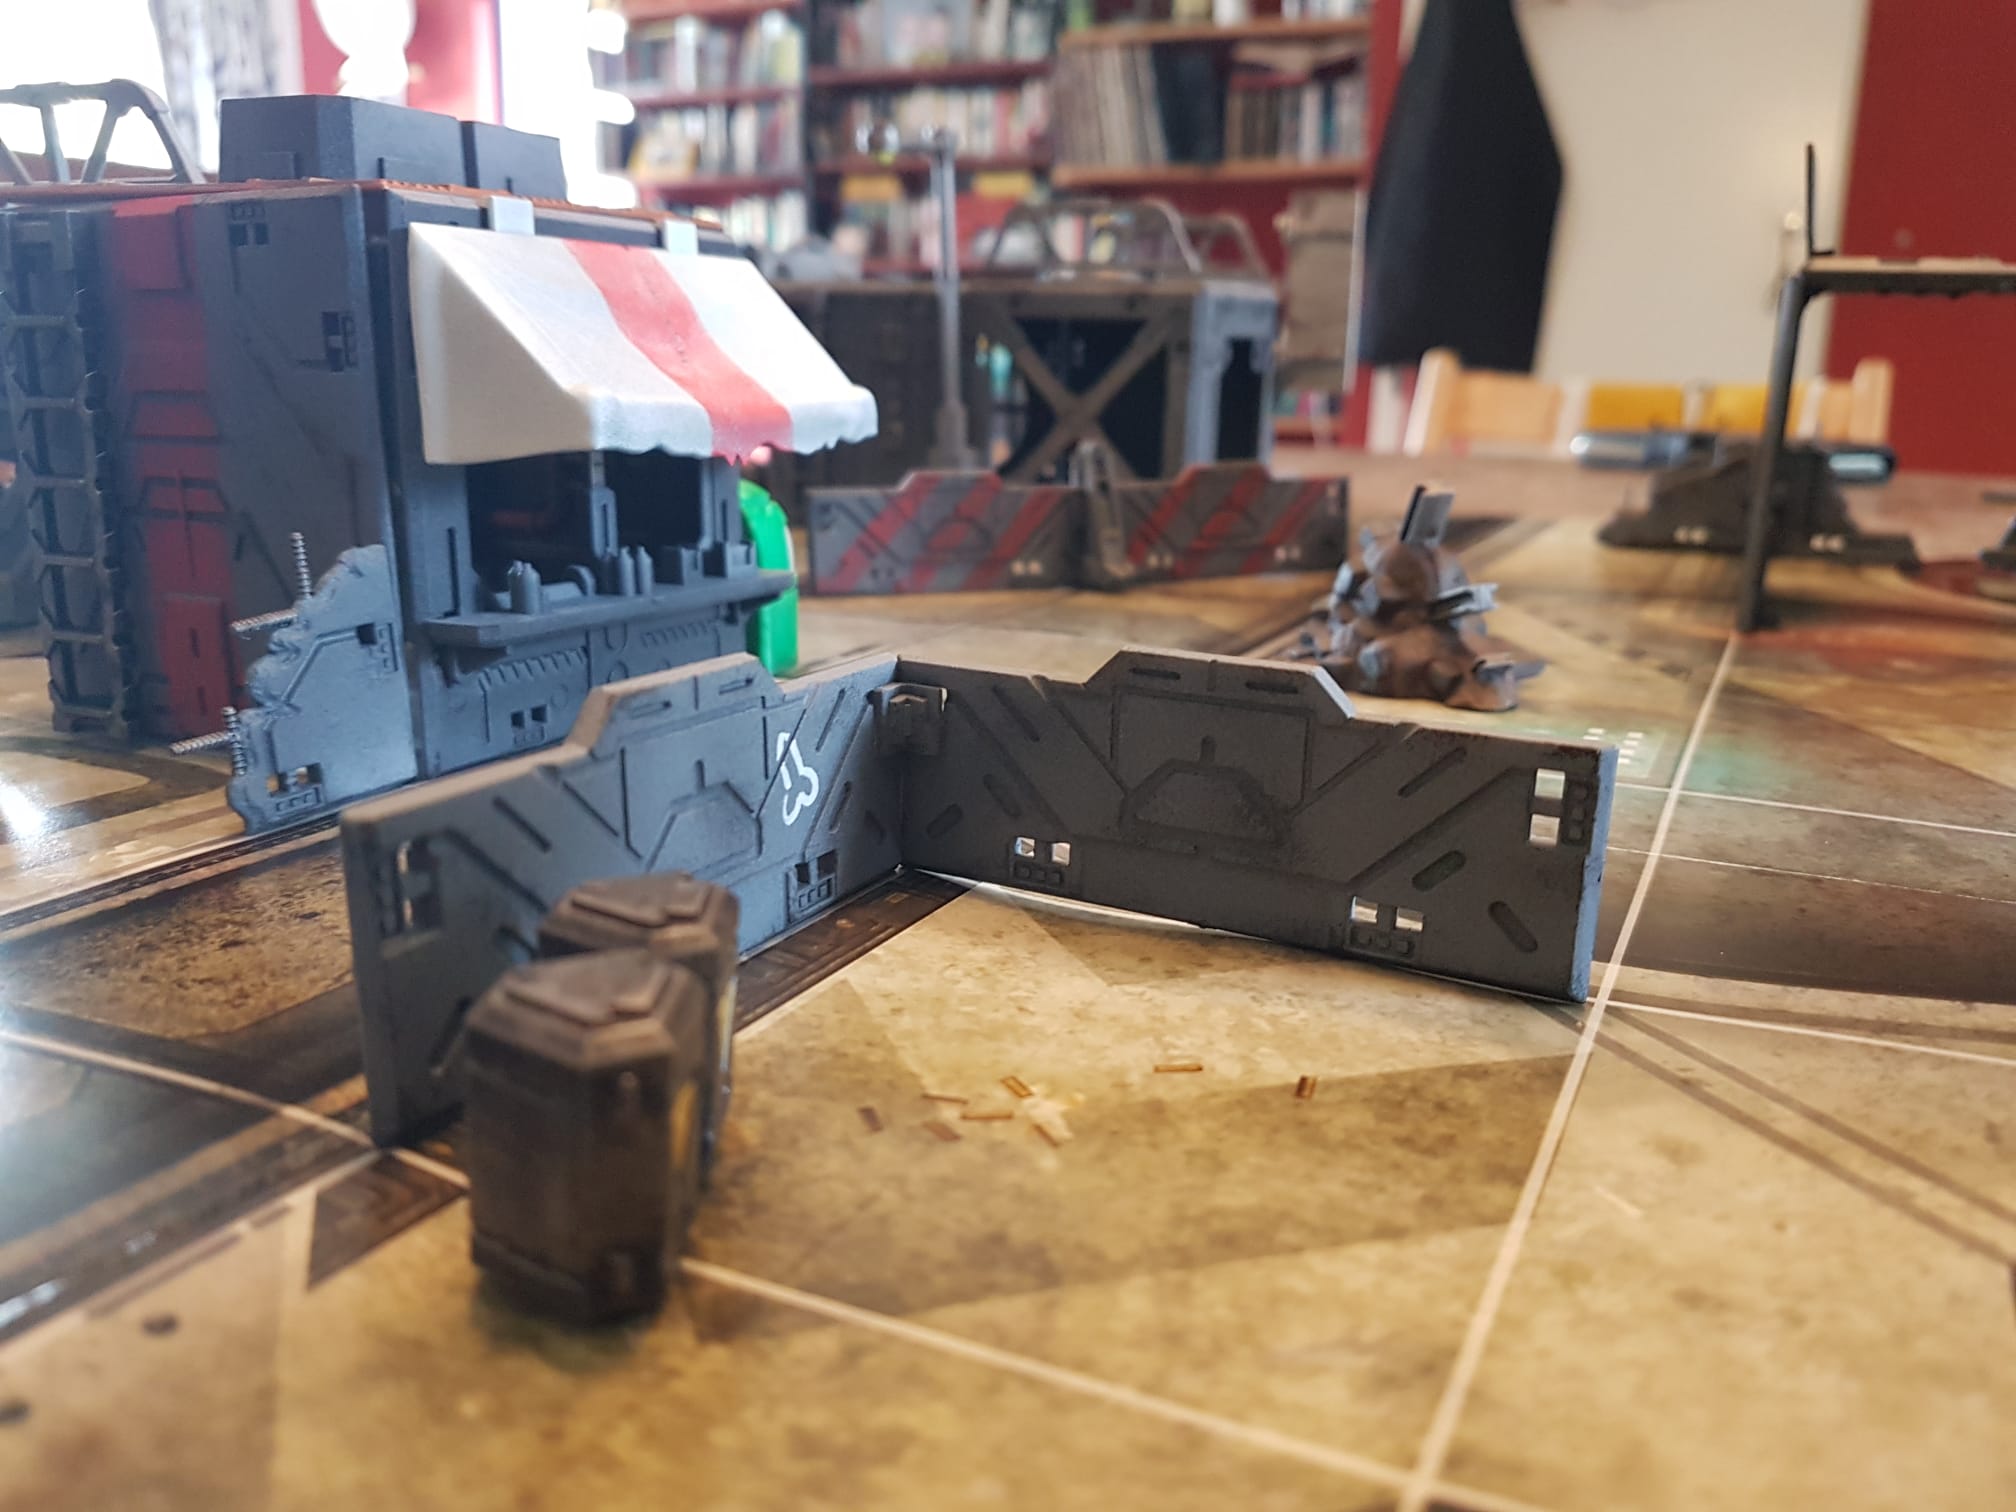
Closeups from within the setup
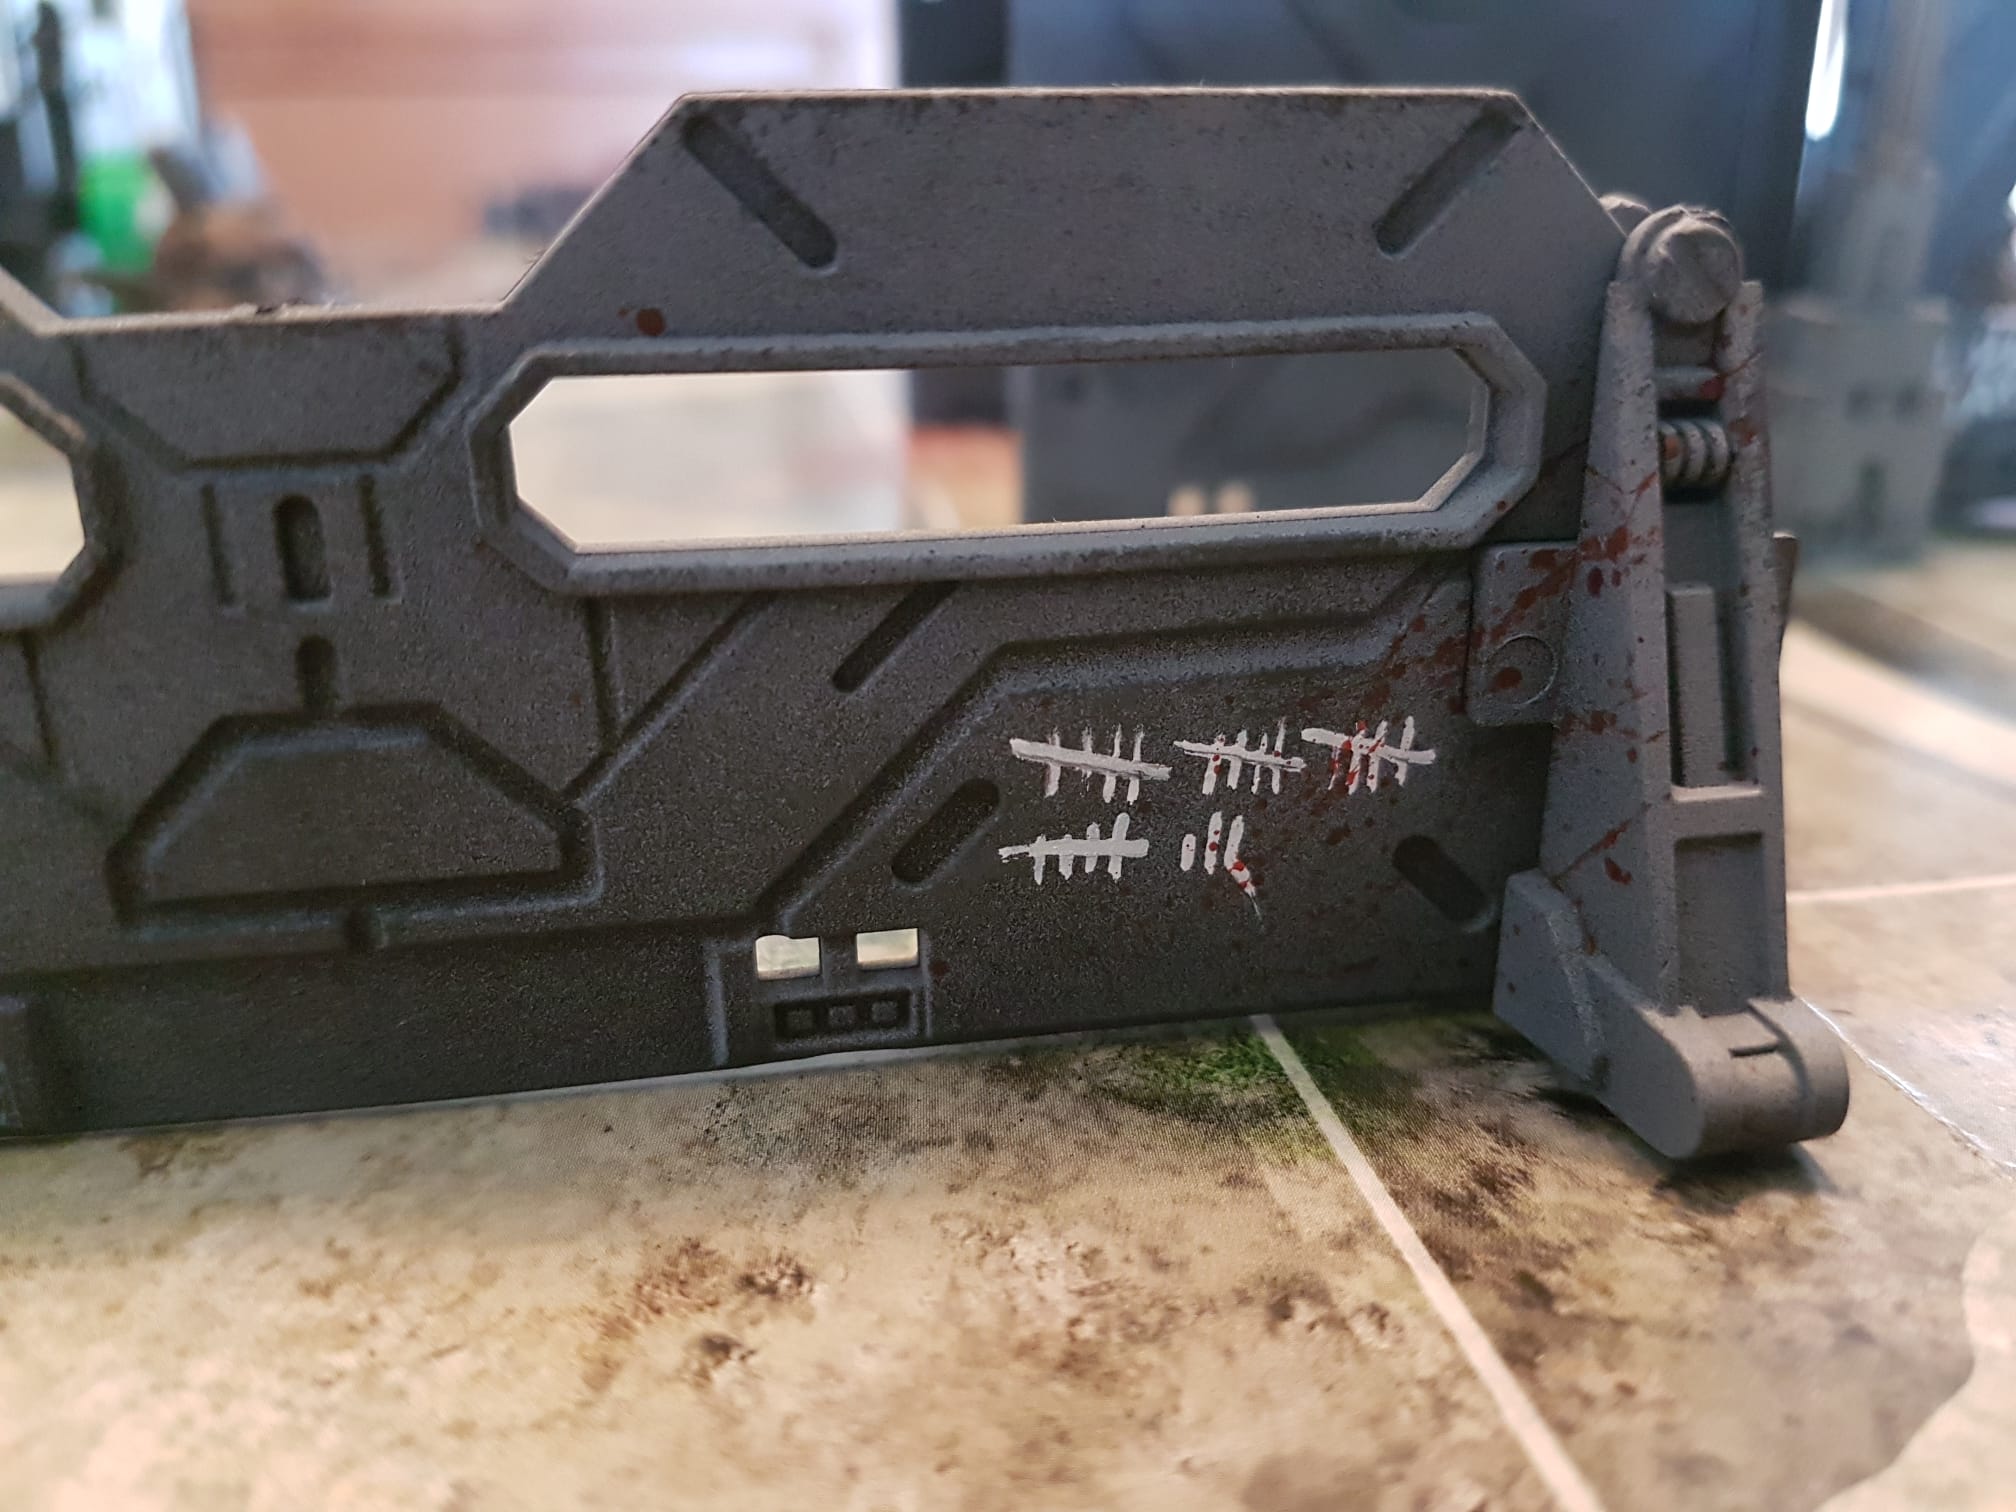
Some weathering details
They keep poking me with a stick
I was told on the Unofficial Hobby Hangout that I should hurry up before Terrain Fest ends. “Luckily” I got ill, which gave me some time to sit down and hobby some more.
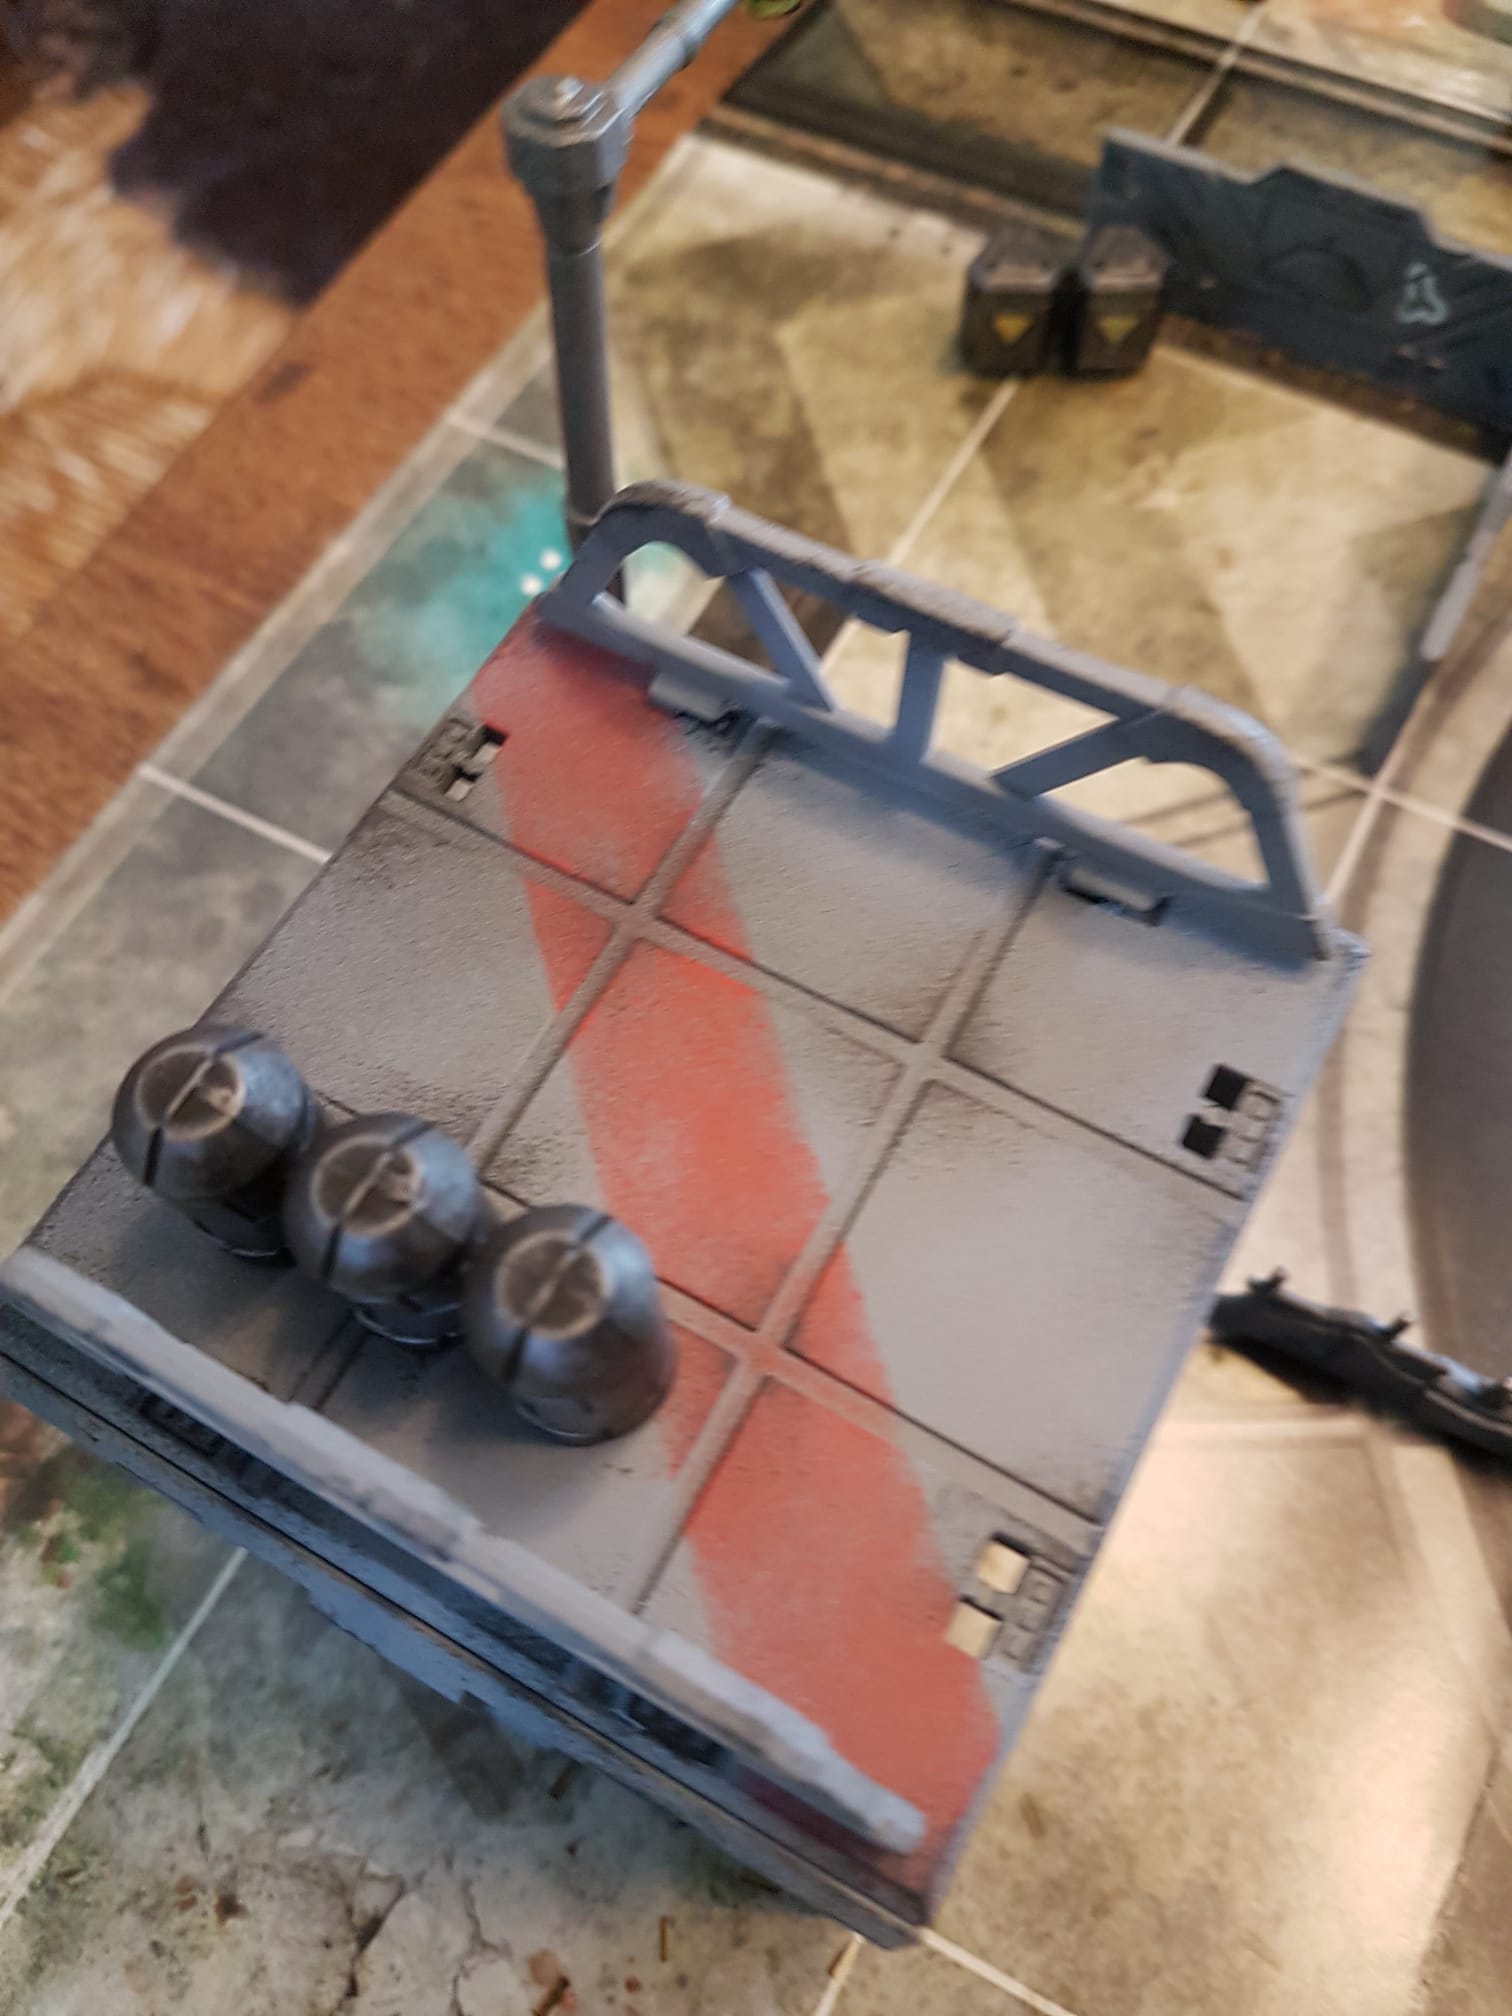
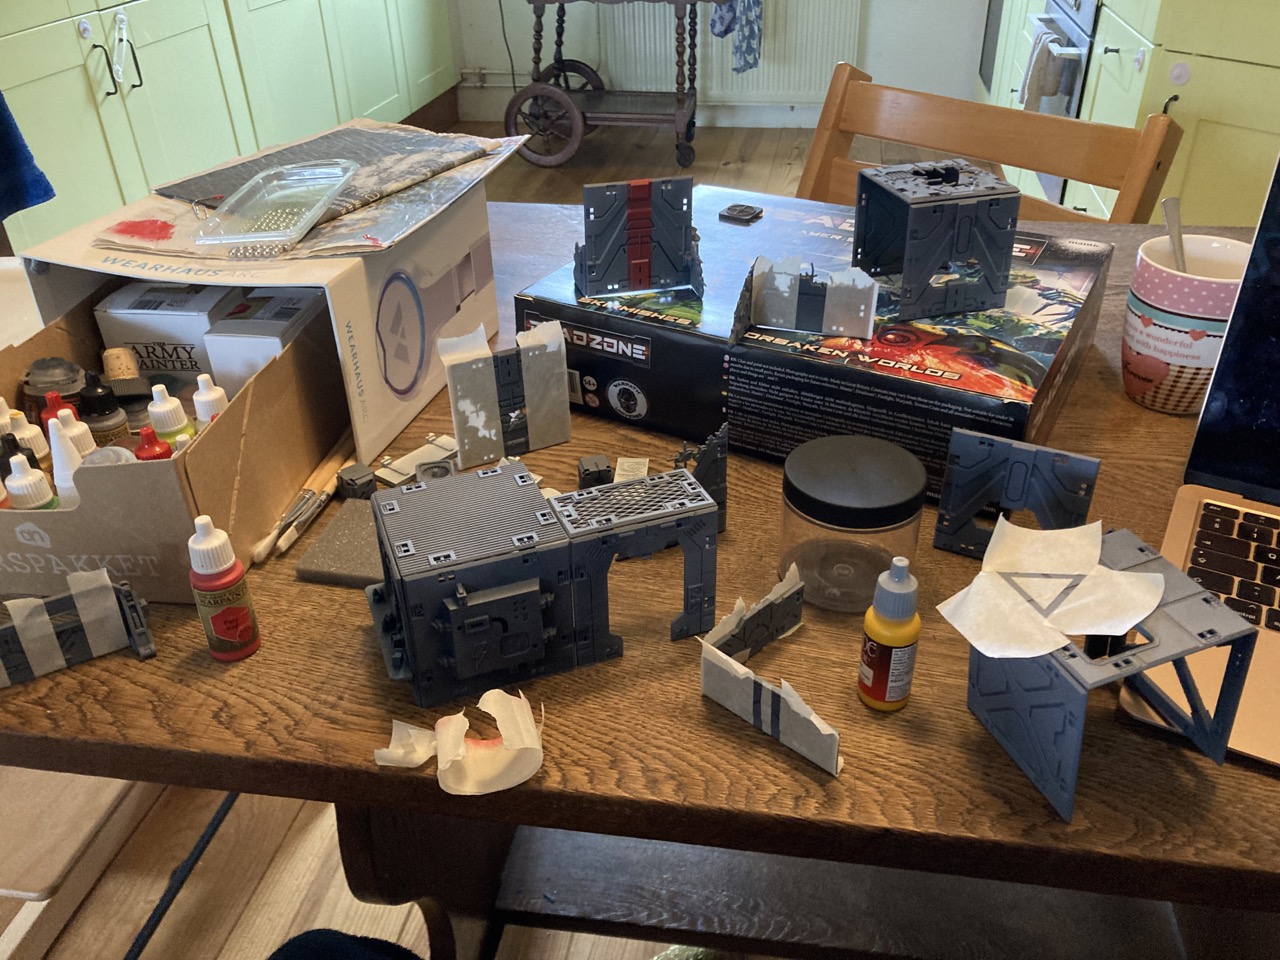
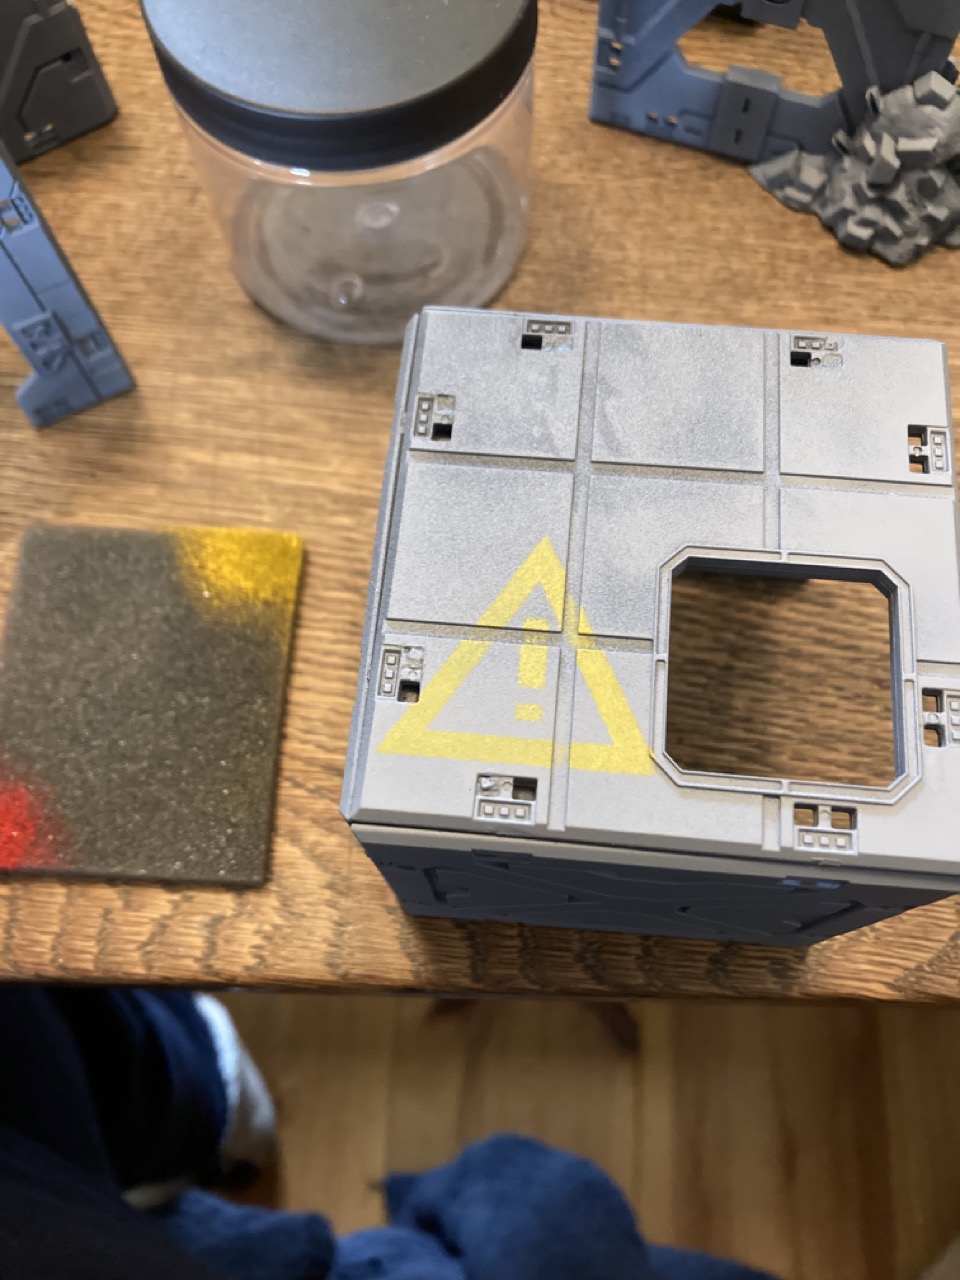
So, I gave the whole thing a black matt basecoat, after which I threw on a zenith of Uniform Grey.
For the neon signs and other lighter objects I used Brainmatter Beige.
Masking tape time!
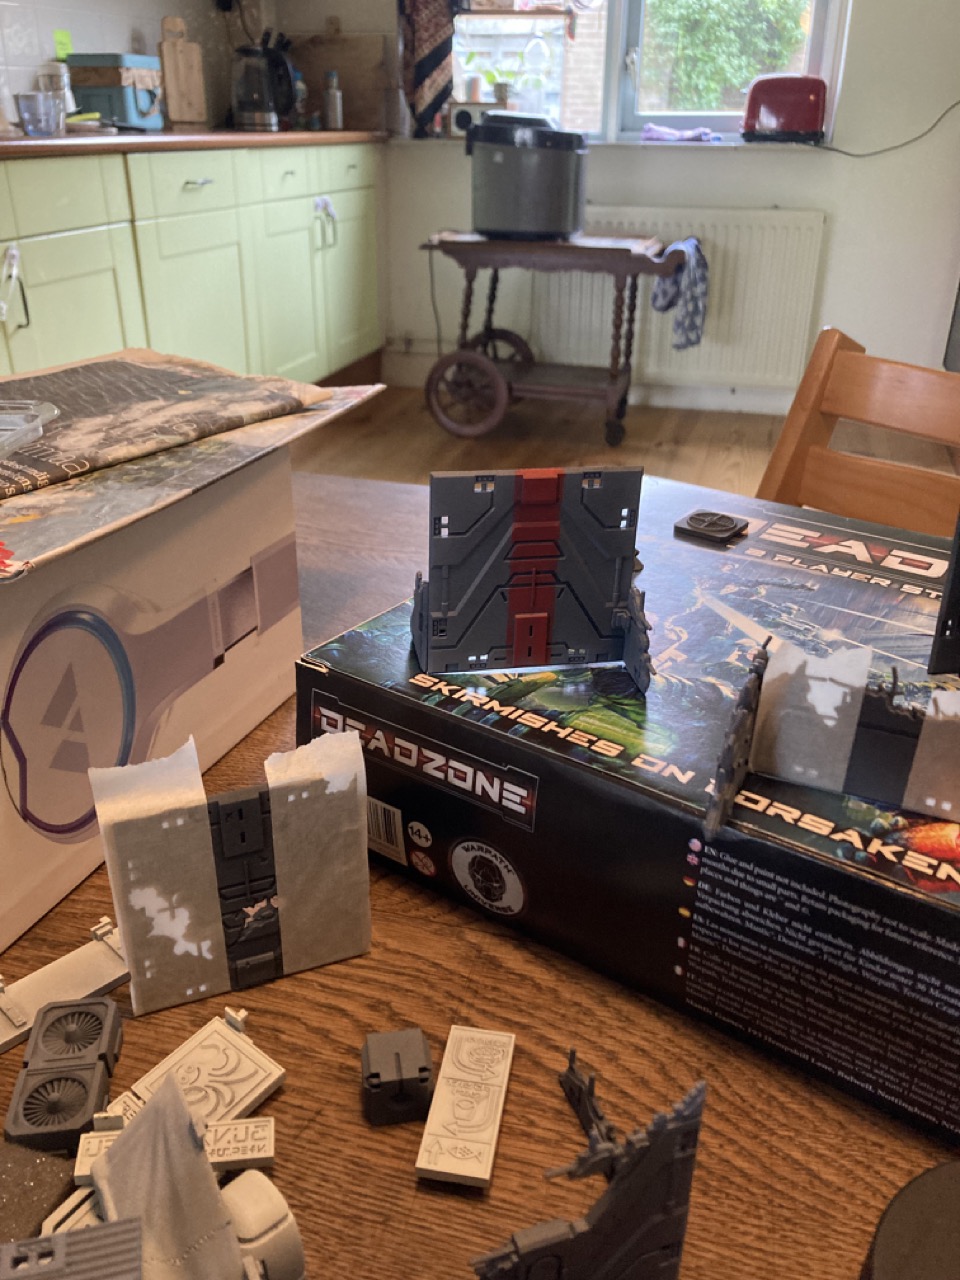
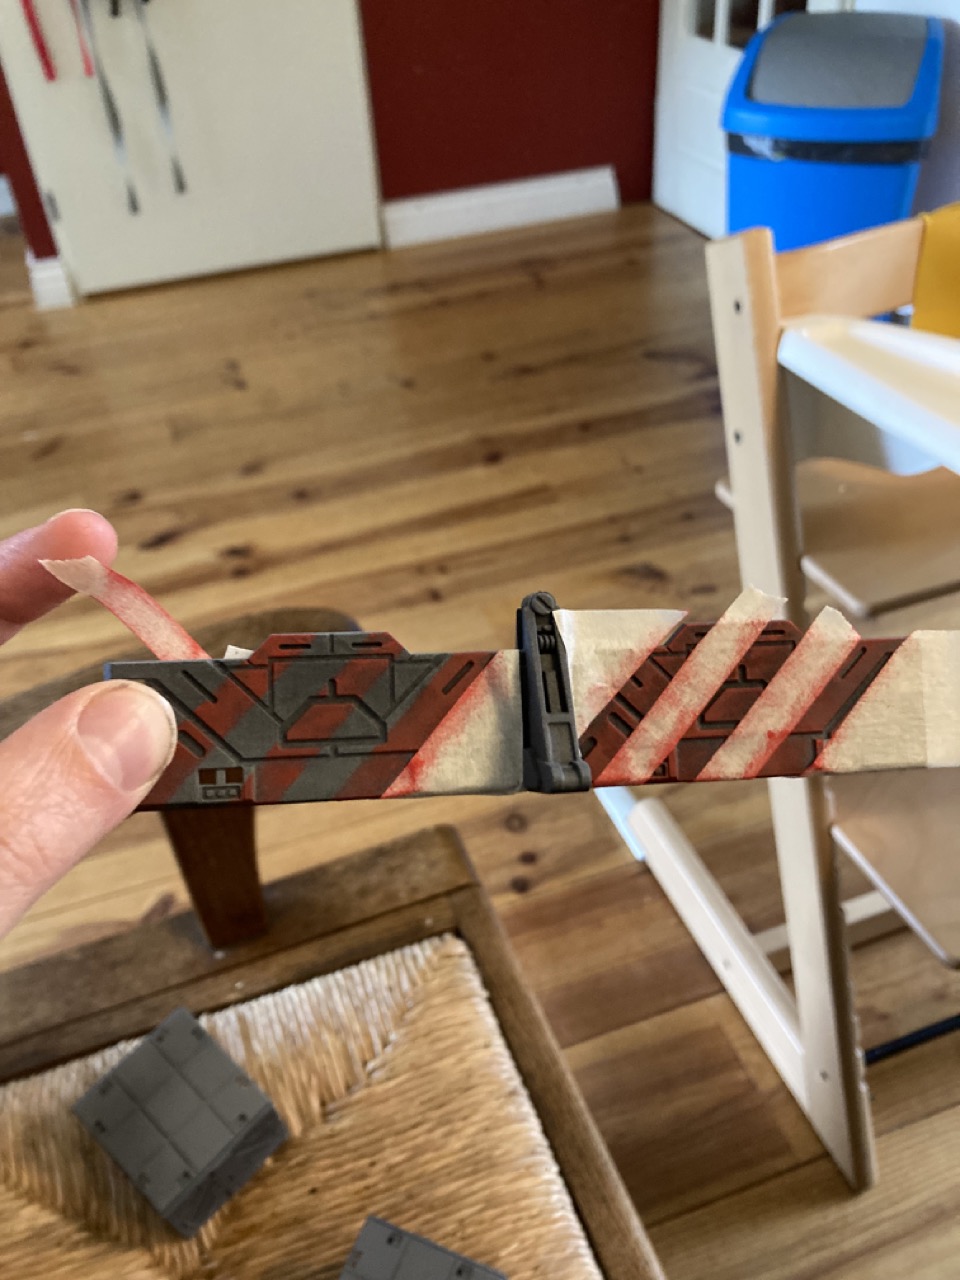
So, as a painting guide I’m more or less following a ten year old blogpost. It is really easy to follow and helped me get basic walls and such done.
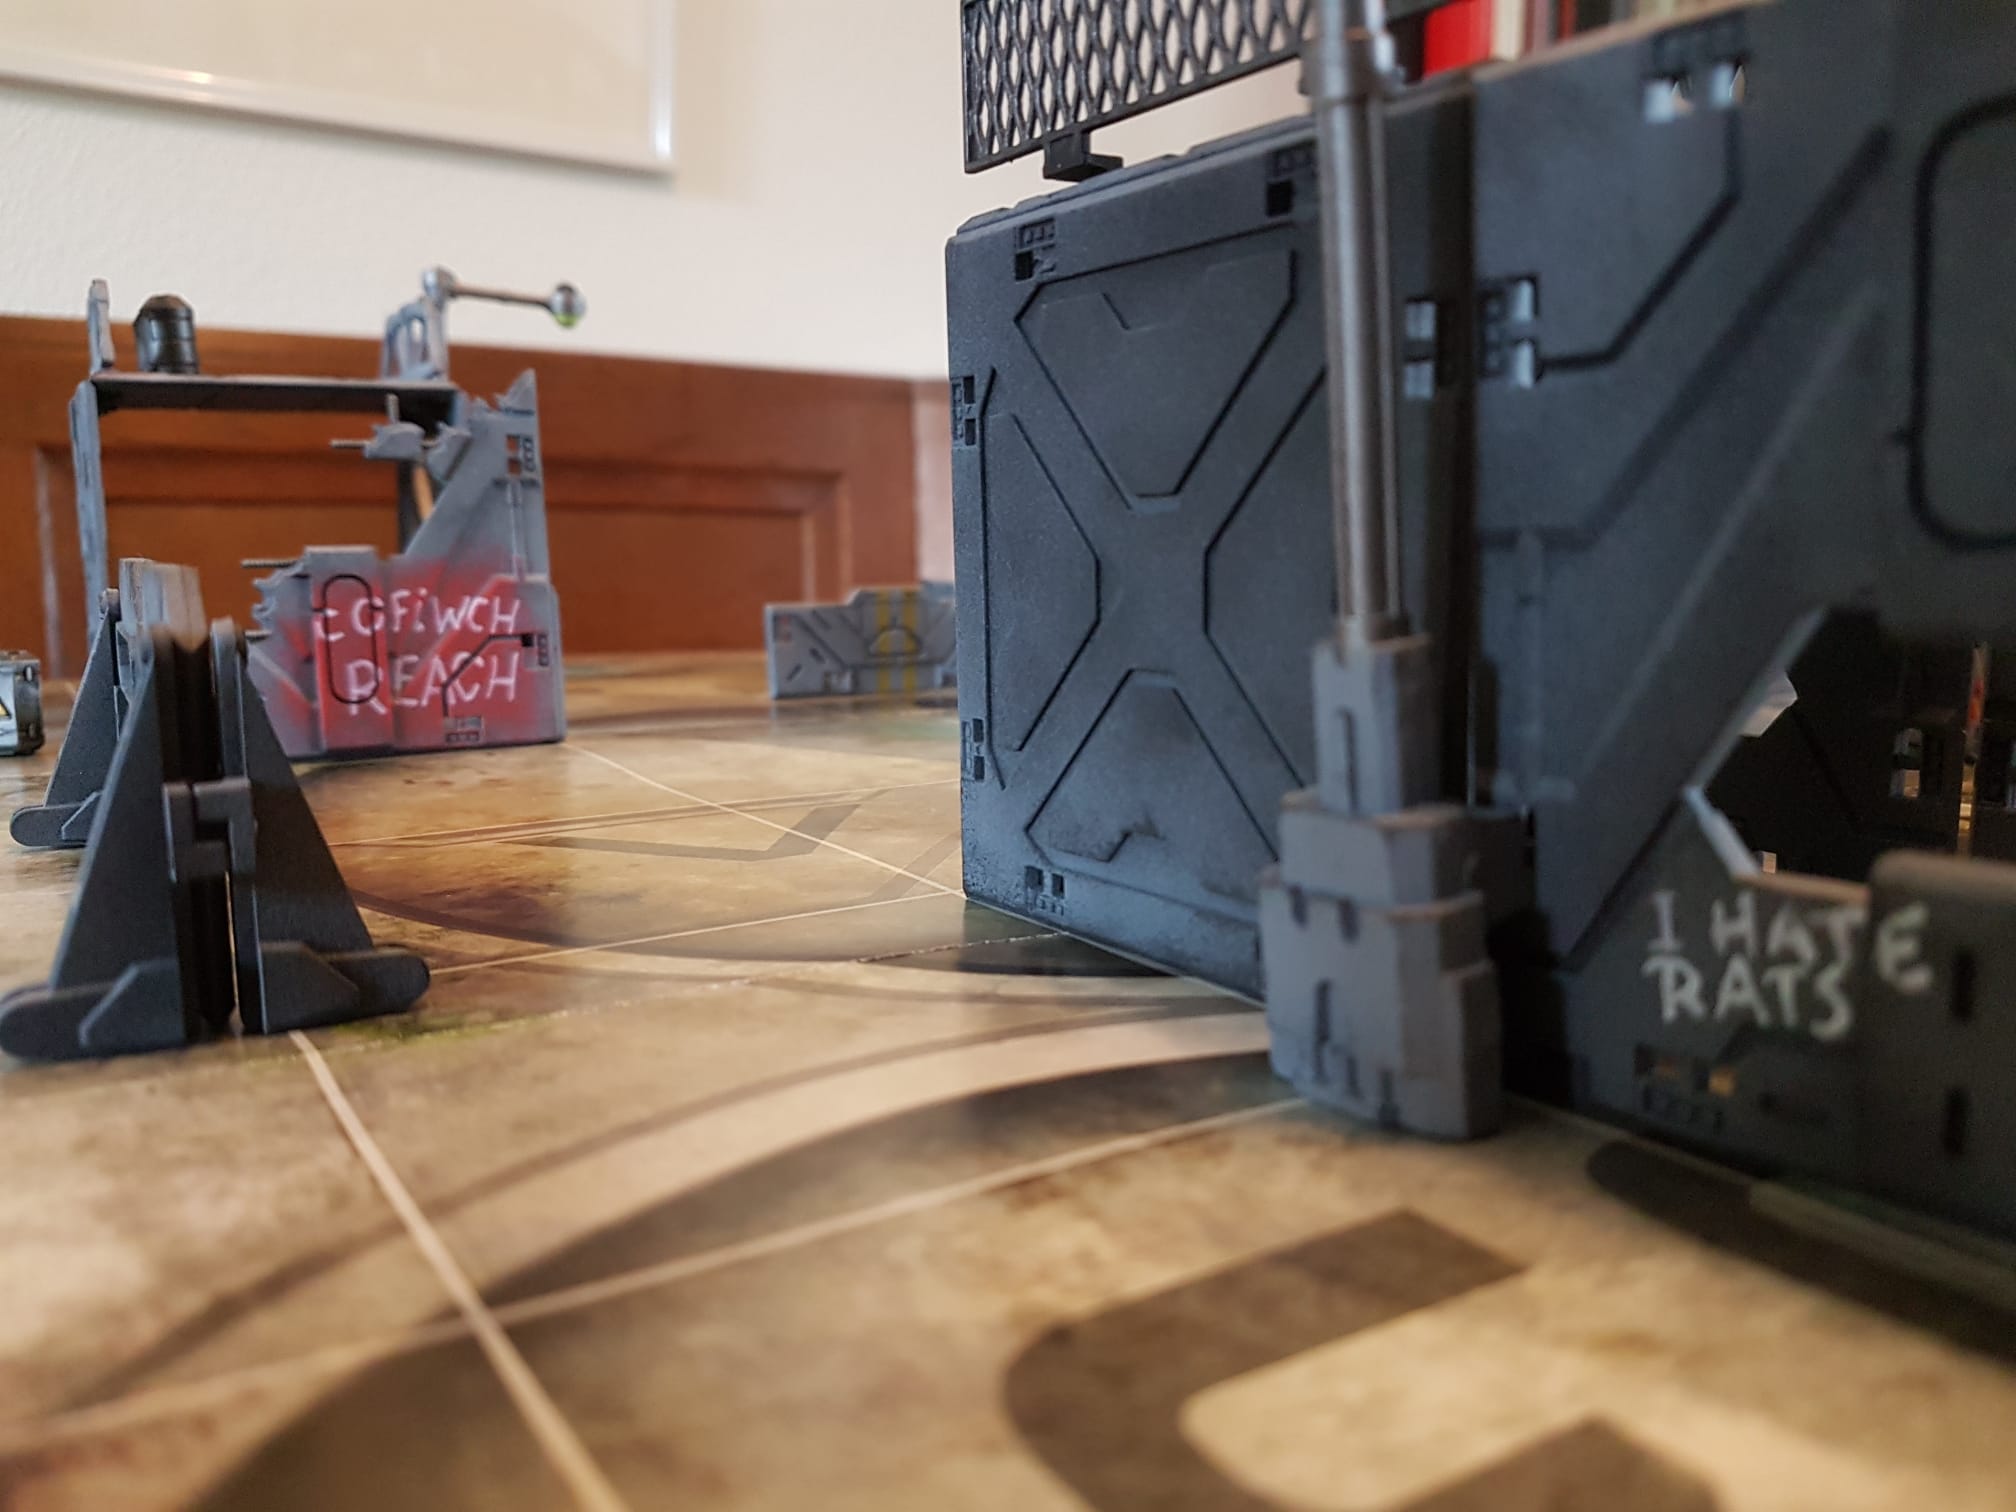
It basically instructs you to use a sponge to mark the edges of tiles and such with a darker grey colour than the zenith I used. The darker colour is a mixture of my own. I then proceeded to use masking tape to add some stripes and other markings as also explained in the blogpost above.
I really like how these came together!
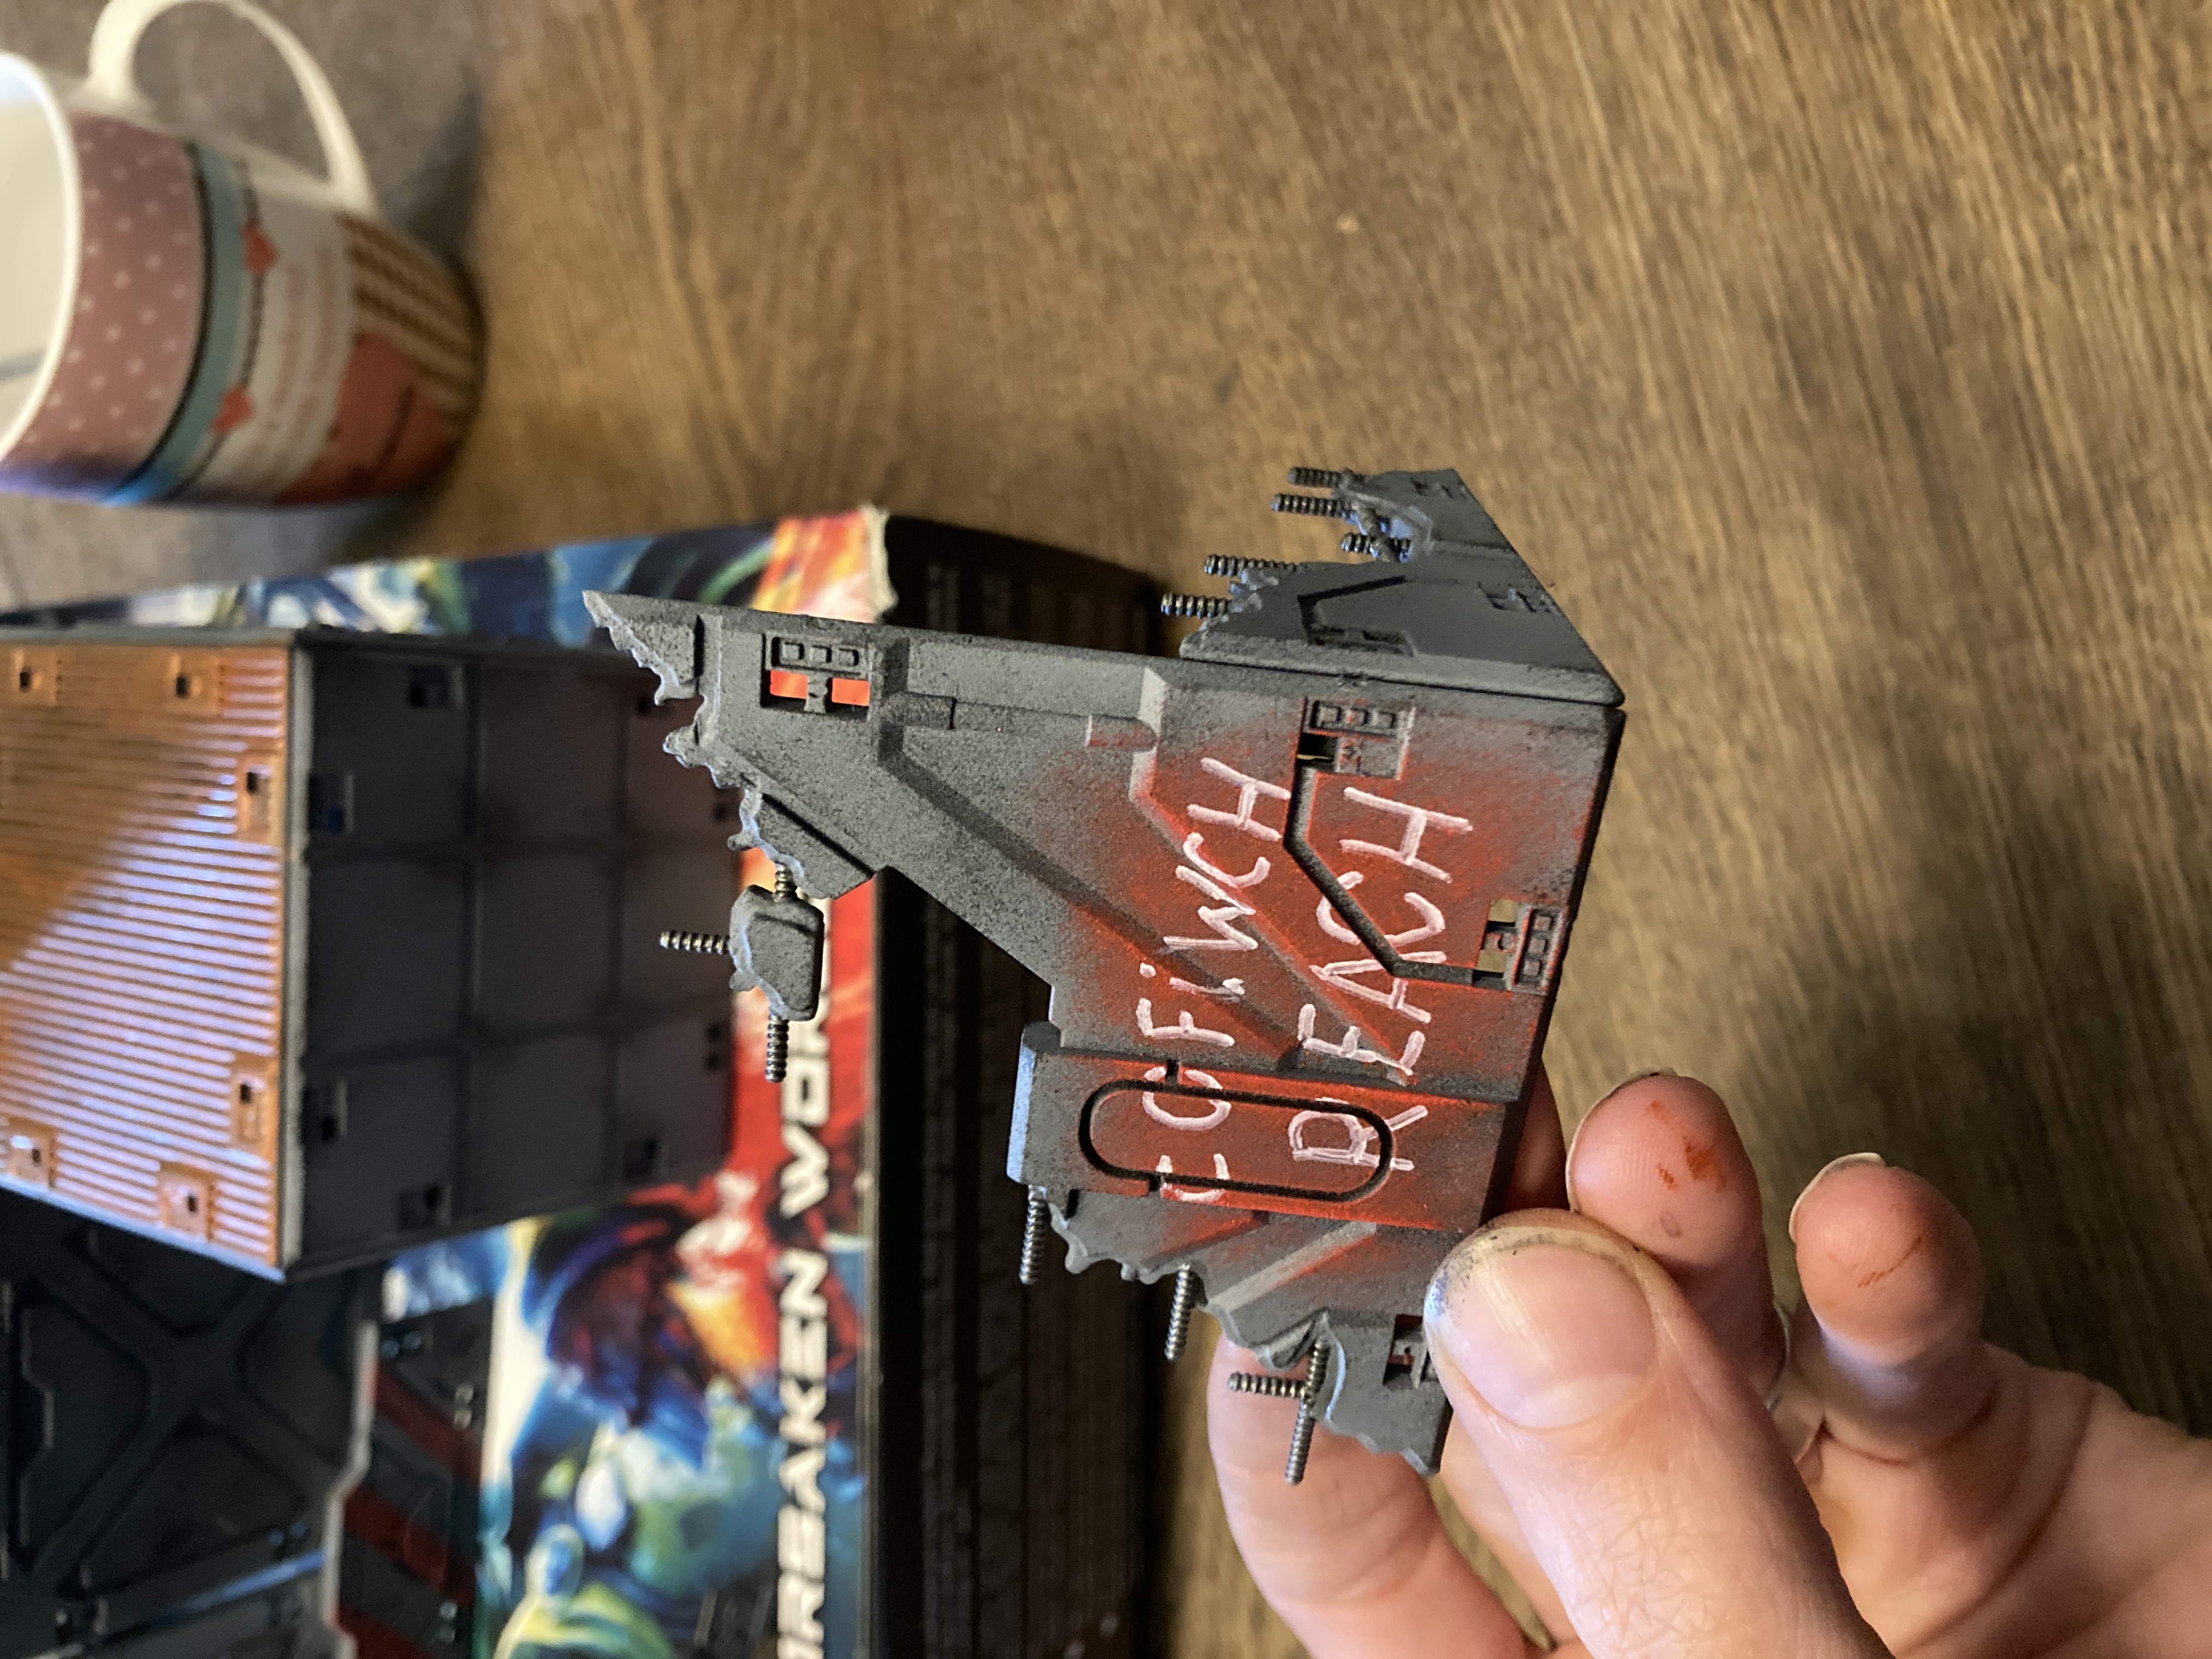
I also added a bit of graffiti which carries a double reference. As mentioned before on Discord: bonus points to anyone that can name both!
I did the graffito with a white paintliner pen. Much easier than a brush!
The Good, the Bad and the Indecisive
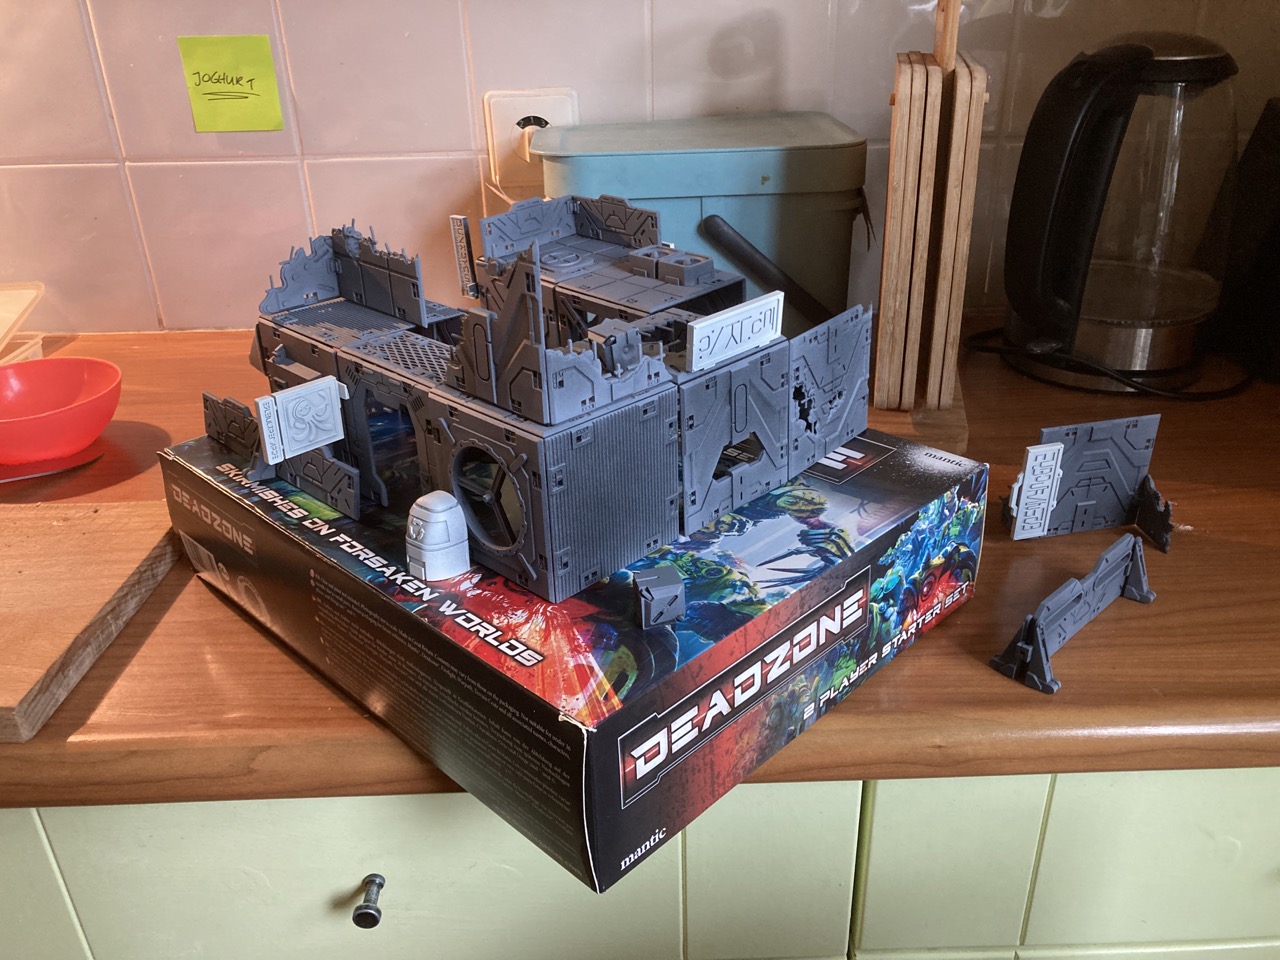
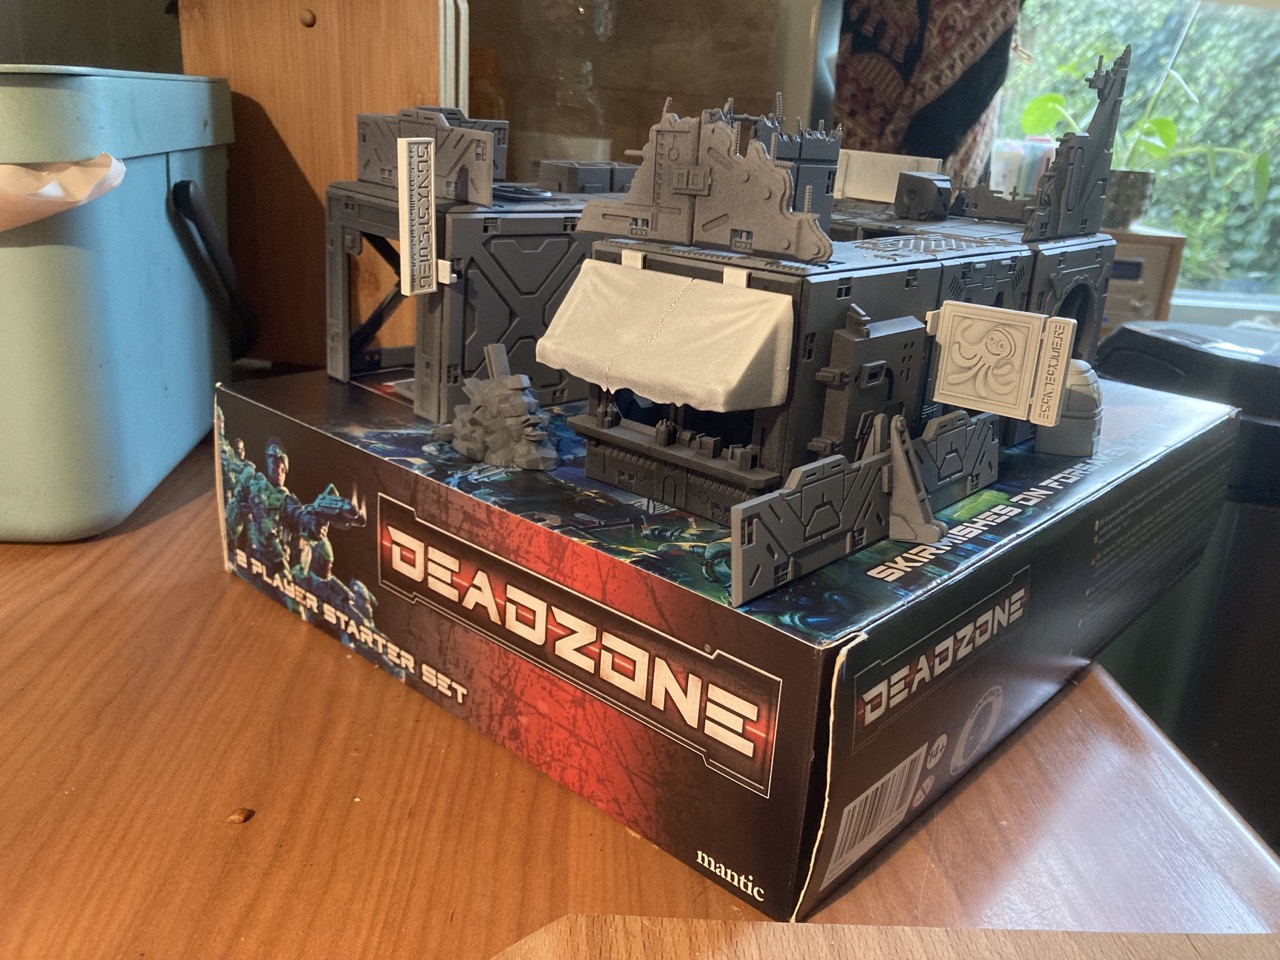
Let’s start on a positive note, the good: the set is indeed awesome. The possibilities are almost endless and there are so many little addons you can click on here and there.
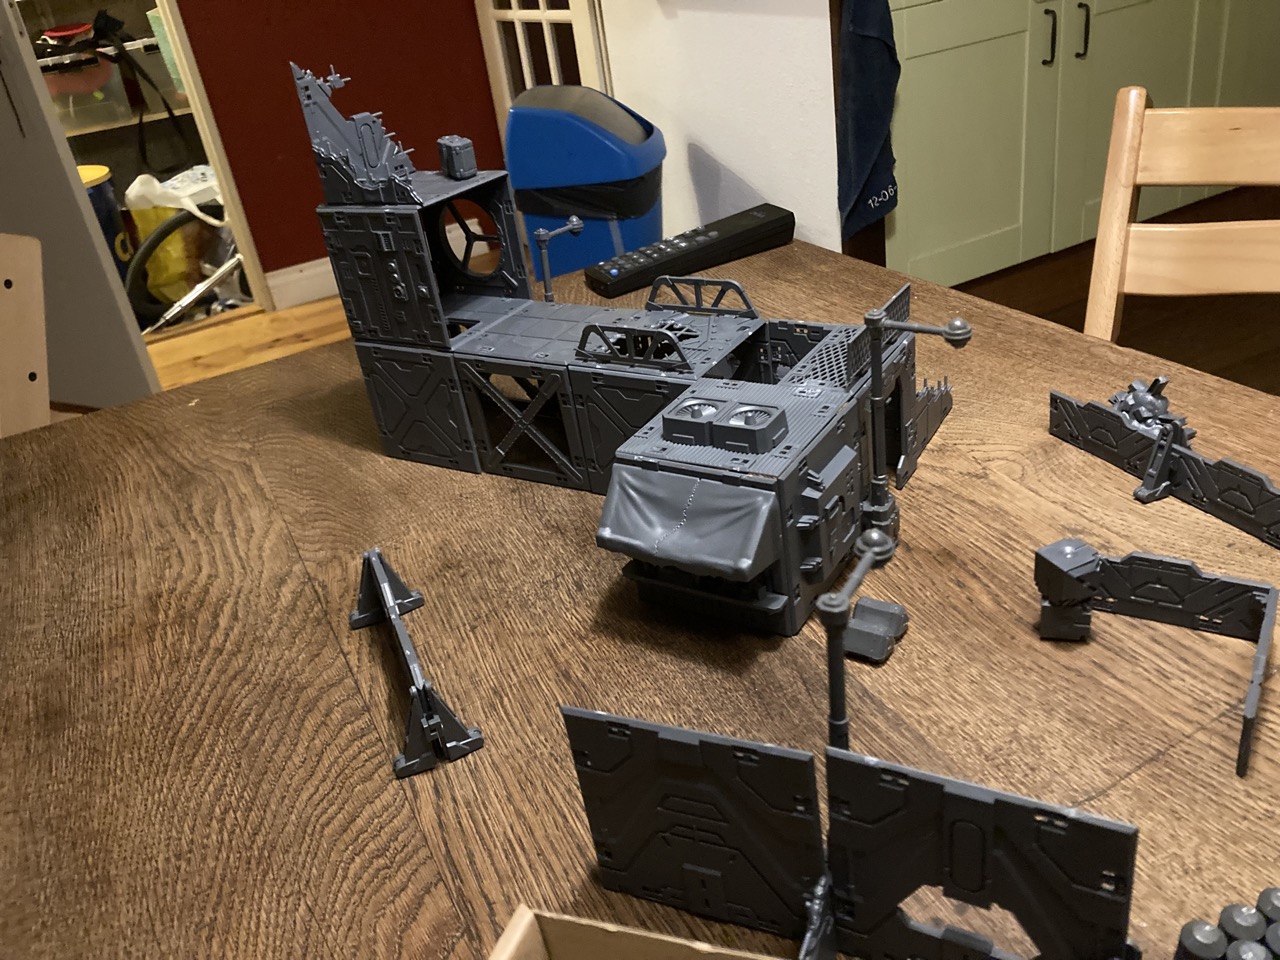
The bad? Well, the possibilities are almost endless… I’m so bad at making decisions that a trip to the supermarket can lead to minor panick attack. So, it took some time for me to decide how to assemble this. In the end, I decided to partly go with the recommended build for the First Game (see previous post). I swapped out some parts though, to create some other interesting cubes that I can put together and stack into various interesting formations.
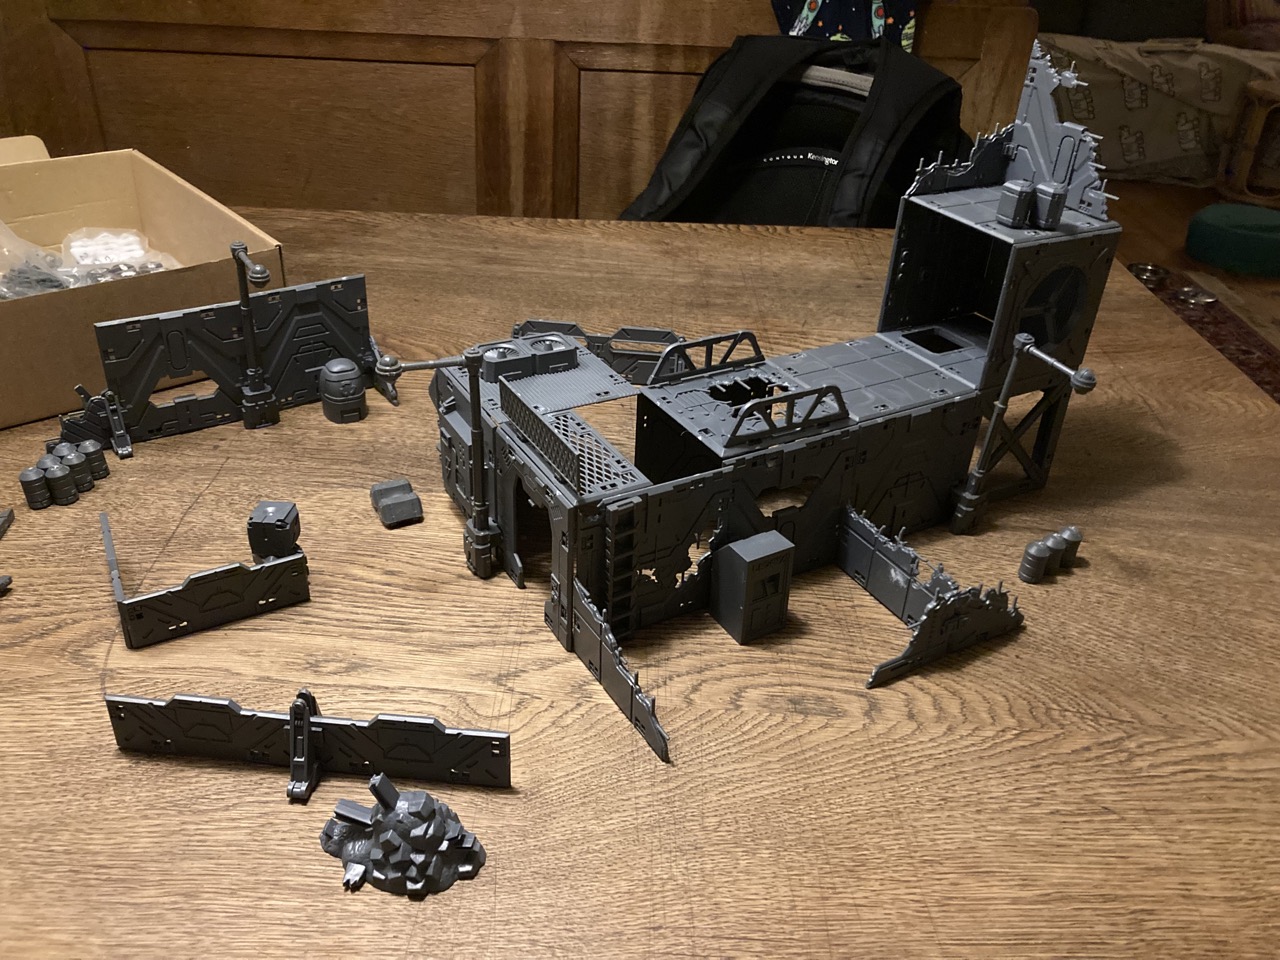
This feels really cool and I’m looking forward to playing a game with this terrain.
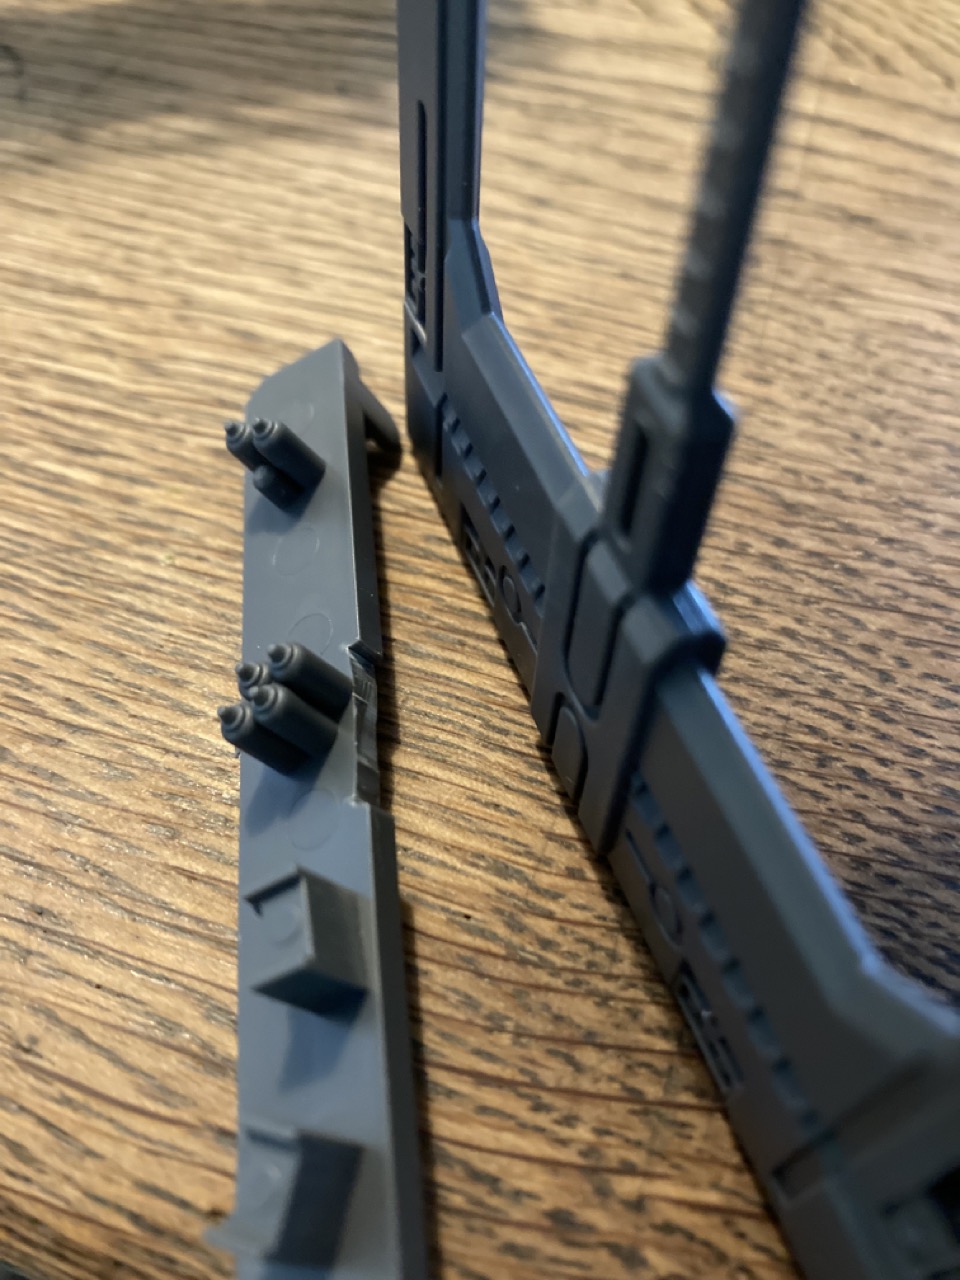
Another bad, which was actually a good in disguise, is that the assembling system with the tiny locks that connect the various pieces don’t always fit. Sometimes they need some force applied or filing down. Others don’t stick very well and fall apart. I got somewhat annoyed by this and couldn’t imagine myself doing this before every single game. To combat this (and my indecisiveness) led me to just glue the various cubes together. They can still be stacked in different ways, but just not taken apart themselves.
There is super glue everywhere now and it is a small wonder my phone still recognises my fingerprints…
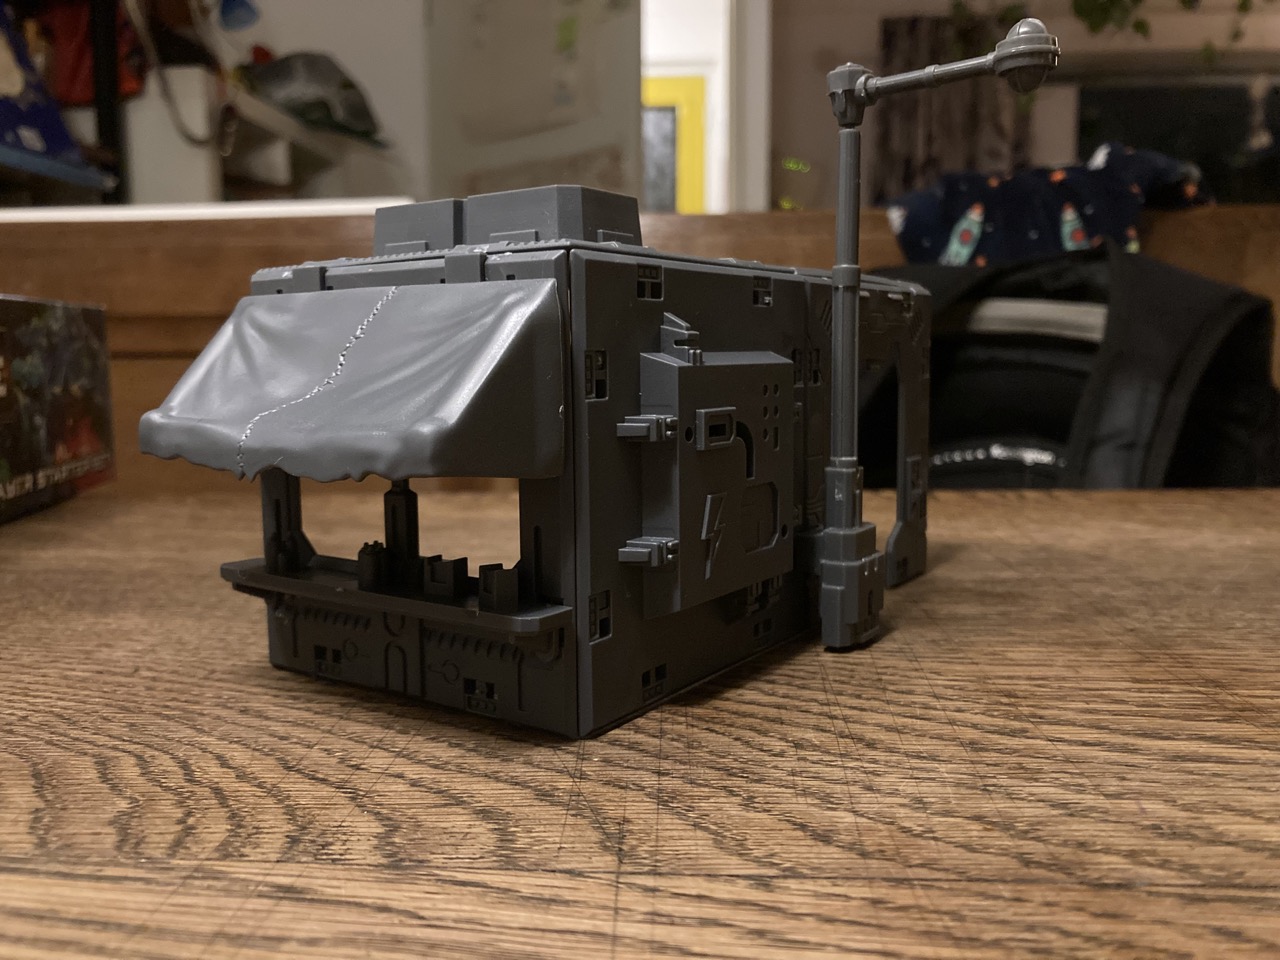
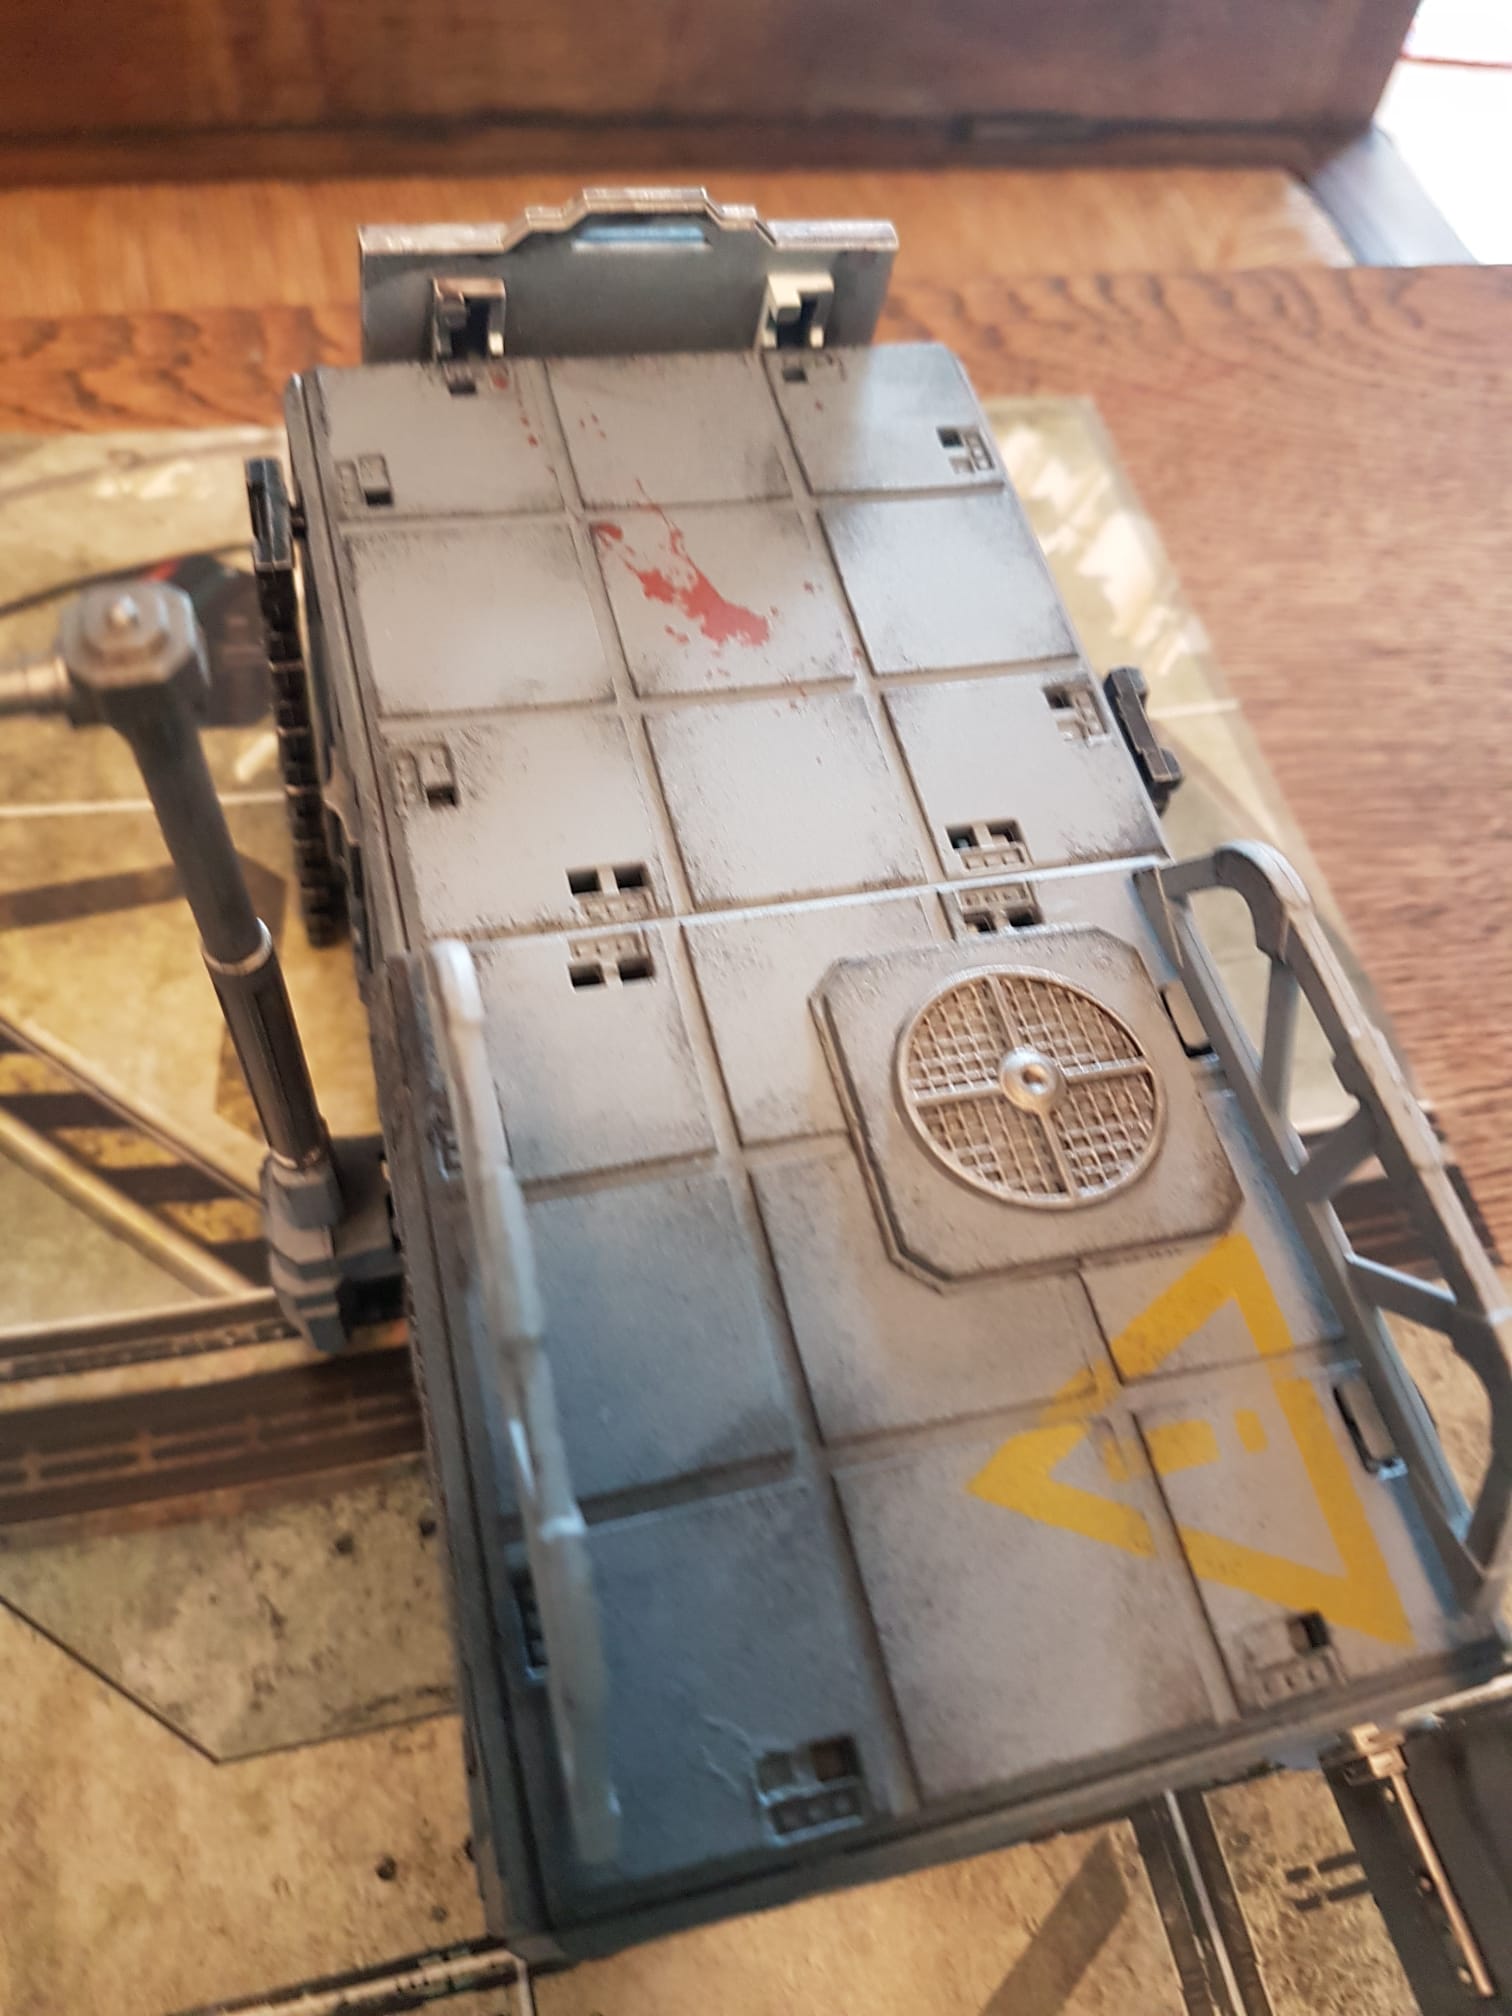
I really like this little food/drinks booth. The weird thing though, was that the little bar didn’t fit snugly to the wall, whereas this was also built like that on the box itself. Ah well, it required minor modification.
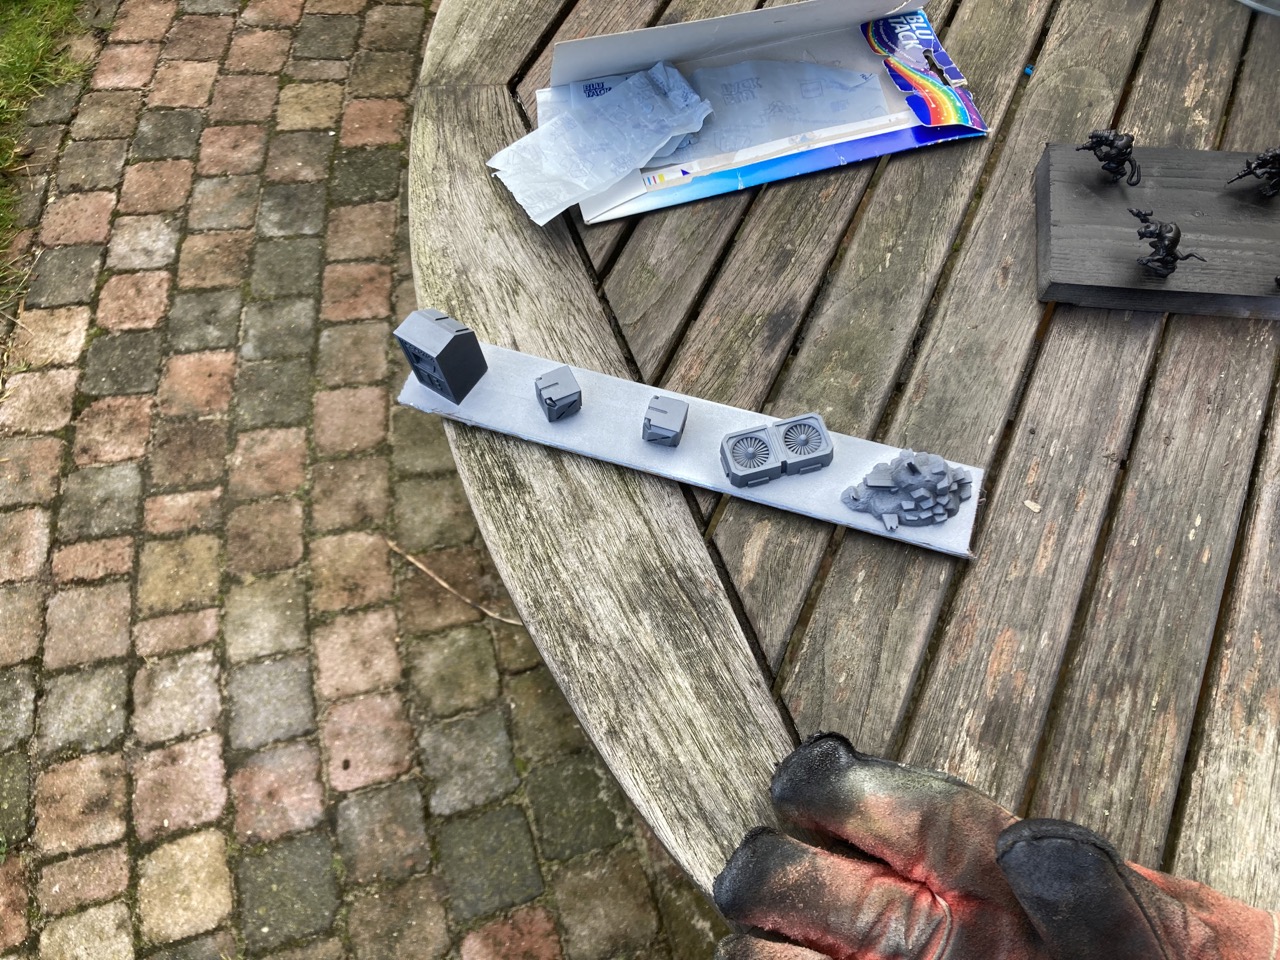
So, some of my indecisiveness has been taken away now. There are still many, many other bits and bobs that can be added to the cubes, like ladders, lamp posts, neon signs etc. Very cool, but I think I want to be able to add those actually before a game. I feel that I need to tape of the holes where they plug in before spray painting this mess. Otherwise nothing will probably fit anymore. But, tiny bits of tape? Or maybe blutak?
Decisions, decisions…
Getting started
 Such joy...
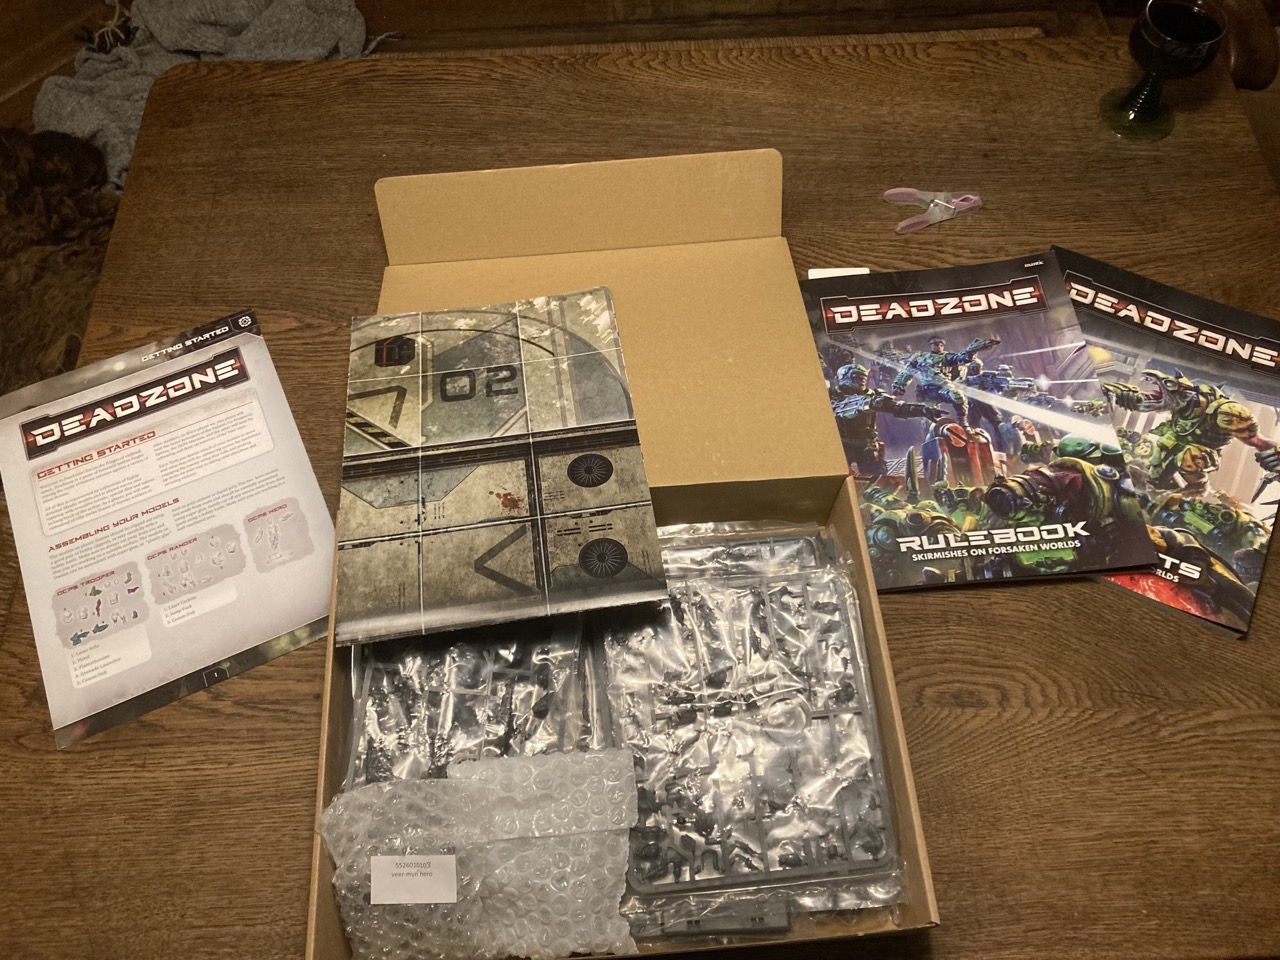
Since I got this box just before the weekend, I snuck a peek inside every now and then to give myself a boost to keep going.
I am really amazed how much is in there. I already noticed when I picked it up: it is a hefty thing!
So, I’m using Terrain Fest to try and get the terrain battle-ready for when I can snag someone to try the game out with me. To be honest, I’ve never really done much with building and painting terrain at all (apart from assembling – and not painting – some MDF kits). I always found it quite daunting and was content to have salt and pepper terrain pieces instead. Hopefully this beginner box will be a good first step onto the long joyful path of terrain building!
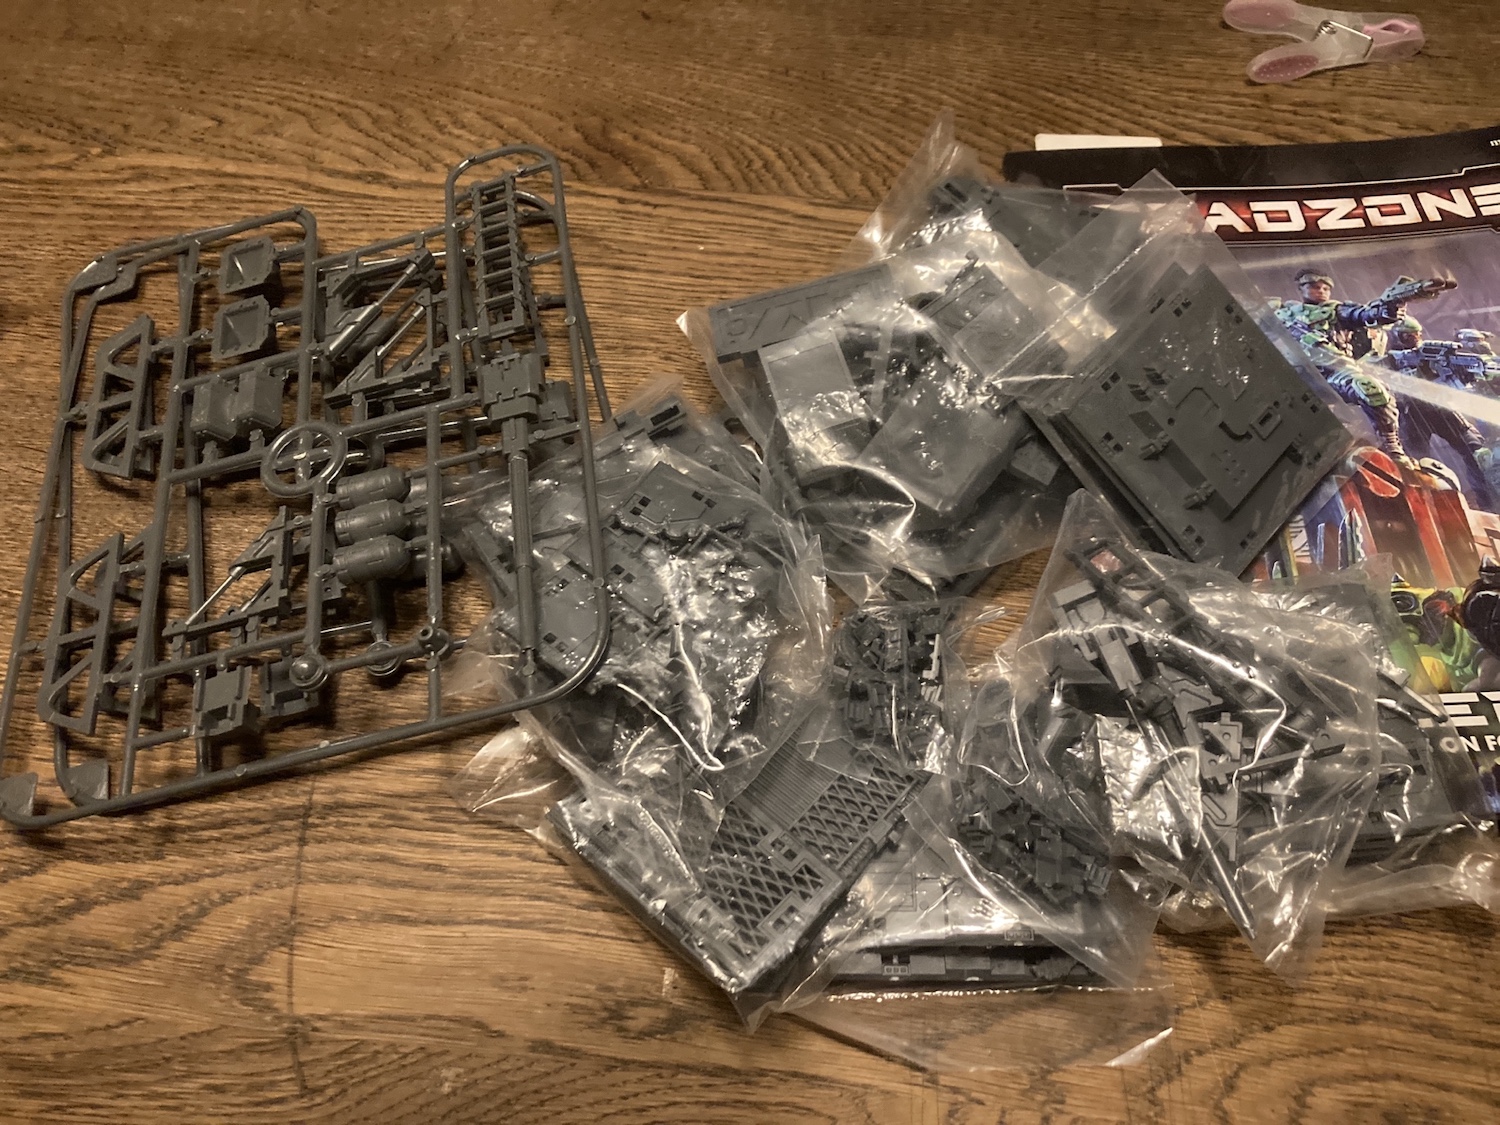
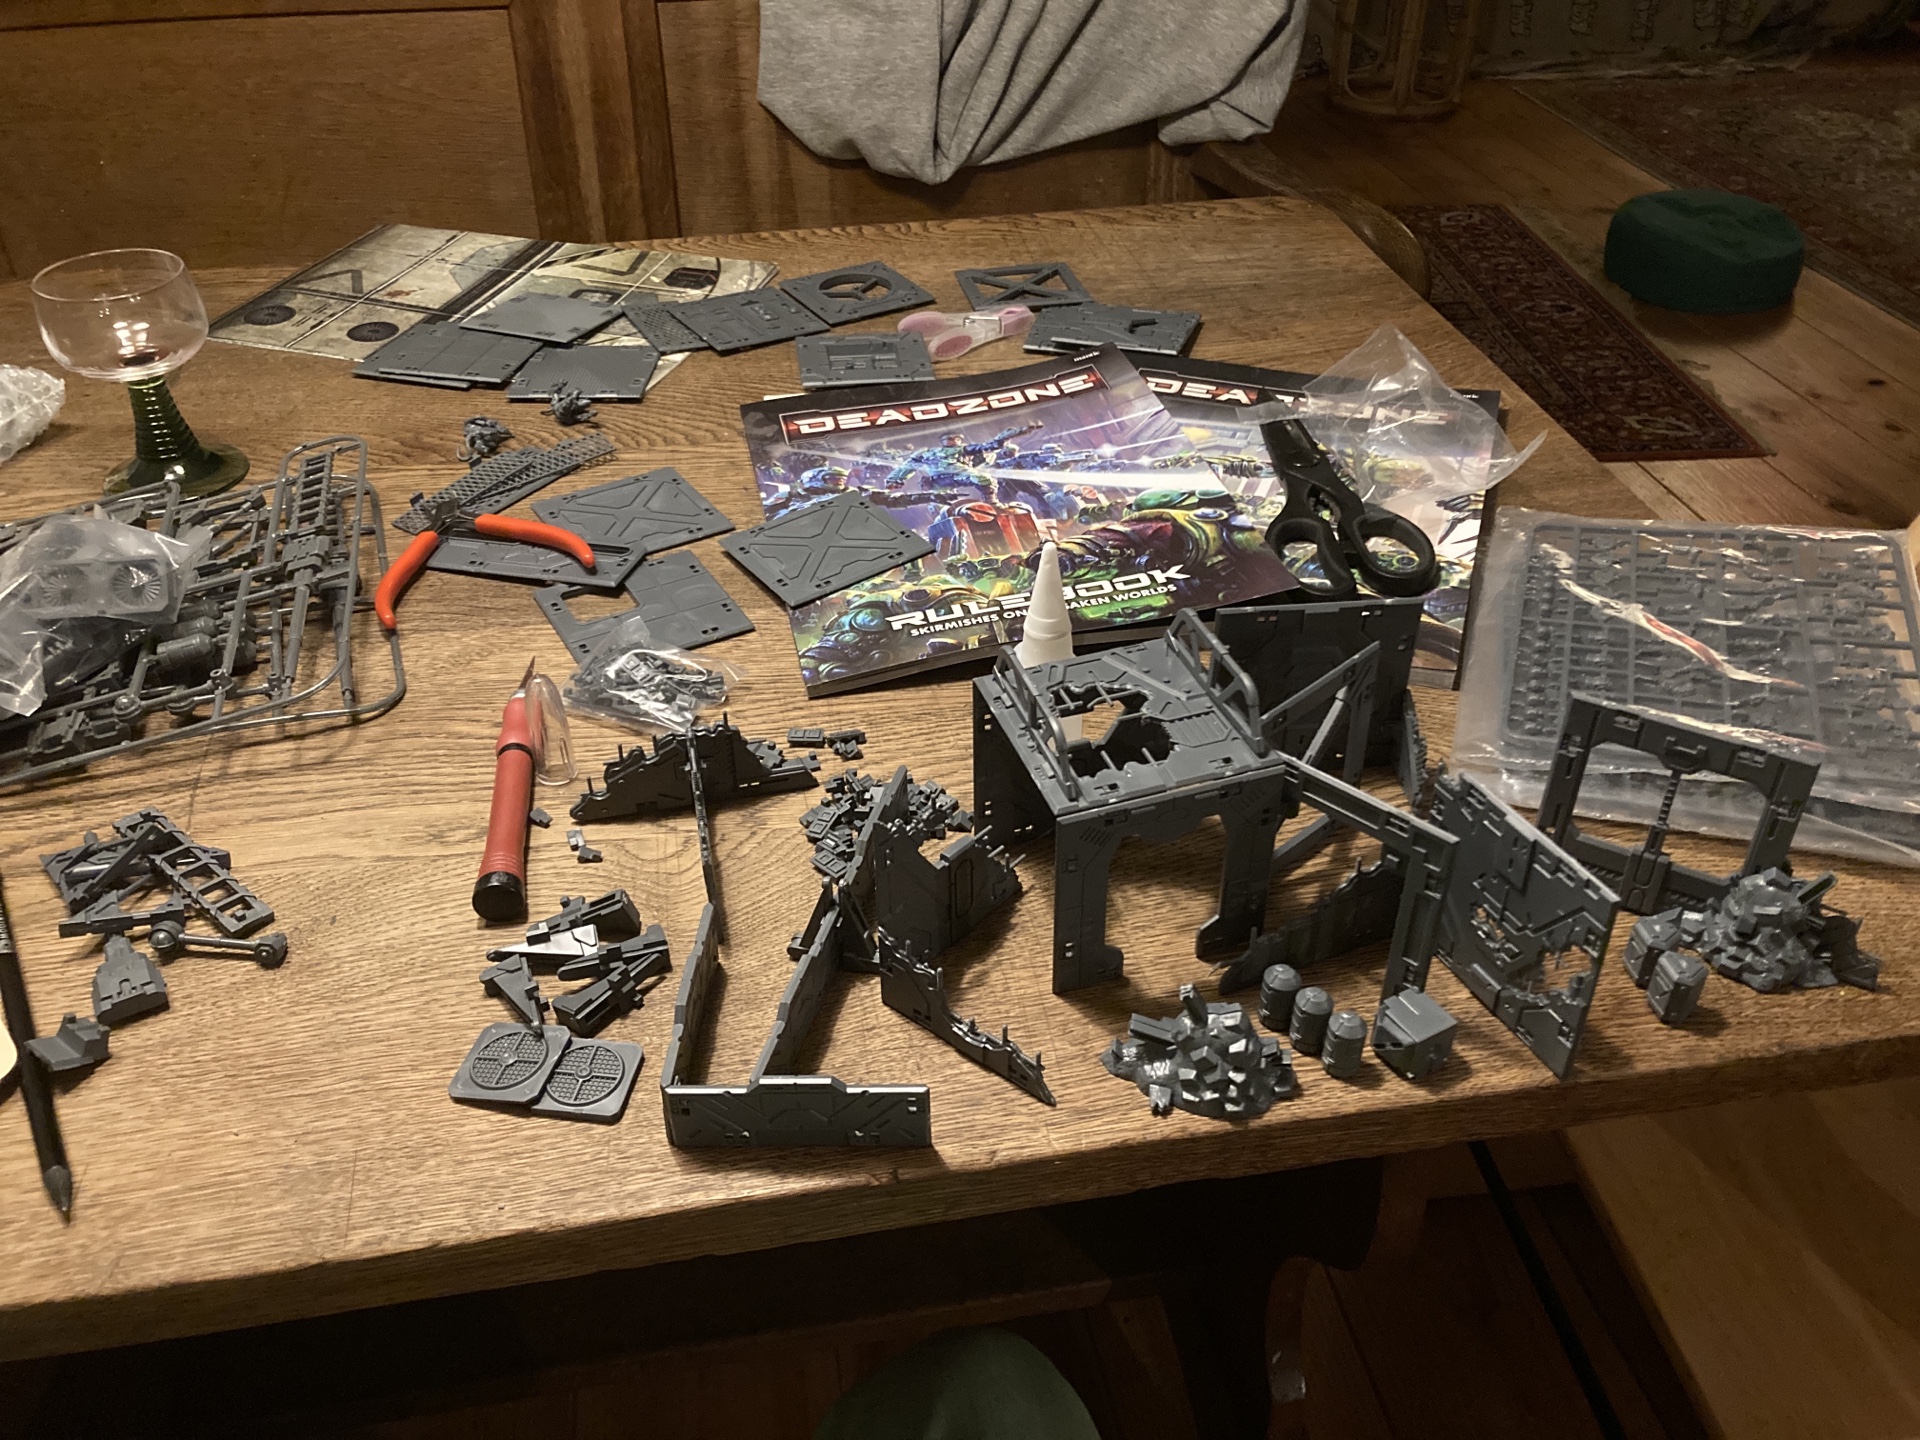
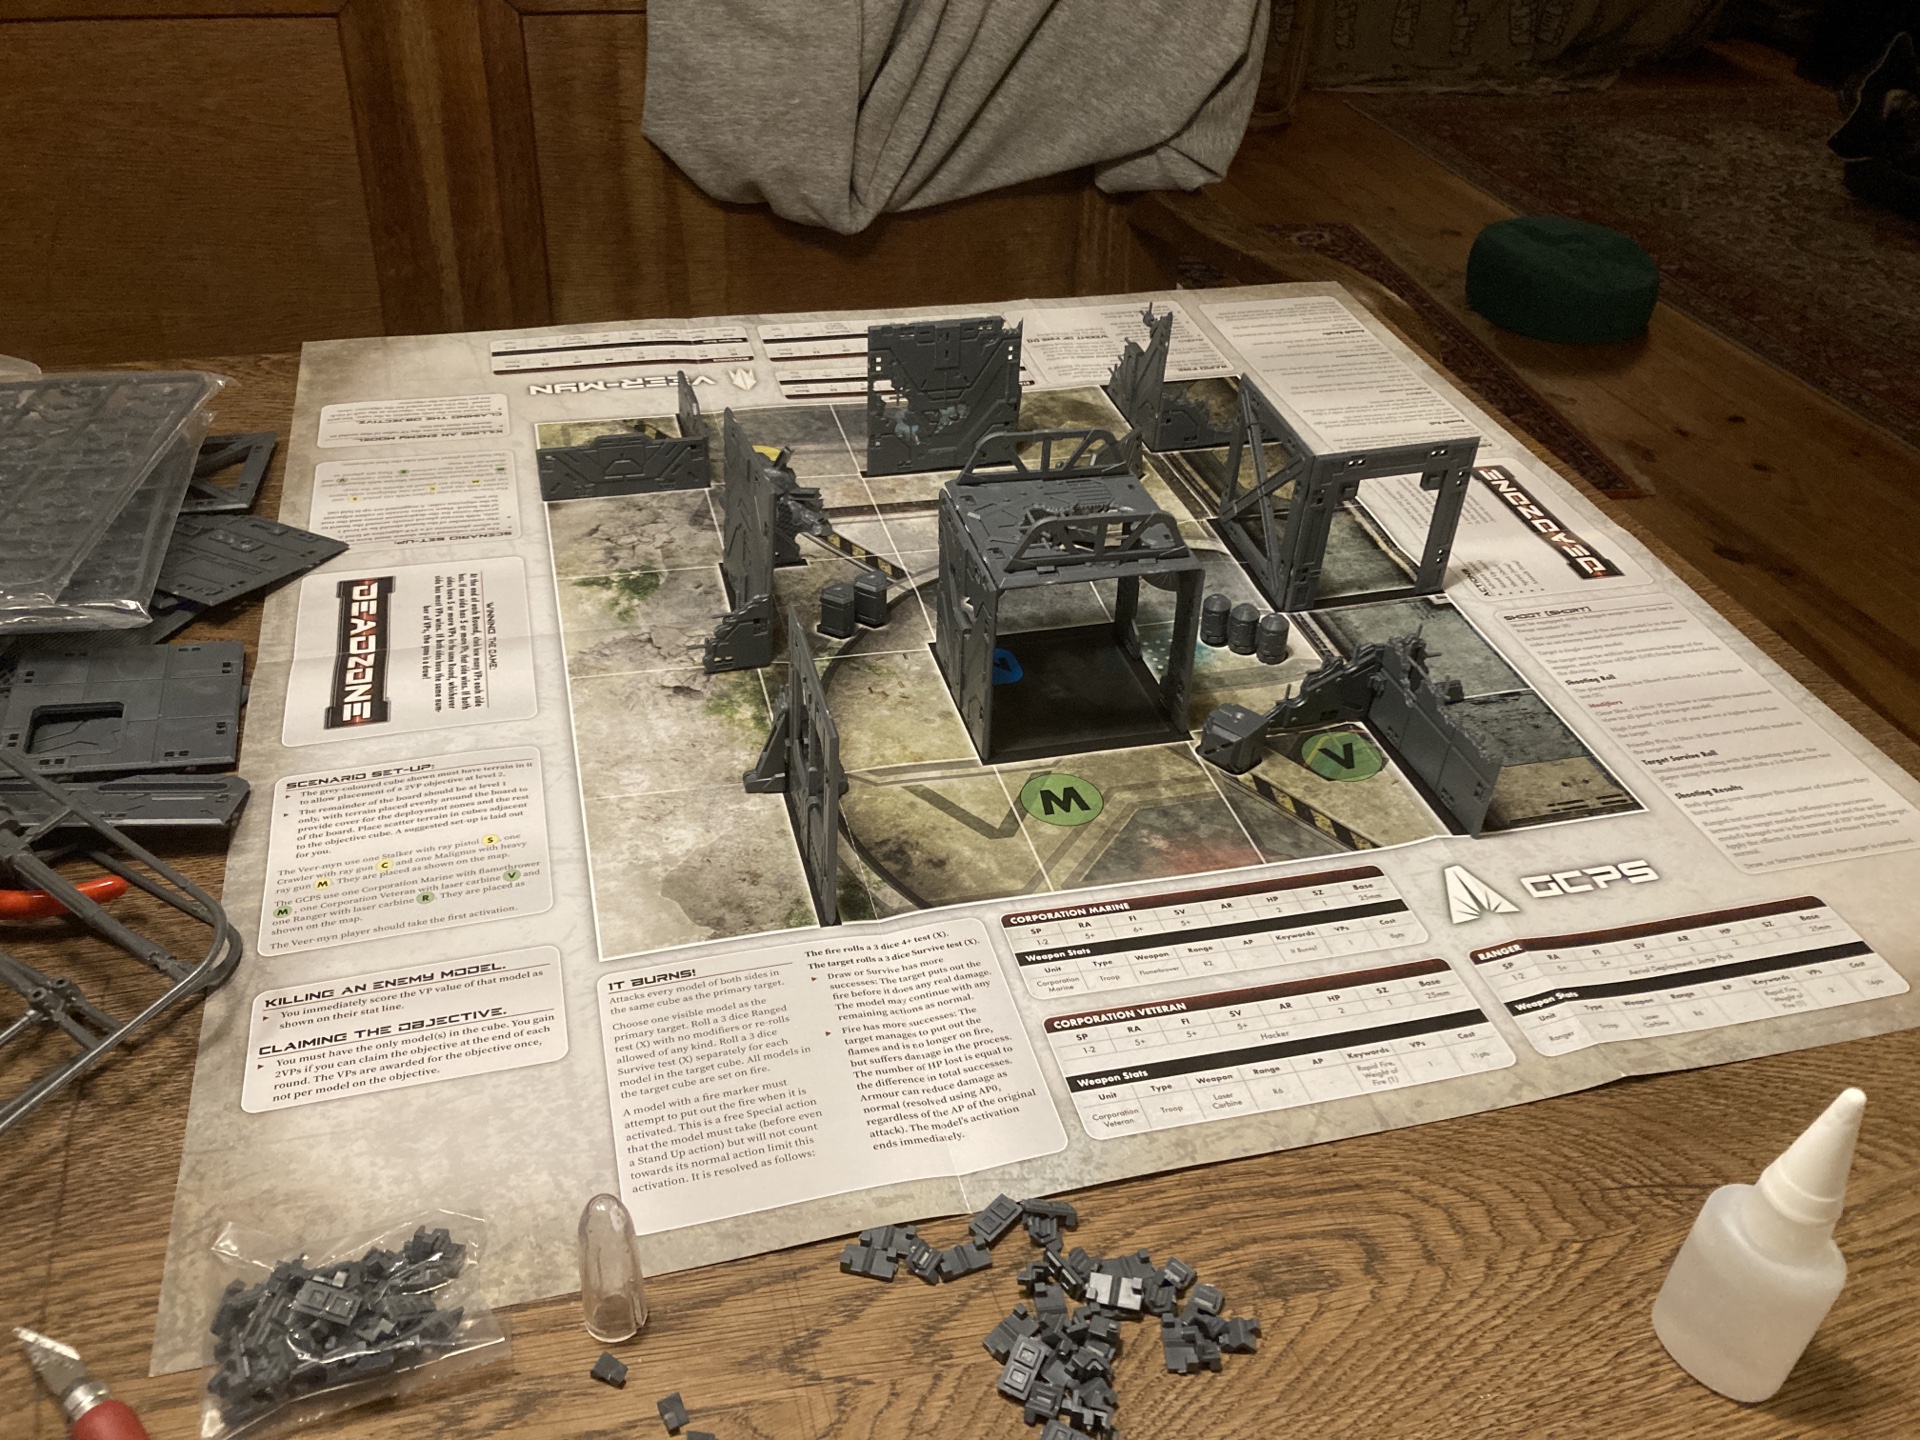
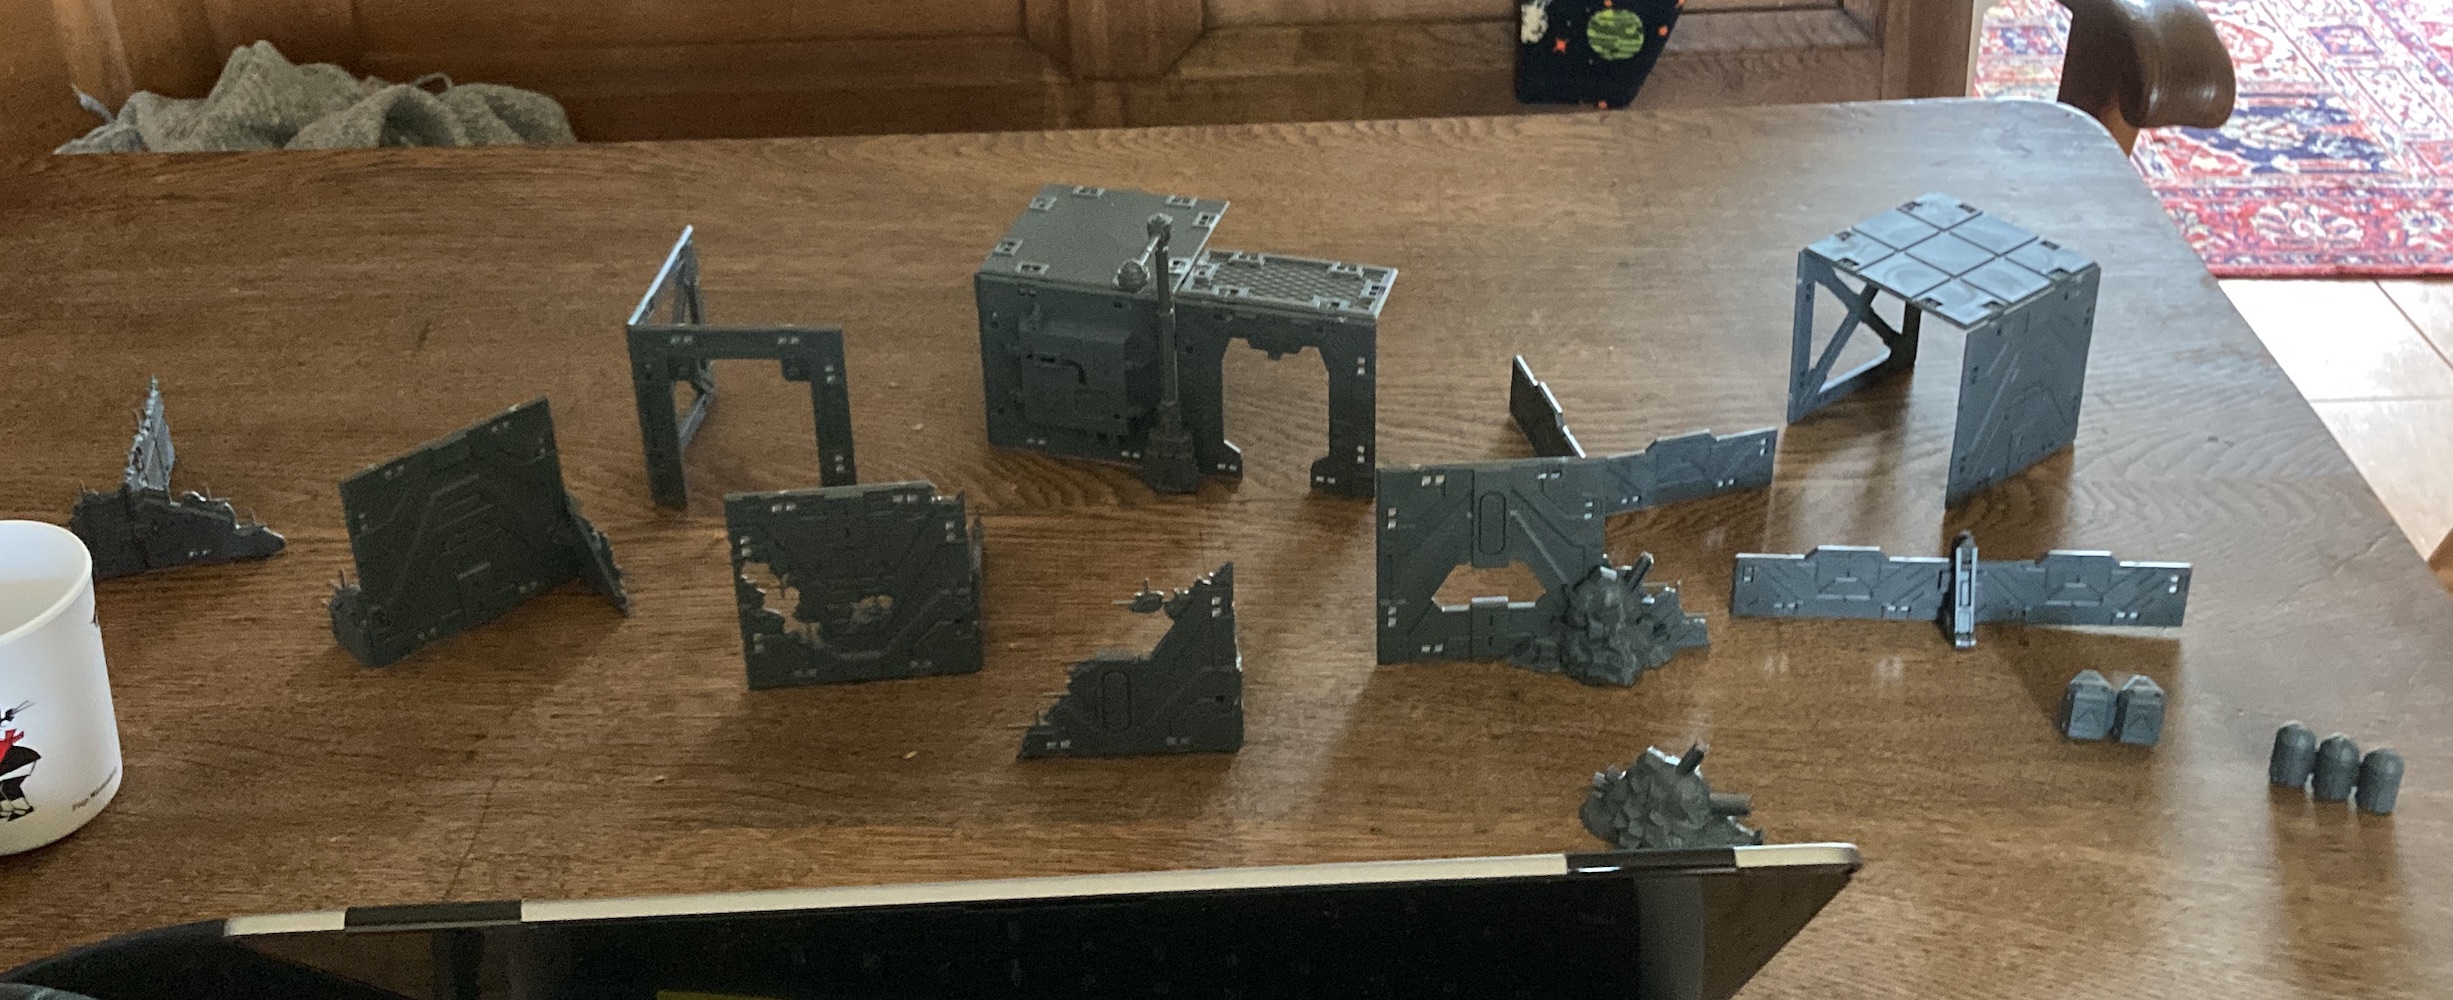
This really feels like a lot of stuff and not too difficult to build. Heck, Mantic even took the time to clip it off the sprues for me! (Note: the two sprues on the left I got for free from a friend and weren’t in the box.) I smoothed the edges, where the sprues were originally attached and set out to assemble the terrain needed for the First Game on the back of the paper mat.
Decisions, decisions
Now, the terrain is easy to assemble, but still it took some time to find together the right bits and assemble everything. This is not something you want to have to do every time you want to start a game. Also, some things might be a bit rickety.
I was pointed towards Draconis’ award winning project and I think I will ultimately follow them in having some larger cubes and cube sets pre-assembled, which you can put together in multiple ways.
For now, I’ve assembled the suggested basic layout for the first game: looks great, if you ask me!