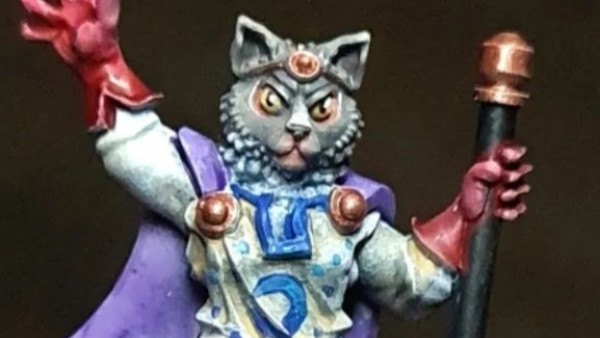


Draconis does…… Droids! Back to Star Wars Legion again.


Recommendations: 458
About the Project
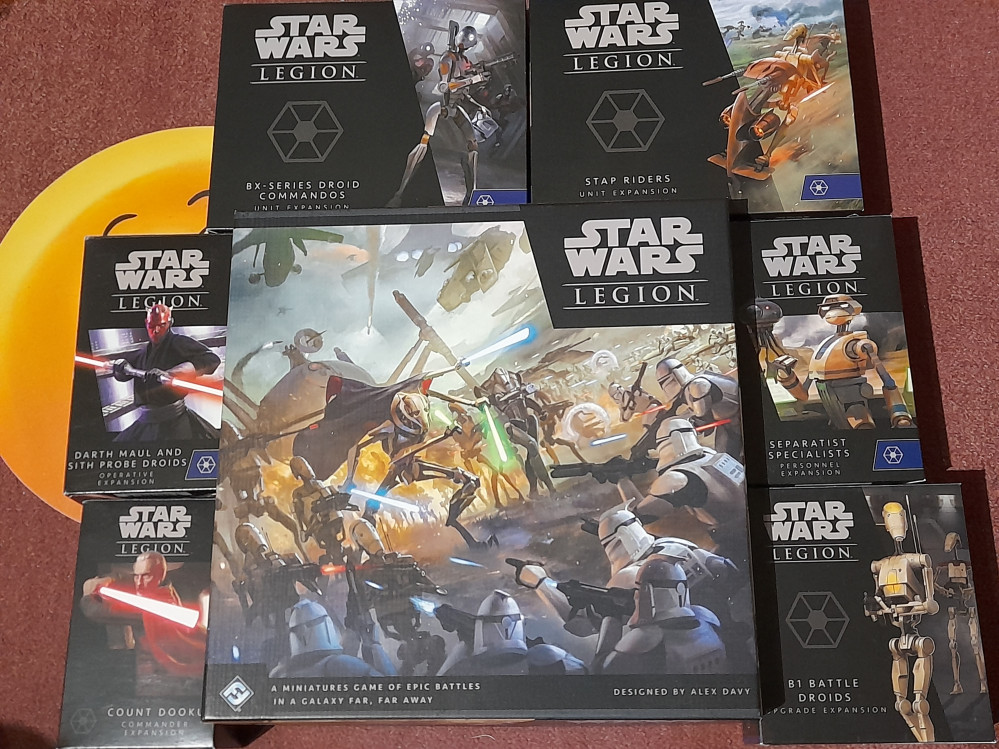
Starting out the year with a return to Star Wars Legion. I have to be honest, I haven’t really played it much since doing my Clone force. However, the Droid forces of the Separatists still need to be done. This will be the contents of two core boxes (Droid side) and a number of expansion packs.
Related Game: Star Wars: Legion
Related Company: Atomic Mass Games
Related Genre: Science Fiction
This Project is Active
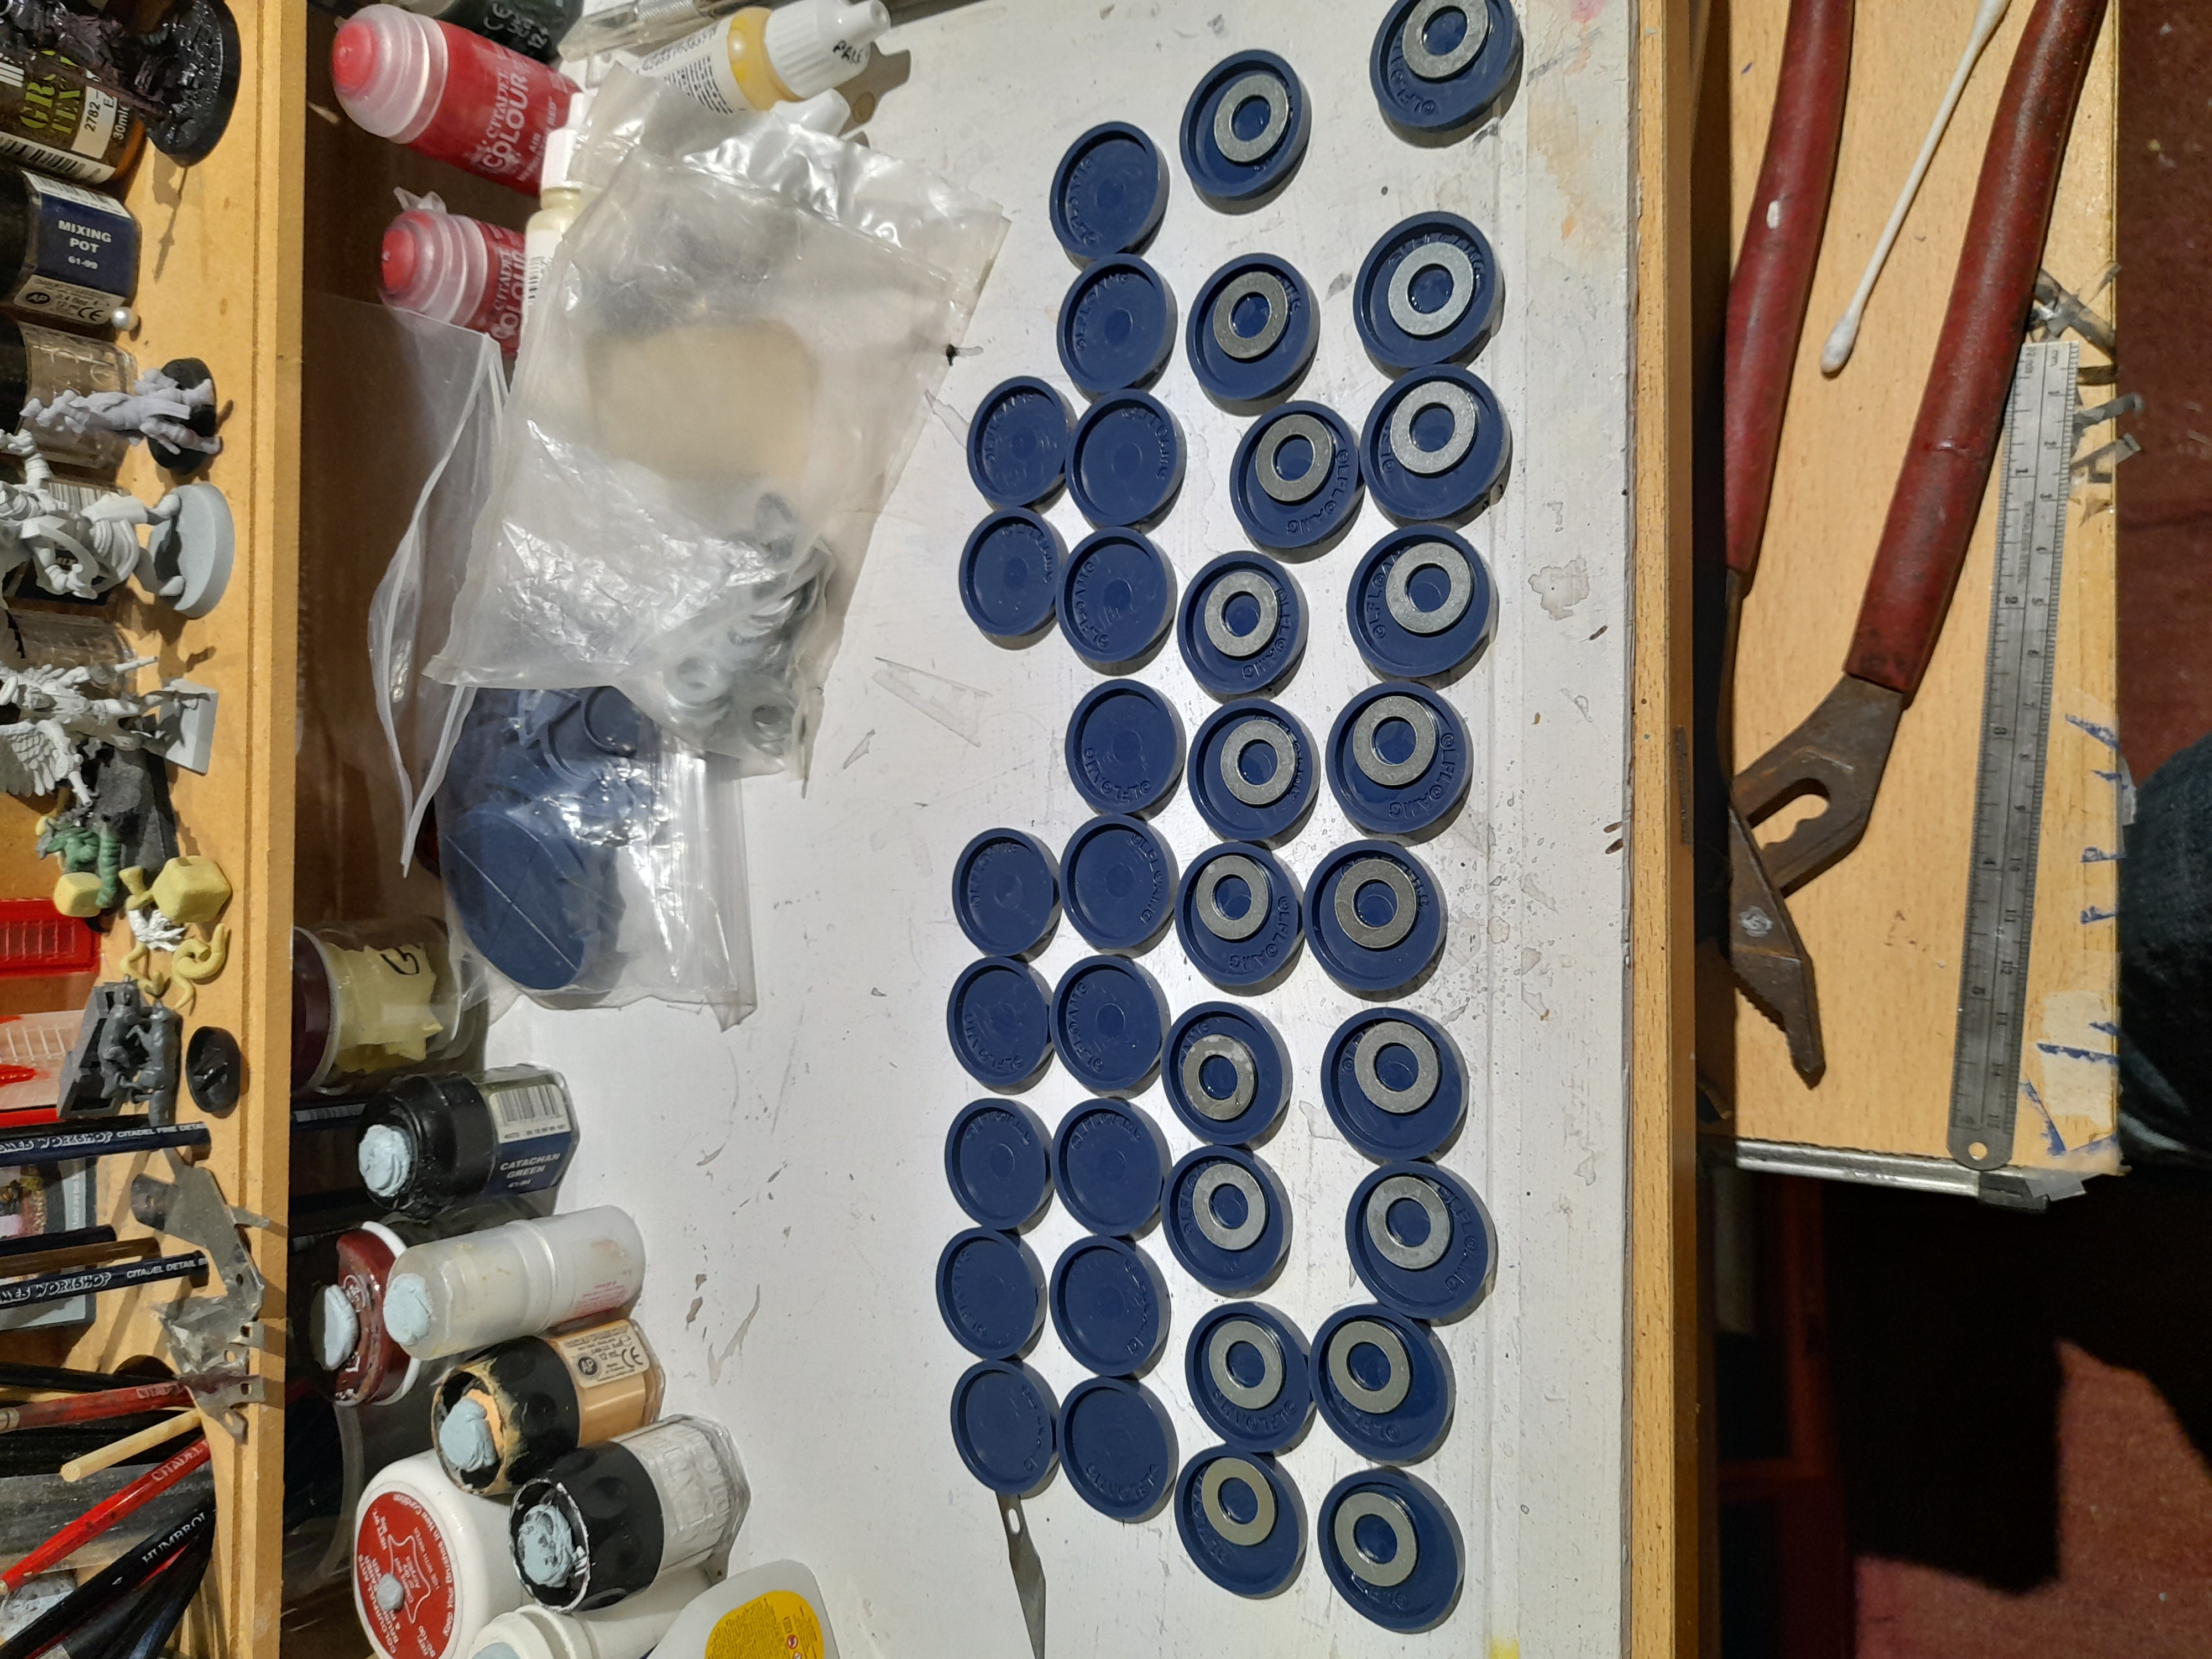
Starting out with magnets
I thought this time I would sort out the base magnetising first….
Bases, washers and magnets sorted for the 37 normal sized bases from the core box.
Droid Construction
11th January 2024
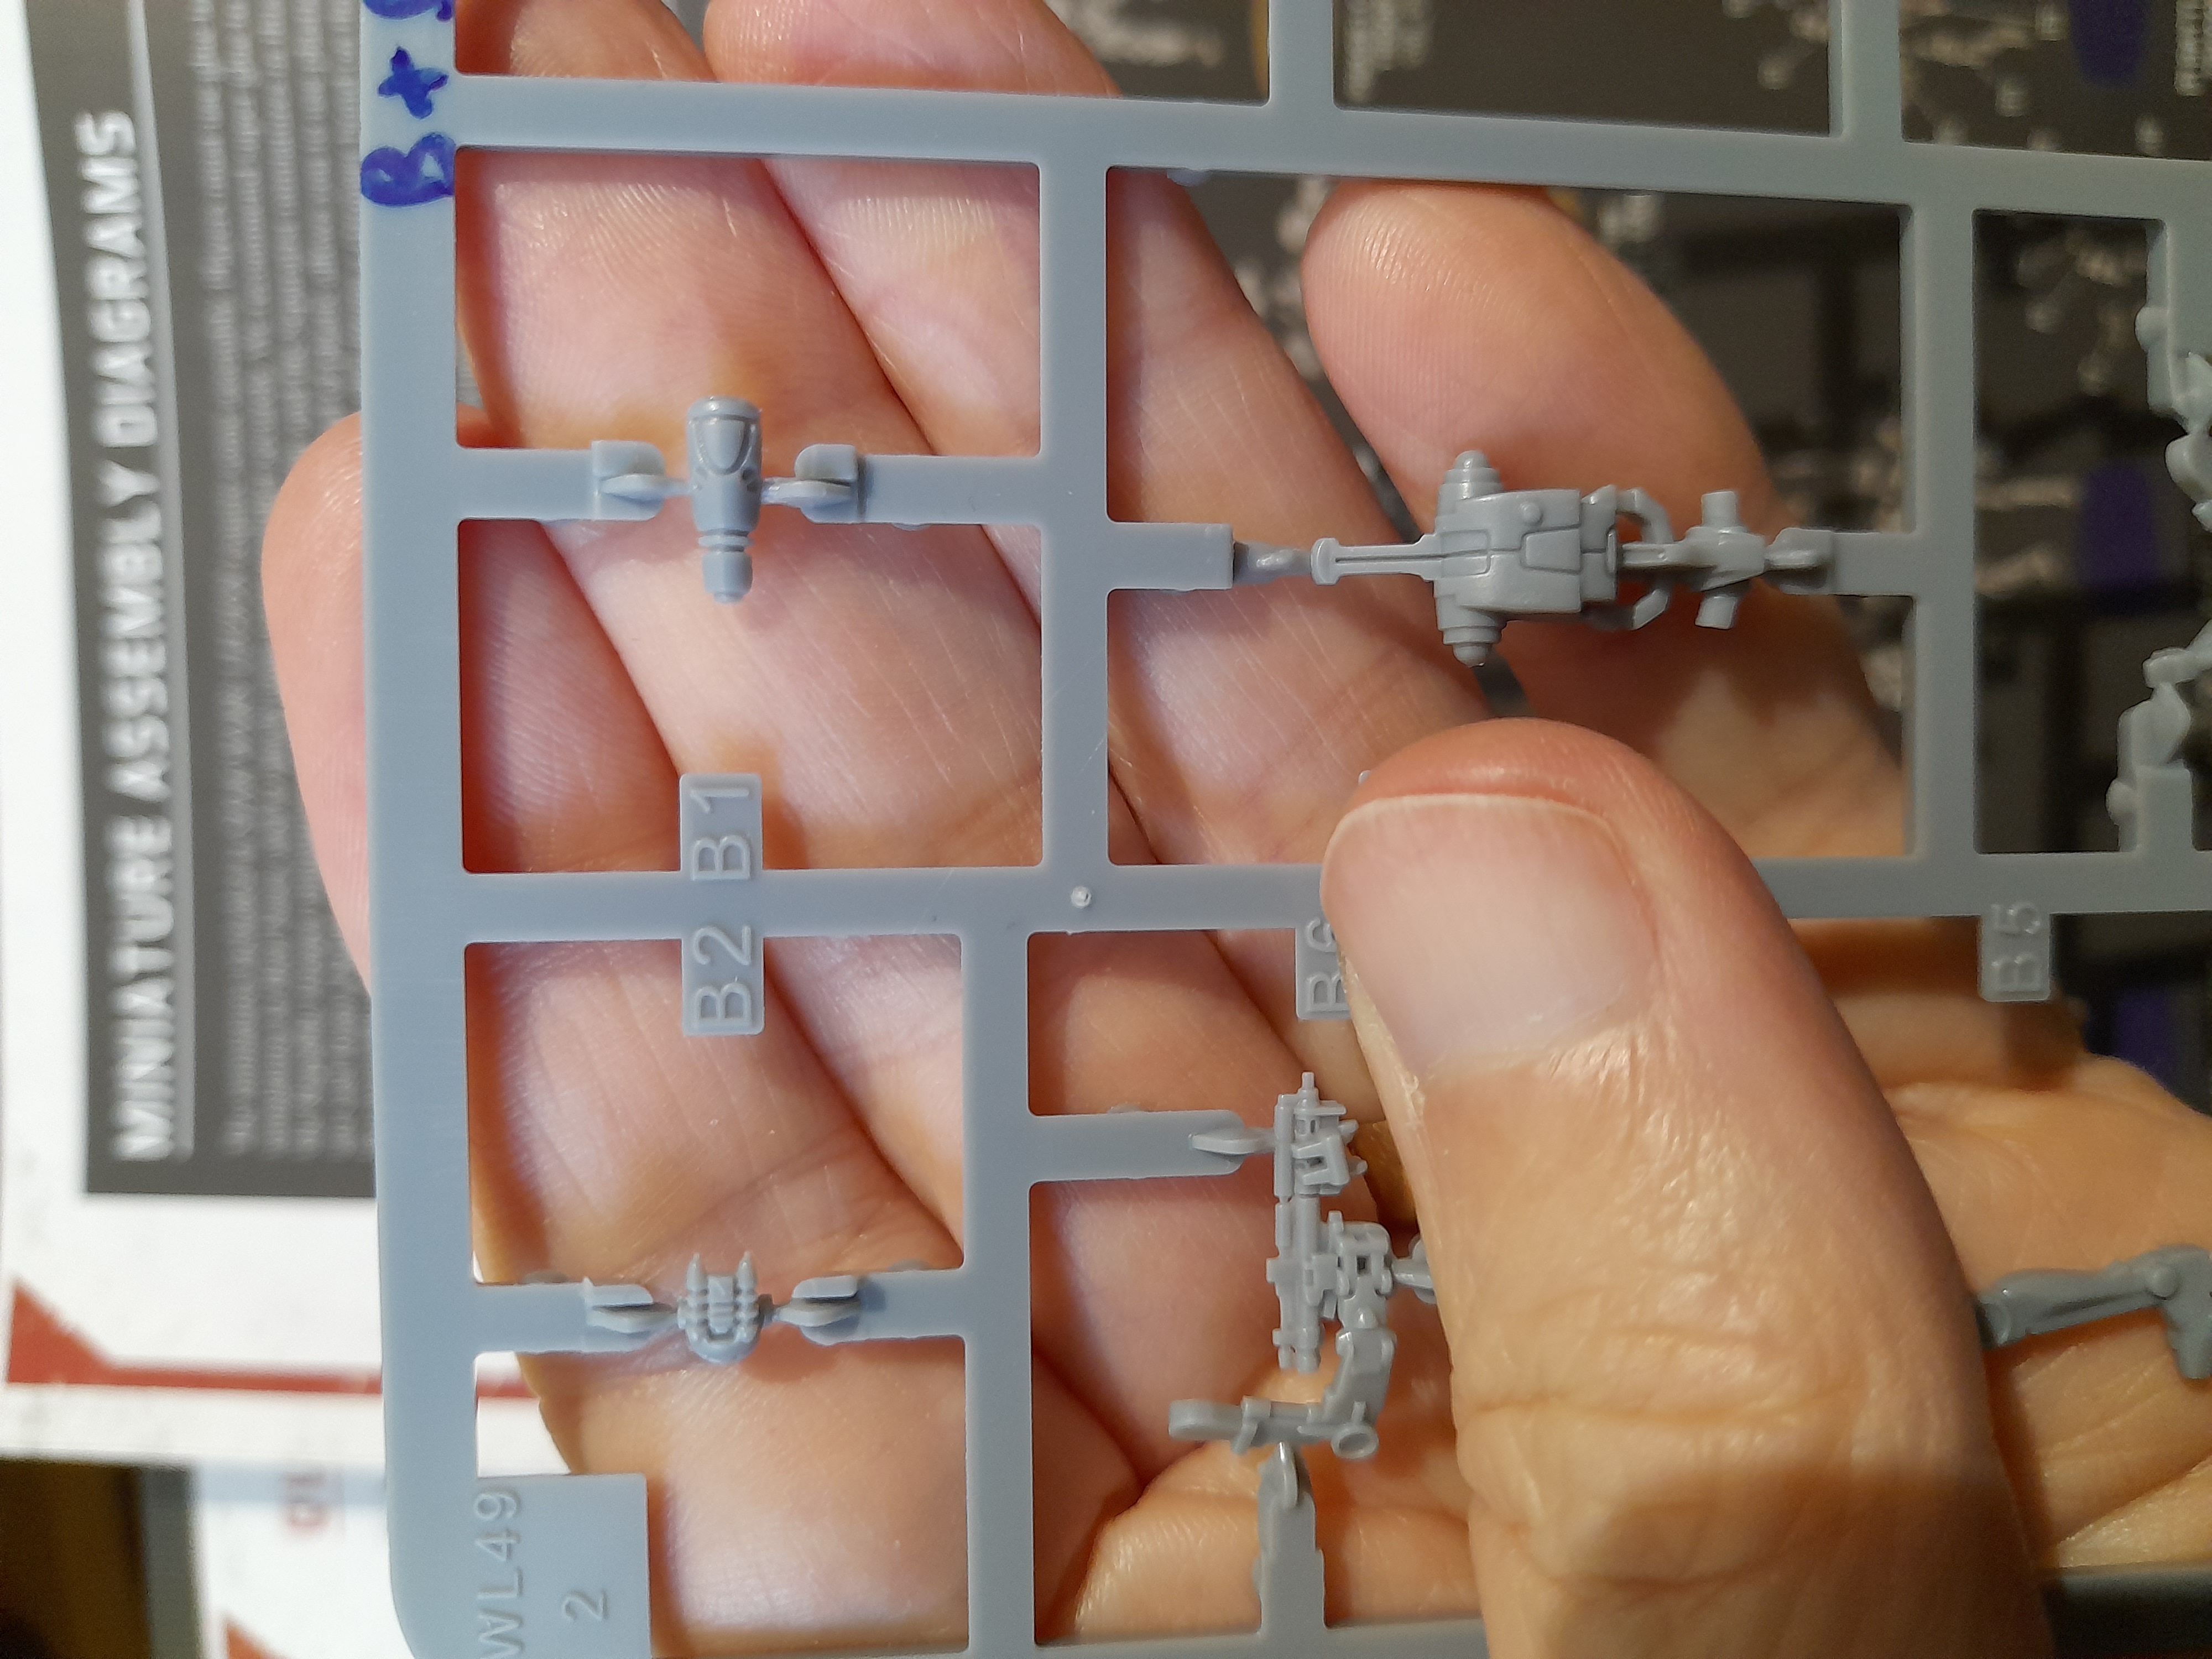
The B1 Battle droids are all hard plastic, which is a positive.
However, a number of the parts are quite small or fiddly.
And they have more individual parts than the Clone troopers had.

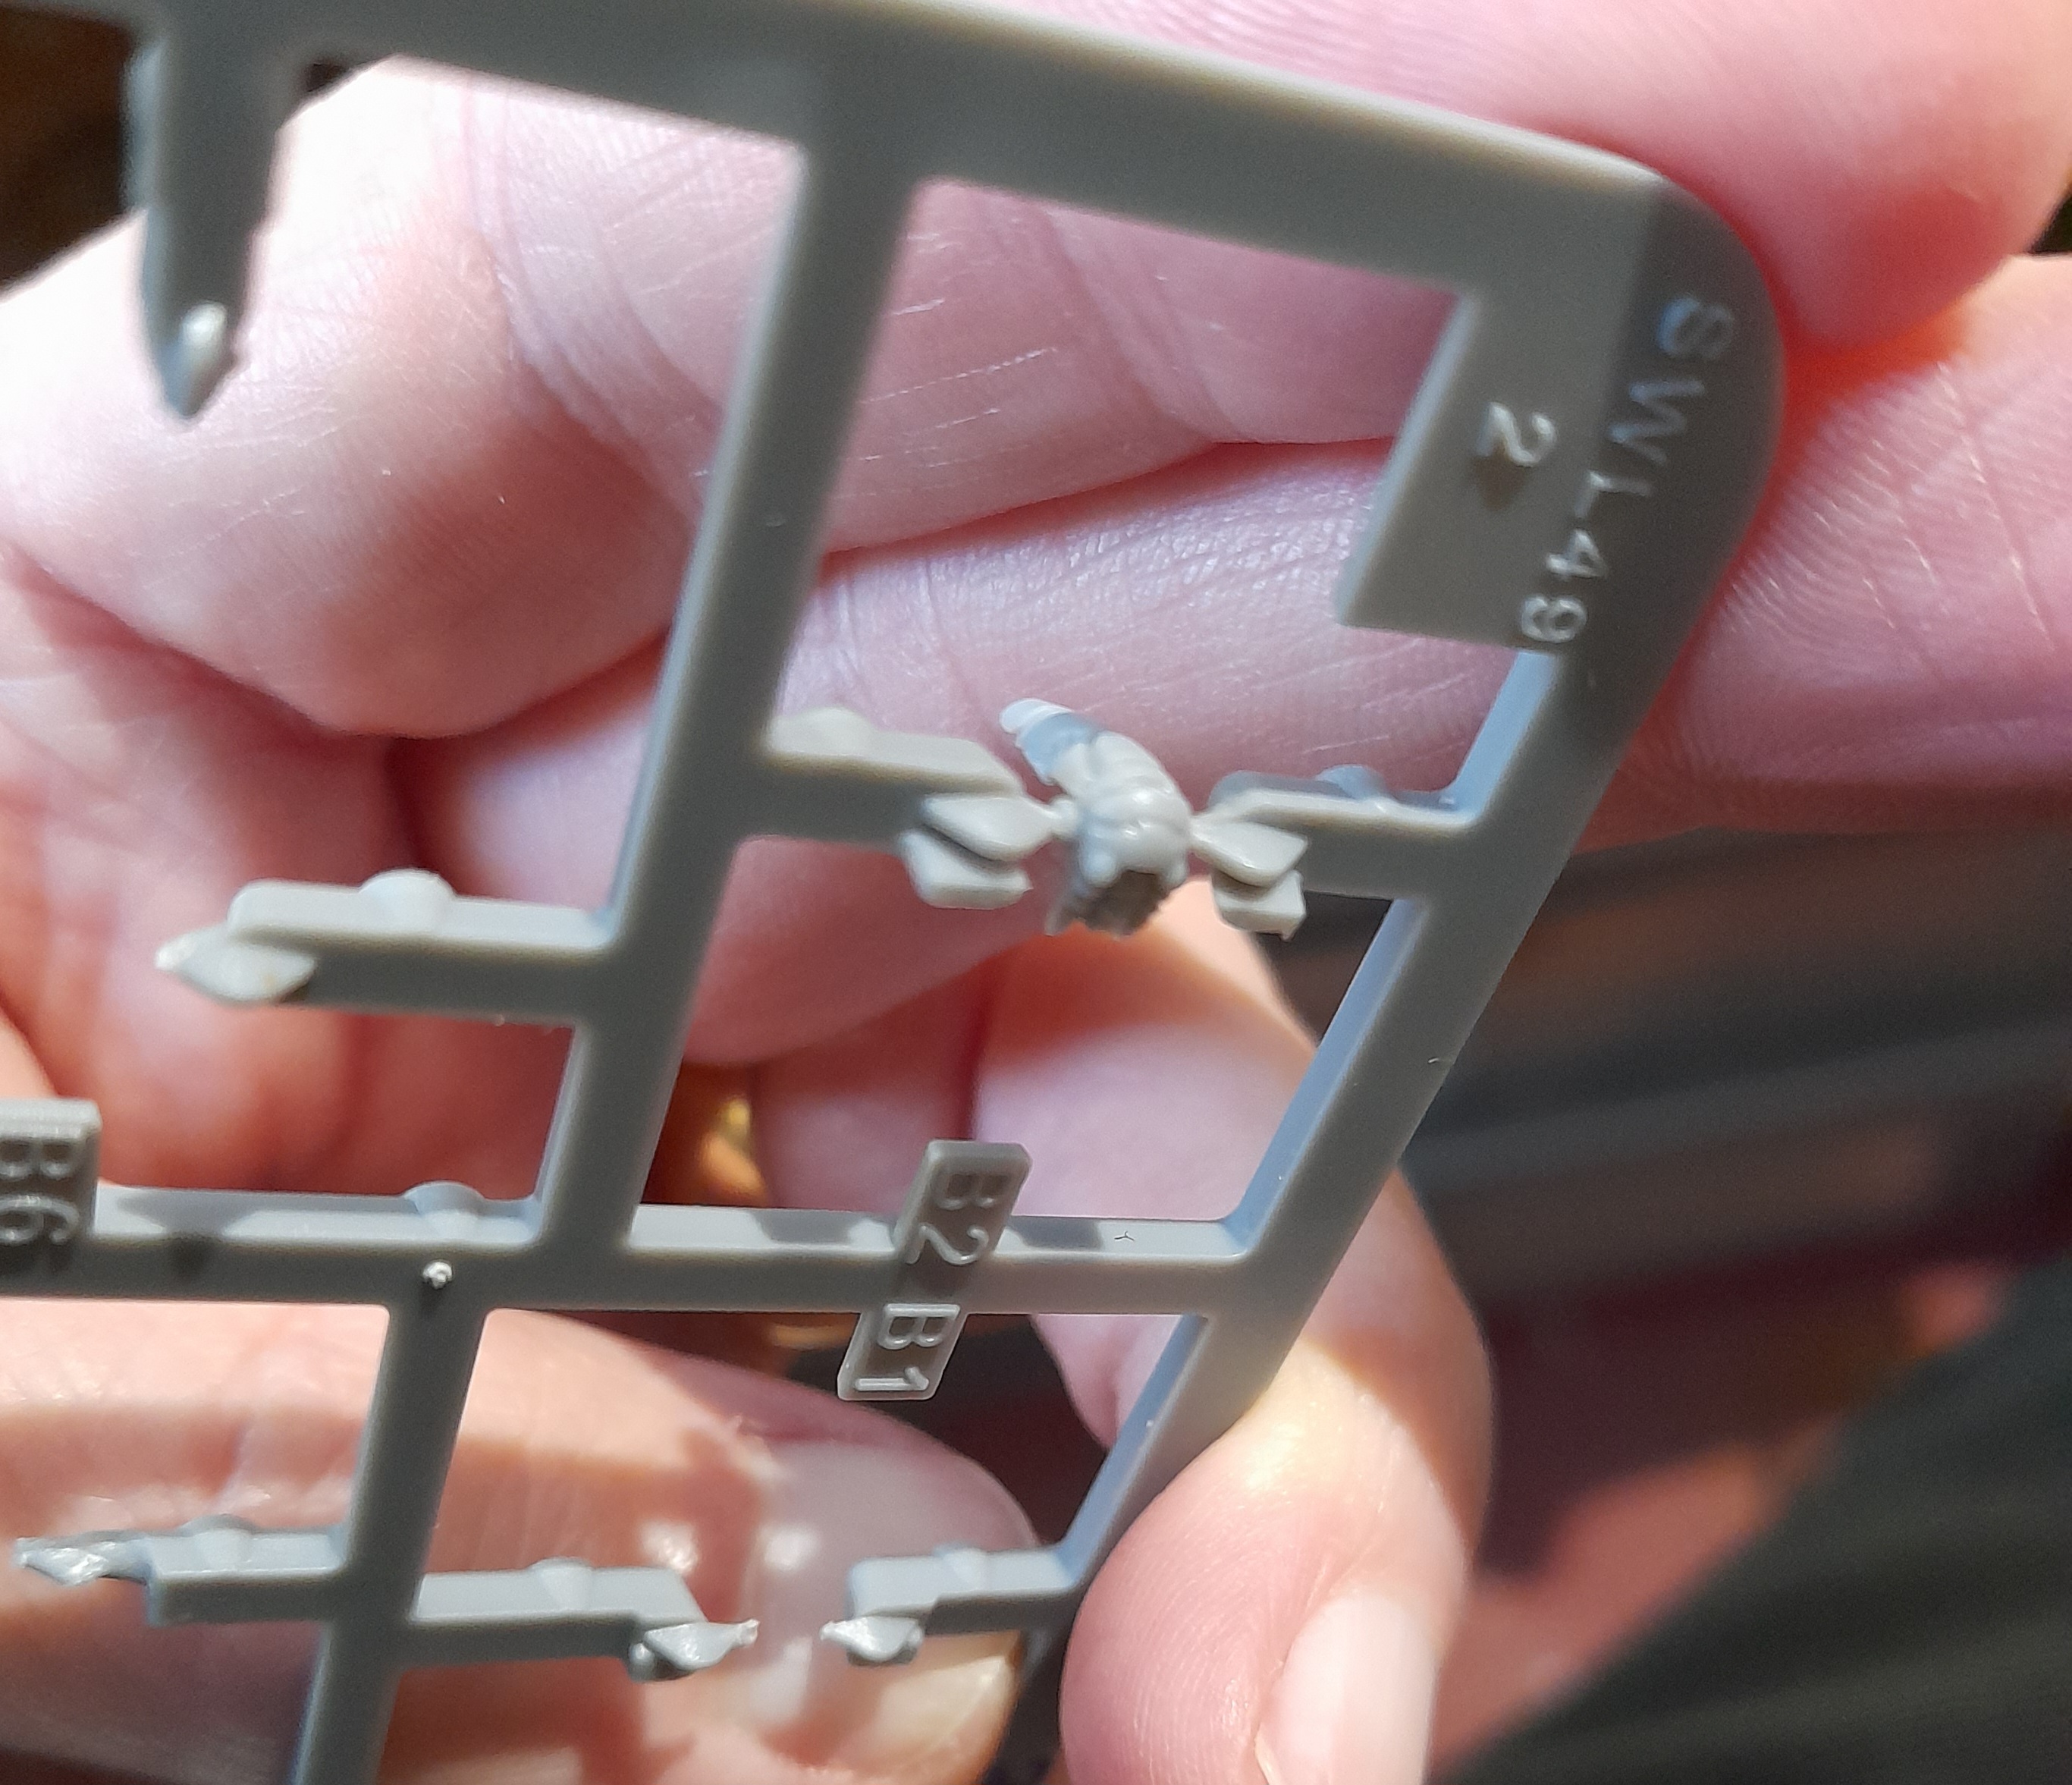
In particular, the head comes in two pieces. So for this I decided that I would keep the smaller back part on the sprue and glue the main part to this in situ. This worked out pretty well, and probably prevented me from losing a few bits 😊
I tried out just one at first, to get a handle on the steps that worked for me, then rolled this out.
I have been doing a bit each evening, and now have 20 of the 36 B1’s built.
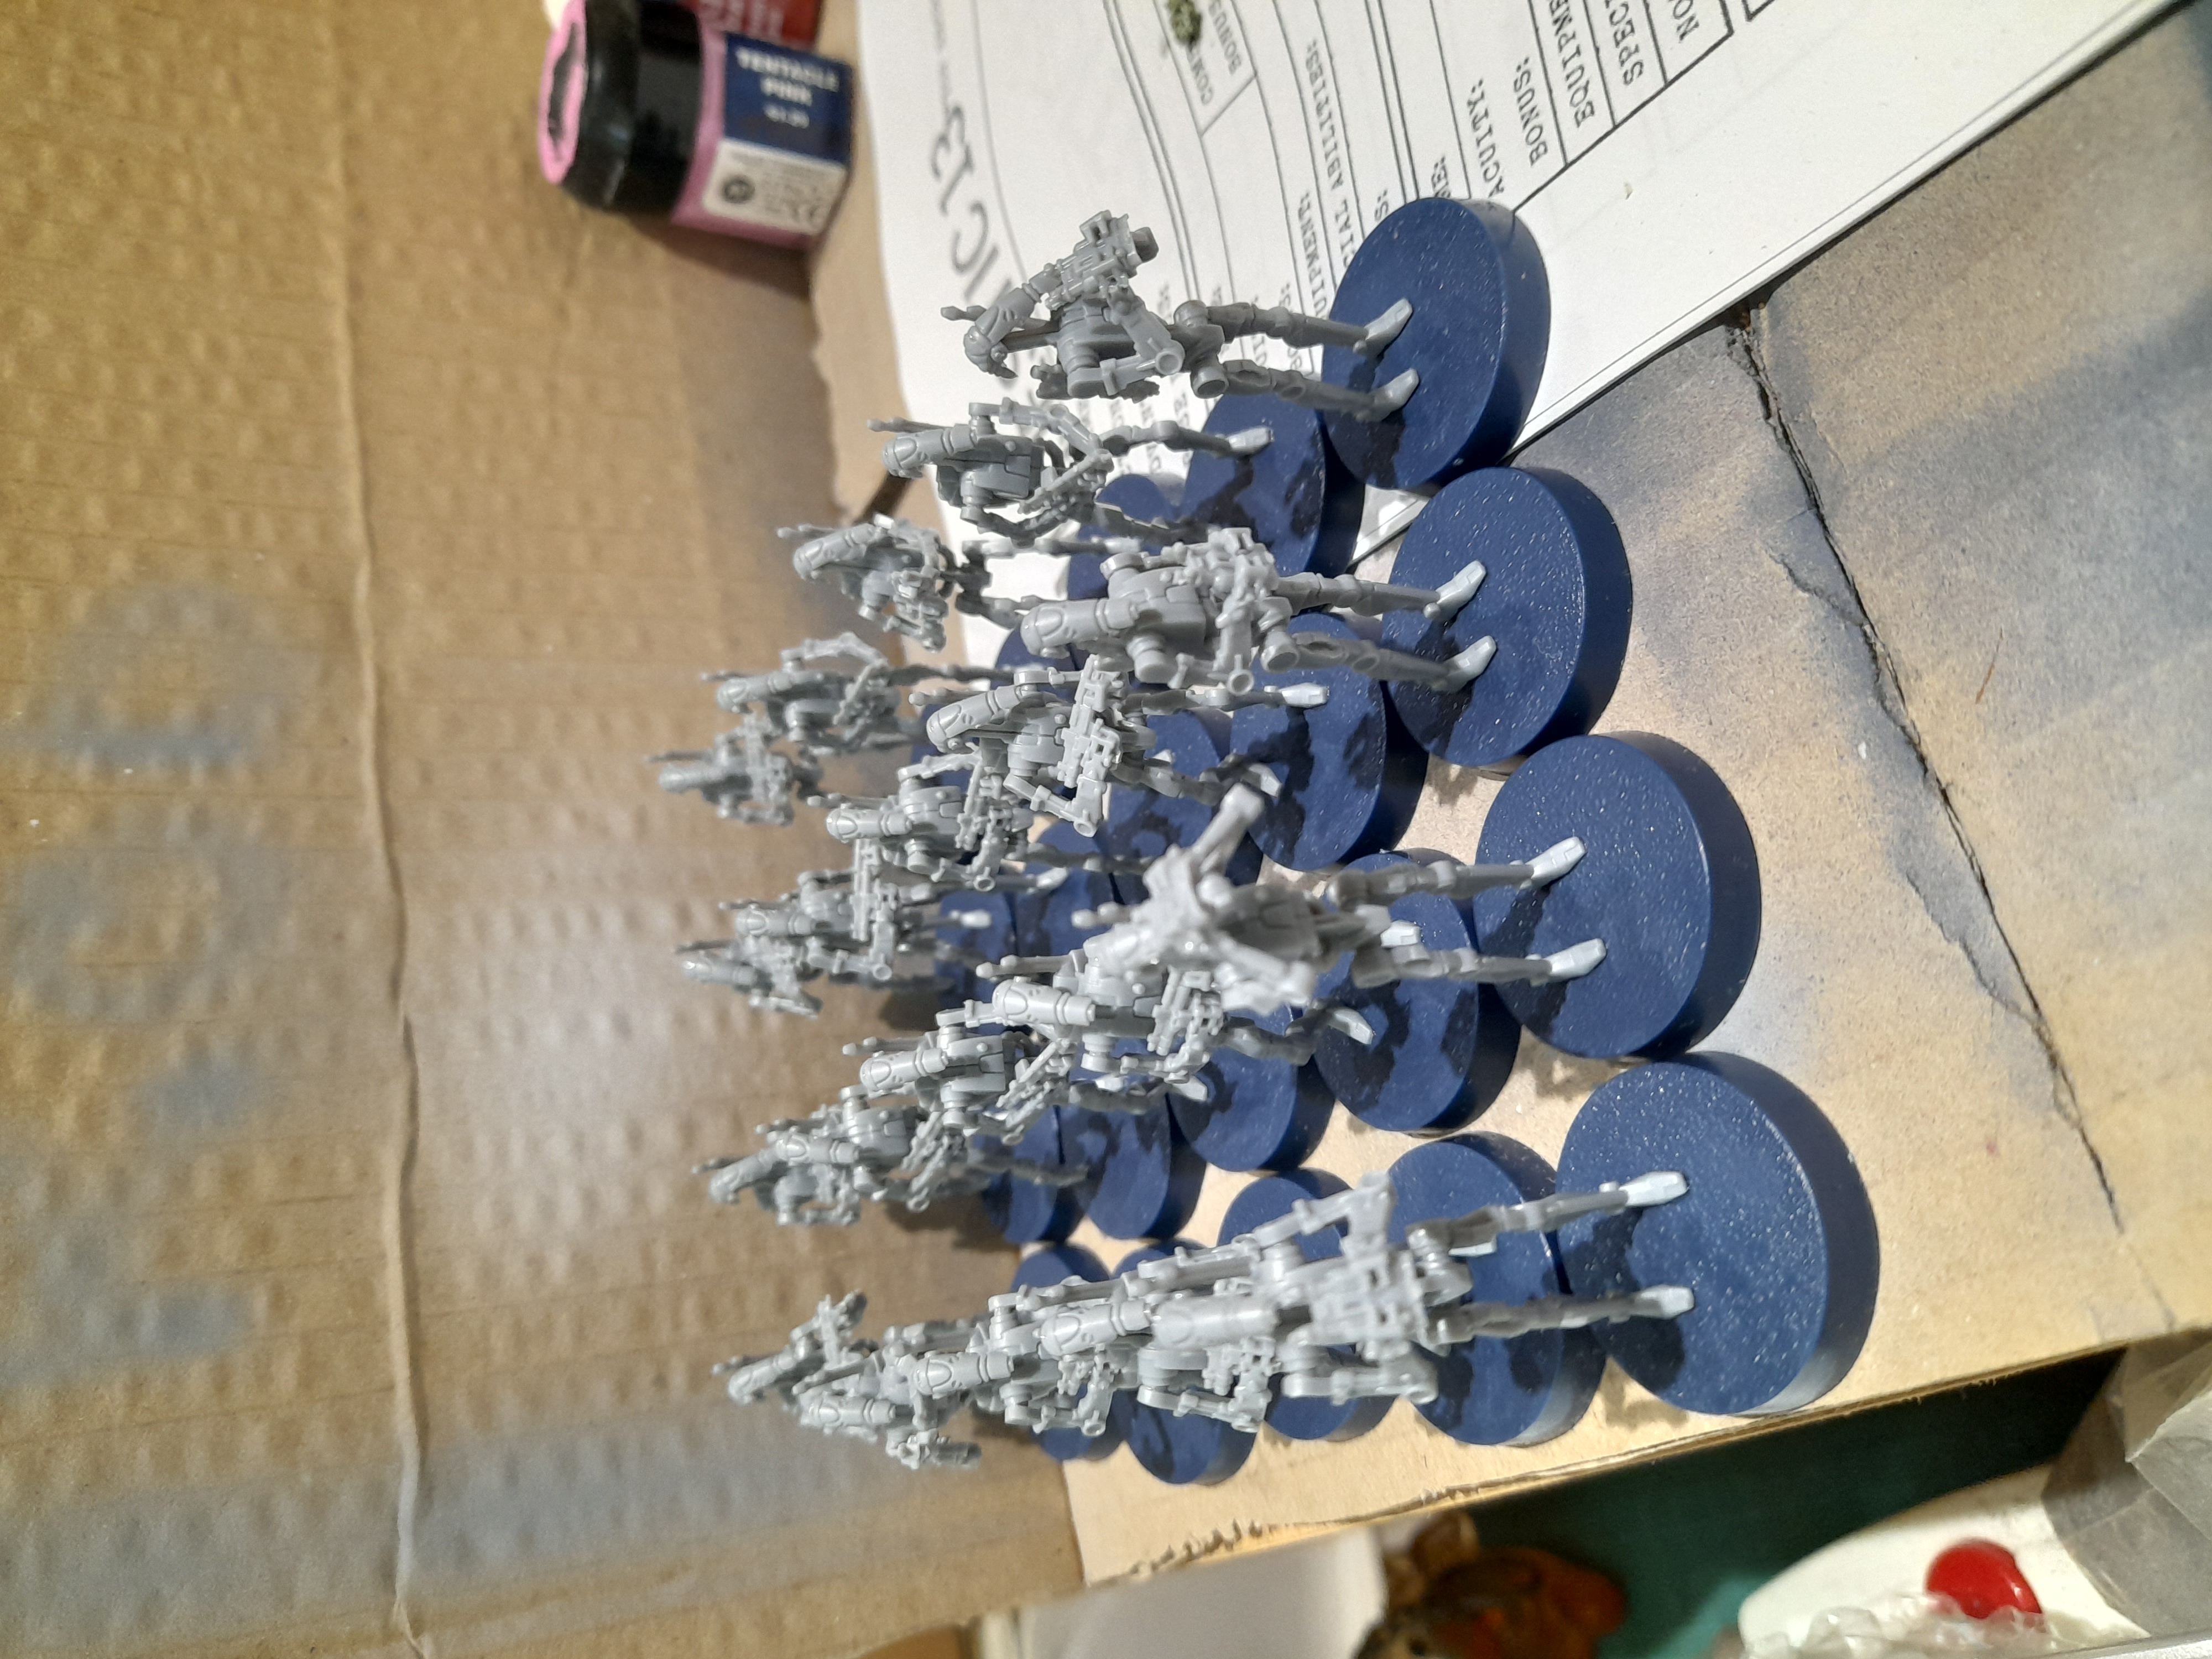
I have found the arms a bit fiddly still – same as often here where the arms have to be connected to each other, I feel I need a third hand to hold things together. But they are rapidly rolling off the production line.
Base B1’s constructed
Over the course of the last week I finished building the core 36 base B1’s.
It got a bit easier as it went along, getting into the routine of snipping and gluing in a repeatable pattern.
For the rocket launcher armed droids I wanted to add a little variety to the pose. So I opted to use two crouching bodies for two of them, to mix things up a little.
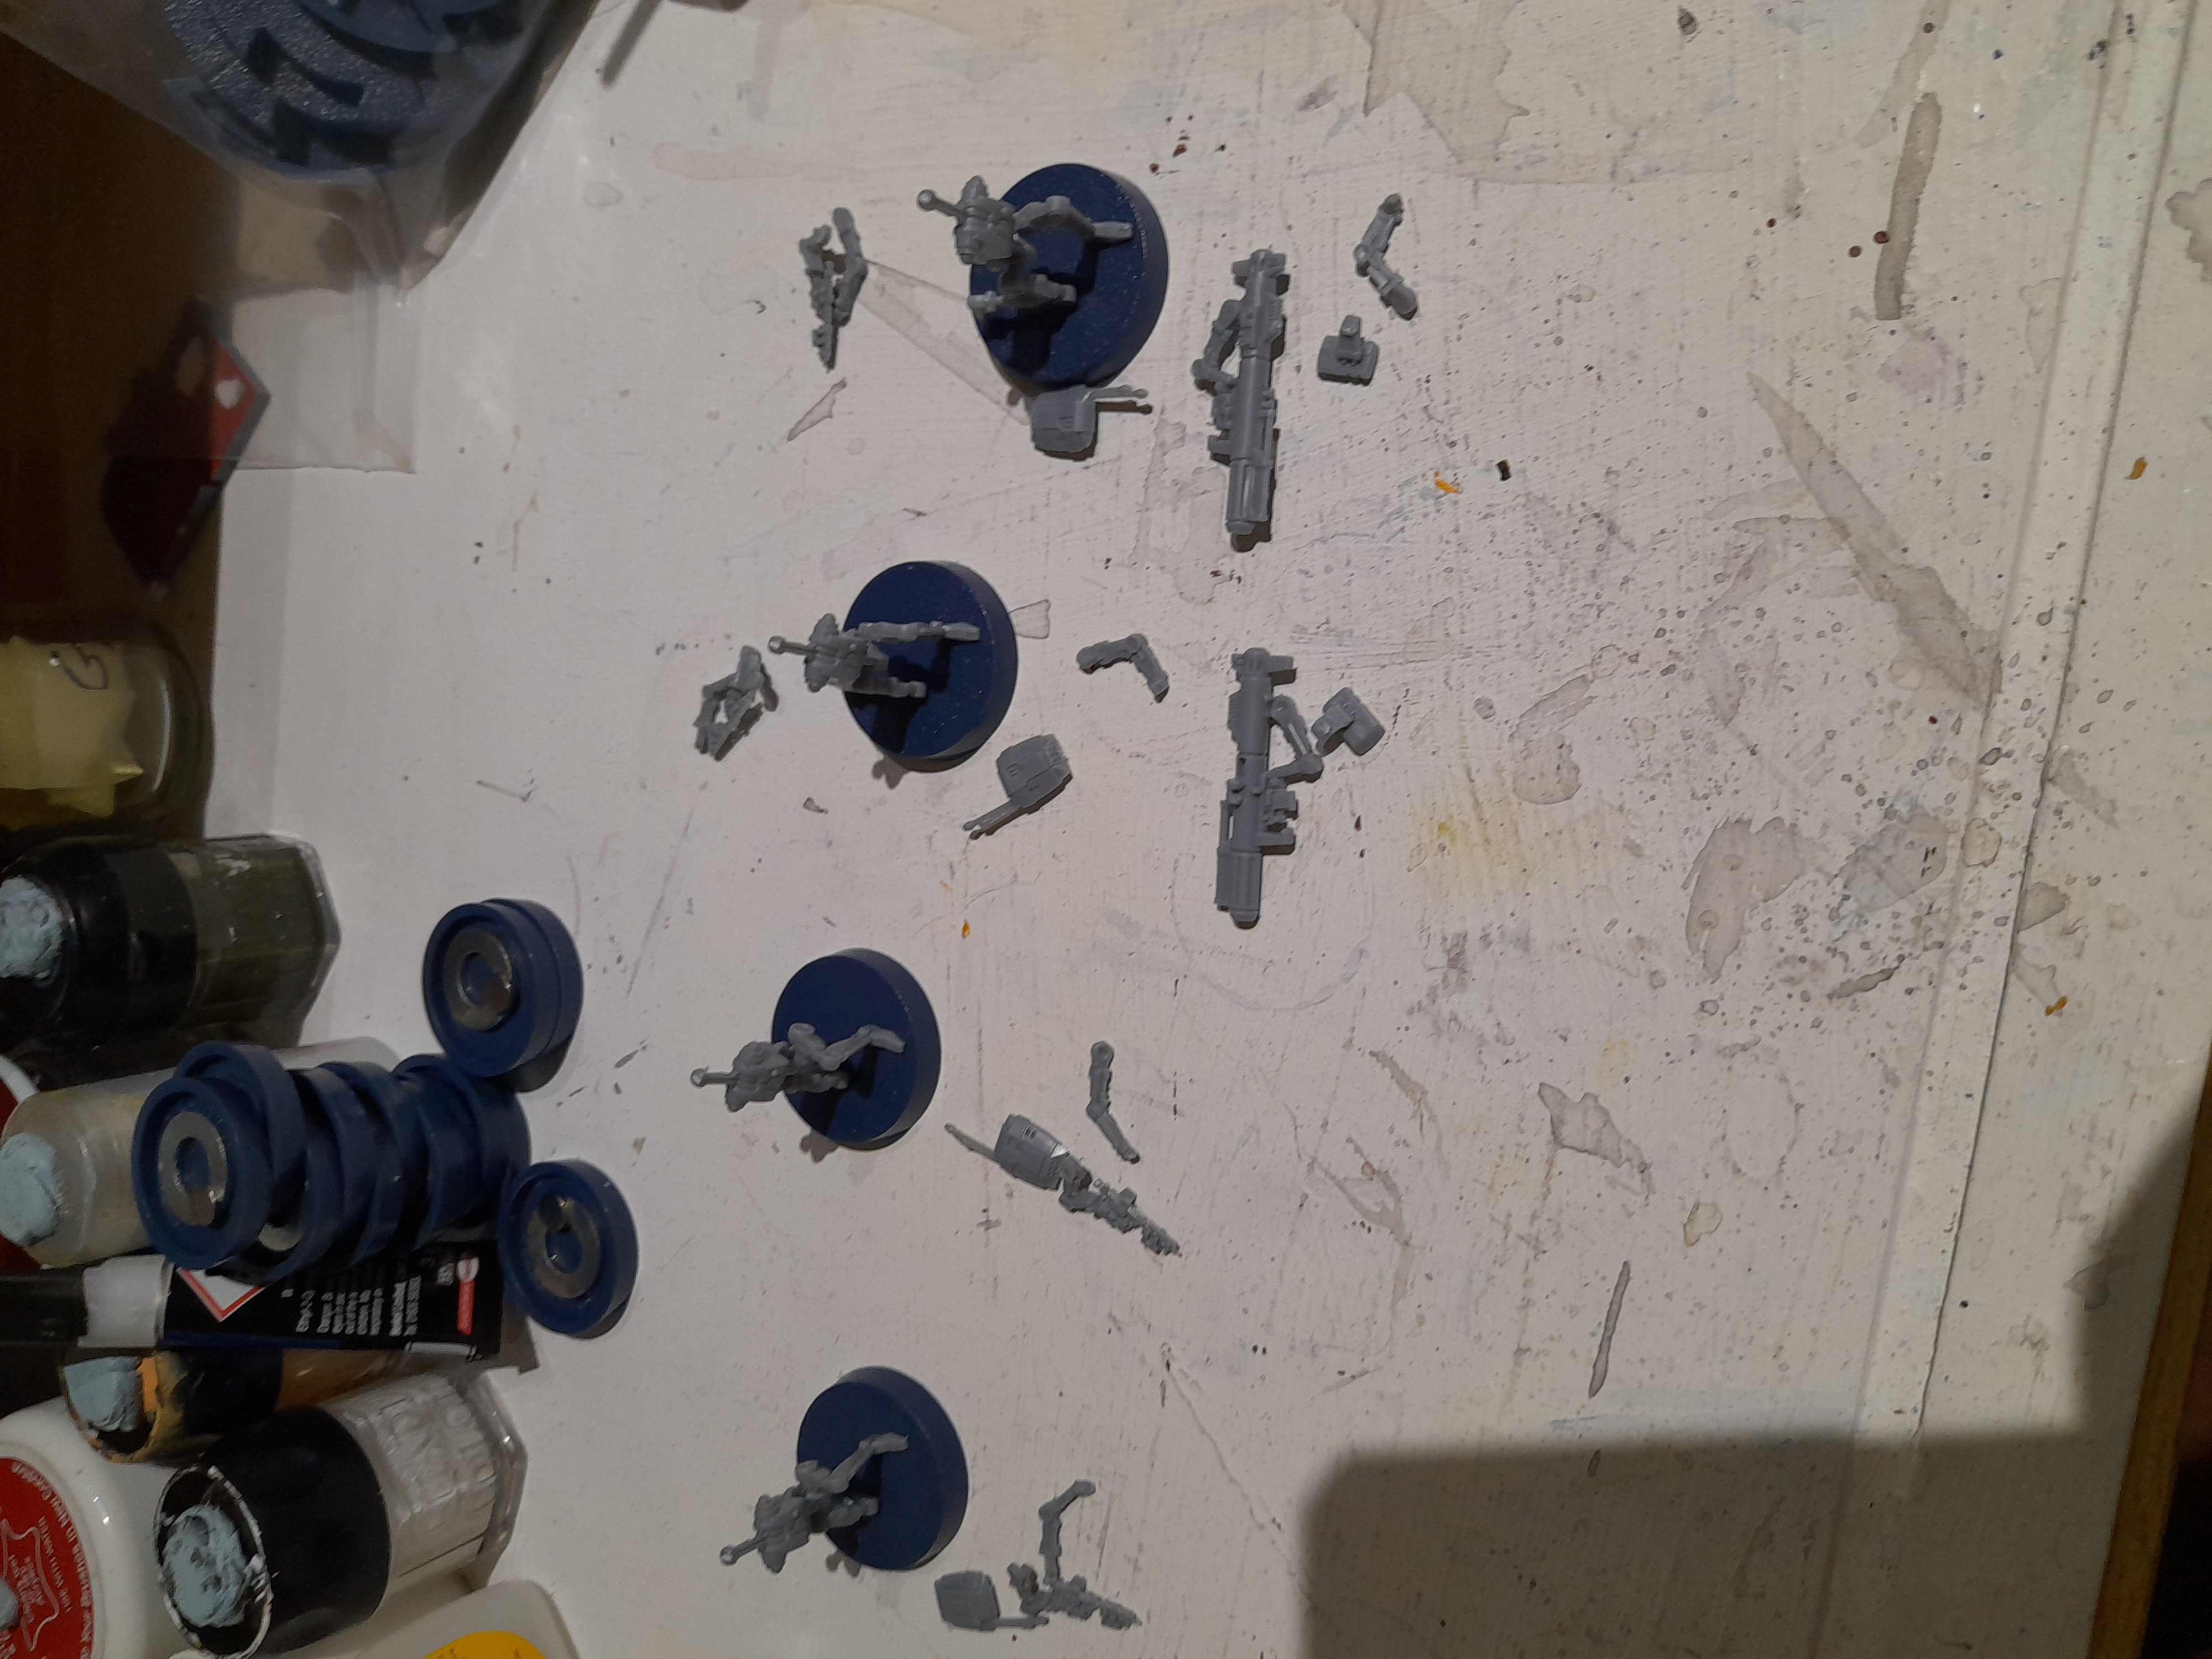

For the rest I tried to adjust the poses where I could in order to add a modicum of variety to them. But, they are droids after all 😊

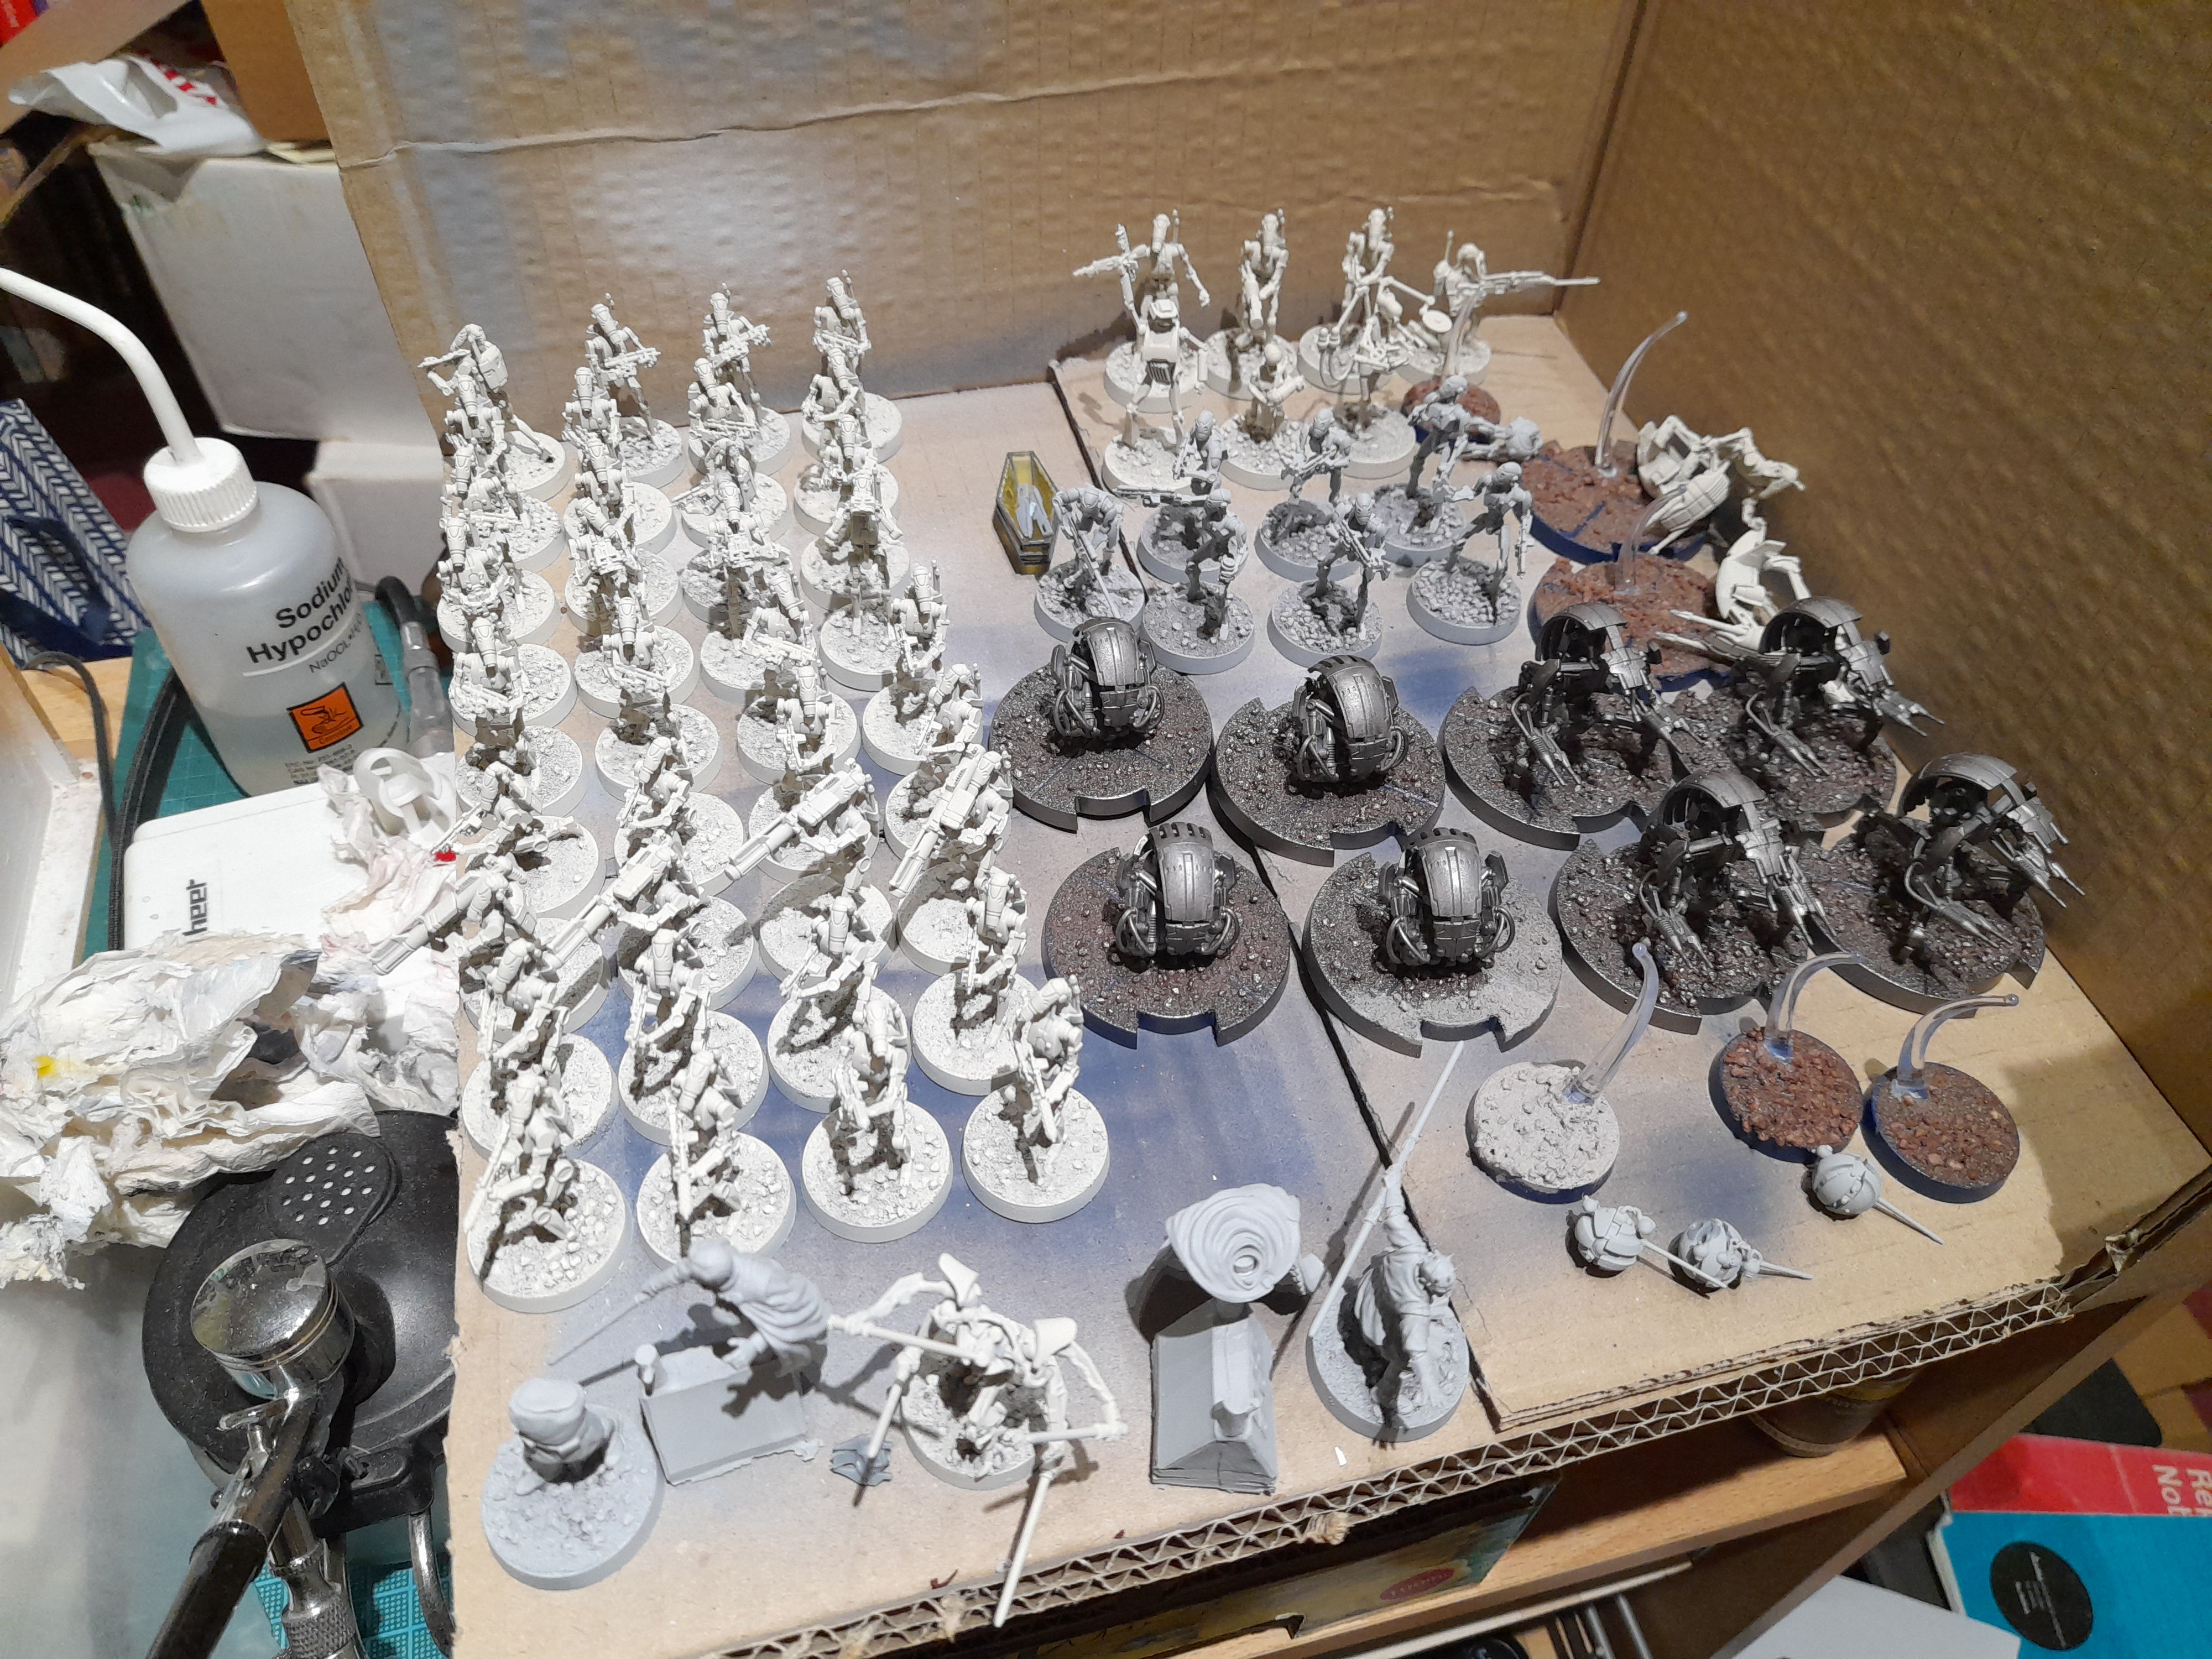
 36 built
I’m hoping that a simple painting process will work for these so that I can get them finished in good time.
Haven’t decided what to do for the basing yet though….
B1 Droid upgrade expansion
This box is a 4 model upgrade to the base B1’s.
Among it there is a sniper and a radiation cannon droid. It does give you the option to build these as normal droids – but why would you want to do that, surely those are why you have the expansion 😊
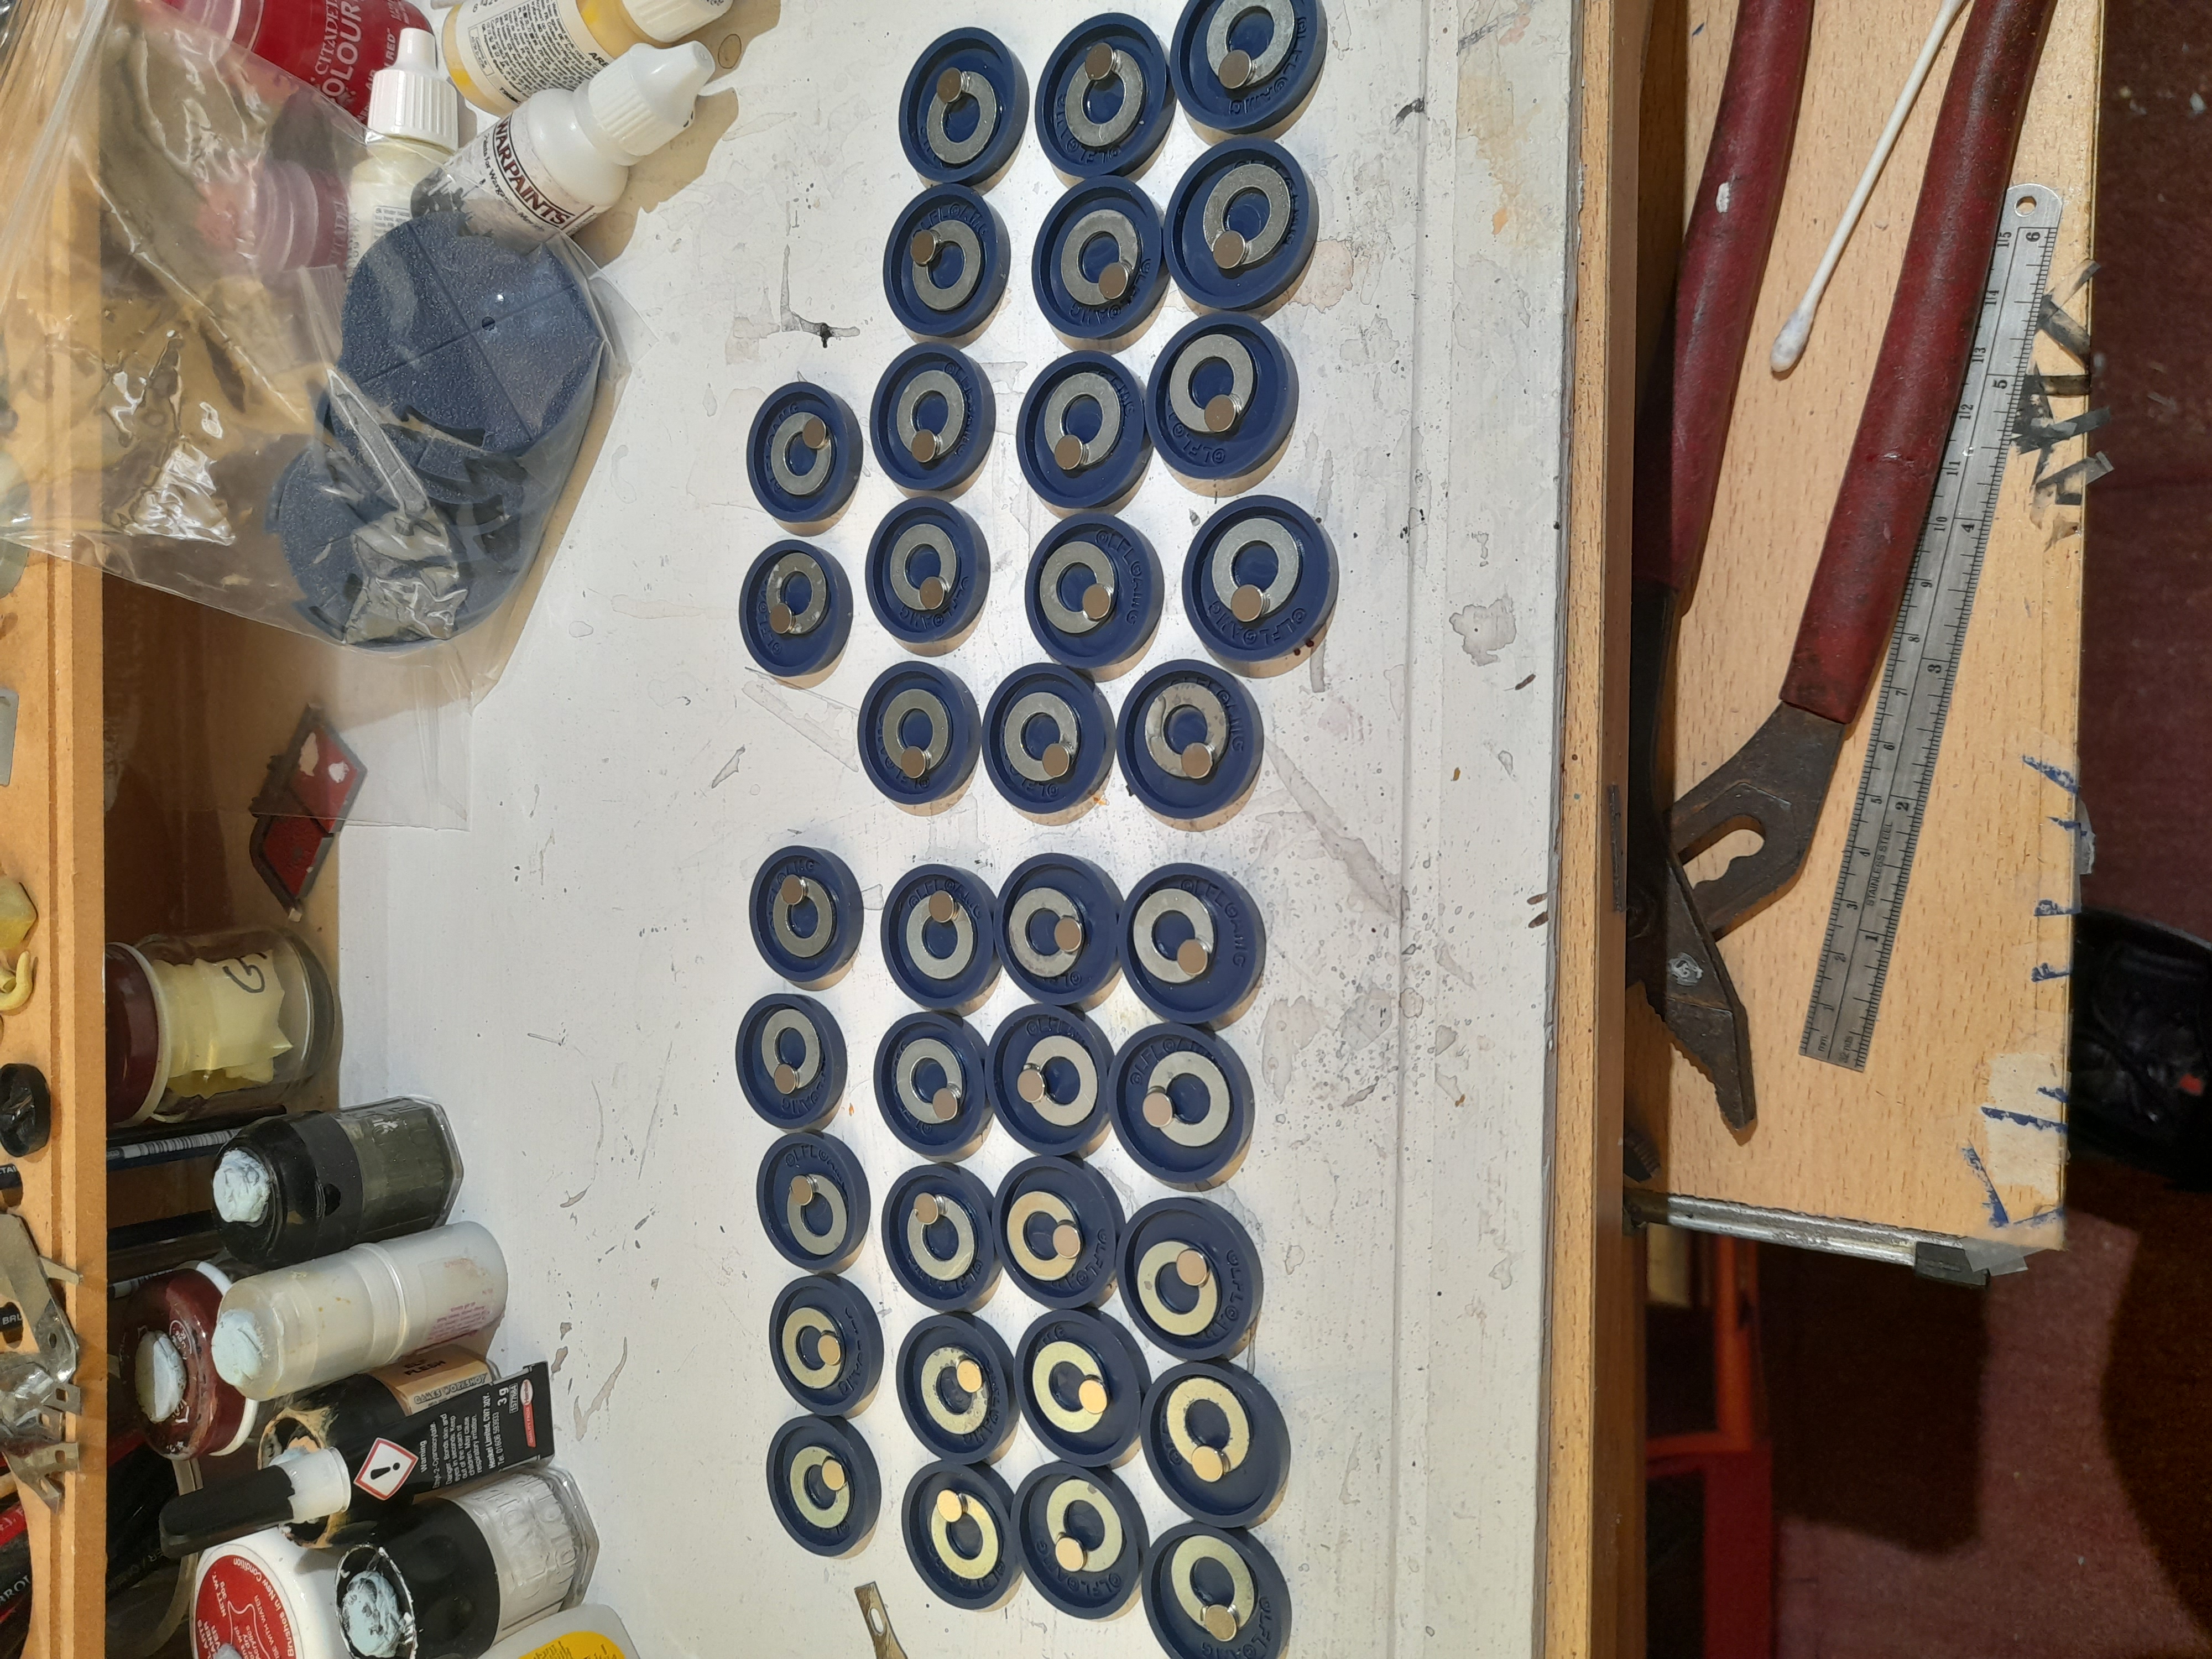
Firstly though, I magnetised the rest of the small bases that I would need for all the expansion minis.
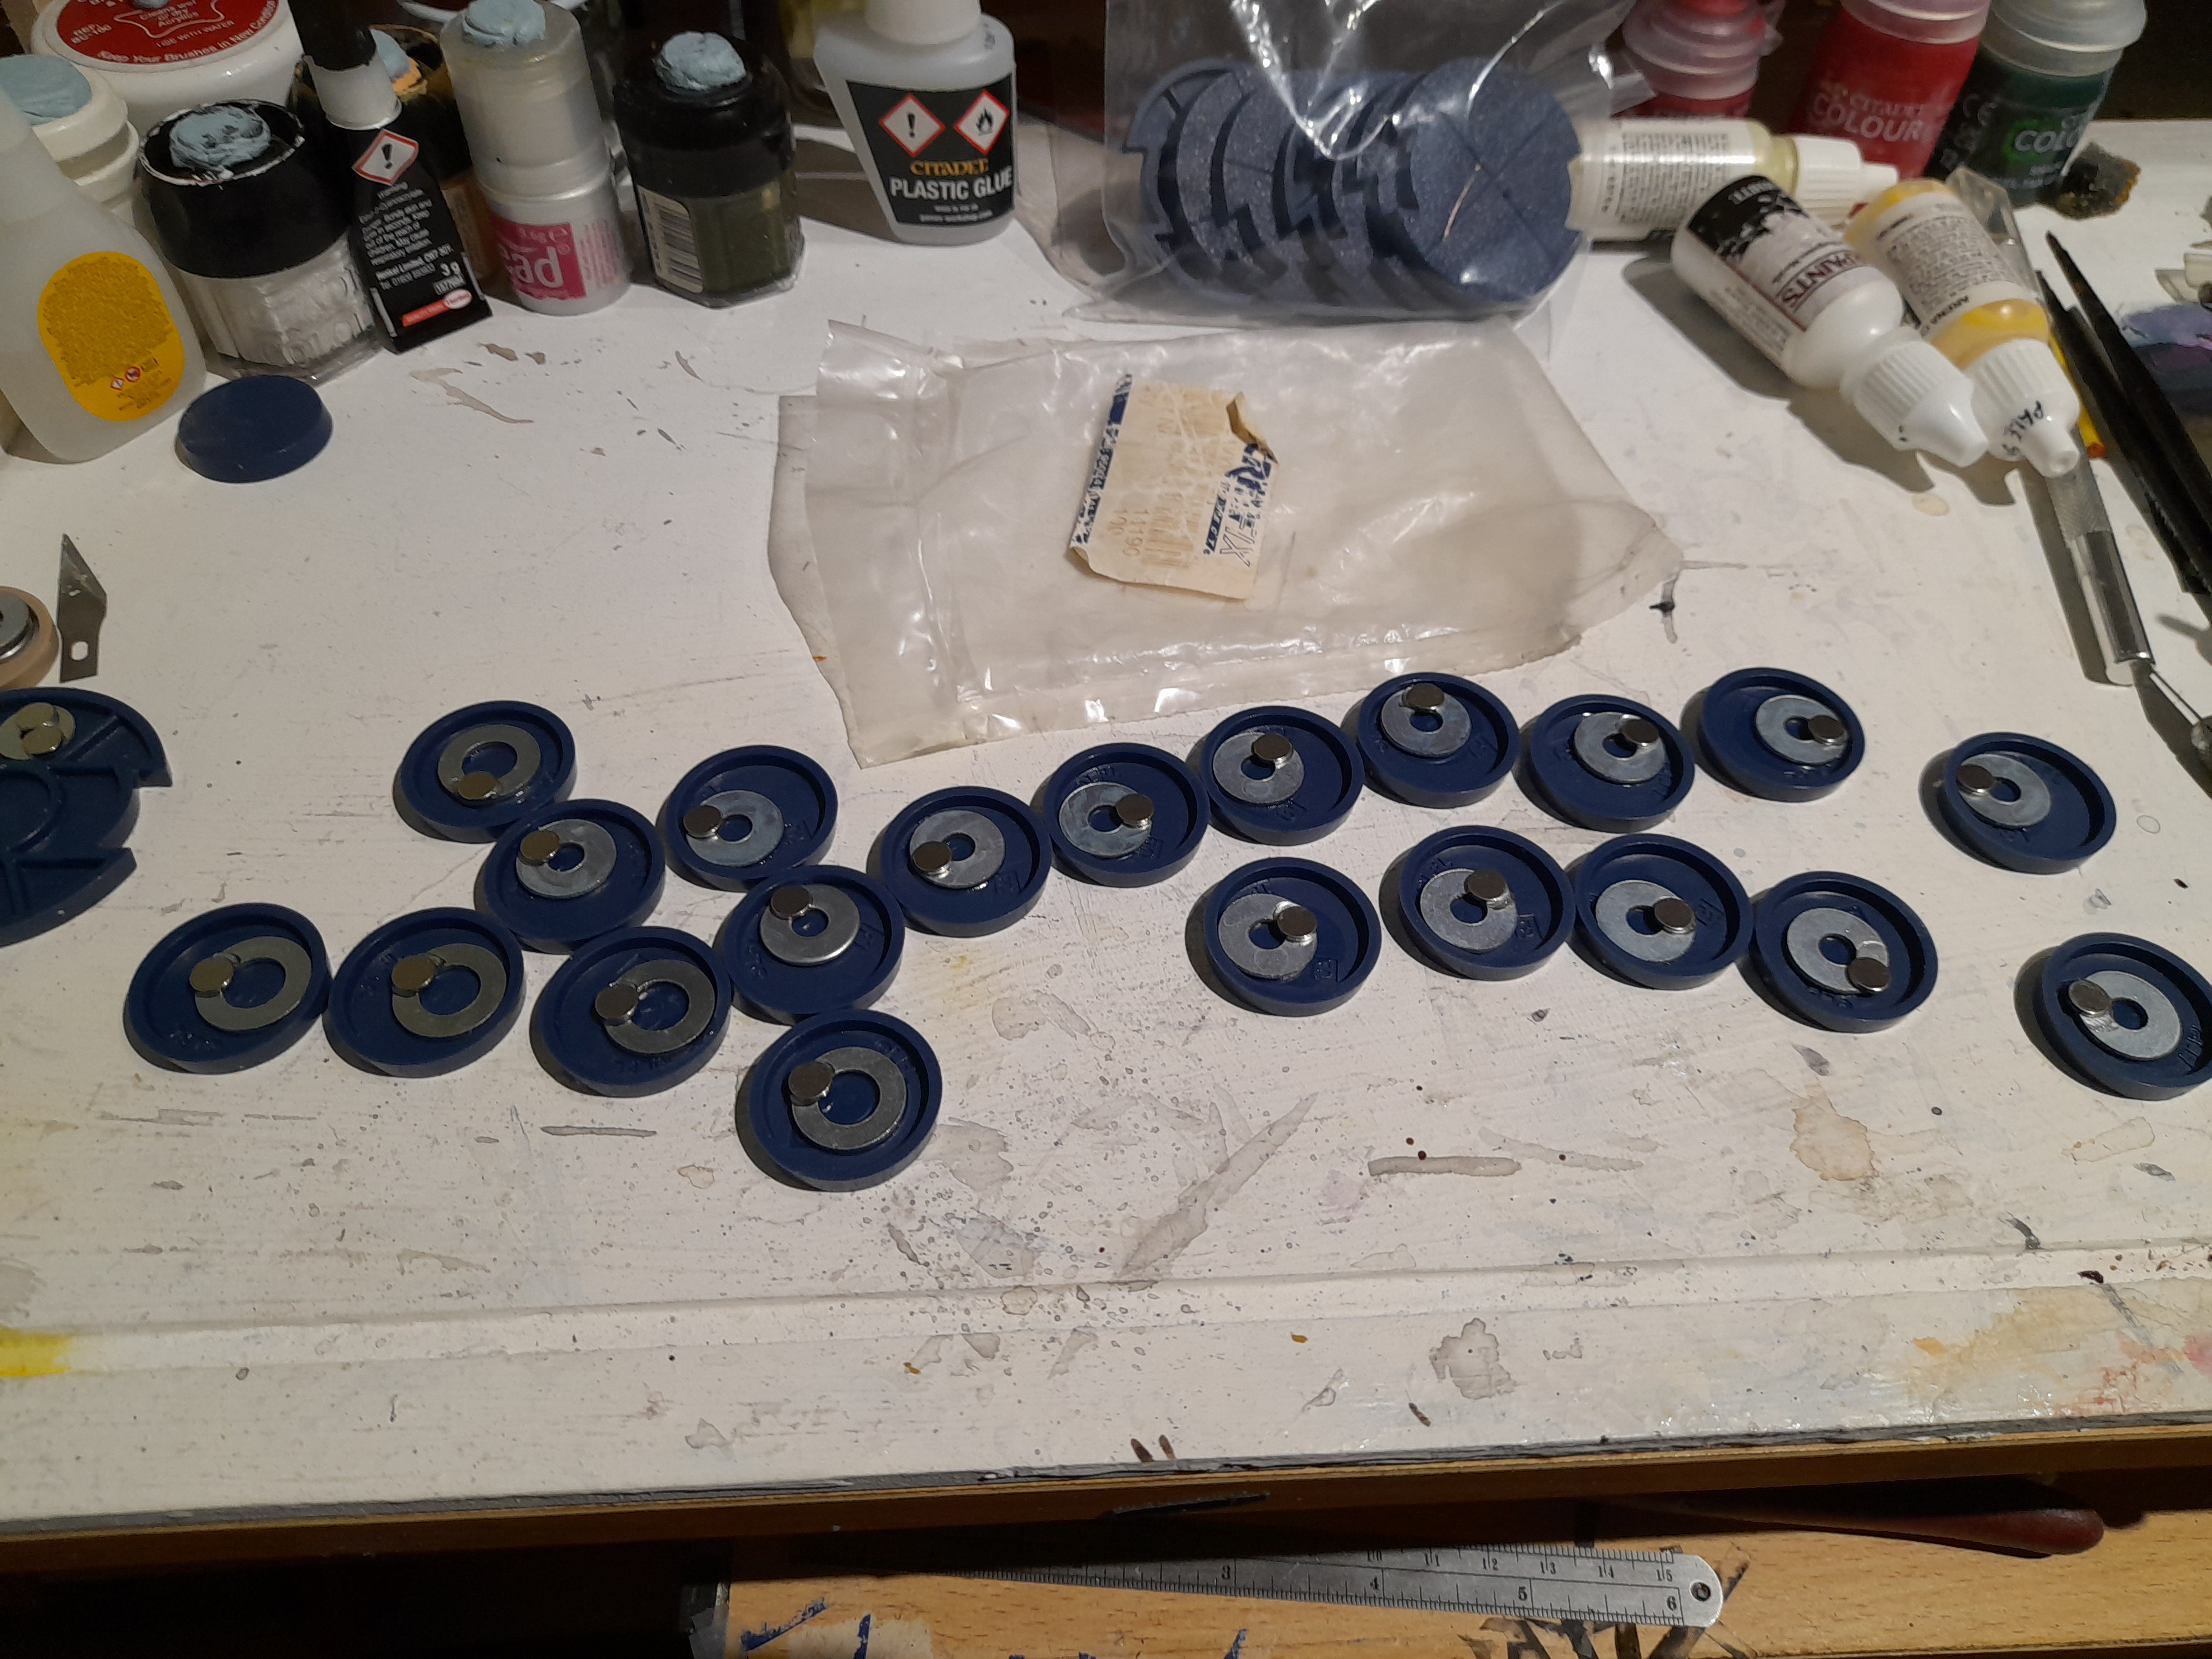 More exciting magnets
 Then I got these four built up.
The only really fiddly bit was making sure that the cable from the sniper rifle lined up with the visor on the droid head.

Separatist Specialists
16th January 2024
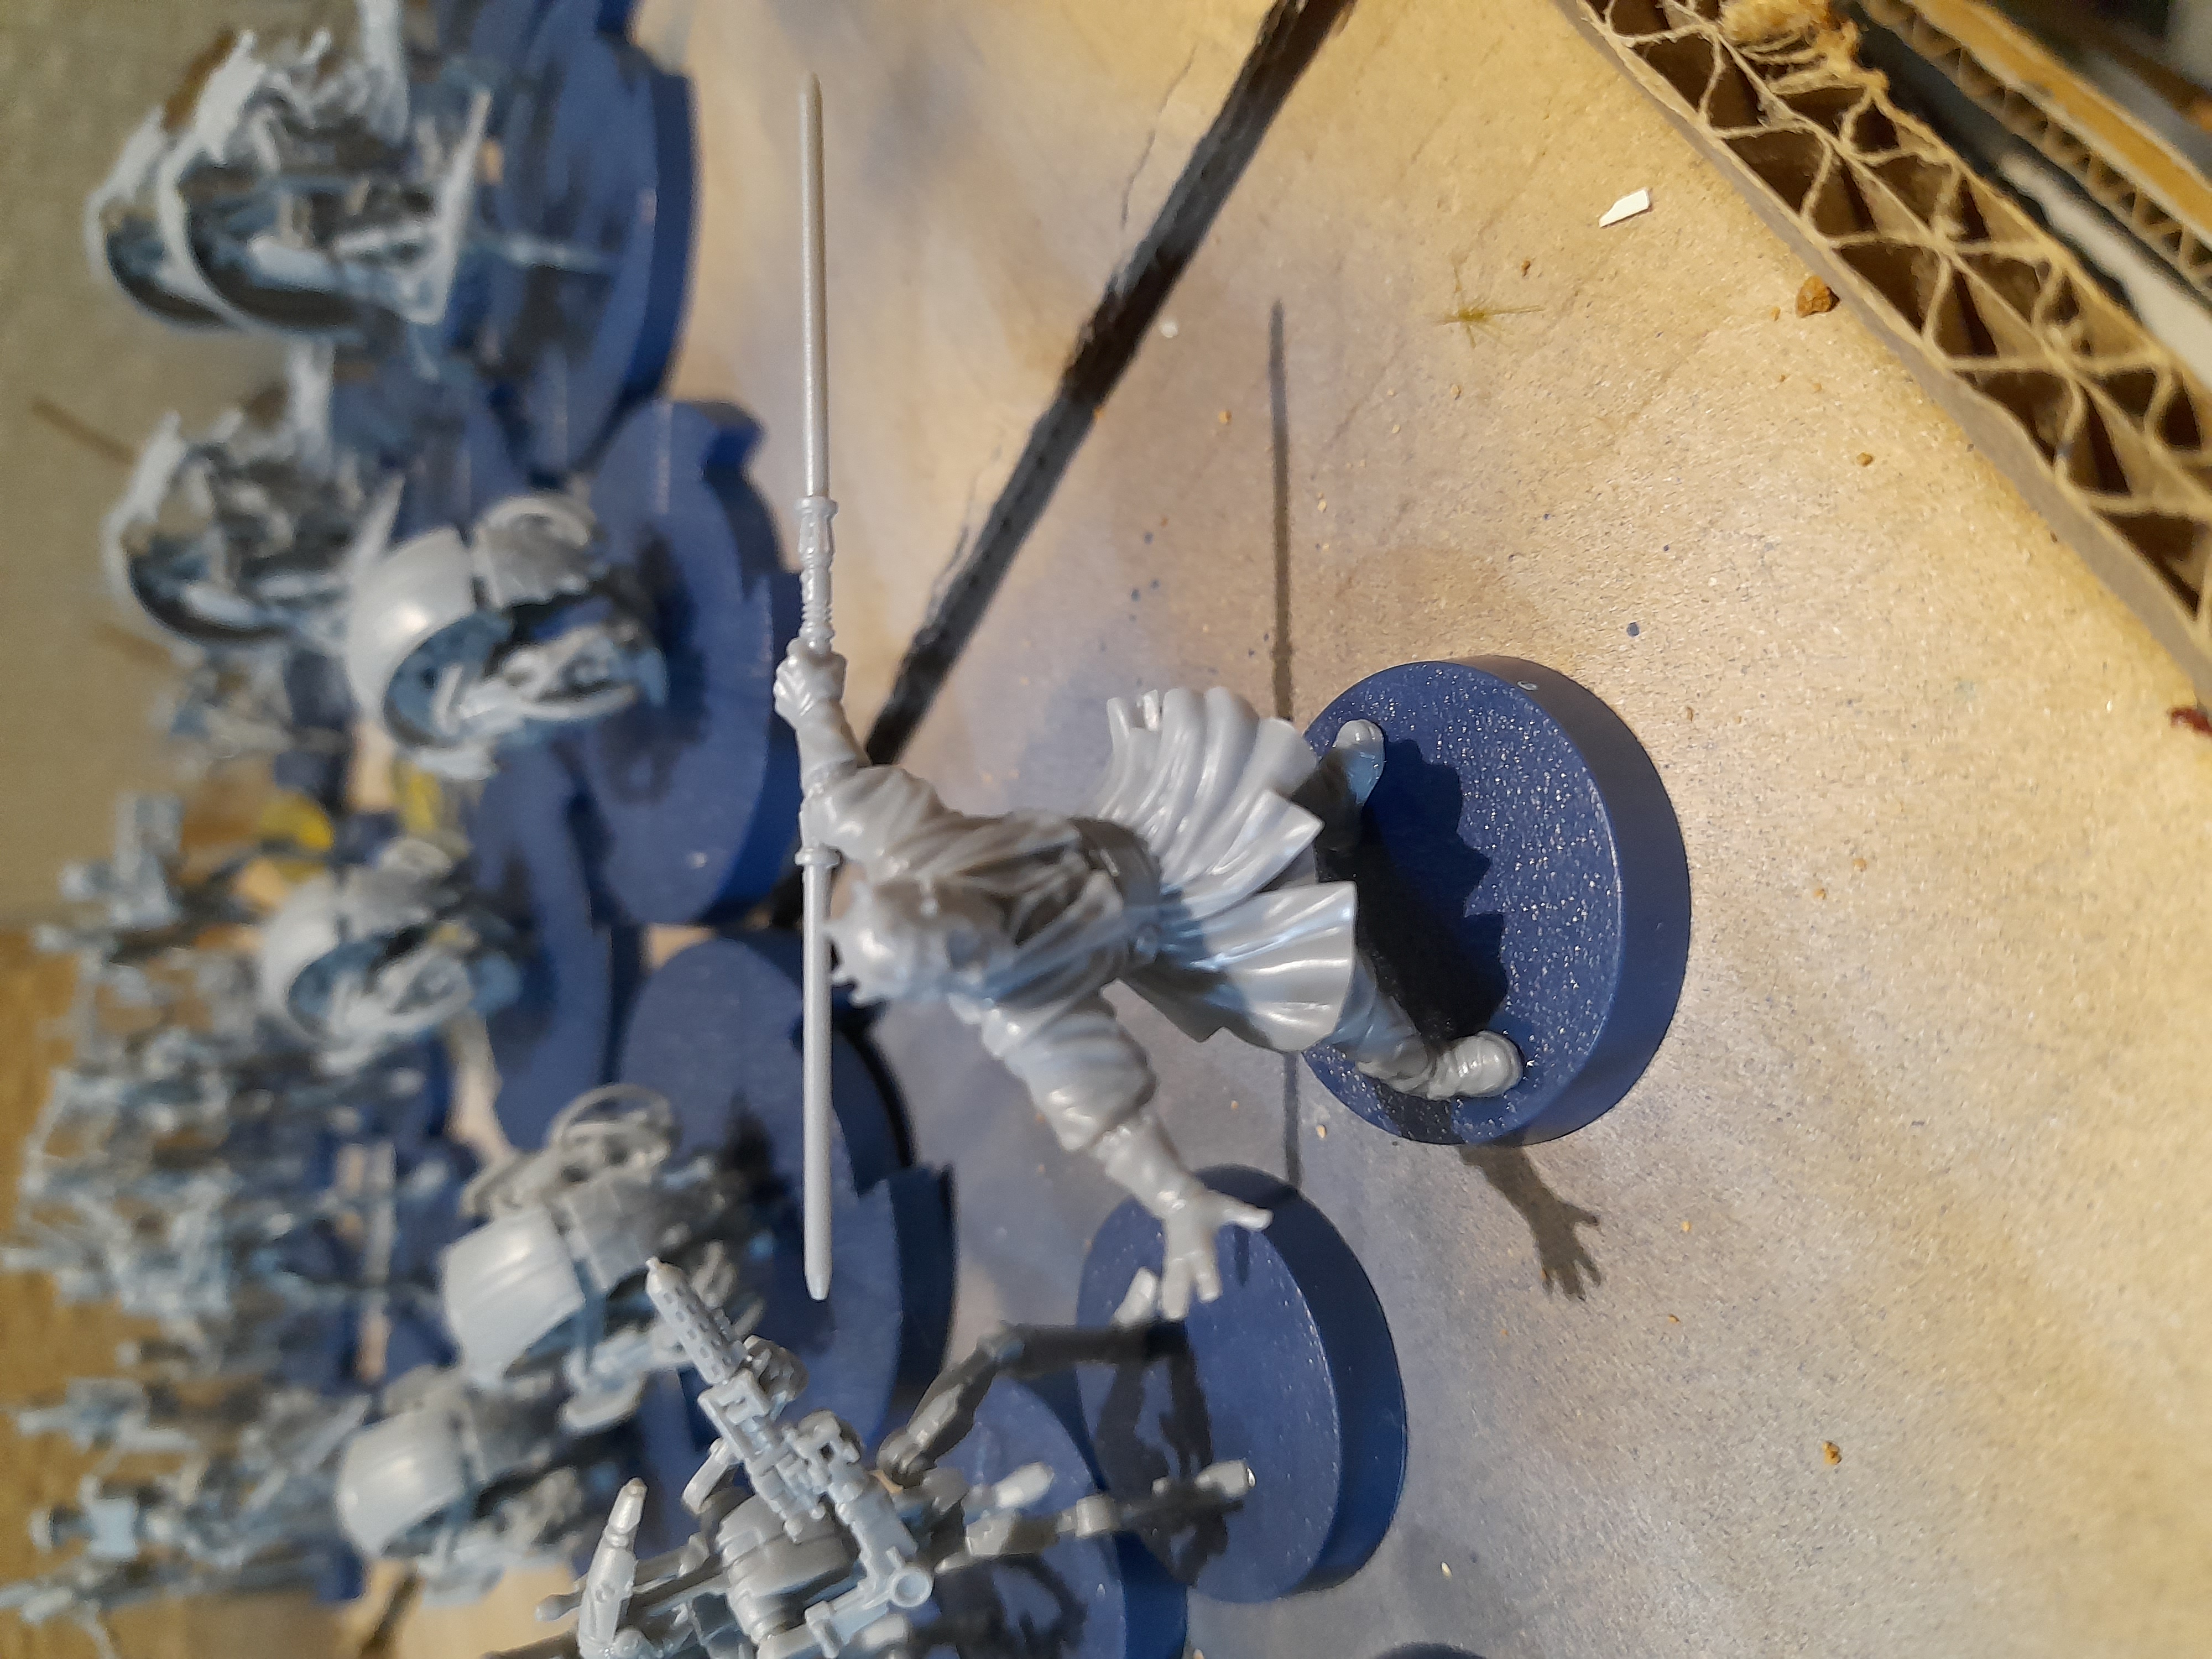
When I first saw the image on the back of the box I knew I had to do a certain thing with the Tactical droid. An image came to me immediately, a droid in white….
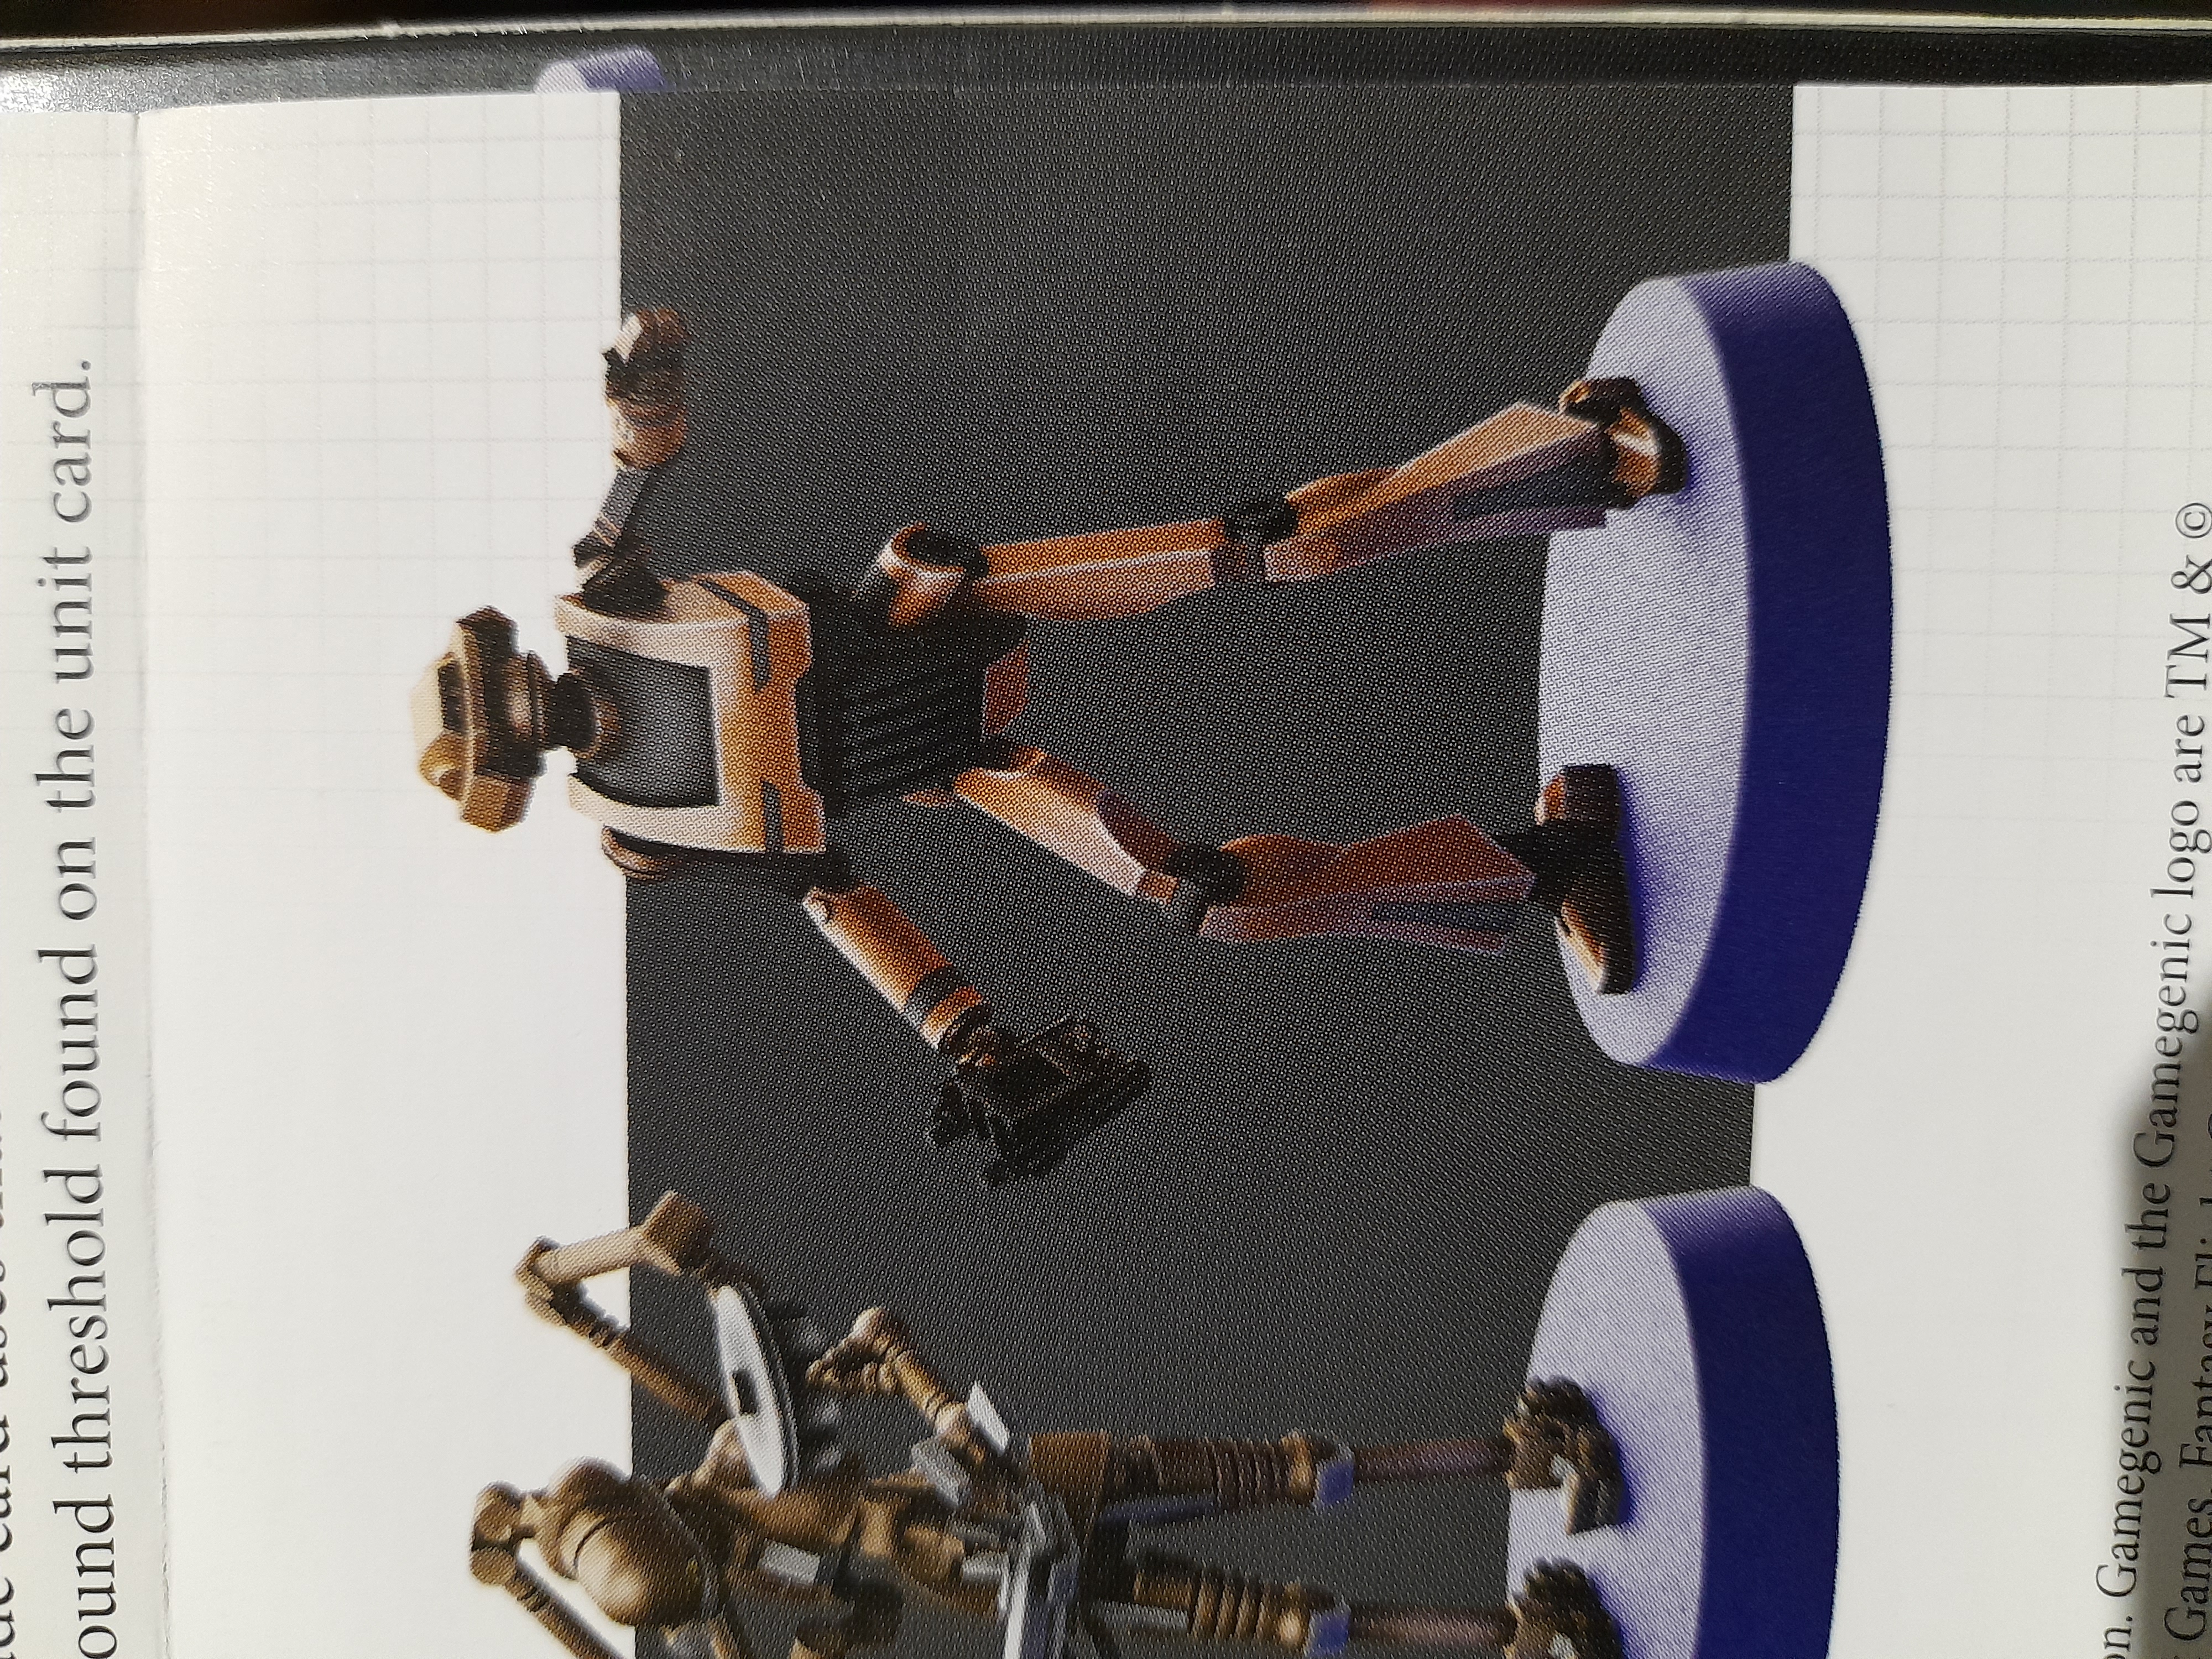
Checking through the pieces and test aligning things I realised that I probably could do it. So…. I did 😊
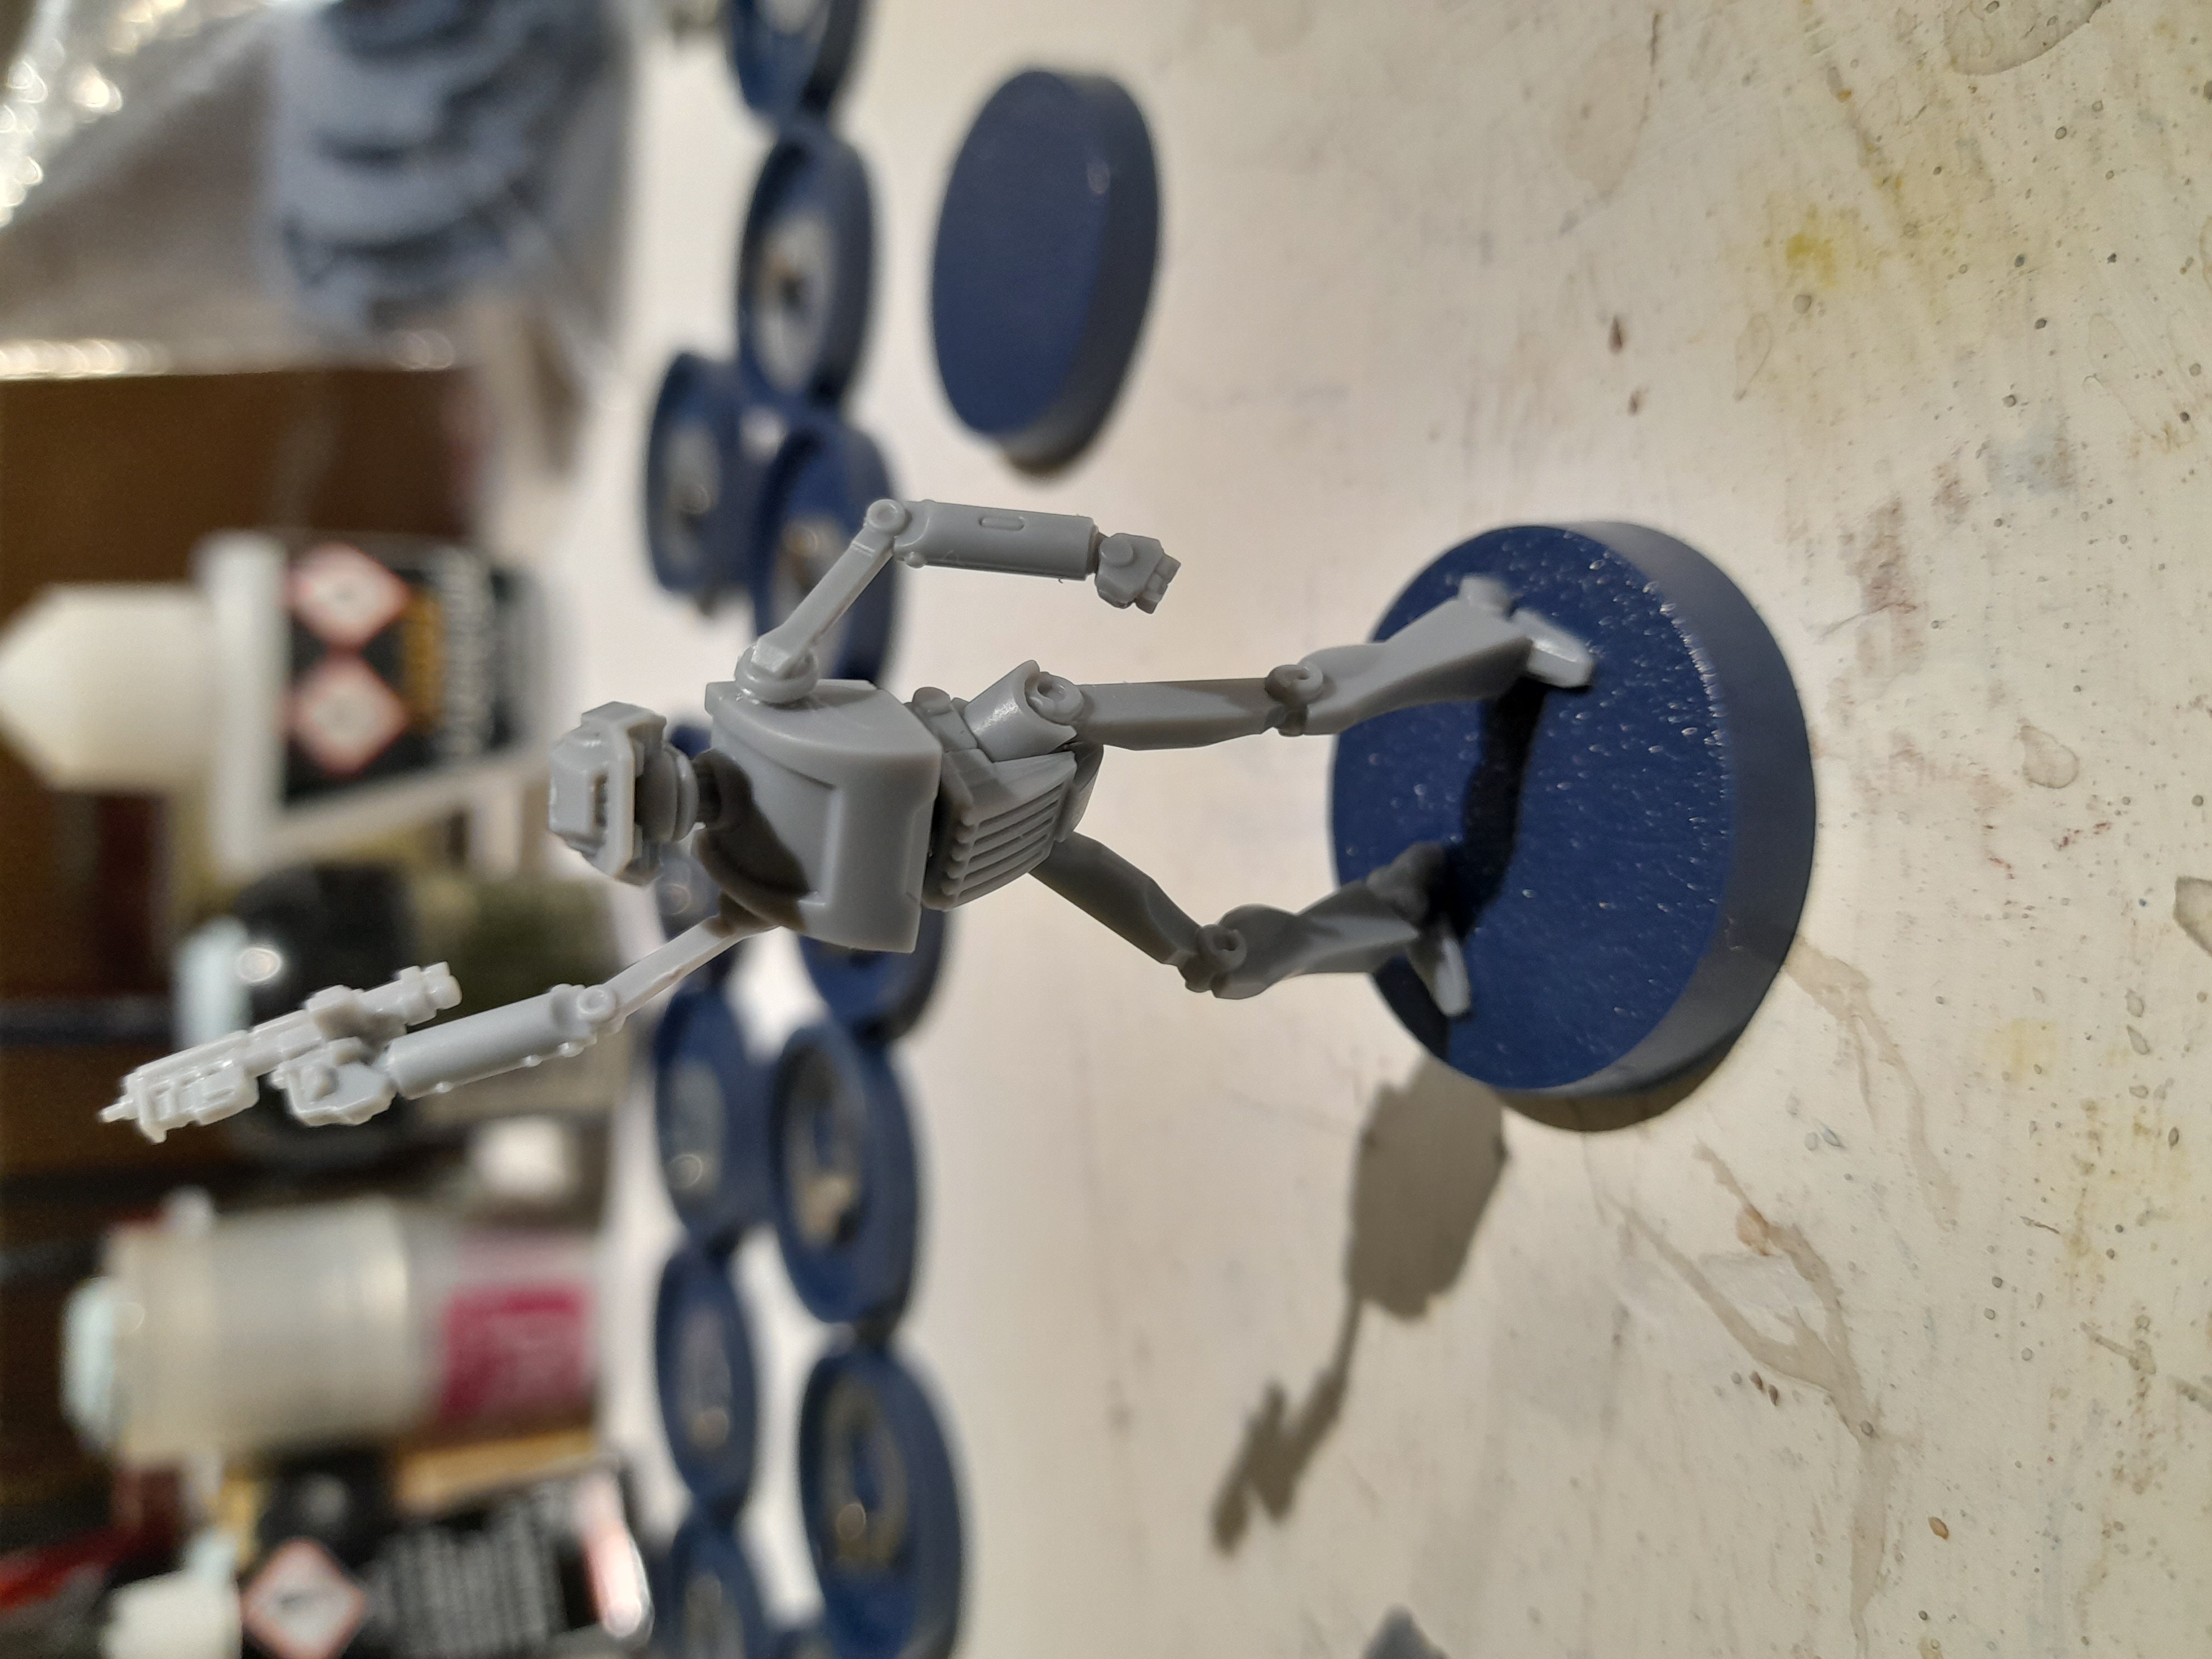

No one is going to kill this chap off…. He’ll be ‘Staying Alive’ throughout…… (oh dear 😊 )
Specialists built
Bit slower this past week, but I did complete a few builds.
Finished off the droid specialist box.
The medical droid was pretty fiddly, but the others were fine.
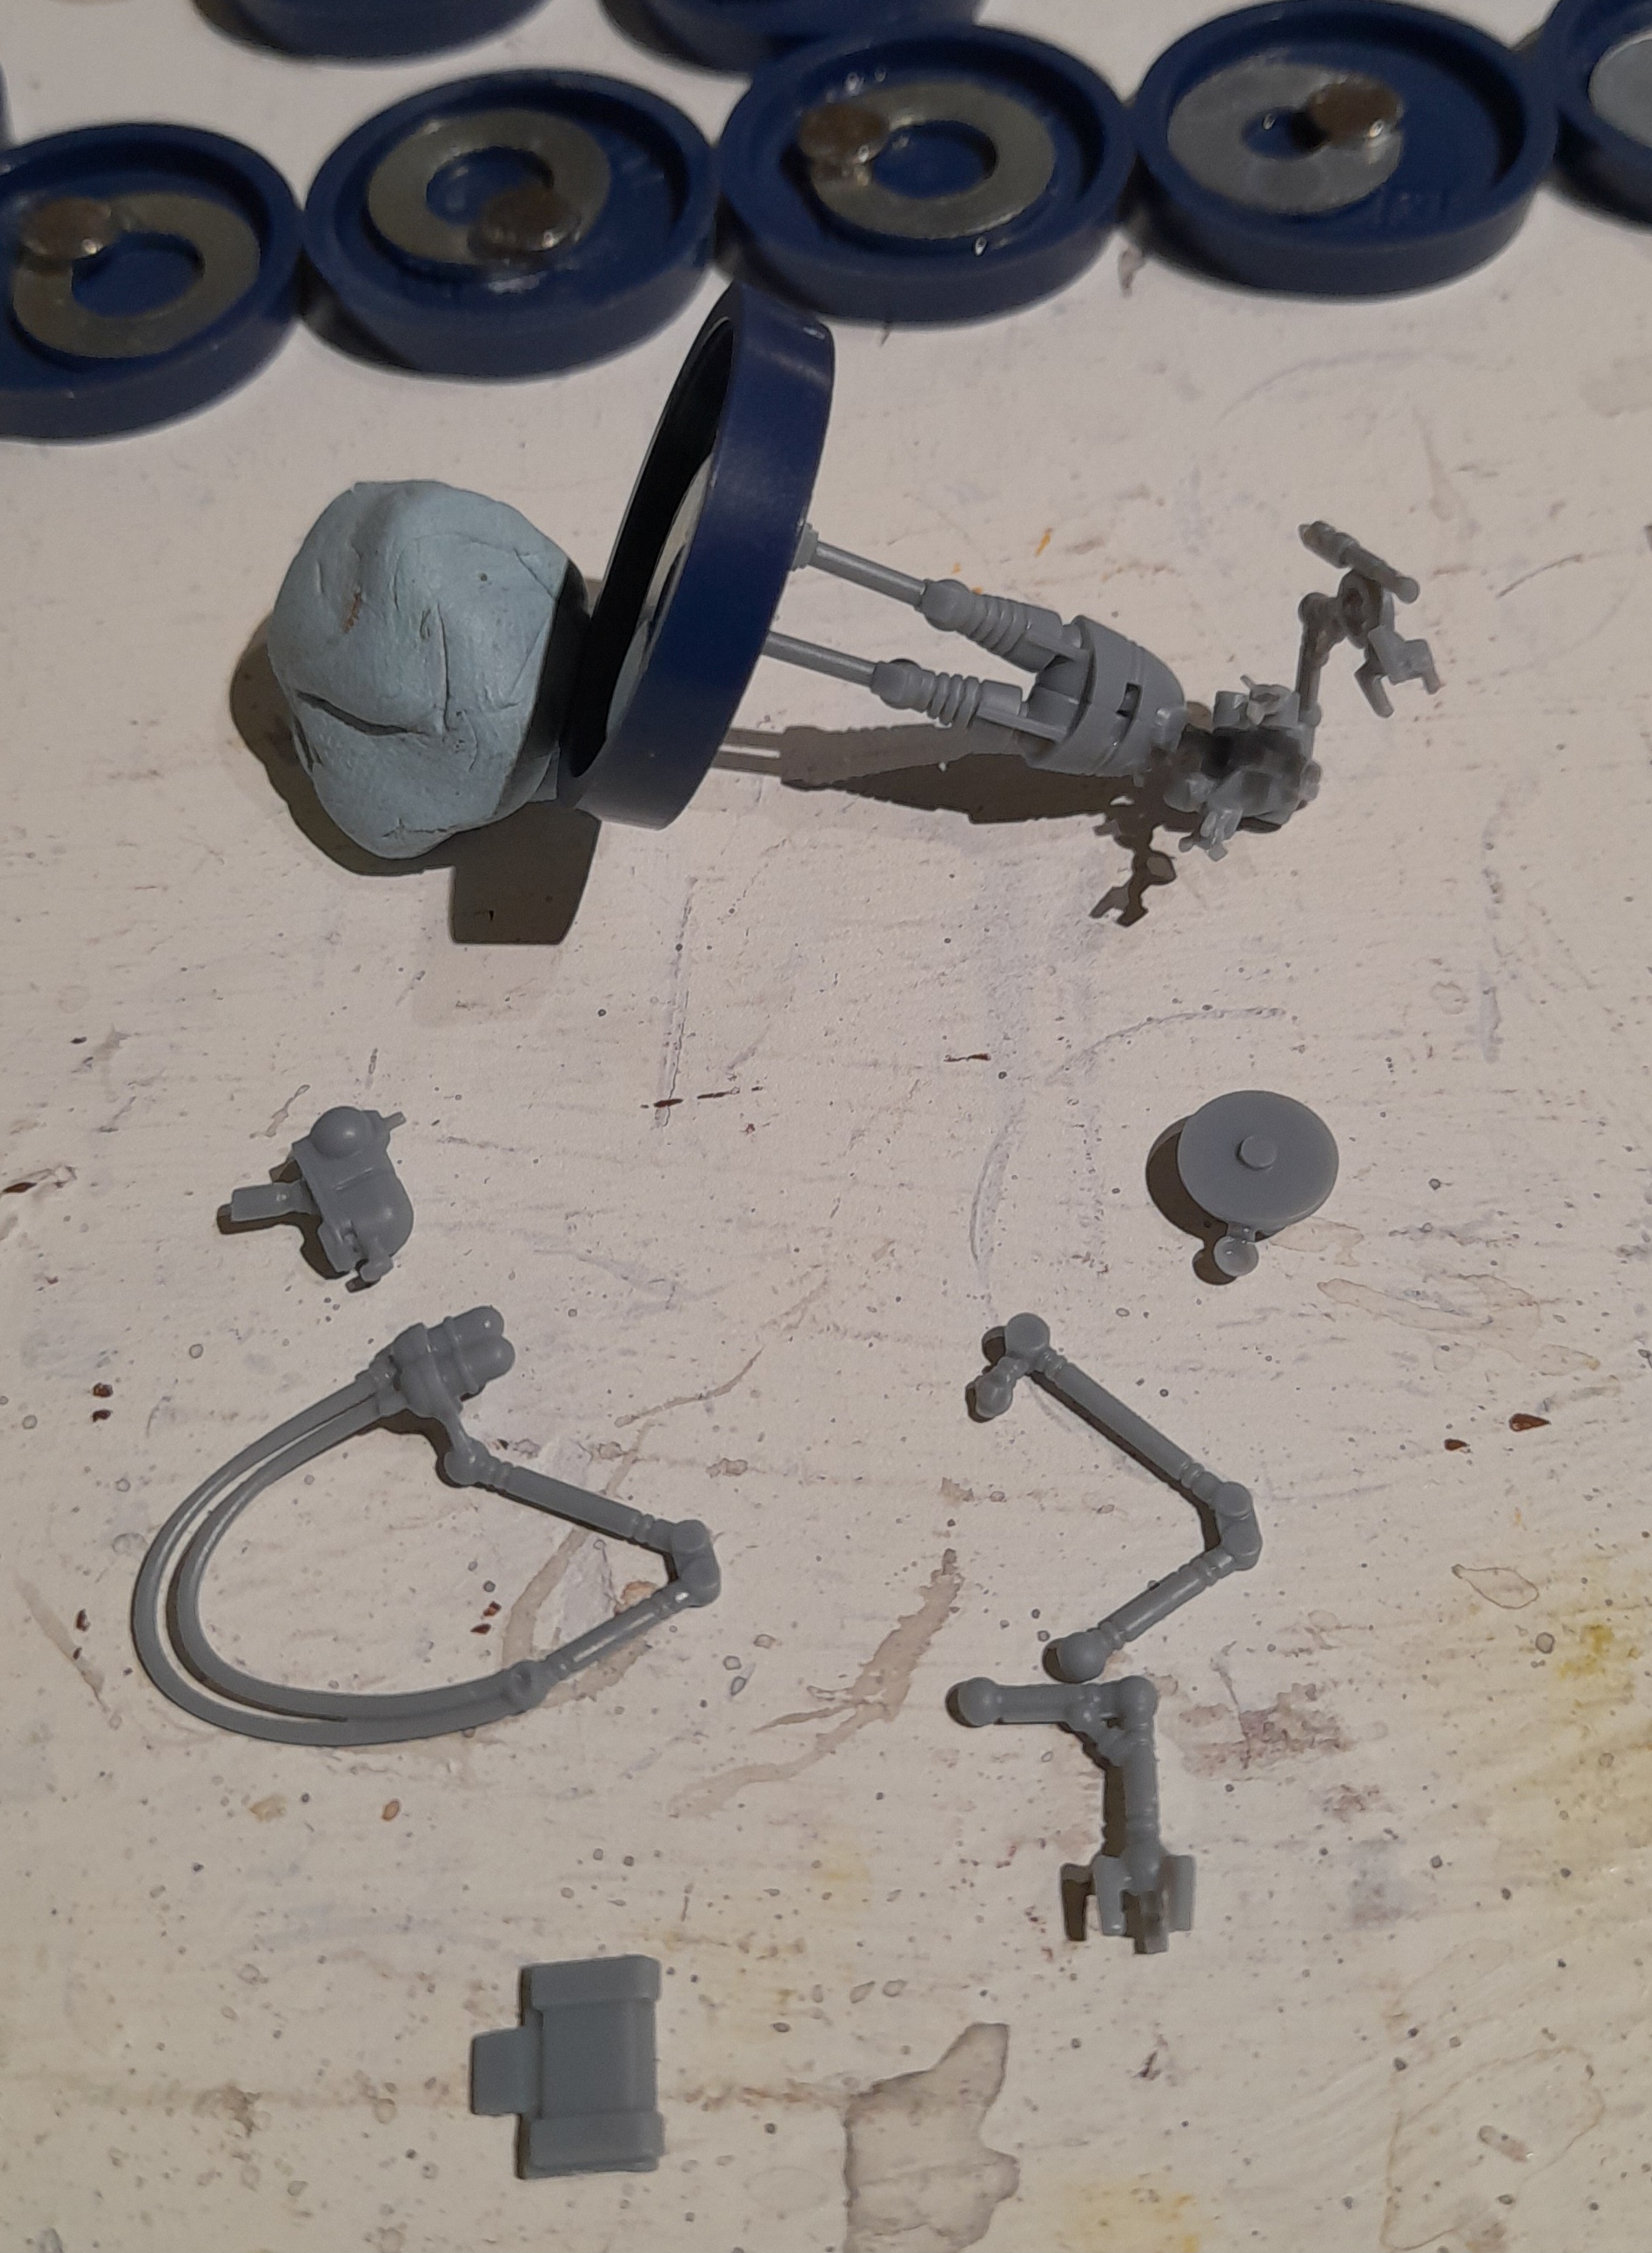 Fiddly back arms!
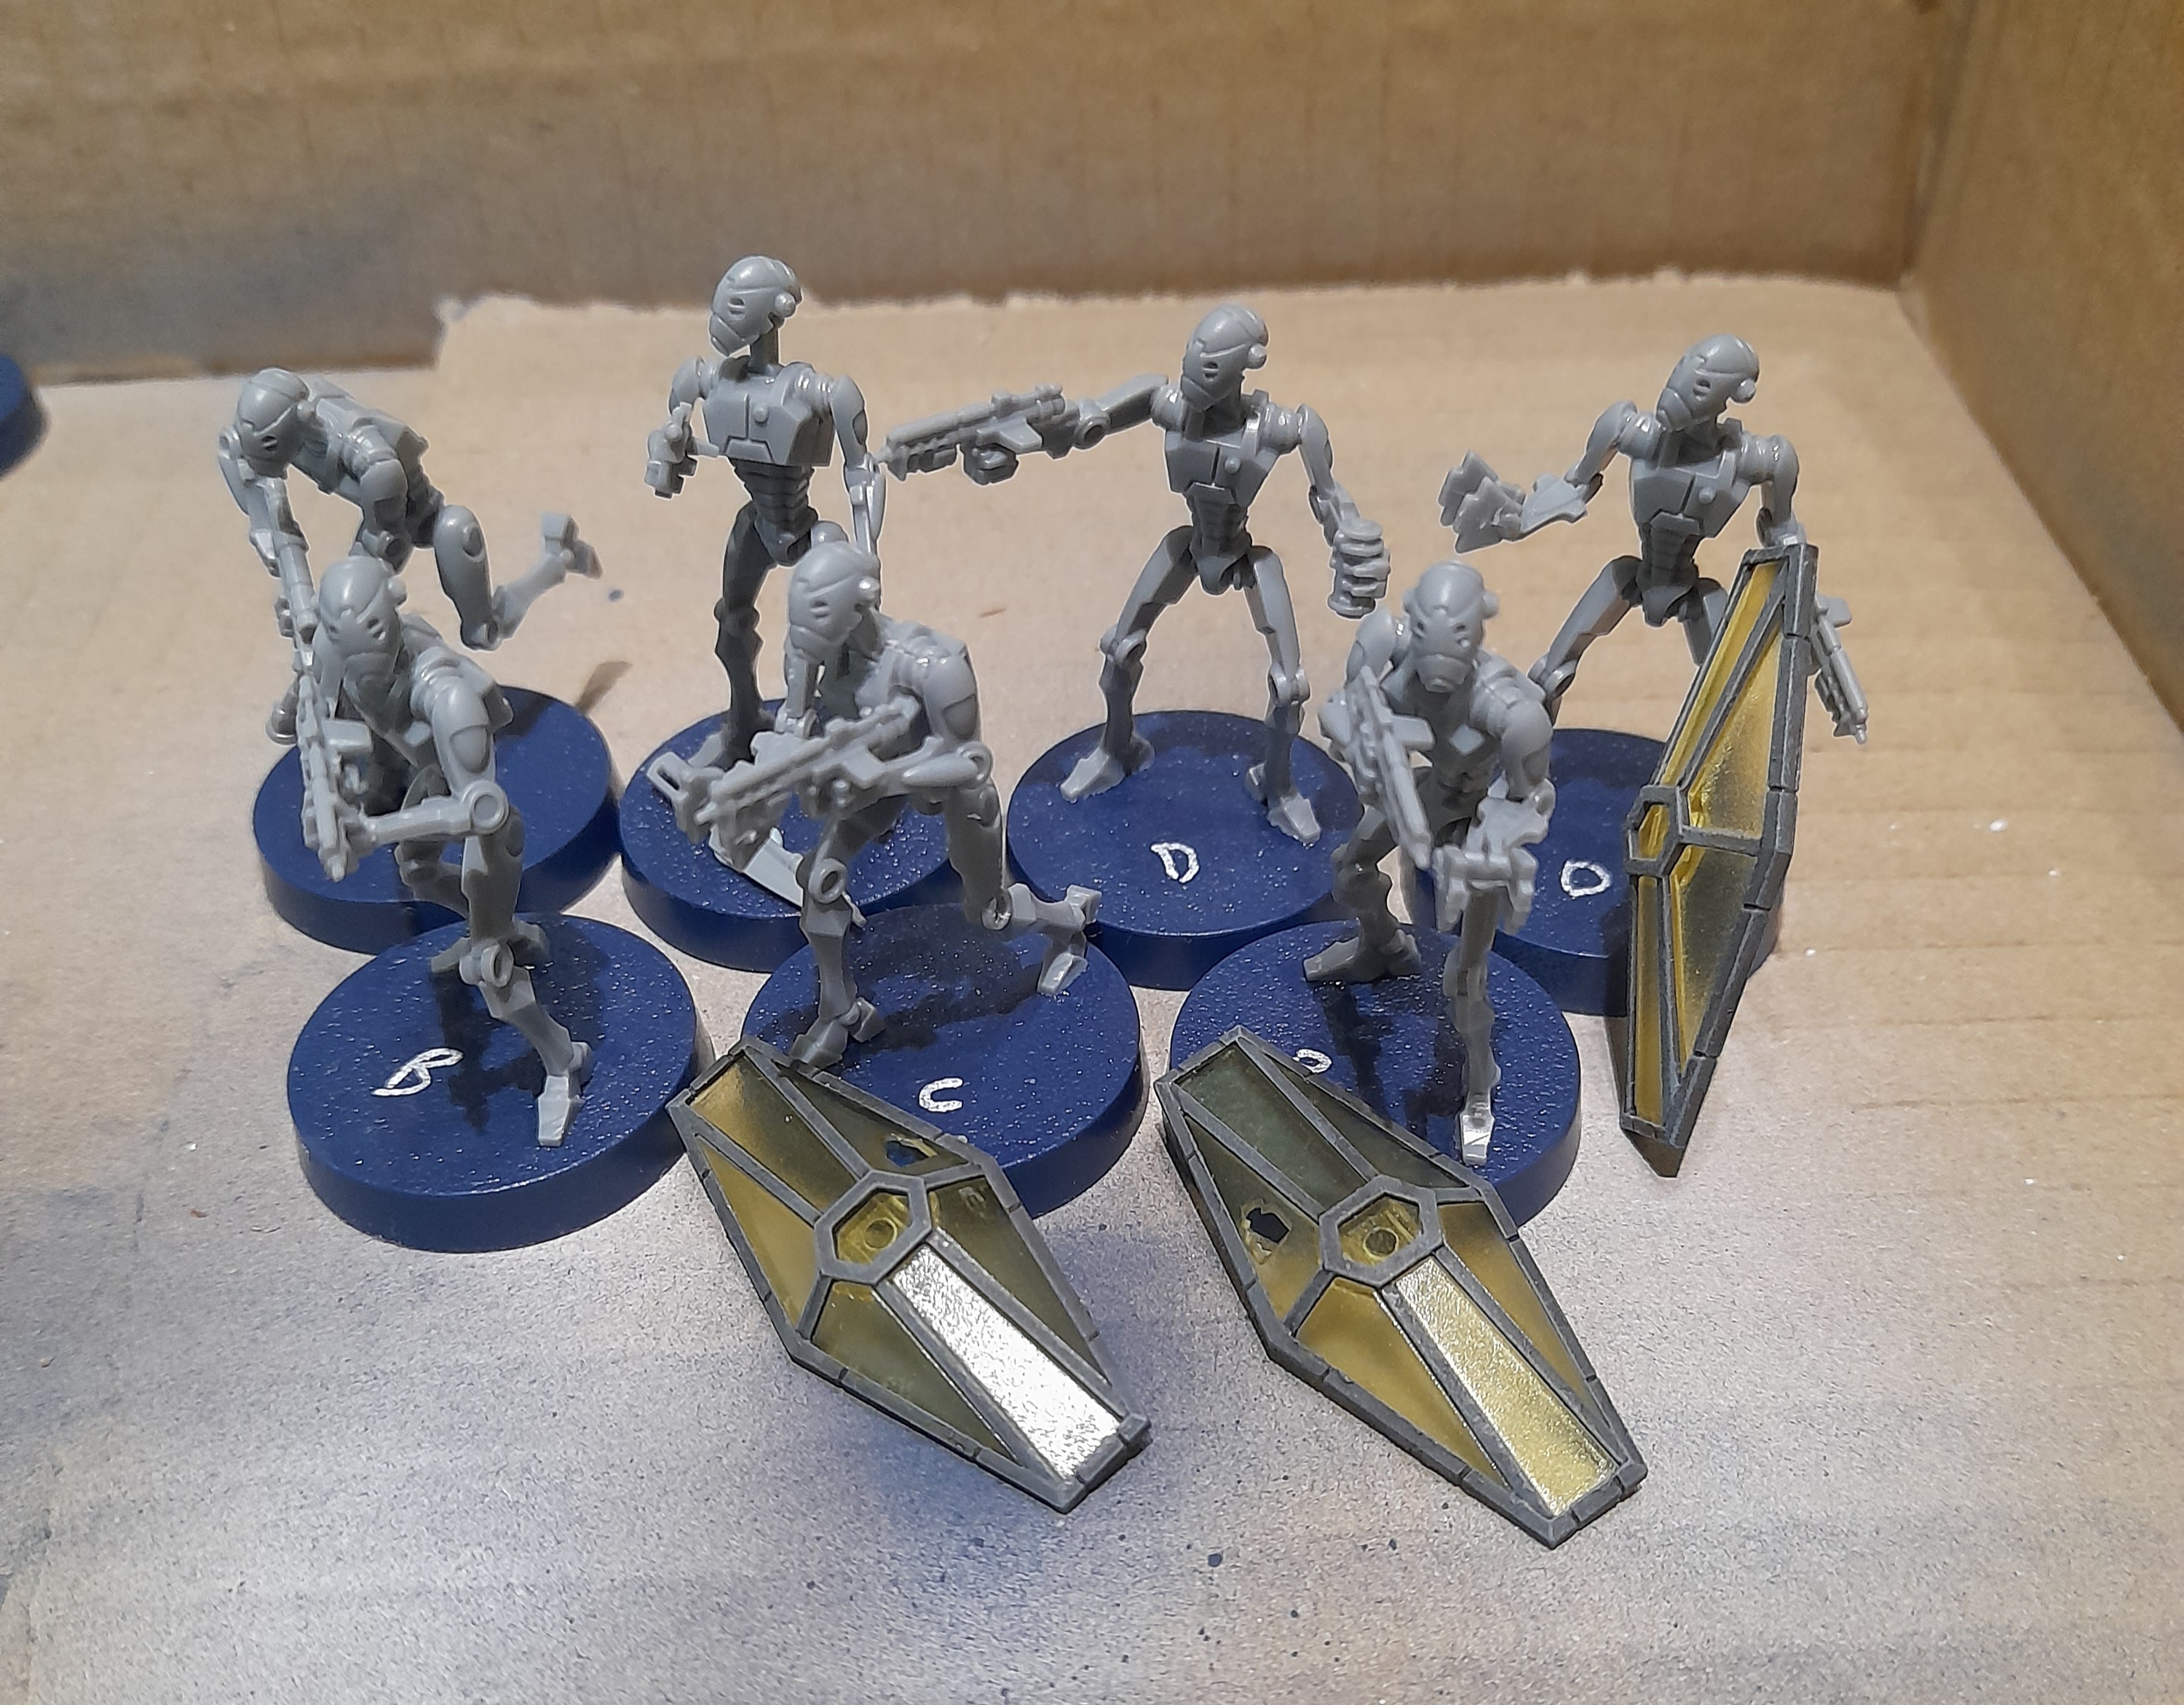
Droid Commandos
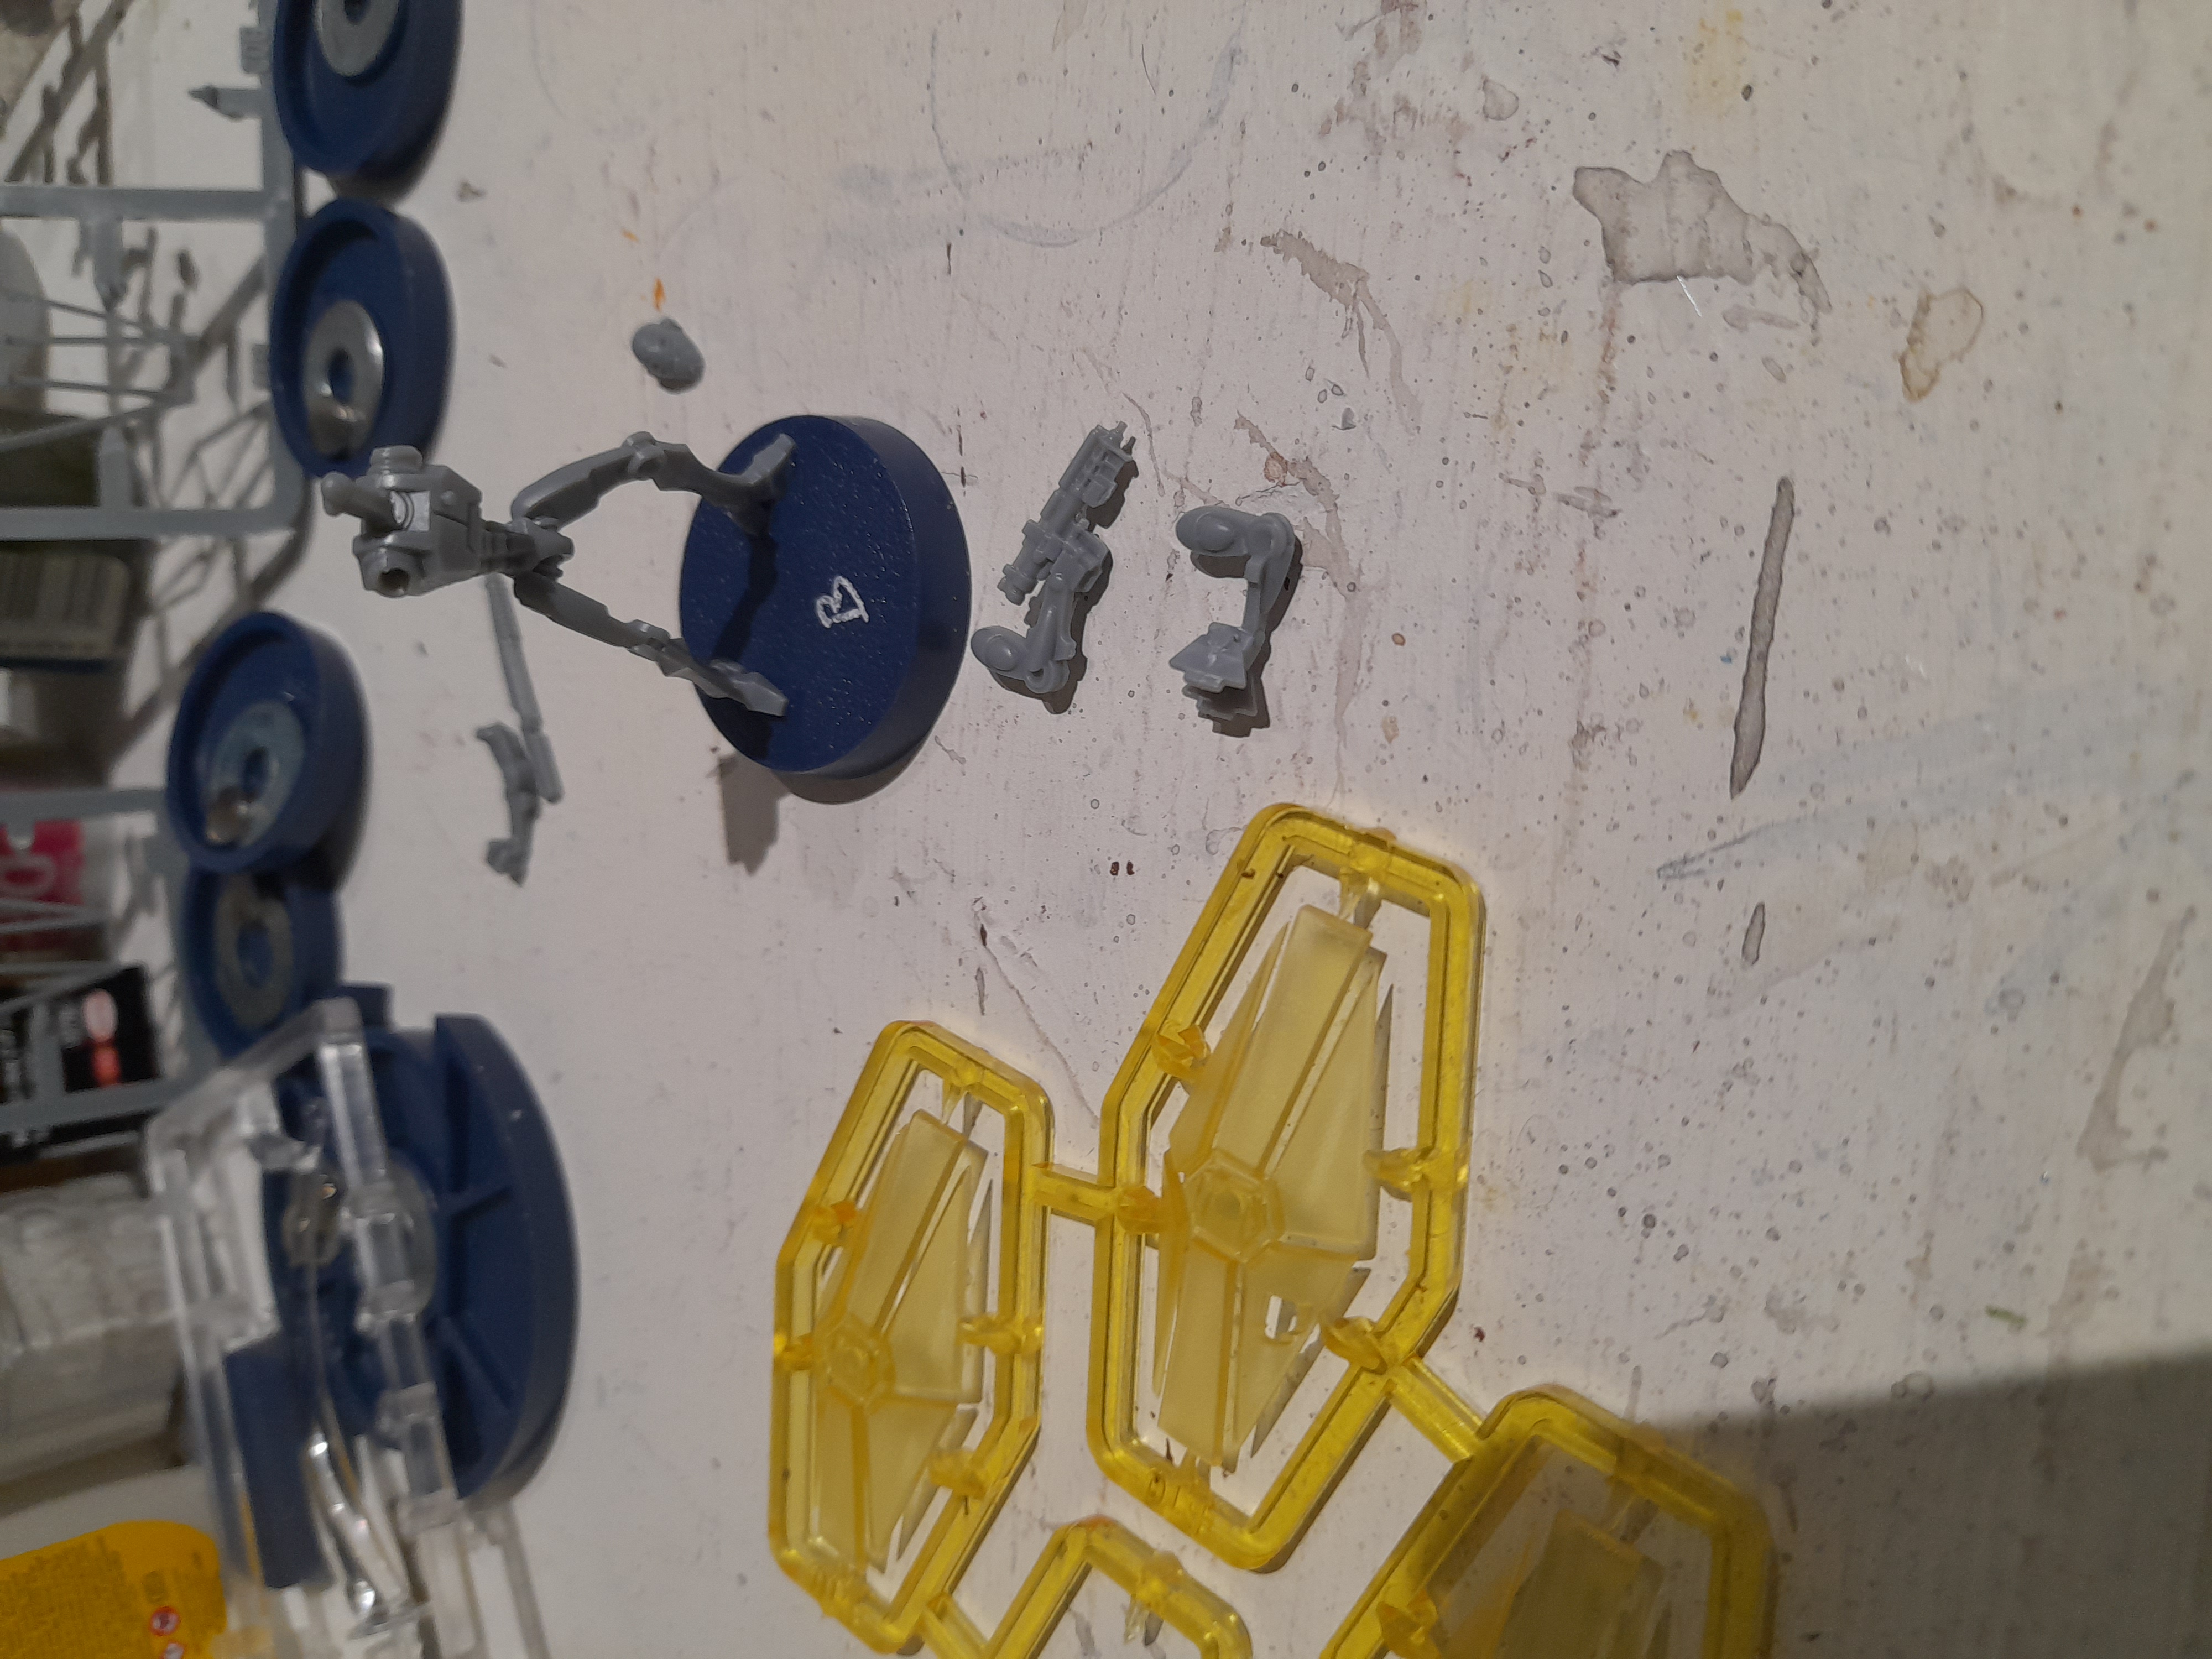
Then it was on to the droid commandos. I started with the sniper and leader models, as they didn’t have any extra options. In the box there are four energy shields, but two are repeat models. So for those I chose to build one with shield and one without.
I decided to paint the shield frame first, then glue the clear yellow plastic shield in place. After that it was a case of blu tac and some test fitting, before fumbling around and gluing the arms in place. I didn’t glue the shield to the arm, so that I could paint the commando without worrying about masking off the shield.


STAP Riders
25th January 2024
These actually went together really well. After snipping the parts off and laying them out I did a test fit – and it all held together without glue 😊
 Dry fit
So, glued them up and went on to the riders. The basics of these were easy enough, but it just needed some careful aligning for the arm to handlebar connections. I glued the feet to the STAP and glued both arms all at the same time, to allow me some wiggle room for alignment – another time when I could have done with more dexterity 😊 But they look ok when built.
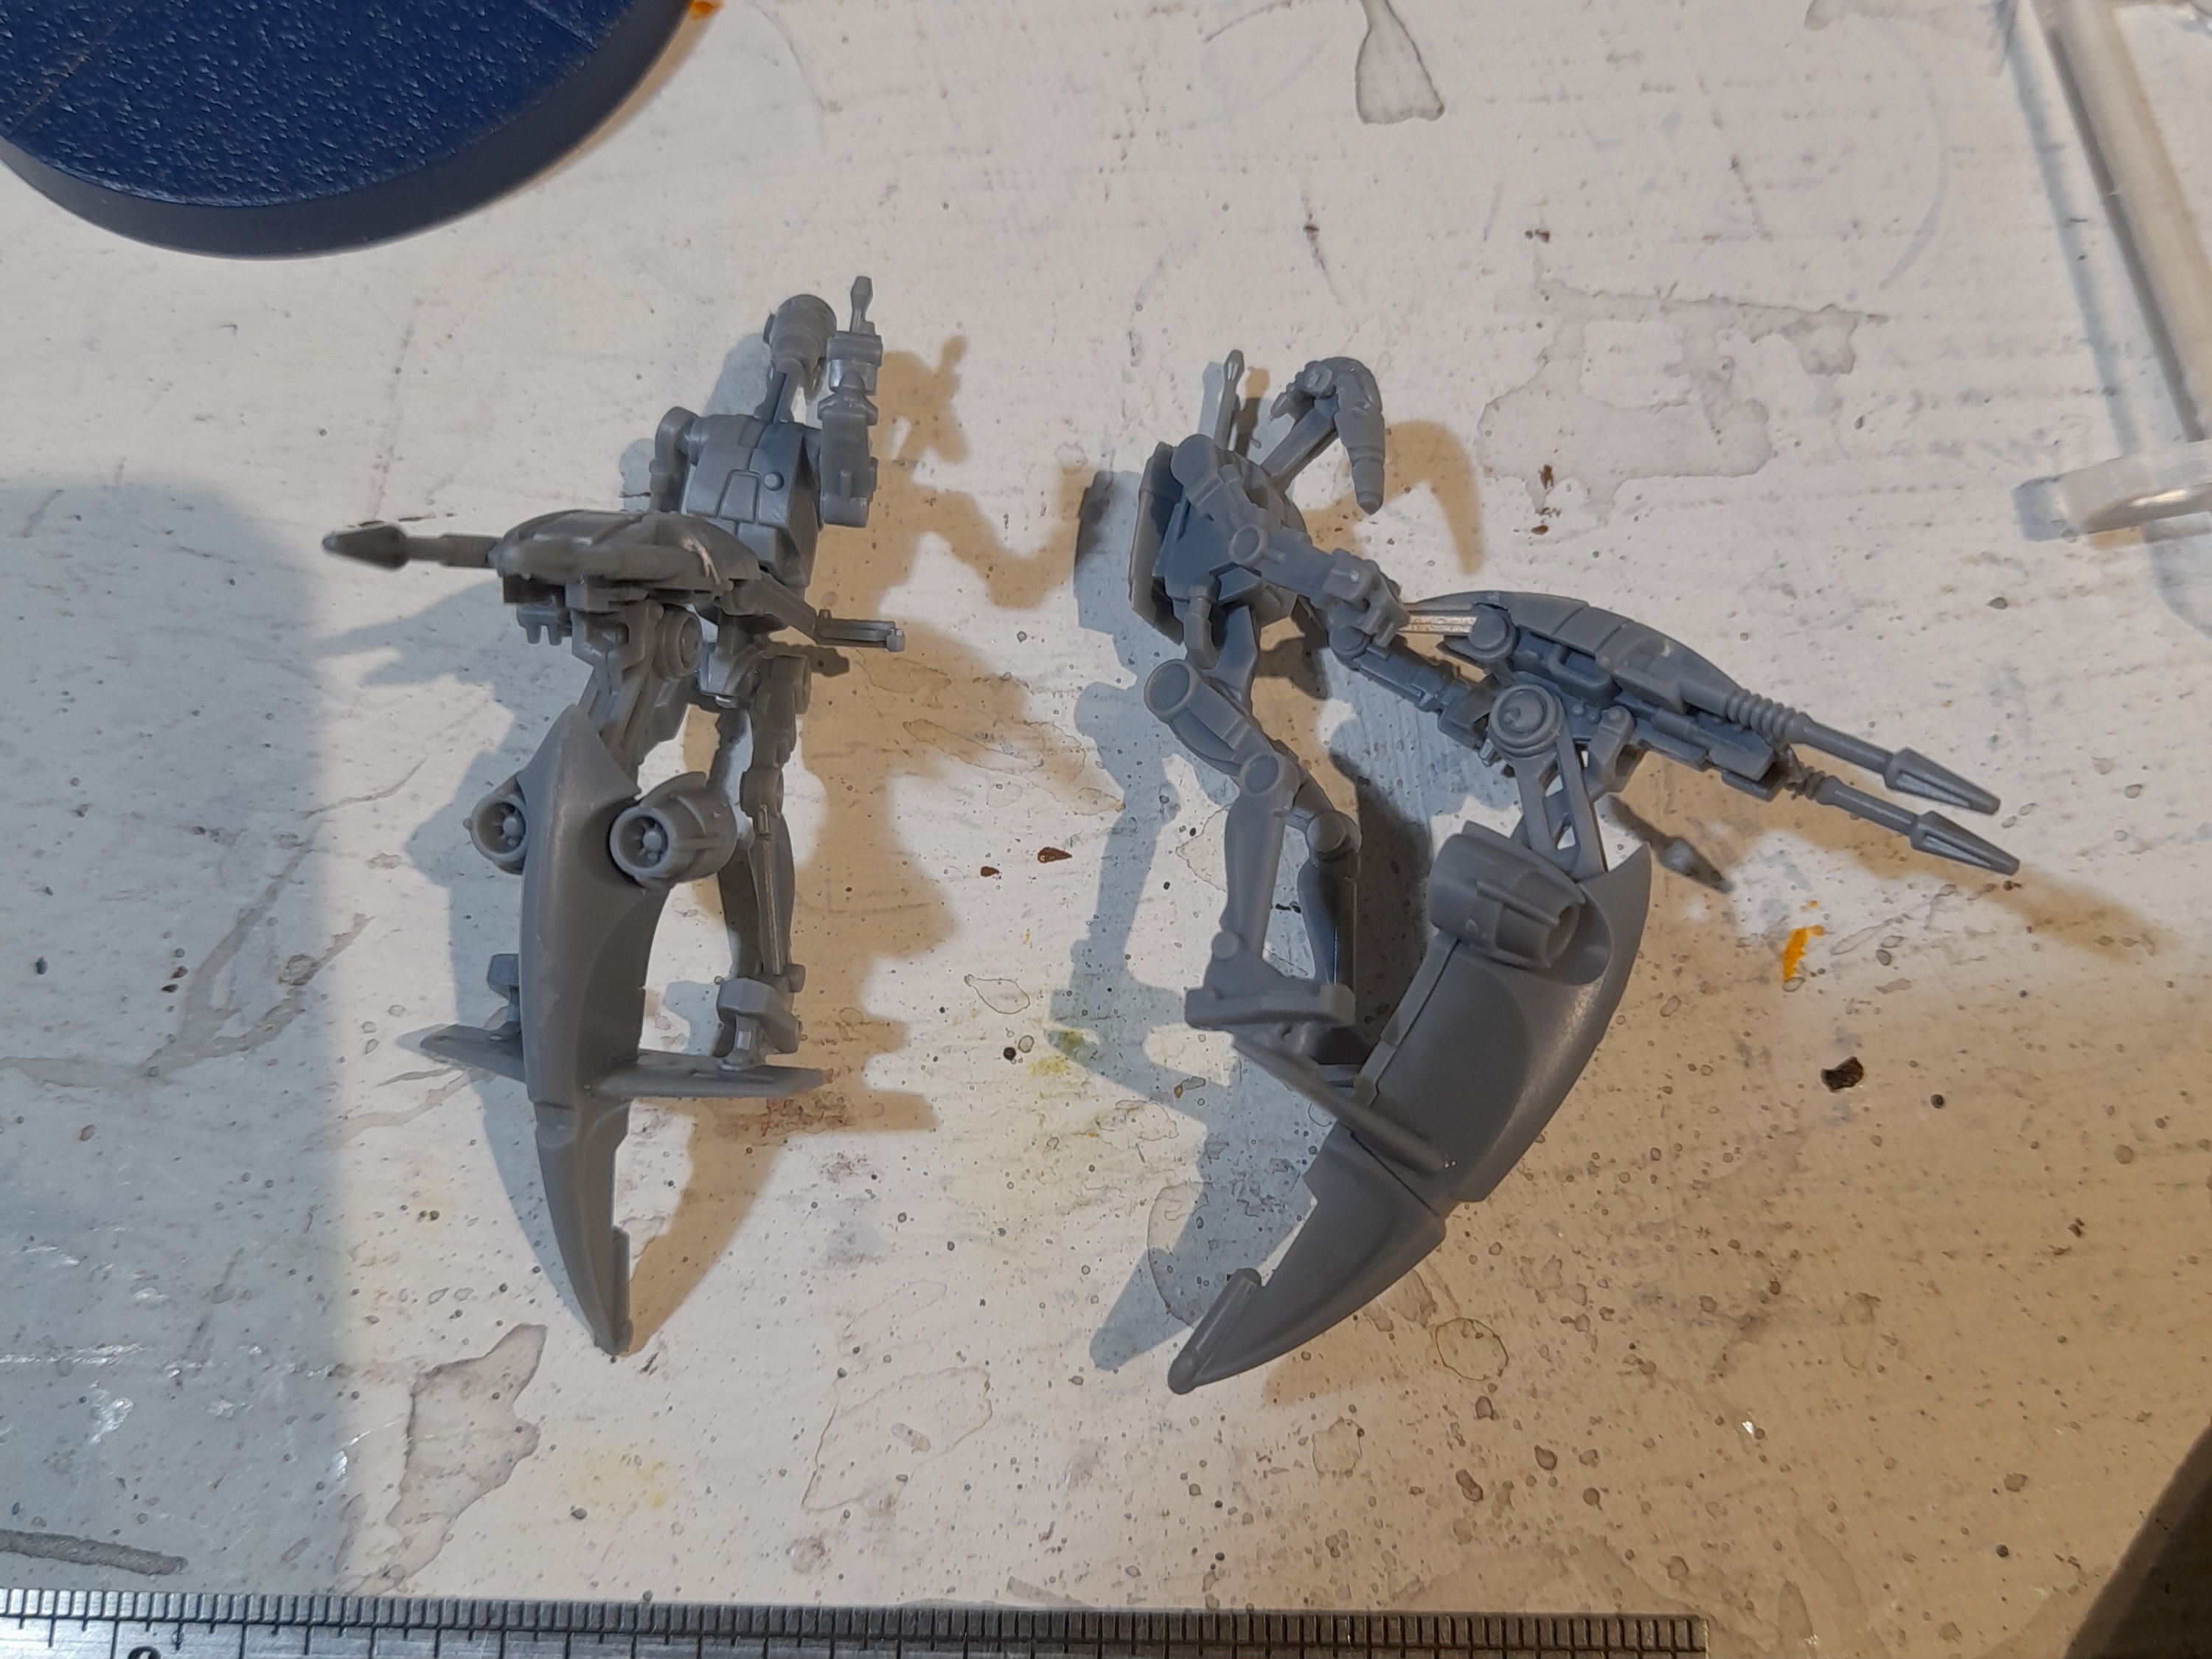
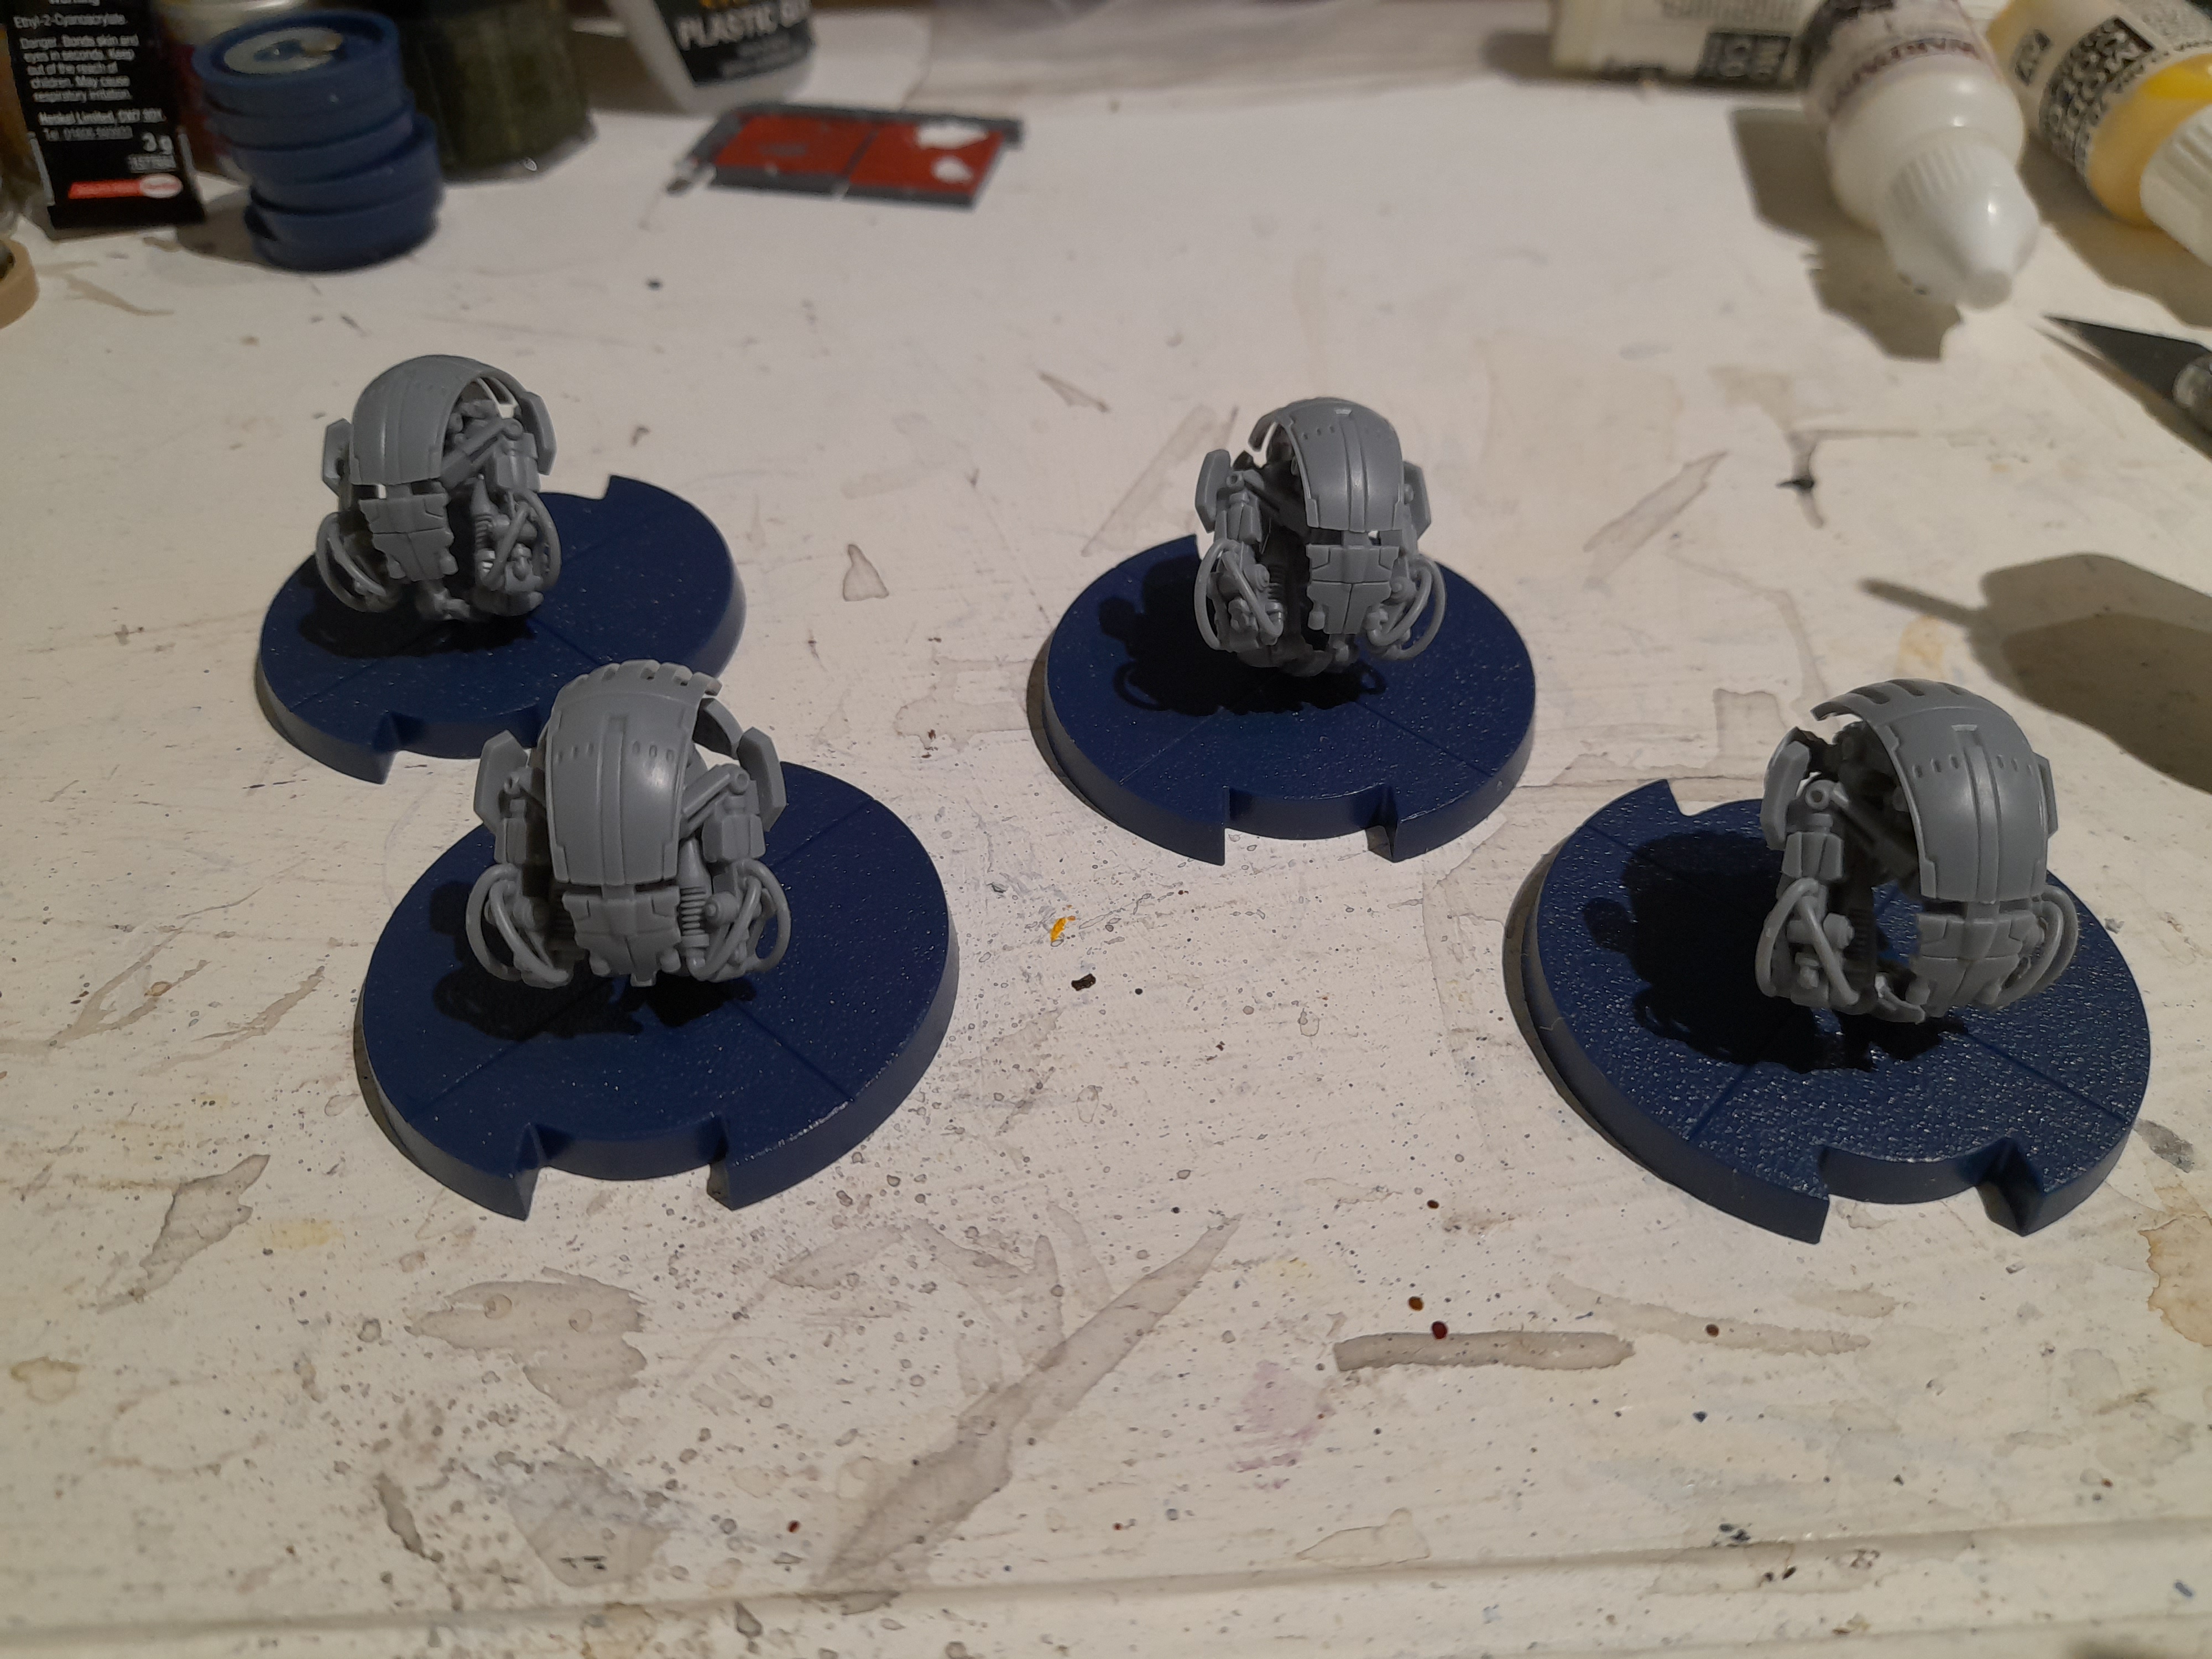
Attack Mode Droidekas
29th January 2024
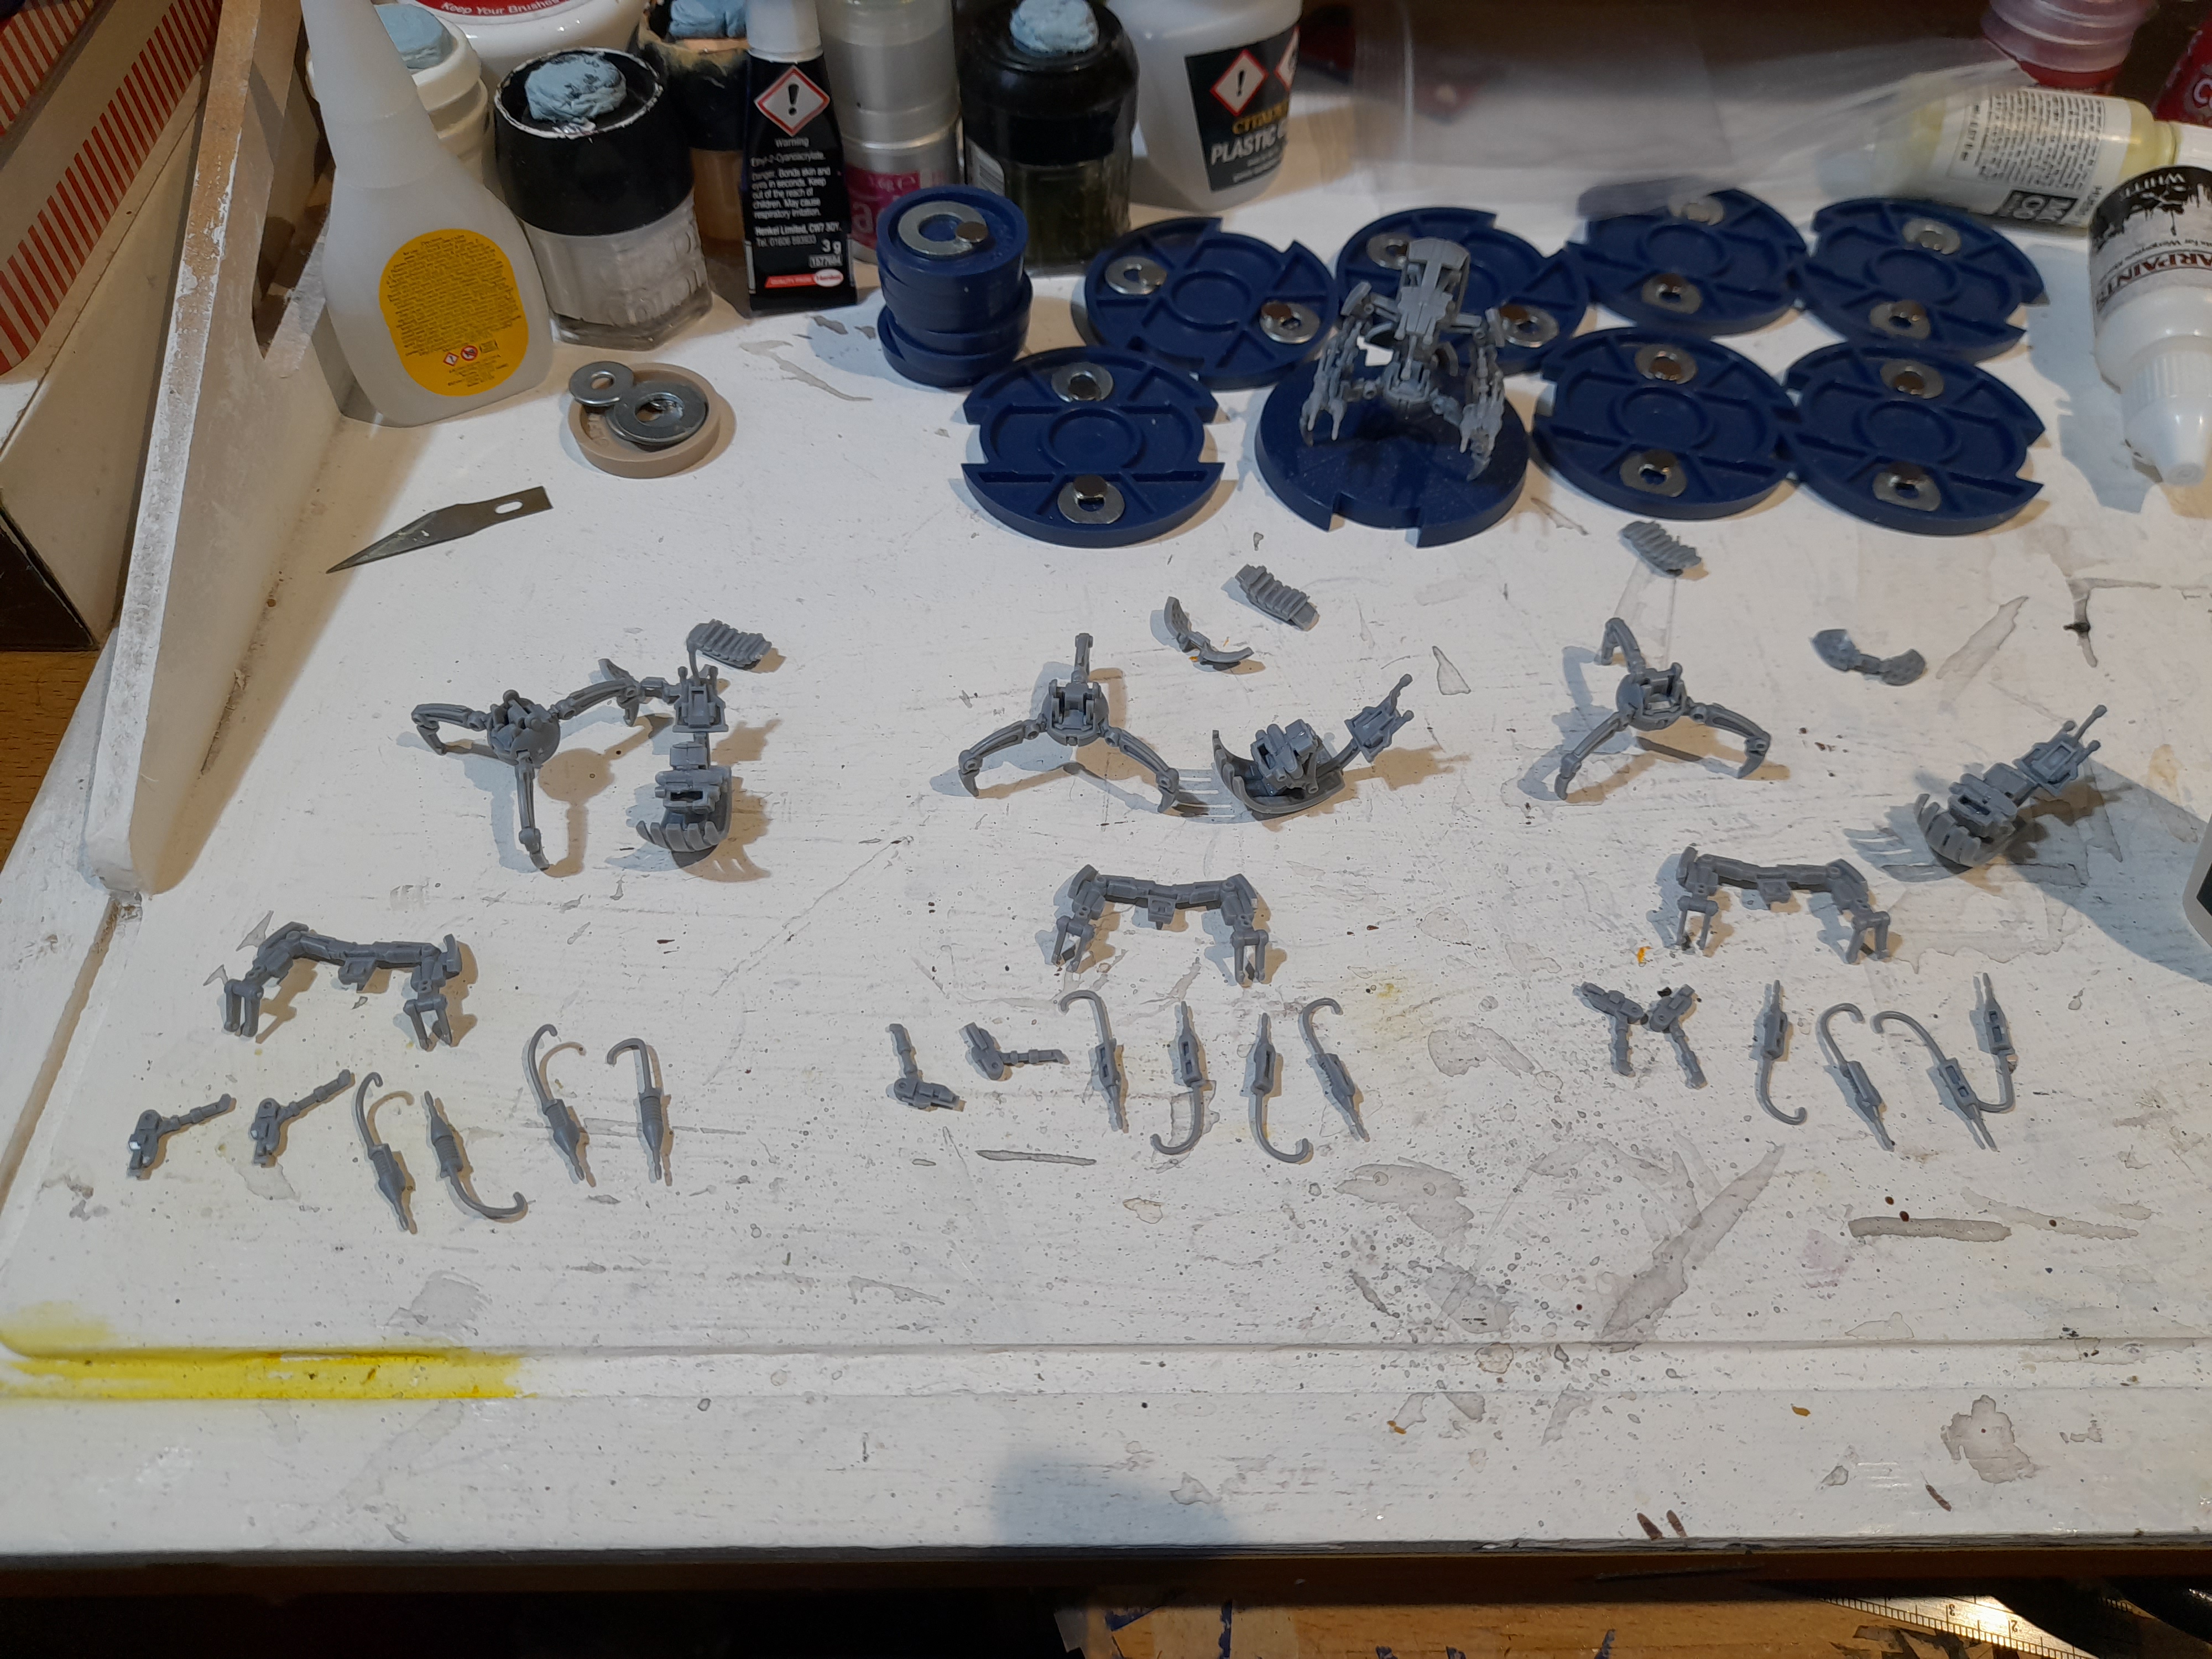
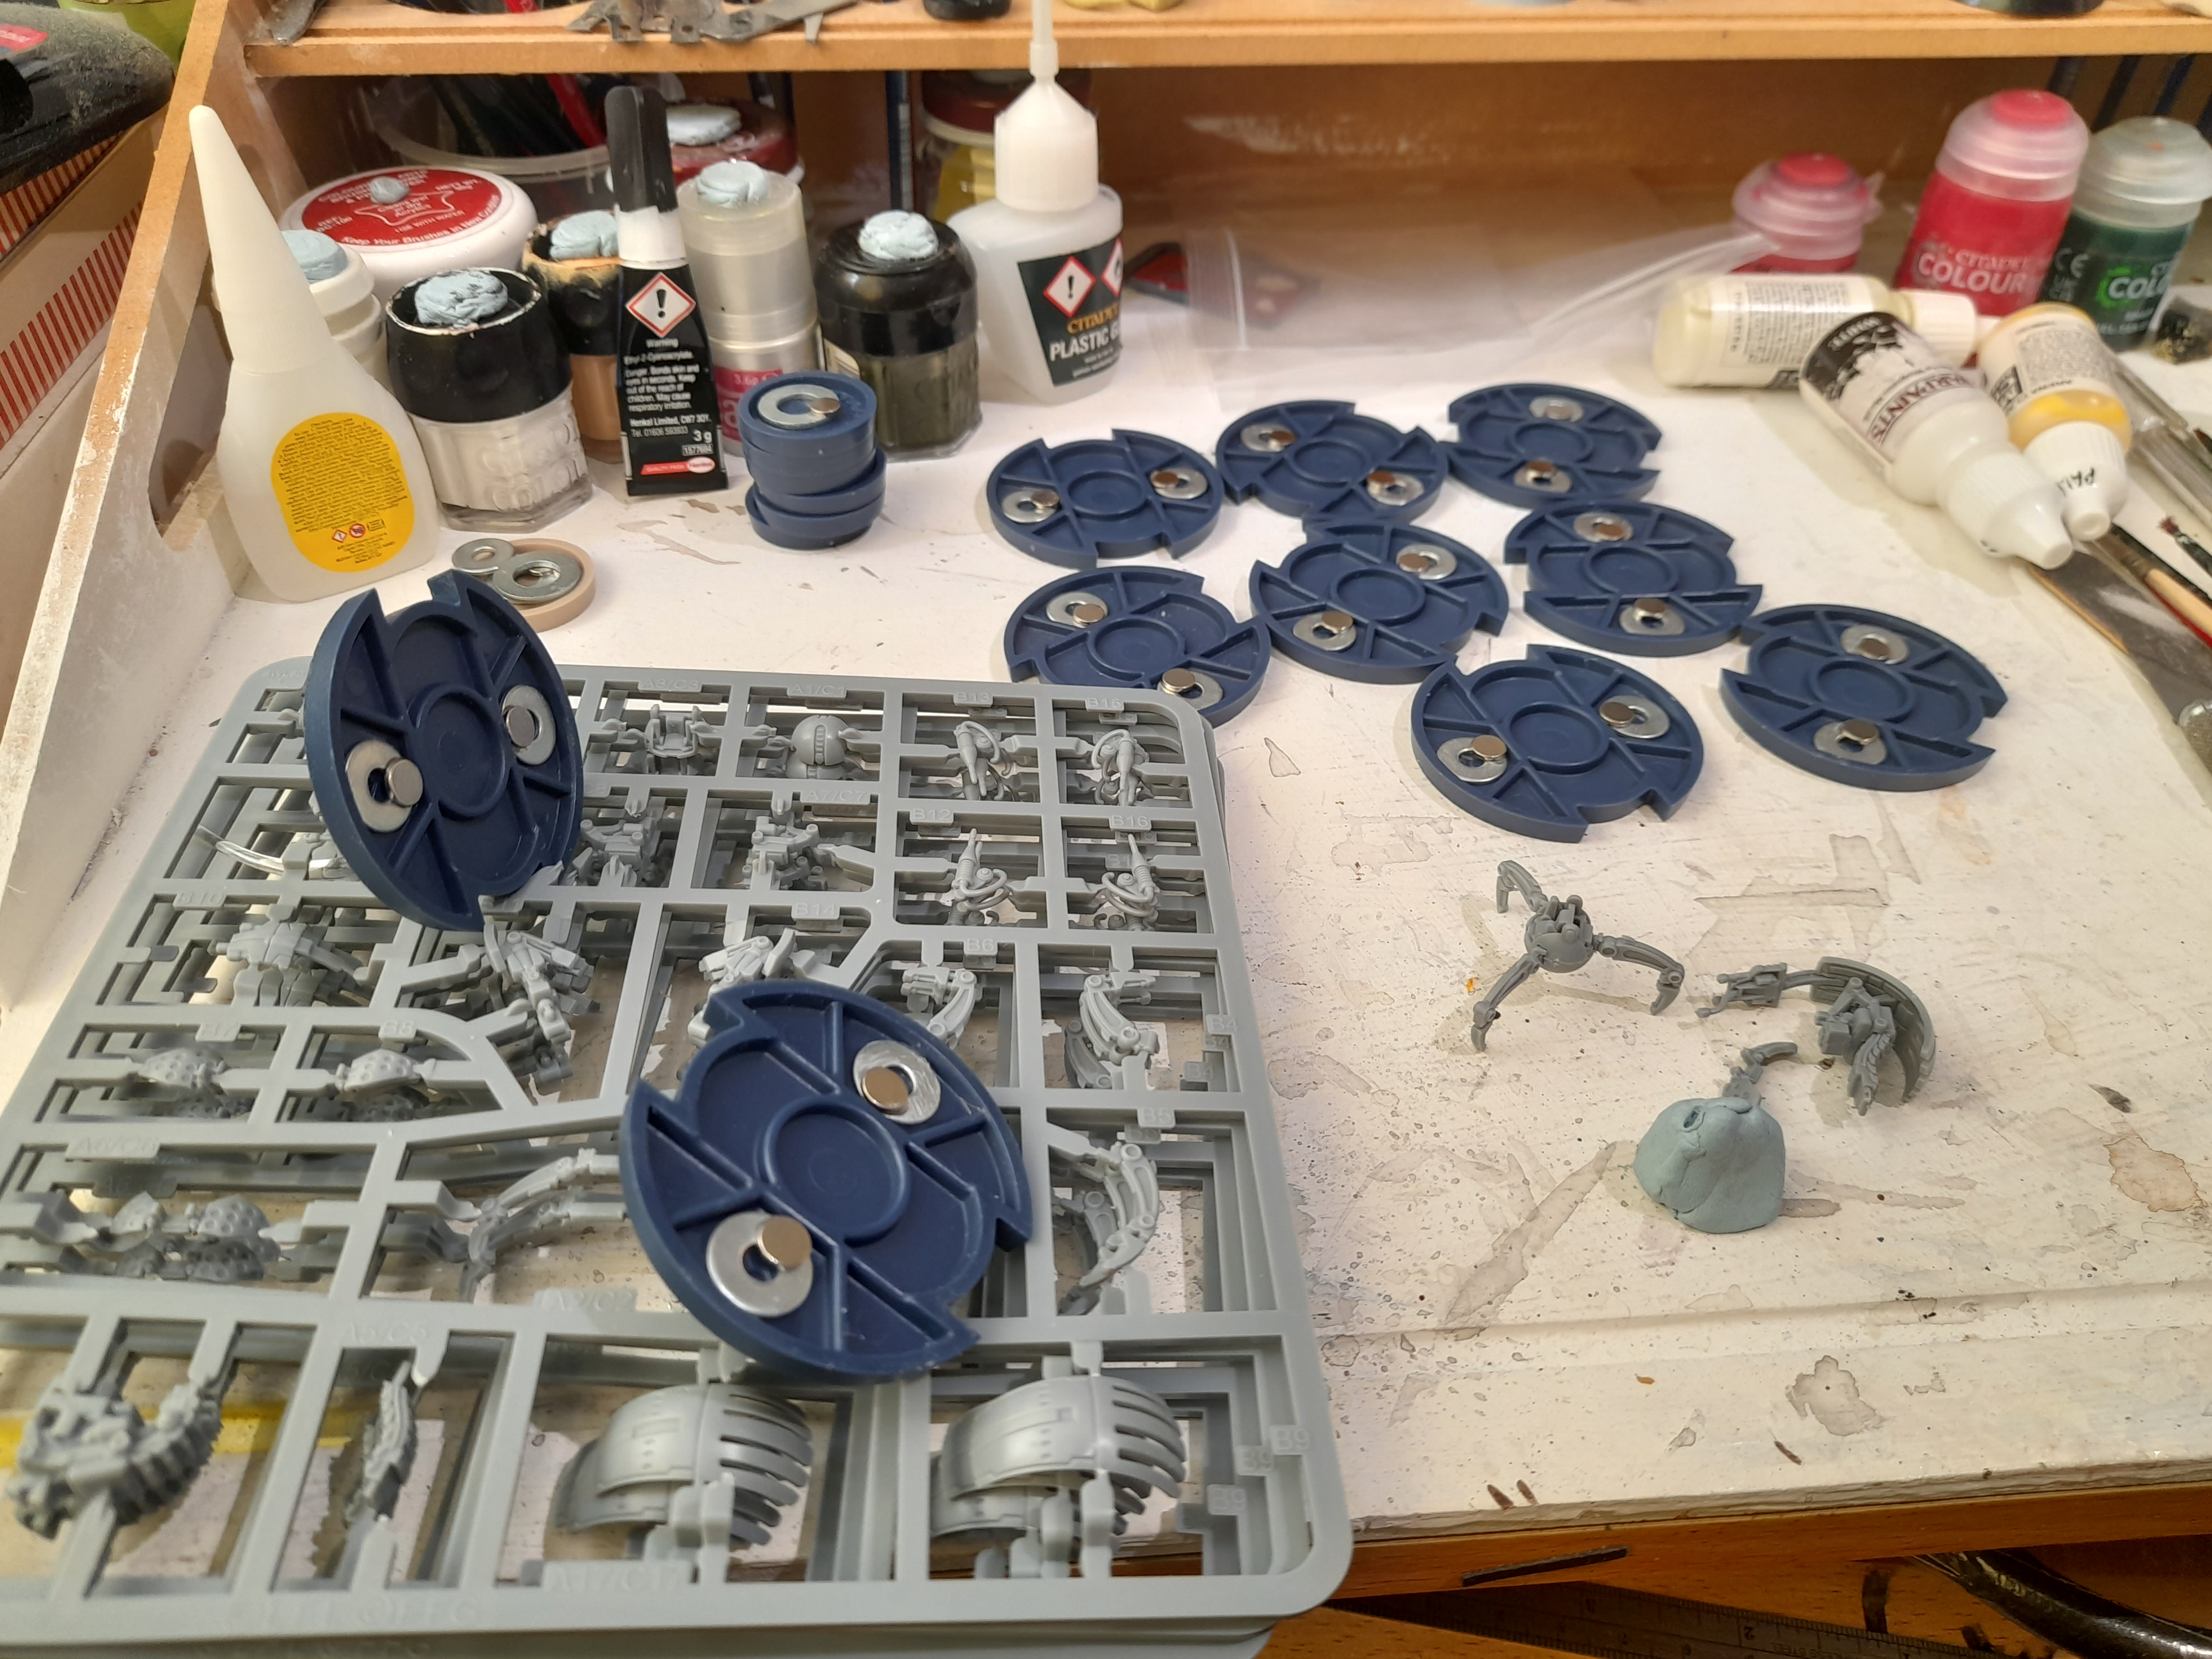
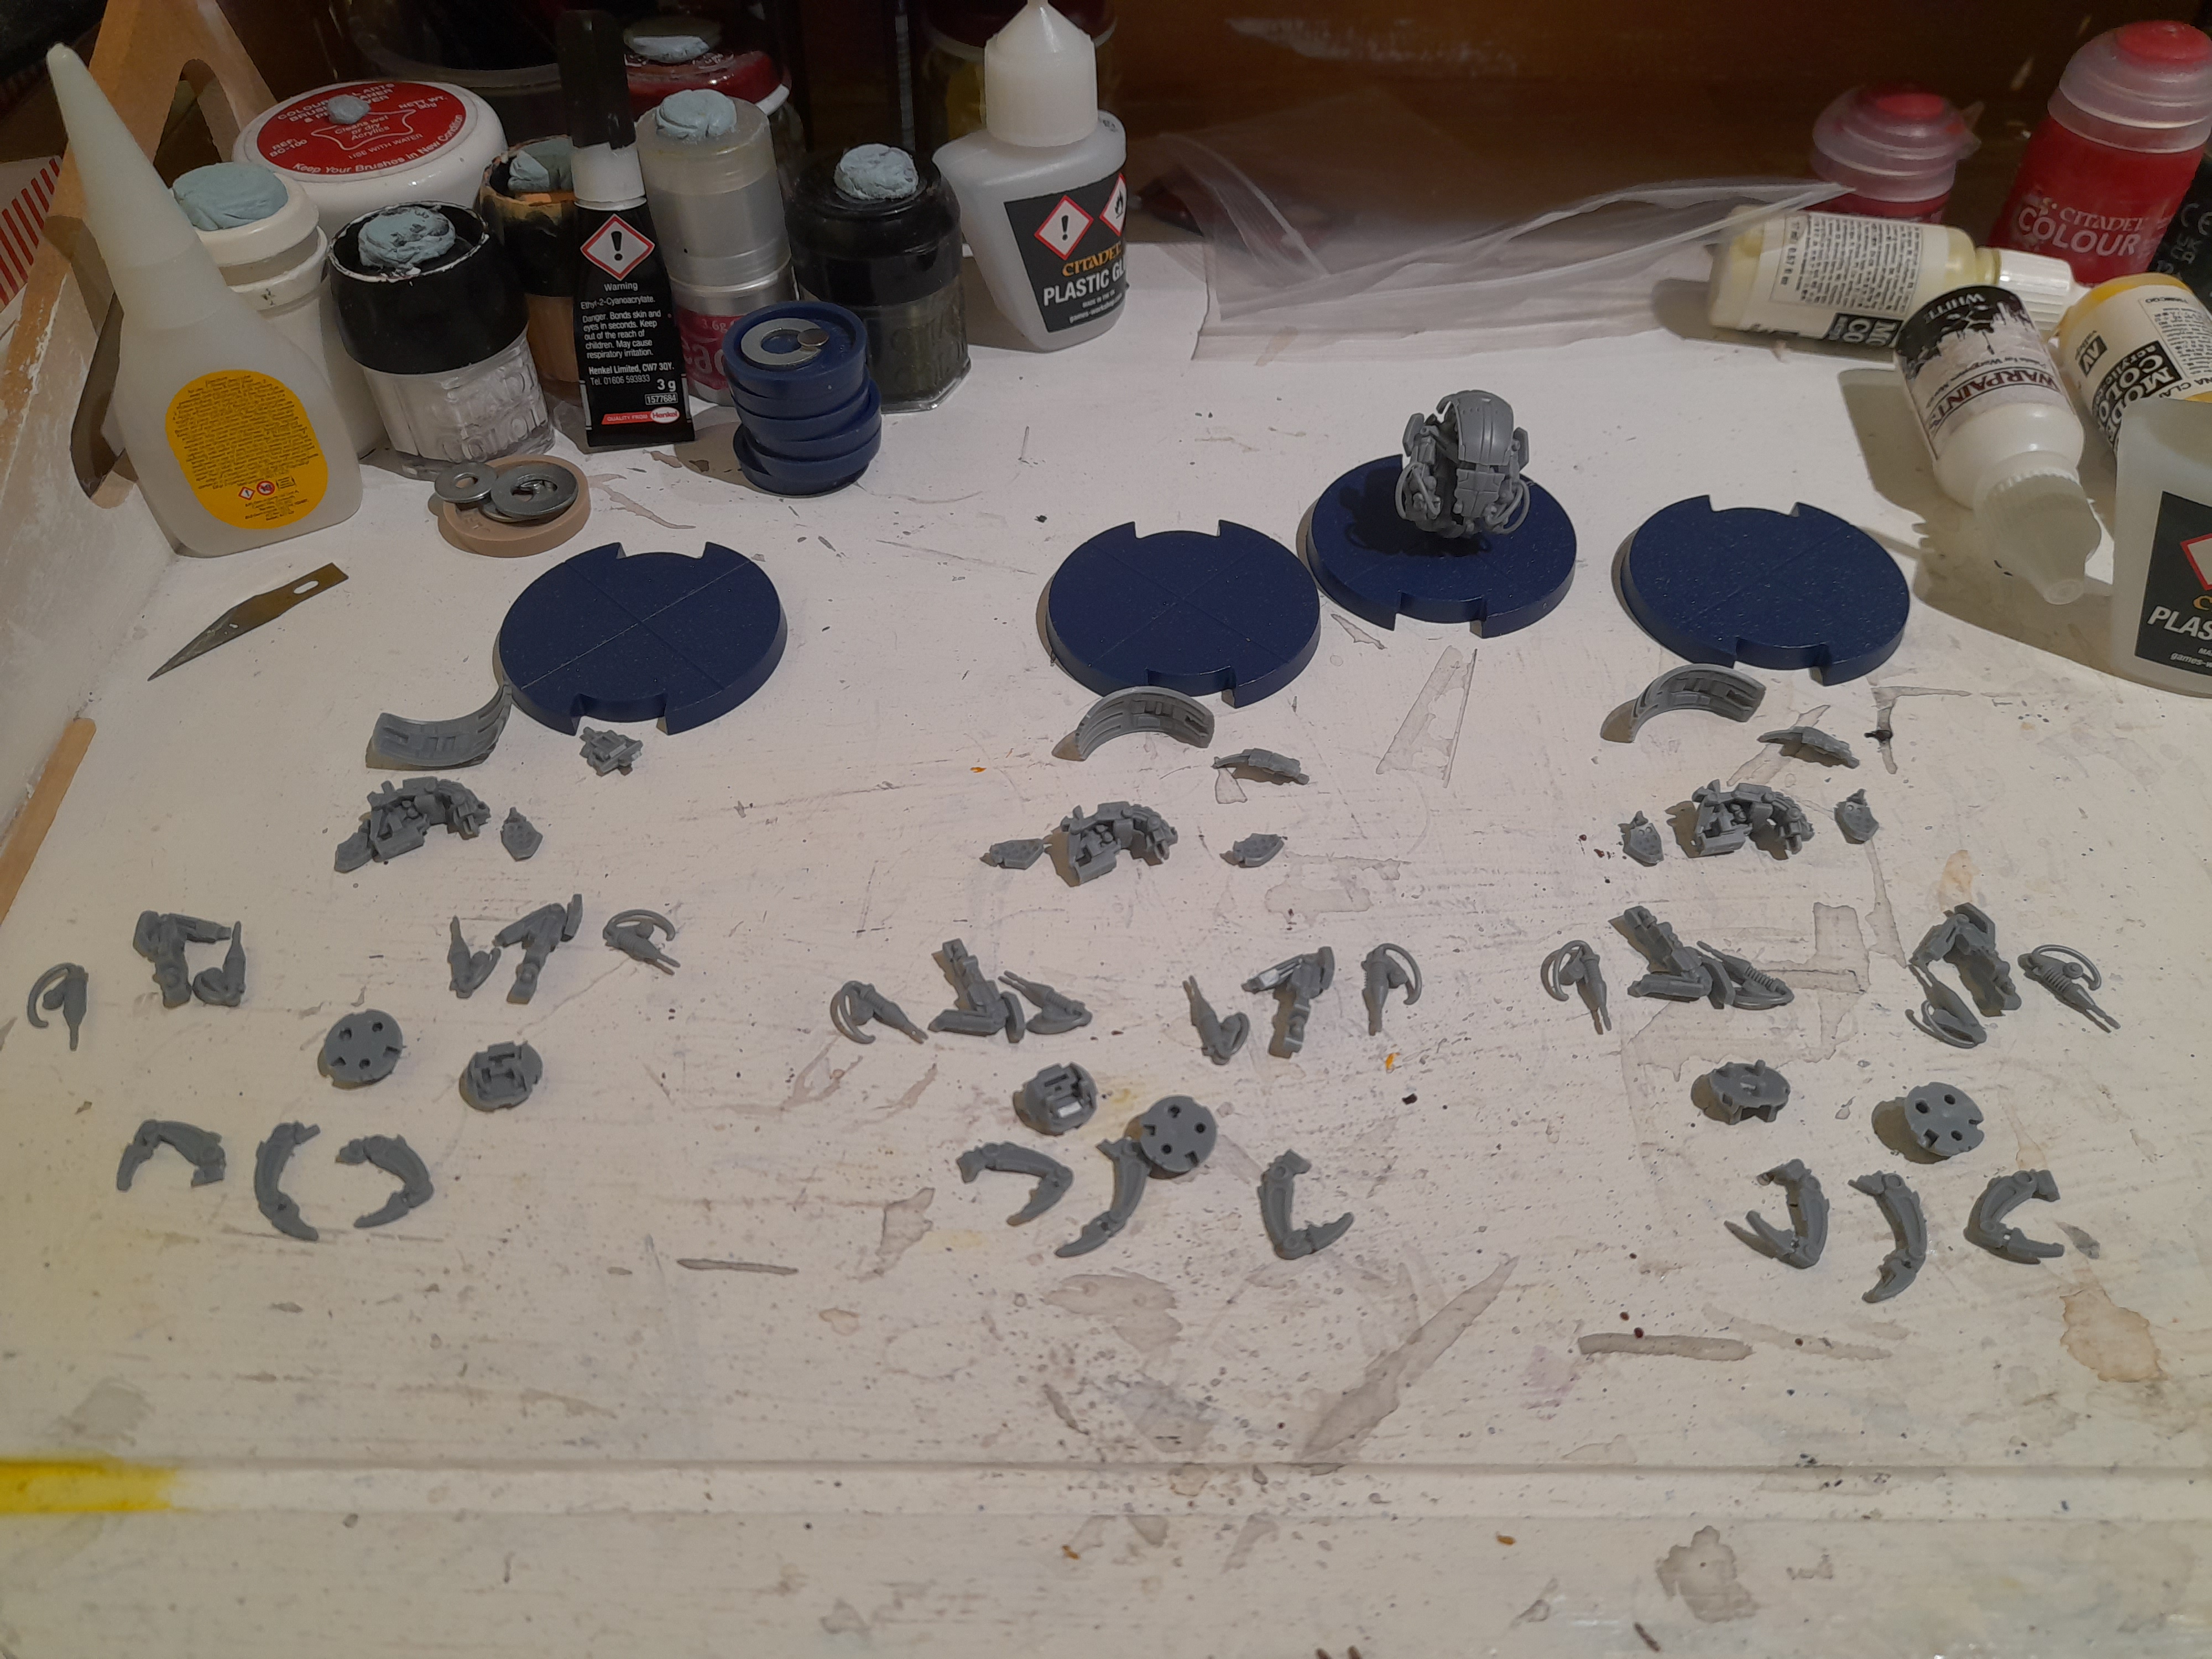
Onto the Droidekas now. Starting out with the attack mode versions. I worked on just one at first, so that I could get the build sequence in place and get used to it.

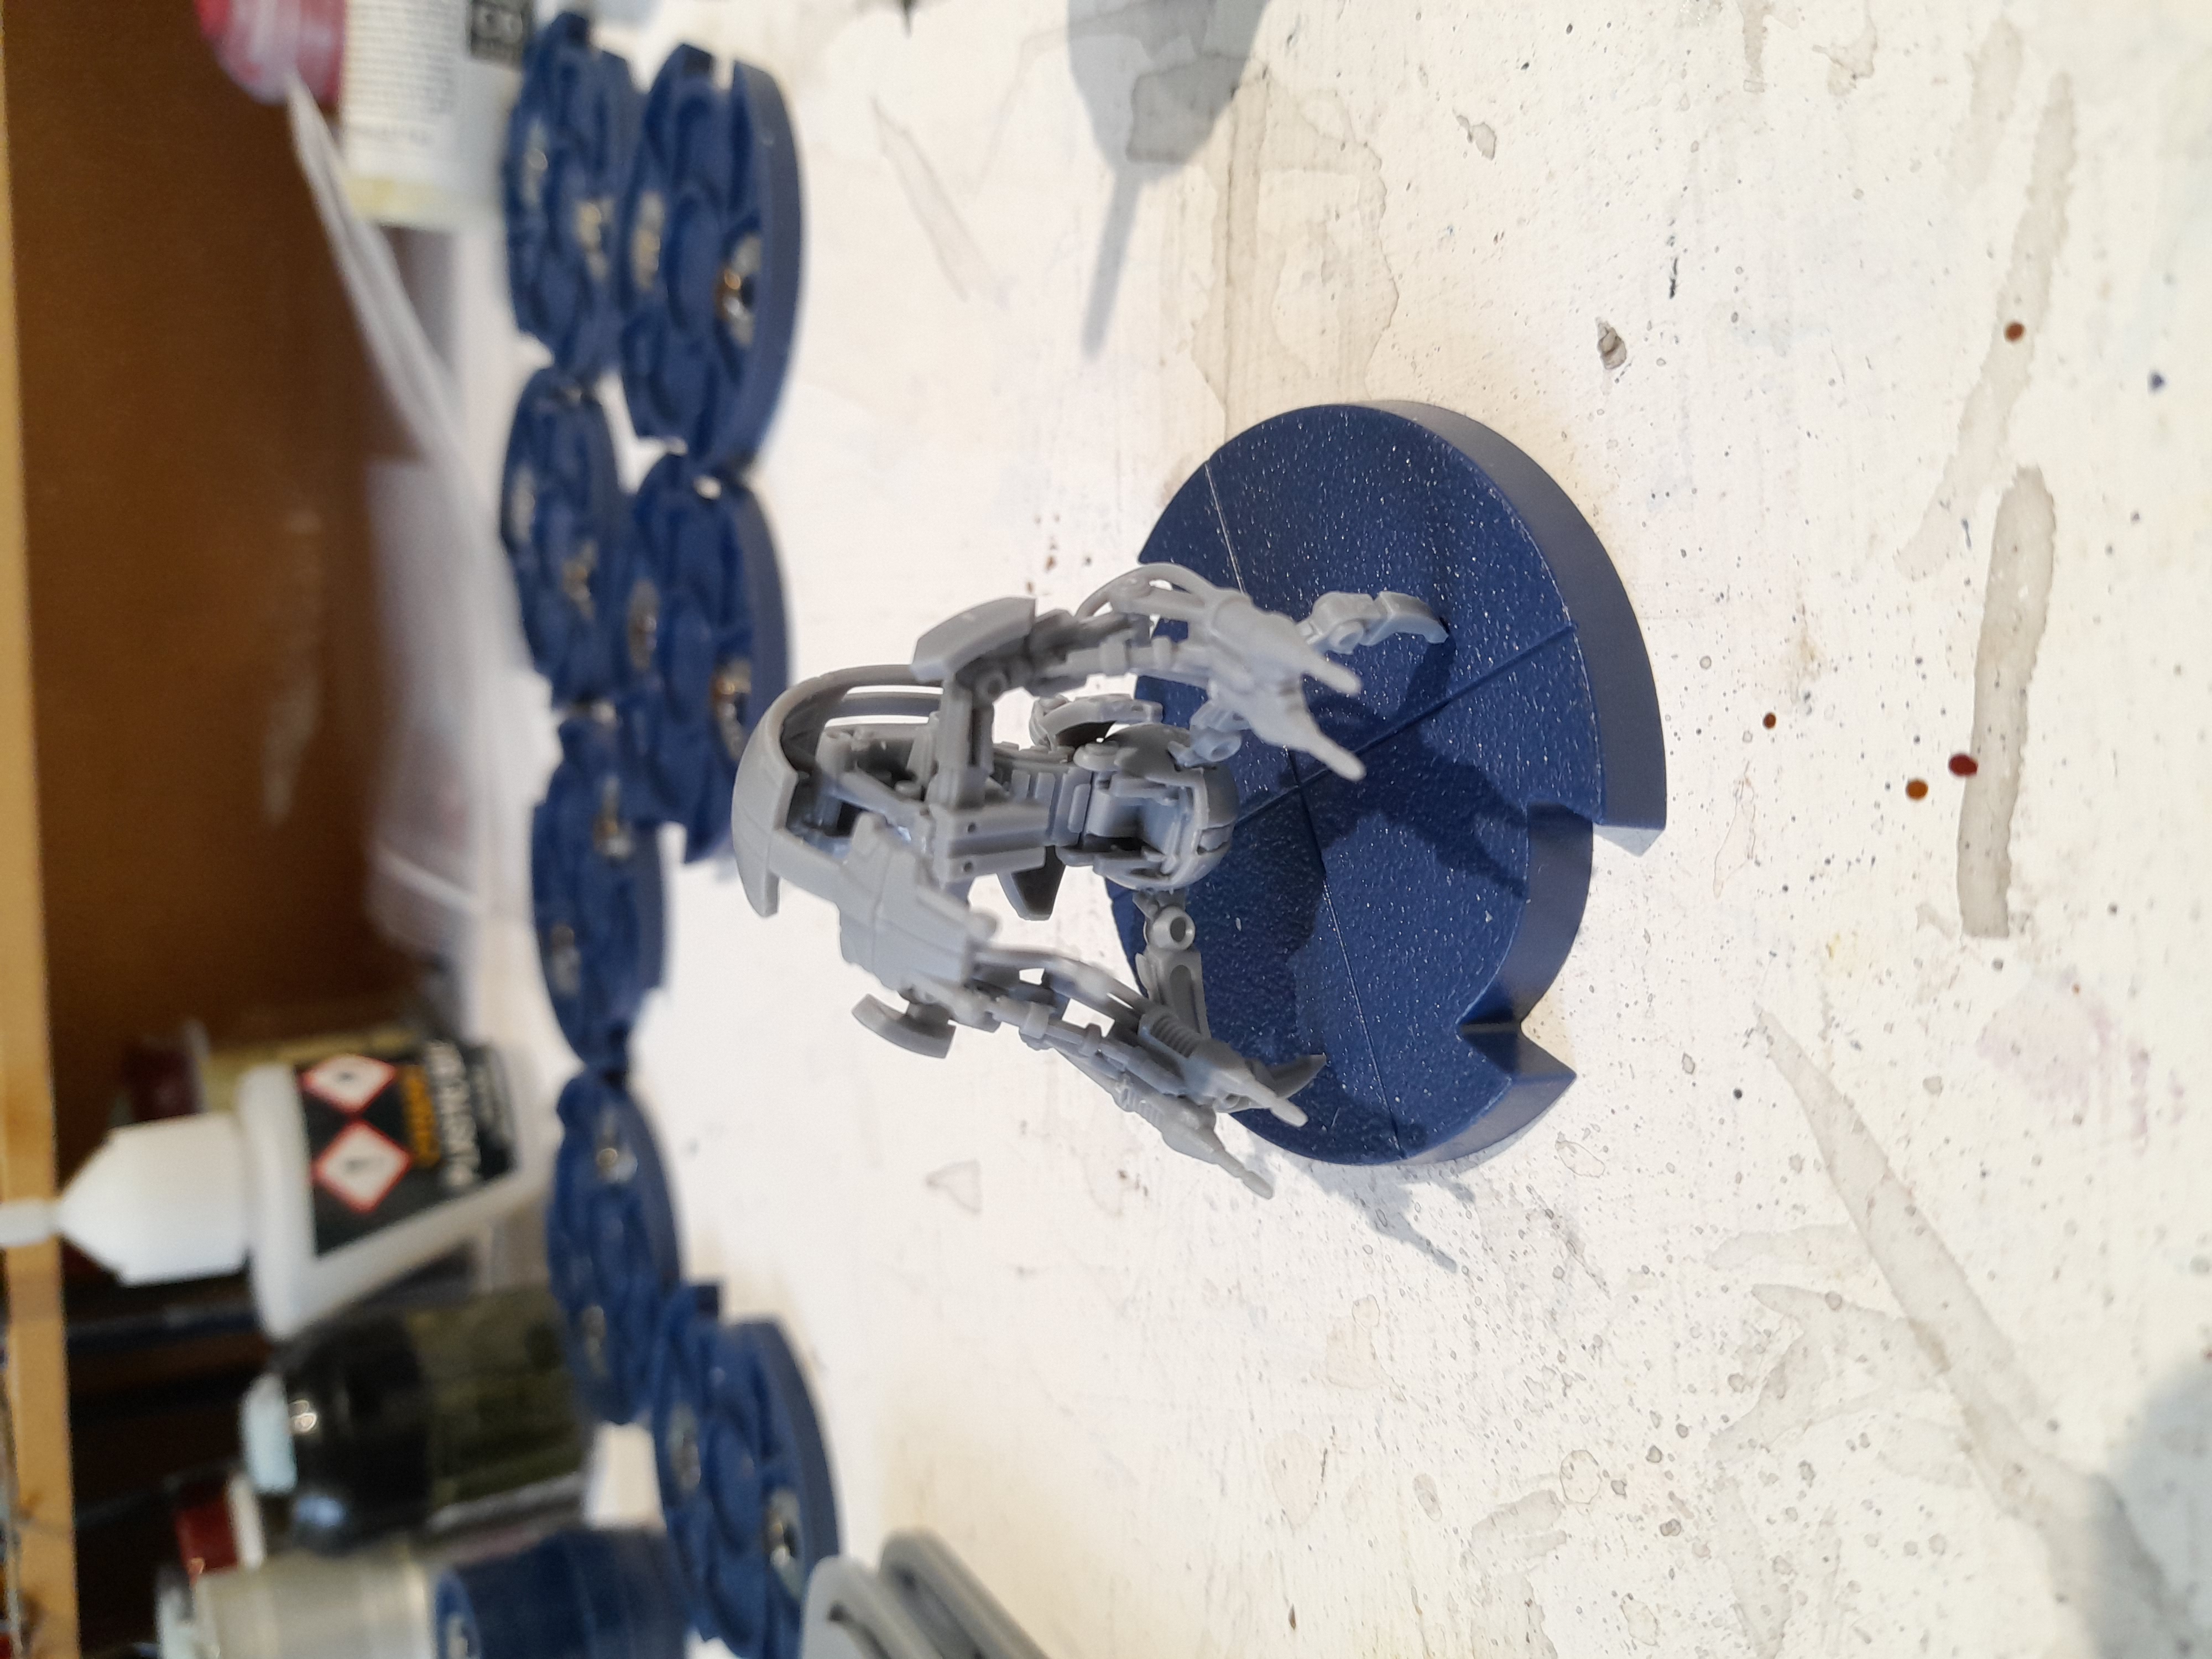
With one built I then snipped all the components for the remaining three and laid them out in the sub assemblies that I would work on. Theses three were pretty quick to build once I had built the test piece.

Also during this build I magnetised the larger bases for these and the STAP riders as I hadn’t yet done them.
Wheel Mode Droidekas
Got these fellas built up. I worked the same way as for the attack mode ones. Built up one of them first to get the steps and process in place. Then went ahead and laid out the parts for the remaining three and rolled out the process for those. Again this worked pretty well for me.


I used superglue to attach them to the bases, then ran some plastic glue around the contact points. When it comes to painting though I do expect to have to re-attach some of them 😊
Count Dooku
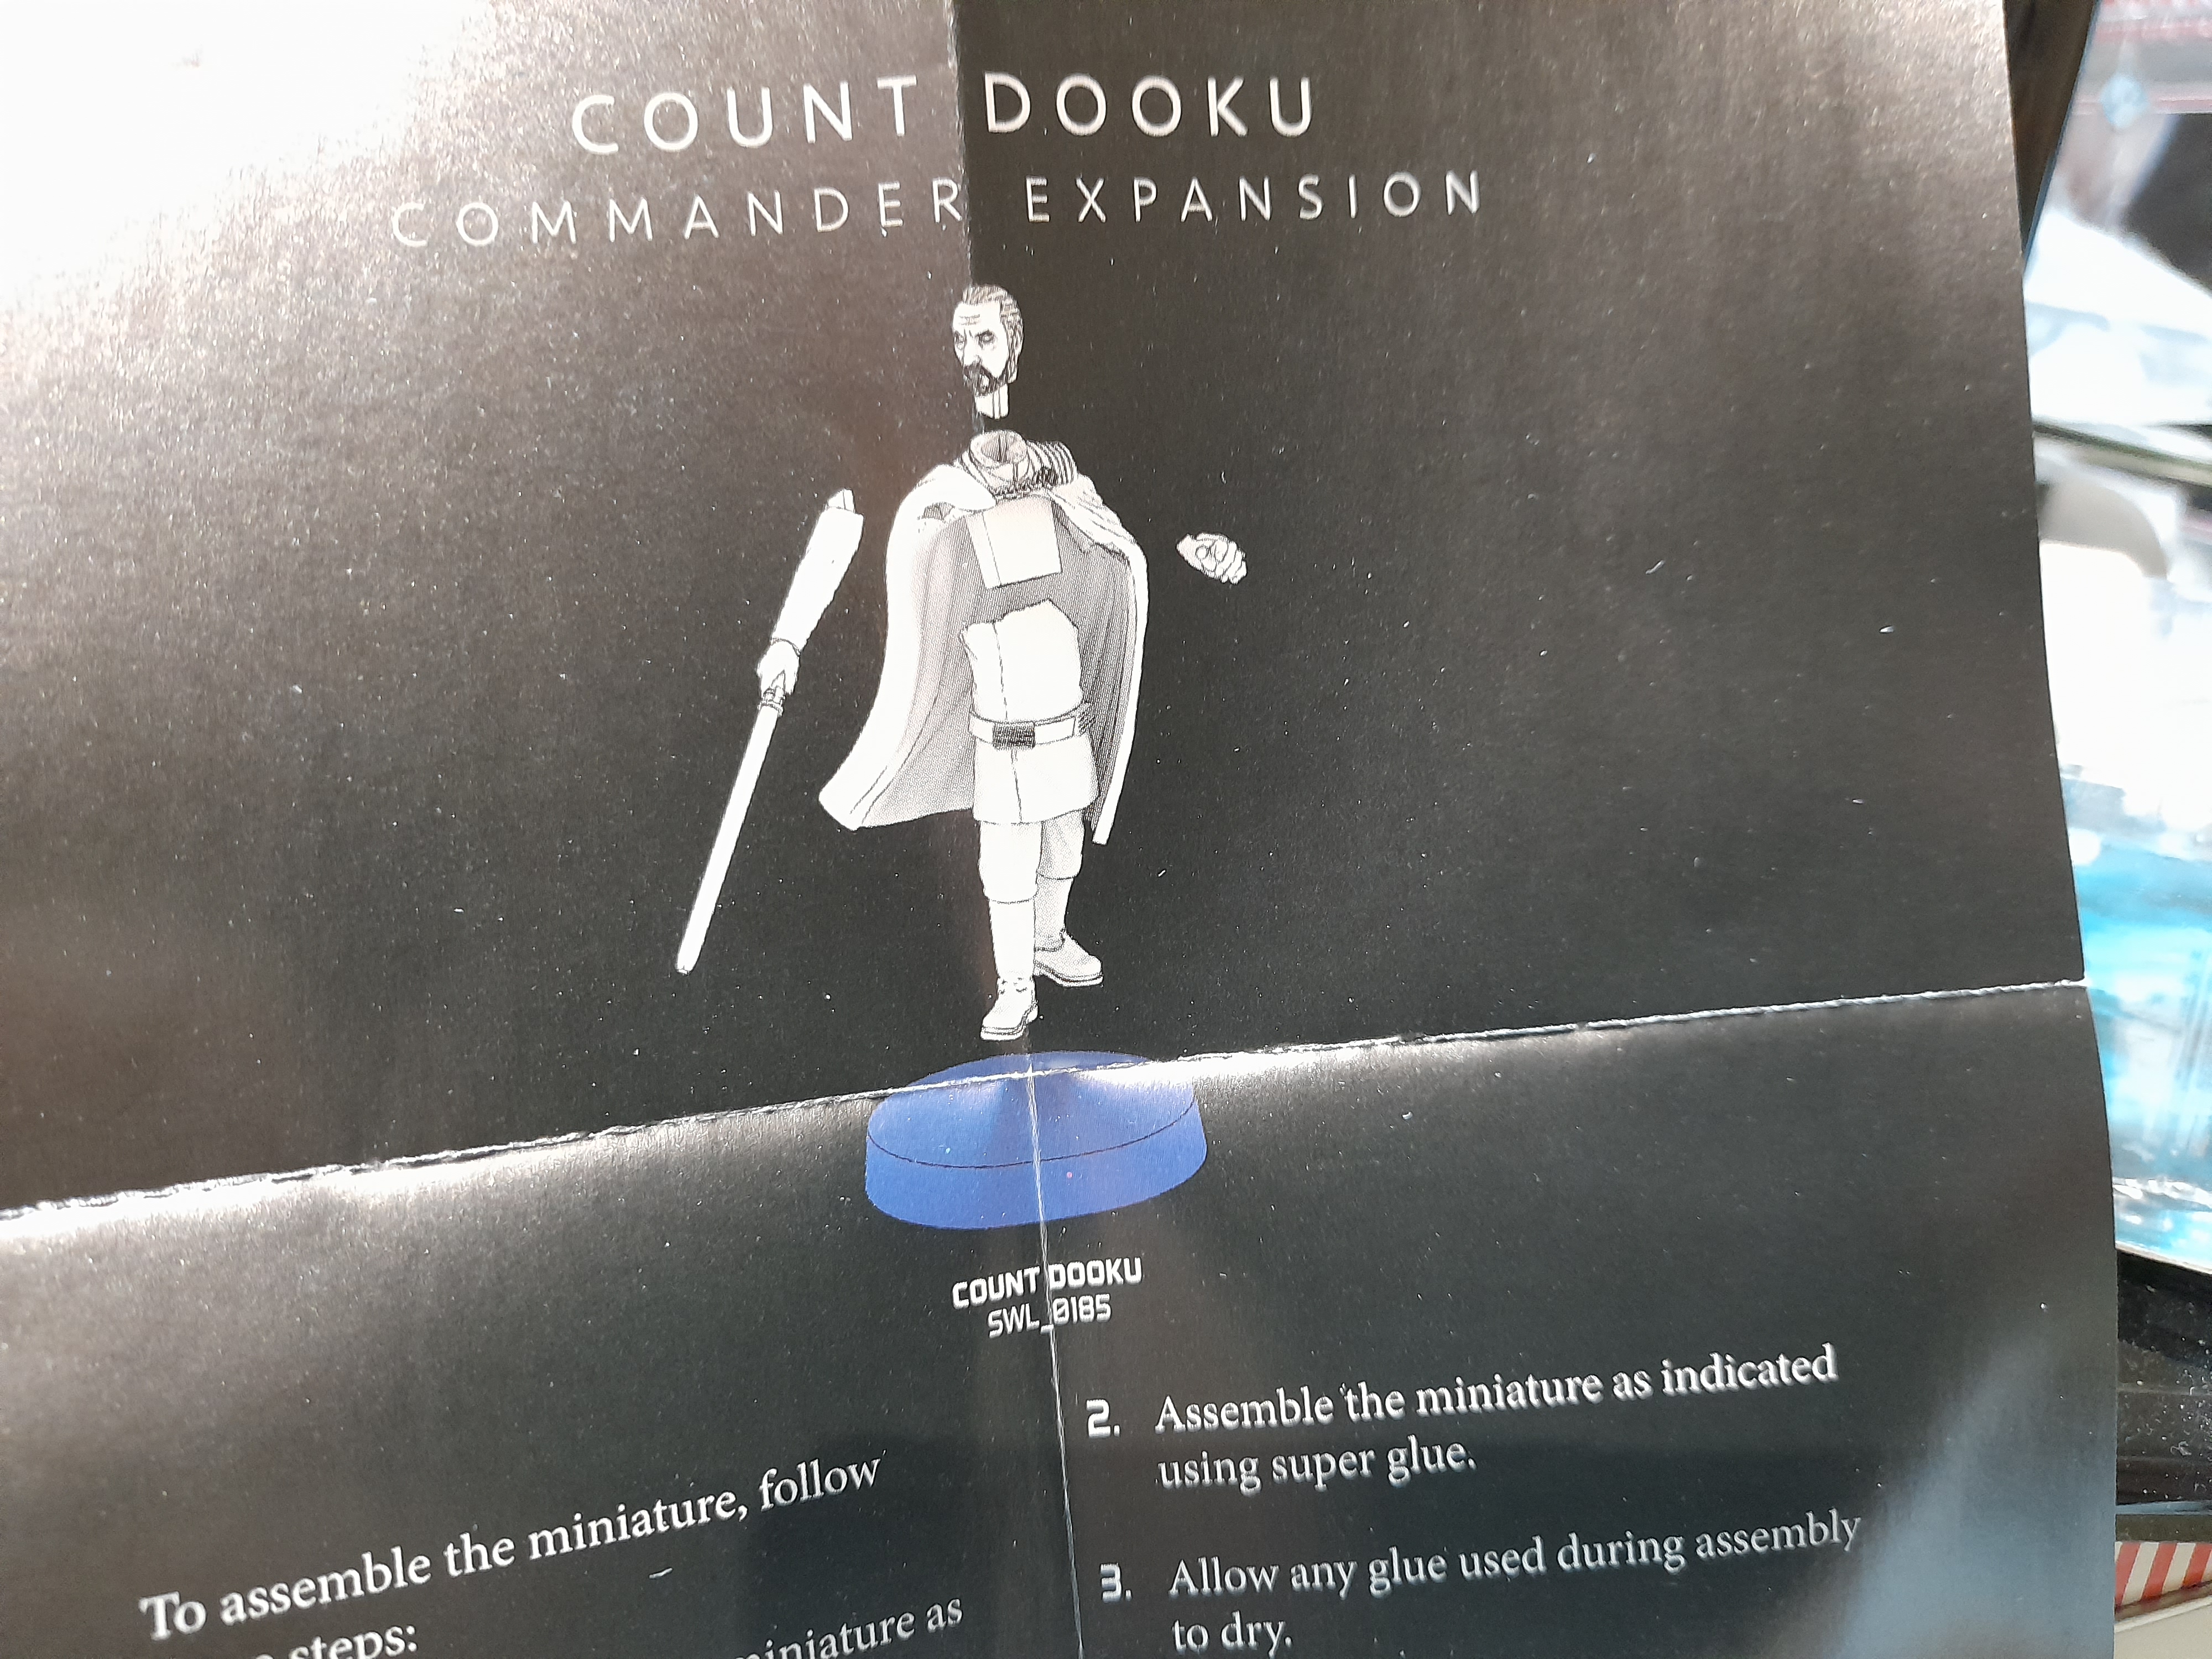

Dooku was a straightforward build.
Only a few components, and no optional build. However, it is the only one from this project that is not hard plastic. So out came the superglue.
I have been so used to a thicker superglue that my new thin glue caught me by surprise again… and ran right over Dooku’s face ☹
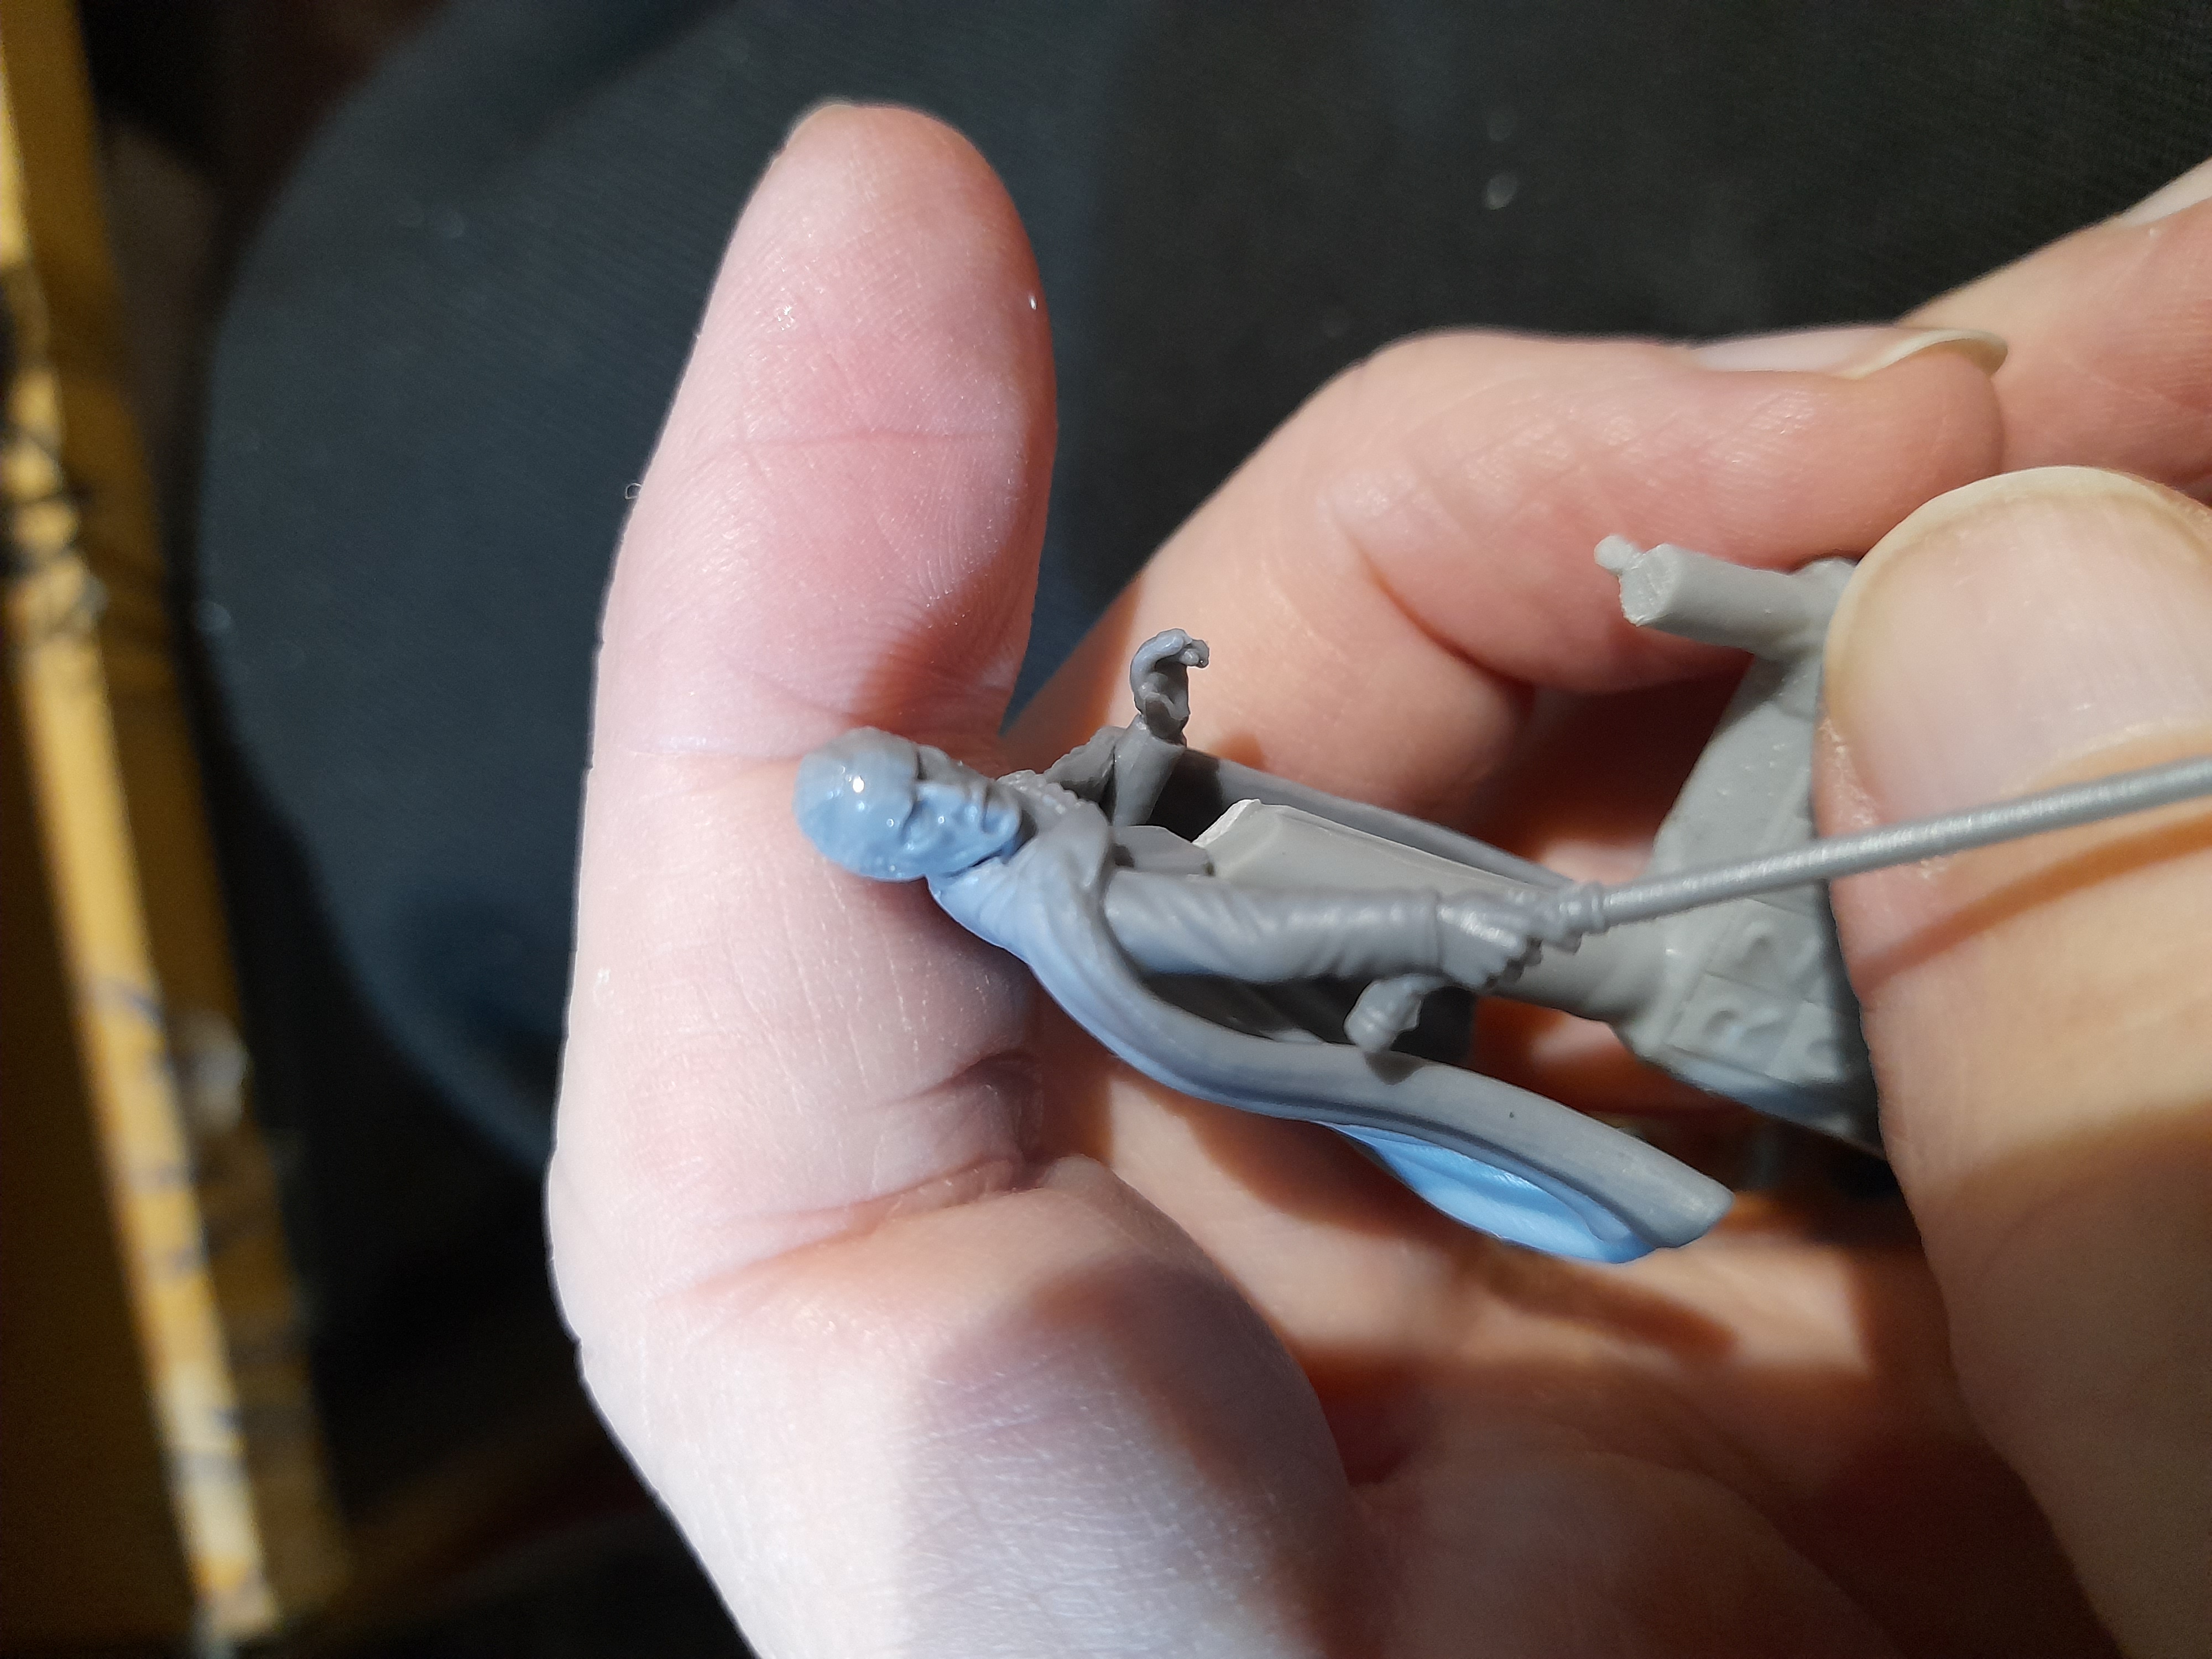
I wiped as much as I could off – hopefully it wont impact on the detail when it comes to painting.
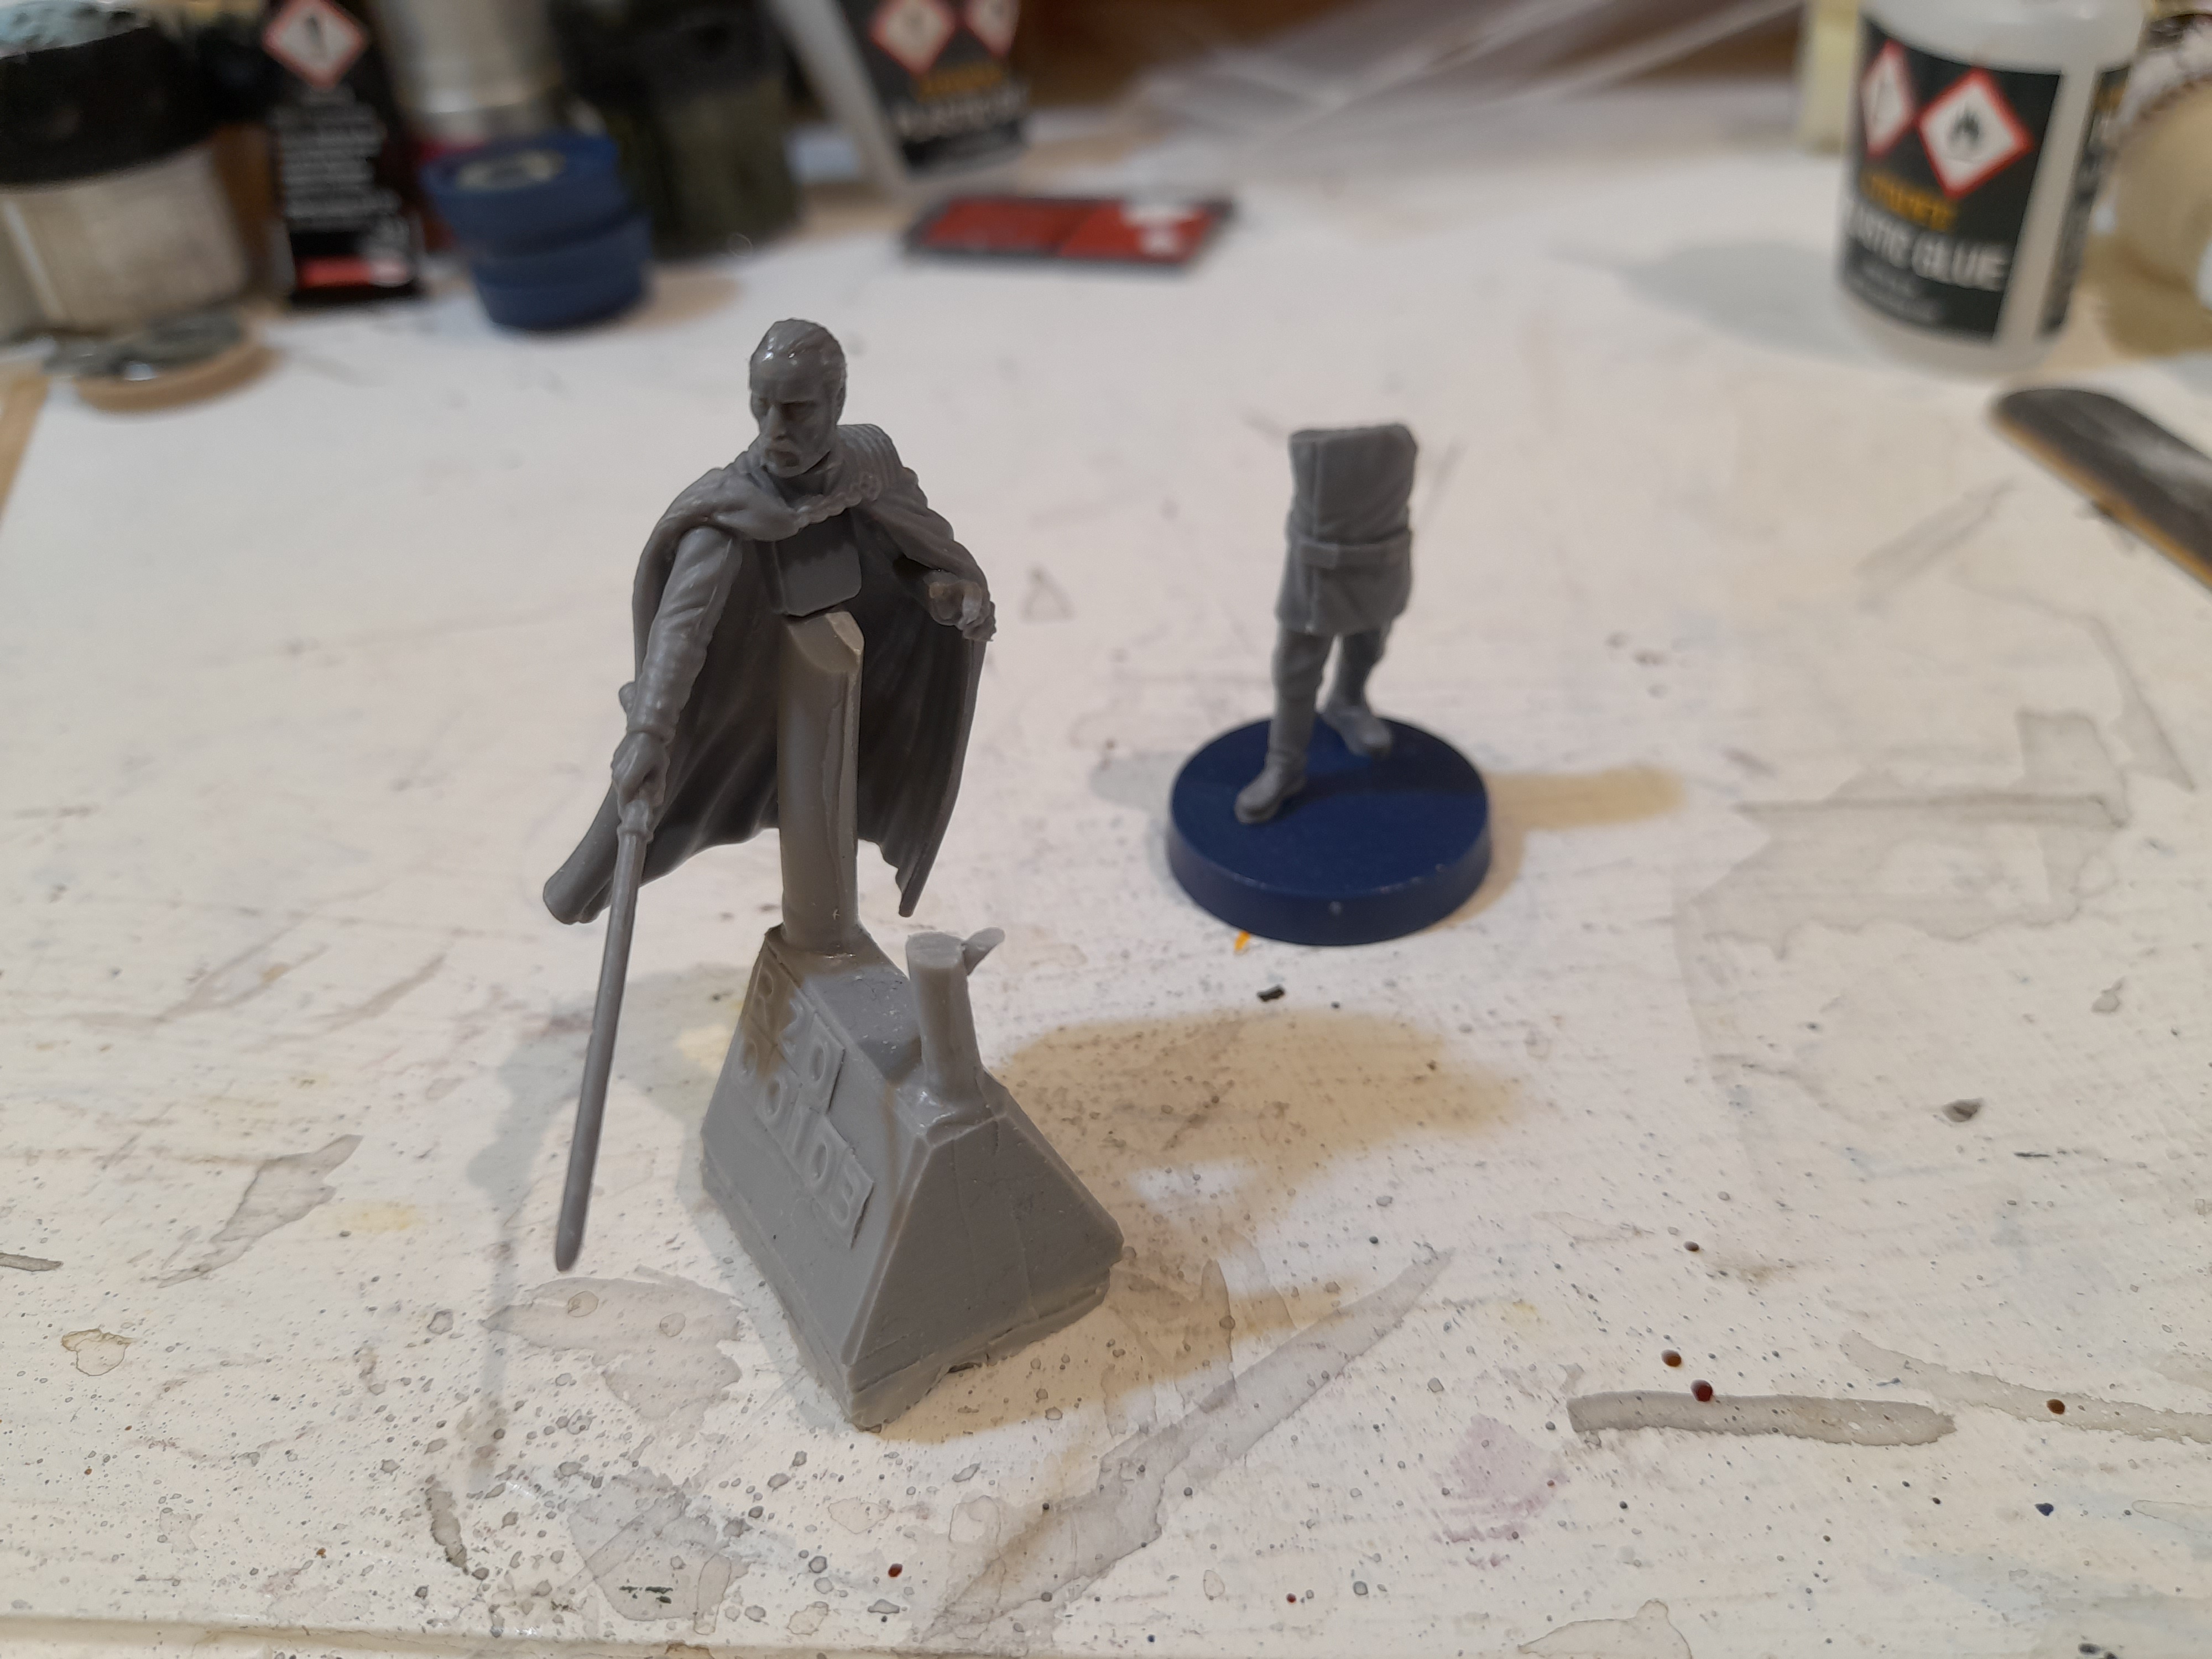
I left the model in two parts for painting, so that I can get to the back of the torso and the cloak easier.
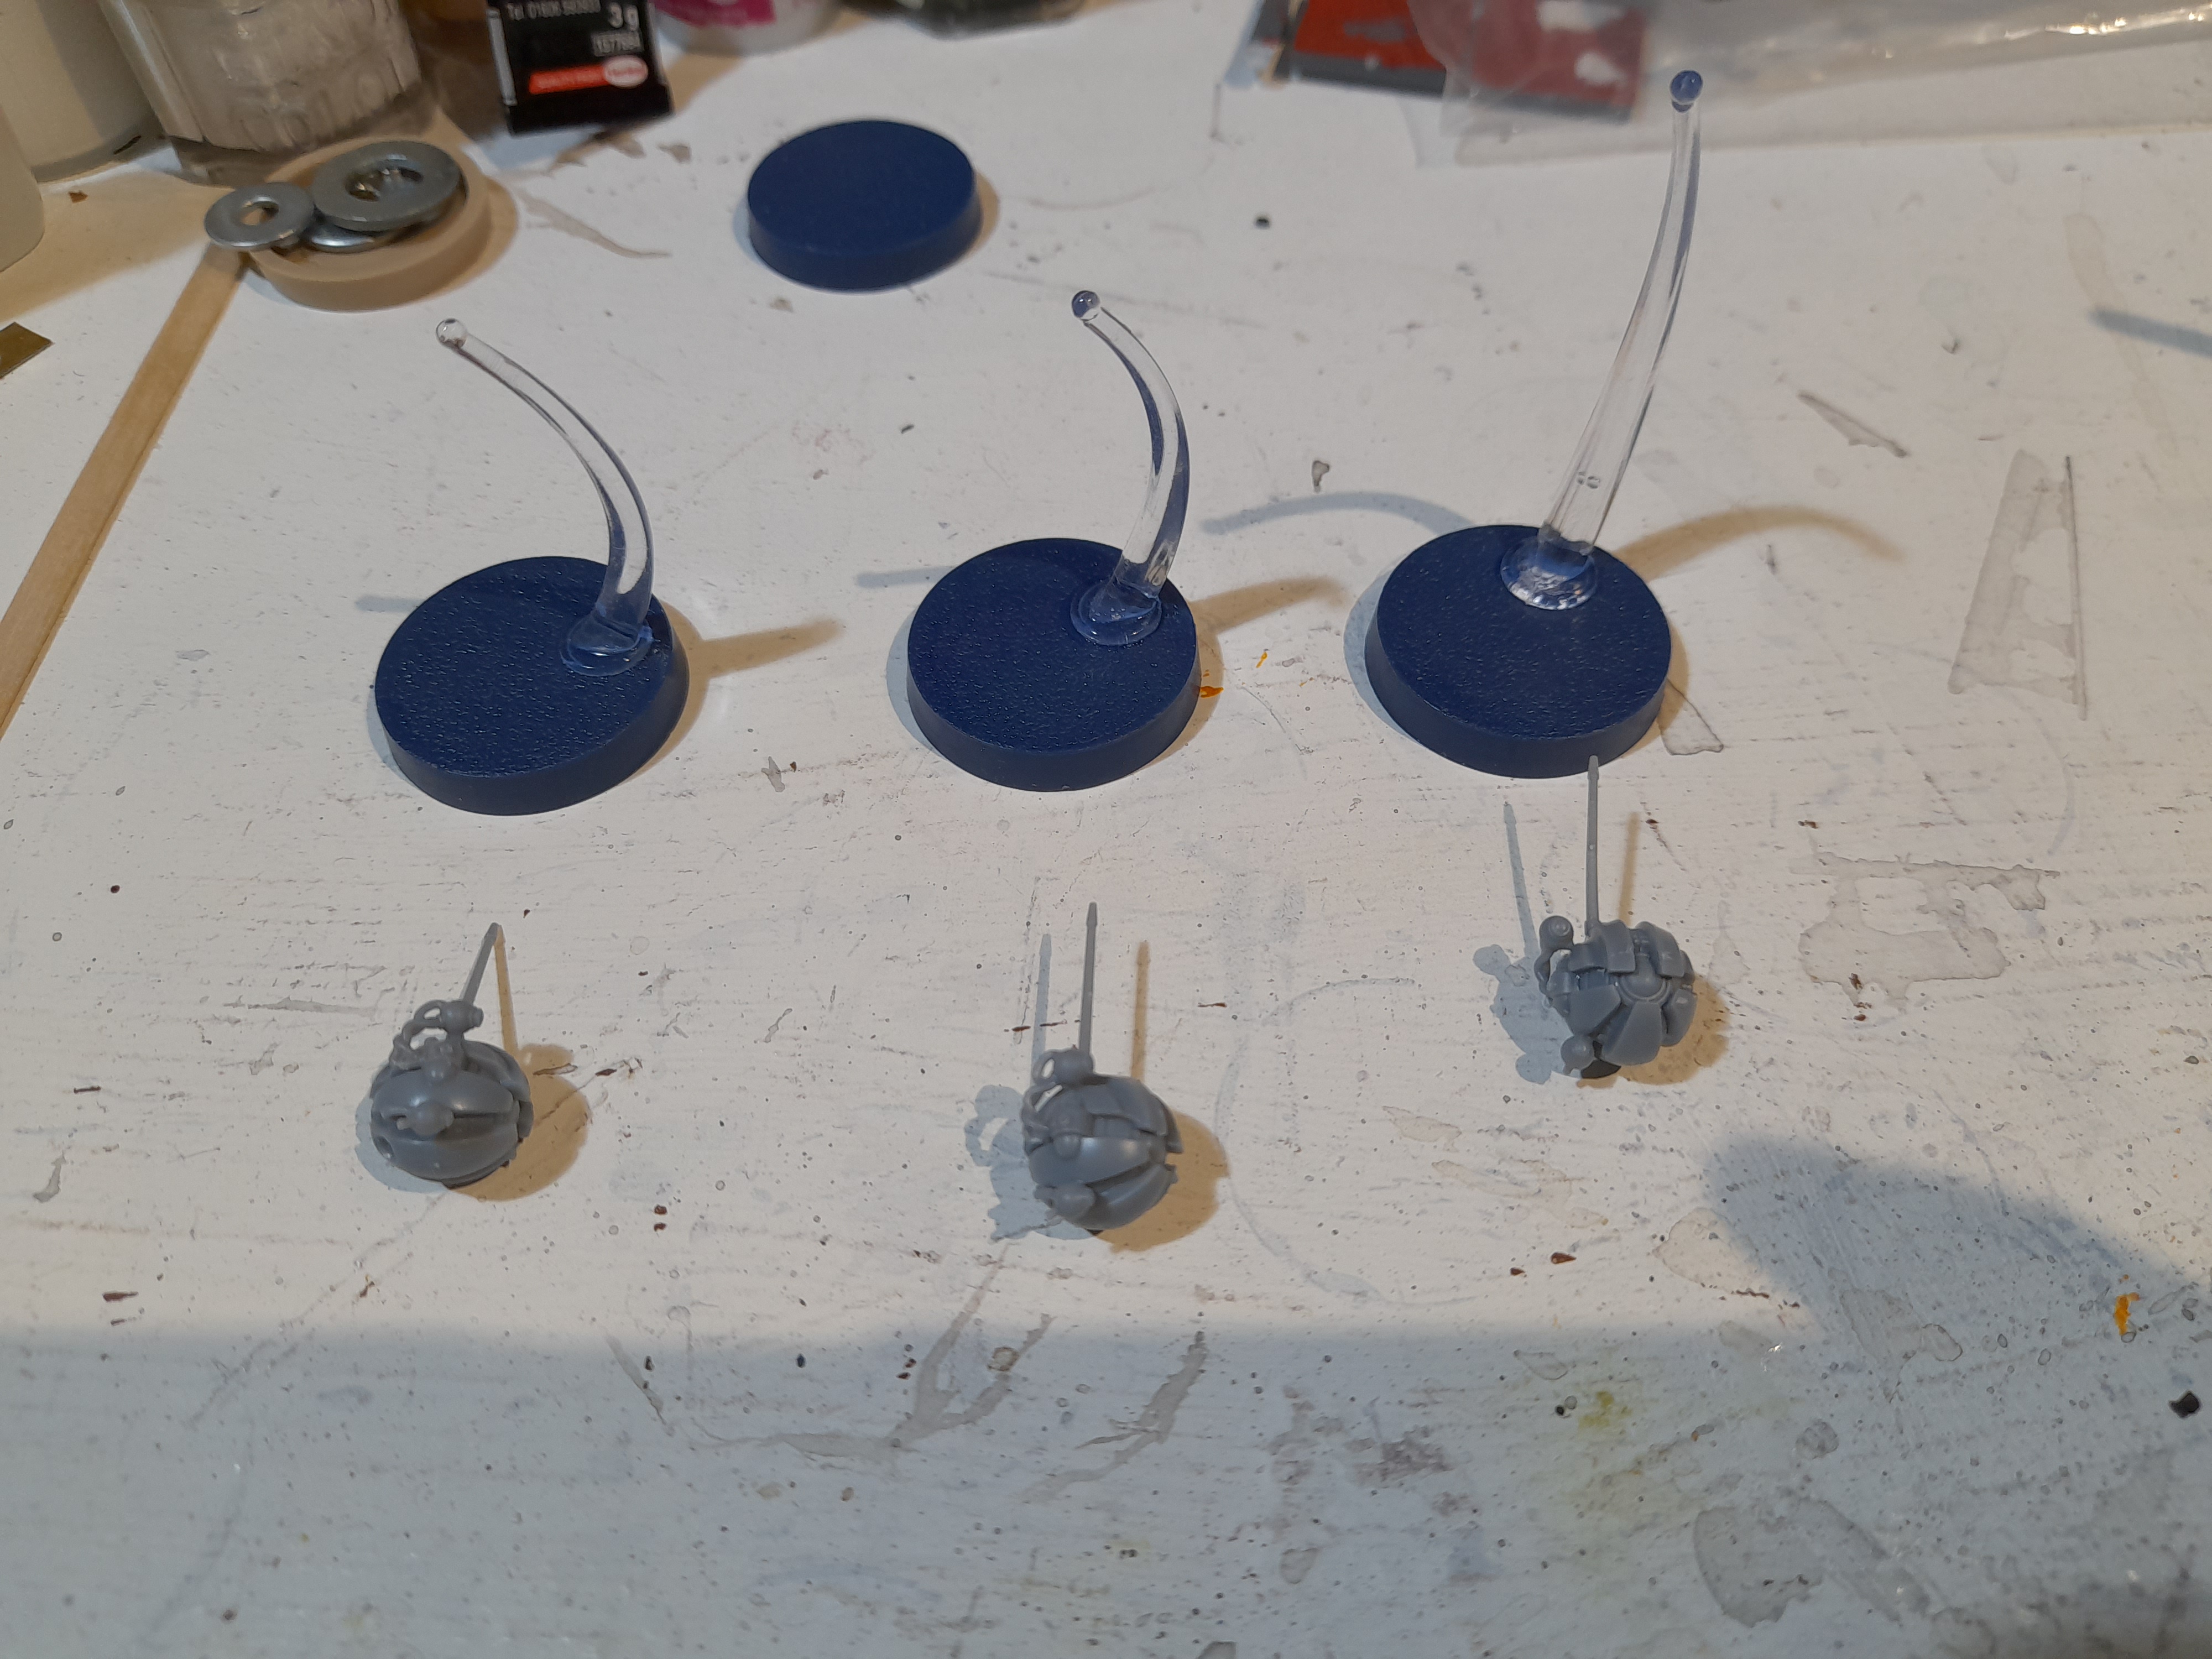
Darth Maul and Probe Droids

Maul had three build options, I went for the sabre behind him. Forgot to get pics here, but he went together pretty well with nice joins and overlaps.
The three droids were also relatively easy. Laid out the parts, did a test fit, then whacked them together 😊
General Grievous
Grievous also had a few build options.
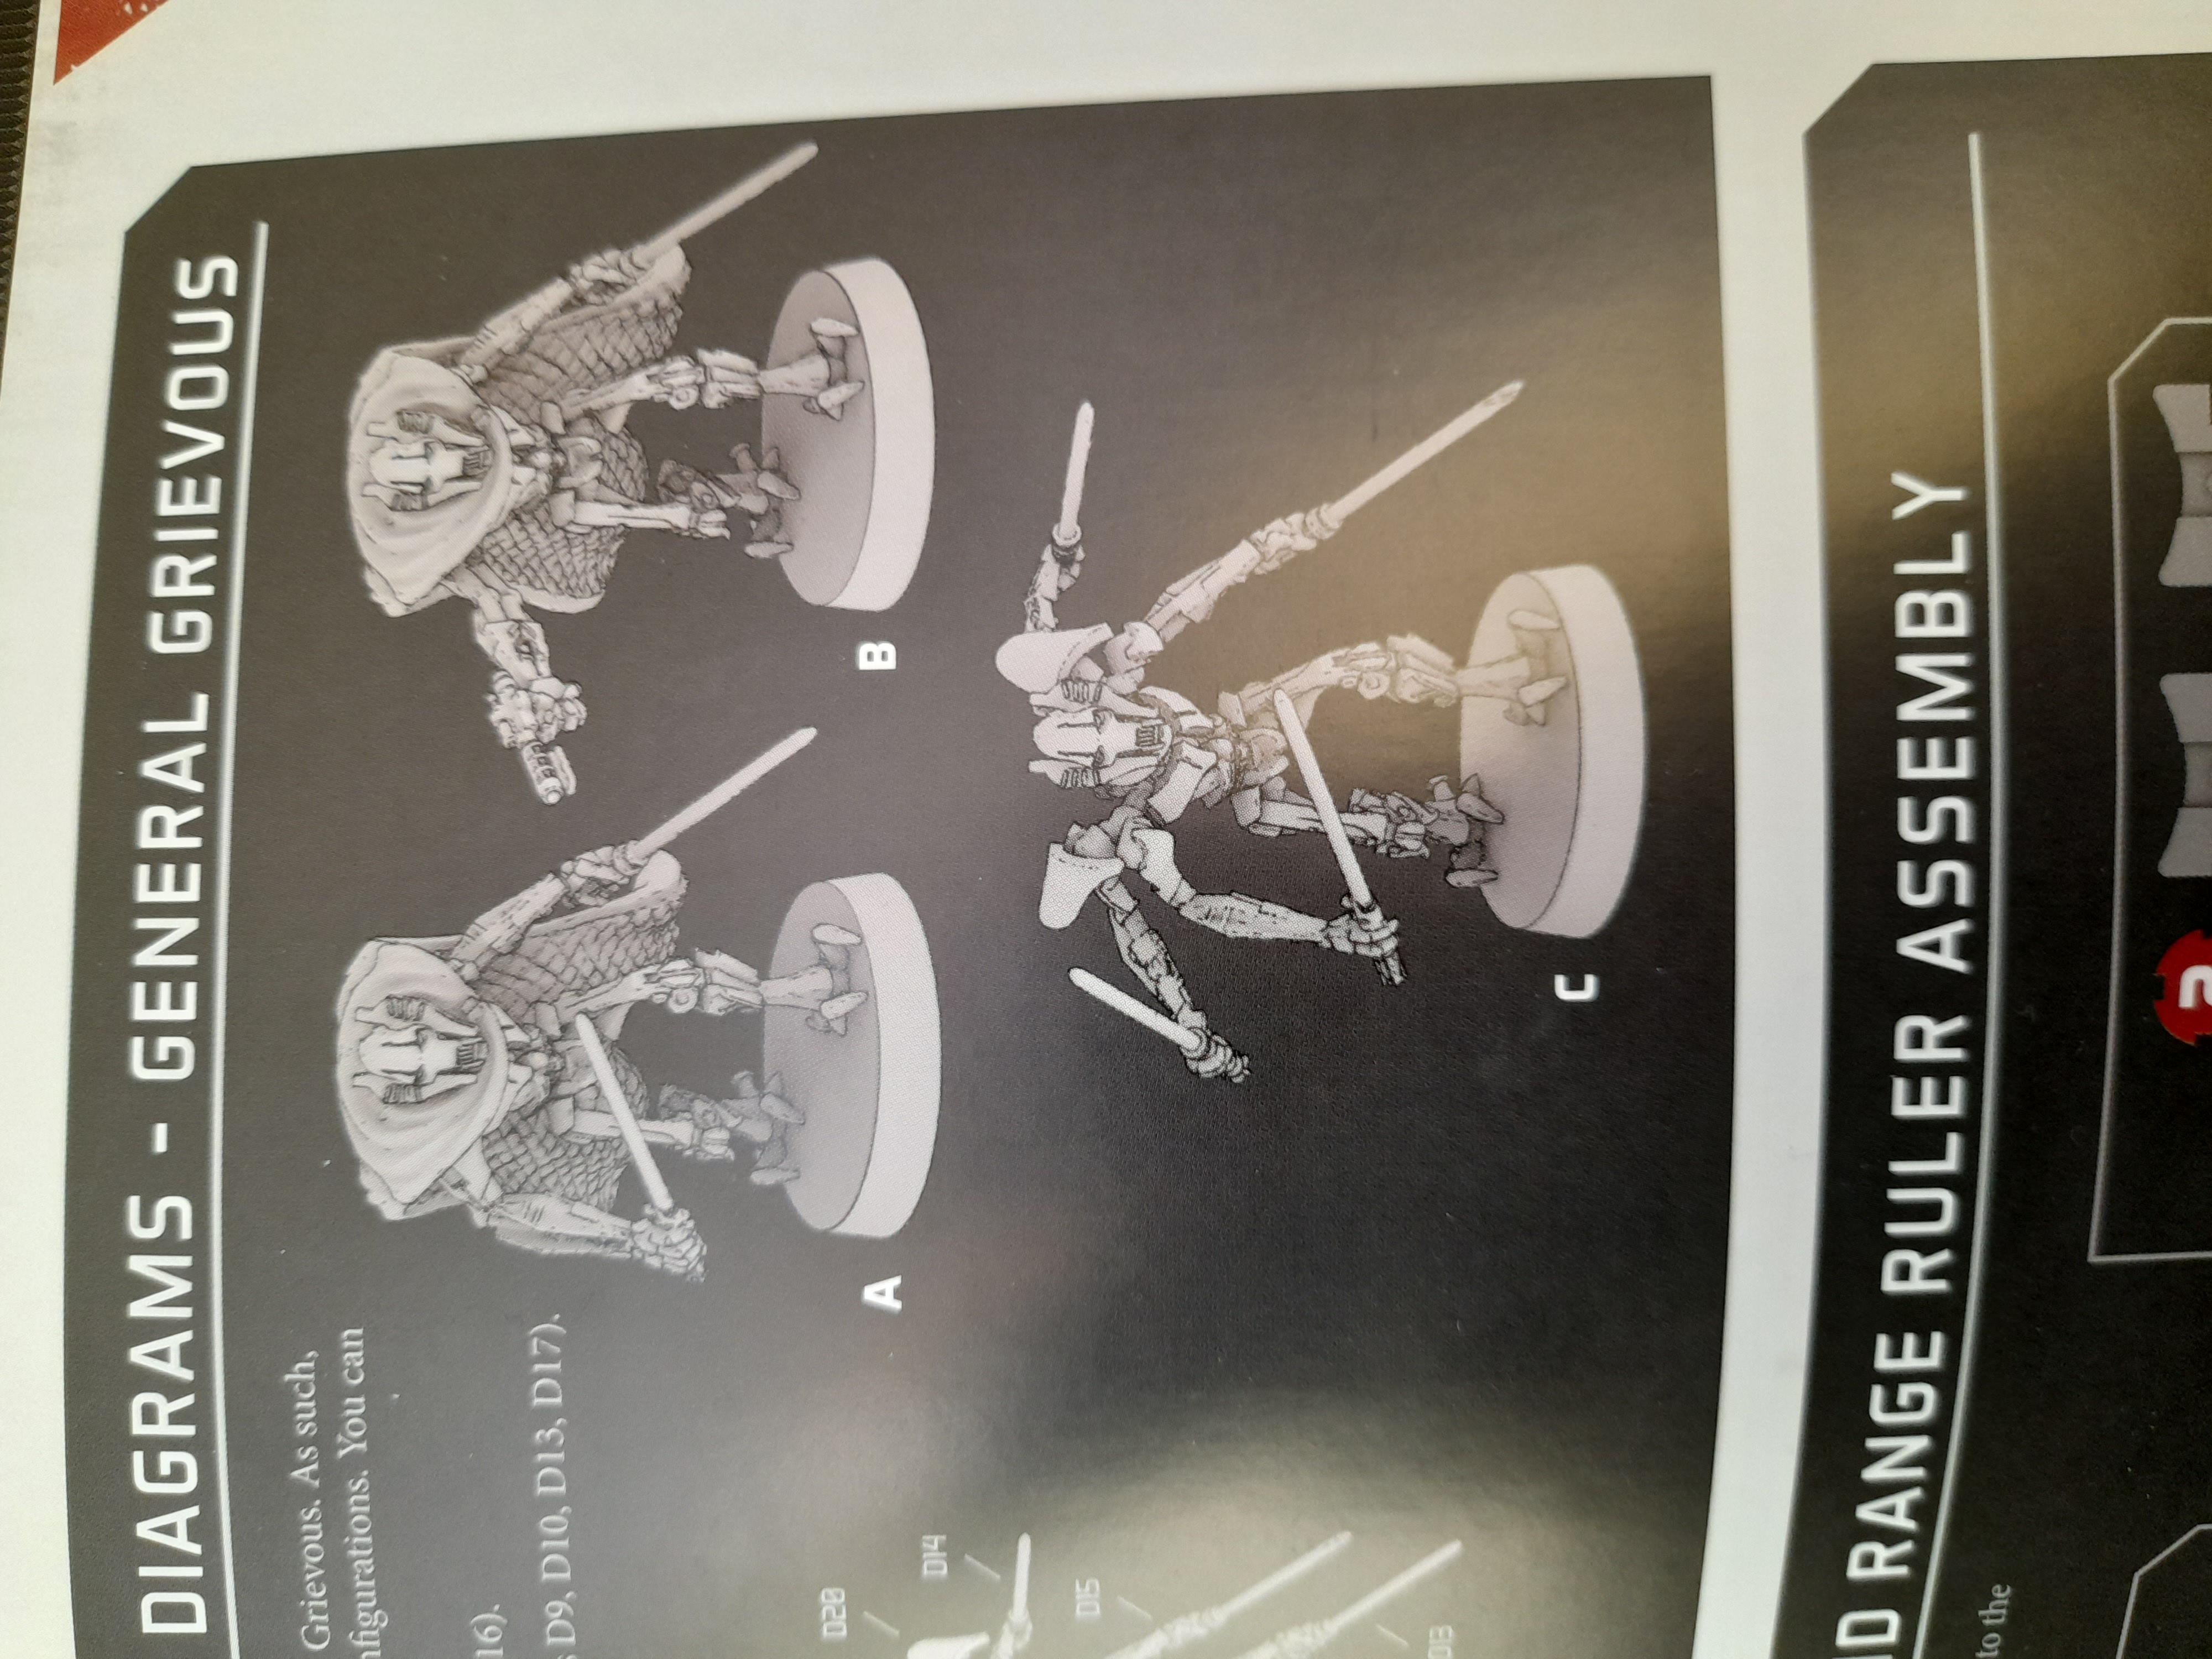
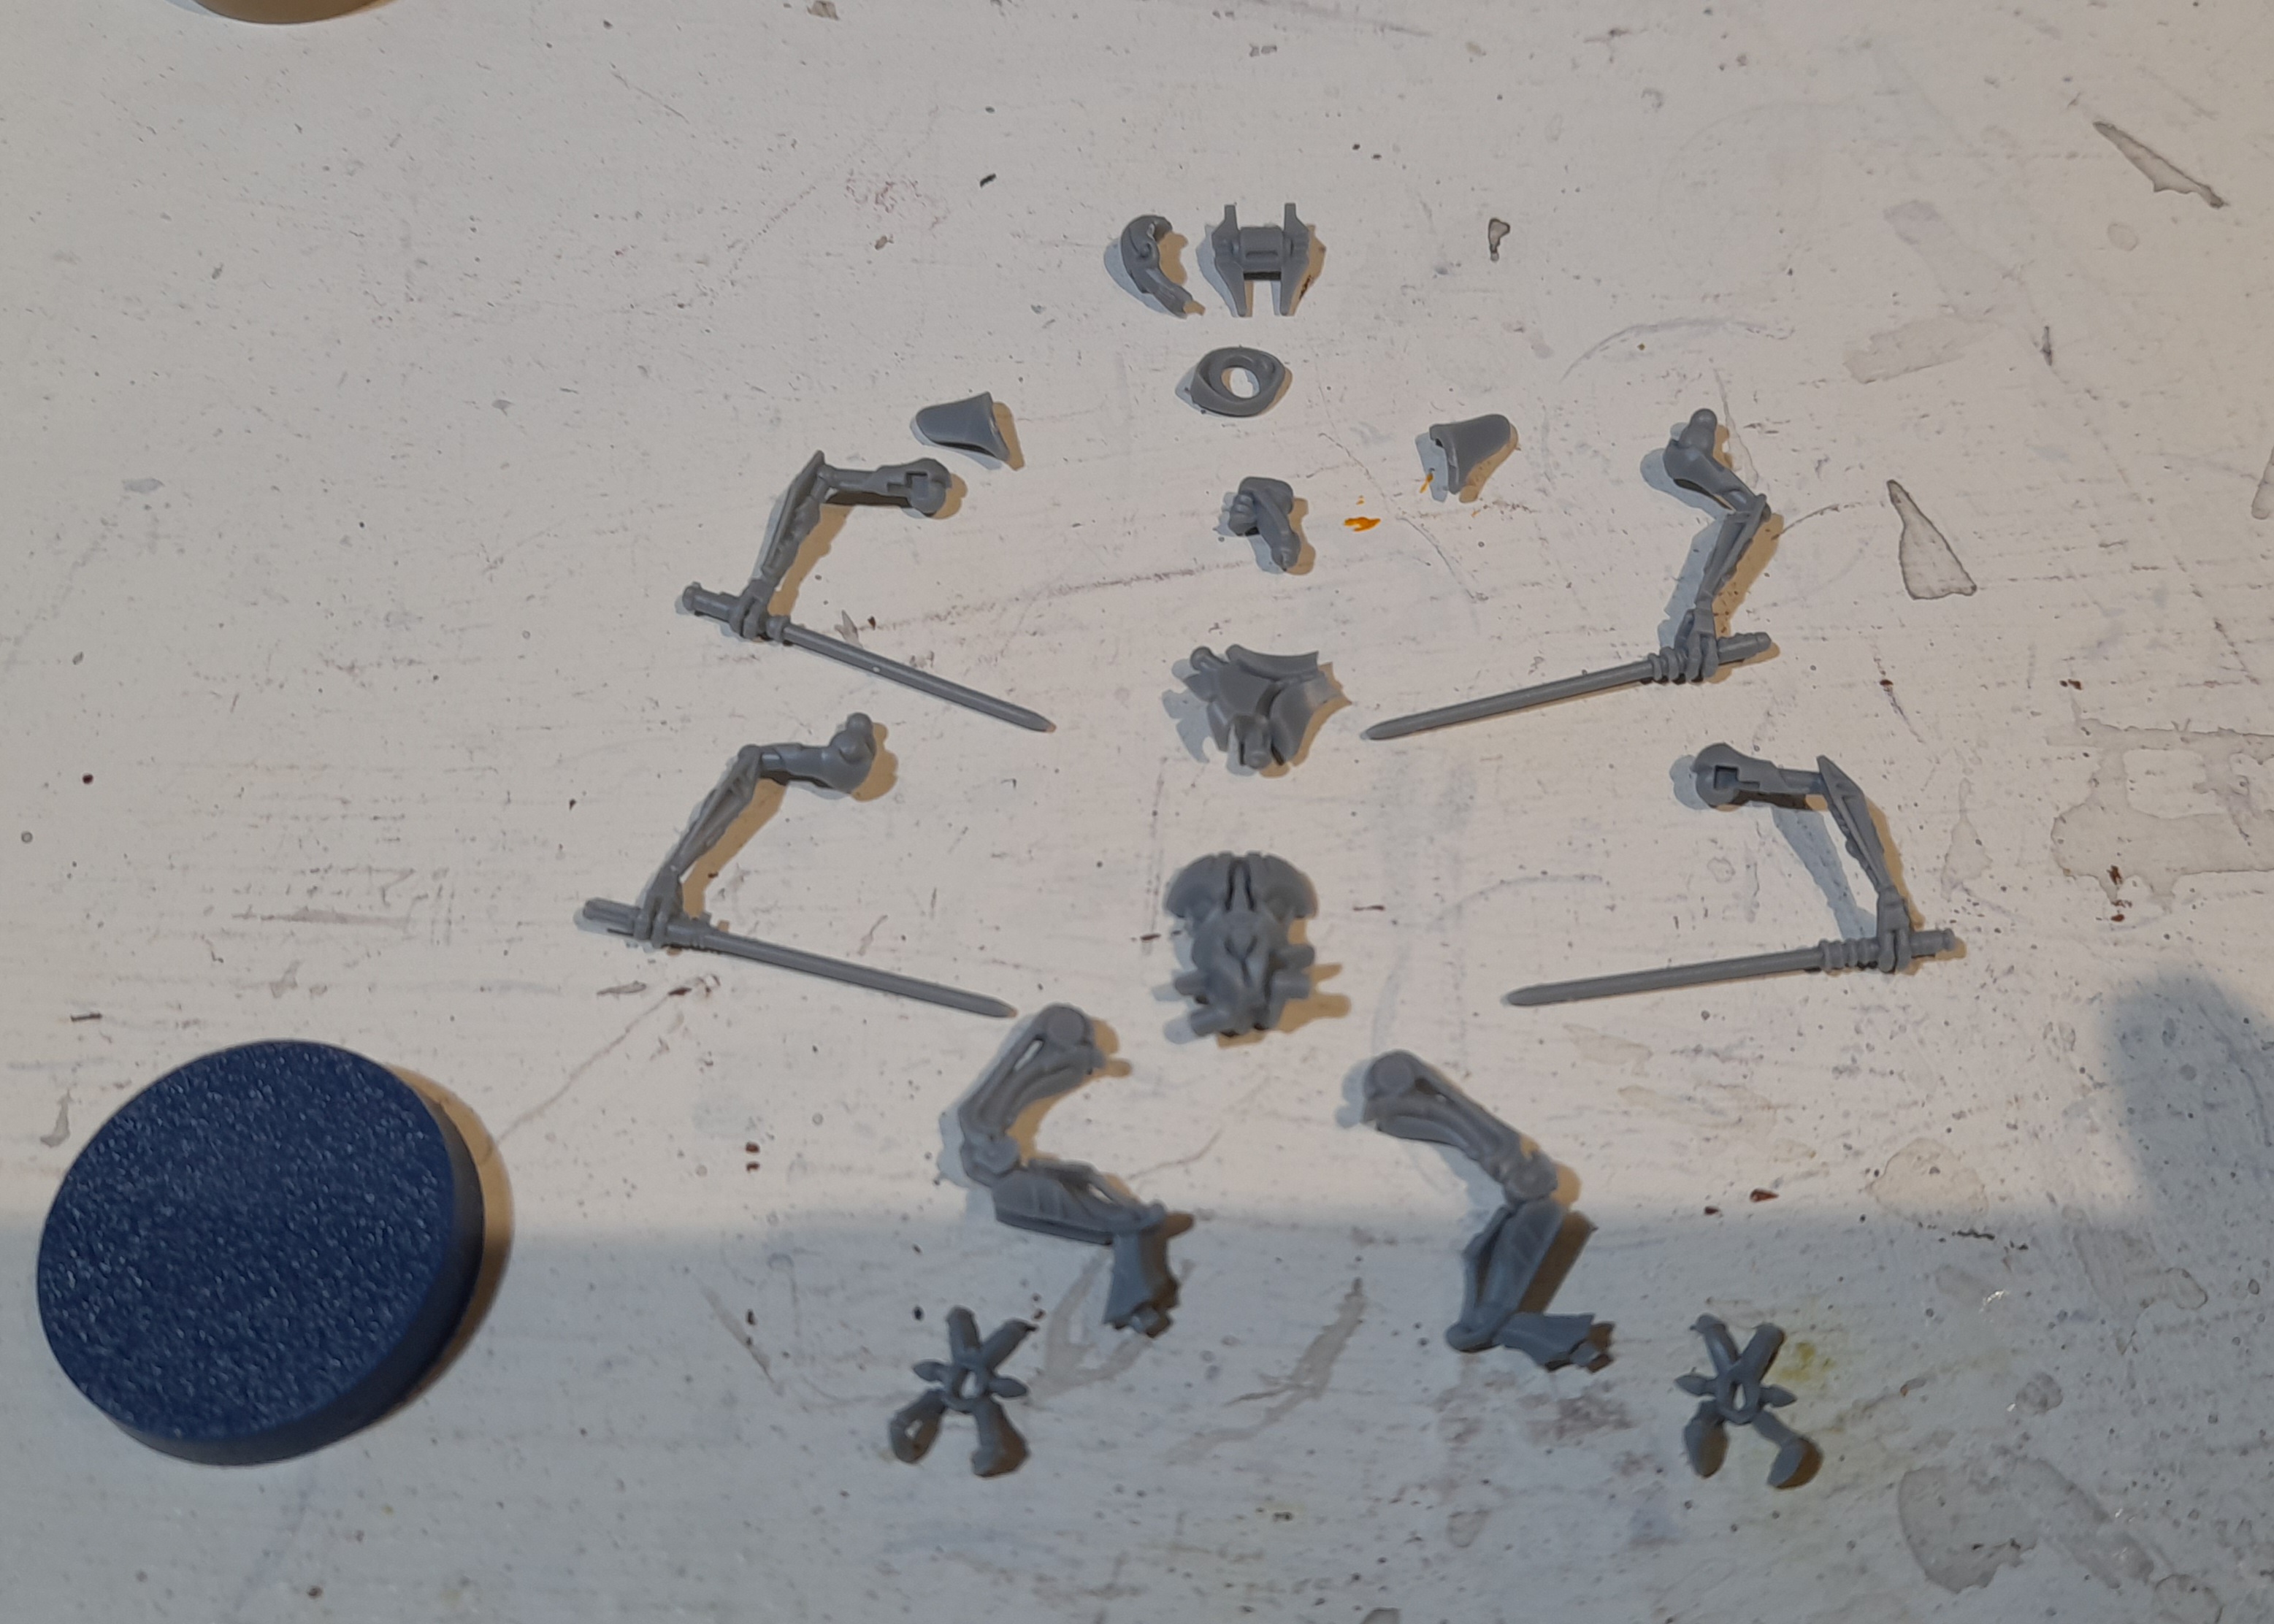
The version with four lightsabres grabbed me, but I also wanted to try it with the cloak.
Had a bit on an issue getting the feet to position correctly, and then came the arms 😊 These are a ball joint onto another ball joint, so kept moving on me. Additionally, since I wanted to fit the cloak I had to be careful about the shoulder positioning and suchlike.
After much prodding, moving around and blu tac to keep arms in place I finally got something that worked for me.
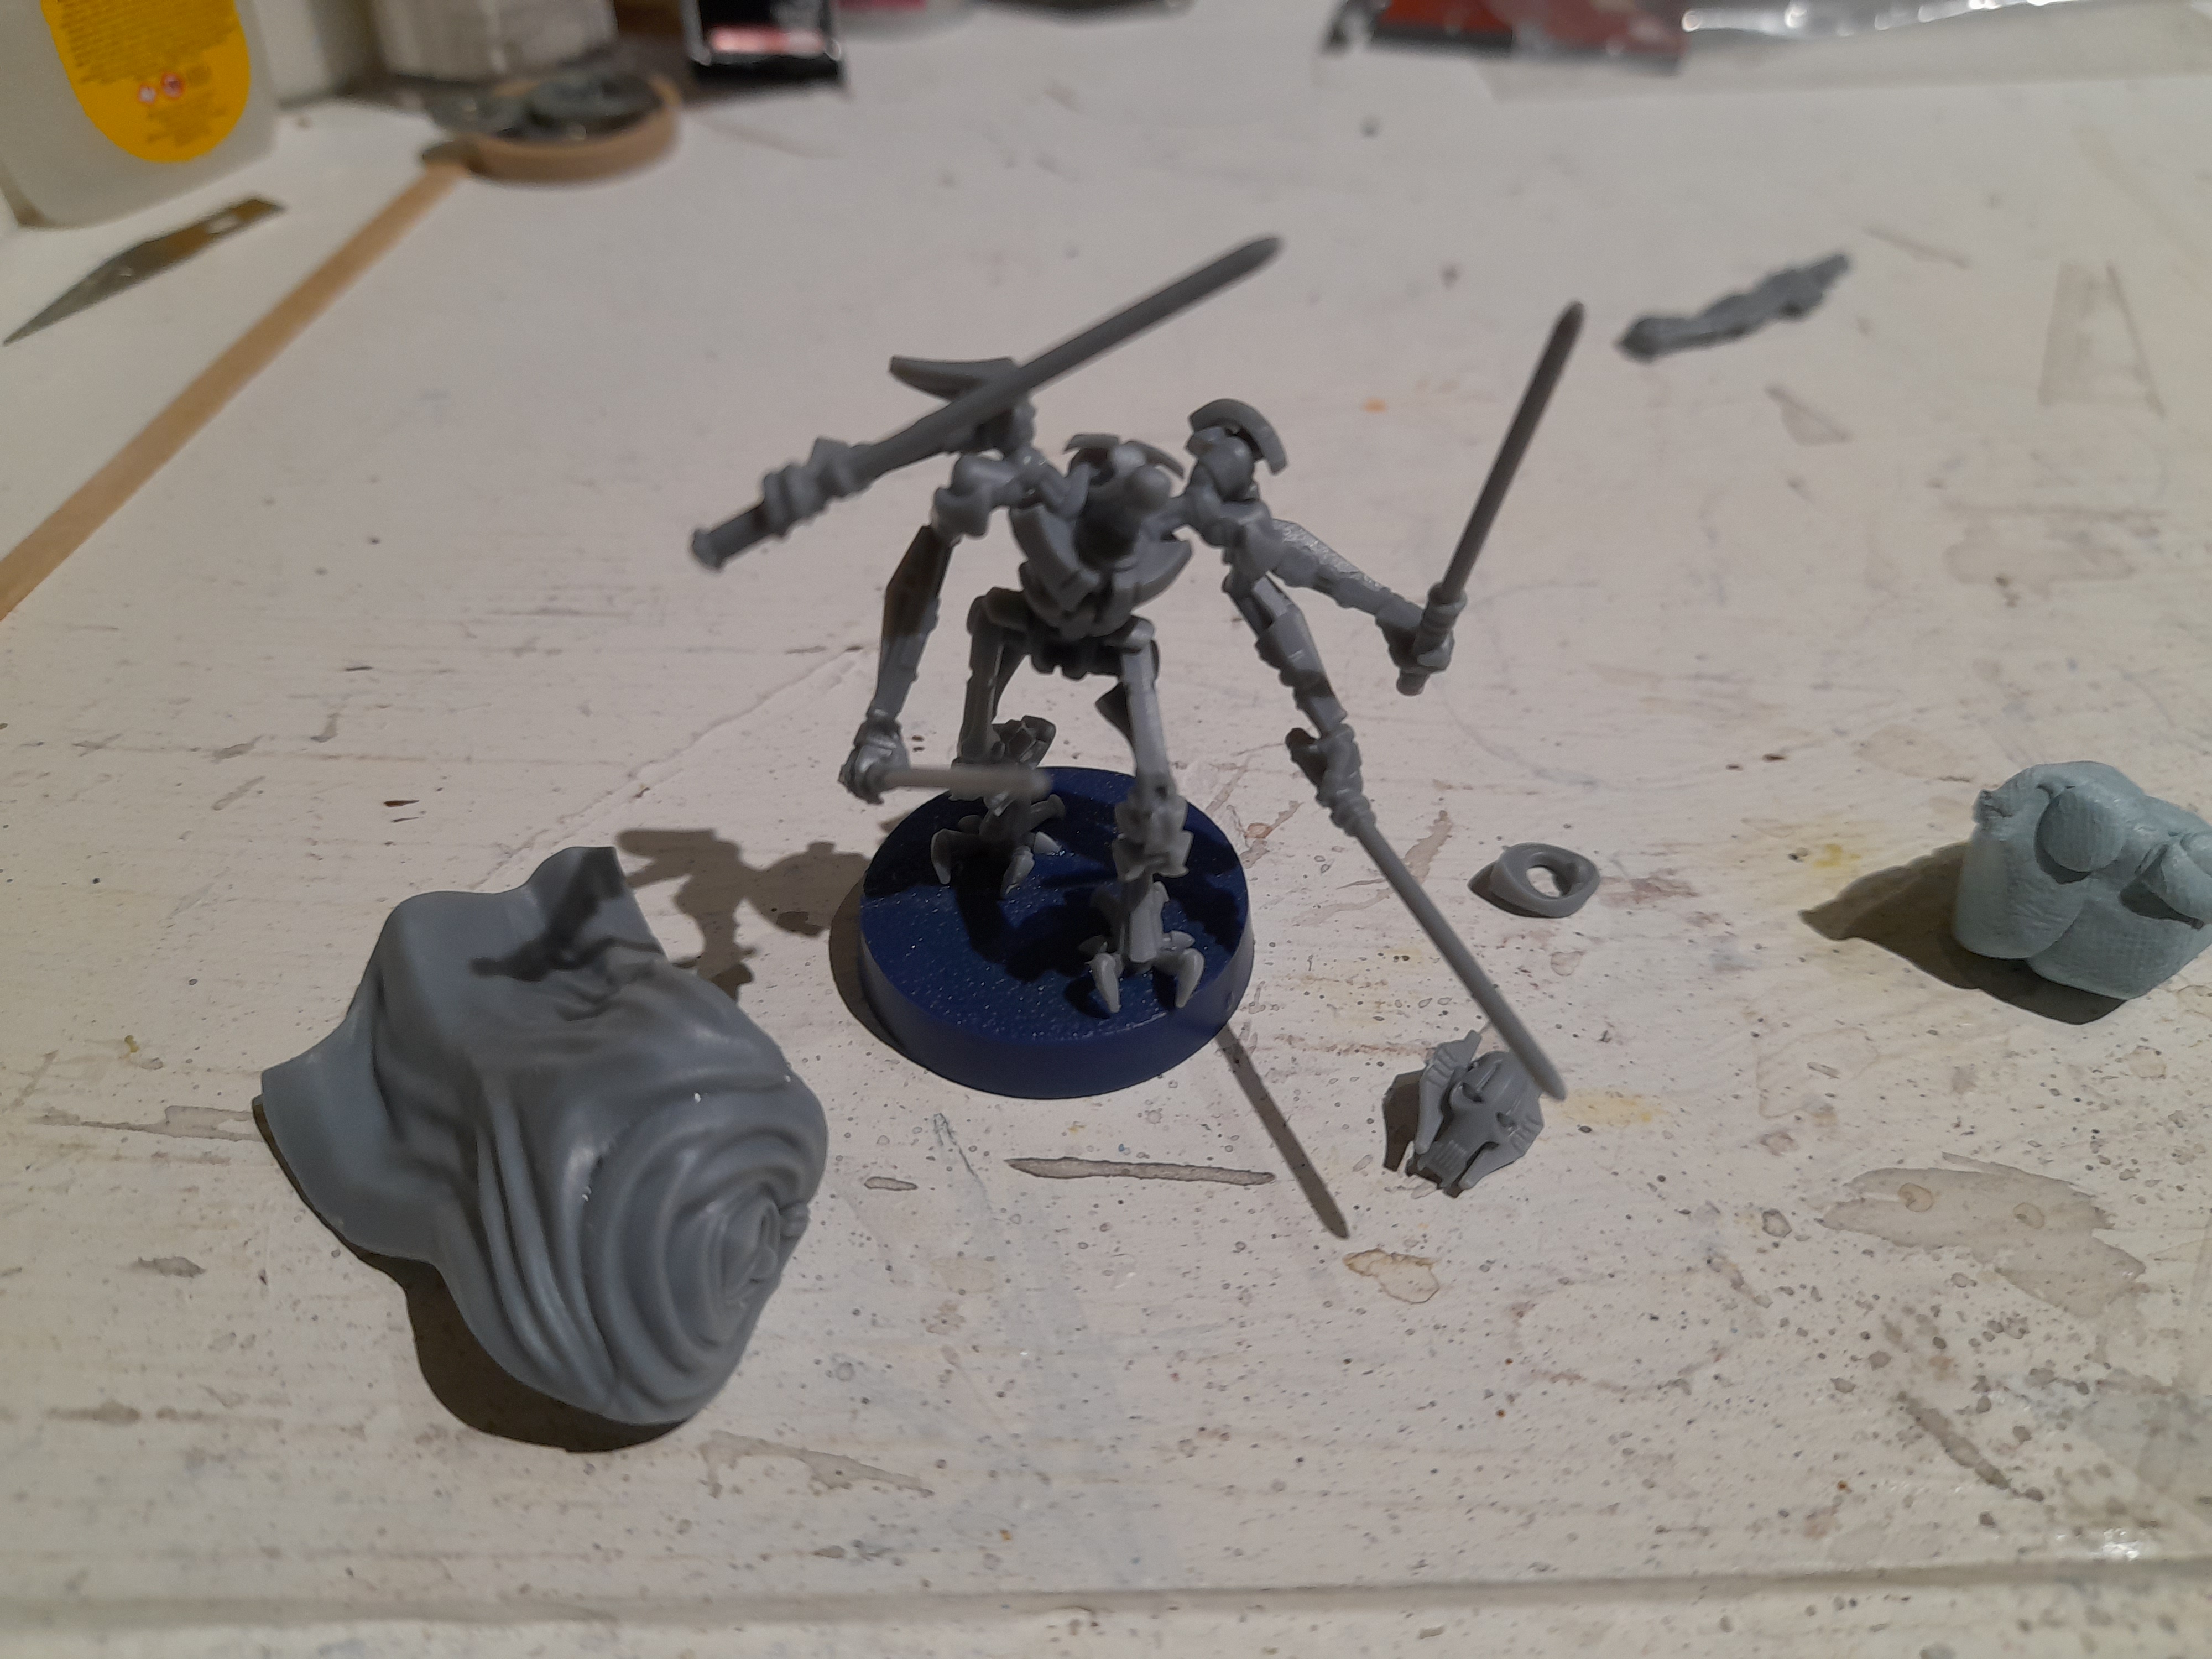

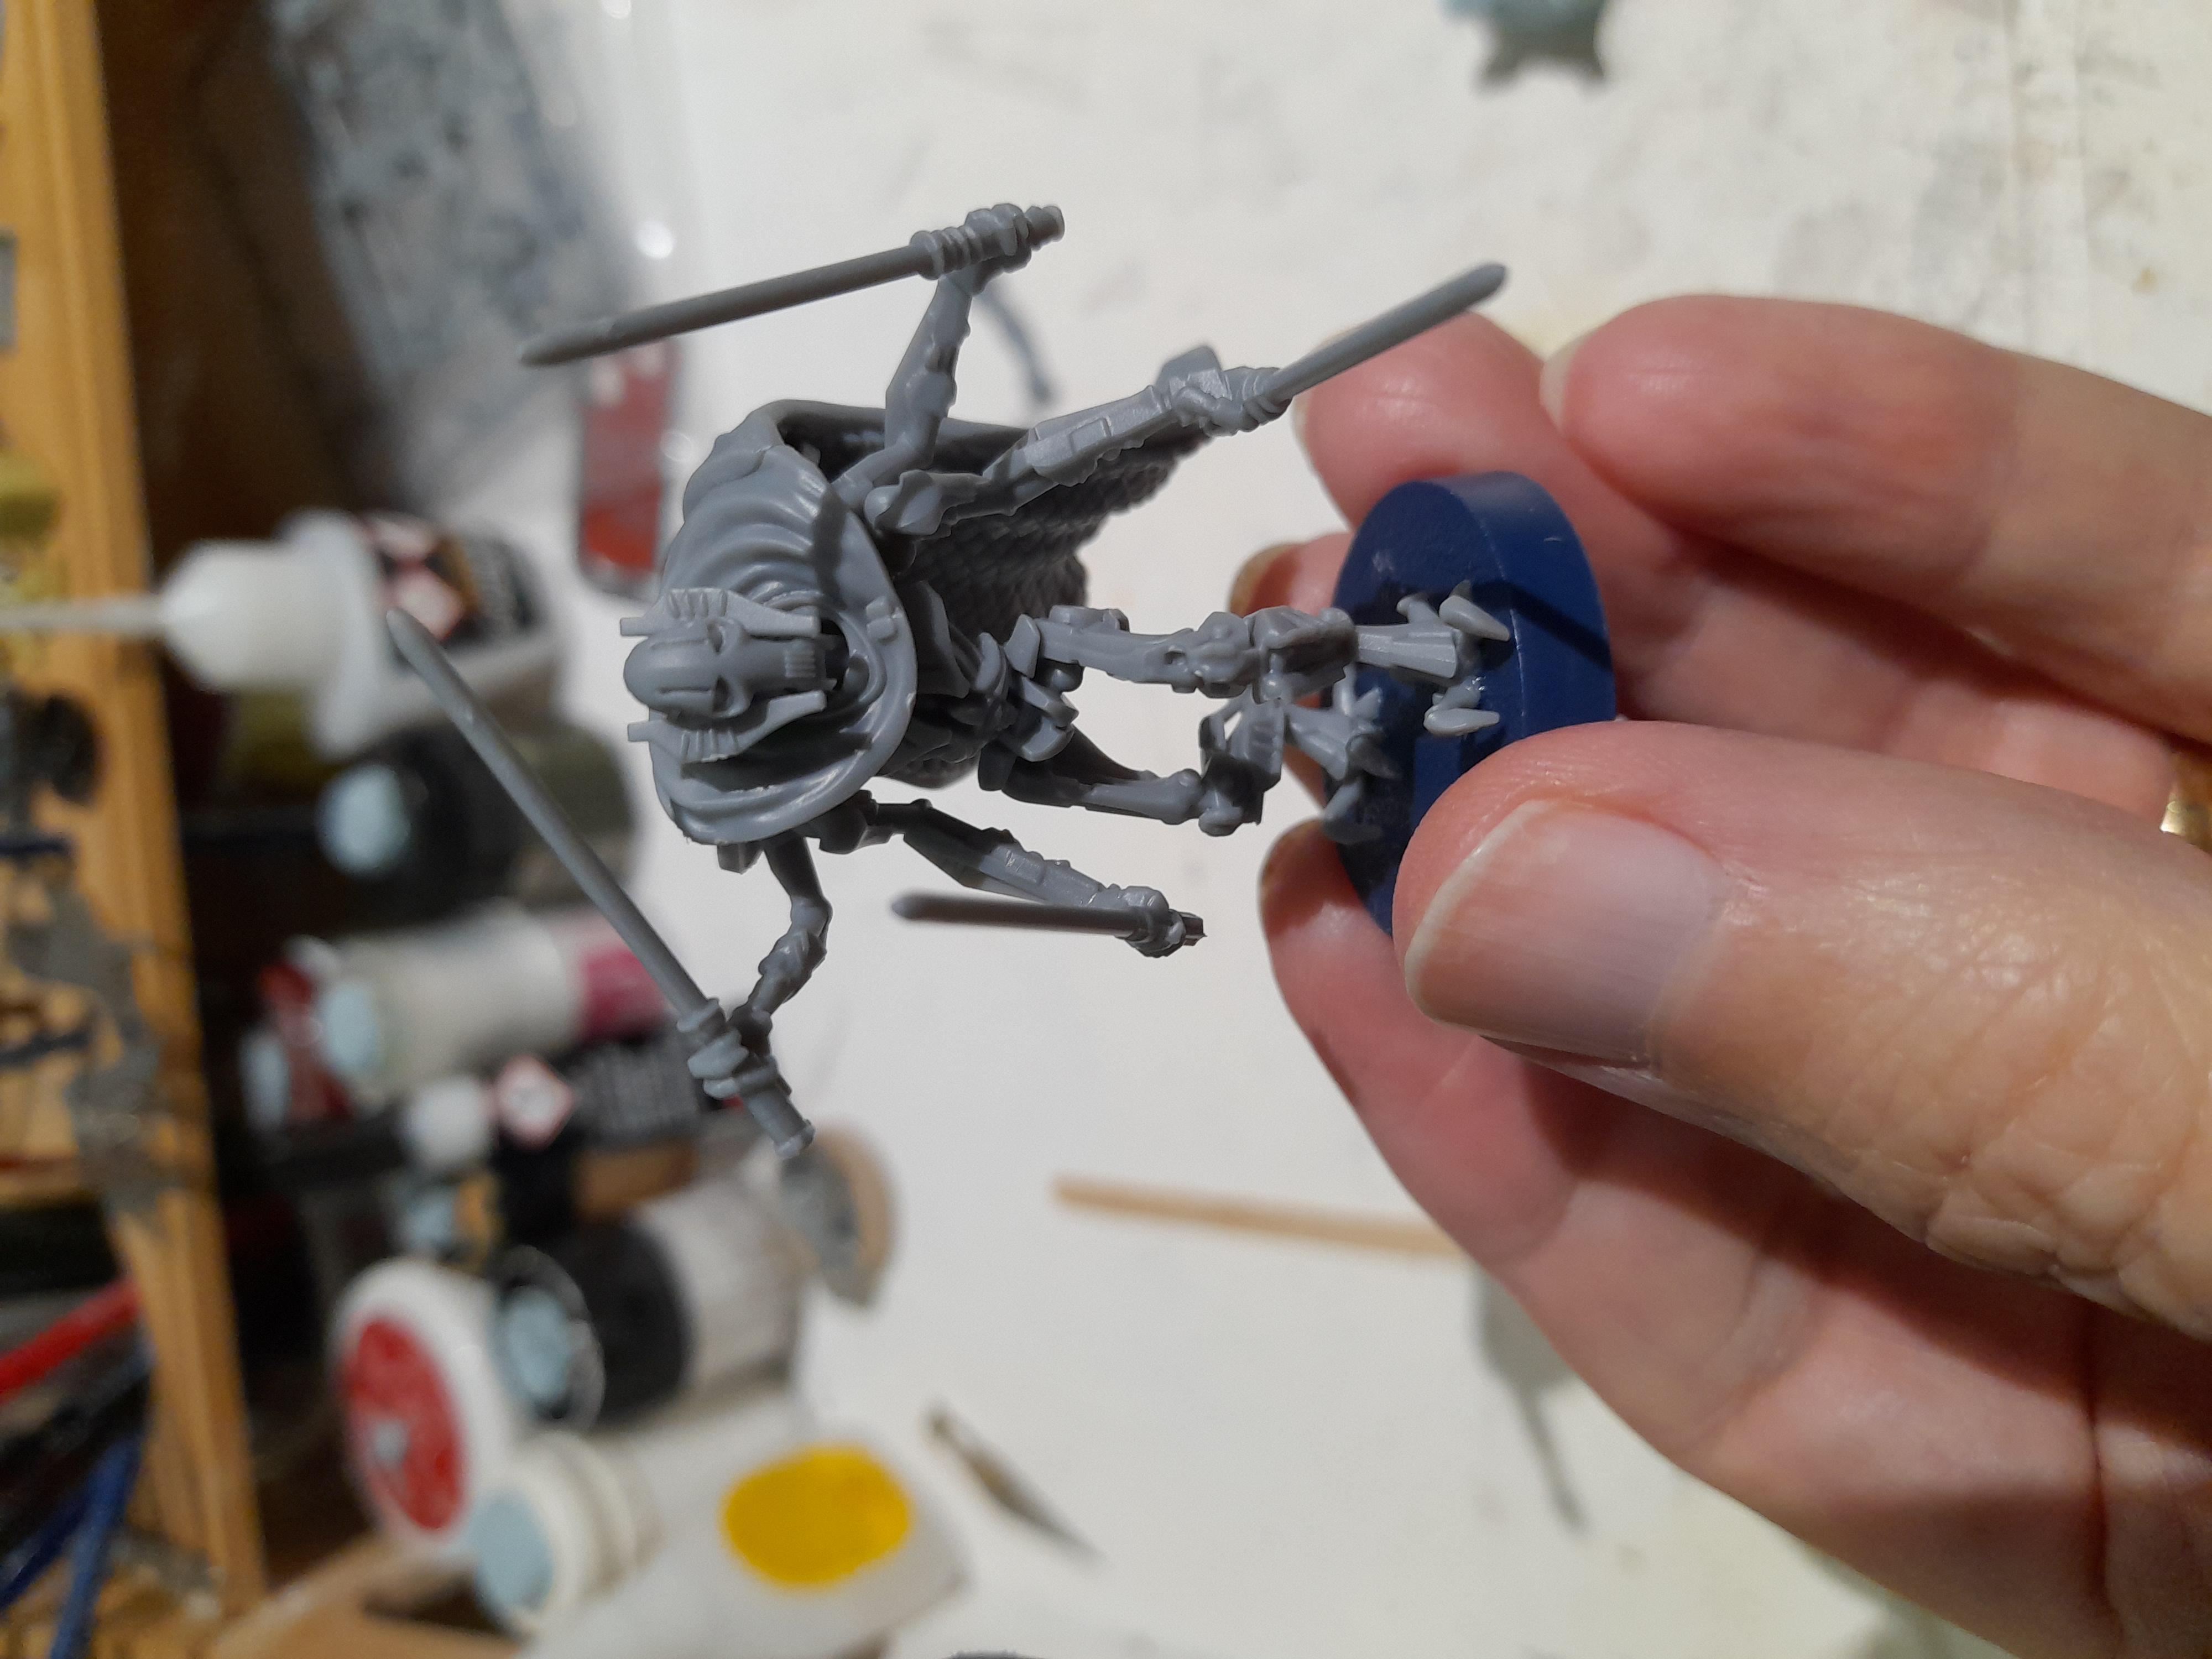
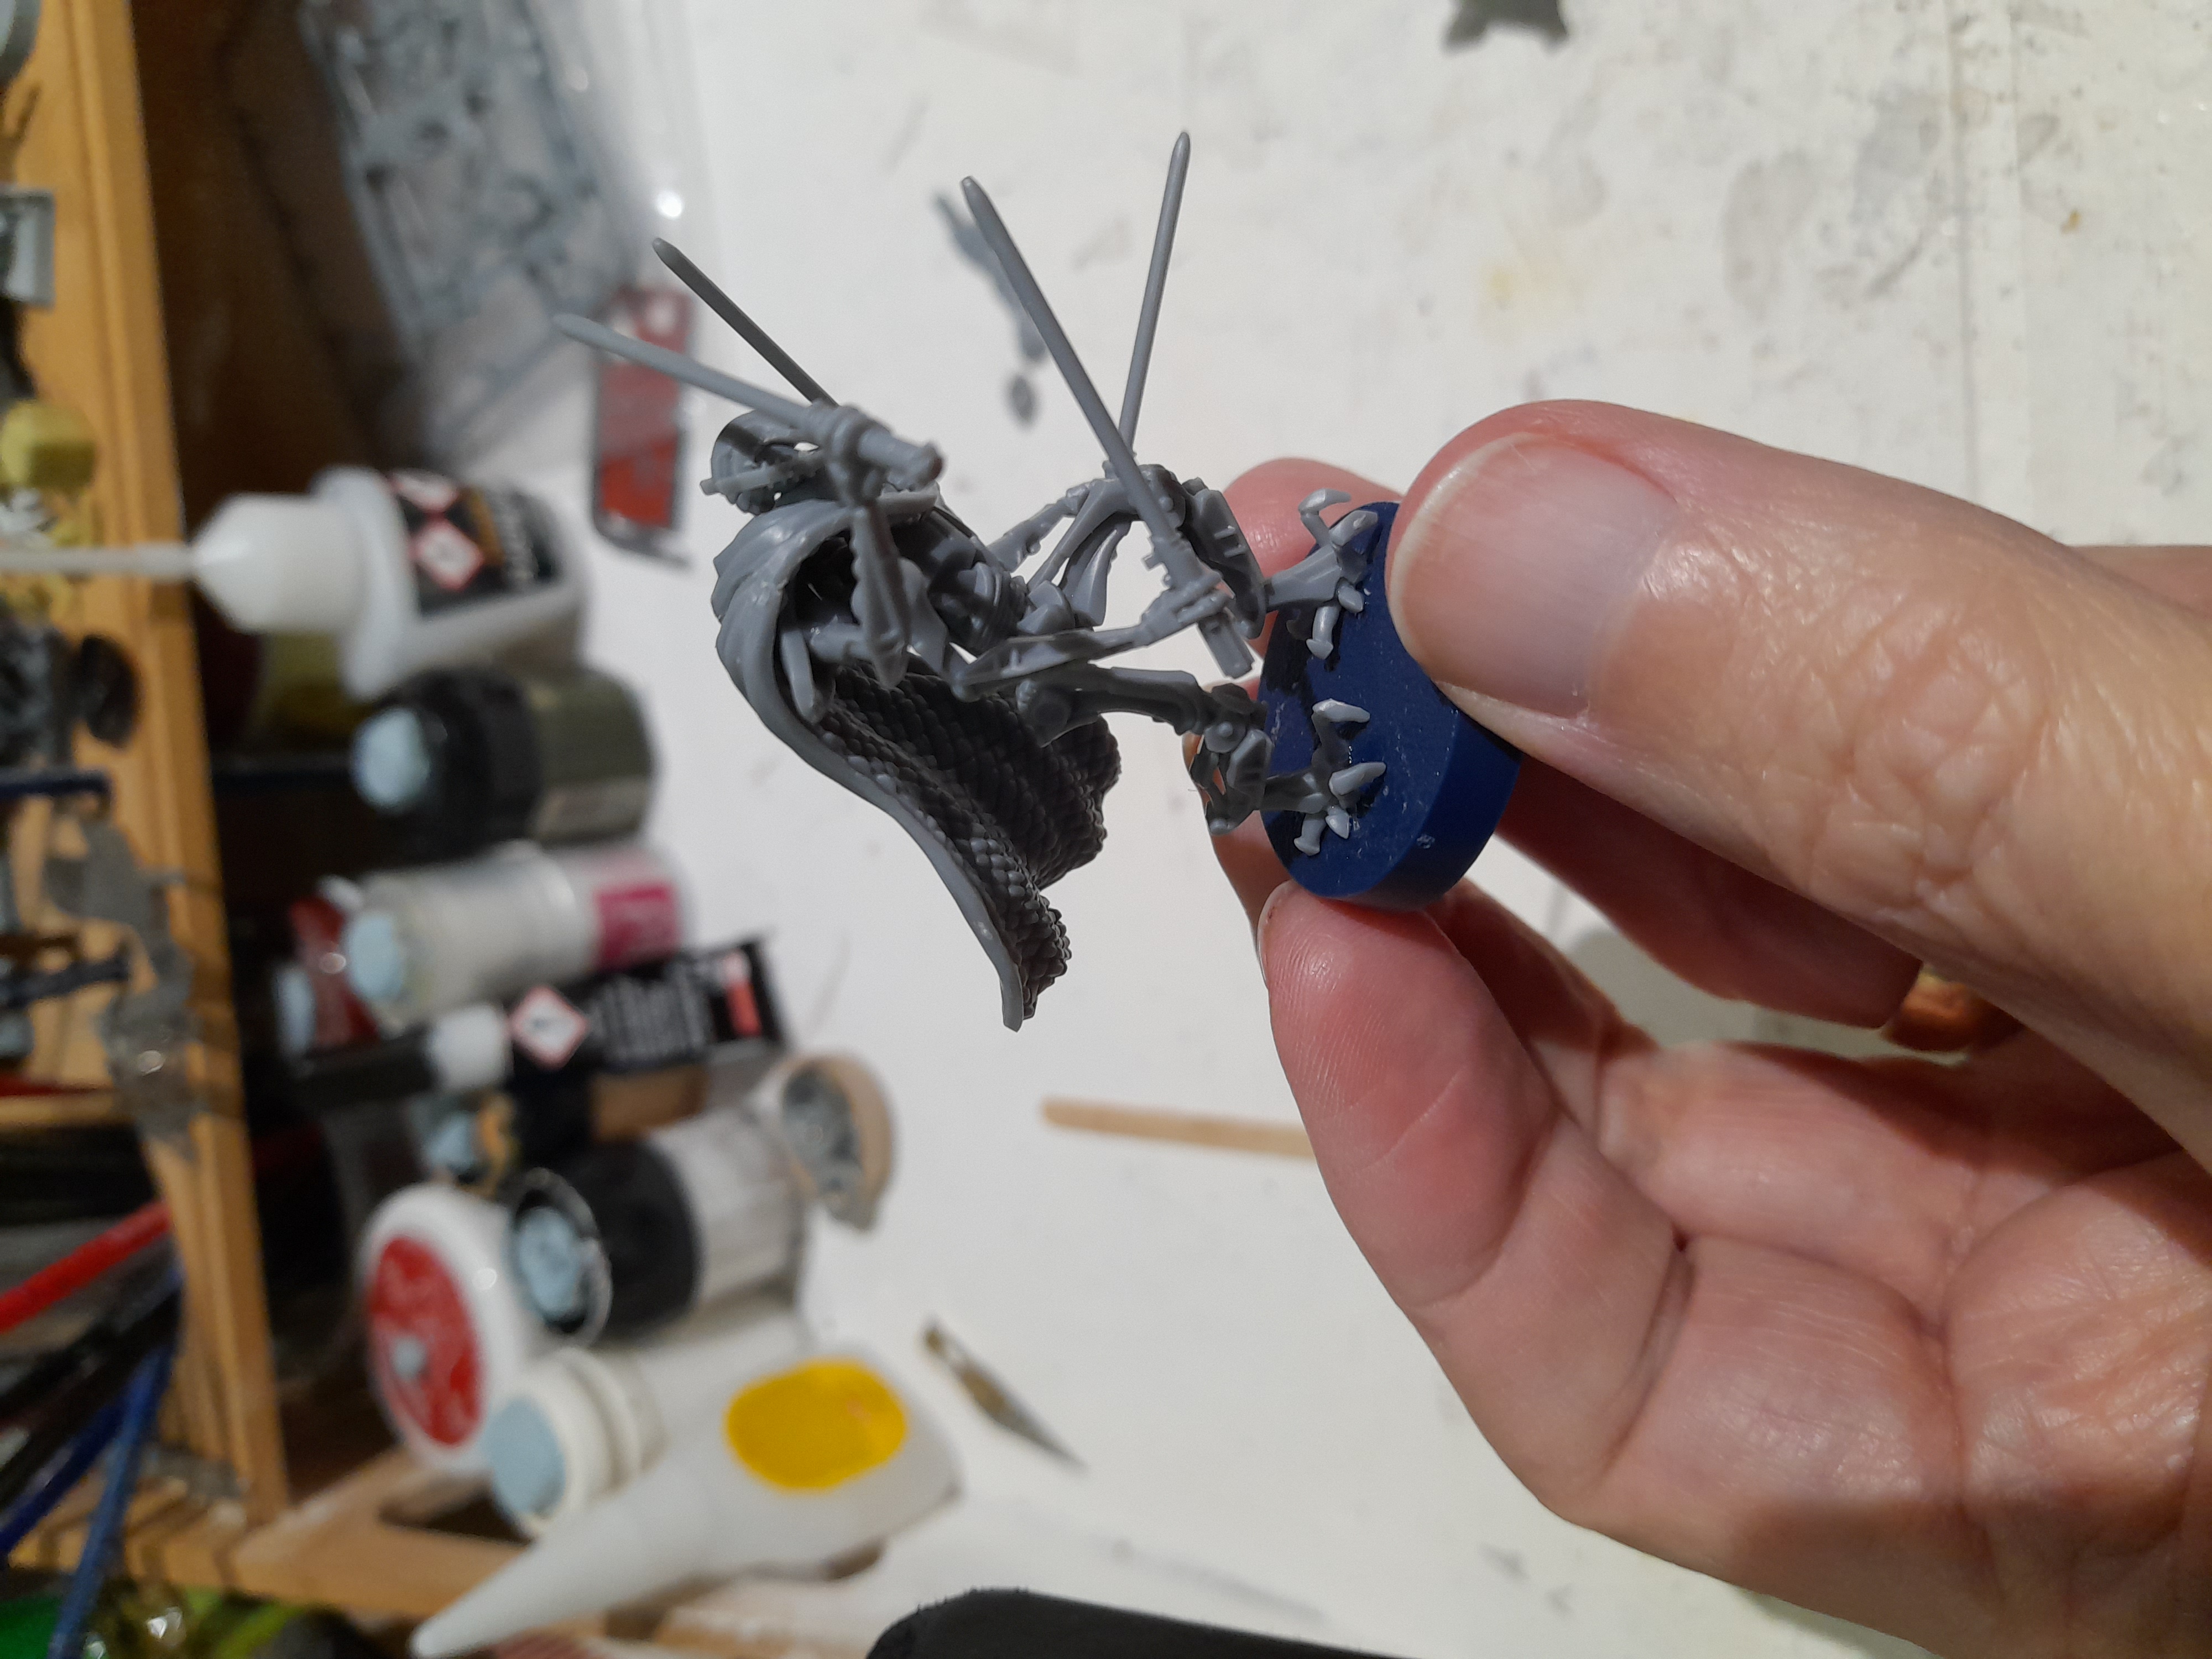
For painting though I will keep it with the cloak (and therefore head as well) off.
Basing Time
4th February 2024
Now came the basing chore…. ☹
Whenever I can’t decide on a specific basing method I fall back on the standard sand and gravel mix. This will match my Clones anyway, so is probably for the best. I couldn’t find my usual mix, so had to knock up a new one.
Then it was onto the slow laborious process of basing all of the models. For the large bases I left the marking lines clear for in game use.
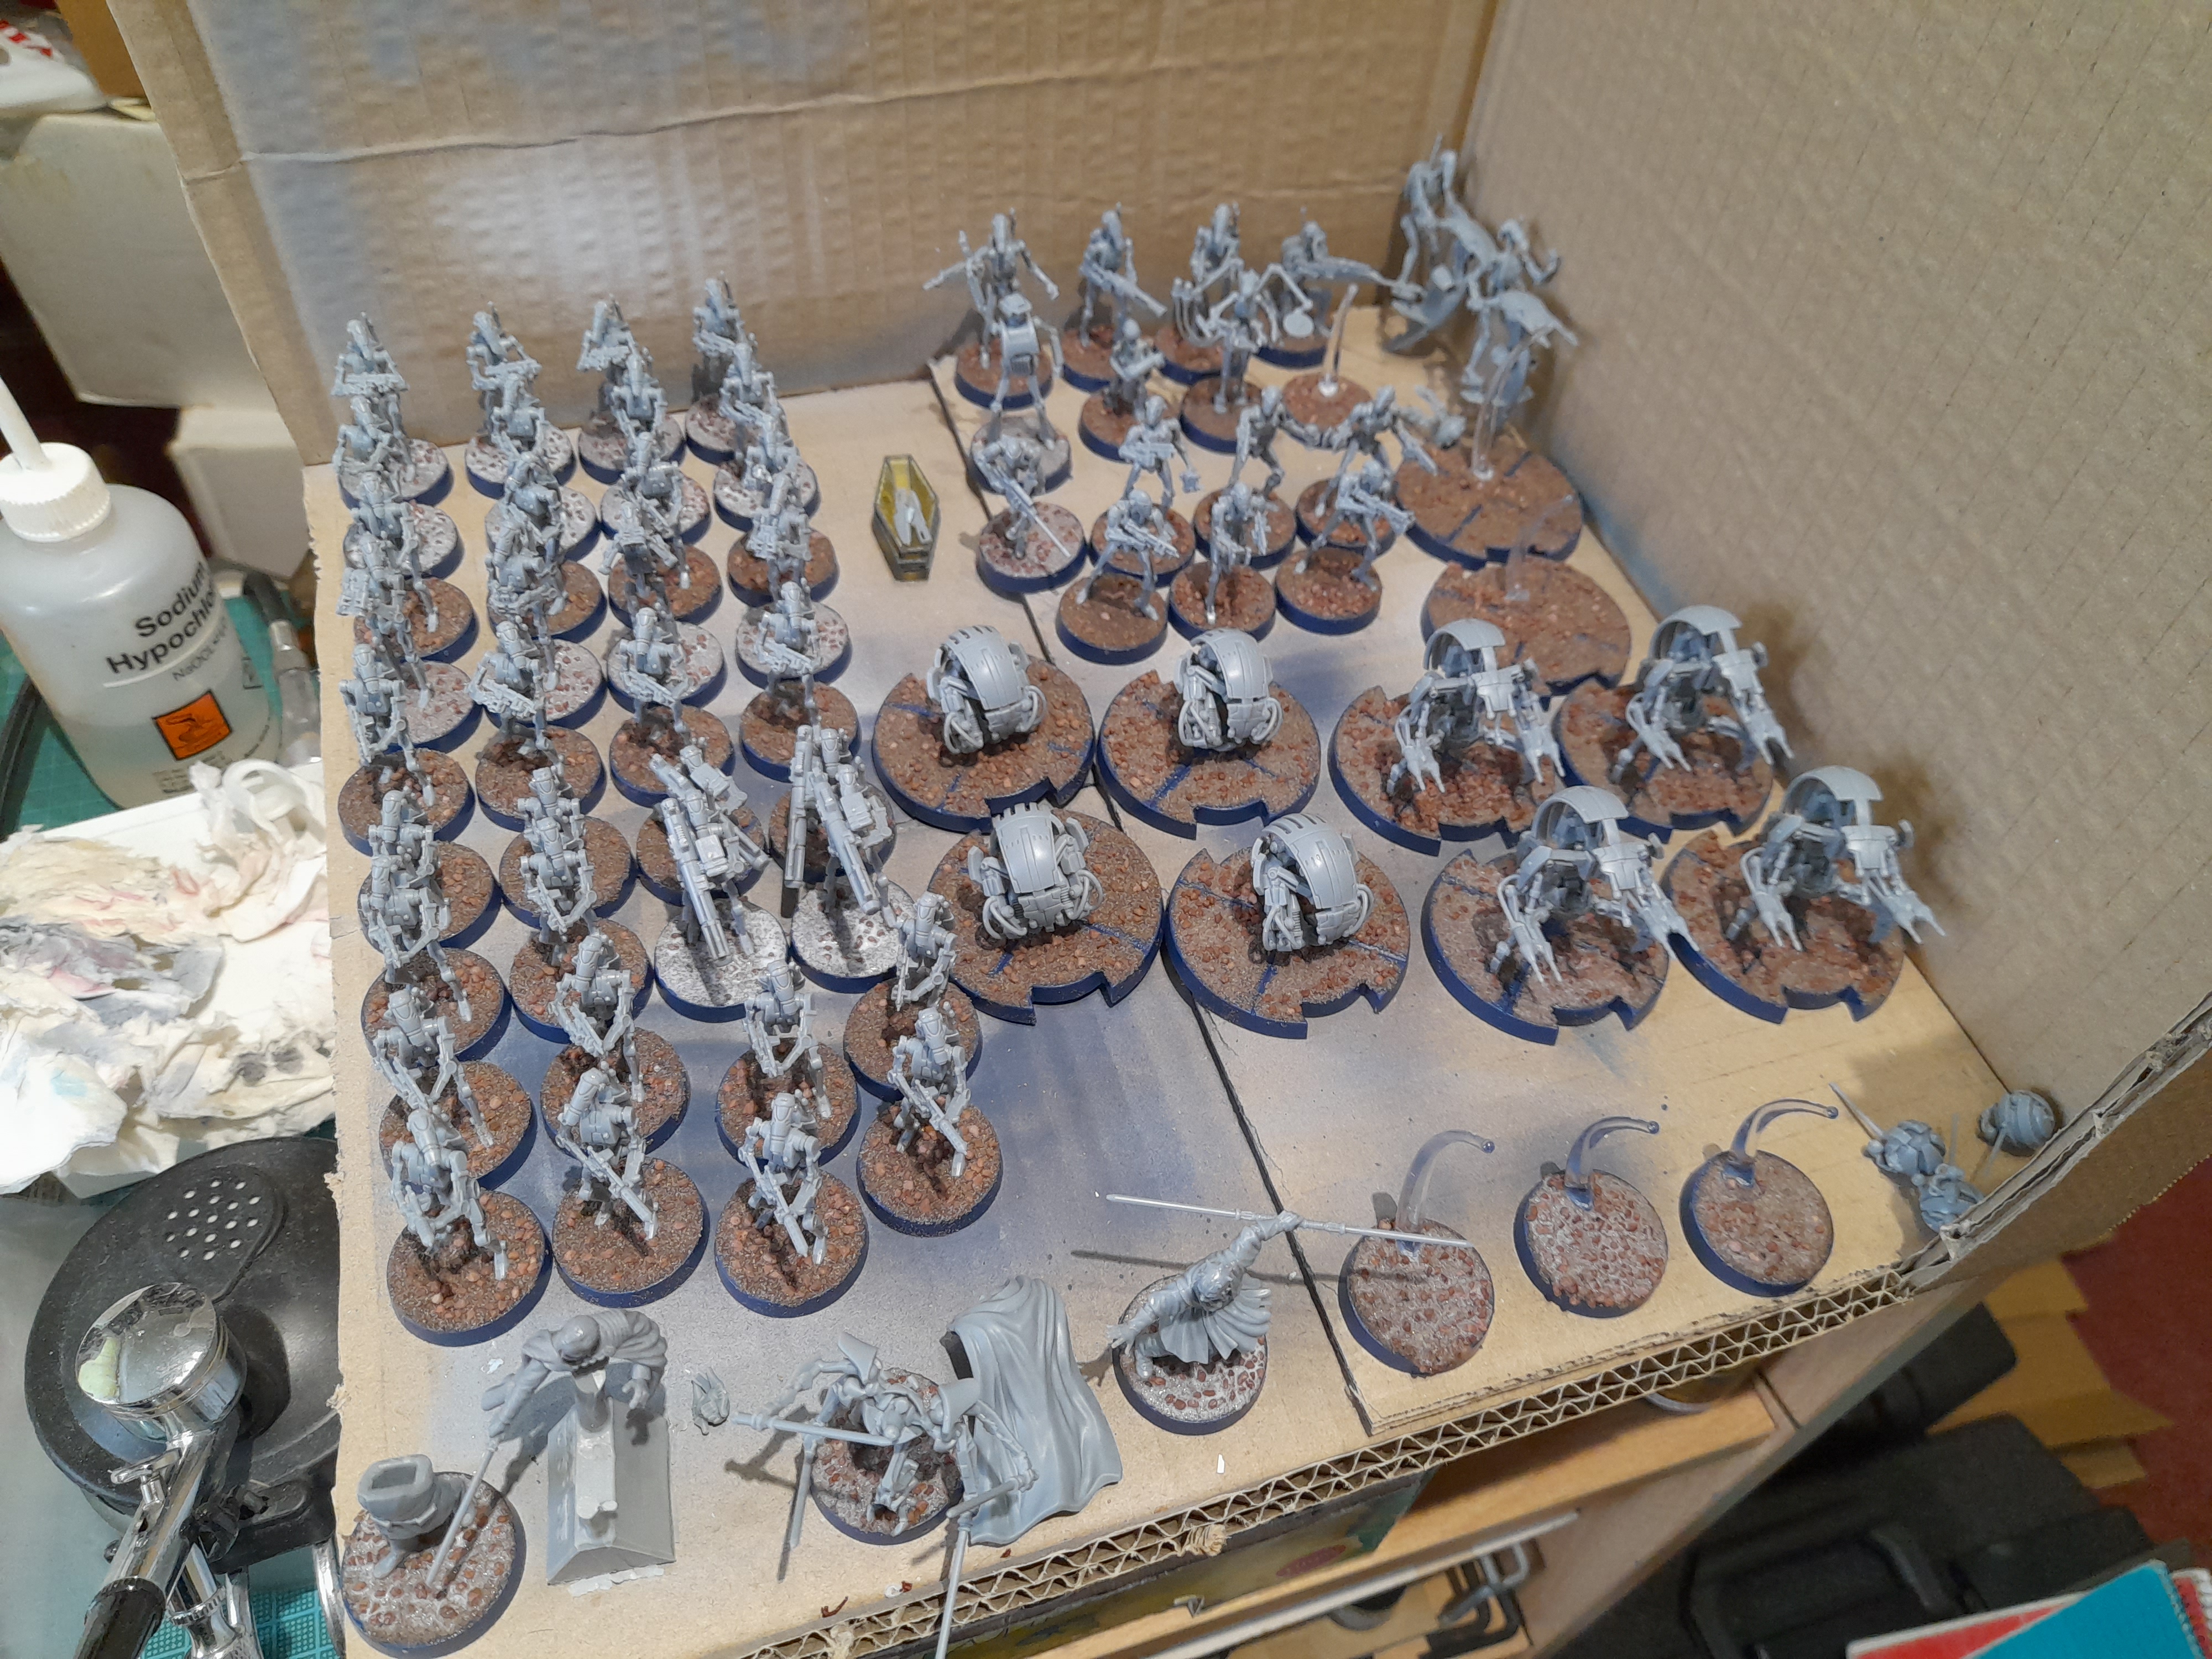
Primed
10th February 2024
Haven’t really had much hobby time, but I have managed to get the minis primed.
The majority of the droids are in wraithbone. The Droidekas are leadbelcher and the rest are grey (couldn’t find black for the sith).
Not sure when I will get the painting underway, but hopefully soon…
Primed
10th February 2024
Haven’t really had much hobby time, but I have managed to get the minis primed.
The majority of the droids are in wraithbone. The Droidekas are leadbelcher and the rest are grey (couldn’t find black for the sith).

Not sure when I will get the painting underway, but hopefully soon…
Starting on the B1’s
14th February 2024
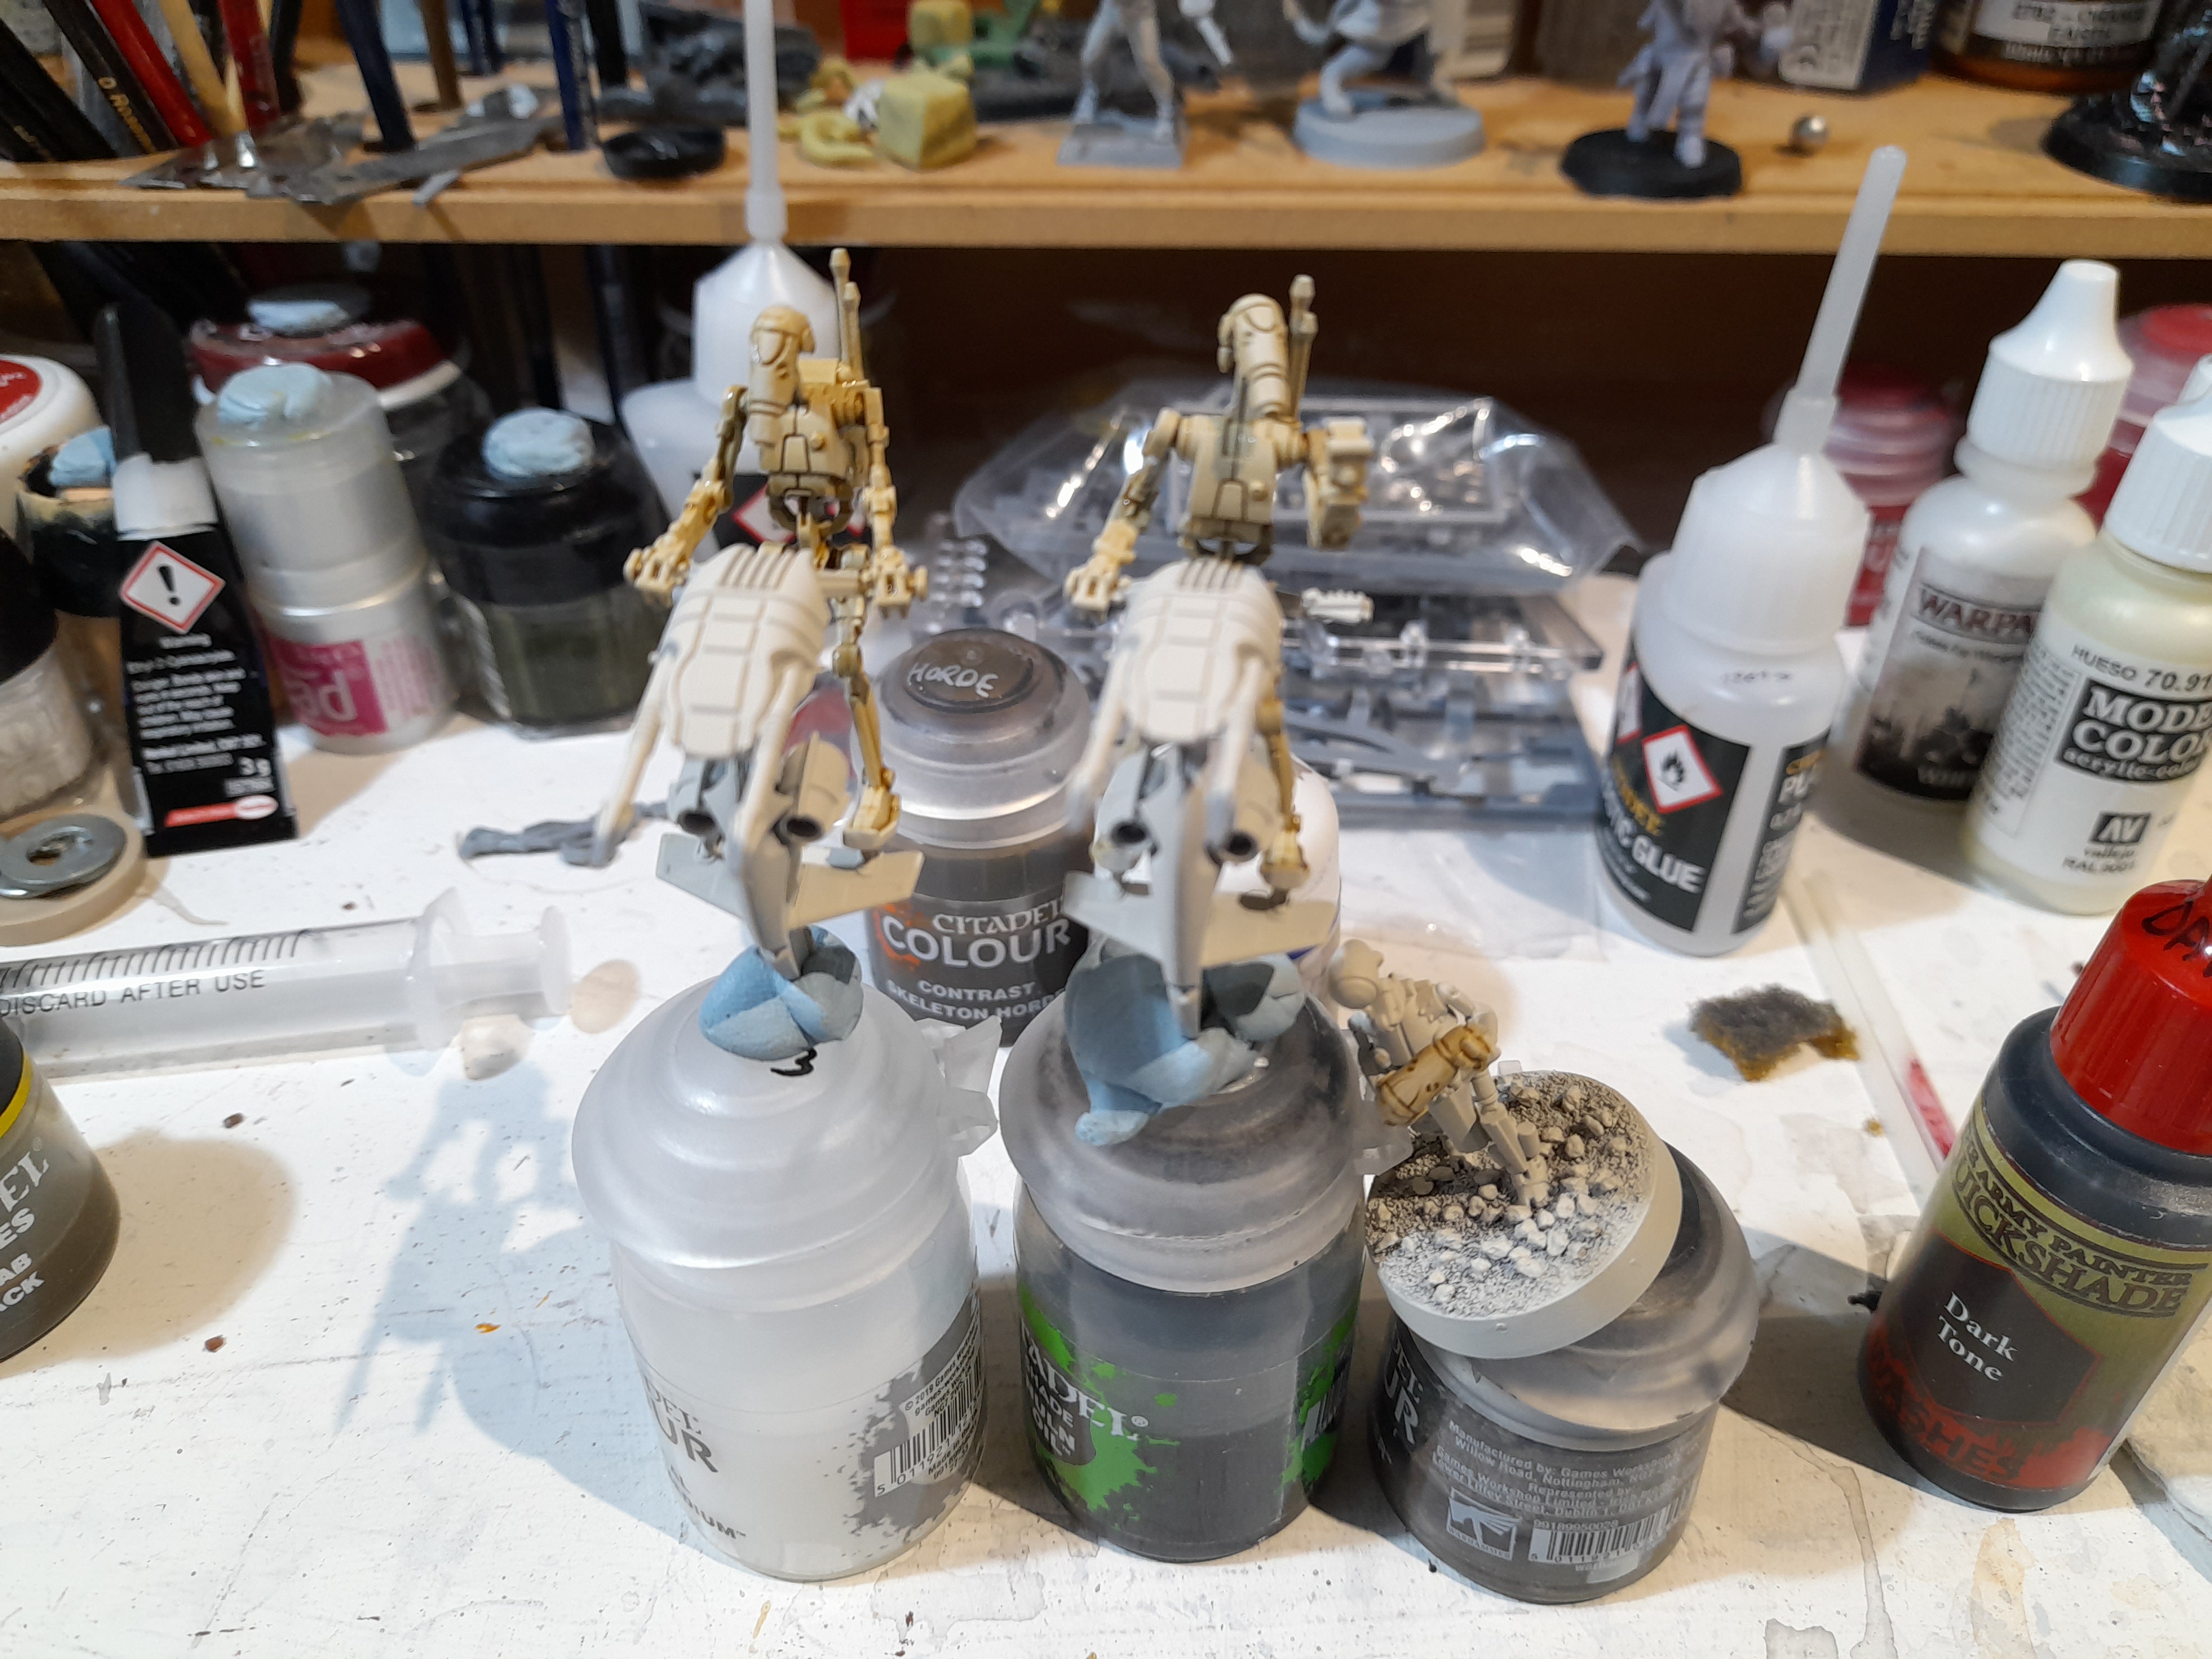
For the B1’s I knew that I wanted to try using contrast, in the hope that it would give an acceptable finish in reasonable time. However, I felt that using pure Skeleton Horde would be a bit too dark.
So, I planned to use a 50:50 mix of Skeleton Horde and Contrast Medium. Quick visit to an online retailer and some 5ml plastic syringes came in the post…
This allowed me to accurately measure out a mix of the paints, so that it would be repeatable for the future (in case I didn’t make enough to start with, or needed to paint more droids at a later date).
Started out on a test model, and it looked ok.
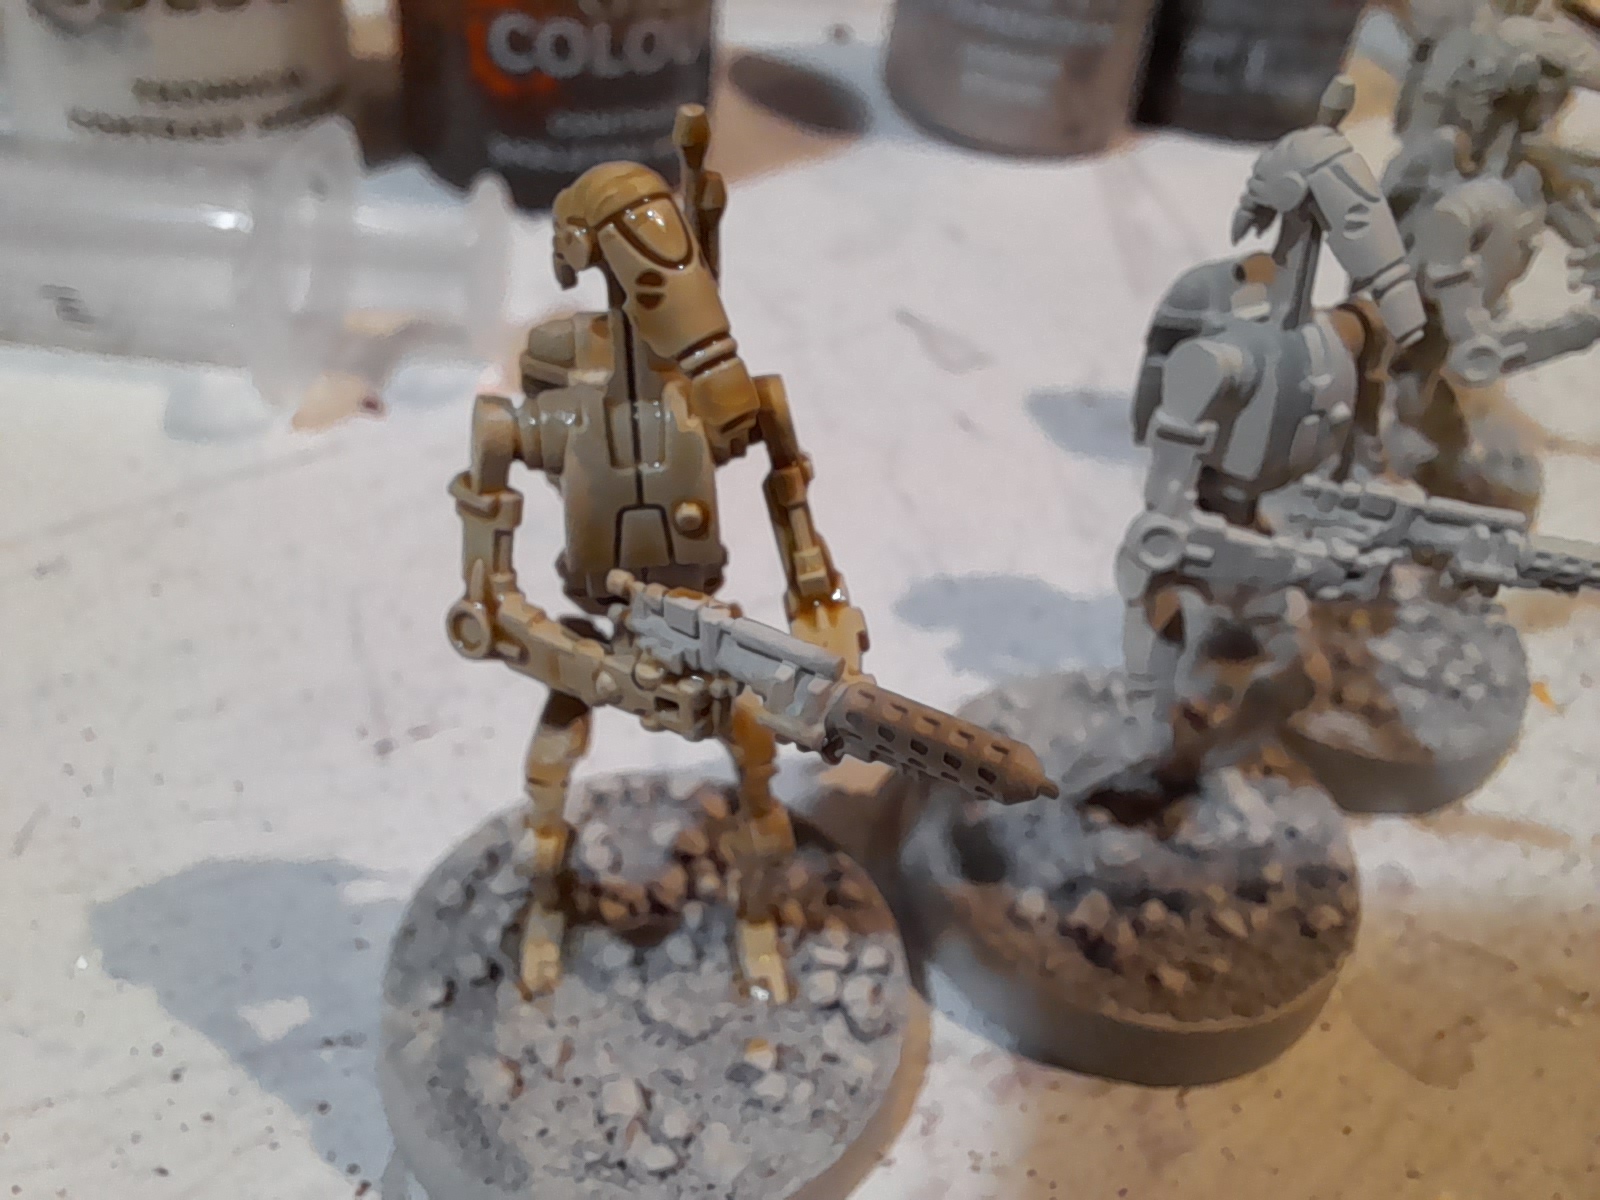
Rolled out to three more.
After they were dry I tried a quick drybrush with ivory, and I think it made an improvement.
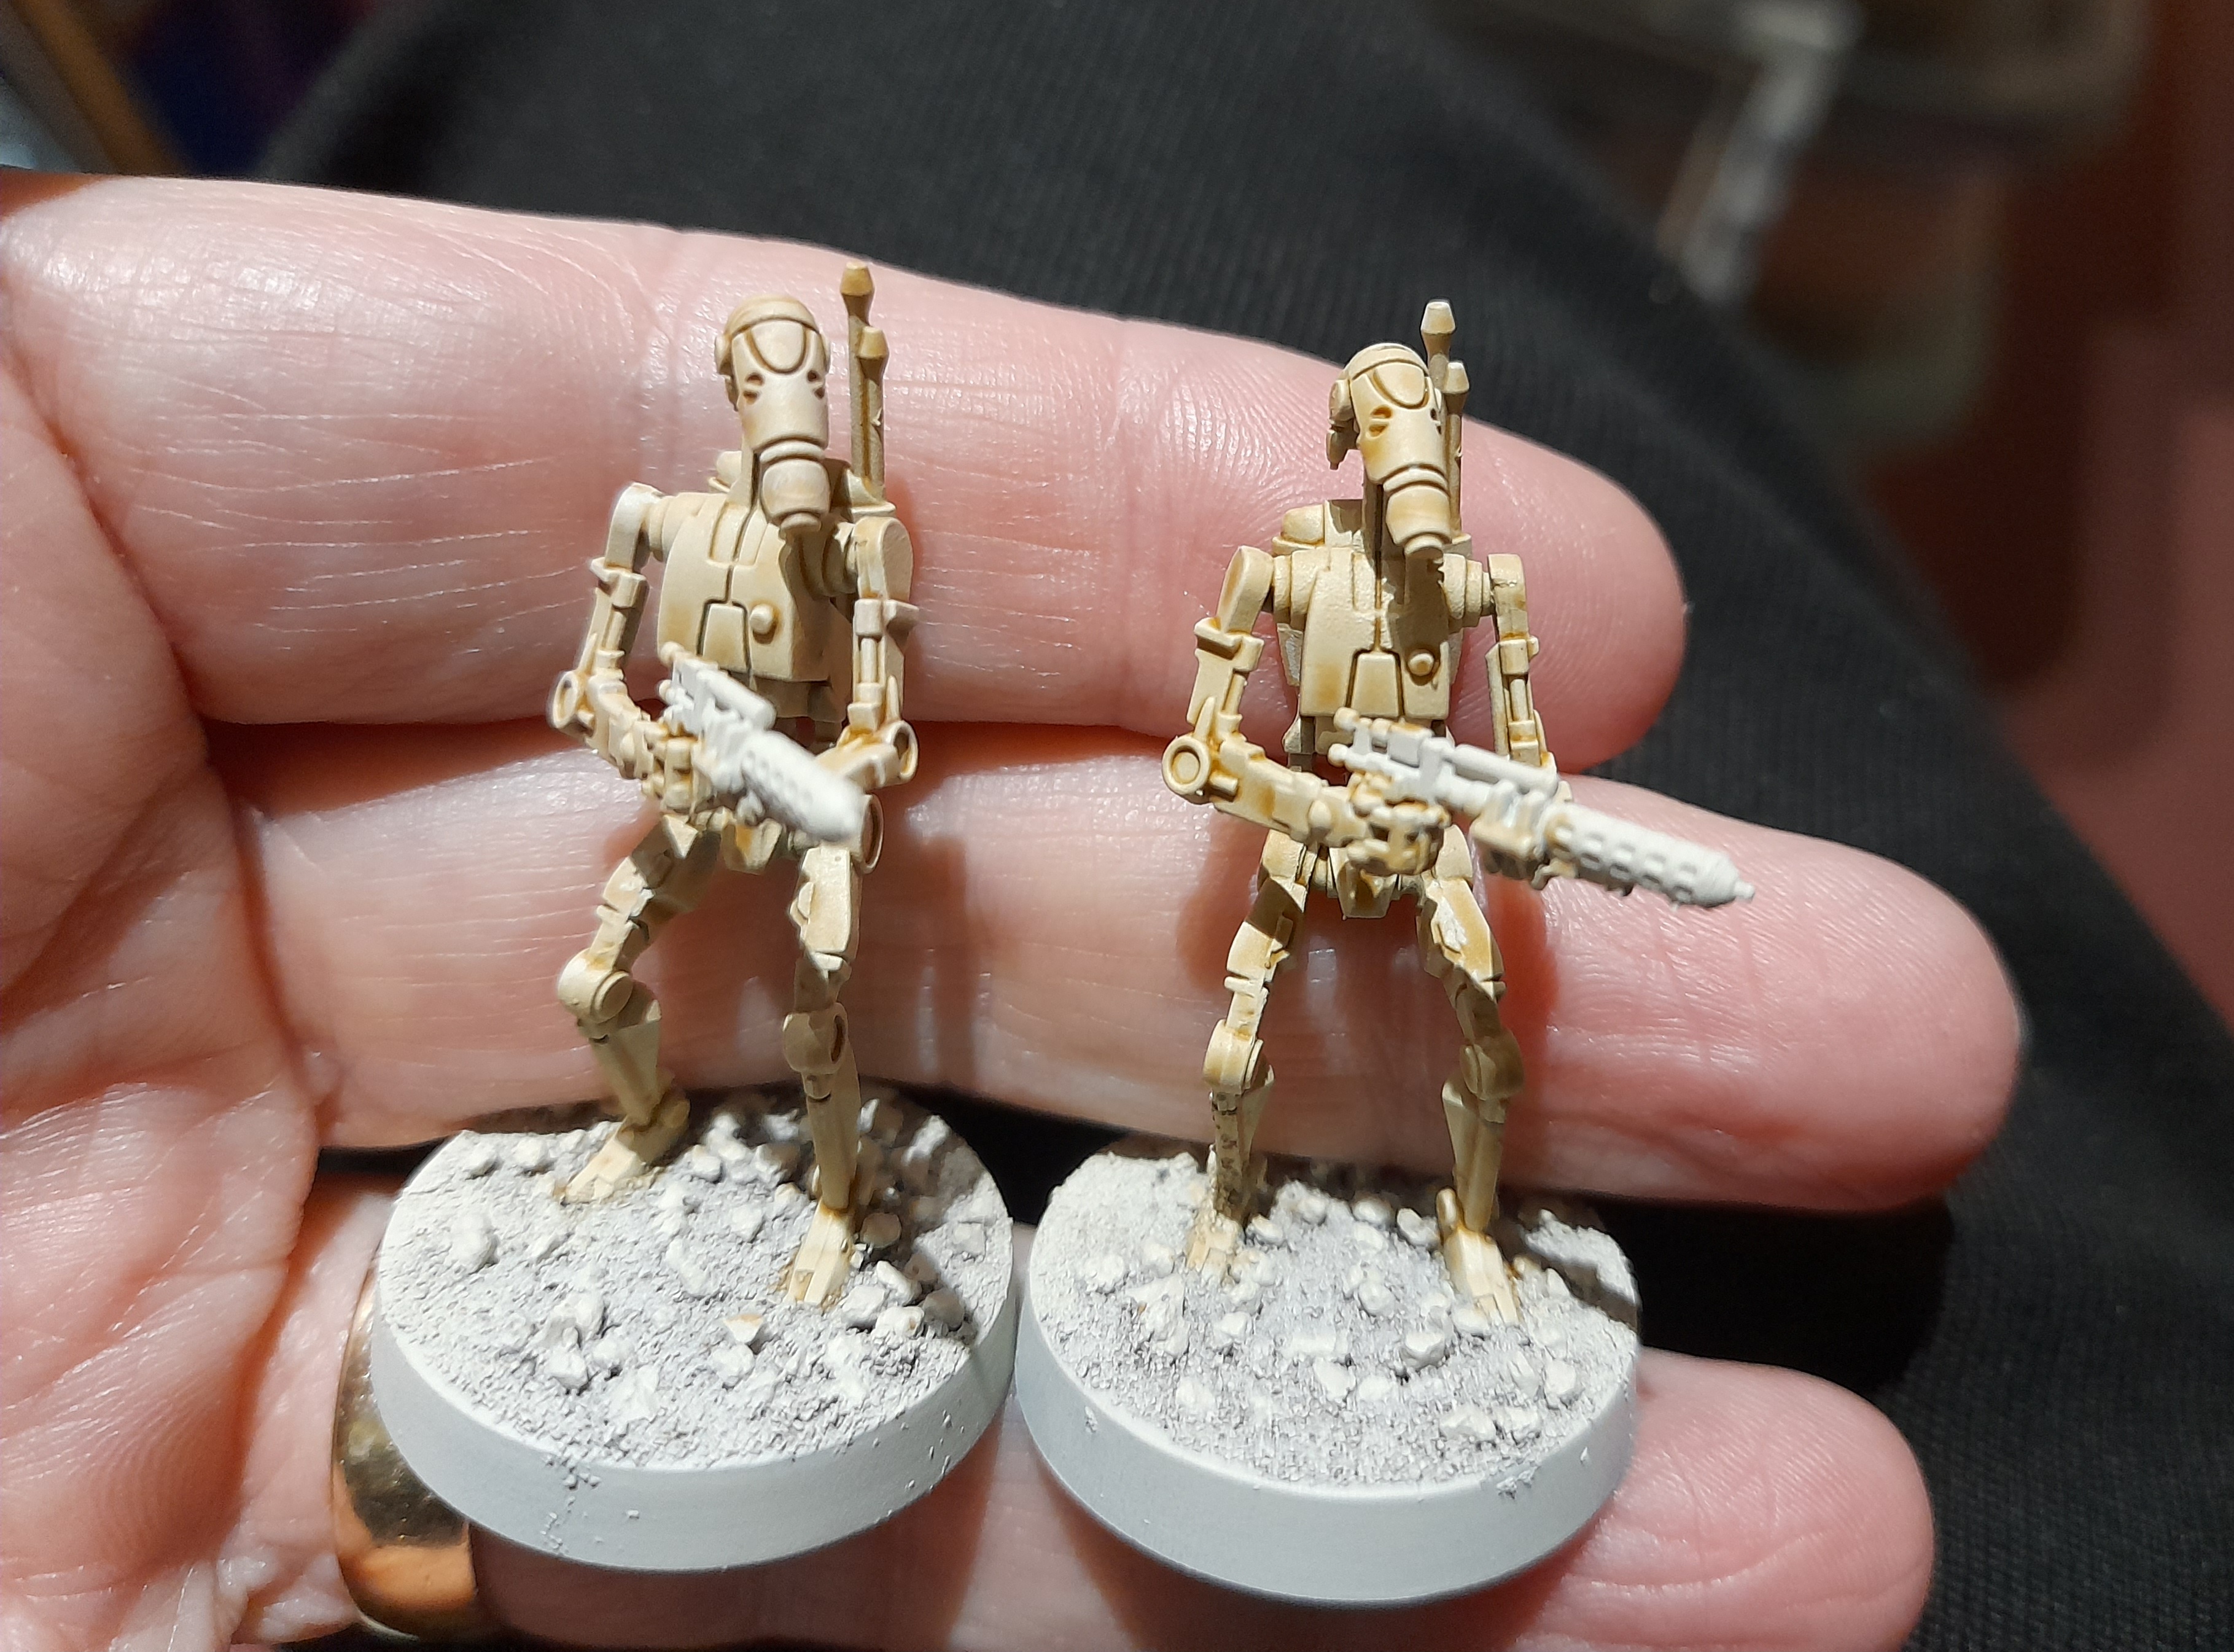 Drybrushed one on the left
For the next four I decided to try wiping some of the contrast mix off from the droid’s high points before it dried – as a rough highlight stage.
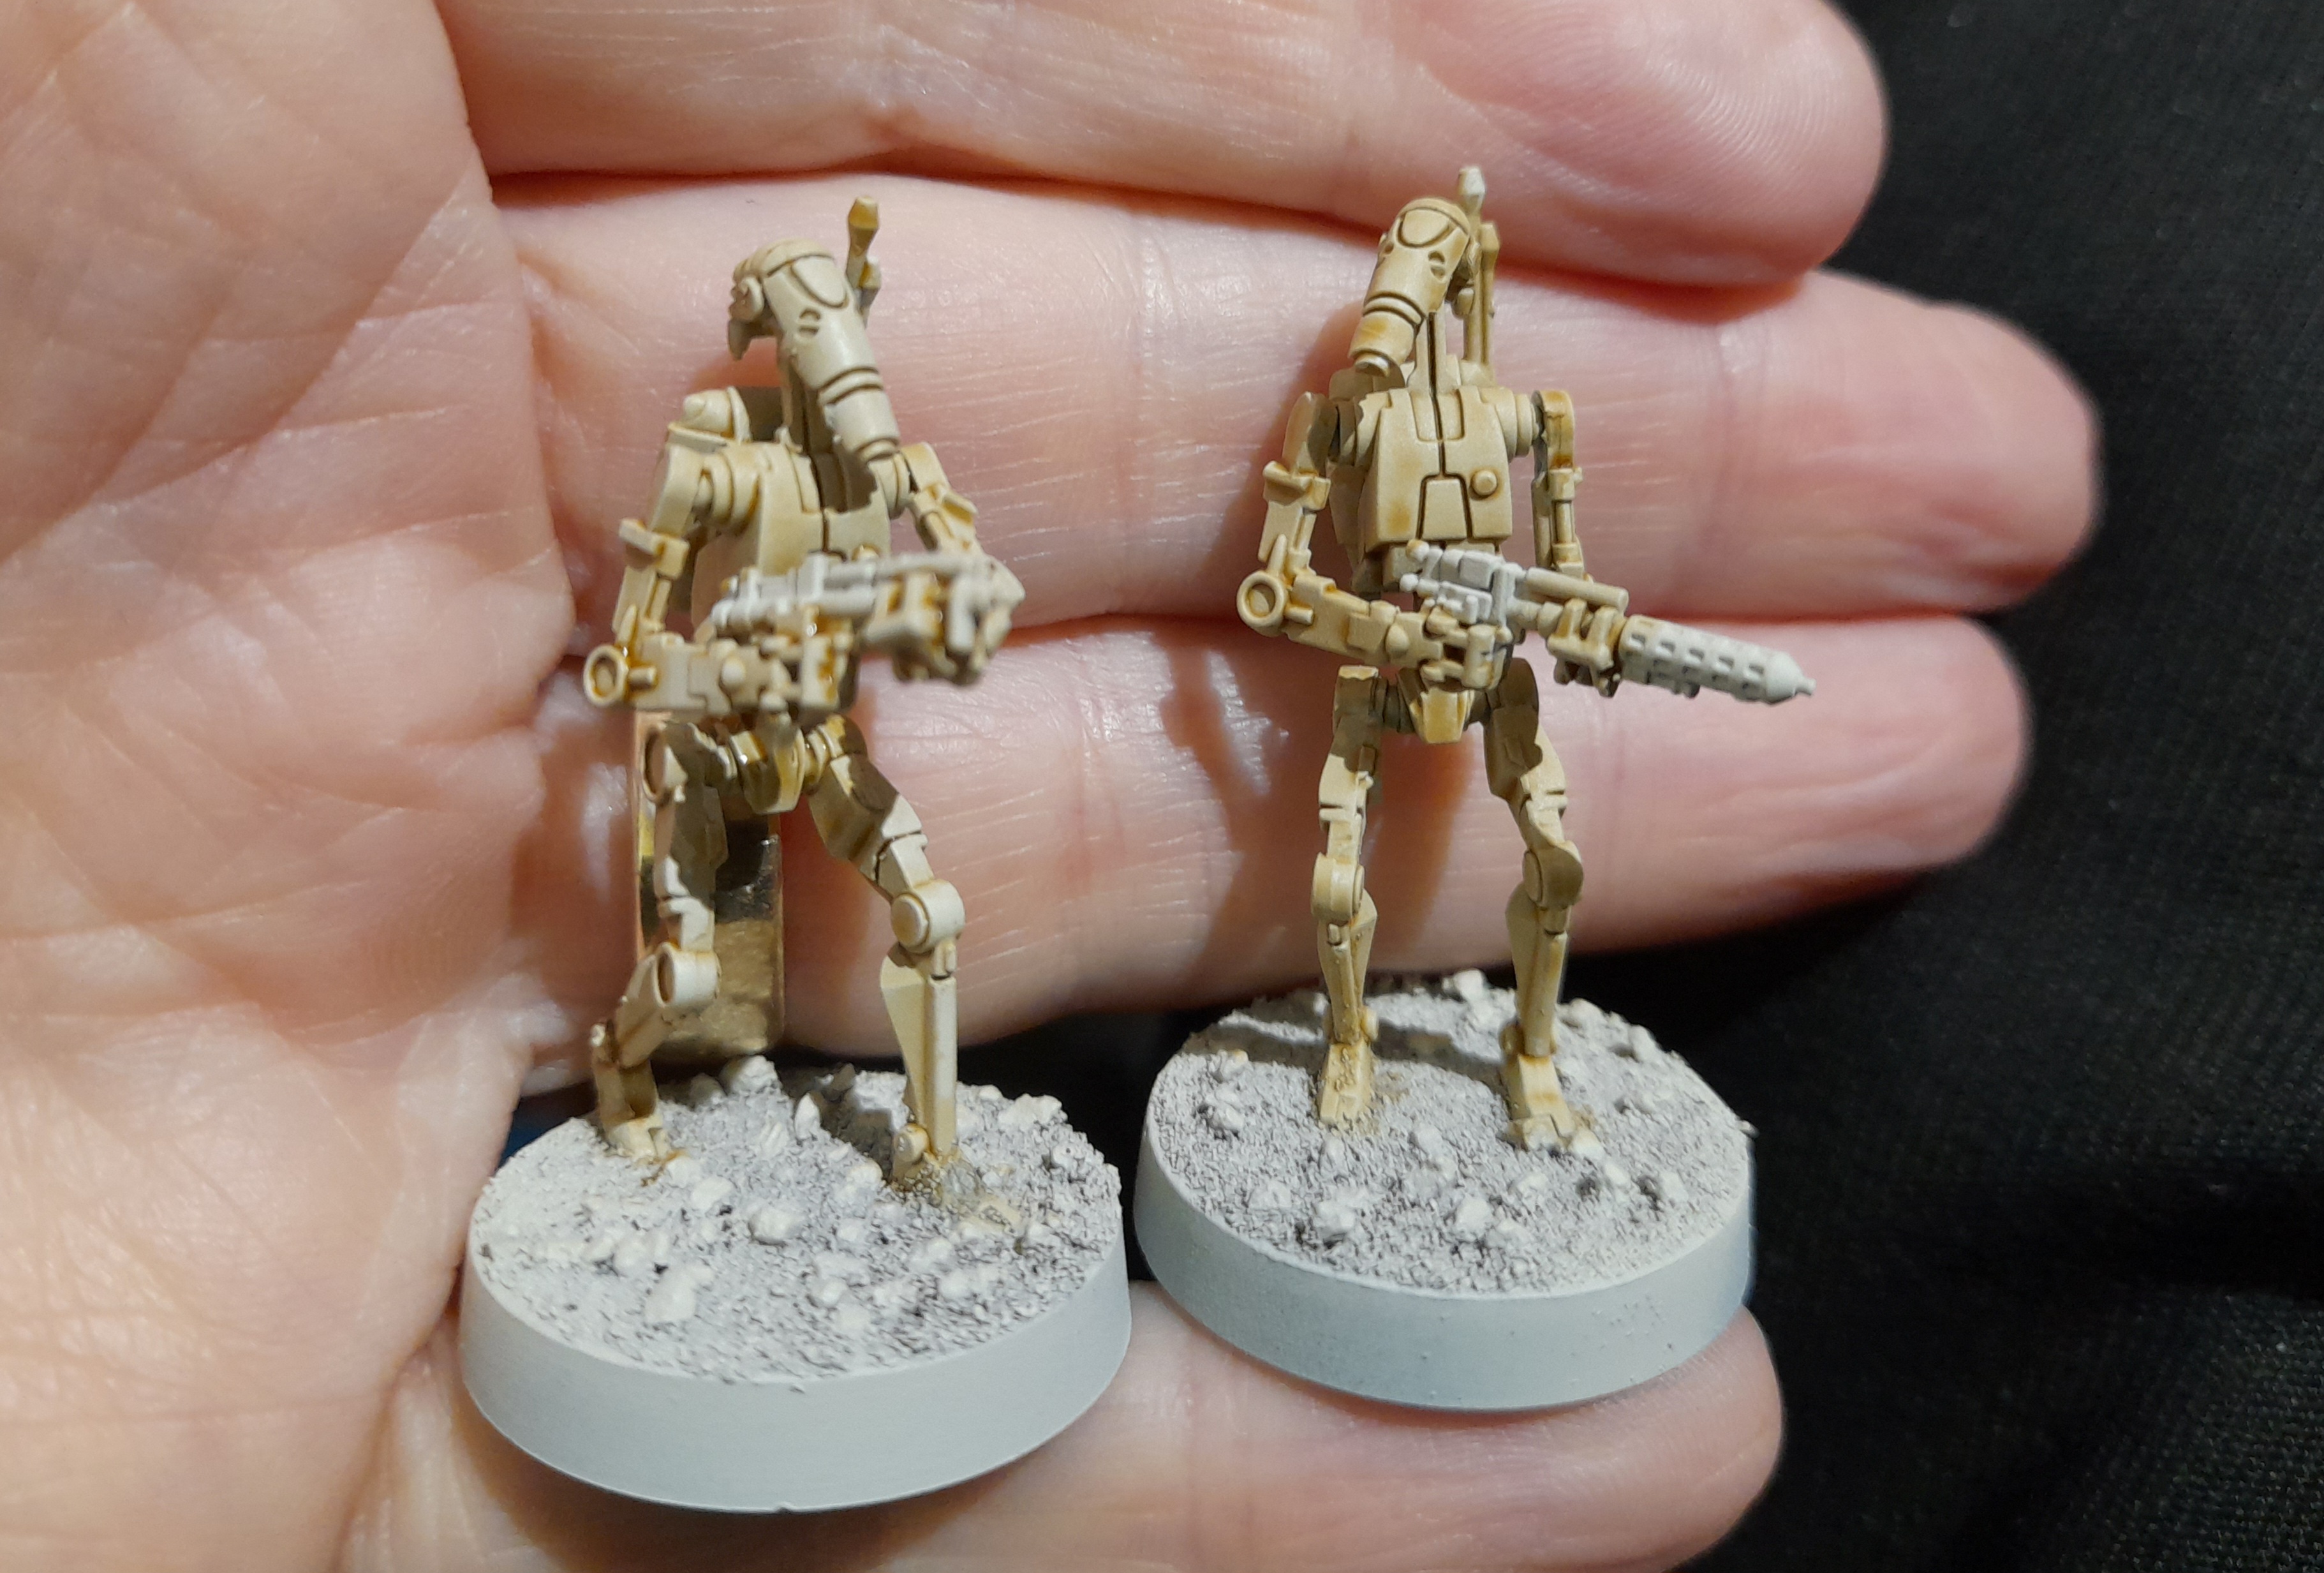 'Wiped' one on the left
I feel that works quite well, so will go with that technique for the rest of the B1 droids, with some light drybrushing afterwards where needed. Interestingly they still take quite a while to do each one at this stage – I will try out some different brushes to see if any ‘load up’ better.
Wash and Dry(brushed)
17th February 2024
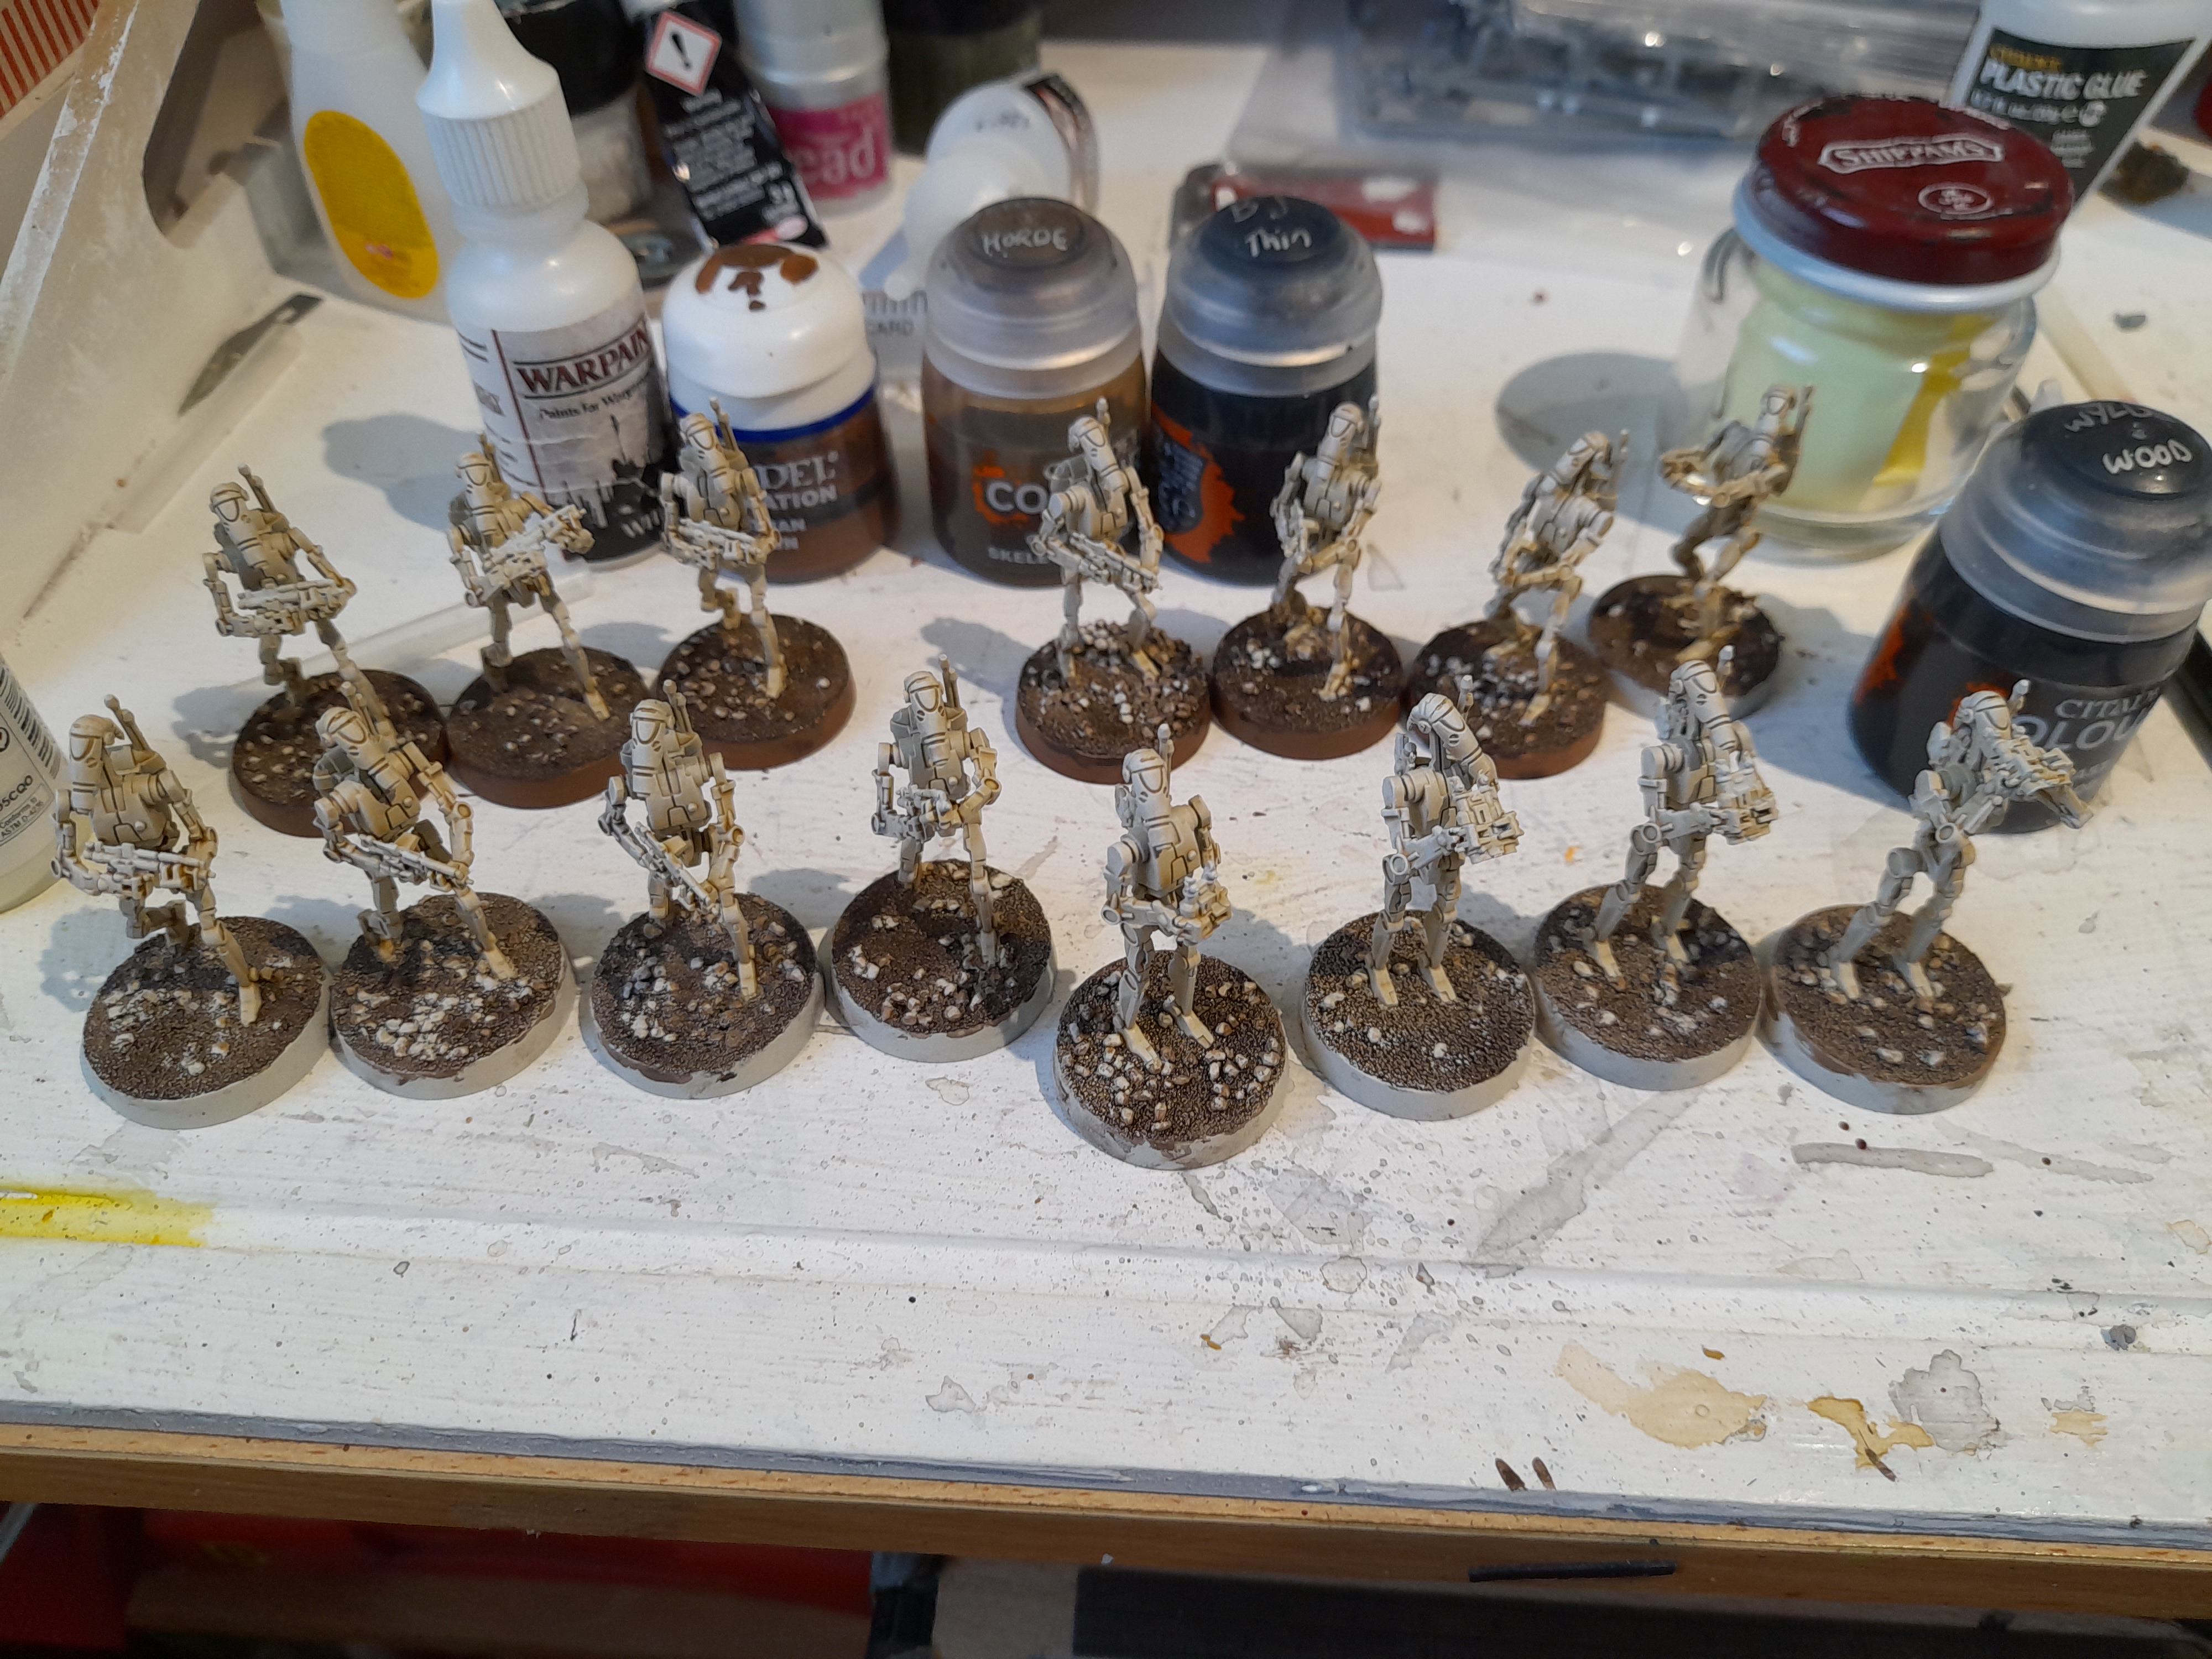
The remaining 32 B1 Battle Droids had the same wash treatment, with me trying to wipe some of it away from the head and raised areas. They then were all treated to a drybrush with Vallejo Ivory.
 The picture makes it look a little washed out, but it isn’t as stark in real life.
I also washed and drybrushed the STAP riders, and the B1 droid head that the repair droid is carrying.
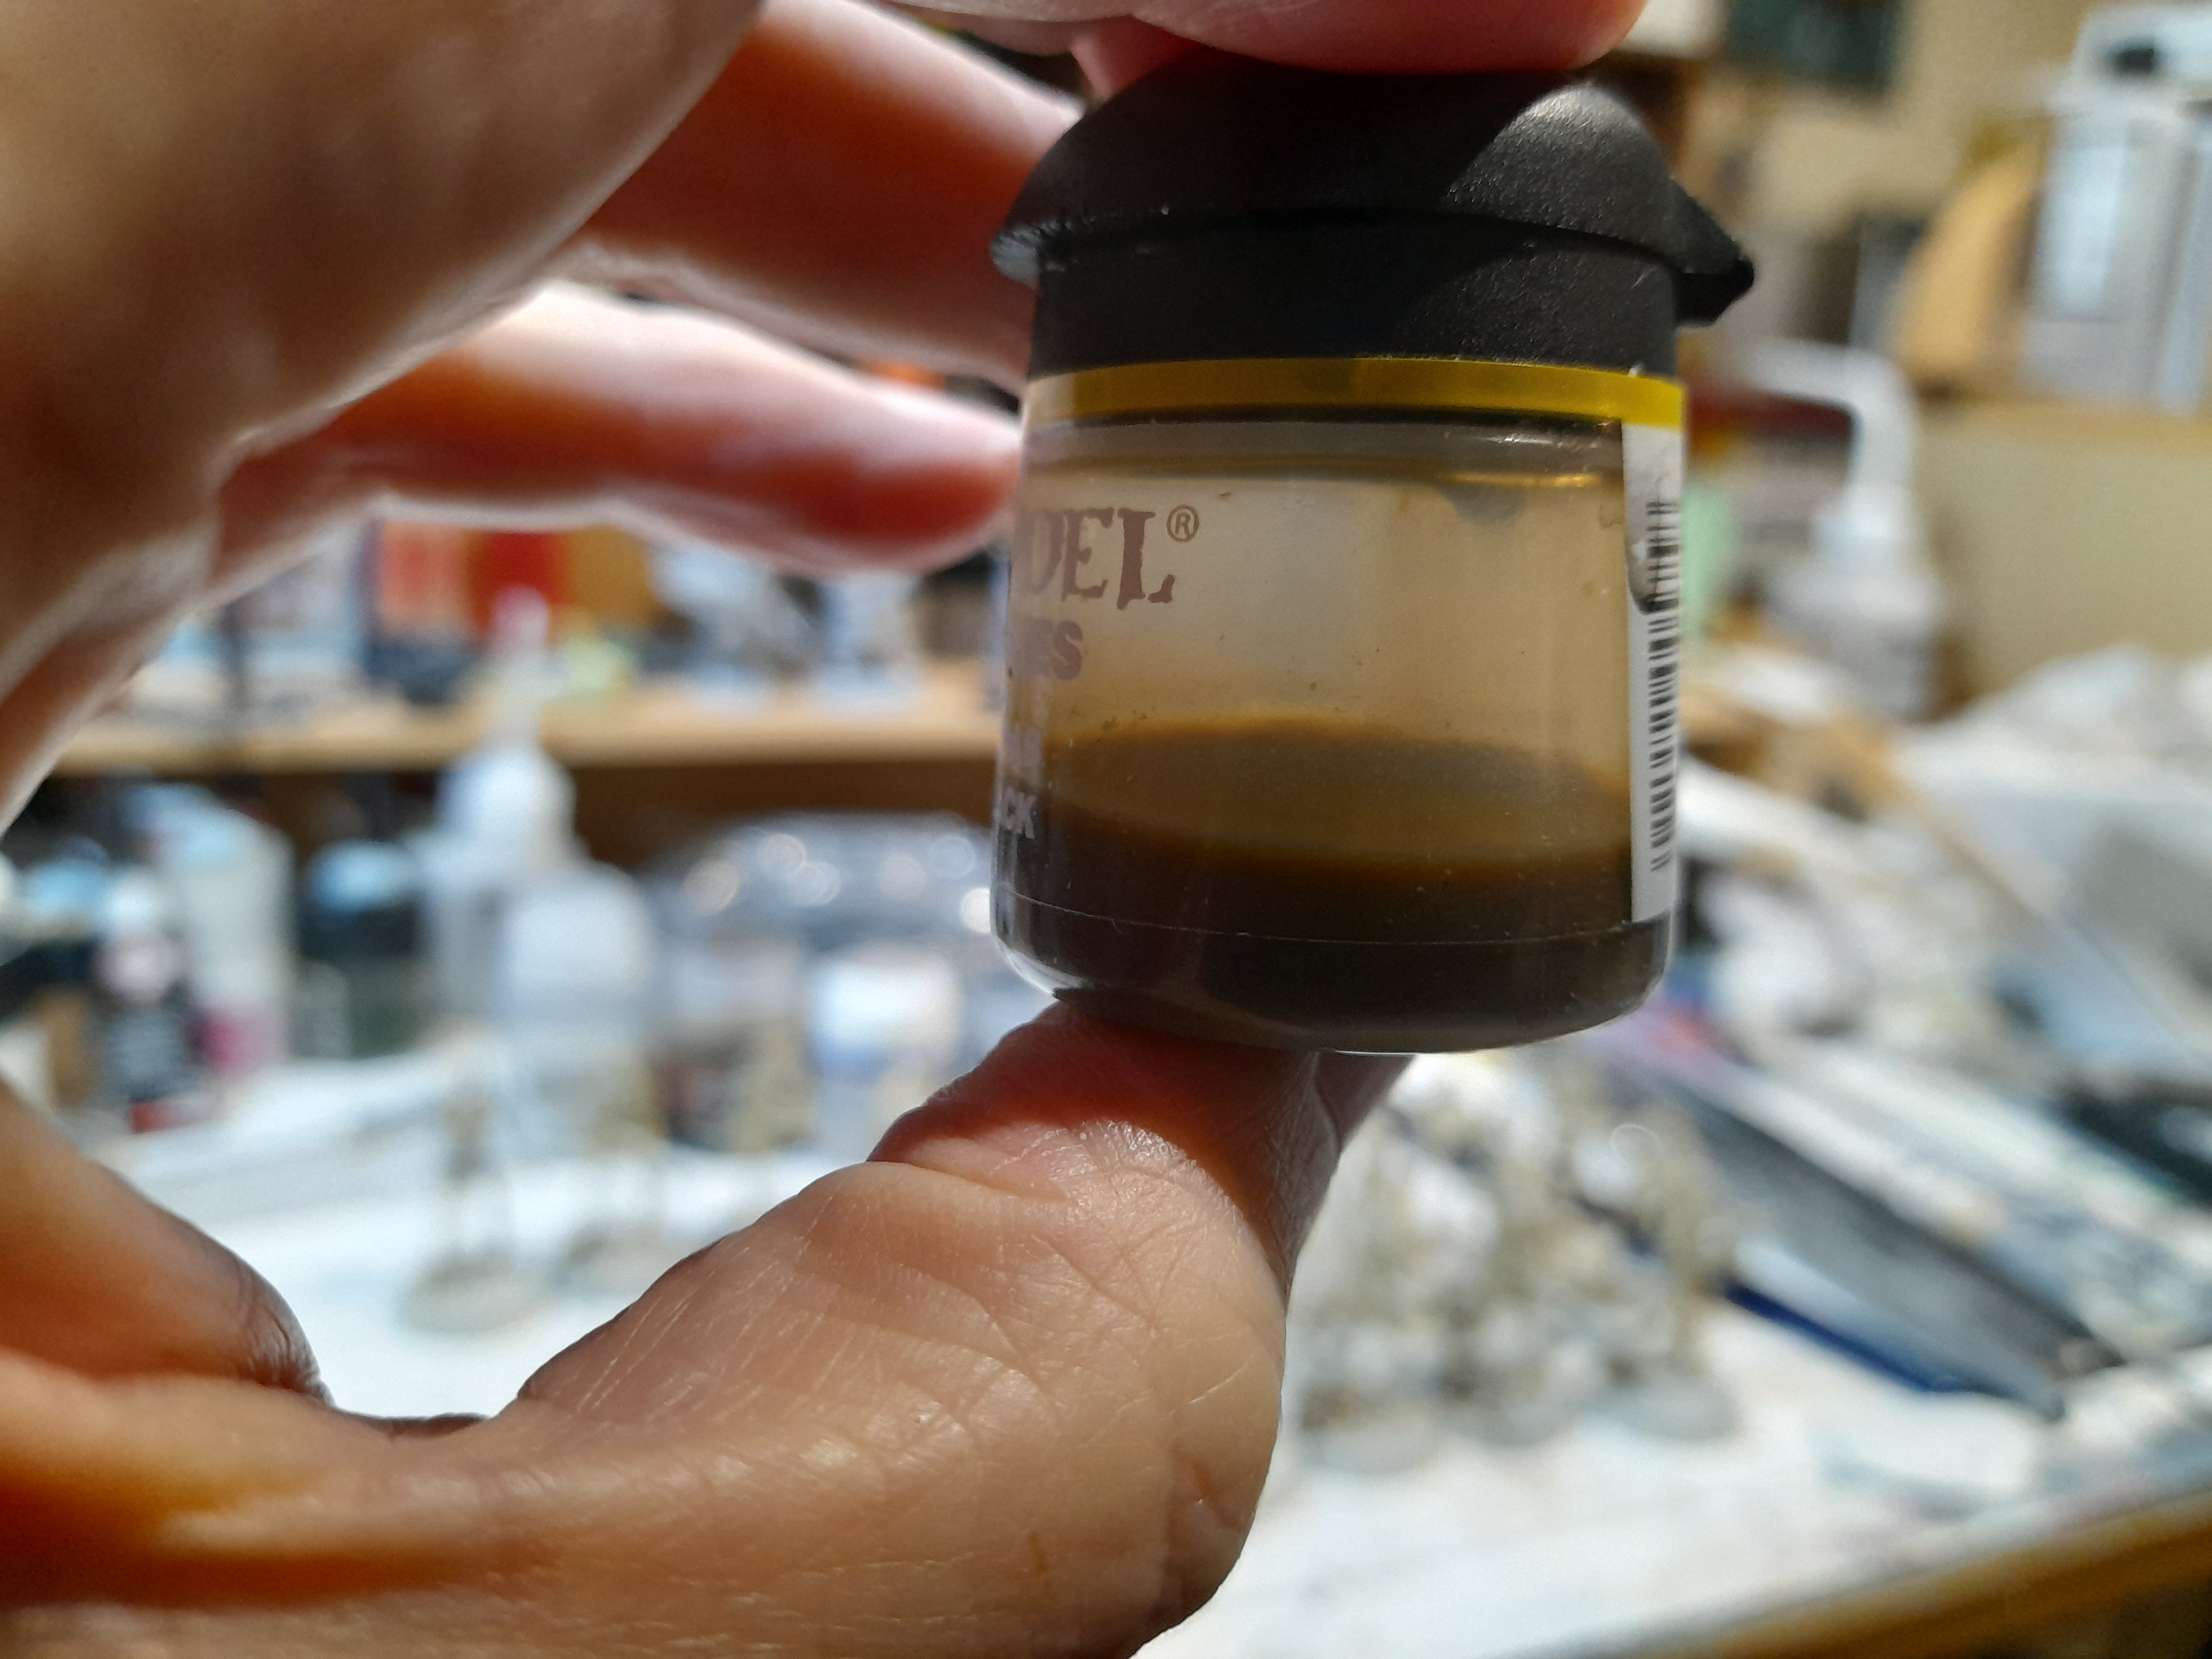
It seems that I made up too much of the wash mix for the droids….
I’m sure it will come in useful though.
Next up, basic painting for the bases.
Basing and One droid down
22nd February 2024
Forgot to post this one up, so a bit late with it…
Since the last post I have worked on painting all of the bases for the 40 B1’s. I kept with the same basic basing design as I did for the clones. Although the mix for these seems to have a few more stoney bits. The bases were painted with Wyldwood contrast, then the stones were picked out and shaded.
 Working on bases
Next up I quickly finished off one battle droid, just to make sure that the pretty basic paint job would do the trick for them.
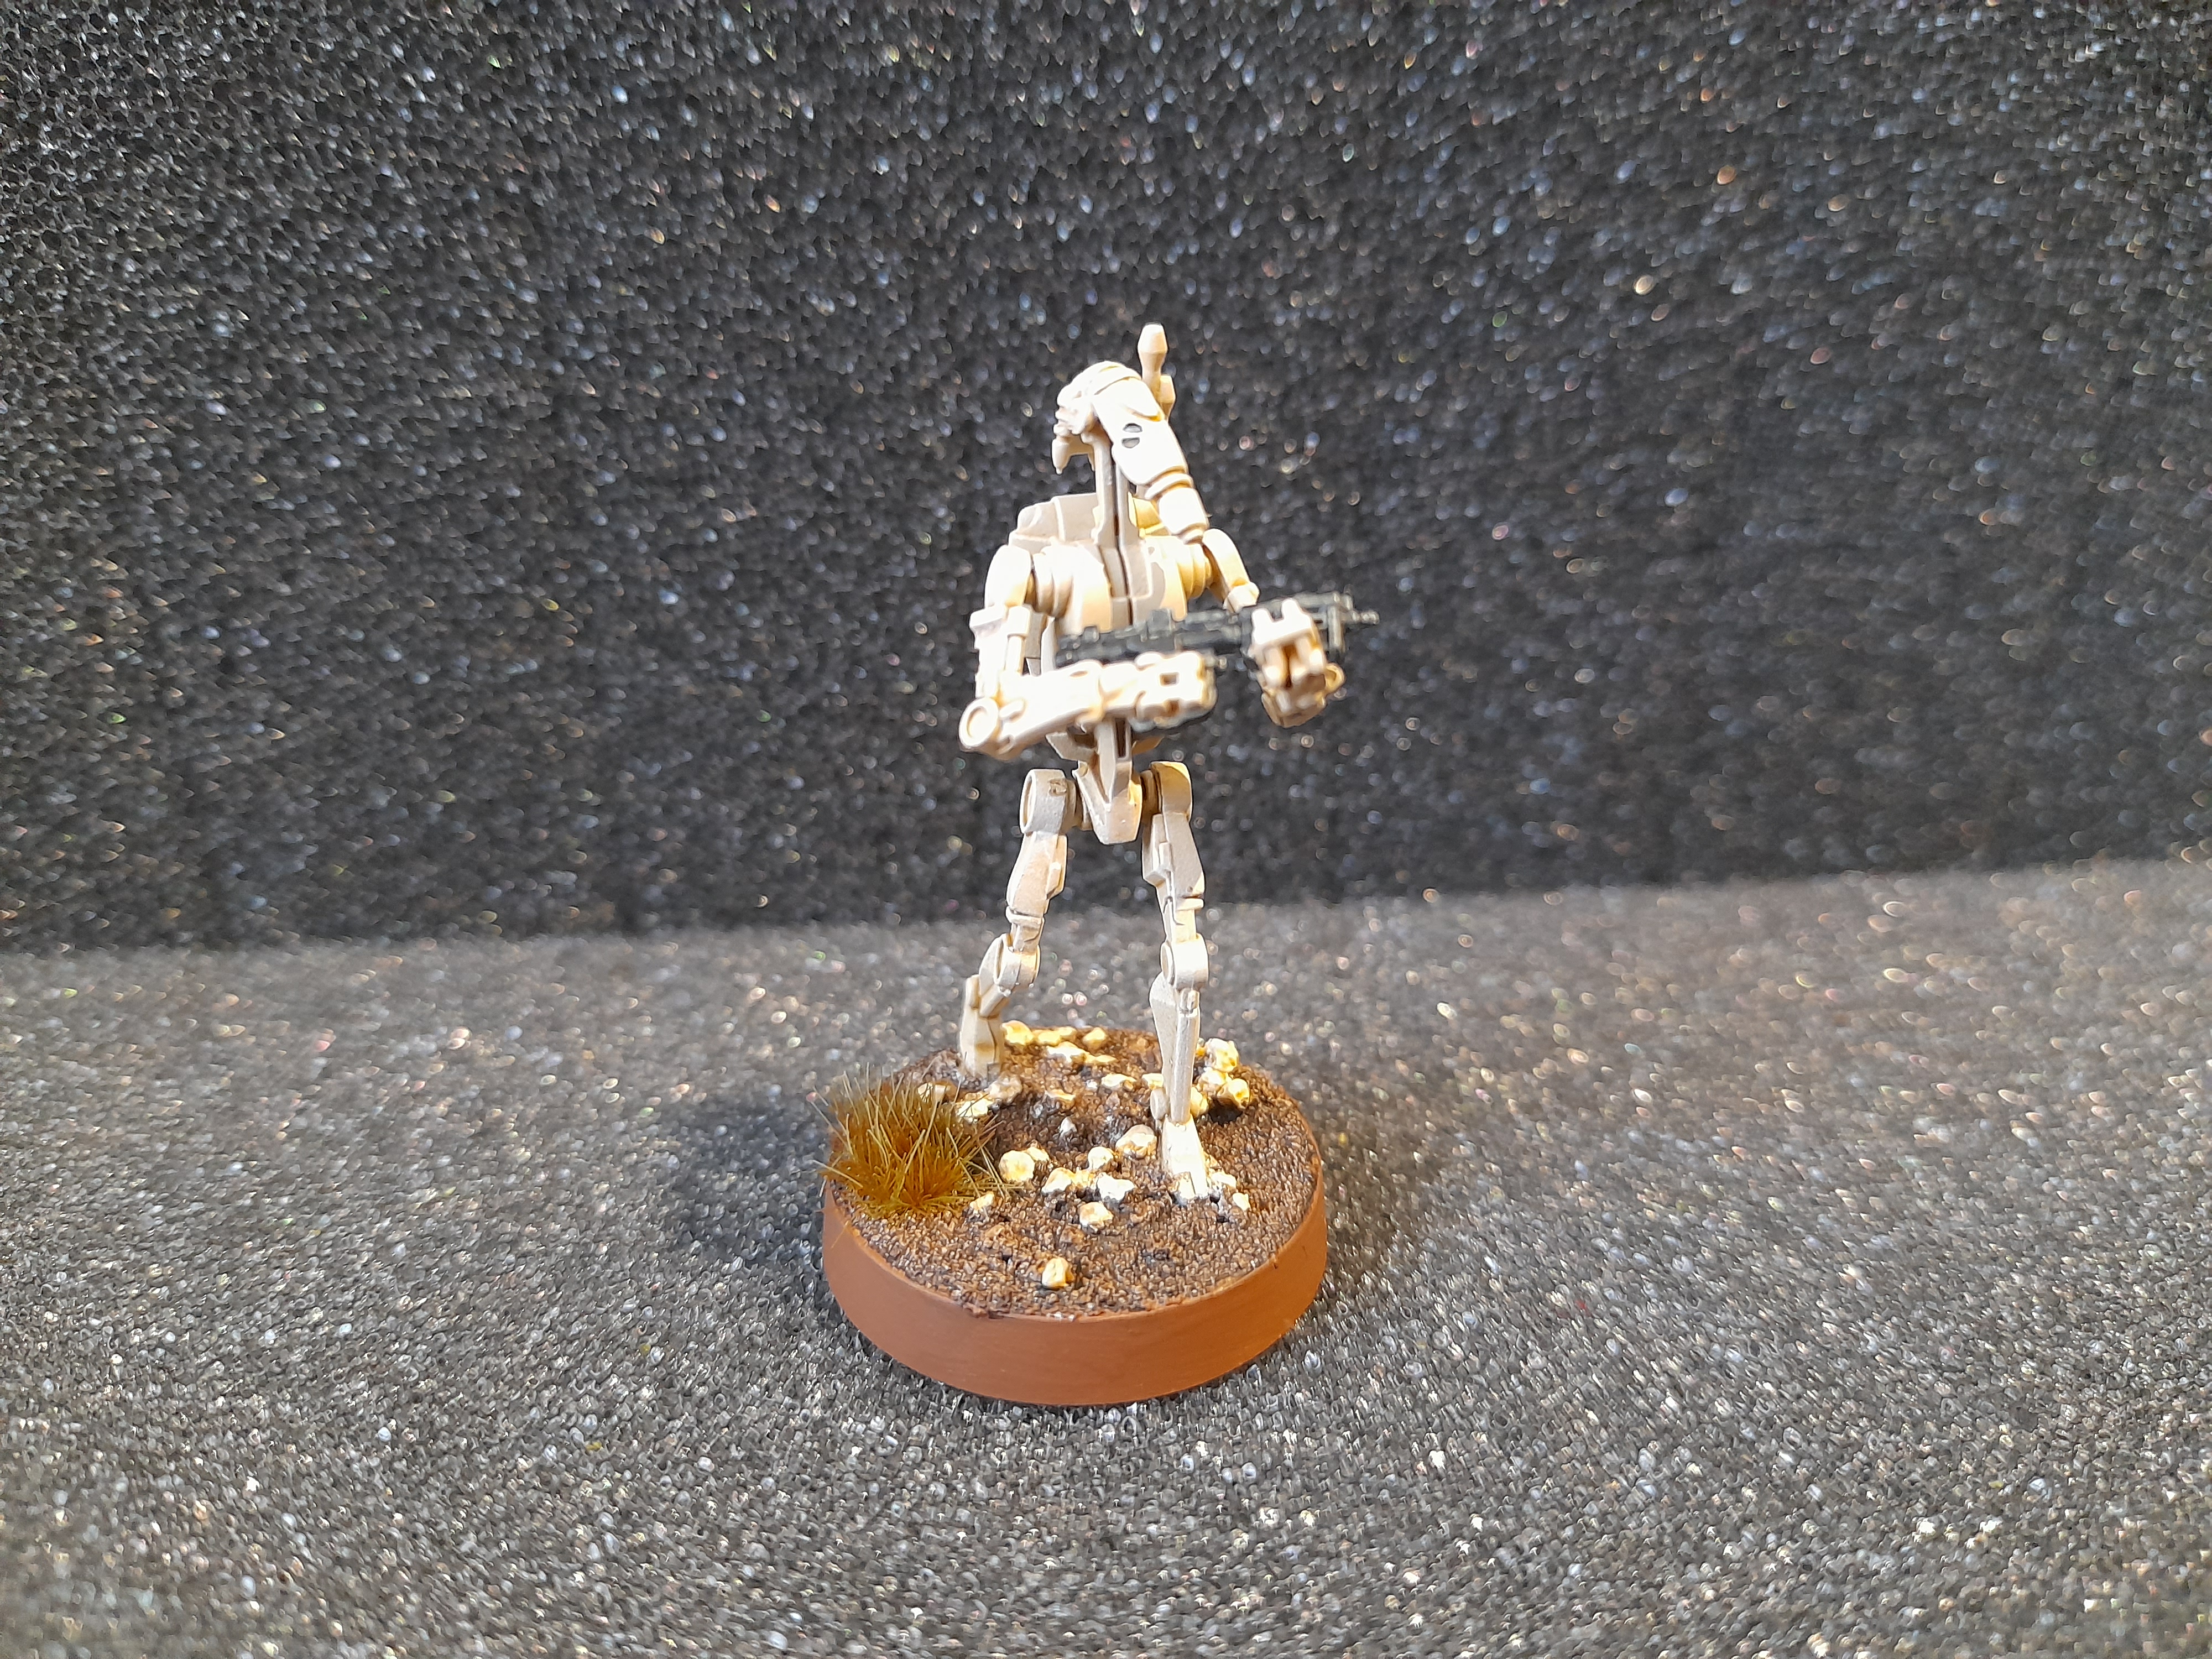
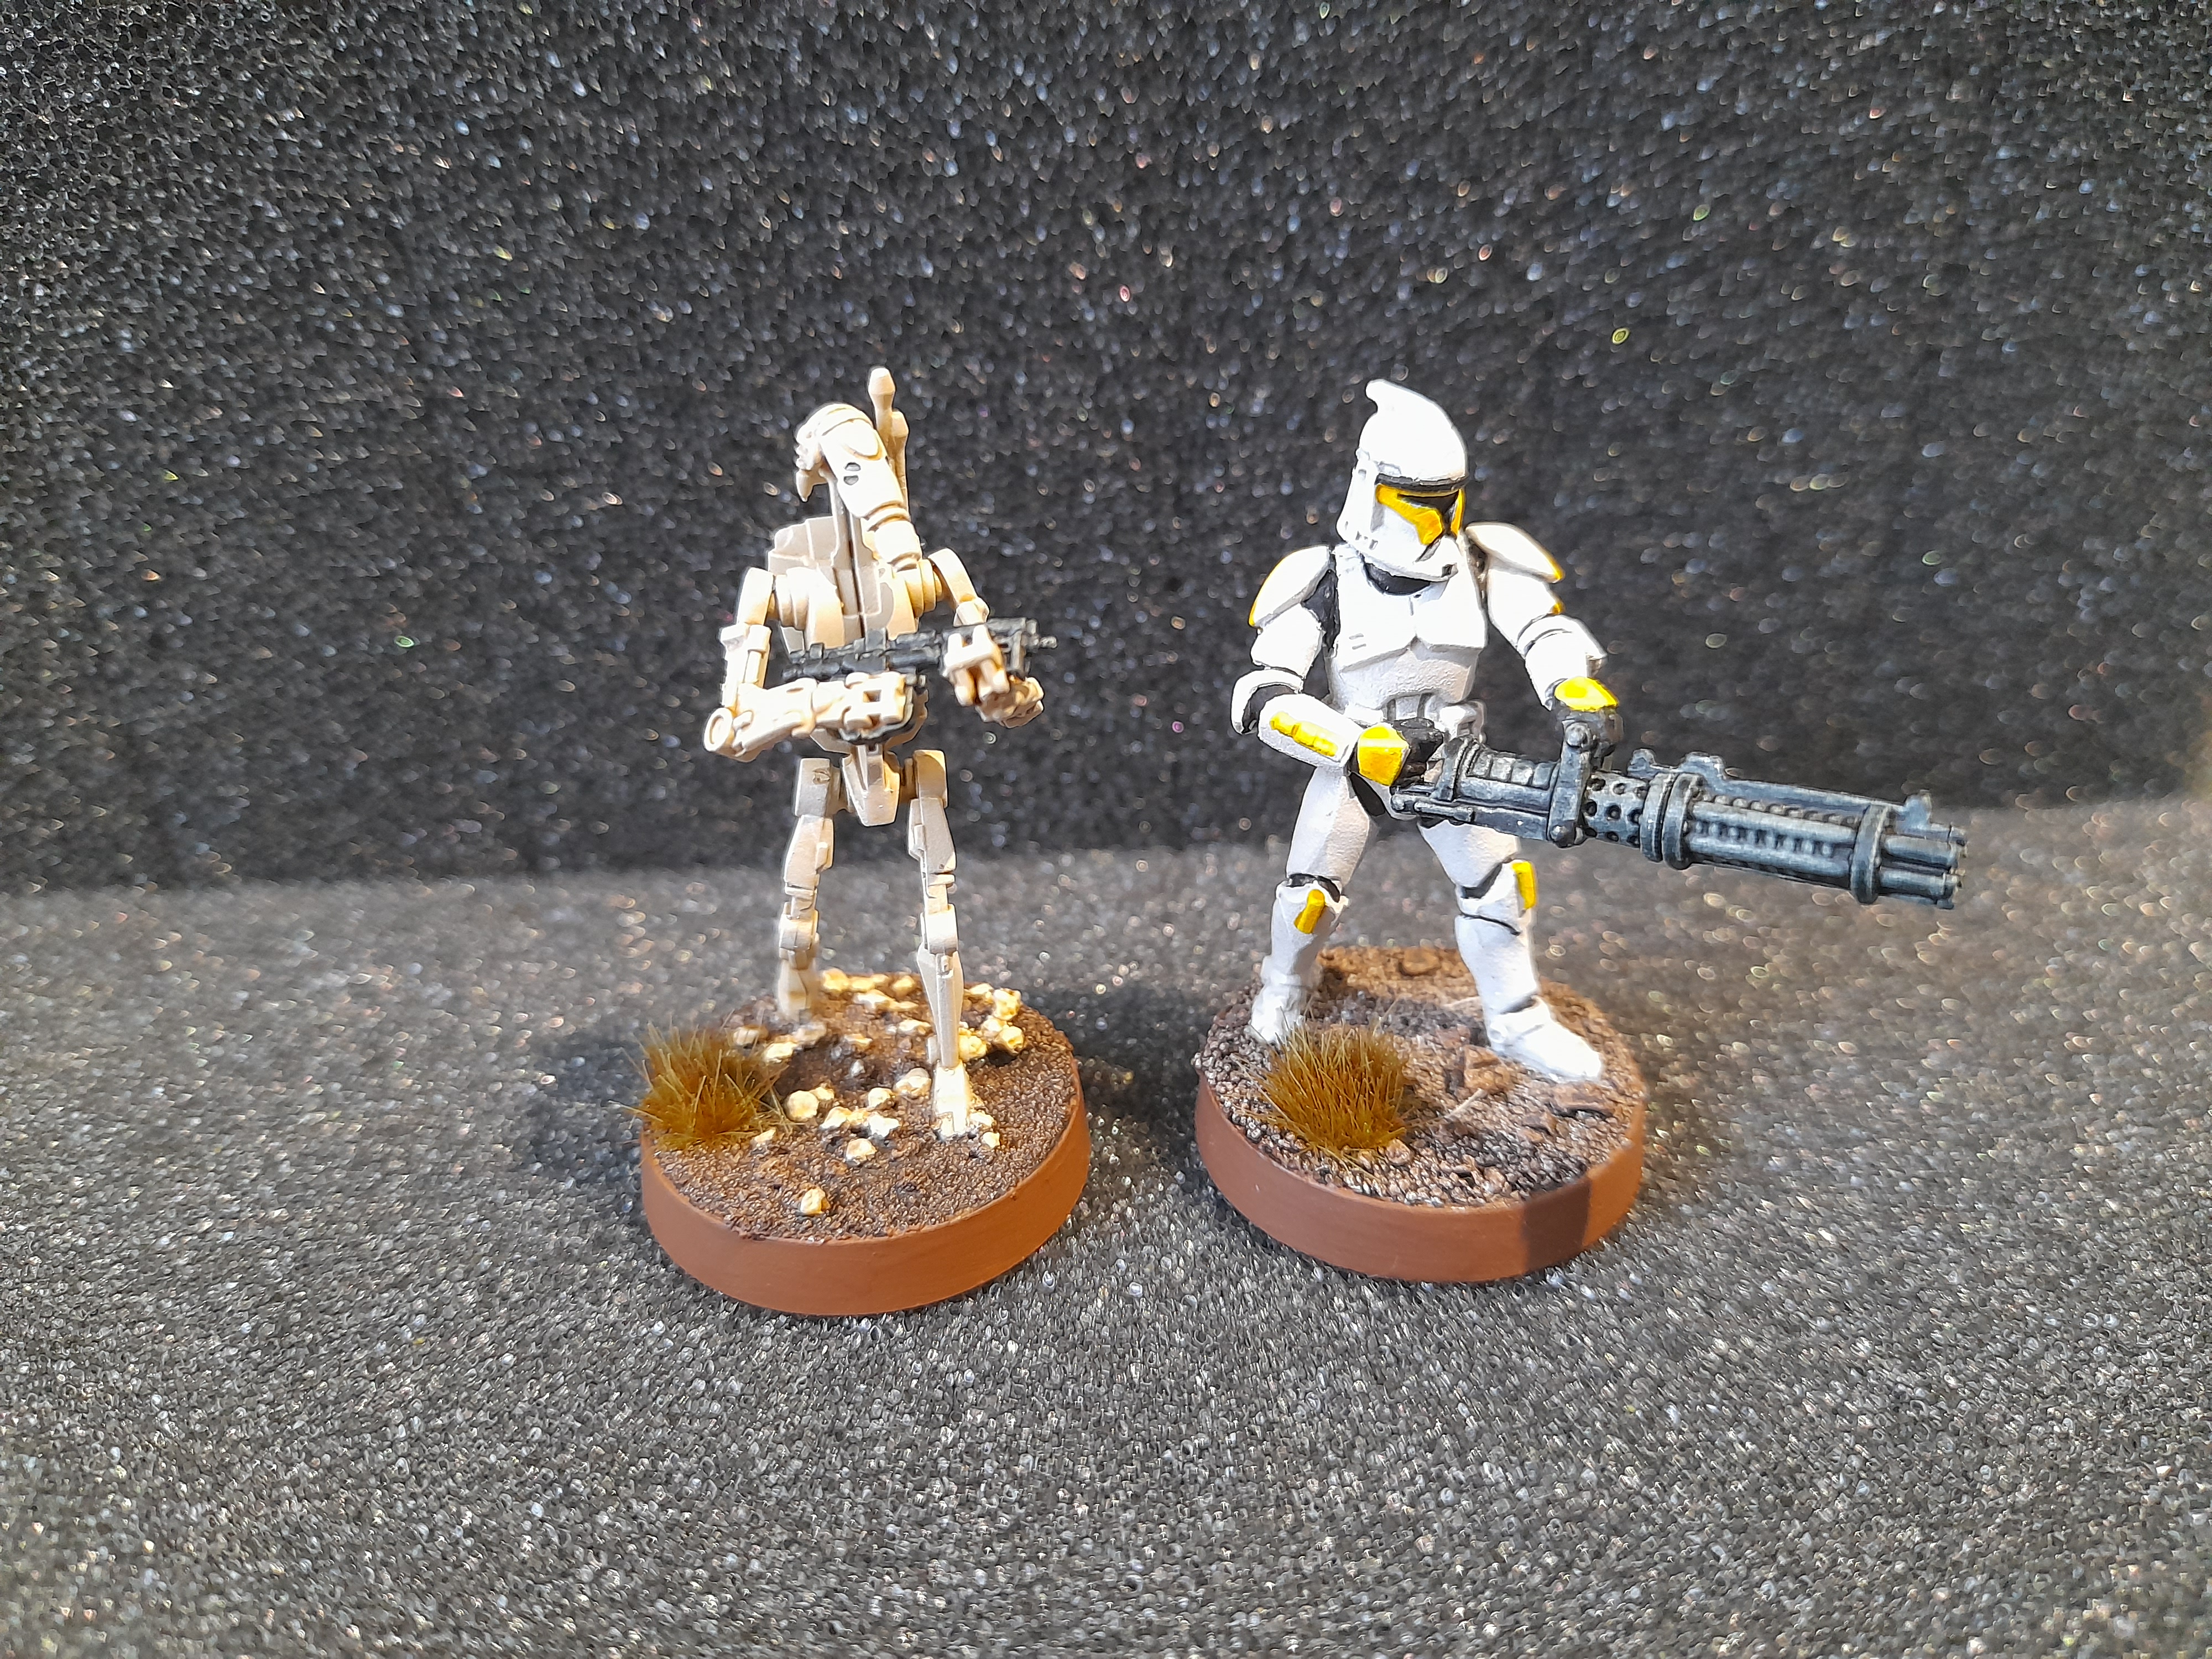
Looks reasonable overall, and works next to a clone.
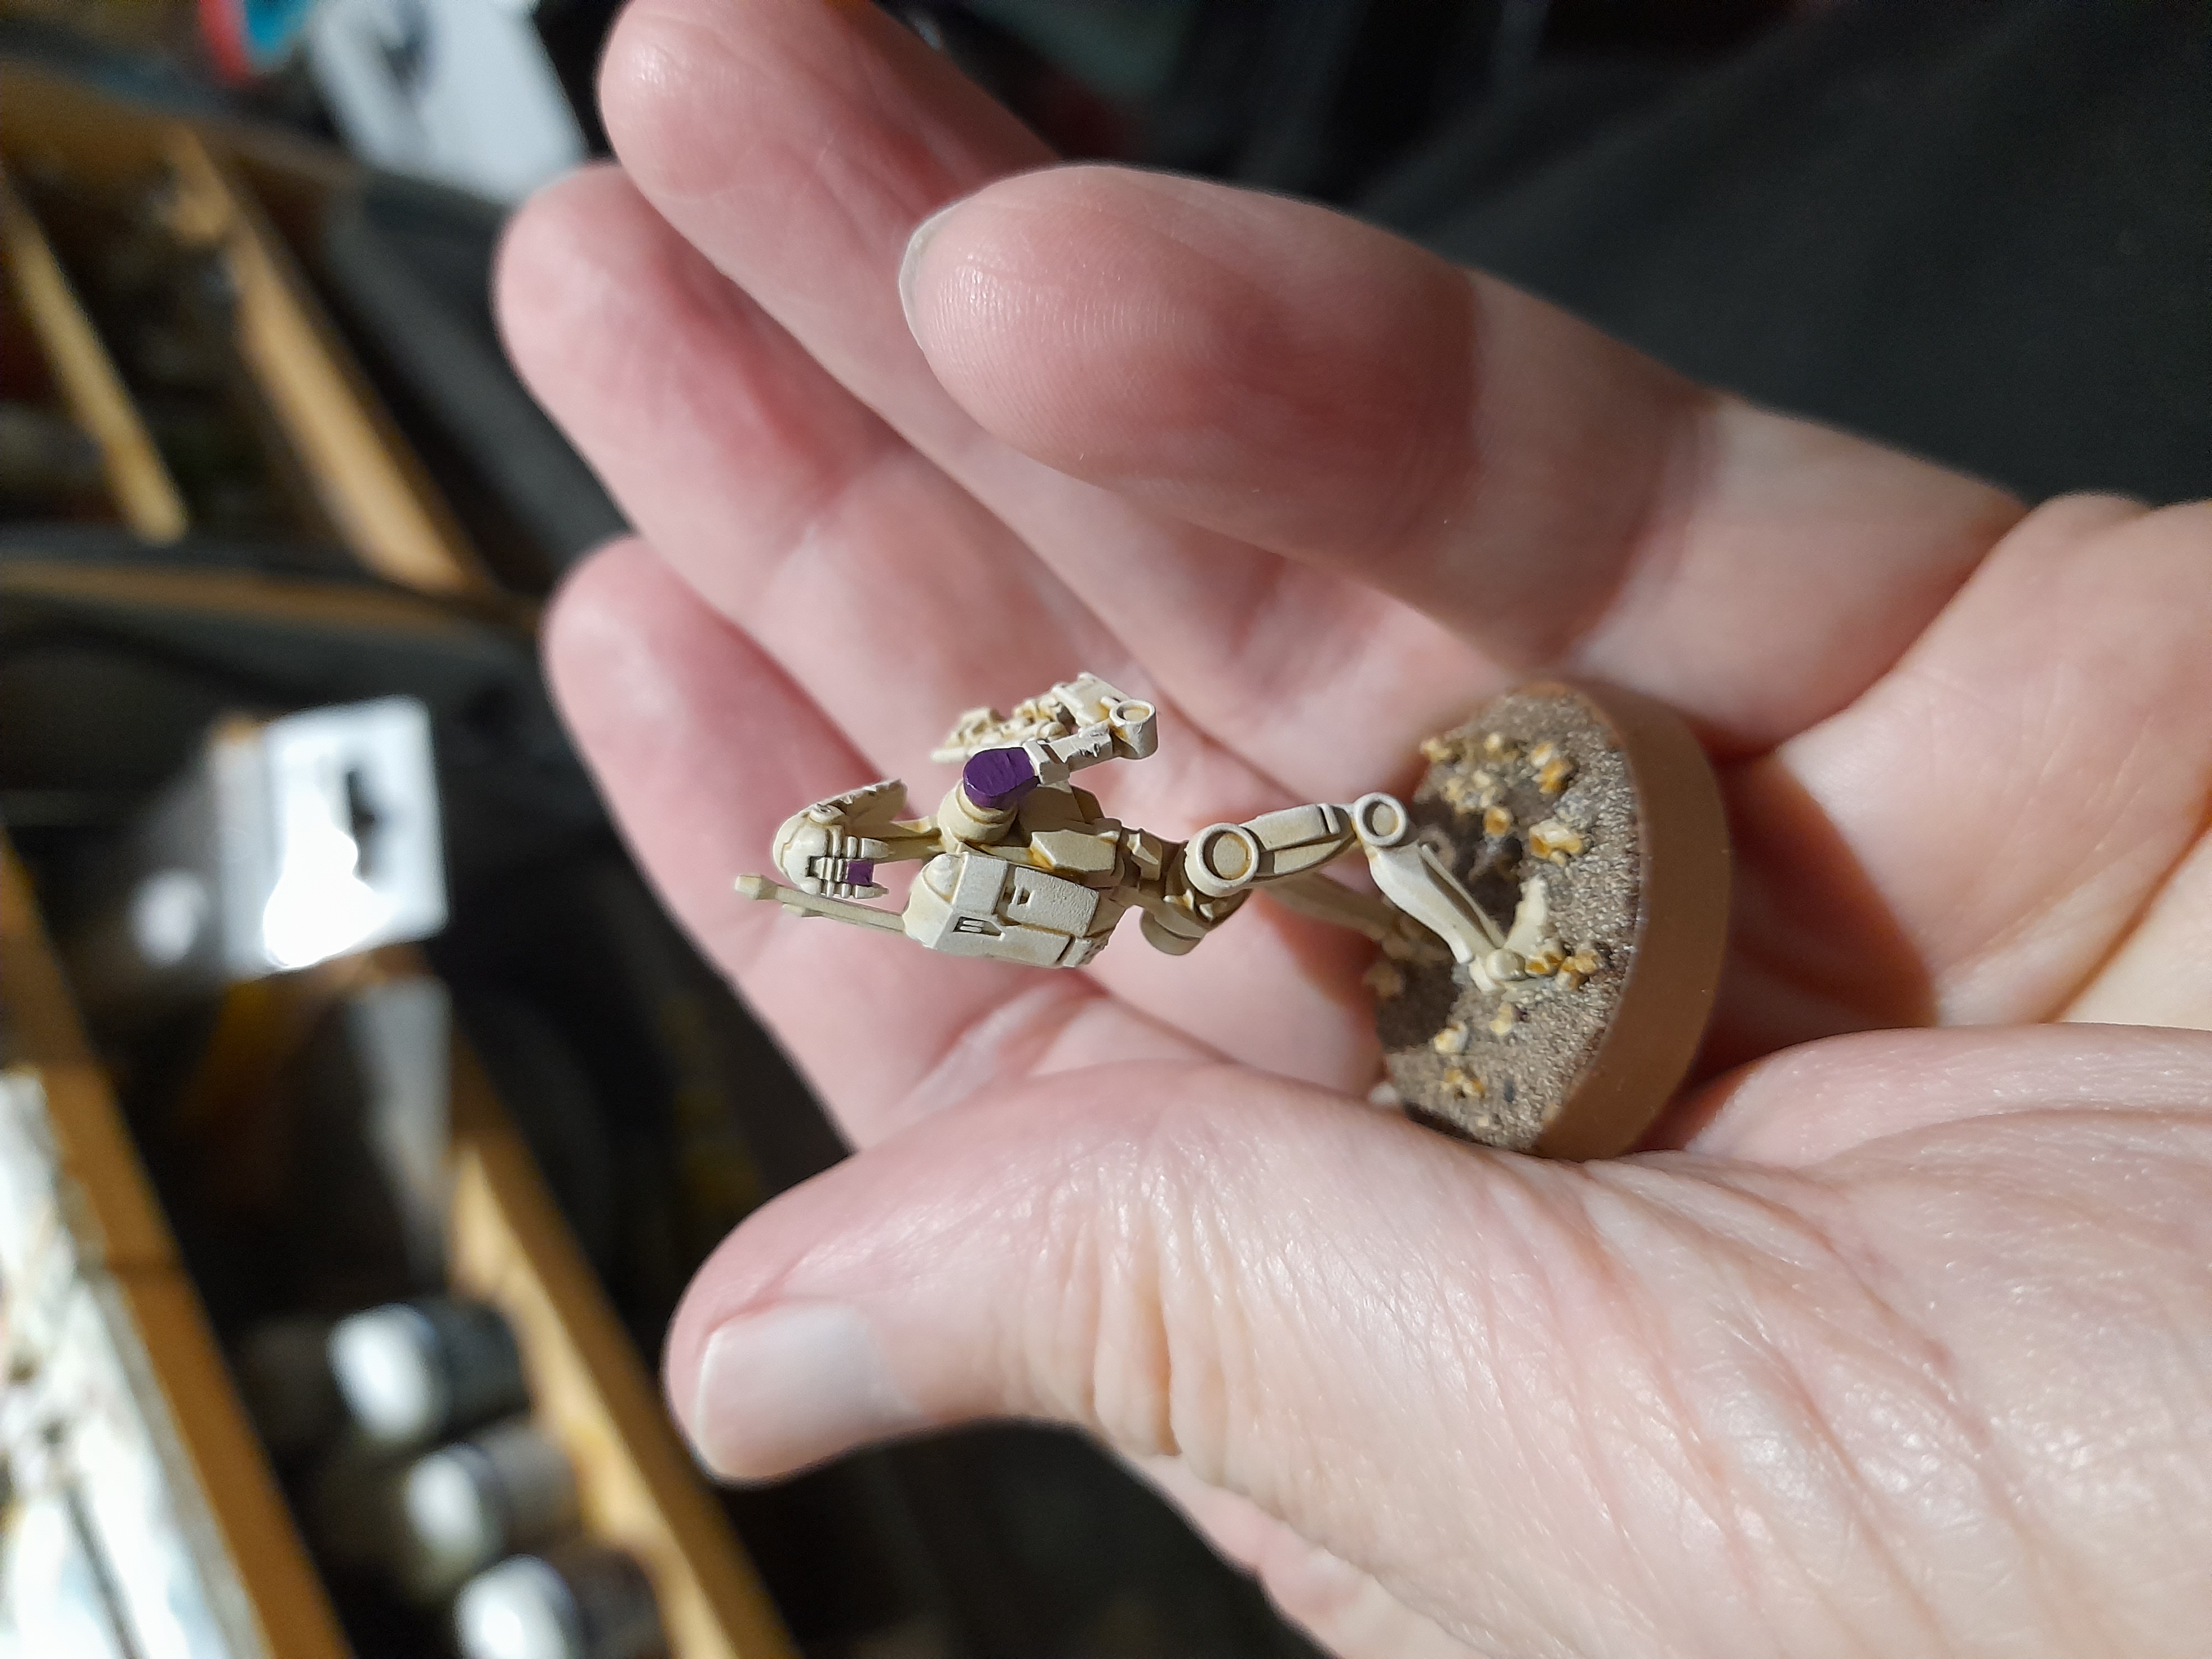
As with the Clones I needed a way to differentiate the squads on the battlefield. However, the droid already have specific colour markings for command, security etc, so I needed to avoid those colours and designs. My choice was to go for one ‘as is’ squad, then the other three would use blue, green and purple as their colours. With the markings being on the right shoulder and one panel on the back of the head.

Time to roll out the rest of the droids……
Roger! Roger!
23rd February 2024
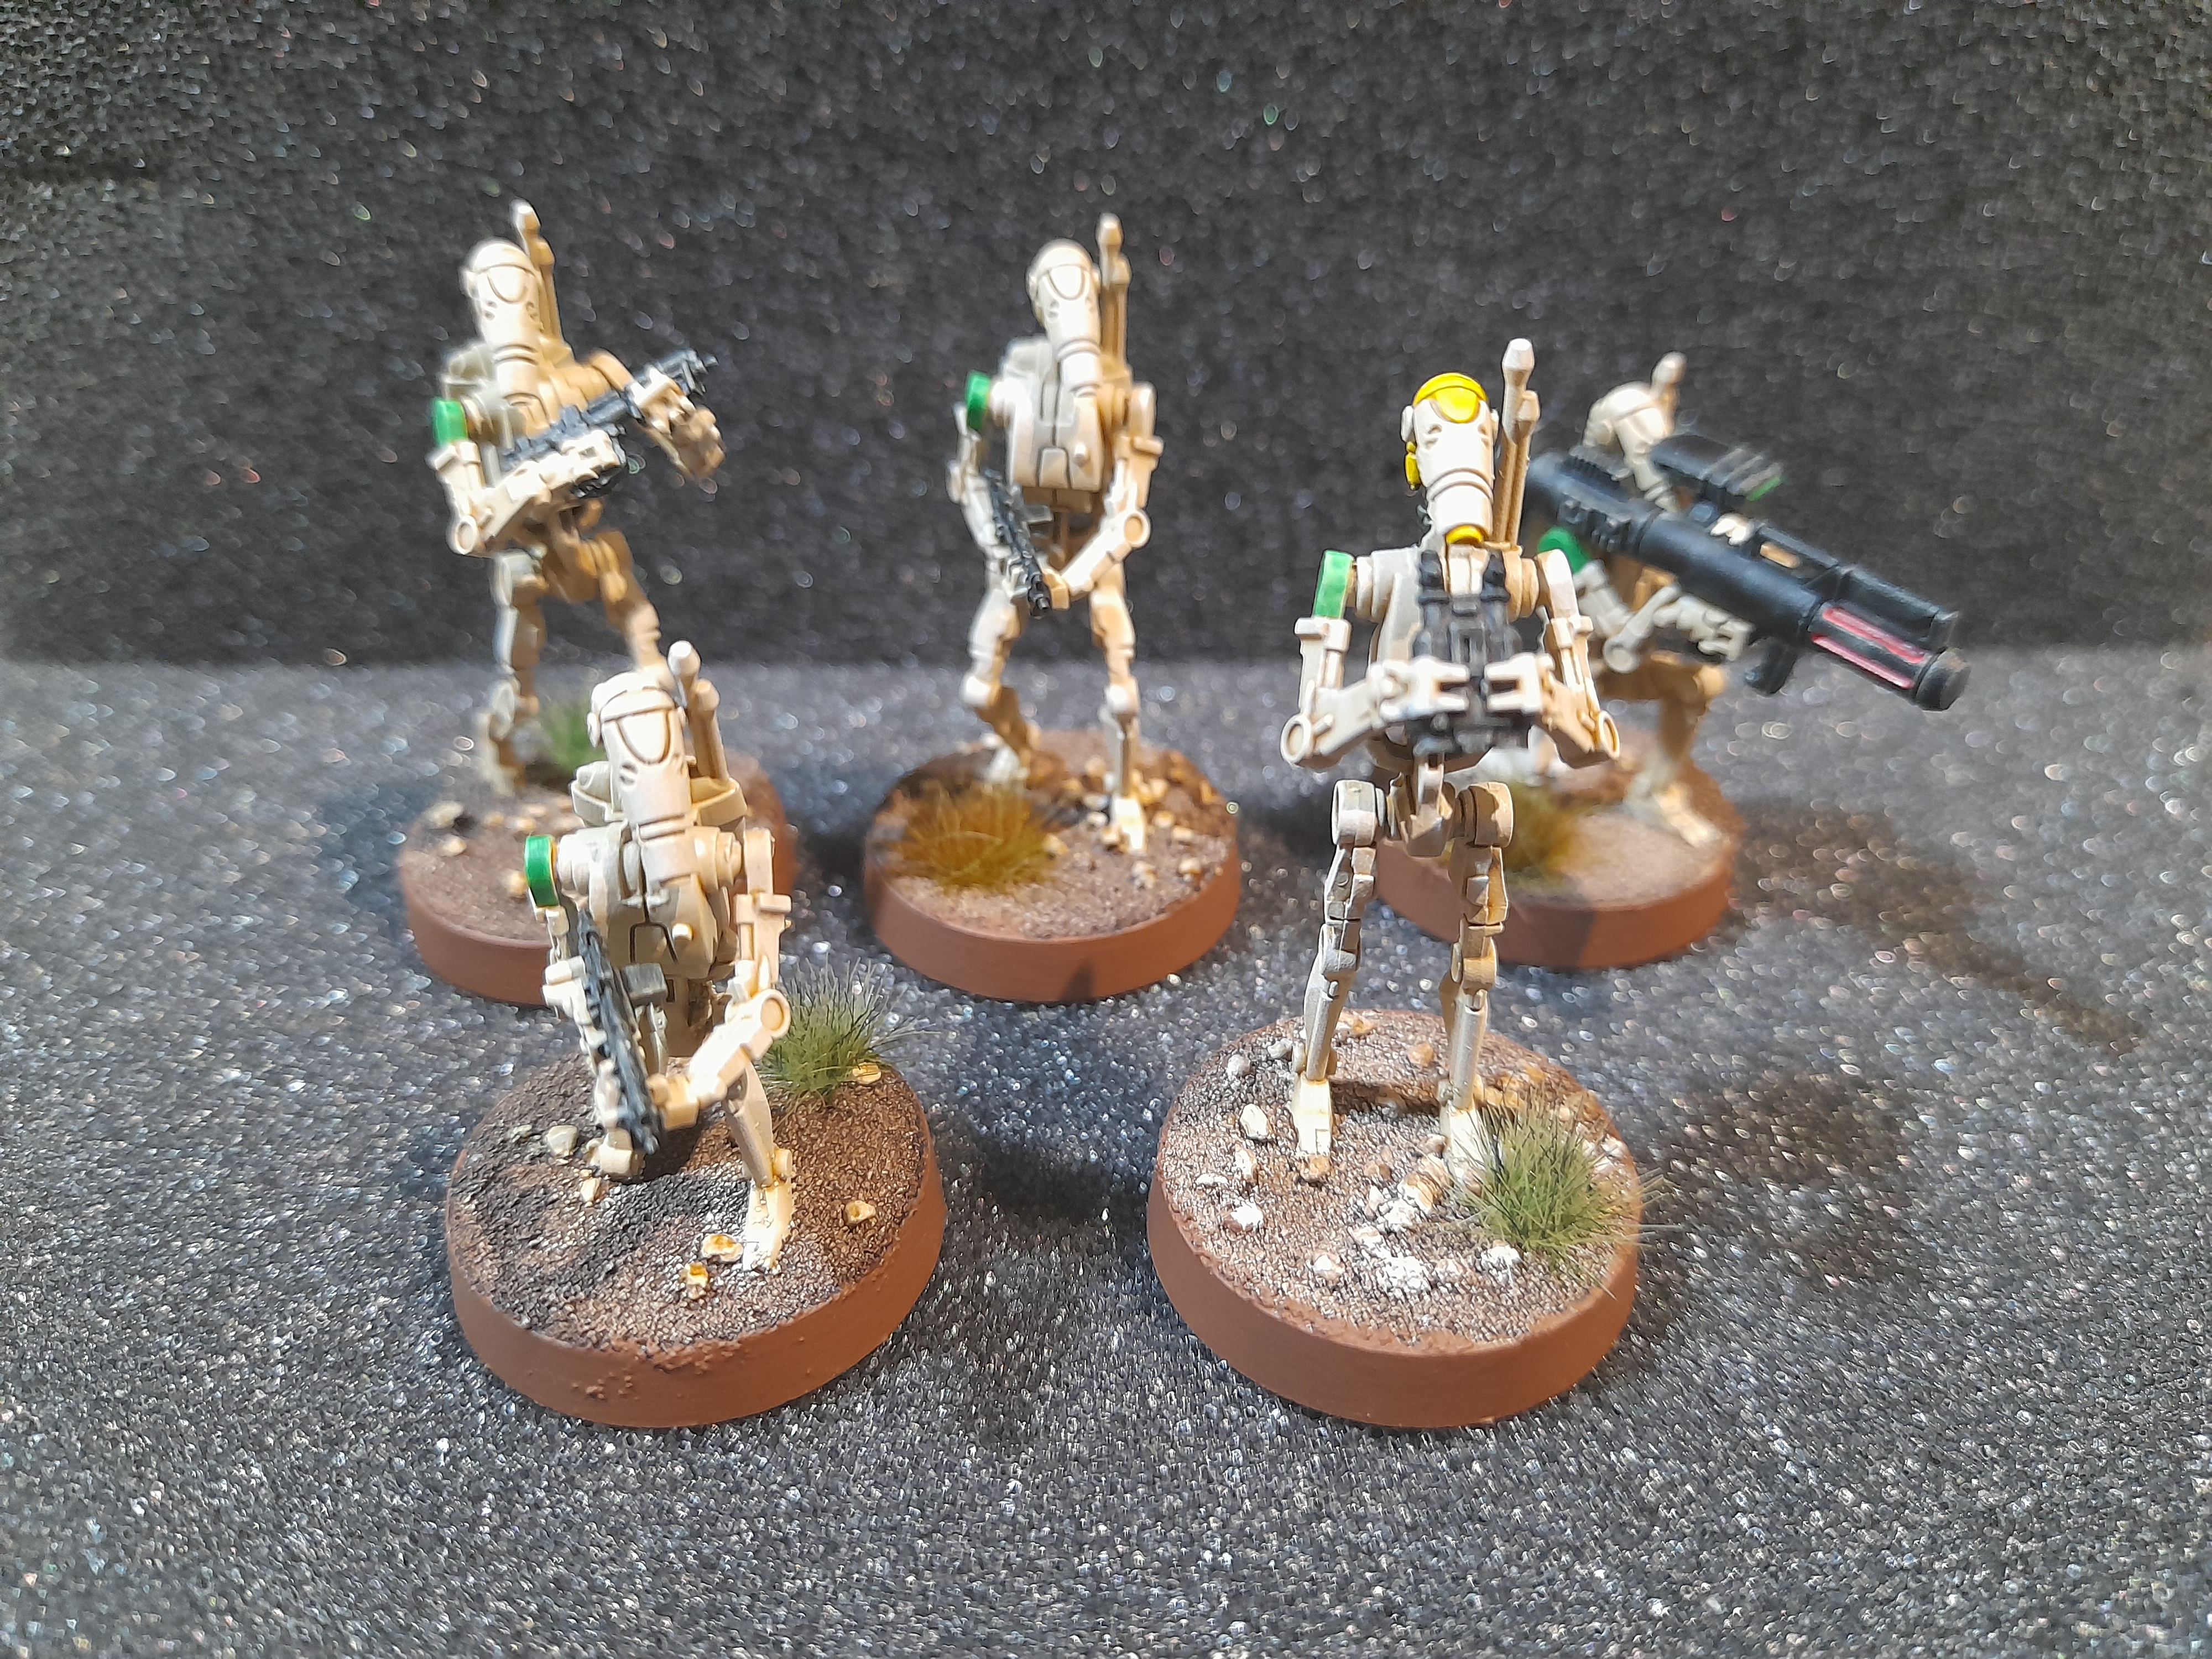
After finishing off one droid to a level I was satisfied with it was then on to the other 35 of the core B1’s.
Picking out the guns, painting the yellow markings on the squad leaders, adding squad colour to shoulder pads and then adding some base tufts for a bit of interest (and to fit in with my clones).
And here they are:
 Some of Green squad
 Some of Purple squad
 Some of Blue squad
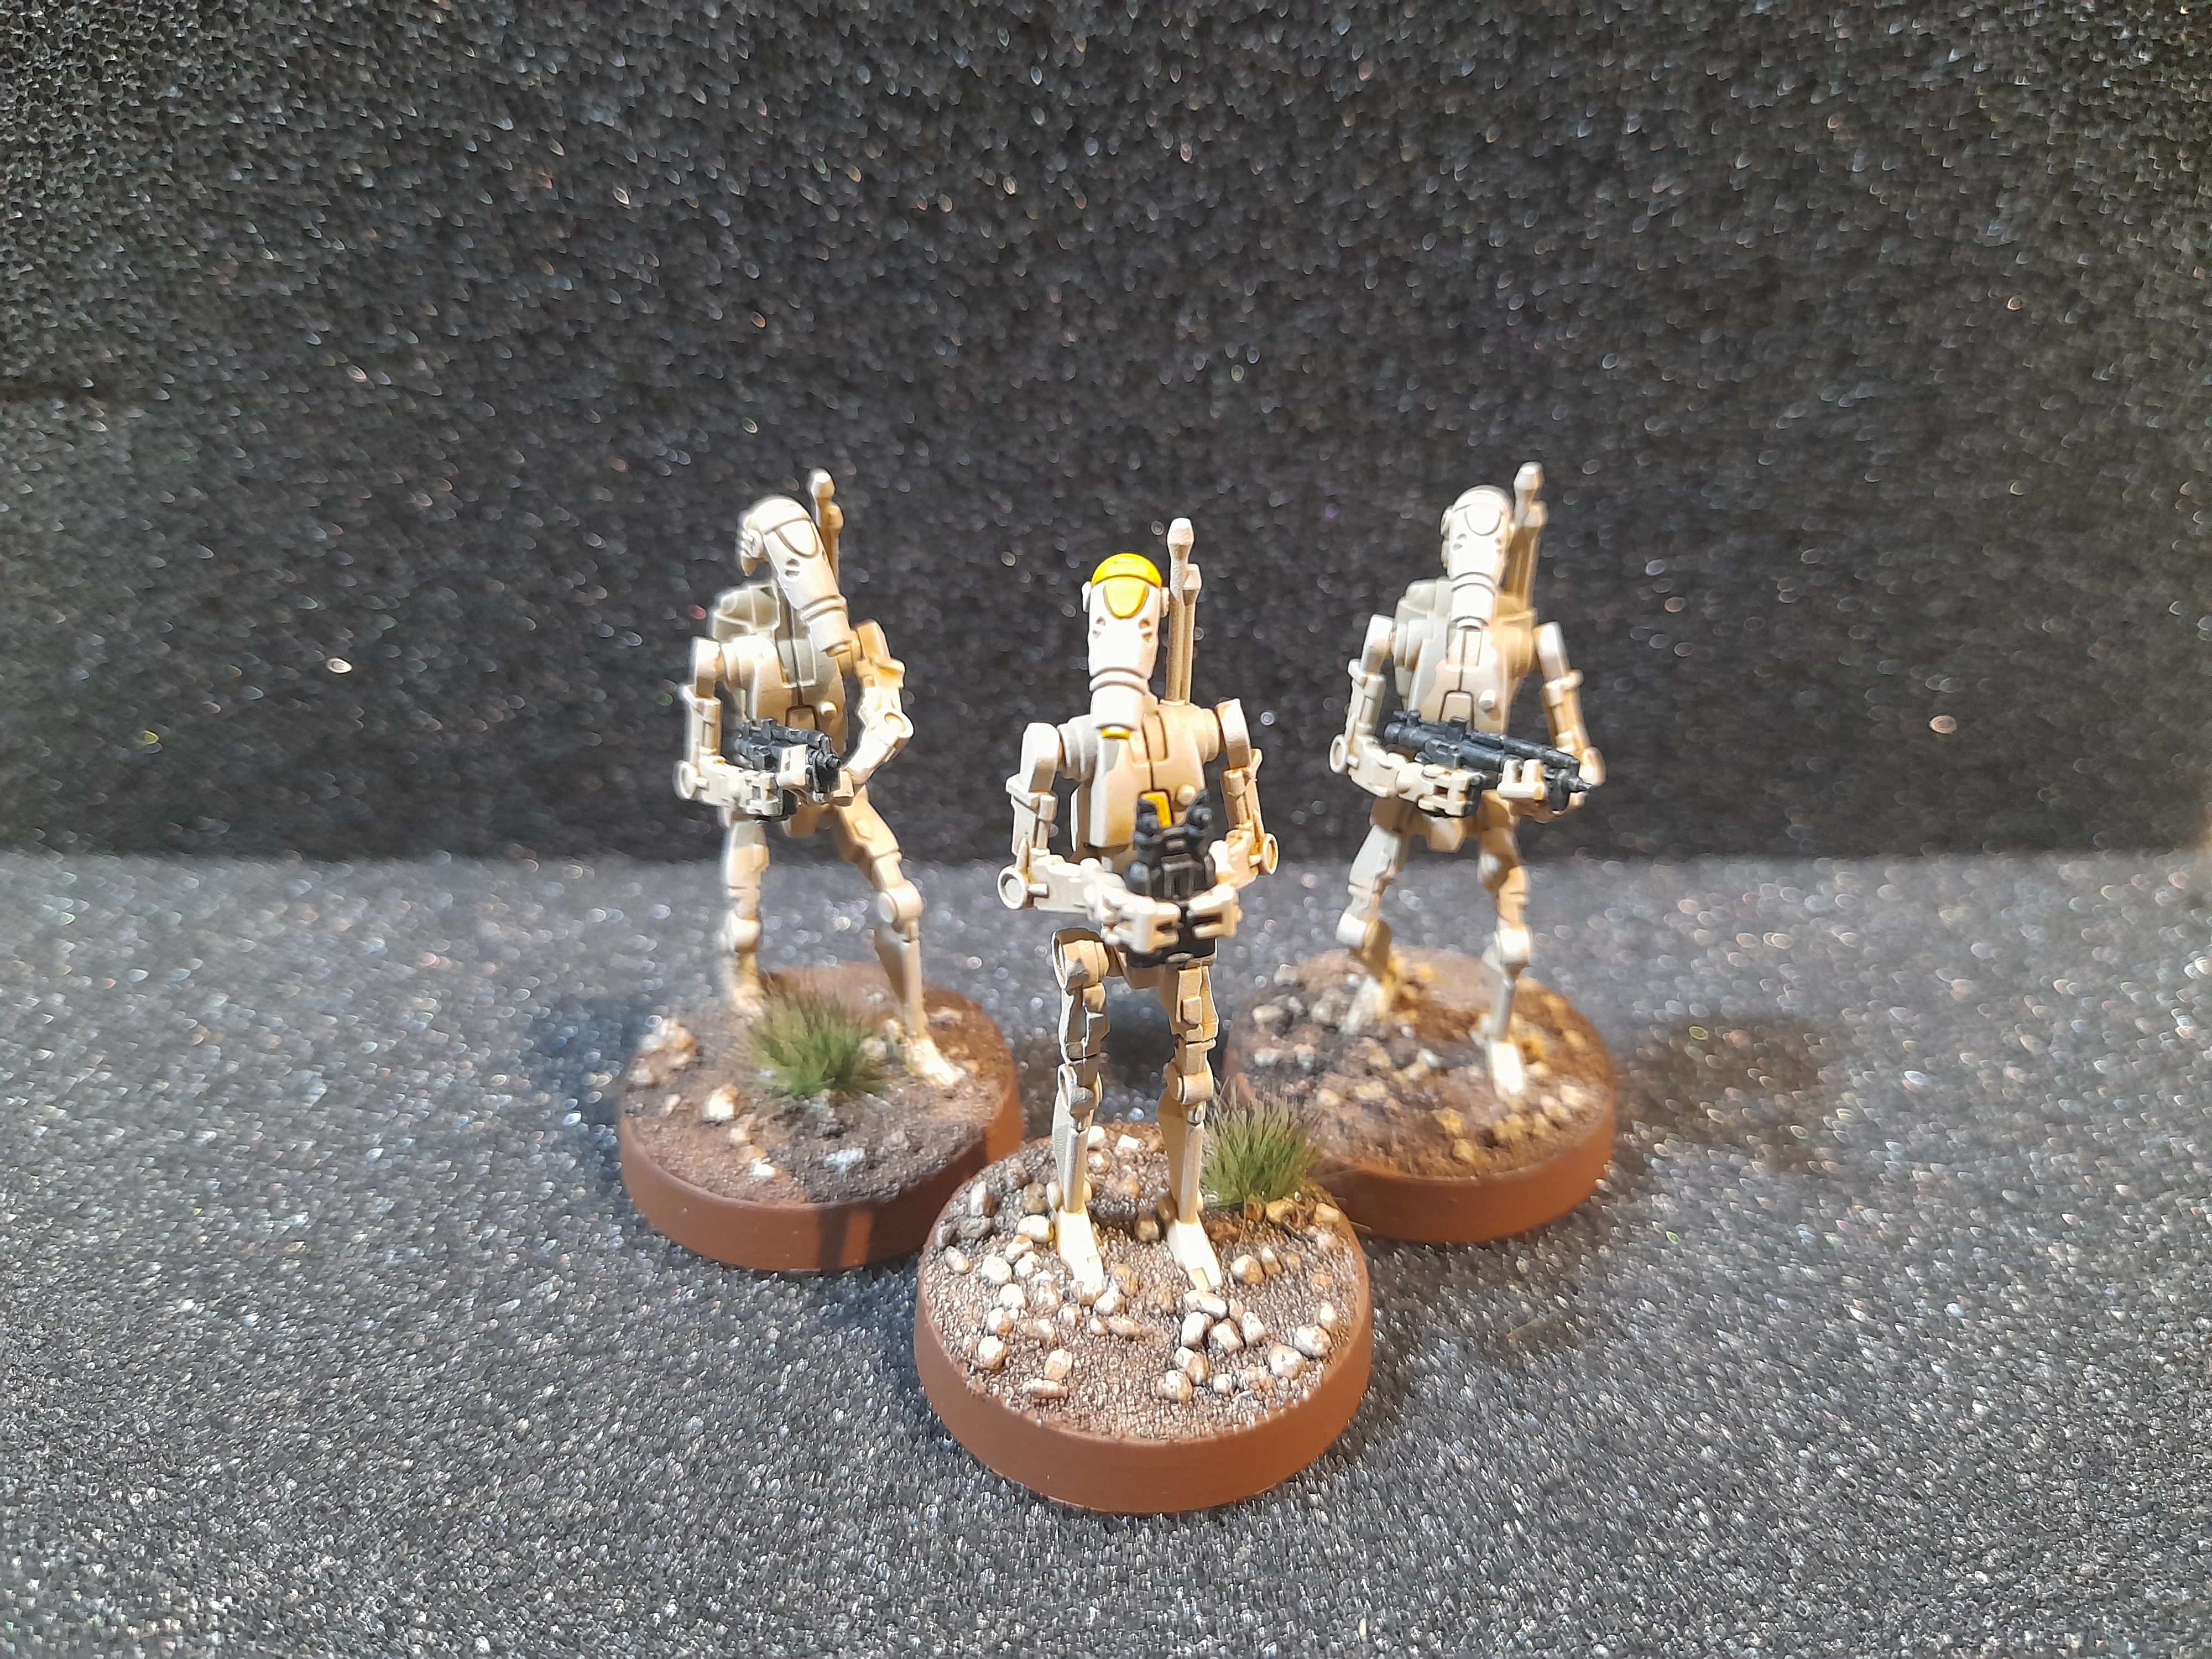 Some of base squad
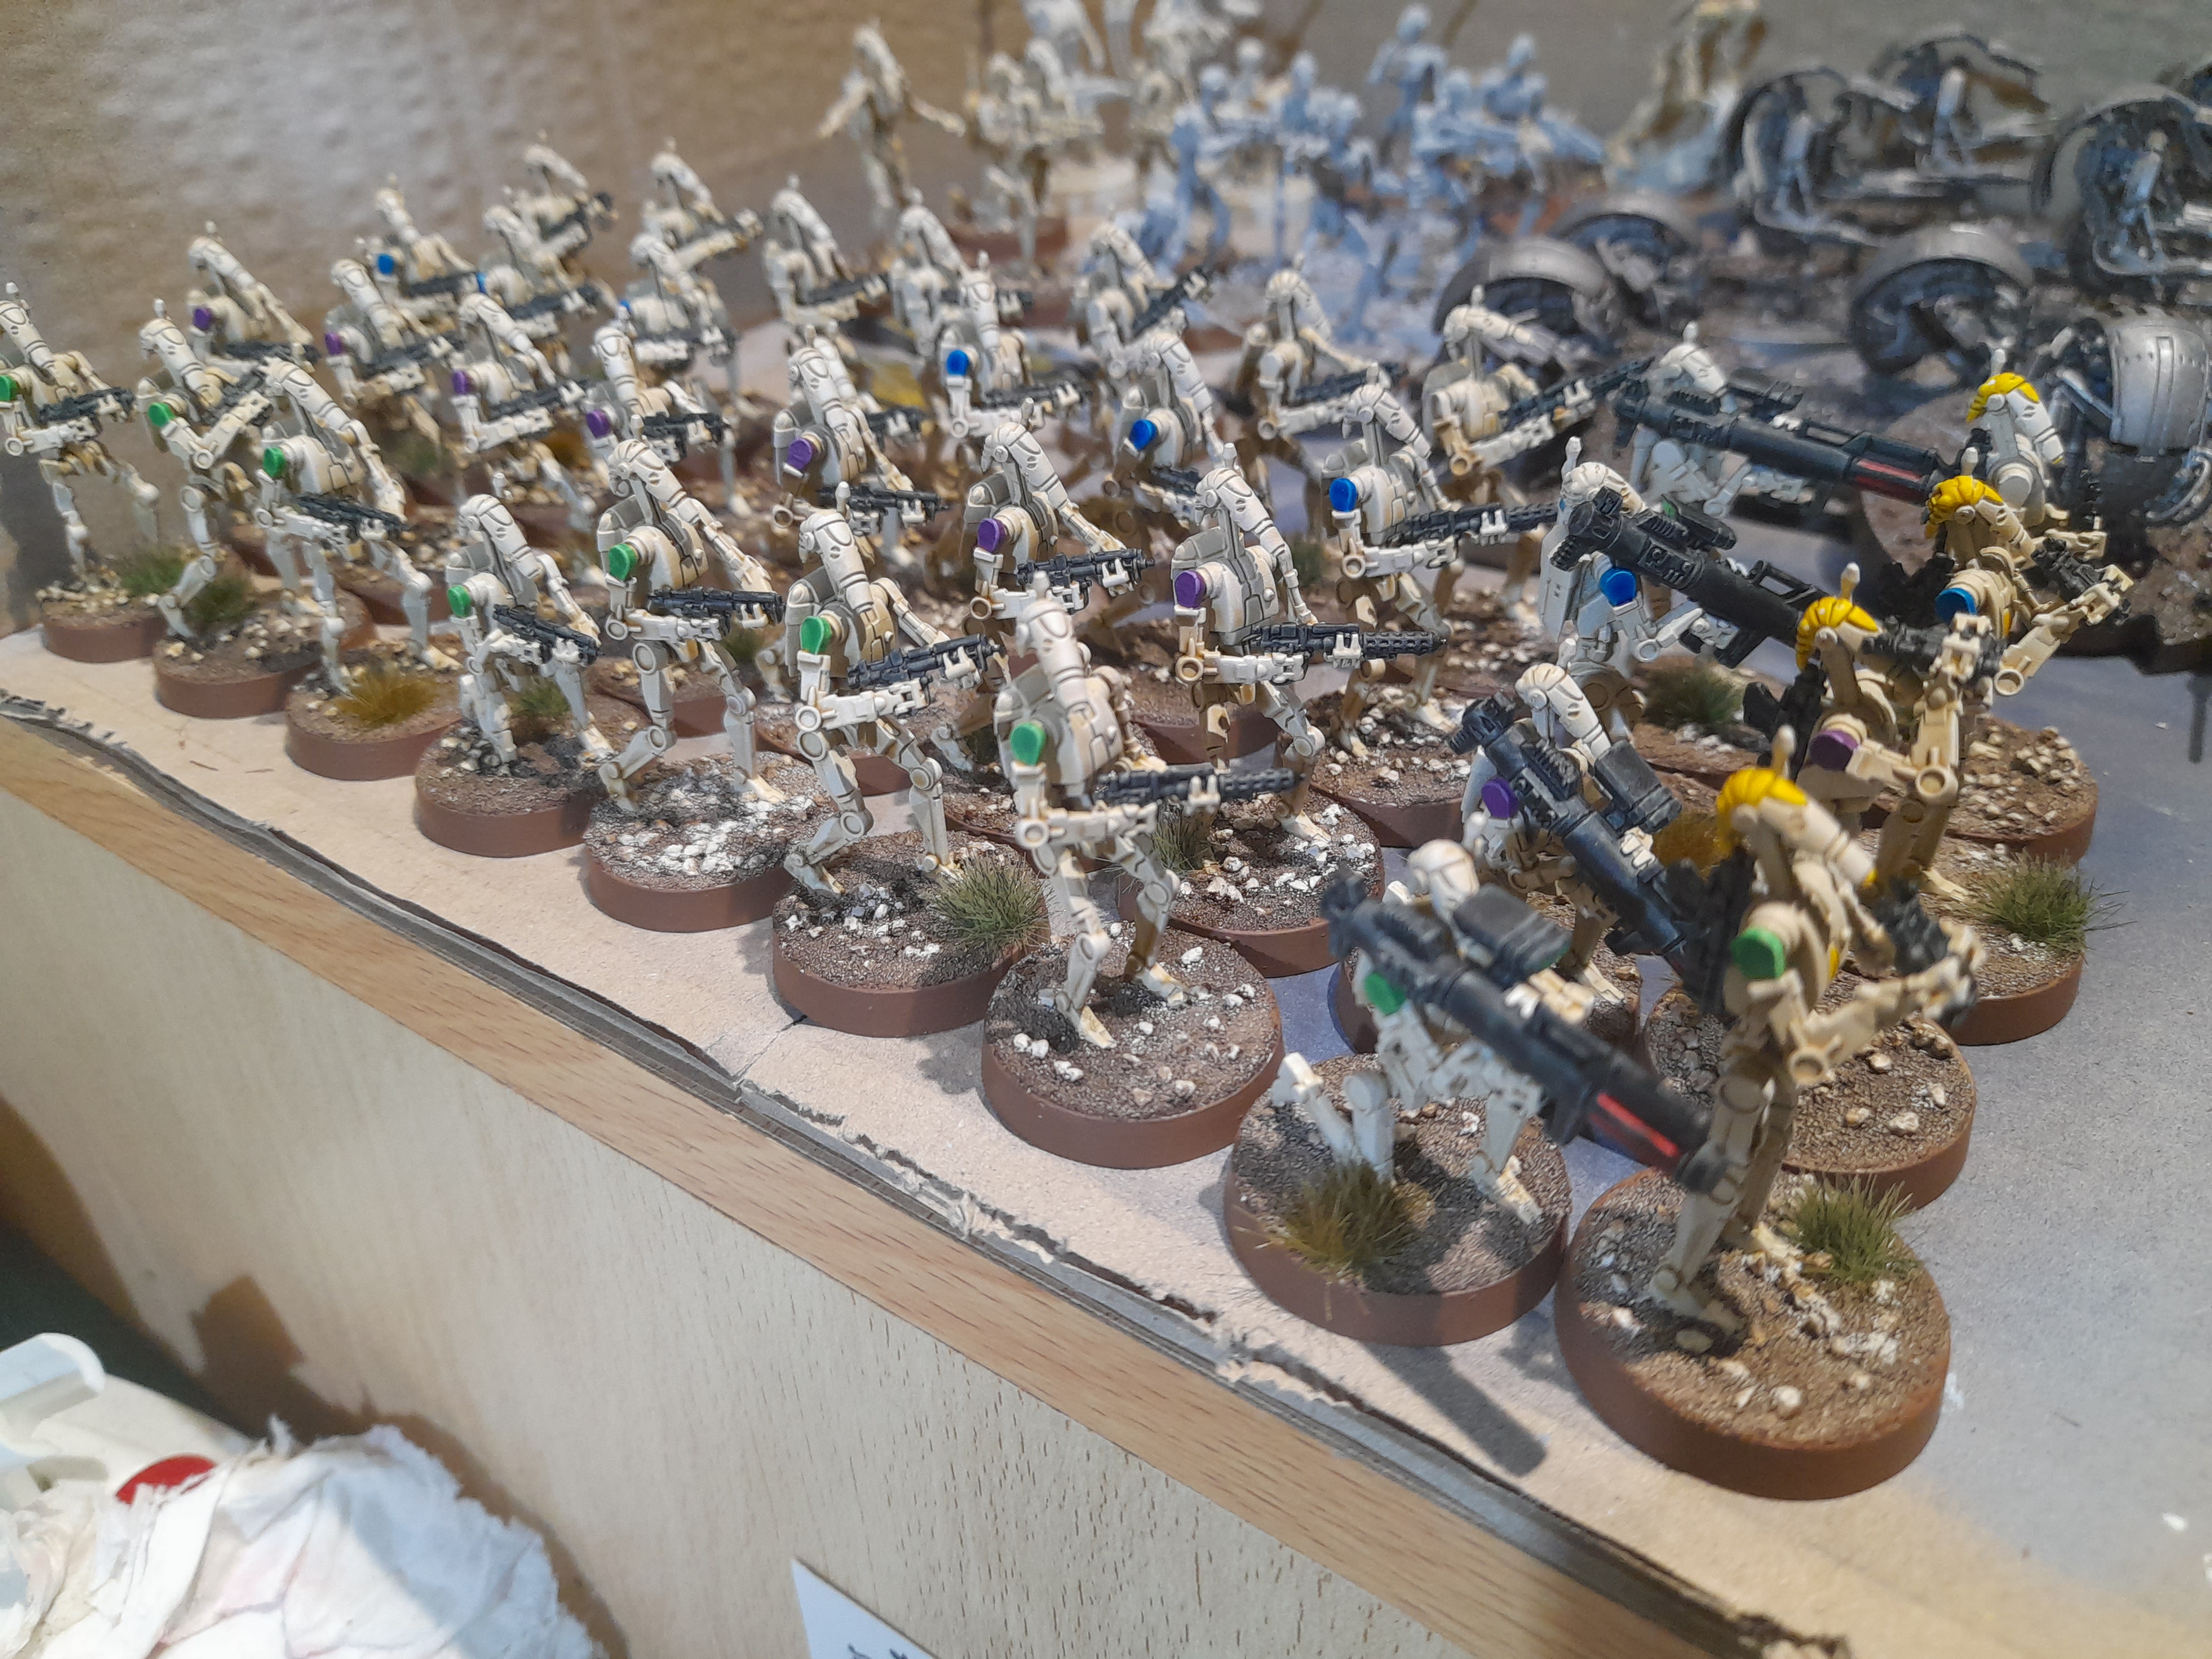
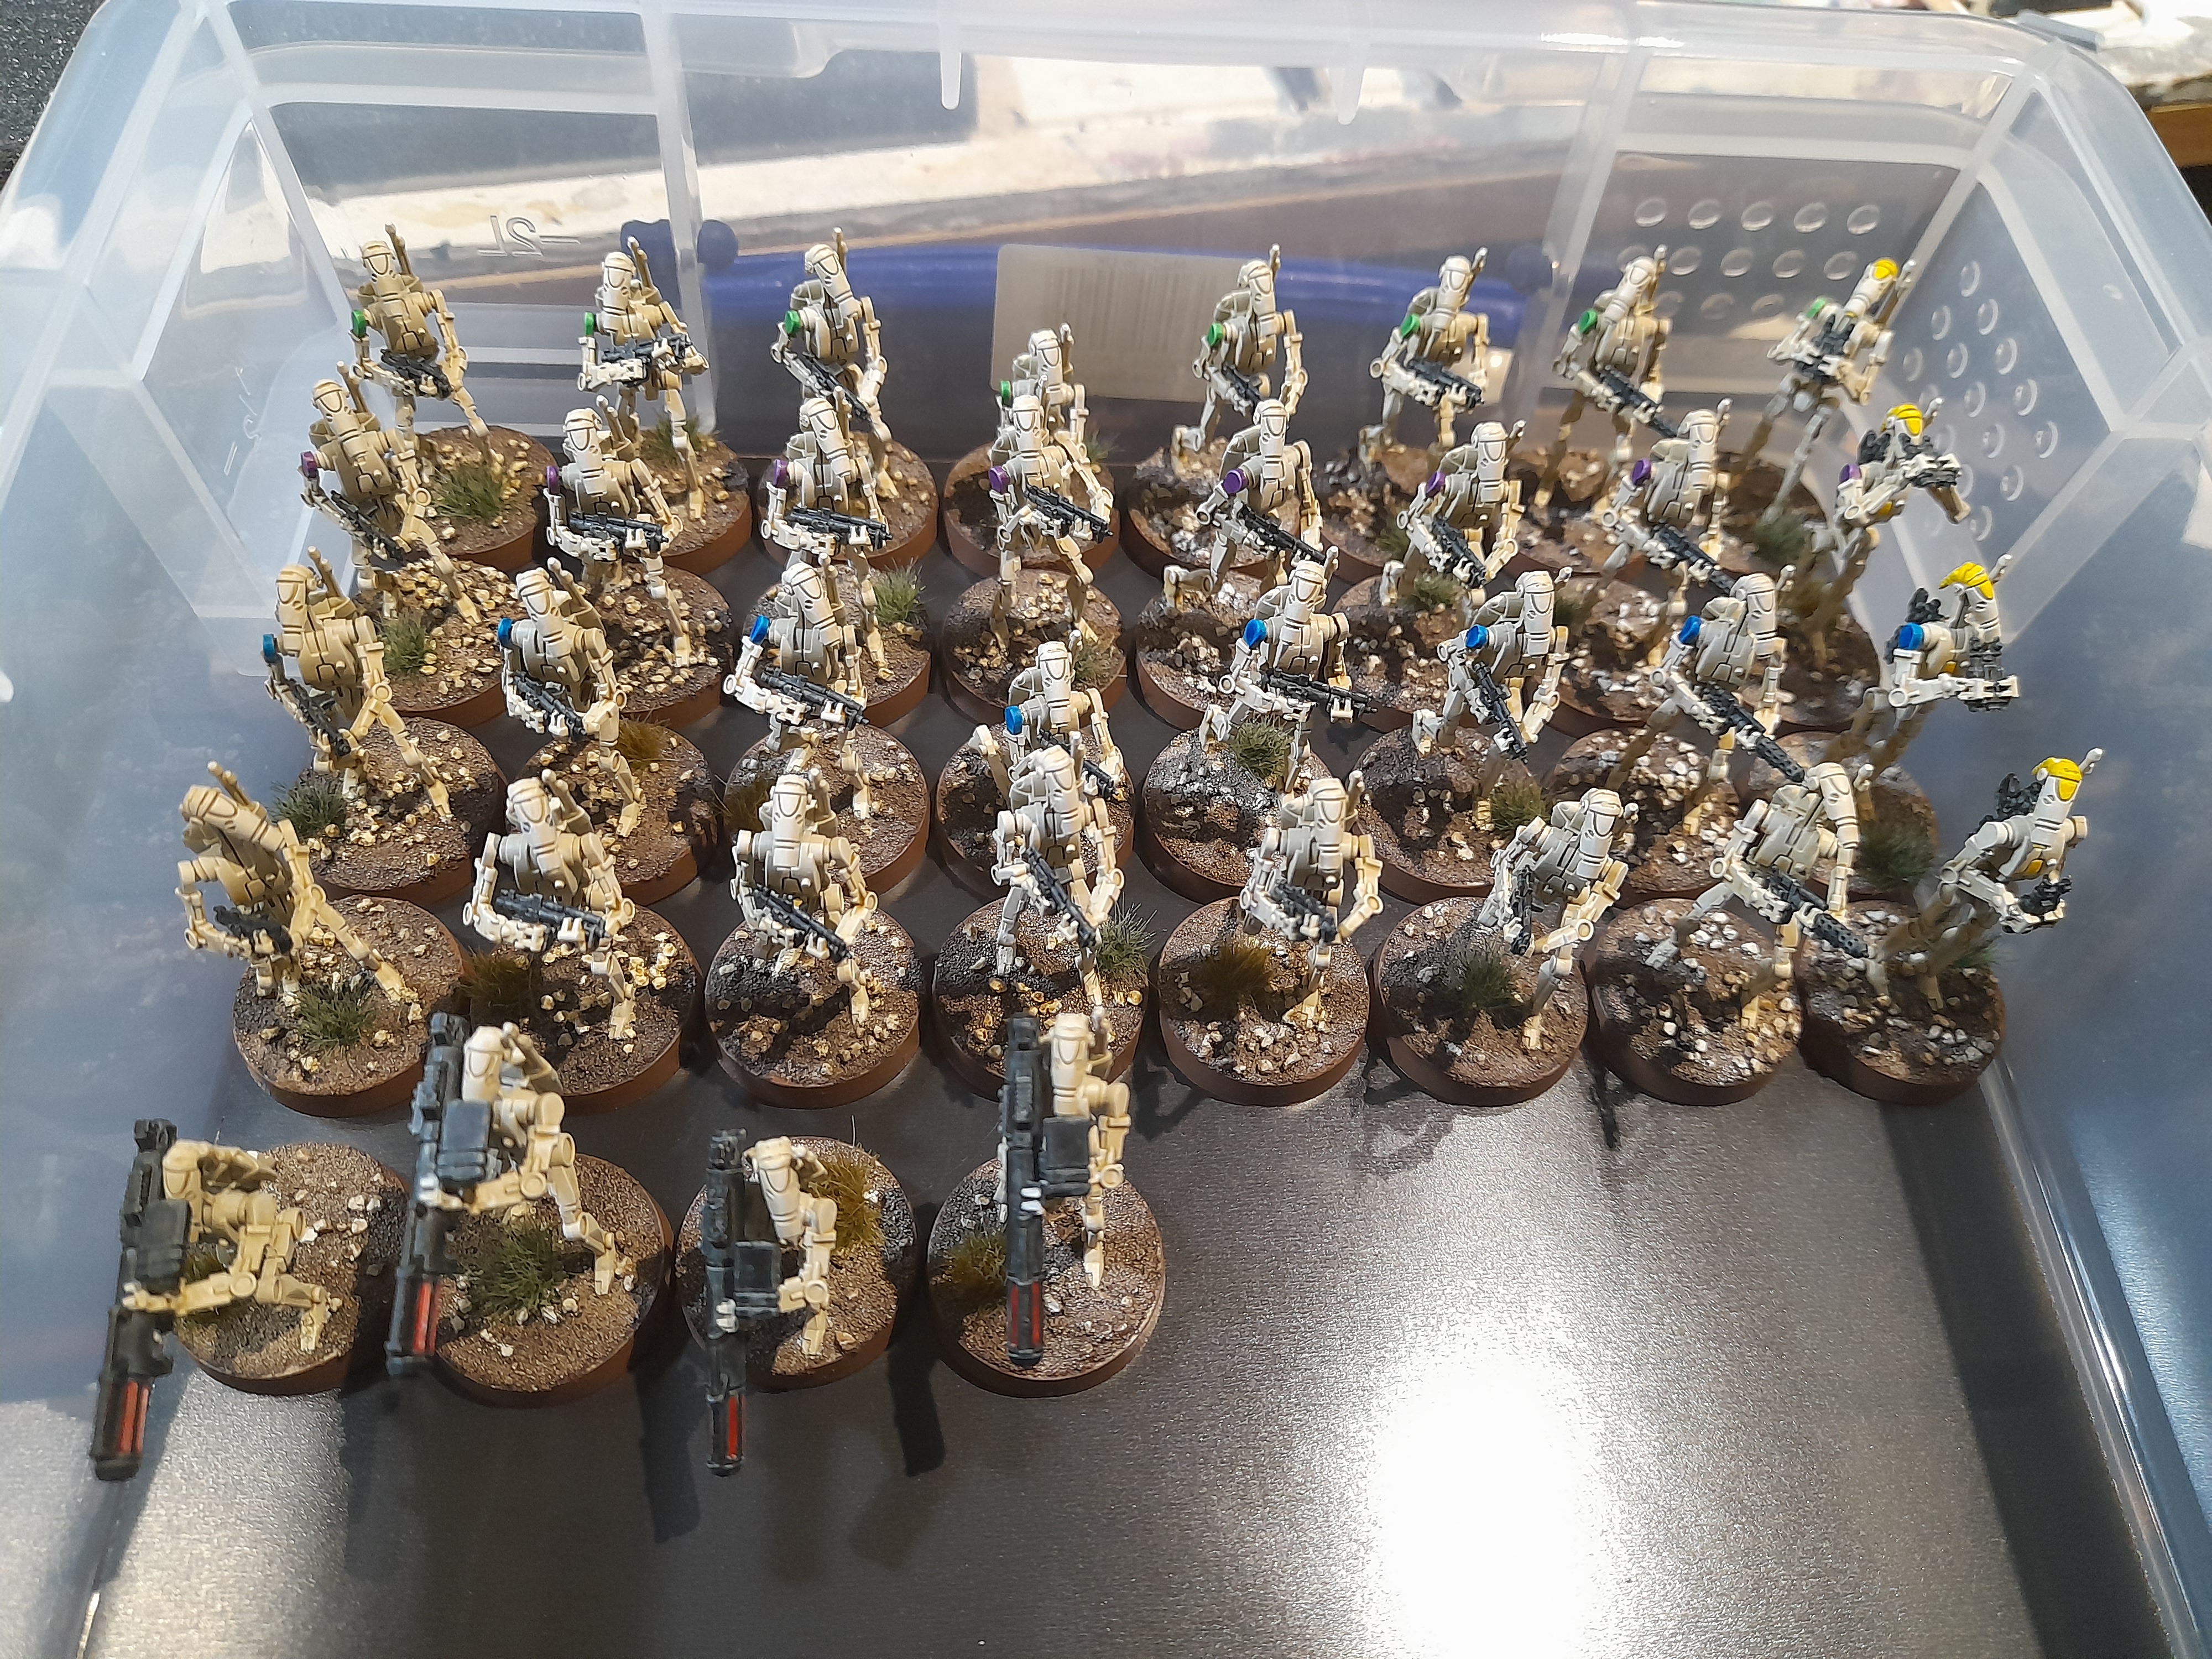 Ready for deployment
 Next will be the B1 upgrade unit, who have the basic colour down already.