


Fully Rigging a Blood & Plunder Sloop


Recommendations: 79
About the Project
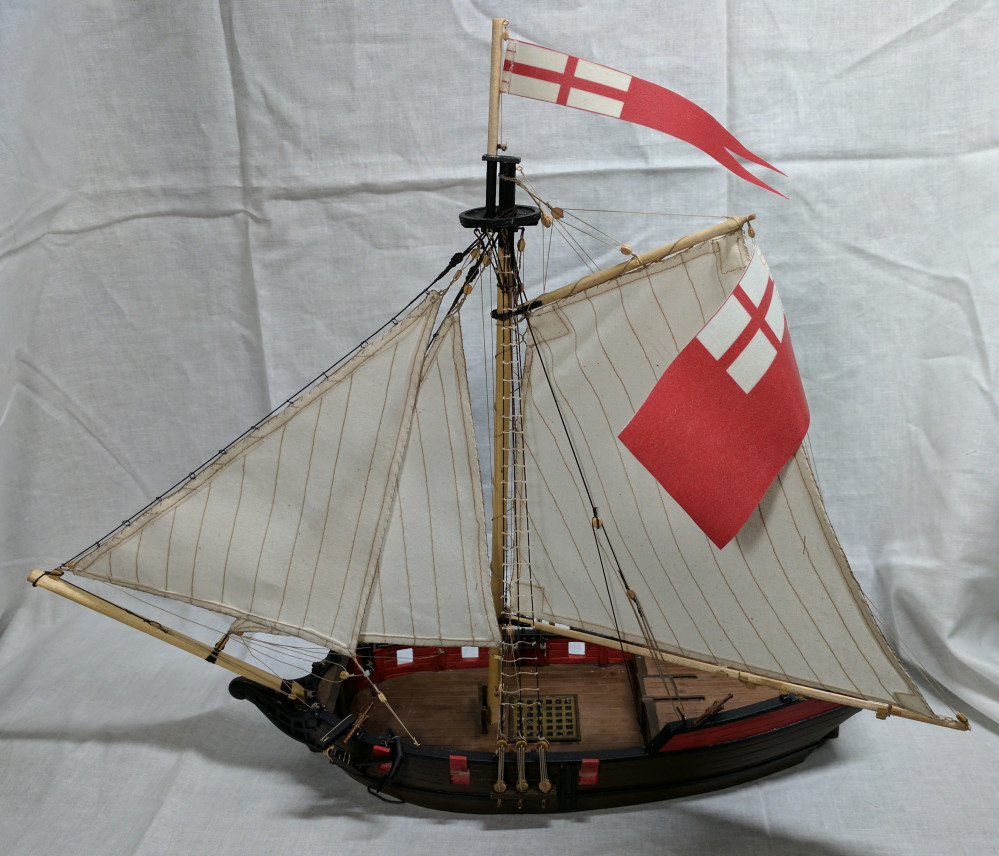
This project is technically complete however I have only shared the completed photos and never the complete project. So I'm going to do that. I will start at the beginning however I will tease you with the completed photo of the model.
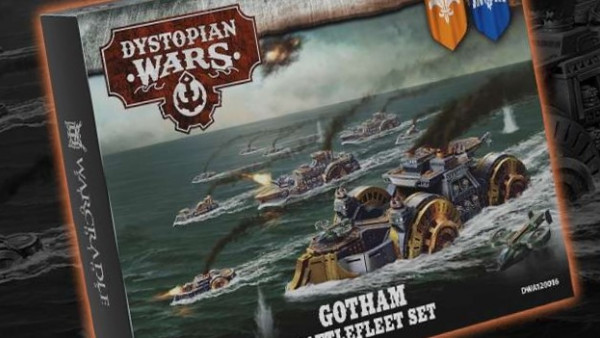
Related Game: Blood & Plunder
Related Company: Firelock Games
Related Genre: Historical
This Project is Active
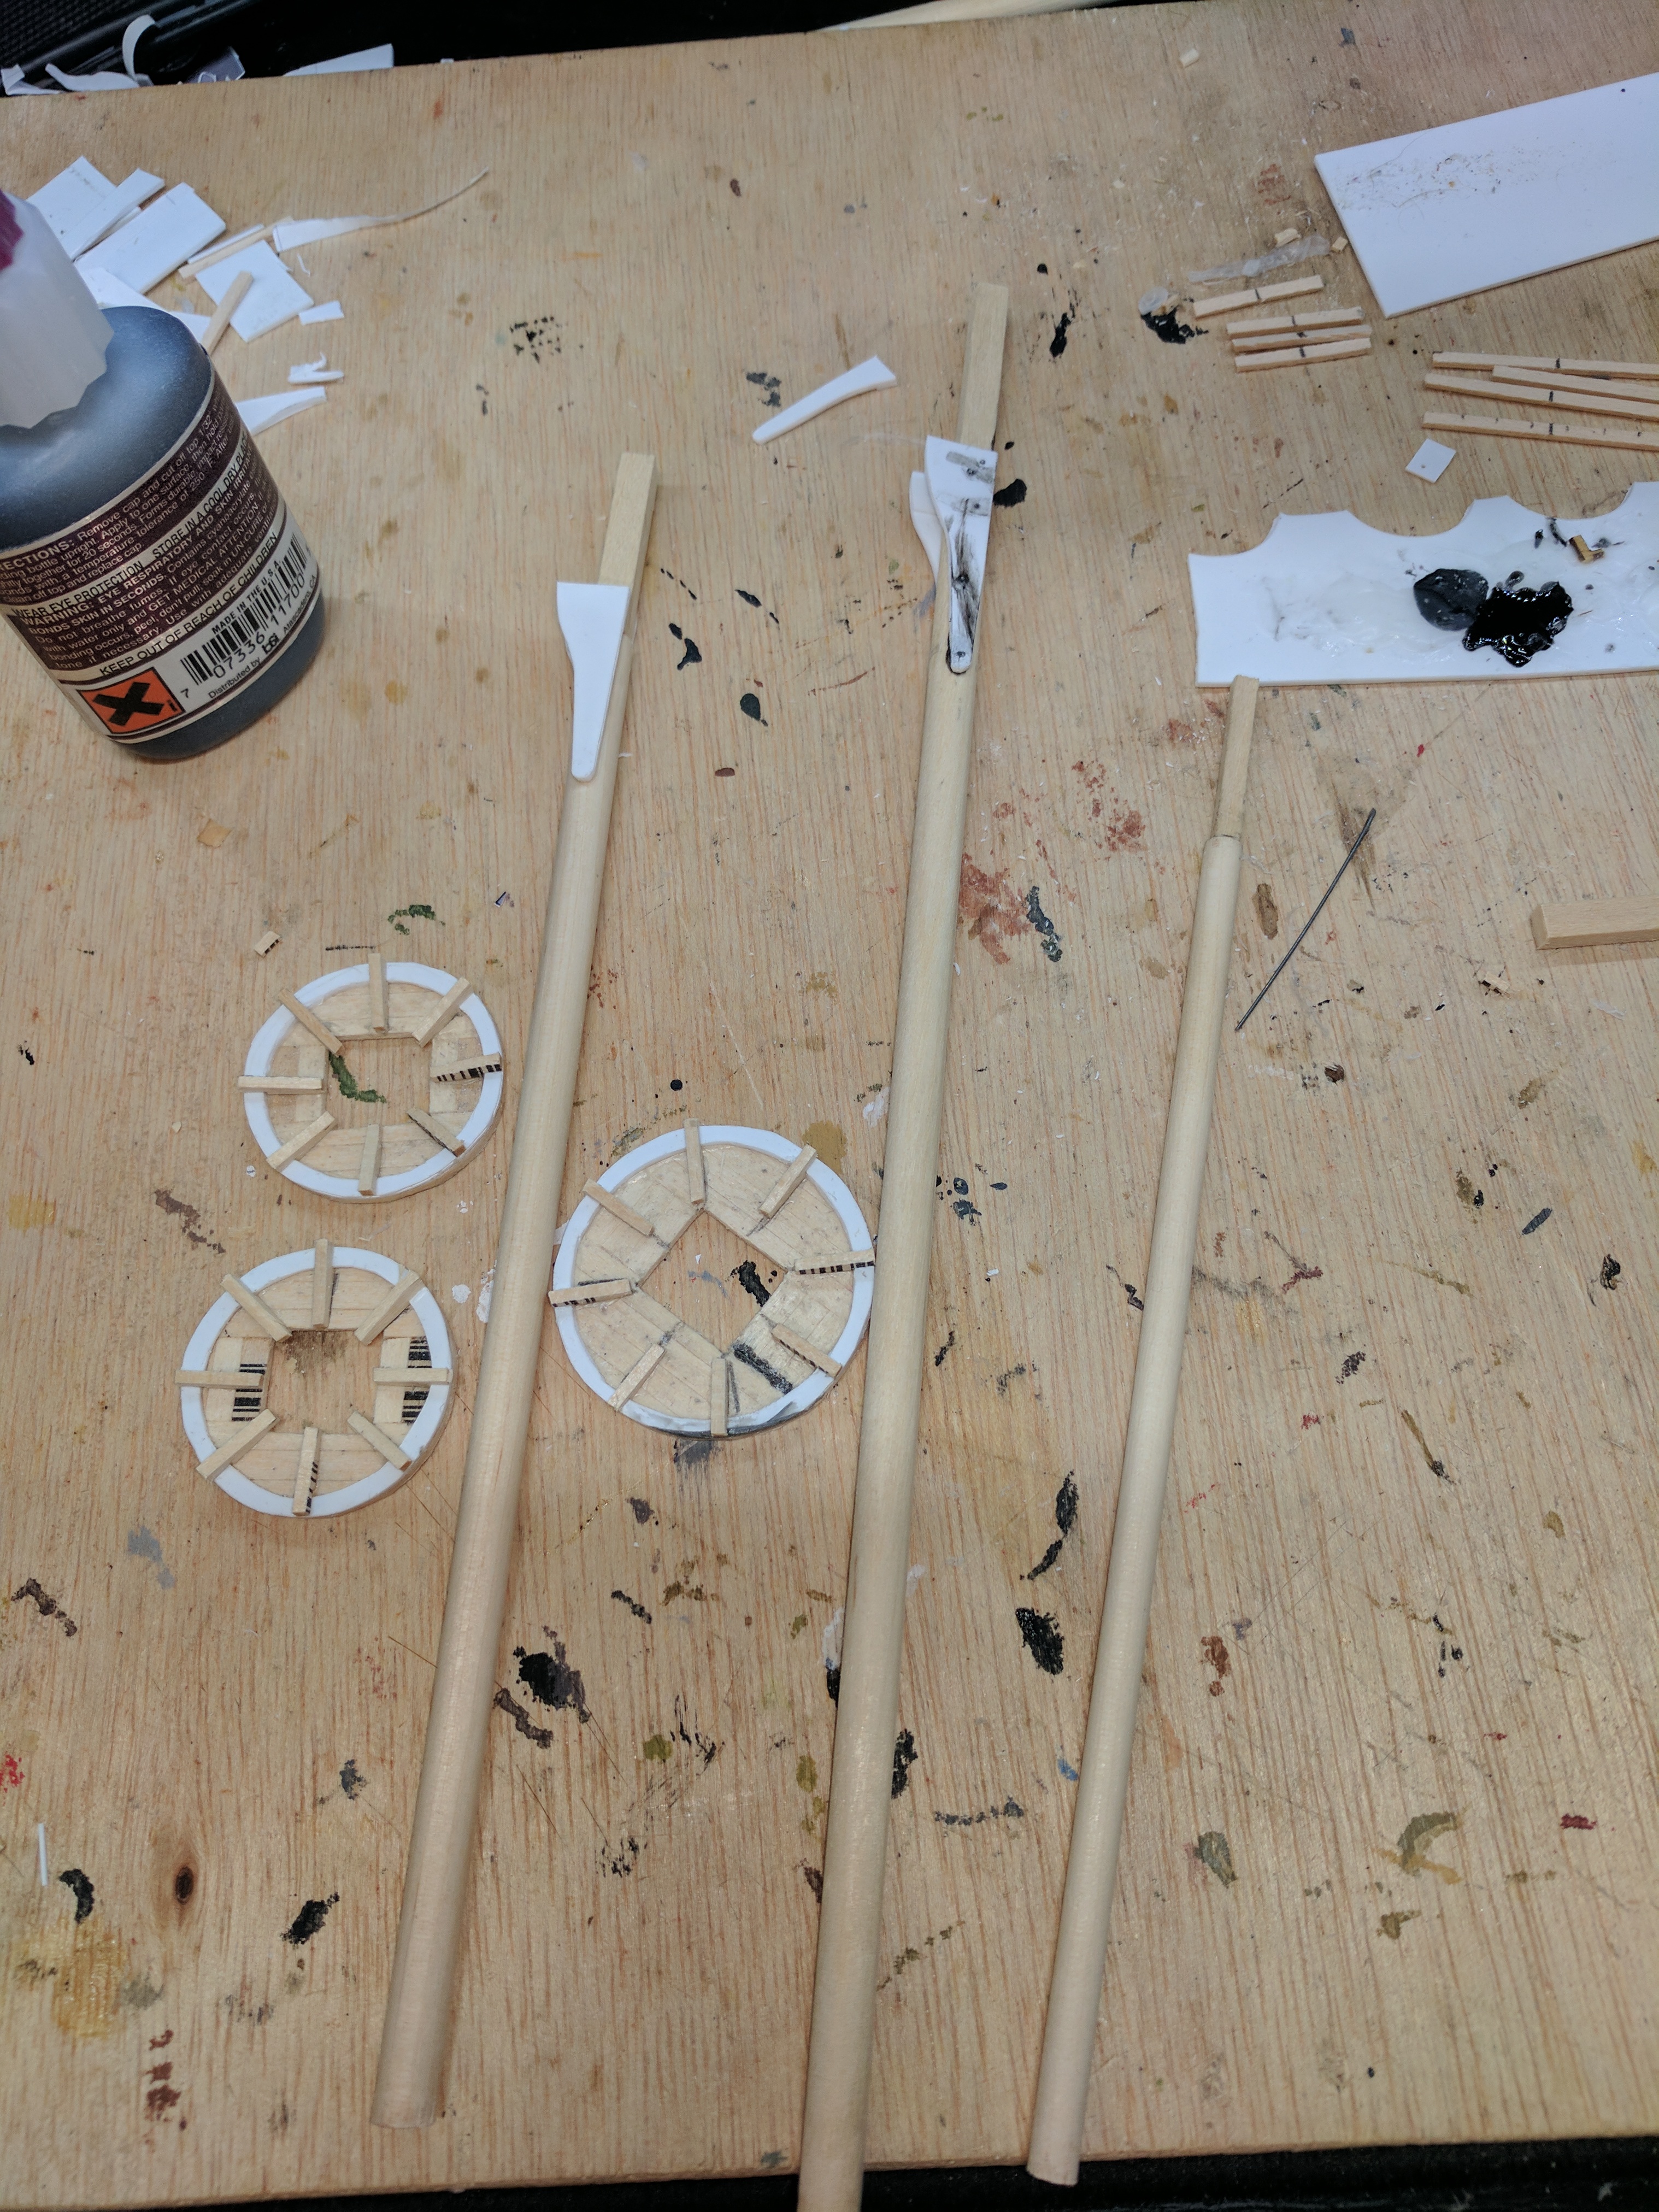
Masts
I made quite a few changes to the masts provided to me by Firelock. The first thing i did was I added a piece of wood to the top of the mast. This piece was pinned and glue to the top of the old mast so that it it would stay. I used plasticard to create the pieces that the fighting top would rest on. These pieces where glued and pinned as well.
In the first picture there are three masts shown. The one in the middle is for this sloop. The other two are for my Frigate(which is still very much needing work).
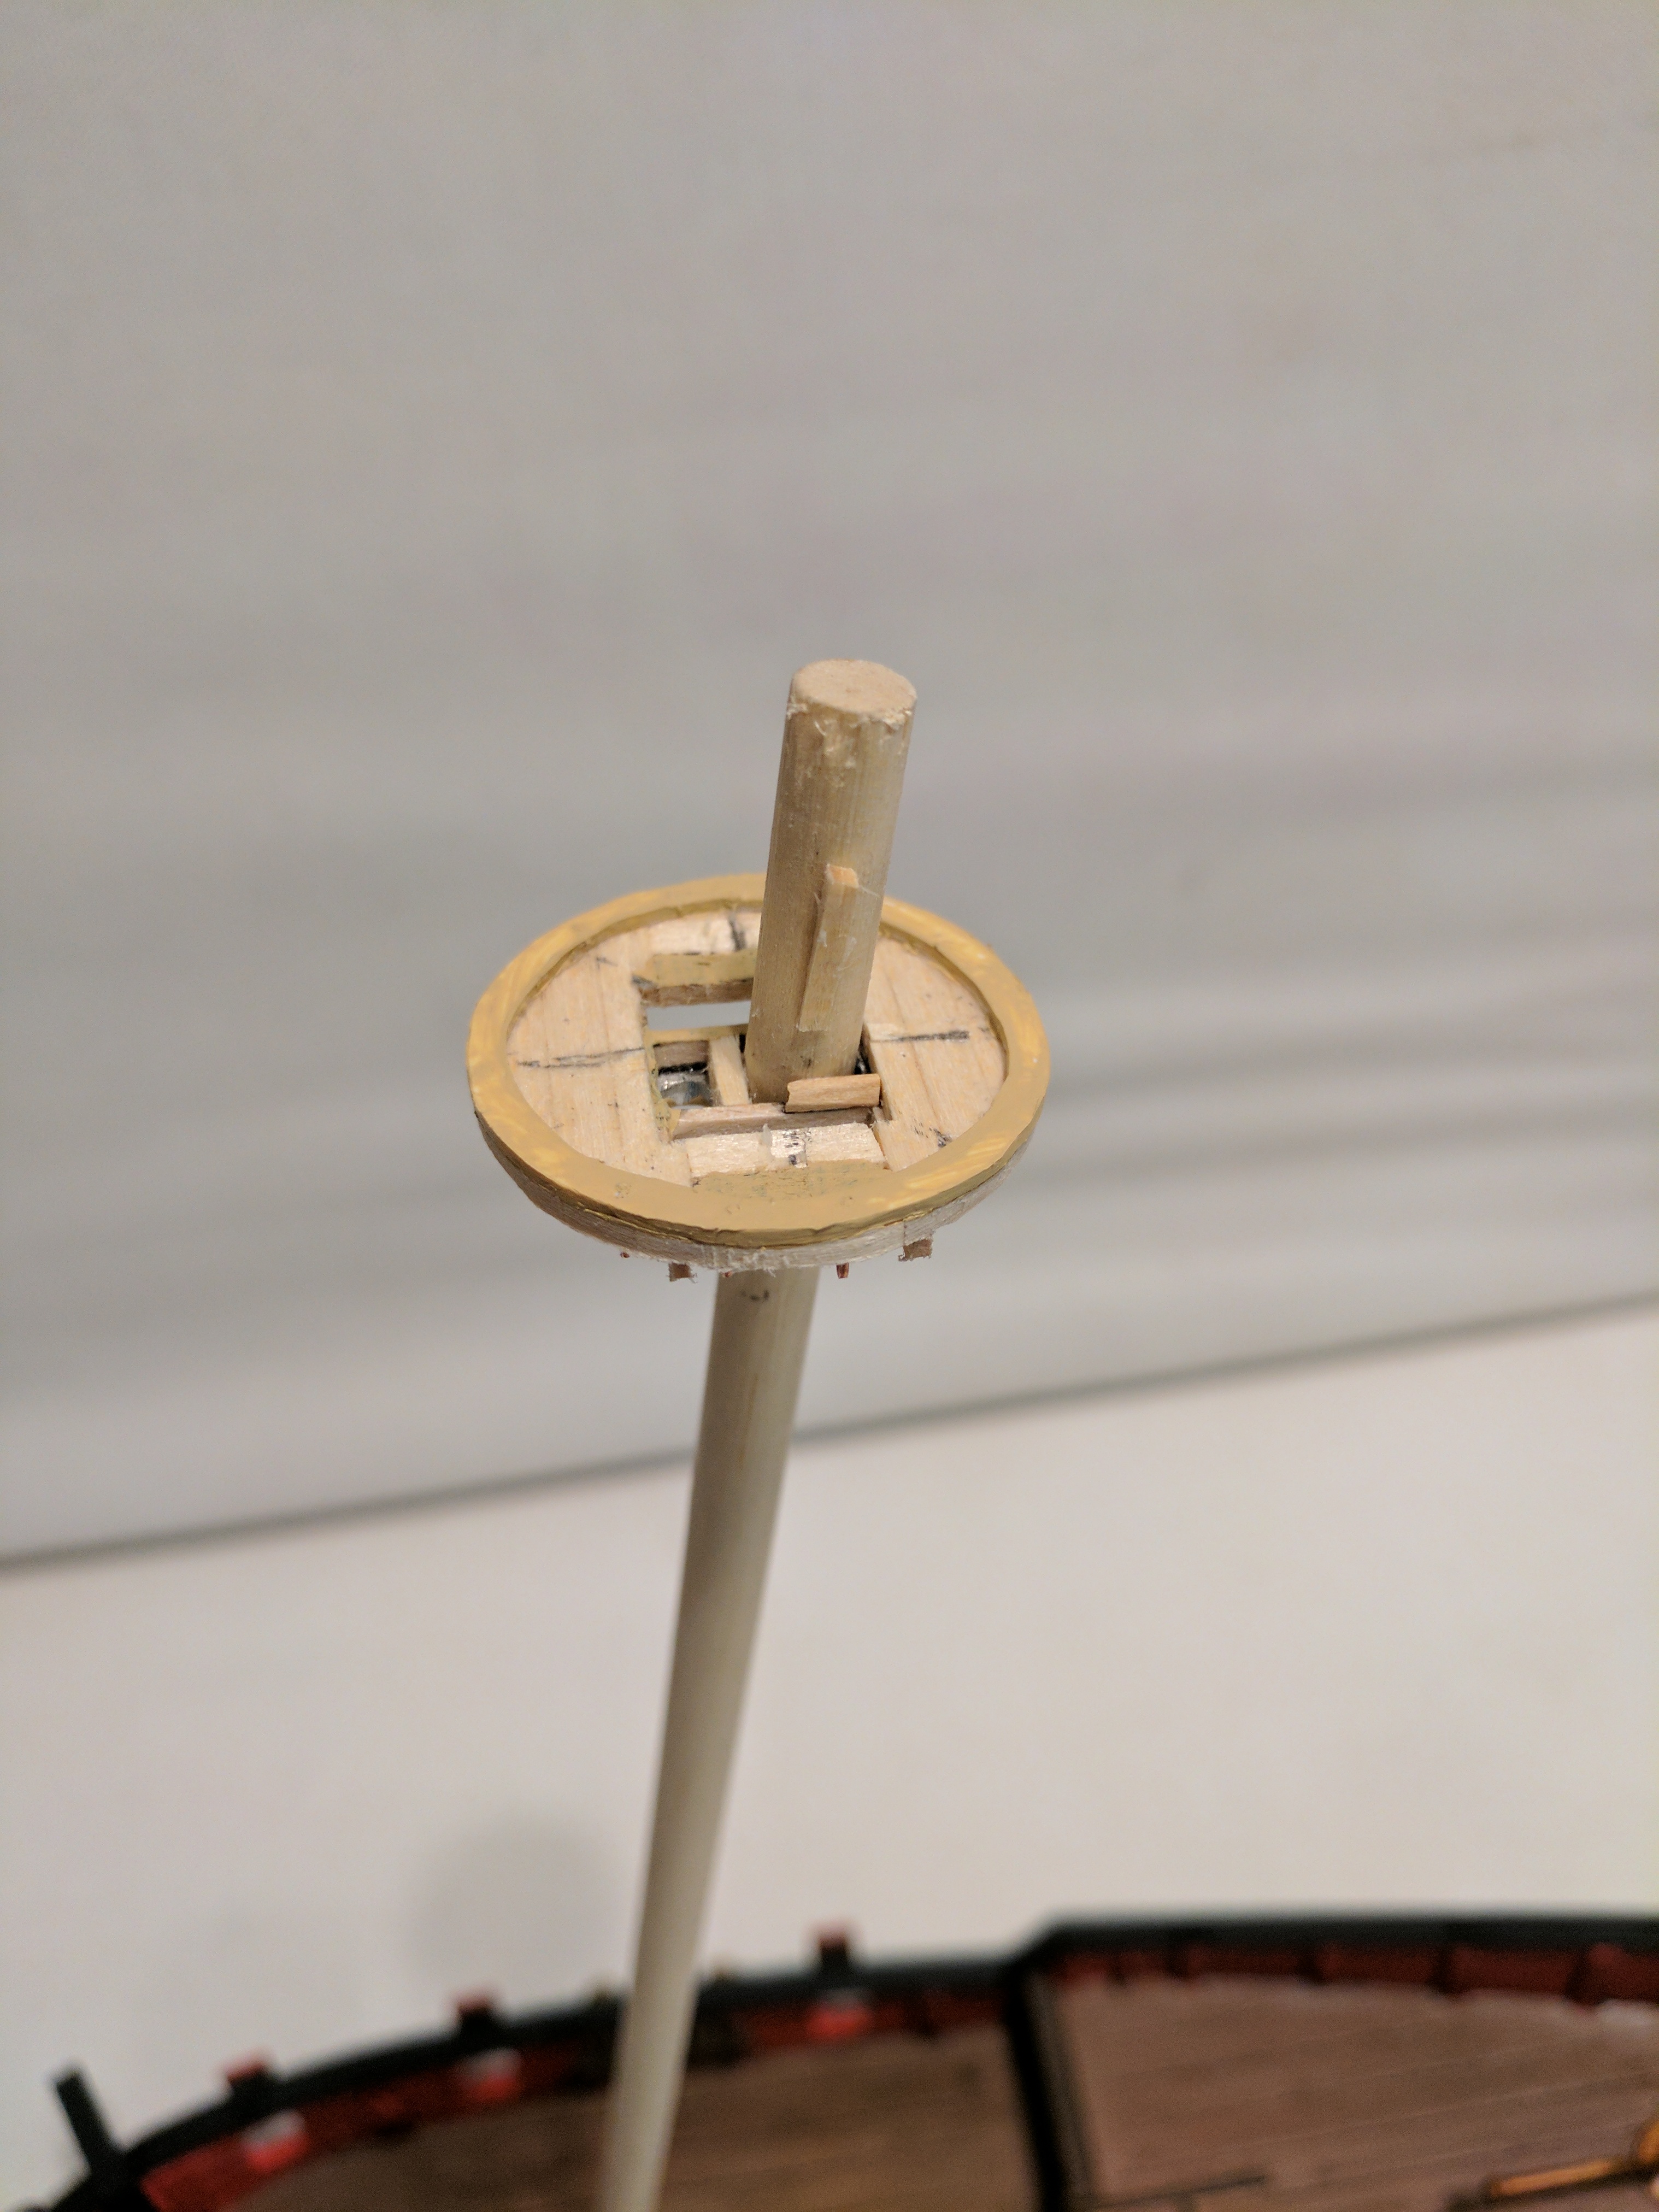
The next picture shows the assembled mast and fighting top. I have glued and painted the top and mast were needed and added the last pieces of wood on. These pieces will be used to hold parts of the rigging in the right places.
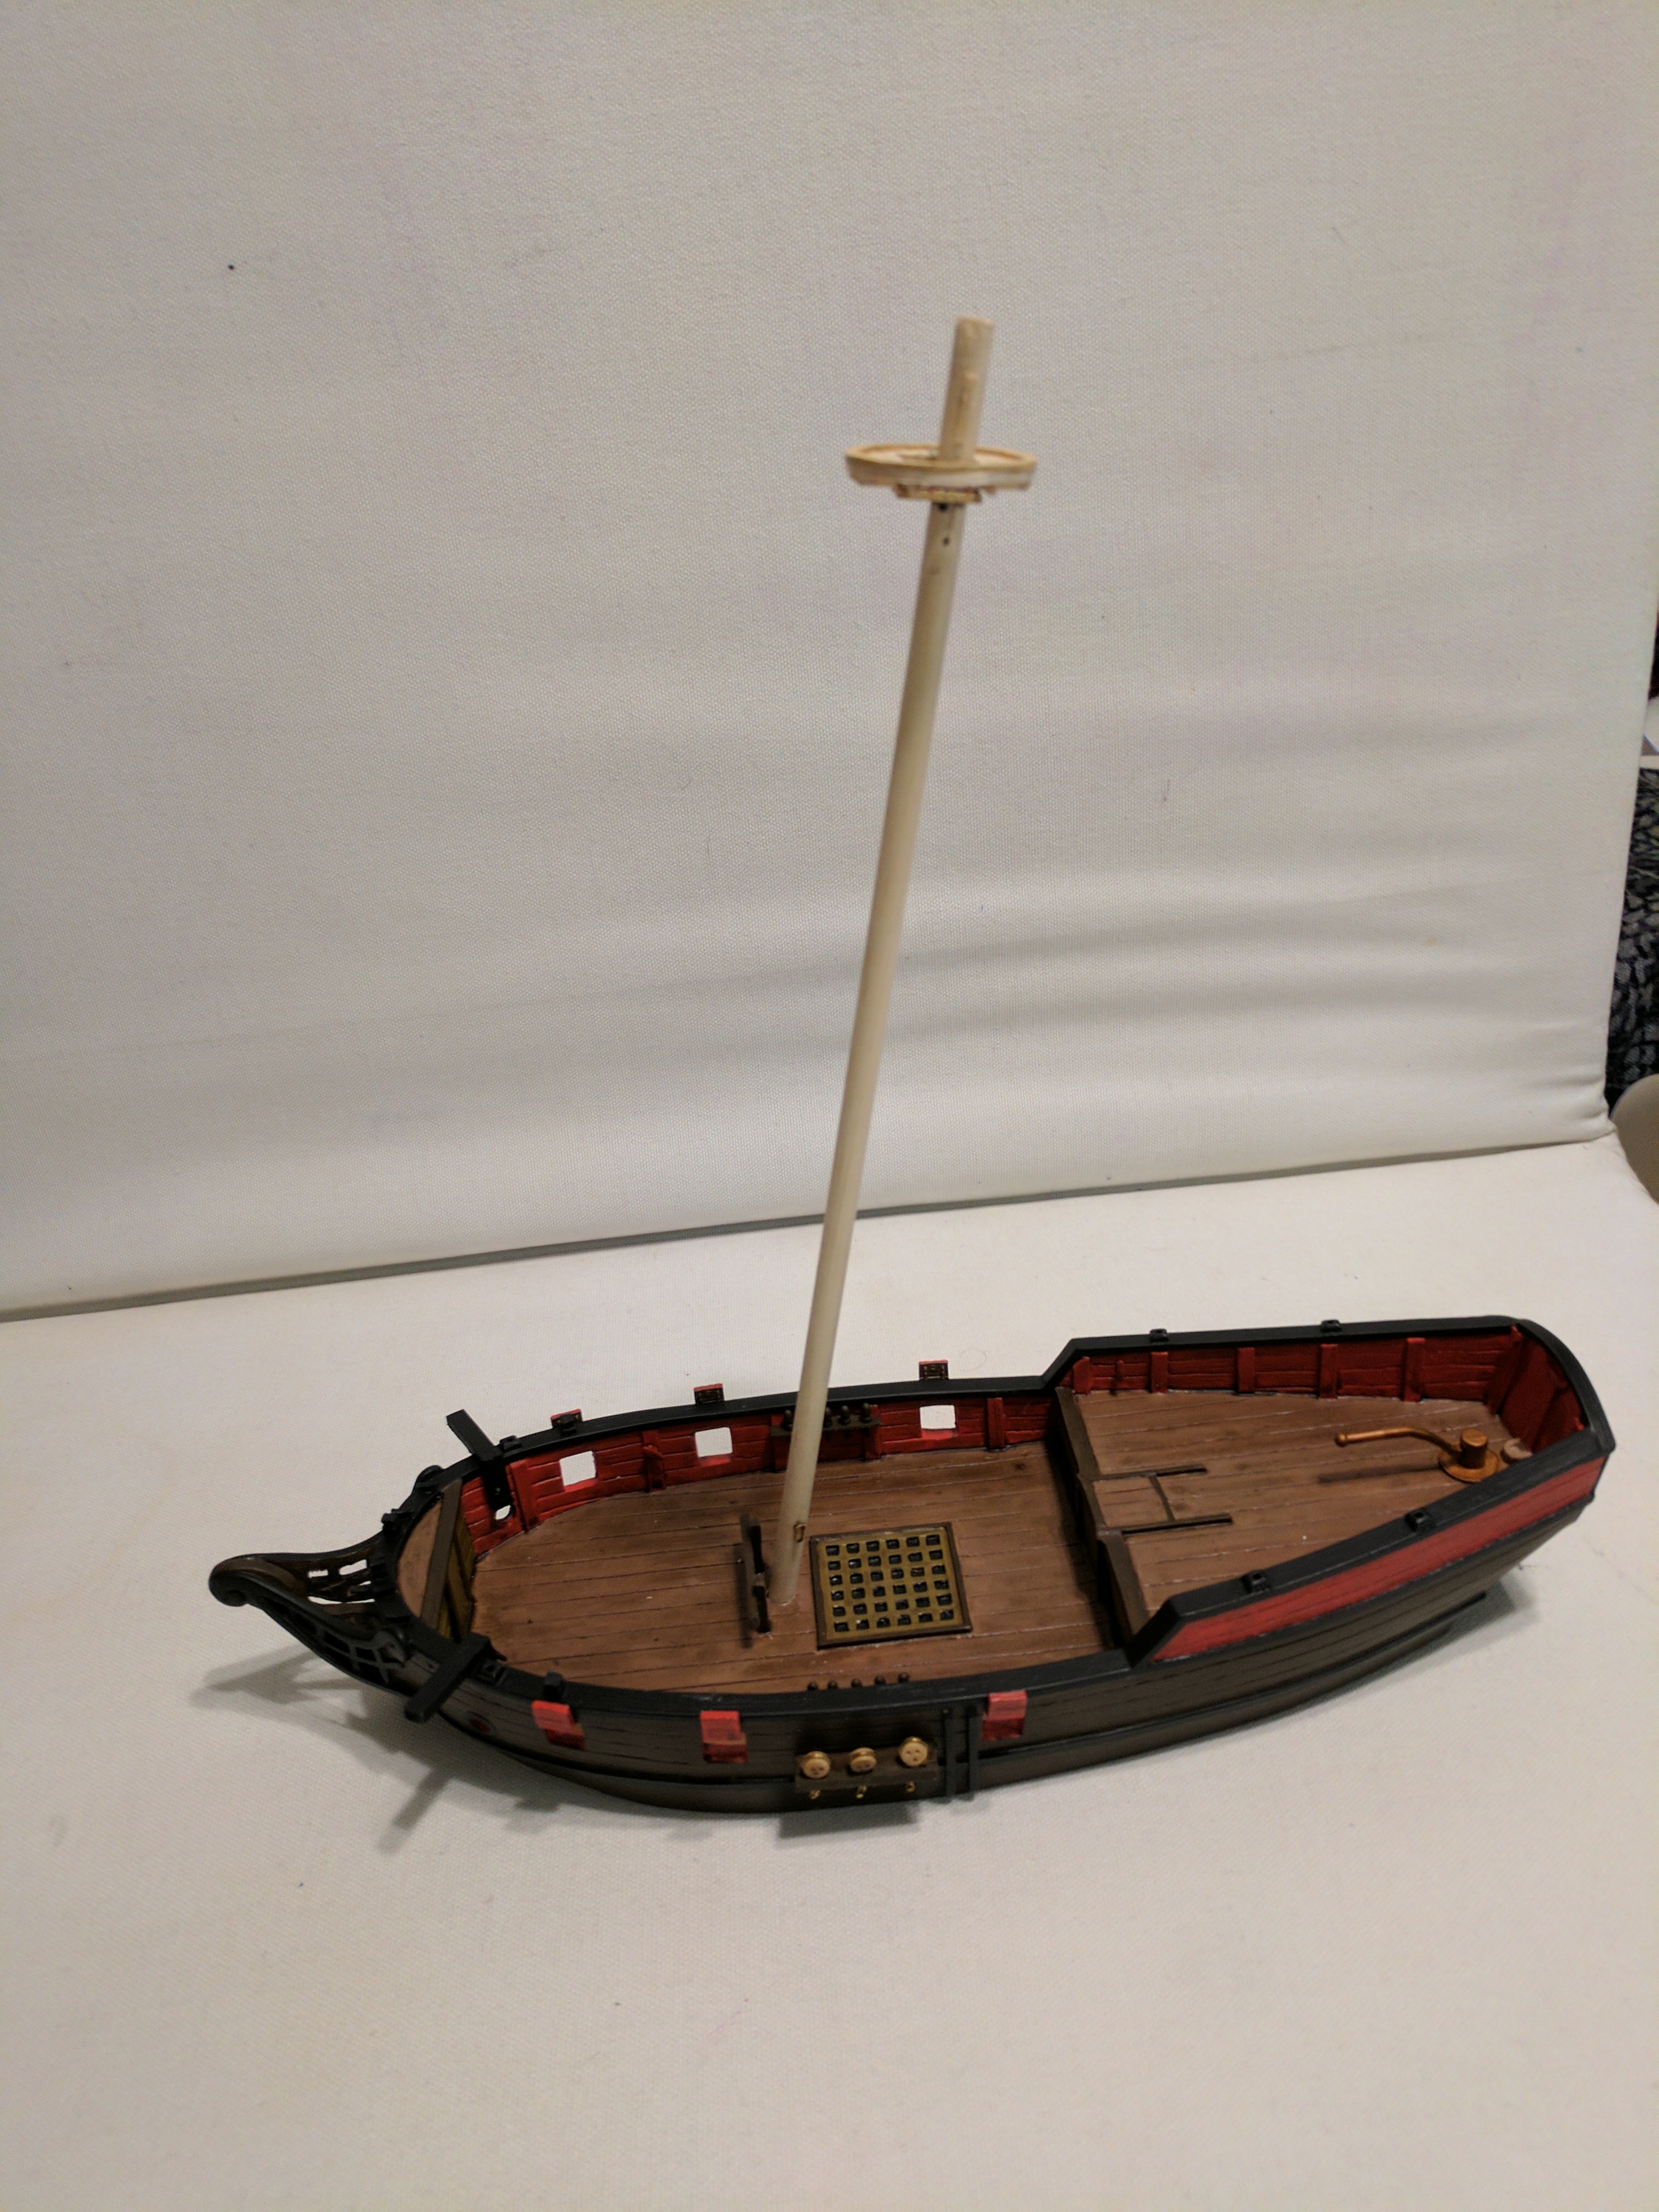
The last picture just shows the mast in its spot before I finally places it. I never used any glue to attach it to the model. The rigging will eventually hold it in place!!
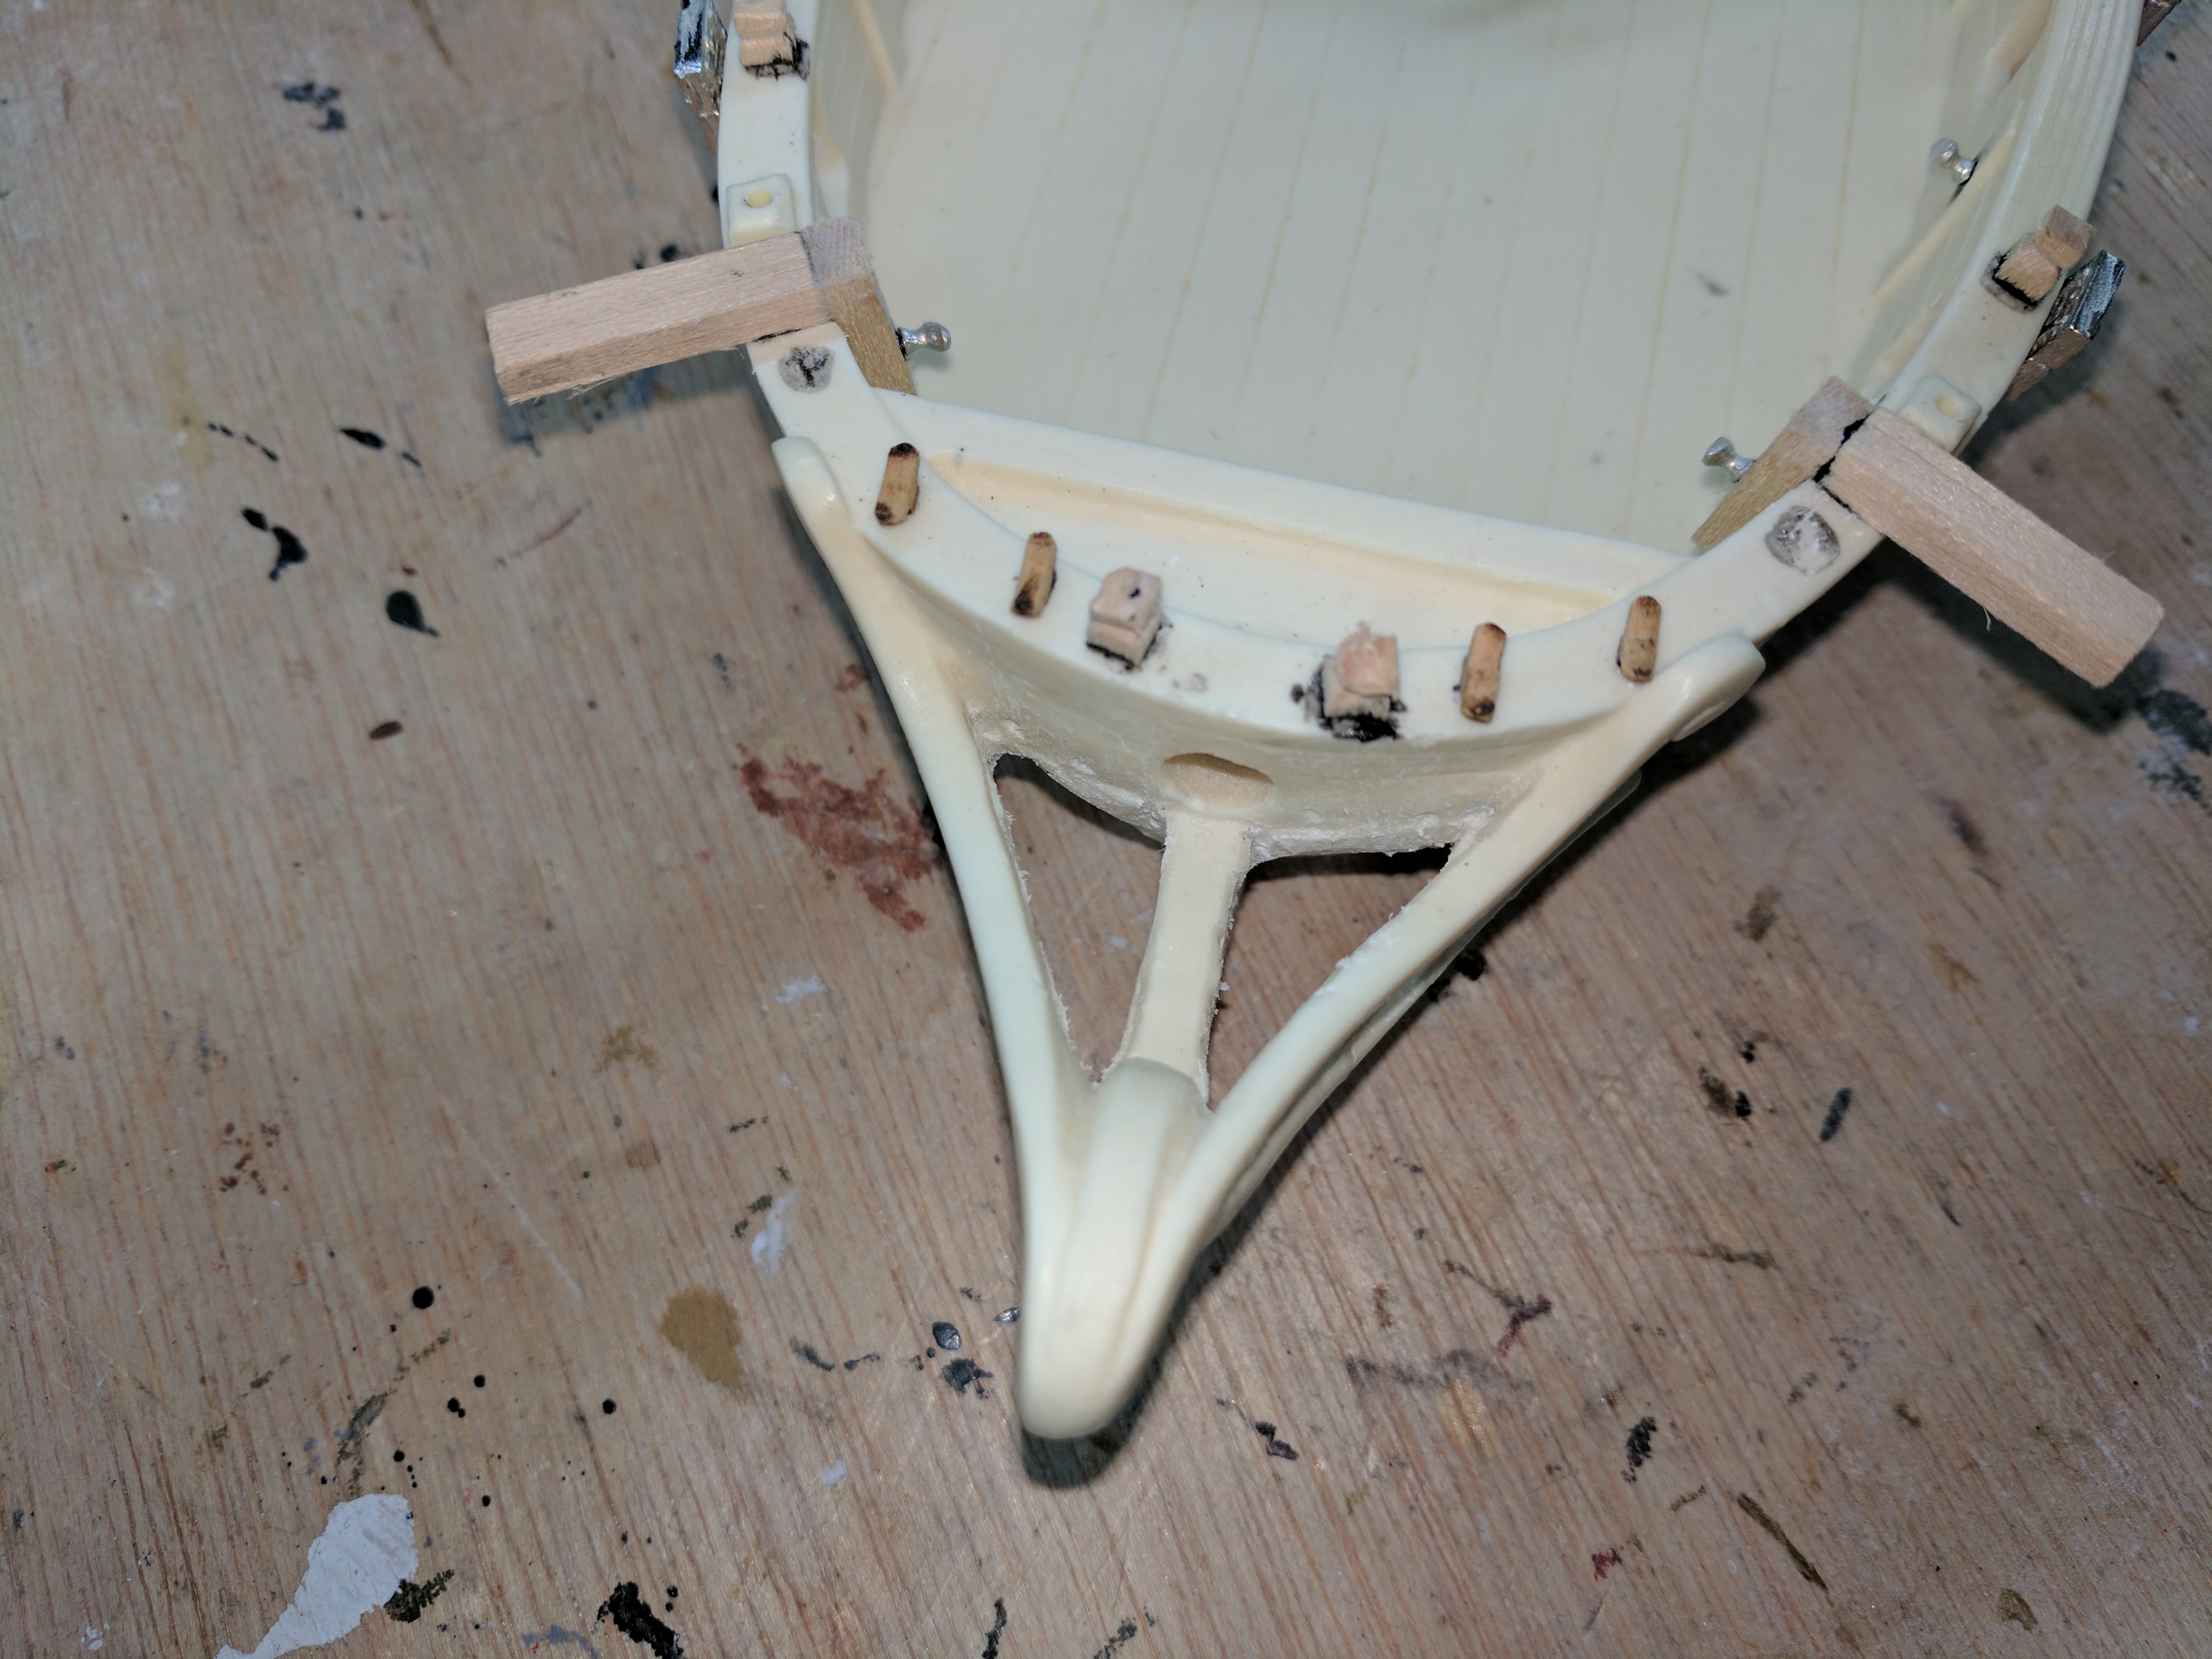
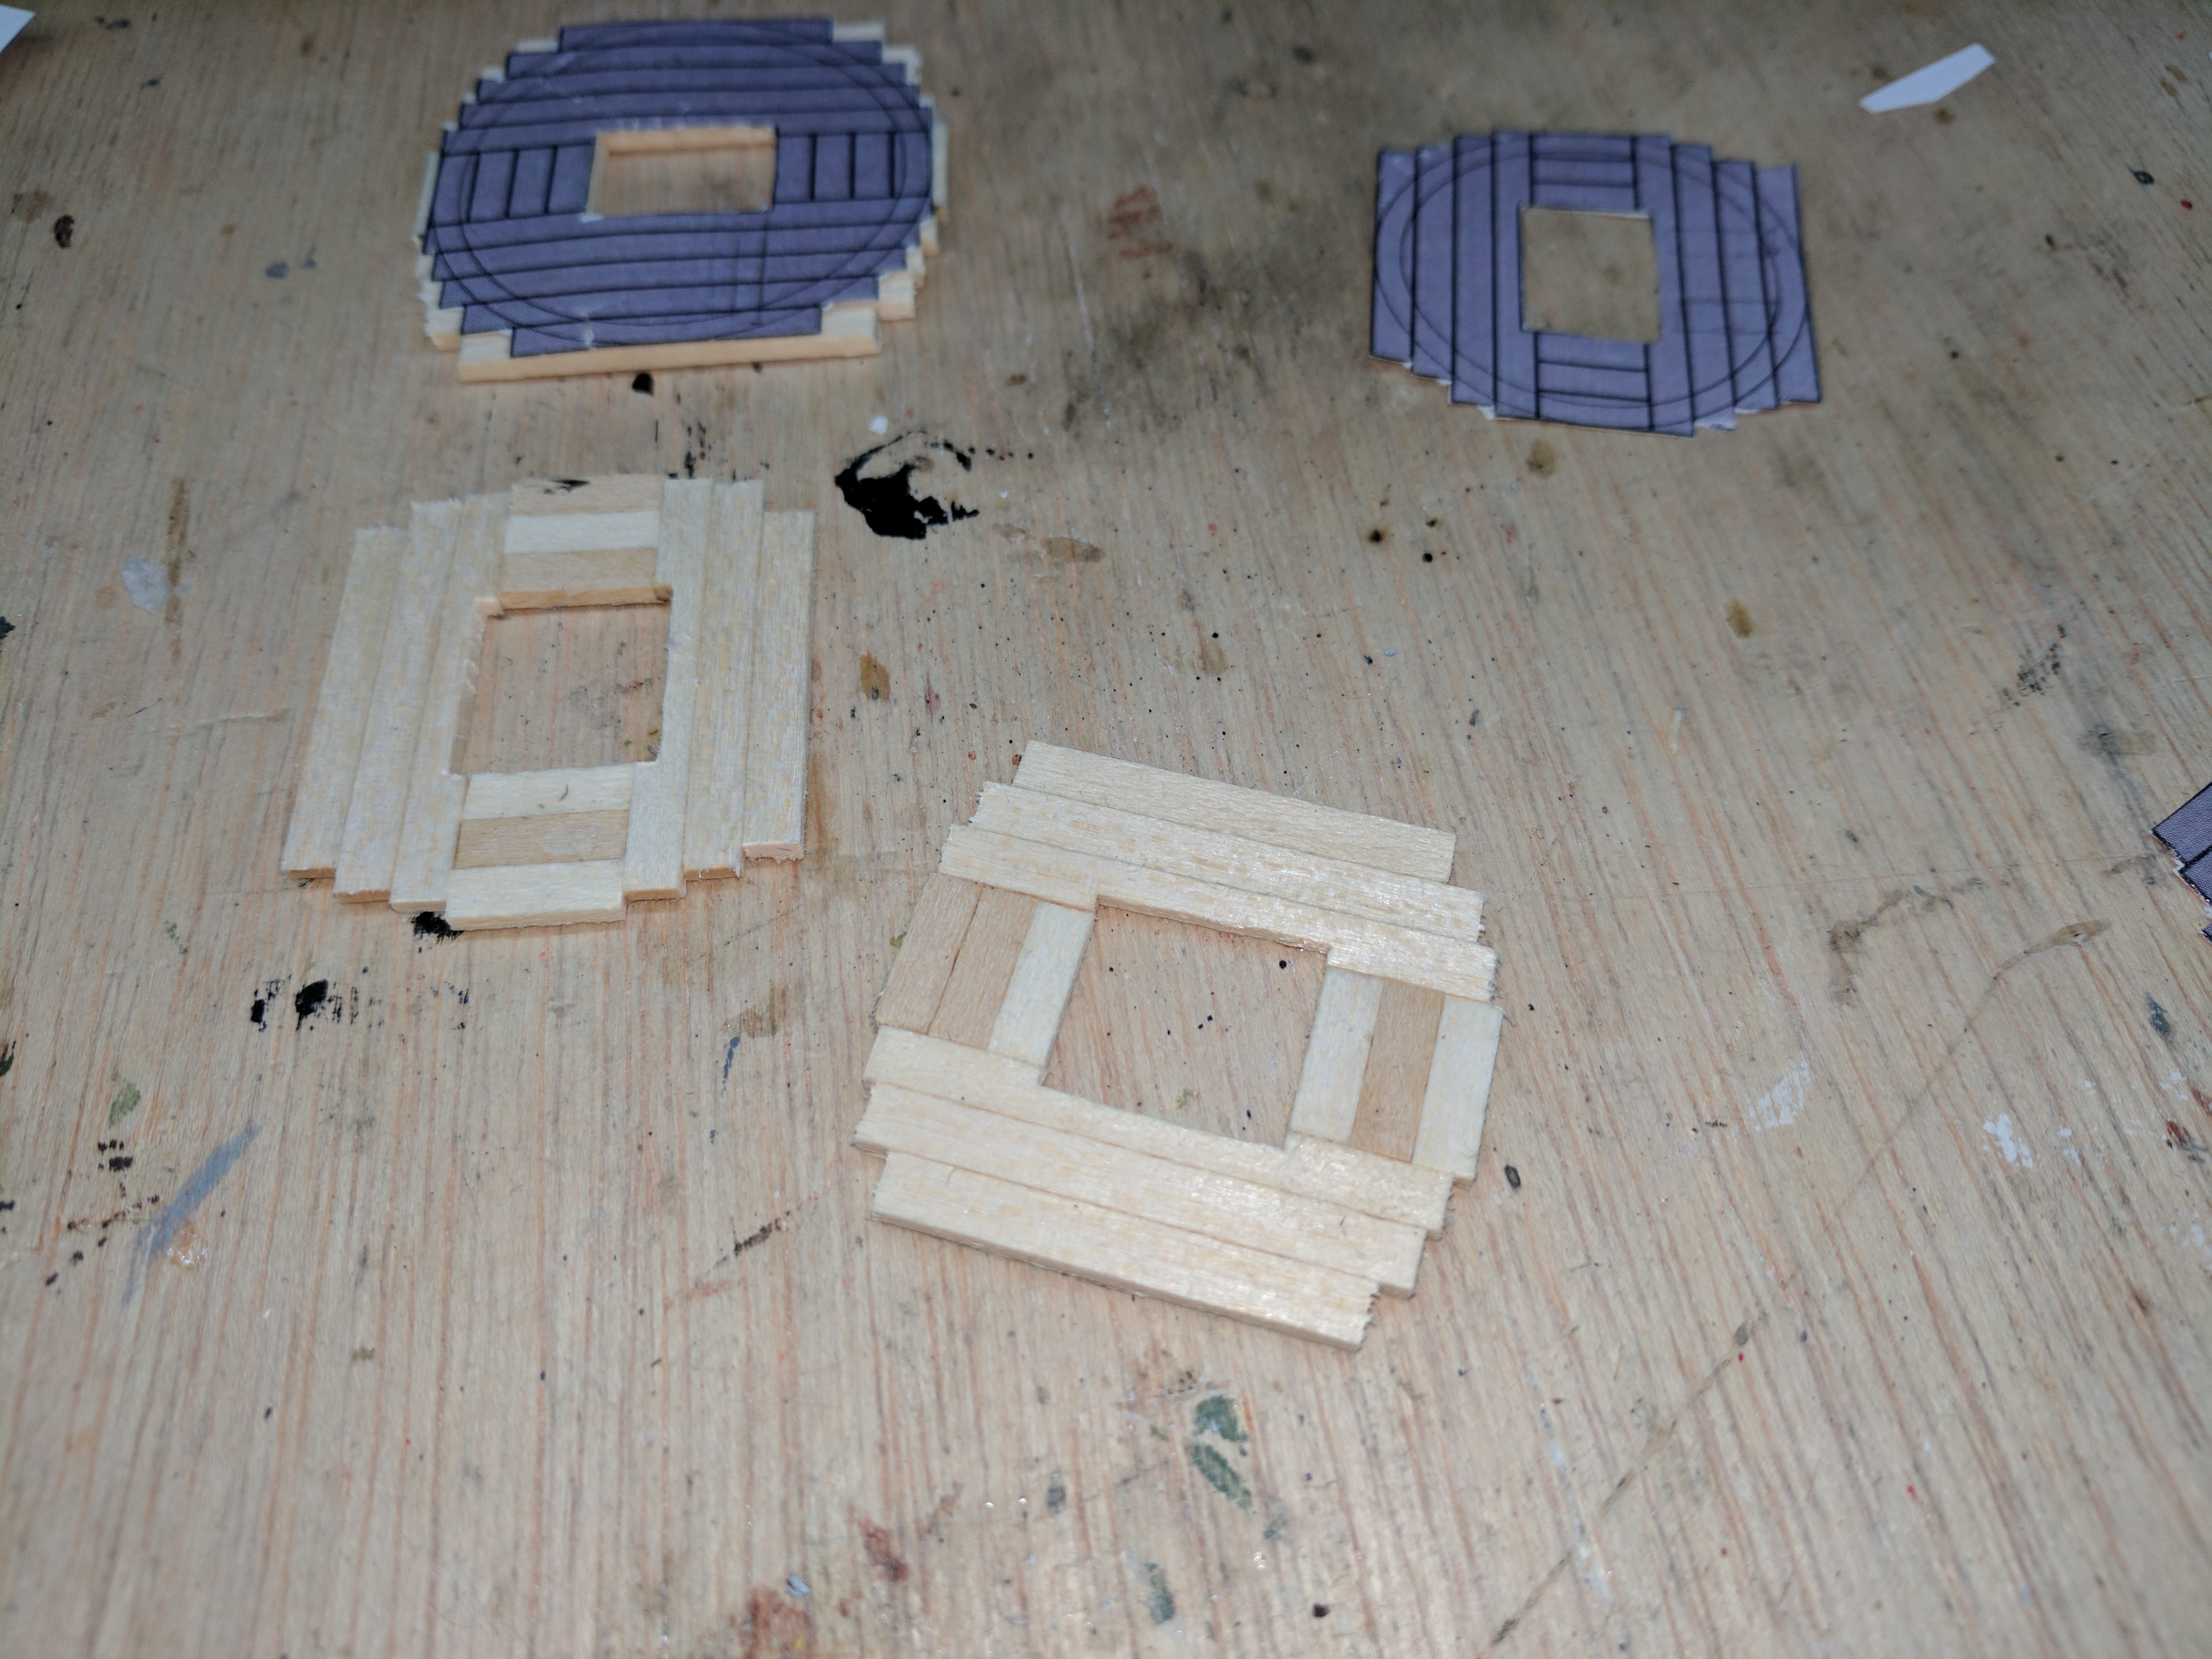
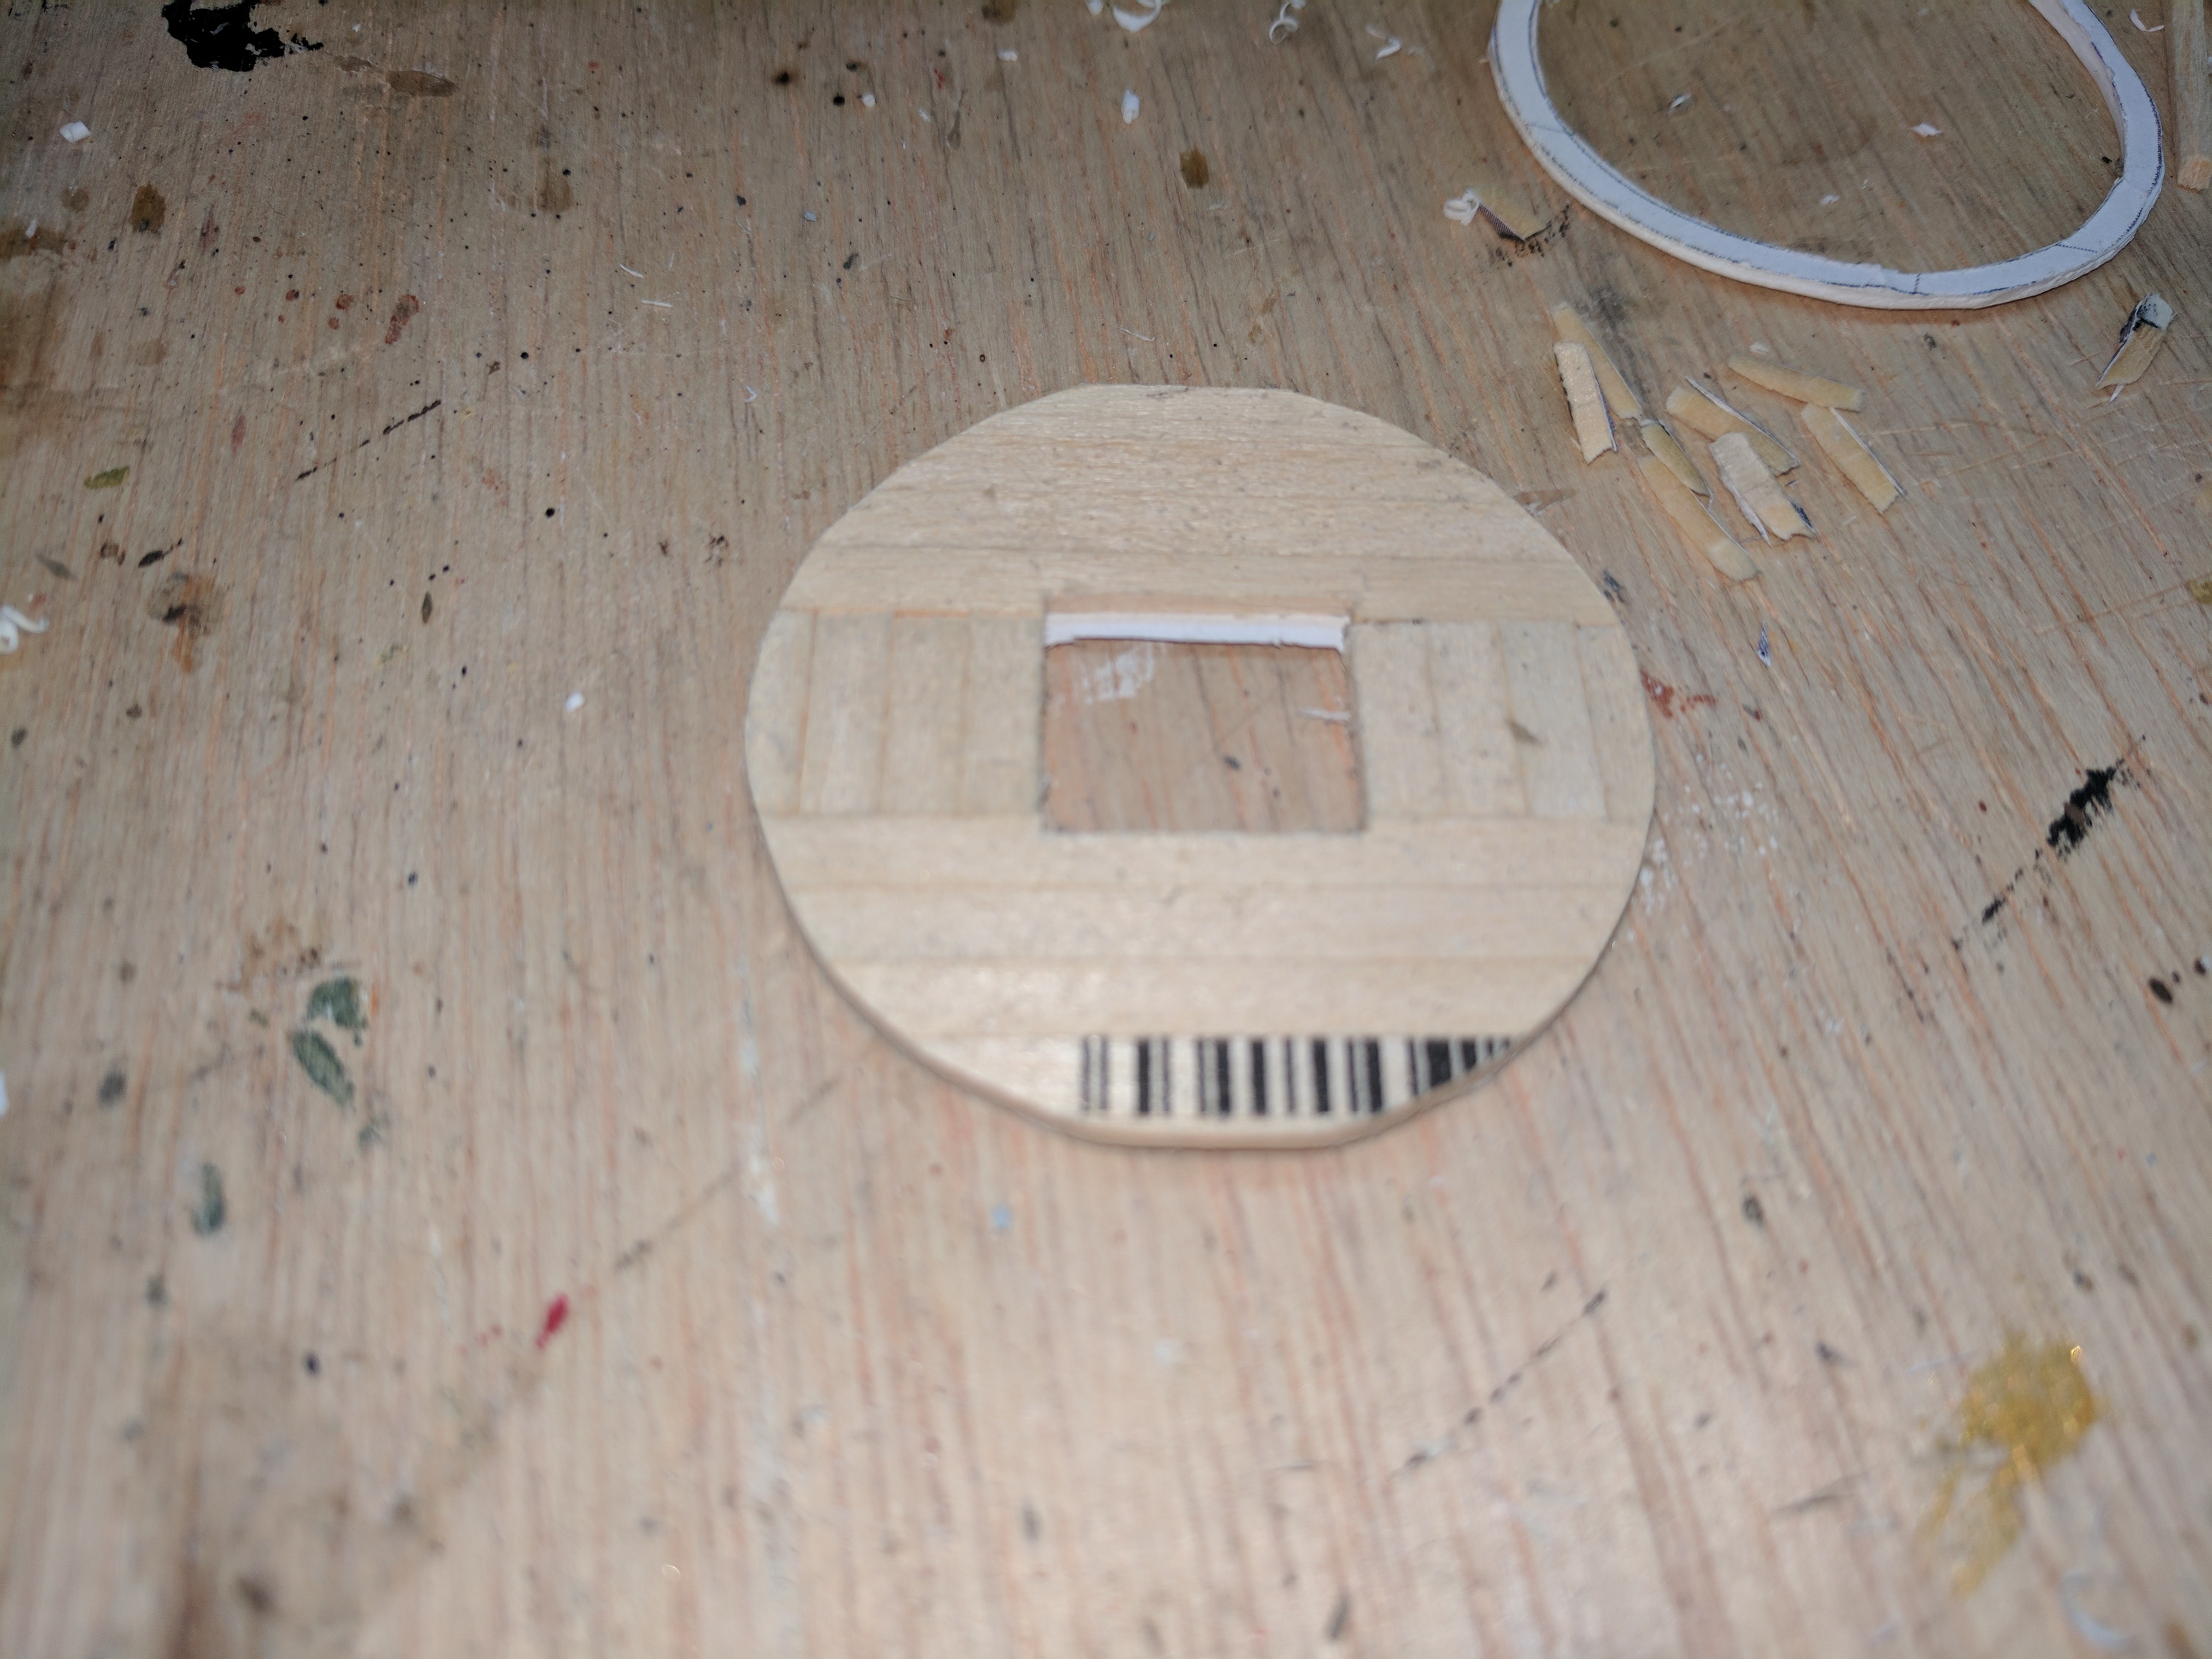
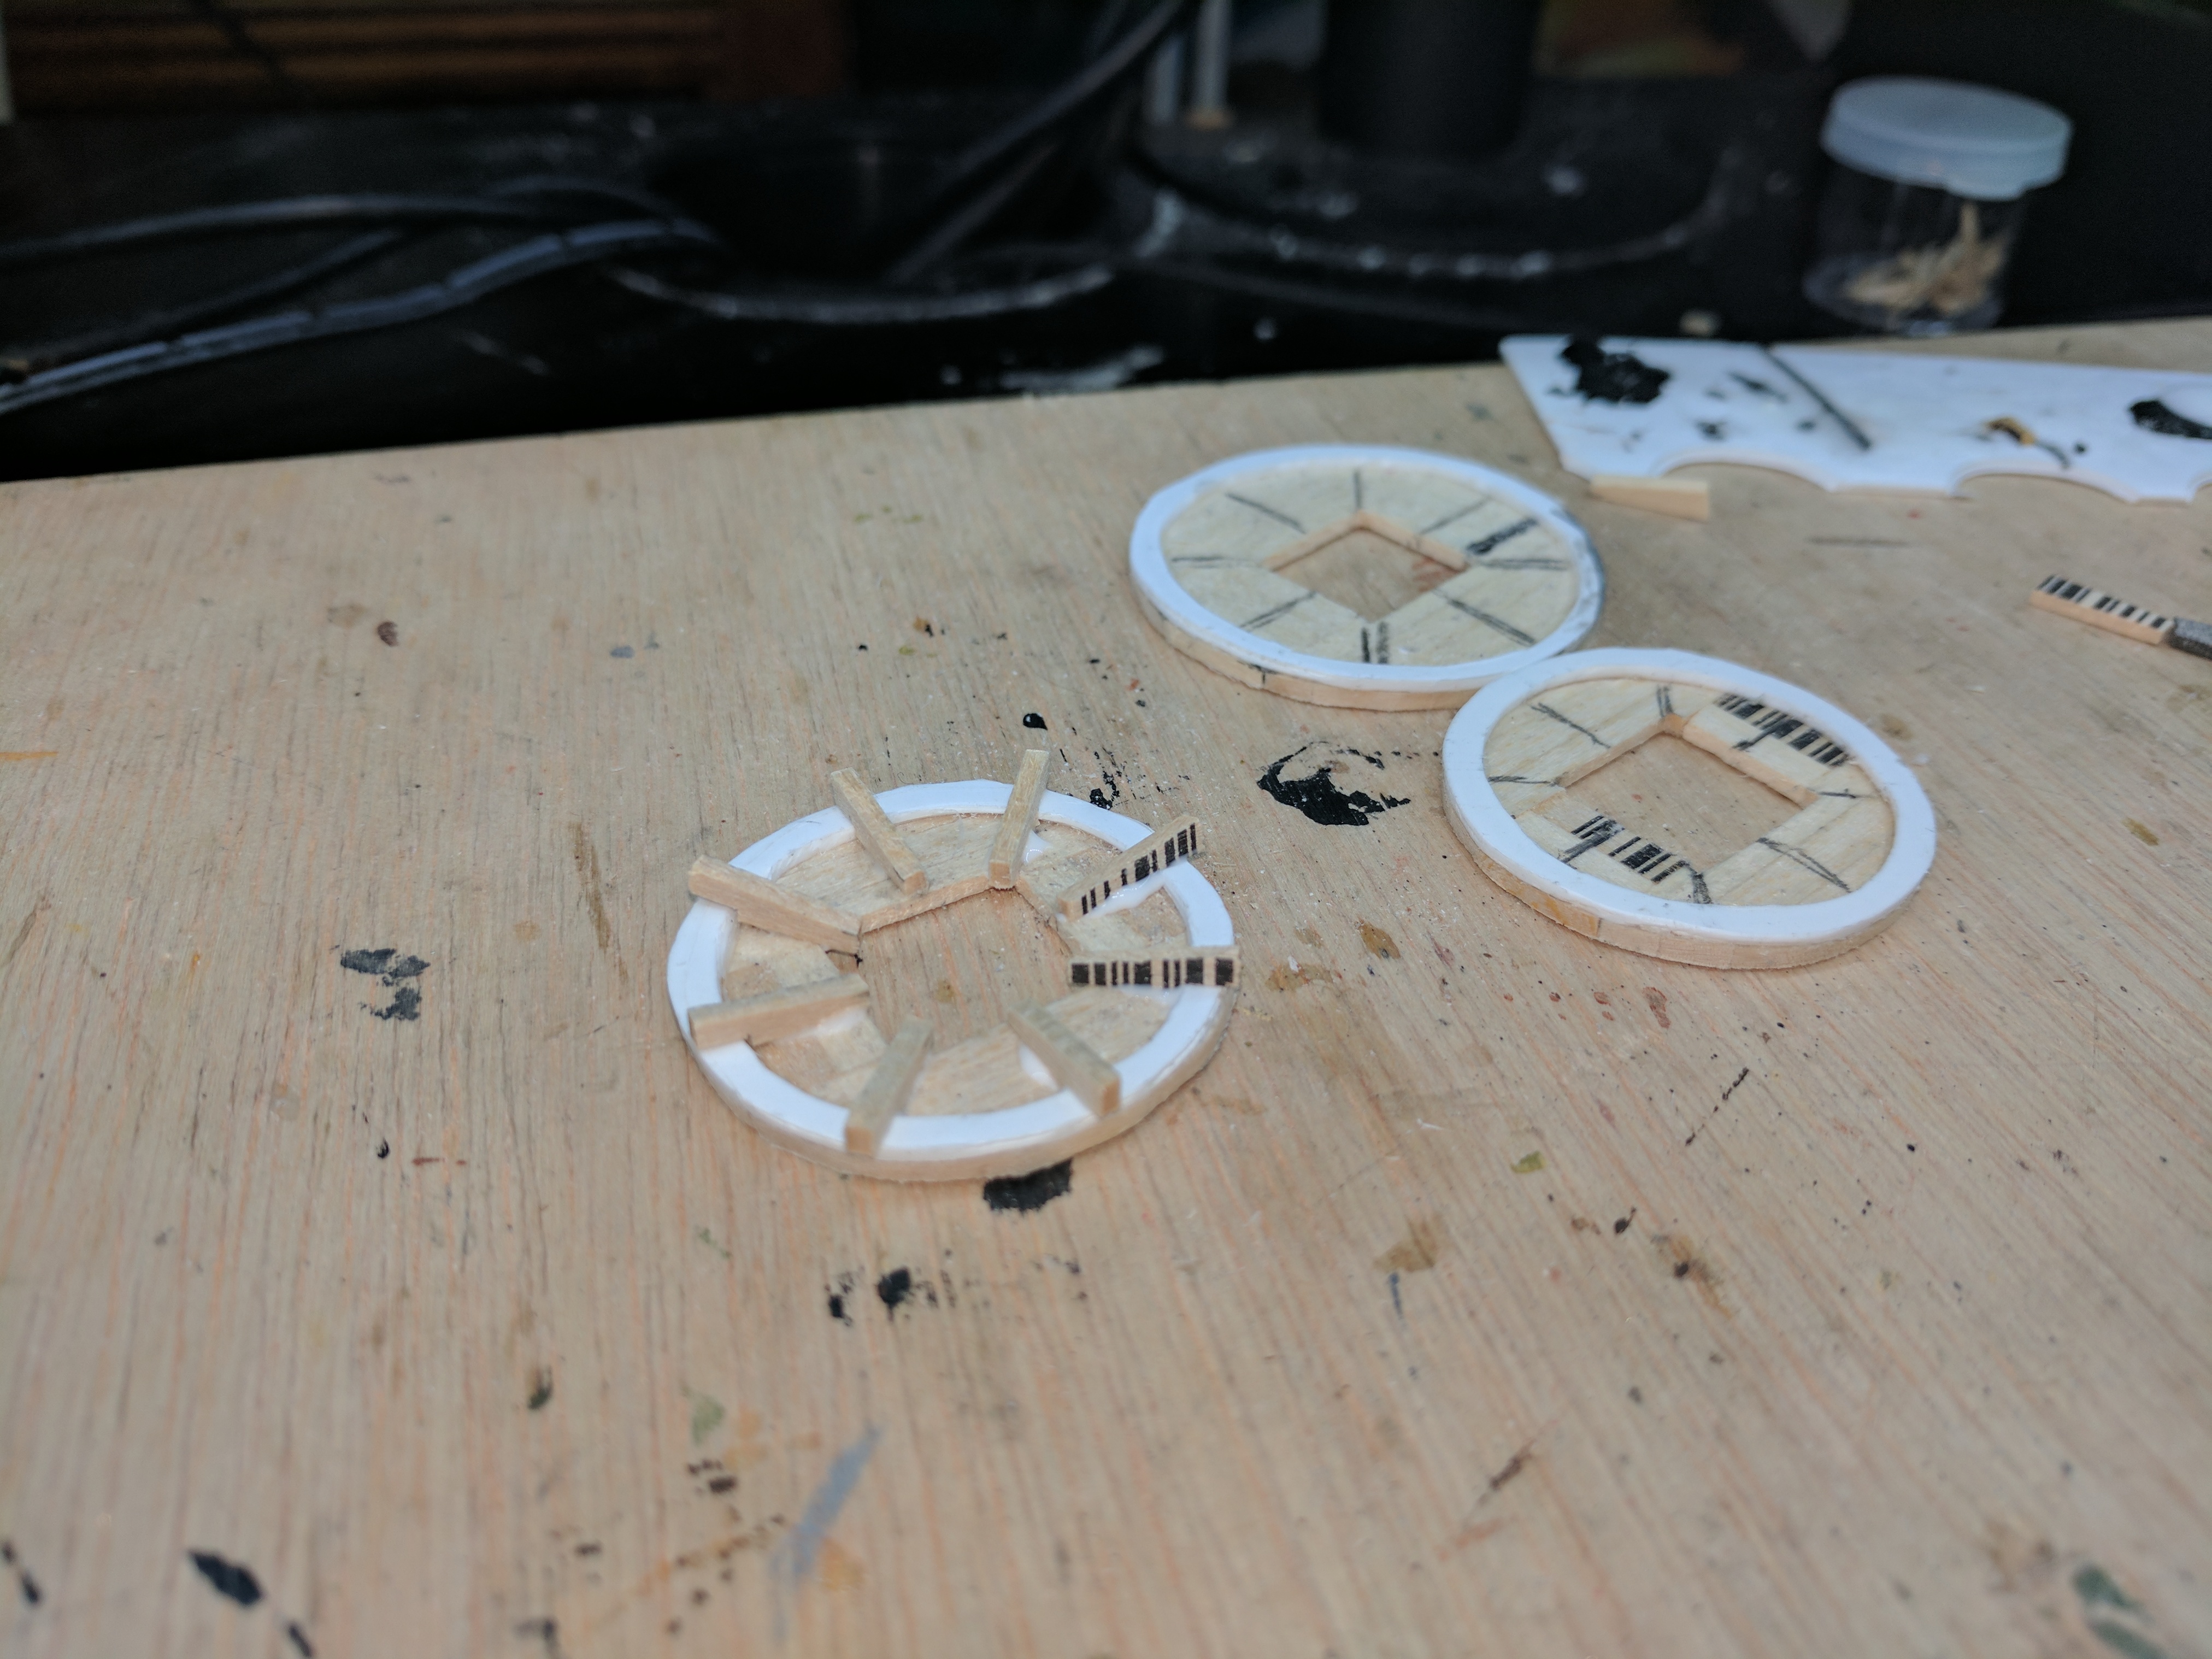
Fighting tops.
The fighting tops were built by laying strips of craft wood side by side and gluing them together. After that was done I used glue to attach a piece of paper on to the top. It had a circle printed on it and I used that to correctly shape the top.
Next I created a plasticard circle this was glued to the bottom of the top. After that I shaped eight pieces of basswod into a triangle shape and glued those to the bottom. These eight pieces where arranged 2 at a time 45 degrees from each other.
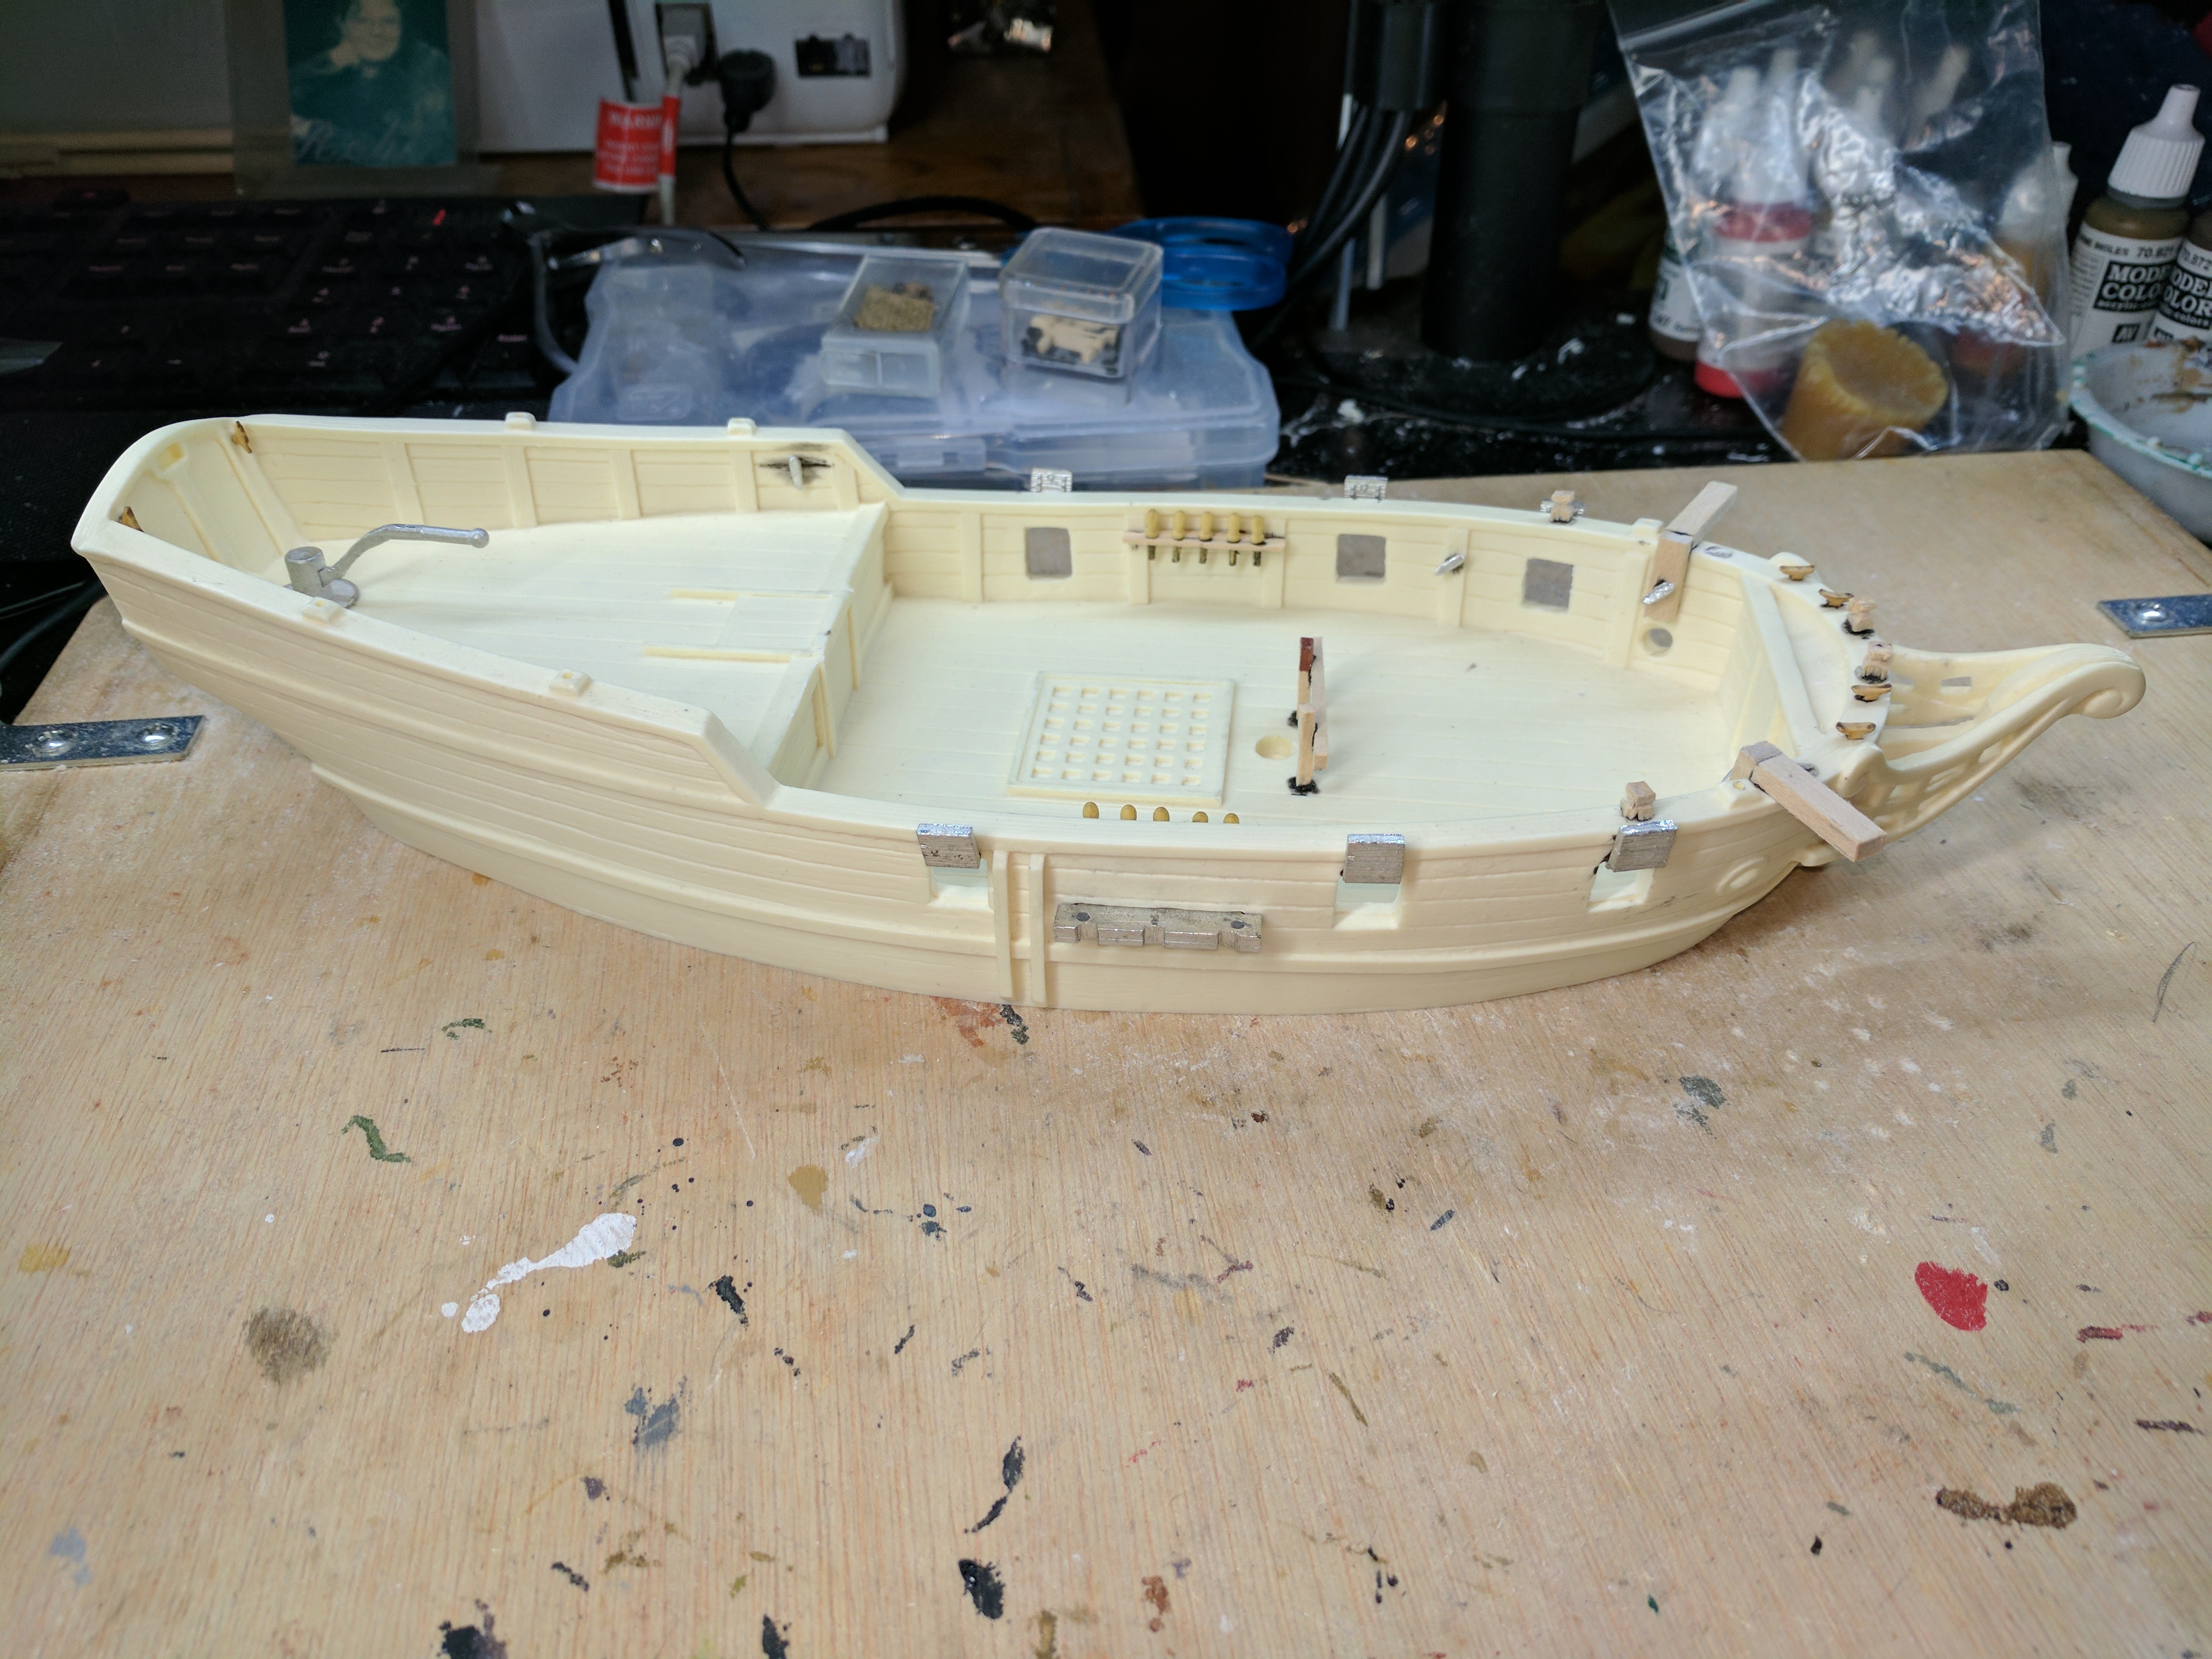
Painting and chain plates.
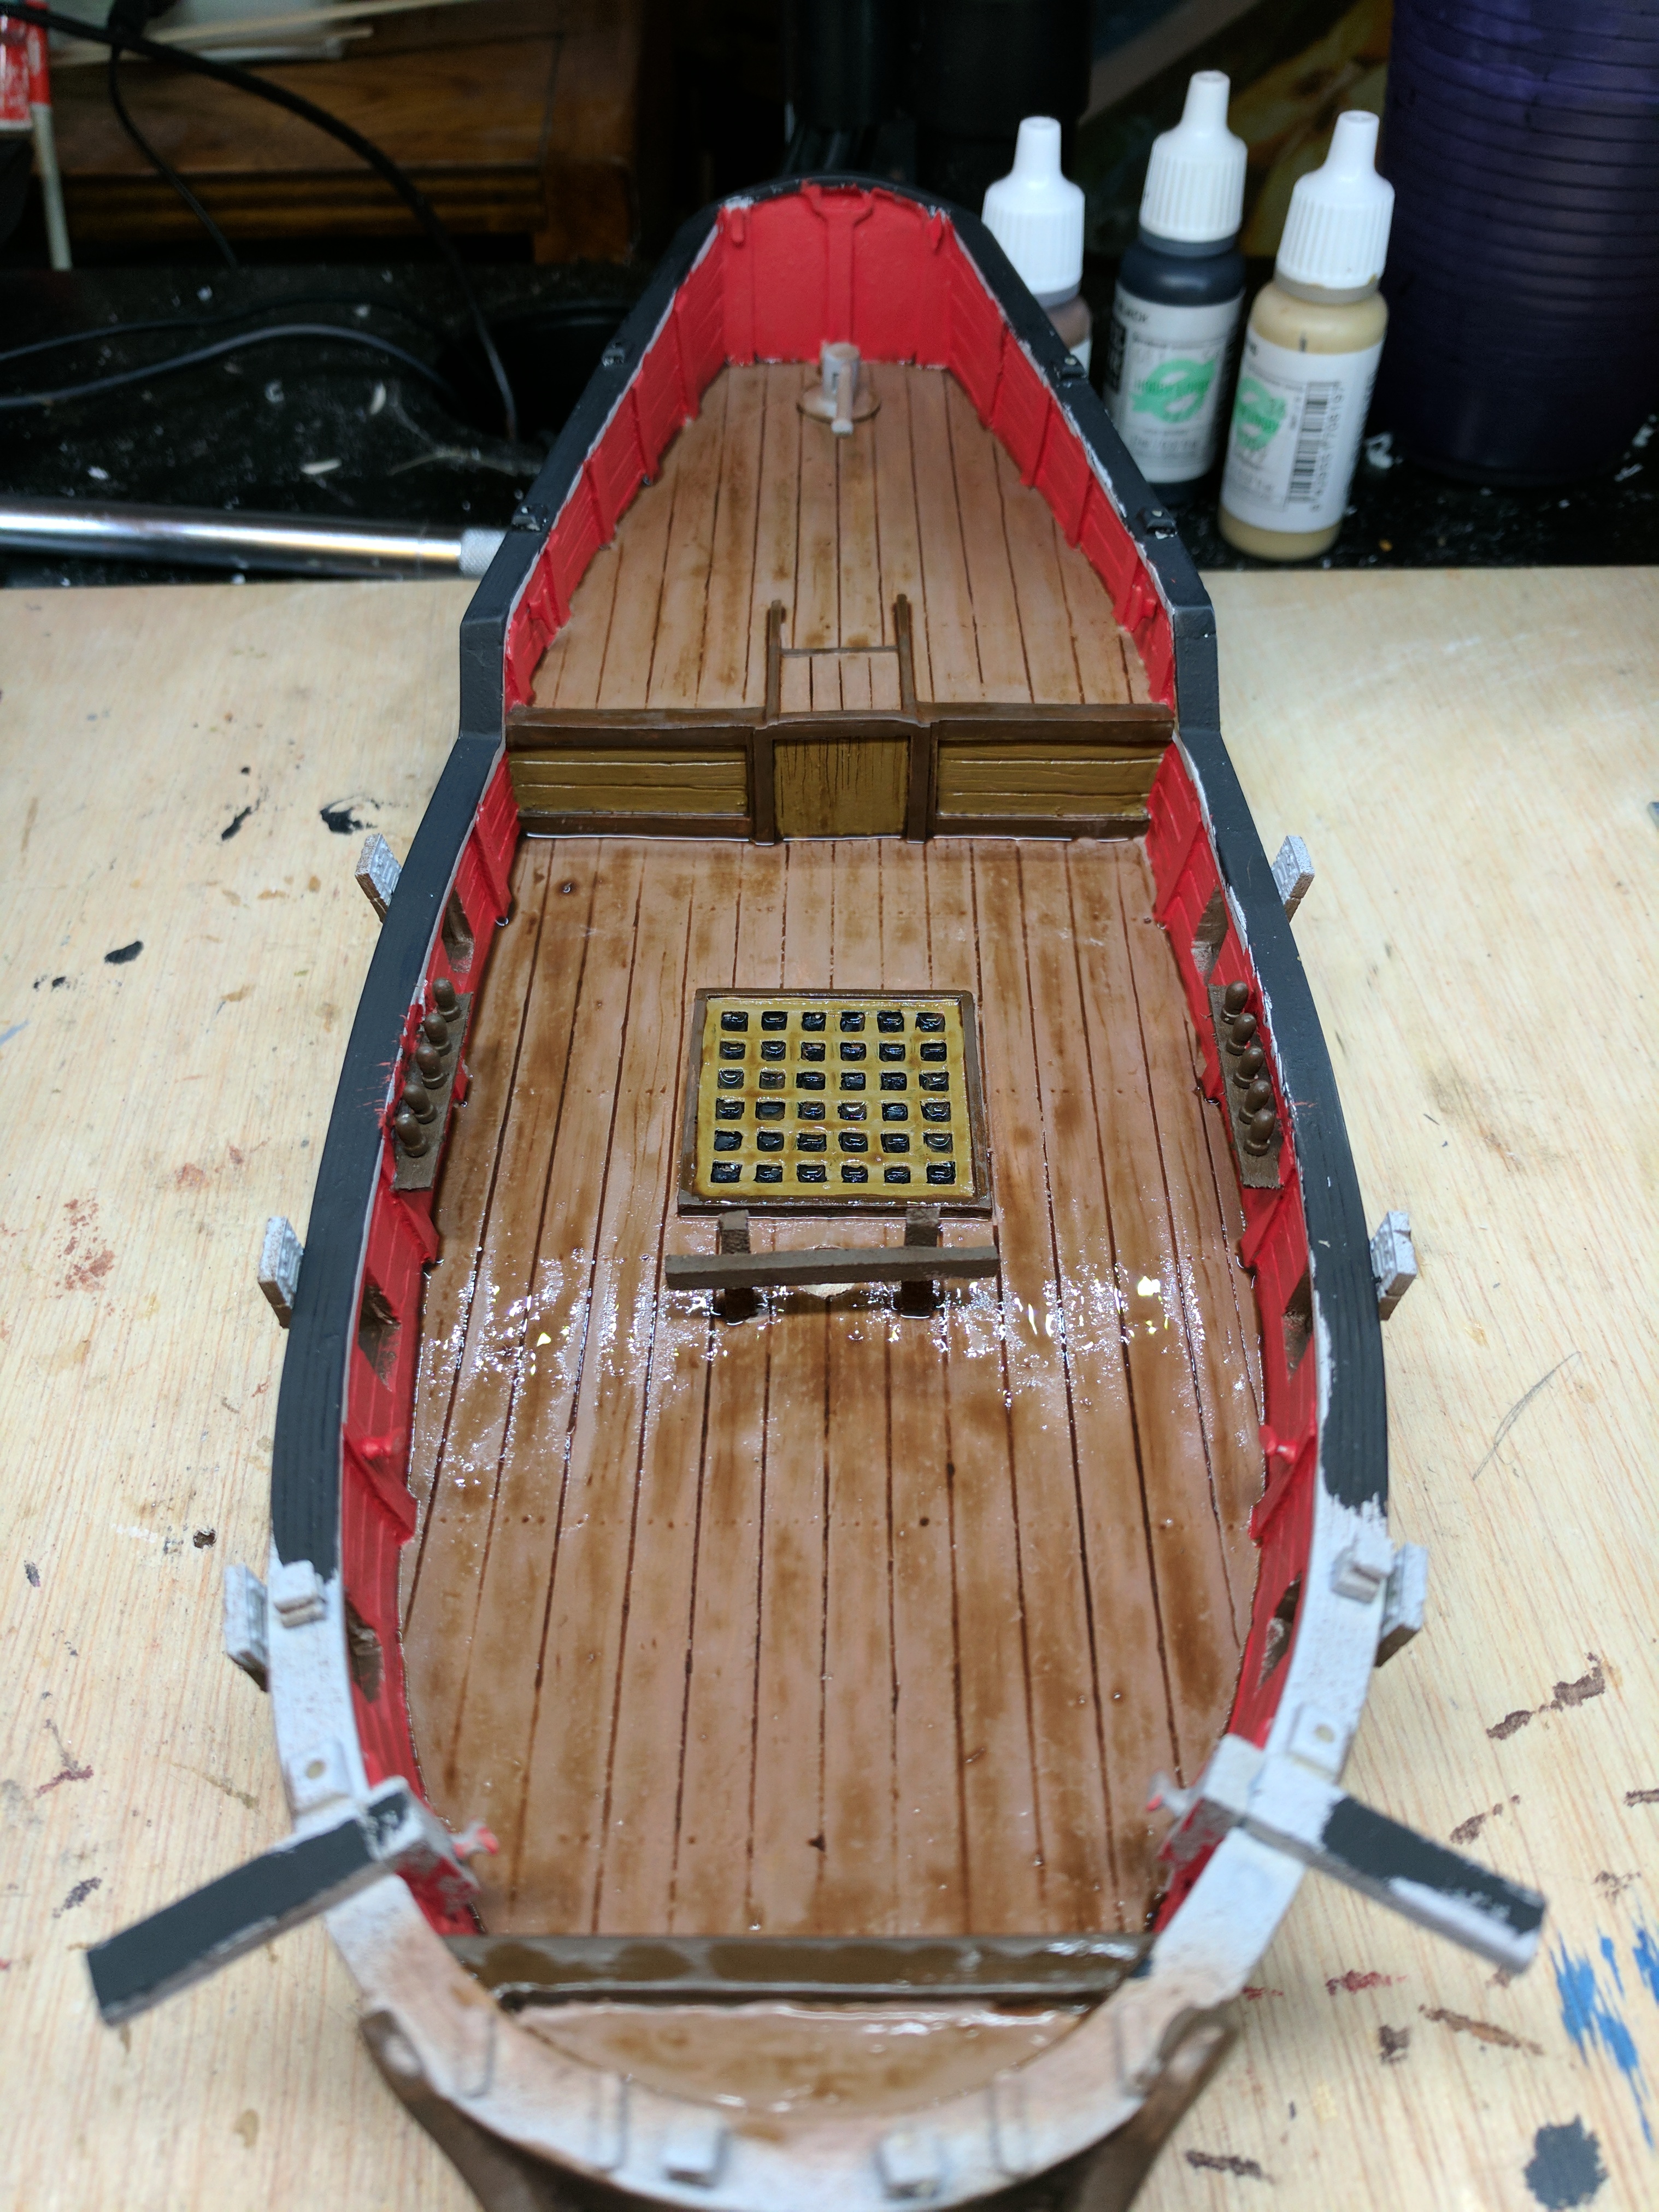
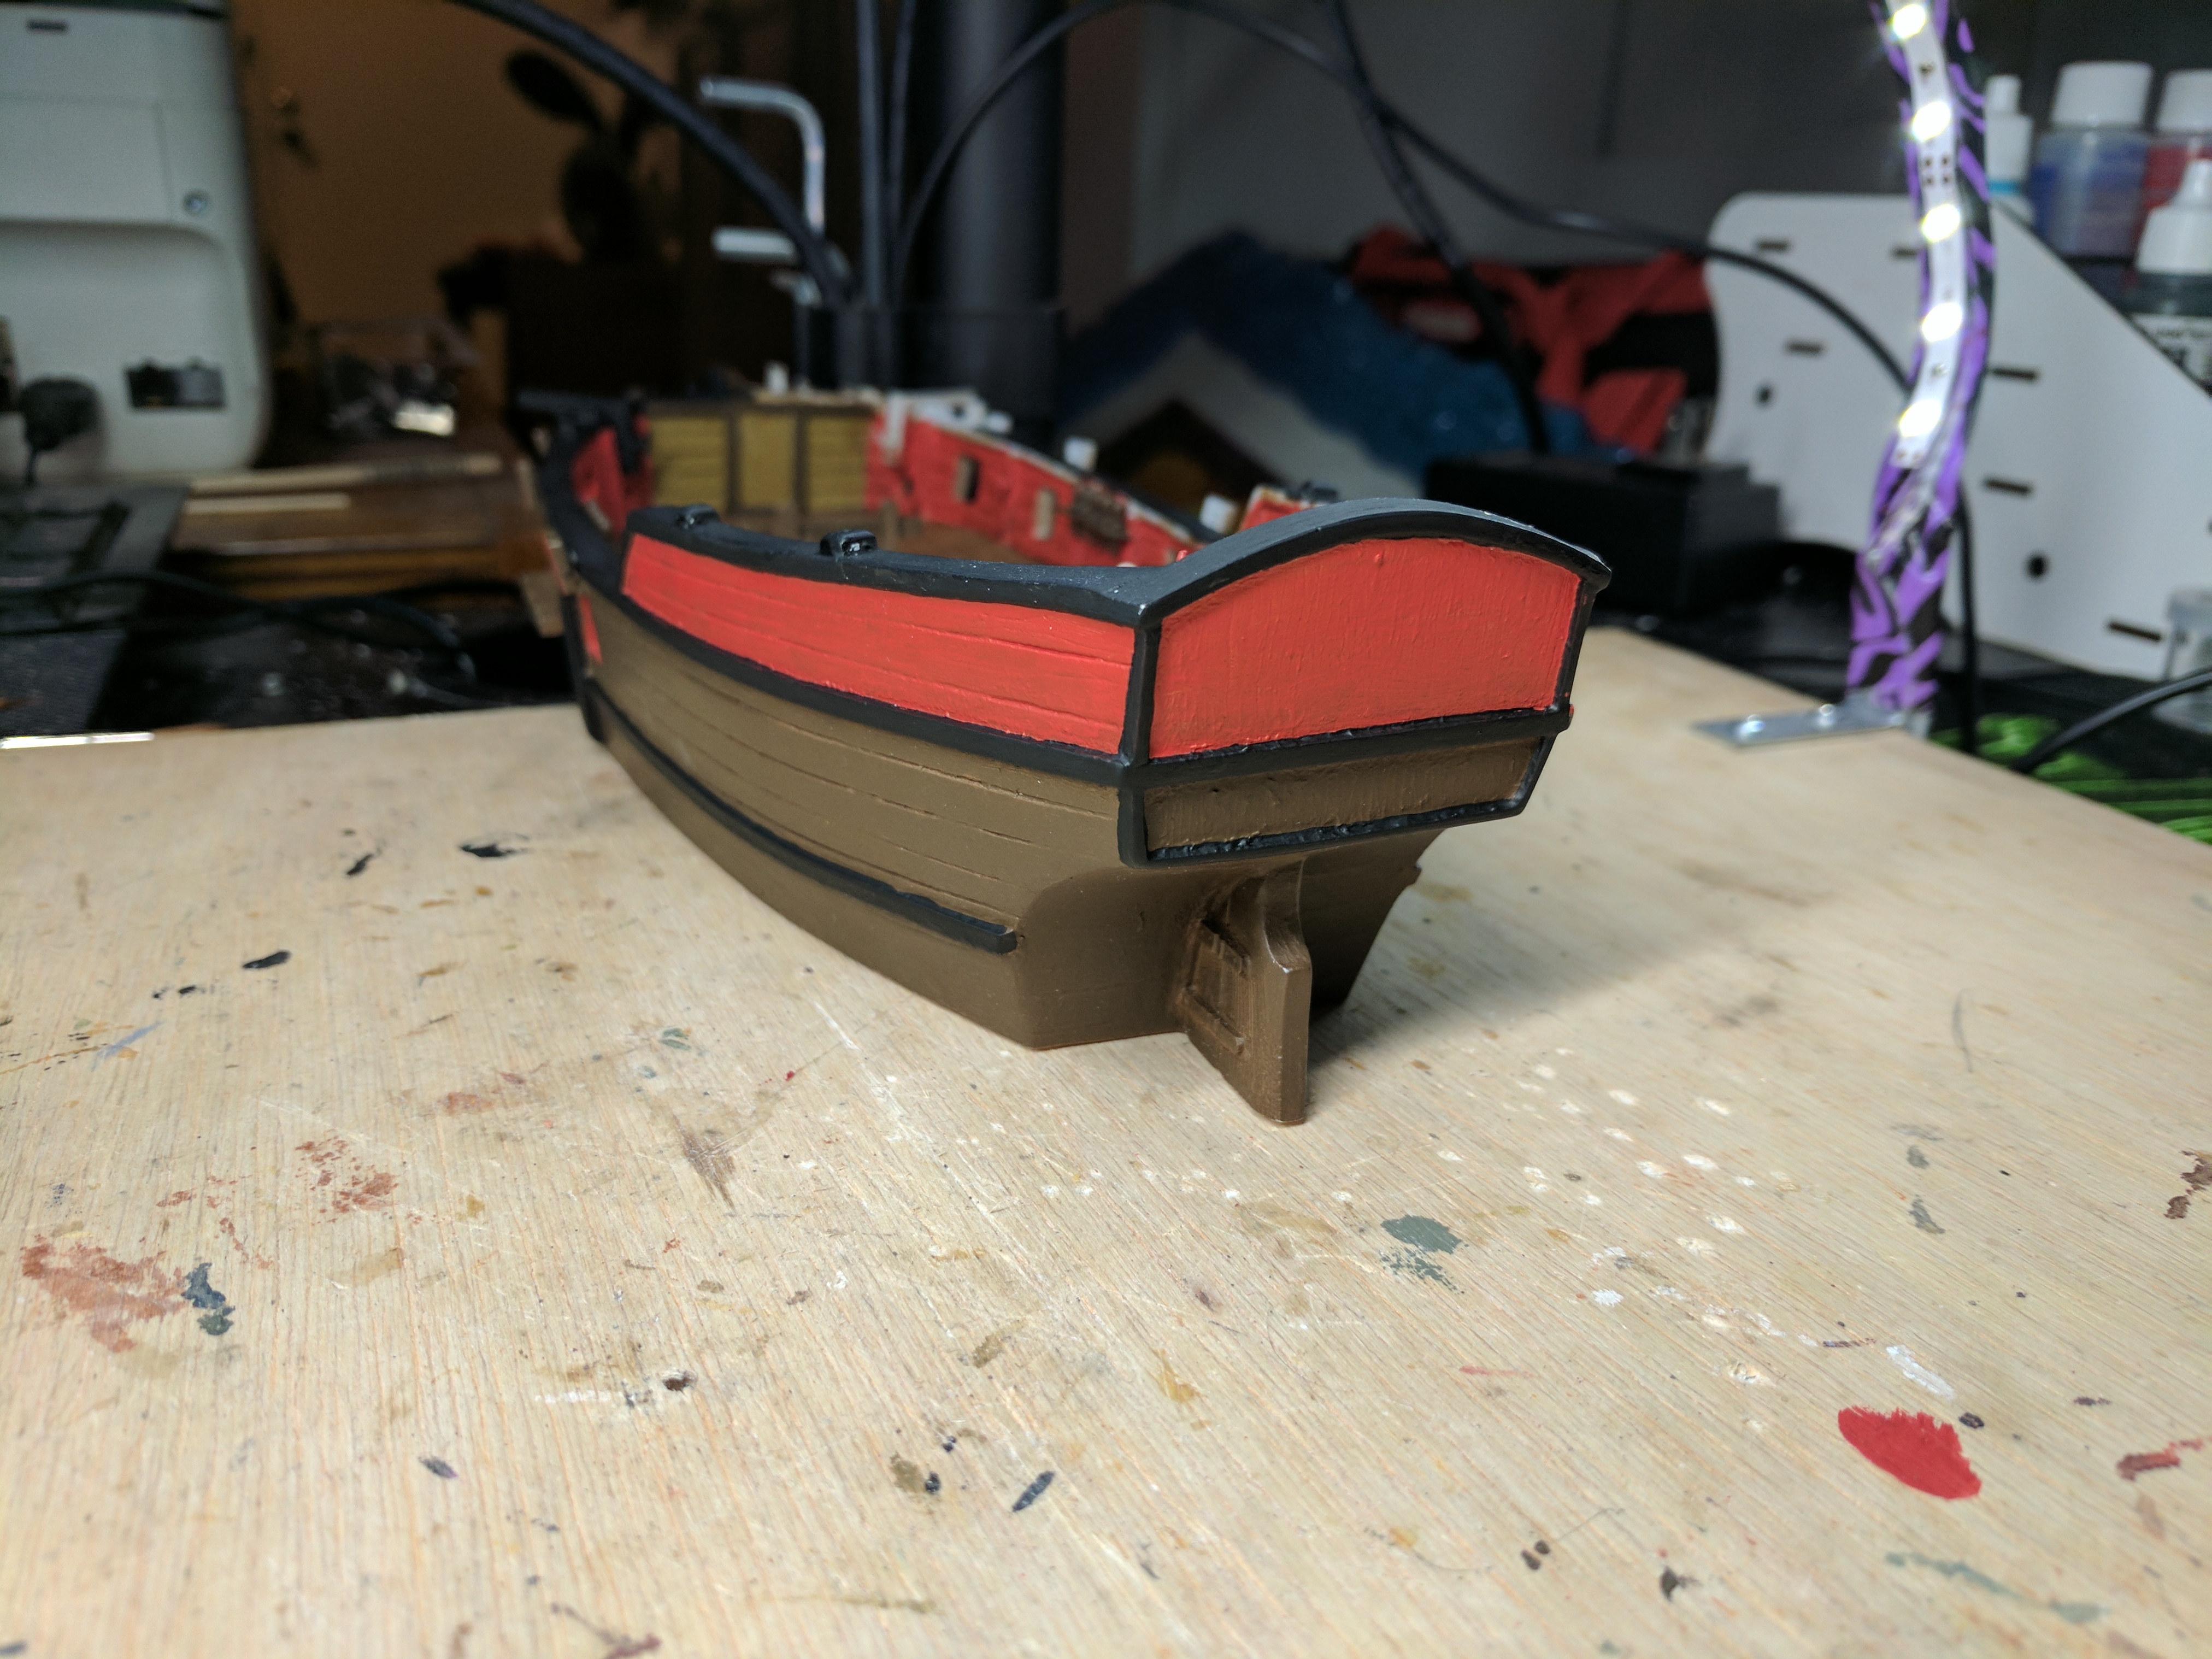
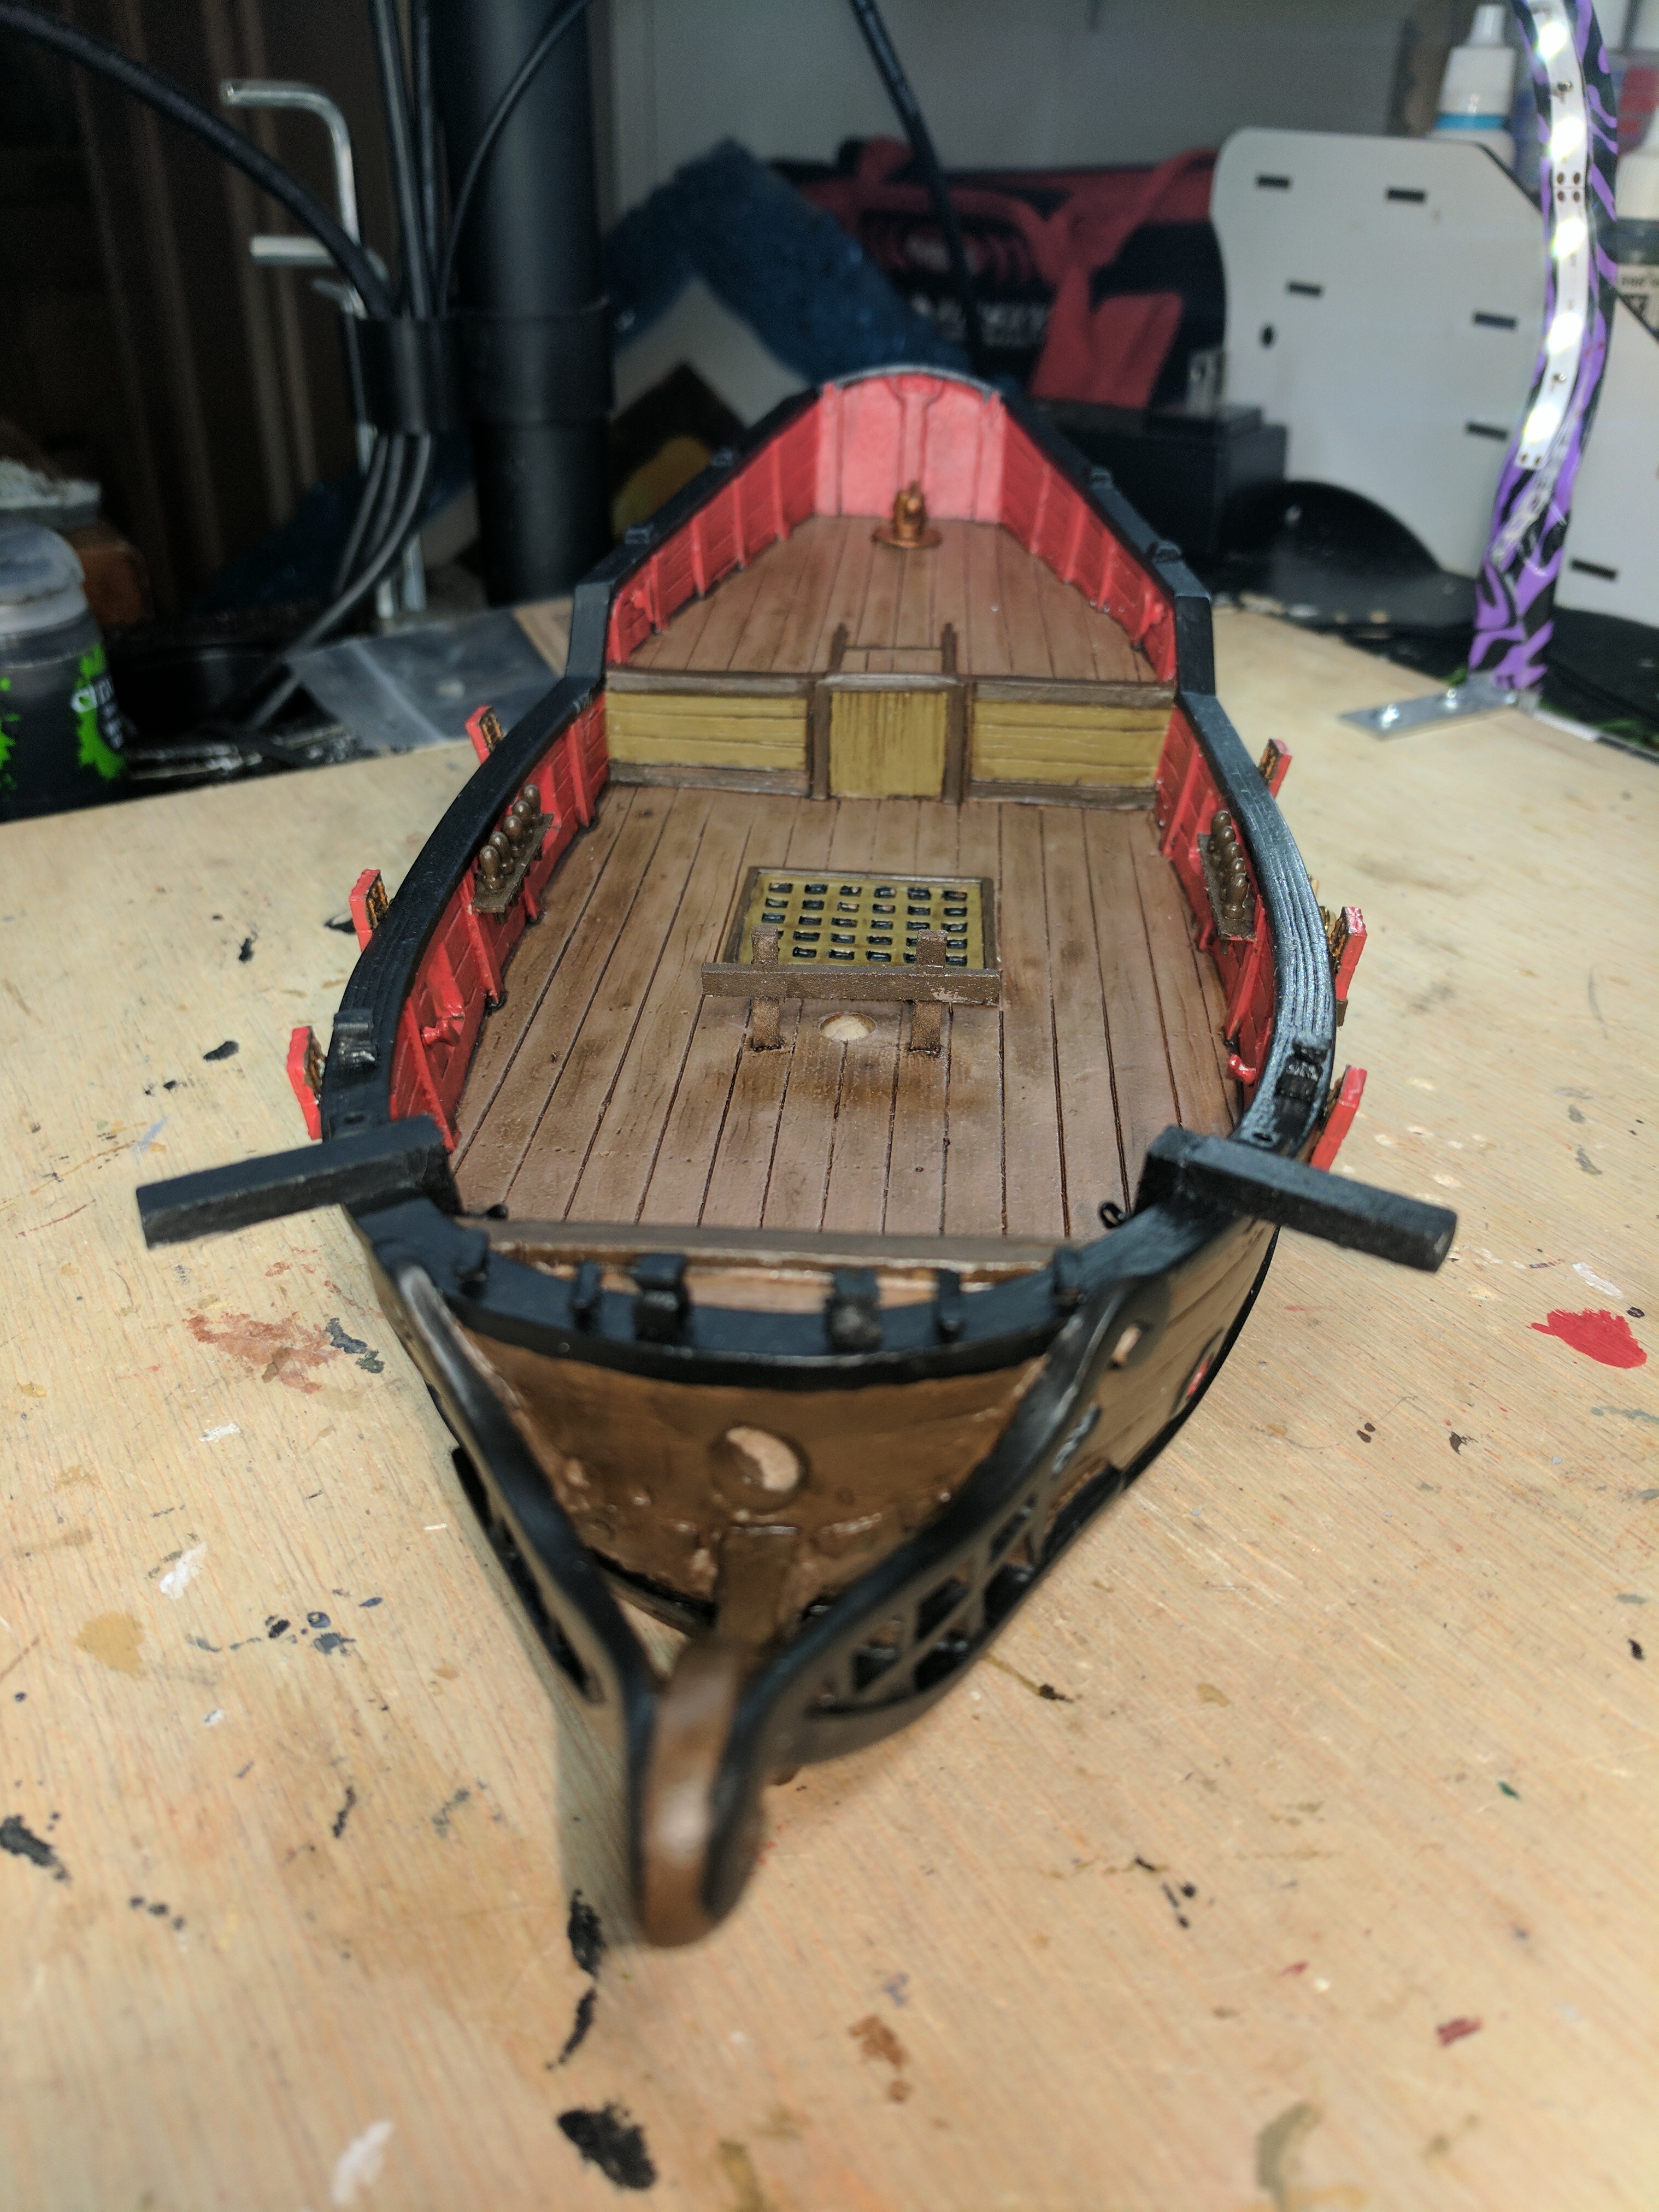
After all of the bits were installed from the last step I primed and moved onto painting. Painting was done with a mix of airbrushing and regular brush work. The hull is mostly a dark brown except for near the back of the boat where the upper section was painted red. I did the trim in black and the interior in red as well. Deck was painted a earth/tan color and got a brown wash. I used a black wash on the rest of the ship.
The pictures go through the progression the ship went though as I worked on it. It took longer then I would have wanted but it got done.


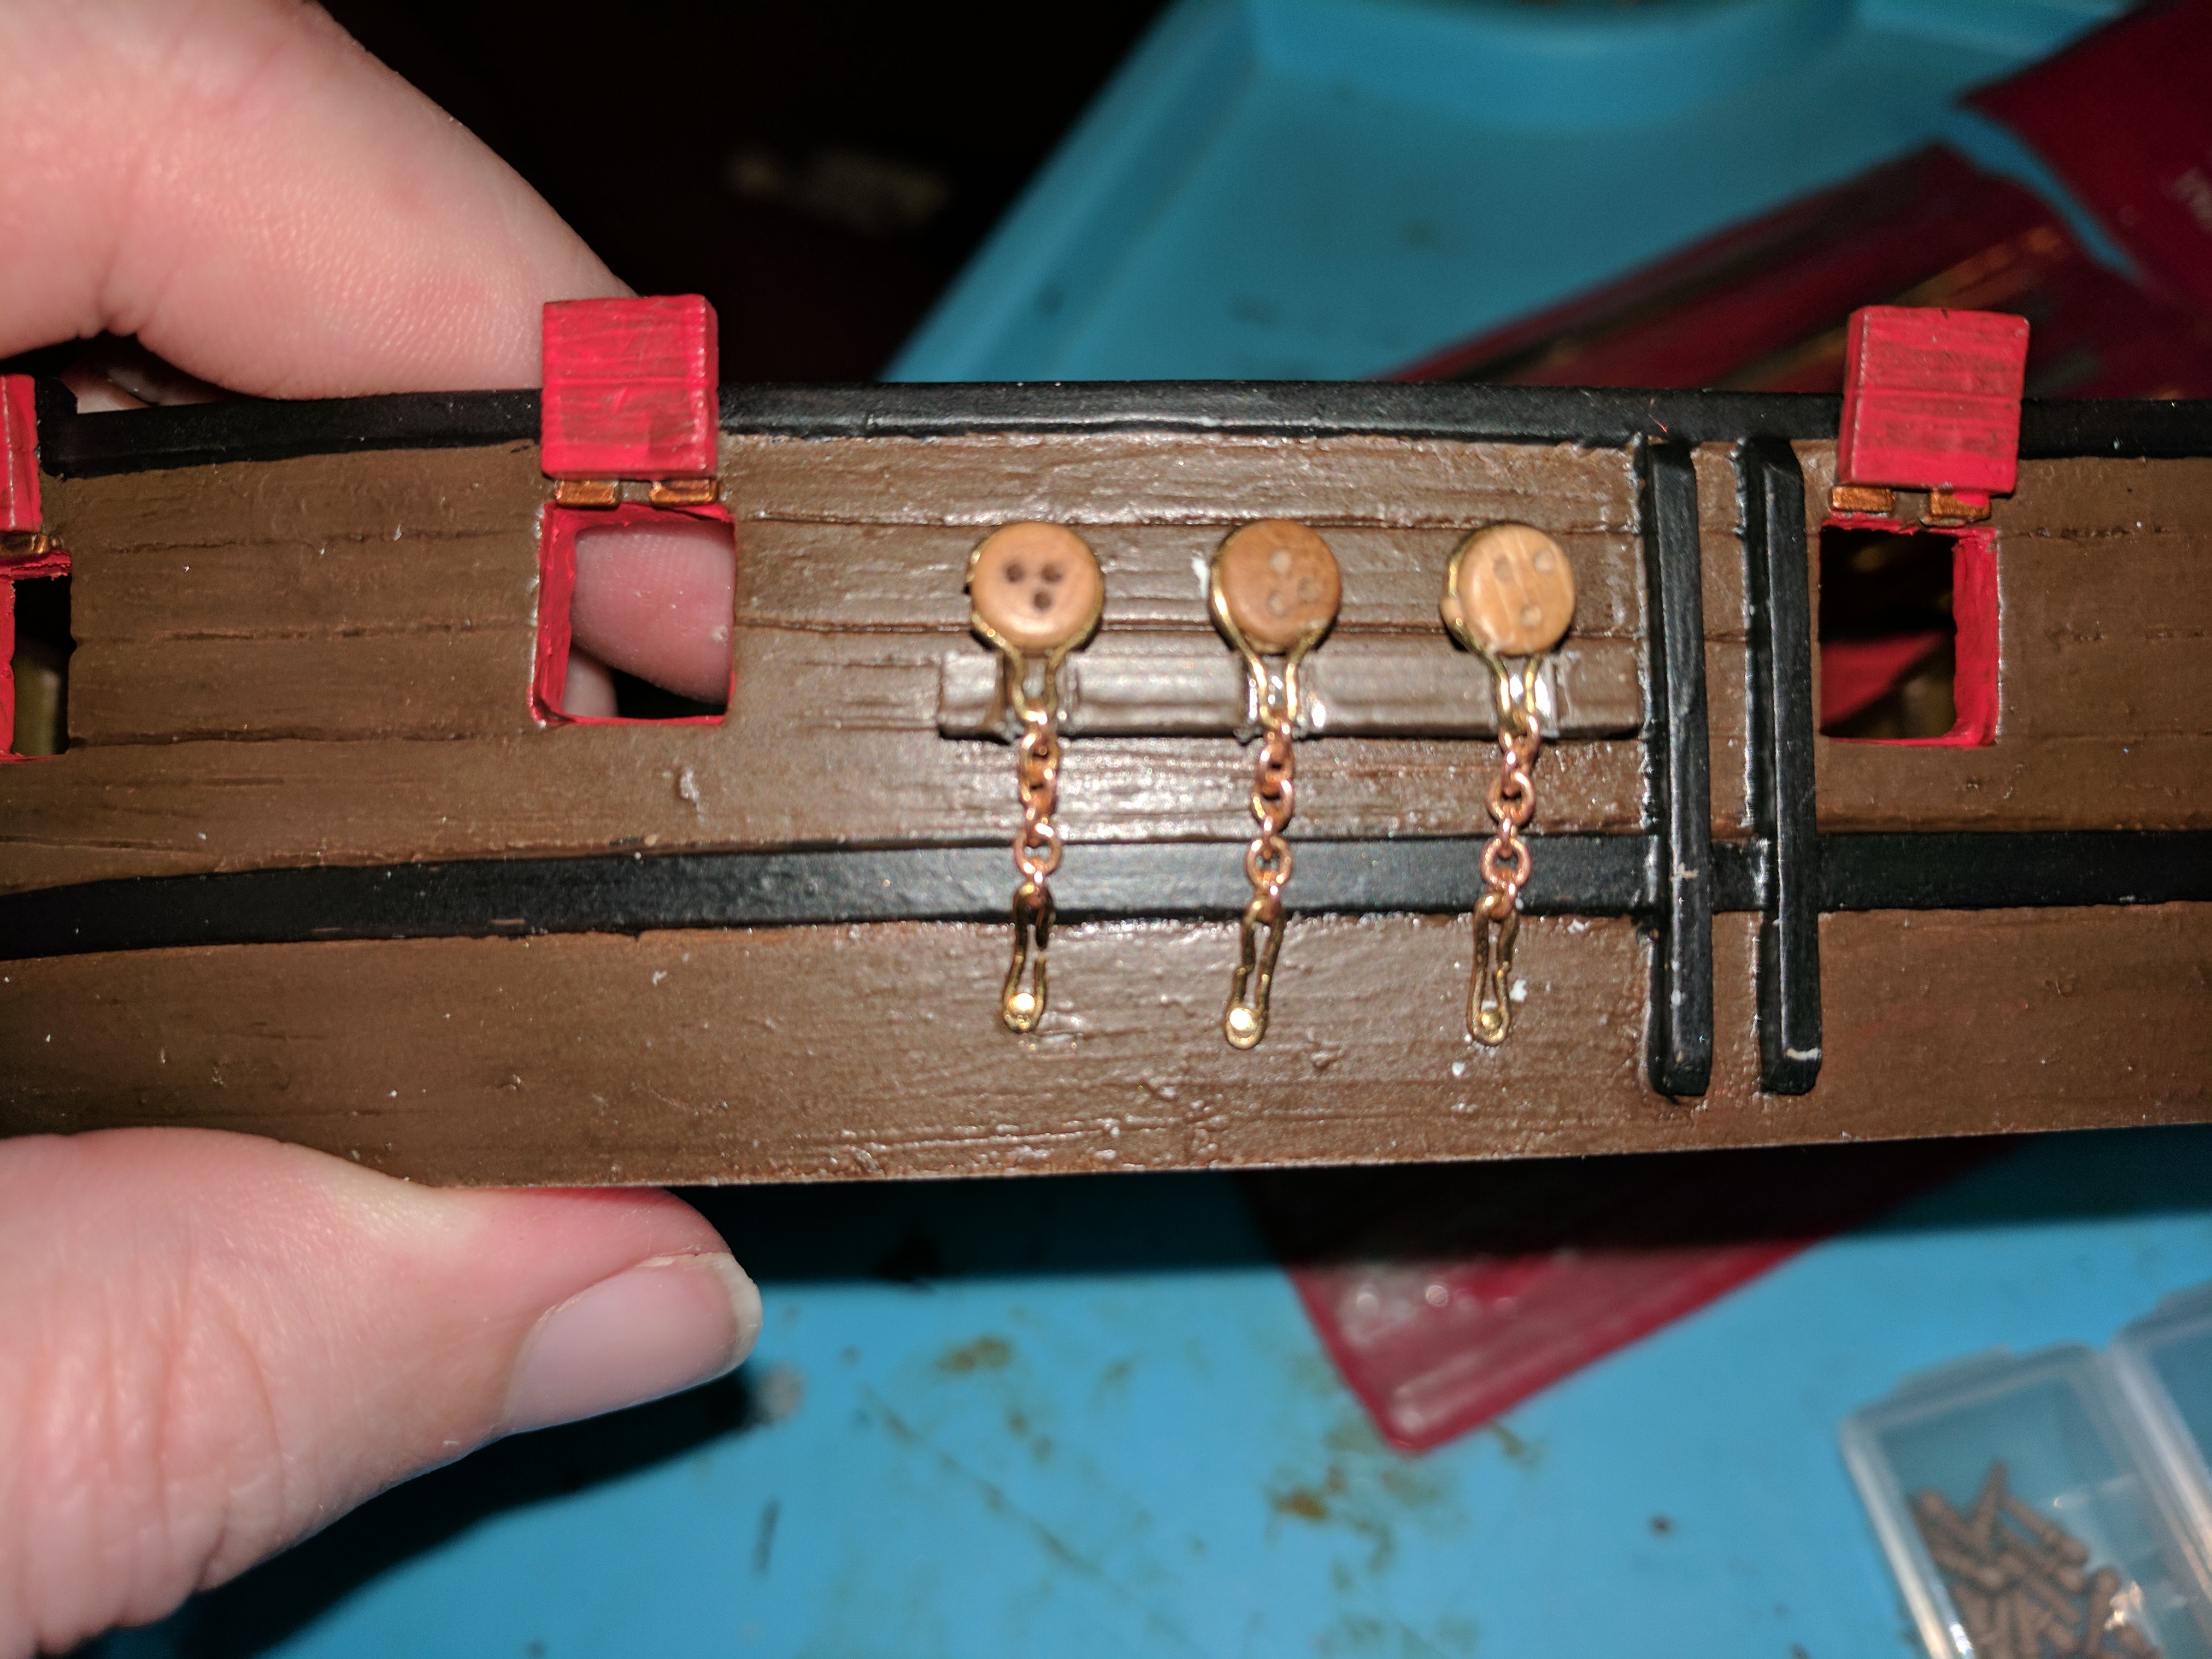
After paint the next step was to install the chain plates. Chain plates attach the ropes for the shroud to the hull so they are very important. I used pre-made chain plates with a 5mm deadeye.
To install them I lined them up with the top of the mast then drilled a hole through the bottom of the chain plate into the hull. For the nail I used a modified jewelry head pin, and once all three had been installed a piece of wood went over the channel covering the chain plates and preventing them from falling out.
Next will be the masts, bowsprits and the fighting top.

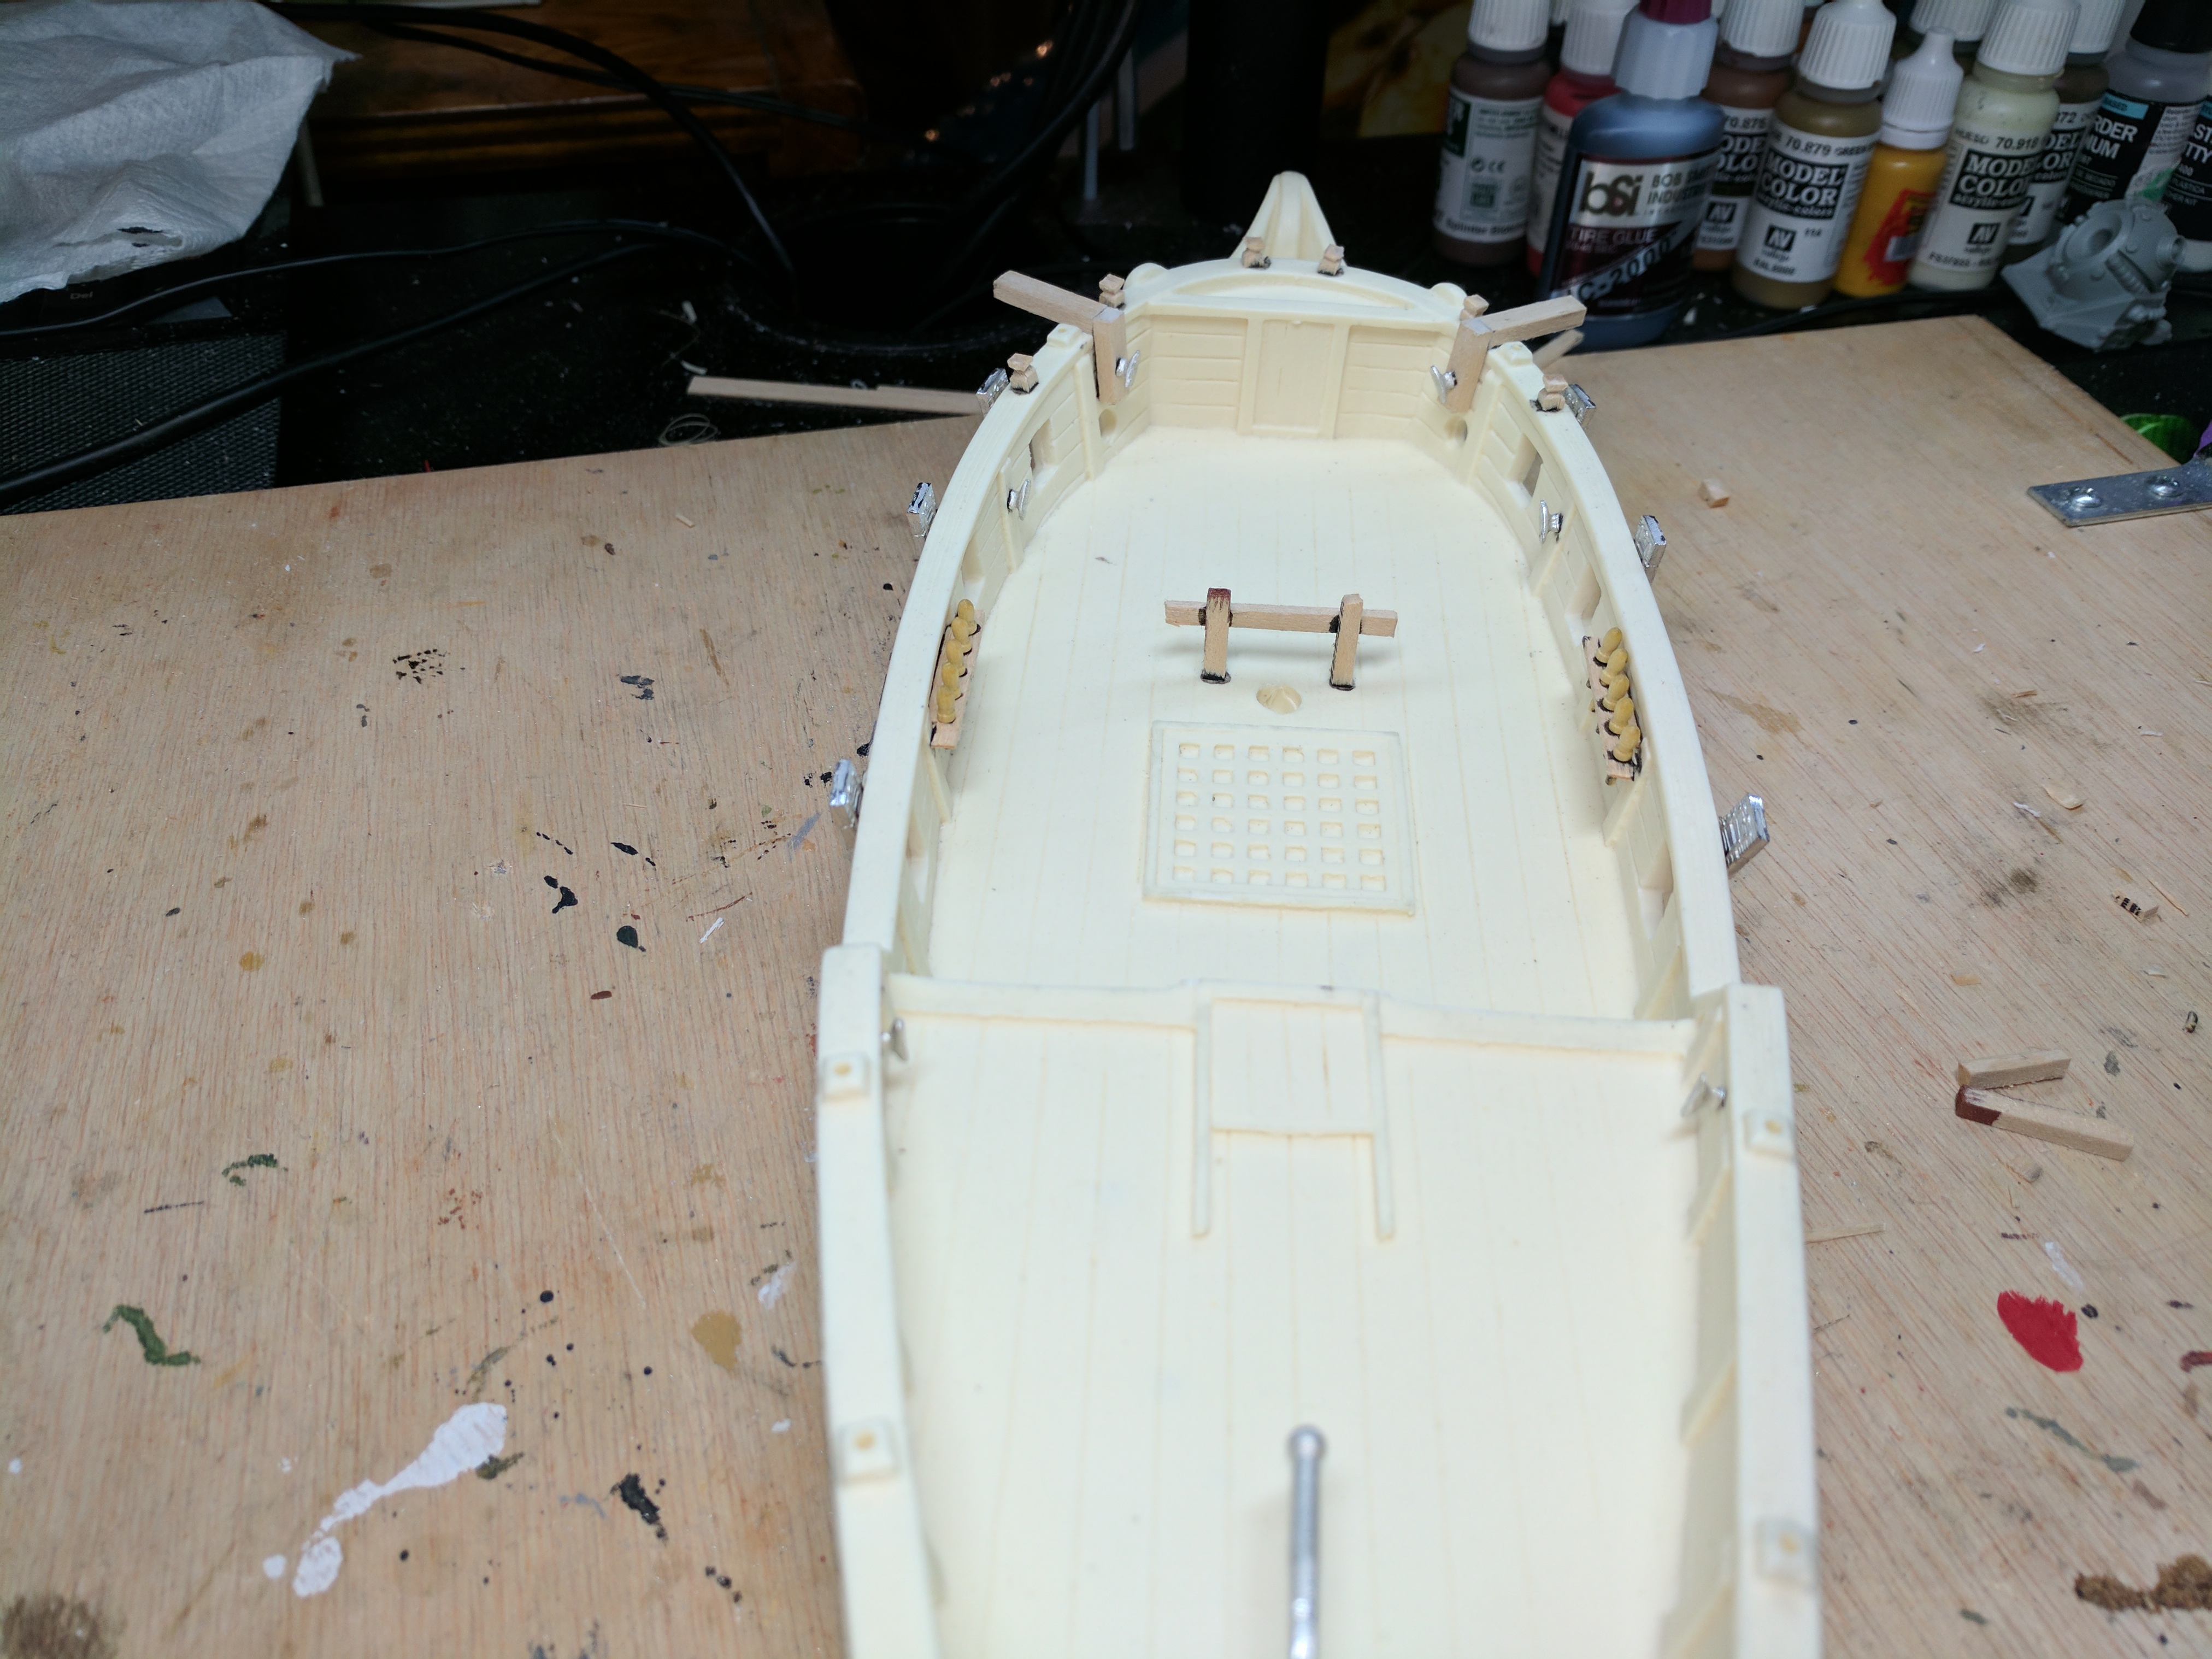
Initial prep work.
I started off by building all the belaying pin racks, riding bits, cleats and anything else that I would need to rig the model.
I used a mix of premade parts and parts I made from basewood and other hobby wood. Parts I made include the belaying pin rack, the anchor catheads, riding bits and the timberheads.
Parts that I purchased are the belaying pins and cleats. Most other metal bits you see are the ones included in the kit. The shroud channel that was provided by Firelock was modified so that I could run the proper rigging though it.
The only major modification I made to the actual ship hull was removing most of the resin from the front of the ship so that I could get rigging around the keel.