


Journey to Malifaux UK Nationals 2024


Reintroduction game
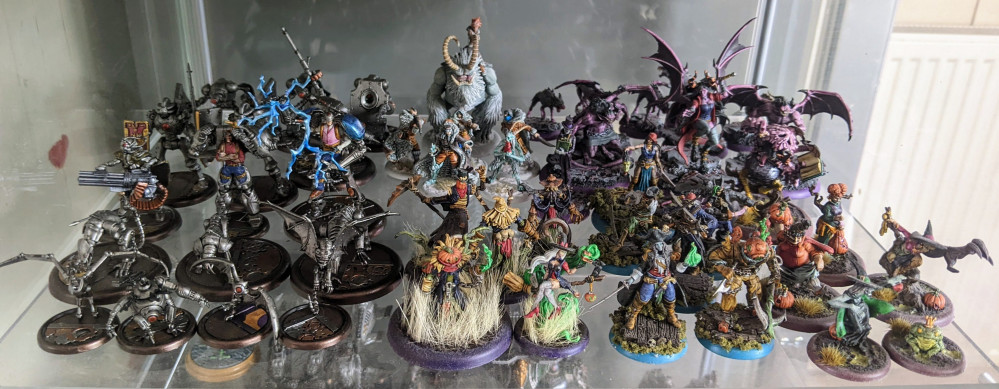
So as mentioned before in my previous entry my list was essentially Hoffman’s core box which consists of ;
Hoffman
Mechanical assistant
Melissa KORE
3x Hunters
This was to re-familiarise myself with the rules of the game and see any strengths and weaknesses in the crew to build off of.
My opponent bought a Viktorias crew which consisted of;
2 x Viktoria Chambers
Taelor
Vanessa Chambers
Student of conflict
2 x Ronin
He used to play M2E so some of the models were proxies or older models, but it was very clear what was what so it wasn’t an issue. He was gracious enough to go through the crews and gave me a run down of what to expect and what to look out for. My main concern was the Students of conflict and 2 ronin as they ignored armour which is one of the main benefits I saw in my crew.
For the Strategy we chose to use the Reckoning as it was fairly simple to do. You just had to kill more models than you had scored VP from the previous round. For our schemes the pool was drawn from GG 4 as it is something I would need to be used to for the Nationals so best to start of understanding them now. They were Let them bleed, death beds Sweating bullets, information overload and Protected territory. I chose sweating bullets and information overload and Melissa as my nominated model for sweating bullets.
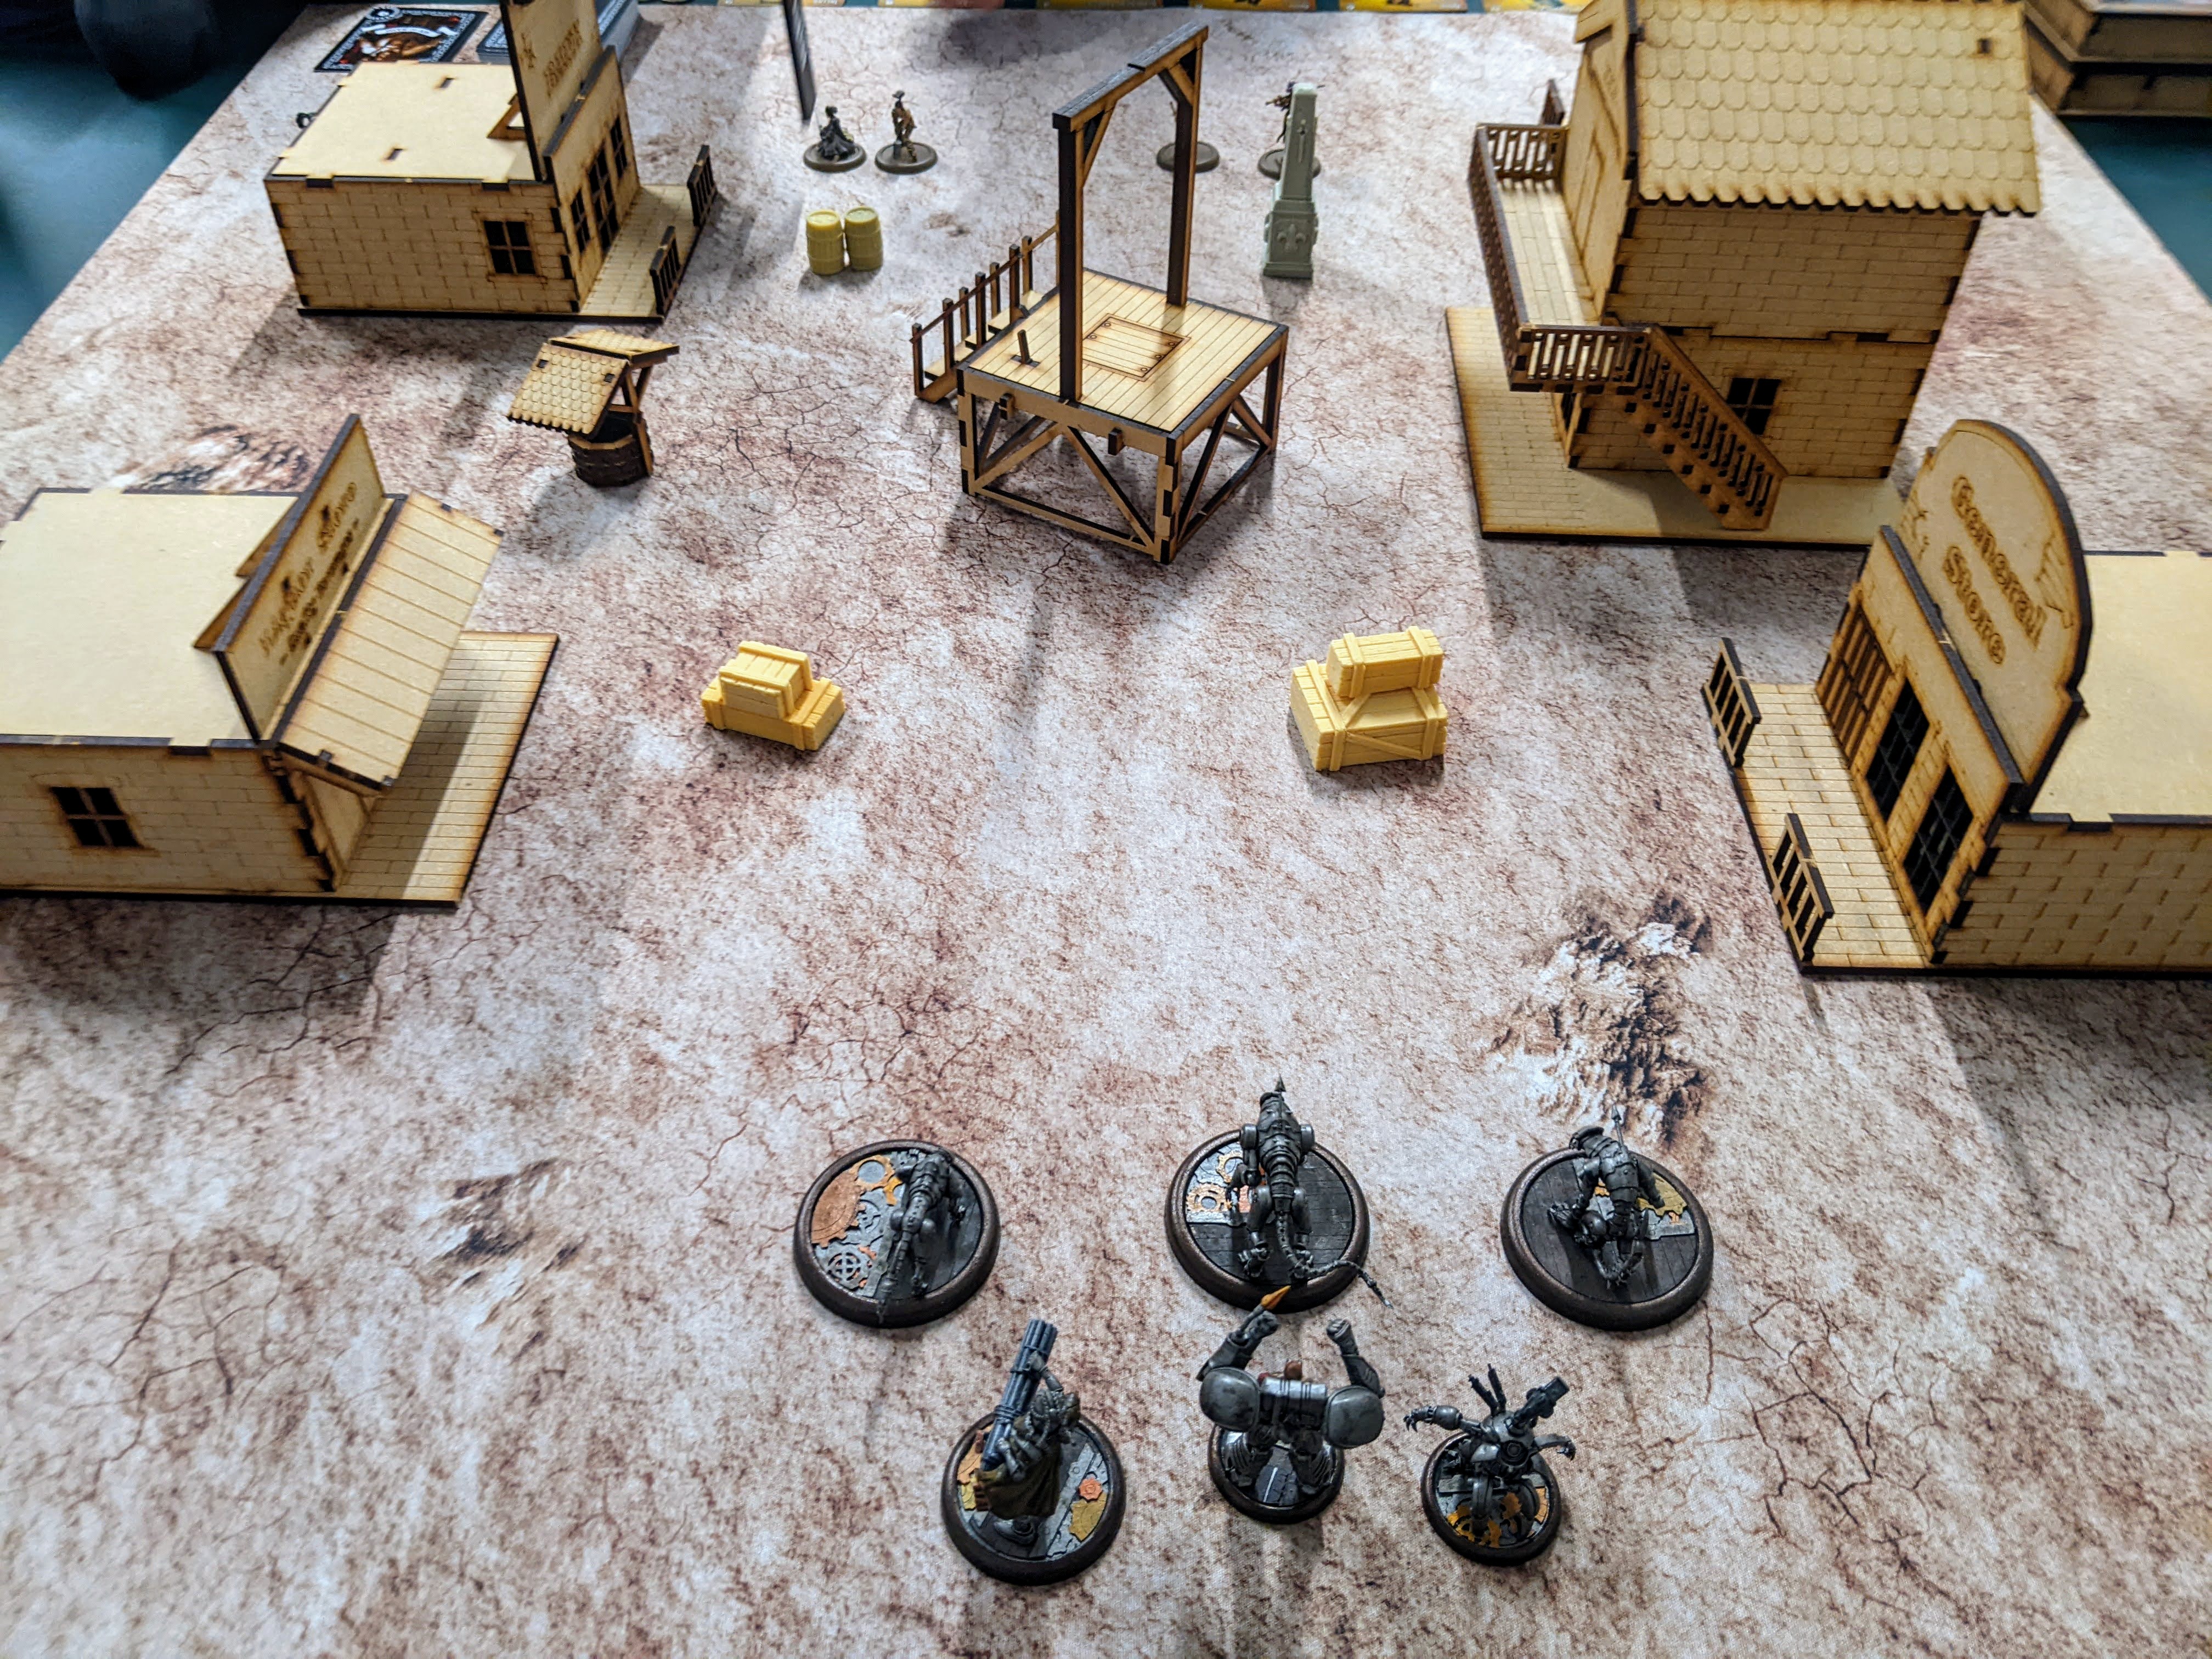 Set up
I gained the attacking priority so got to deploy first. For the set up I was aware that the crew is best used when all grouped together so I bunched up and put the Hunters at the front as a shield with Melissa and the attendant at the side to give some ranged support. My opponent set the 2 Ronin either side of the main buildings and Vanessa behind one of the large buildings with the Viktorias, Taelor and the SoC in the centre.
 Turn 1
The first turn wasn’t particularly eventful it was mainly me reading my cards seeing what was useful in the beginning and trying out different bits to see where things would be beneficial. I mostly opted to move forward my crew and focus and that was it really. My opponent rushed down either side of the board out of line of sight with the help of battle tempo and on the move then dropped some scheme markers. He then moved up a little with his main aggressive models but managed to stay just outside of my attack ranges. The main thing I learnt from this turn was that activation order was particularly important as Hoffman handing out power and the mechanical attendants magnetic push happened within a very small bubble.
 Turn 2
Turn 2 saw the first mistake I made which was splitting out from the bubble. I was curious to see what would happen as I took on a Ronin with one of my Hunters. I moved around the building with both actions and used my Bonus action called pounce to jump onto one of the ronin injuring it. This was my second mistake as a bonus action this caused no damage at all so this left my hunter open to attack. Whilst my hunter was cut down I had realised my third mistake which was that my Hunters have an ability called Deadly pursuit which allows them to push up to 4″ in the end phase. This meant I could have potentially at least damaged the Ronin I had pounced on if nothing else in my activation. I did not make the same mistake twice with my 2 other hunters I pounced on the SoC and managed to take her down as well as move into conflict with Taelor and do a little damage there as well. Melissa, Hoffman and the attendant slowly moved up the board and looked to back up the hunters. However the Viktorias and Taelor managed to do enough damage to keep the Hunters holding on by a thread. I did remember to use the previously mentioned Deadly pursuit so I could threaten all 3 Viktorias for the start of the next turn. We both scored a VP for the Strategy this turn so it was currently tied 1-1.
 Turn 3
Turn 3 would be the final turn as the club was going to close shortly so I decided to use Melissa’s clockwork grenade rather than charge in the Hunters. This may have been a tactical mistake but for a learning game I just wanted to see if it was an ability that was worth using in the future. I managed to damage 2 points of damage to one of the Chambers sisters of the 3 hit by the blast. Unsurprisingly during their turn the 2 Viktorias tore through the Hunters like paper. Melissa then took a hit from Vaneesa which was followed up on by Taelor later to finish her off denying me a victory point from my sweating bullets scheme. Hoffman managed to score a big hit on Taelor but not enough to kill her. My mechanical attendant then took a pot shot at one of the Ronin scratching her slightly. With the Ronin dropping 2 more scheme markers and with me losing three models my opponent scored 3 more VP meaning it was 4-1 for the final score.
Final Thoughts
So in summation I enjoyed the game on the whole. The main lessons I learned from the game are firstly I really need to know my crew and the rules within it for instance I had multiple power tokens on most members of my crew but never utilised them until it was pointless, the same goes for conditions some of my Hunters were double focused but I had totally forgotten about it. Going out of the crews bubble is also not advisable as I lose certain benefits such as extra power, transfer of power and movement abilities. My crew also massively suffered from a lack of speed for dropping off schemes and getting around the board a little quicker. I also didn’t utilise the Hunters harpoon guns which would have dragged people into a death zone rather than me going completely to them. My next game will be a full sized game of 50 Soulstones and I will use Hoffman again but the list should be a little bit more versatile in theory. It will also be a GG4 Strategy rather than an older one so I can start to understand those a little more.


Leave a Reply