


![How To Paint Moonstone’s Nanny | Goblin King Games [7 Days Early Access]](https://images.beastsofwar.com/2024/12/3CU-Gobin-King-Games-Moonstone-Shades-Nanny-coverimage-225-127.jpg)


Soap Dodger's Yu Jing


Painting Yu Jing (cont)
Leather details
Sometimes you can use this paint style with the blacks but I like to break it up with some hard leather. but I think you should use the same paint style.
I paint a base of dark rust and a patchy layer highlight of flat earth and highlight with dark sand and and put scratches in all over with this as well. After this is done use glazes of smokey ink to darken everything down if you want to take this further also use glazes of purple or violet ink in the corners or folds.
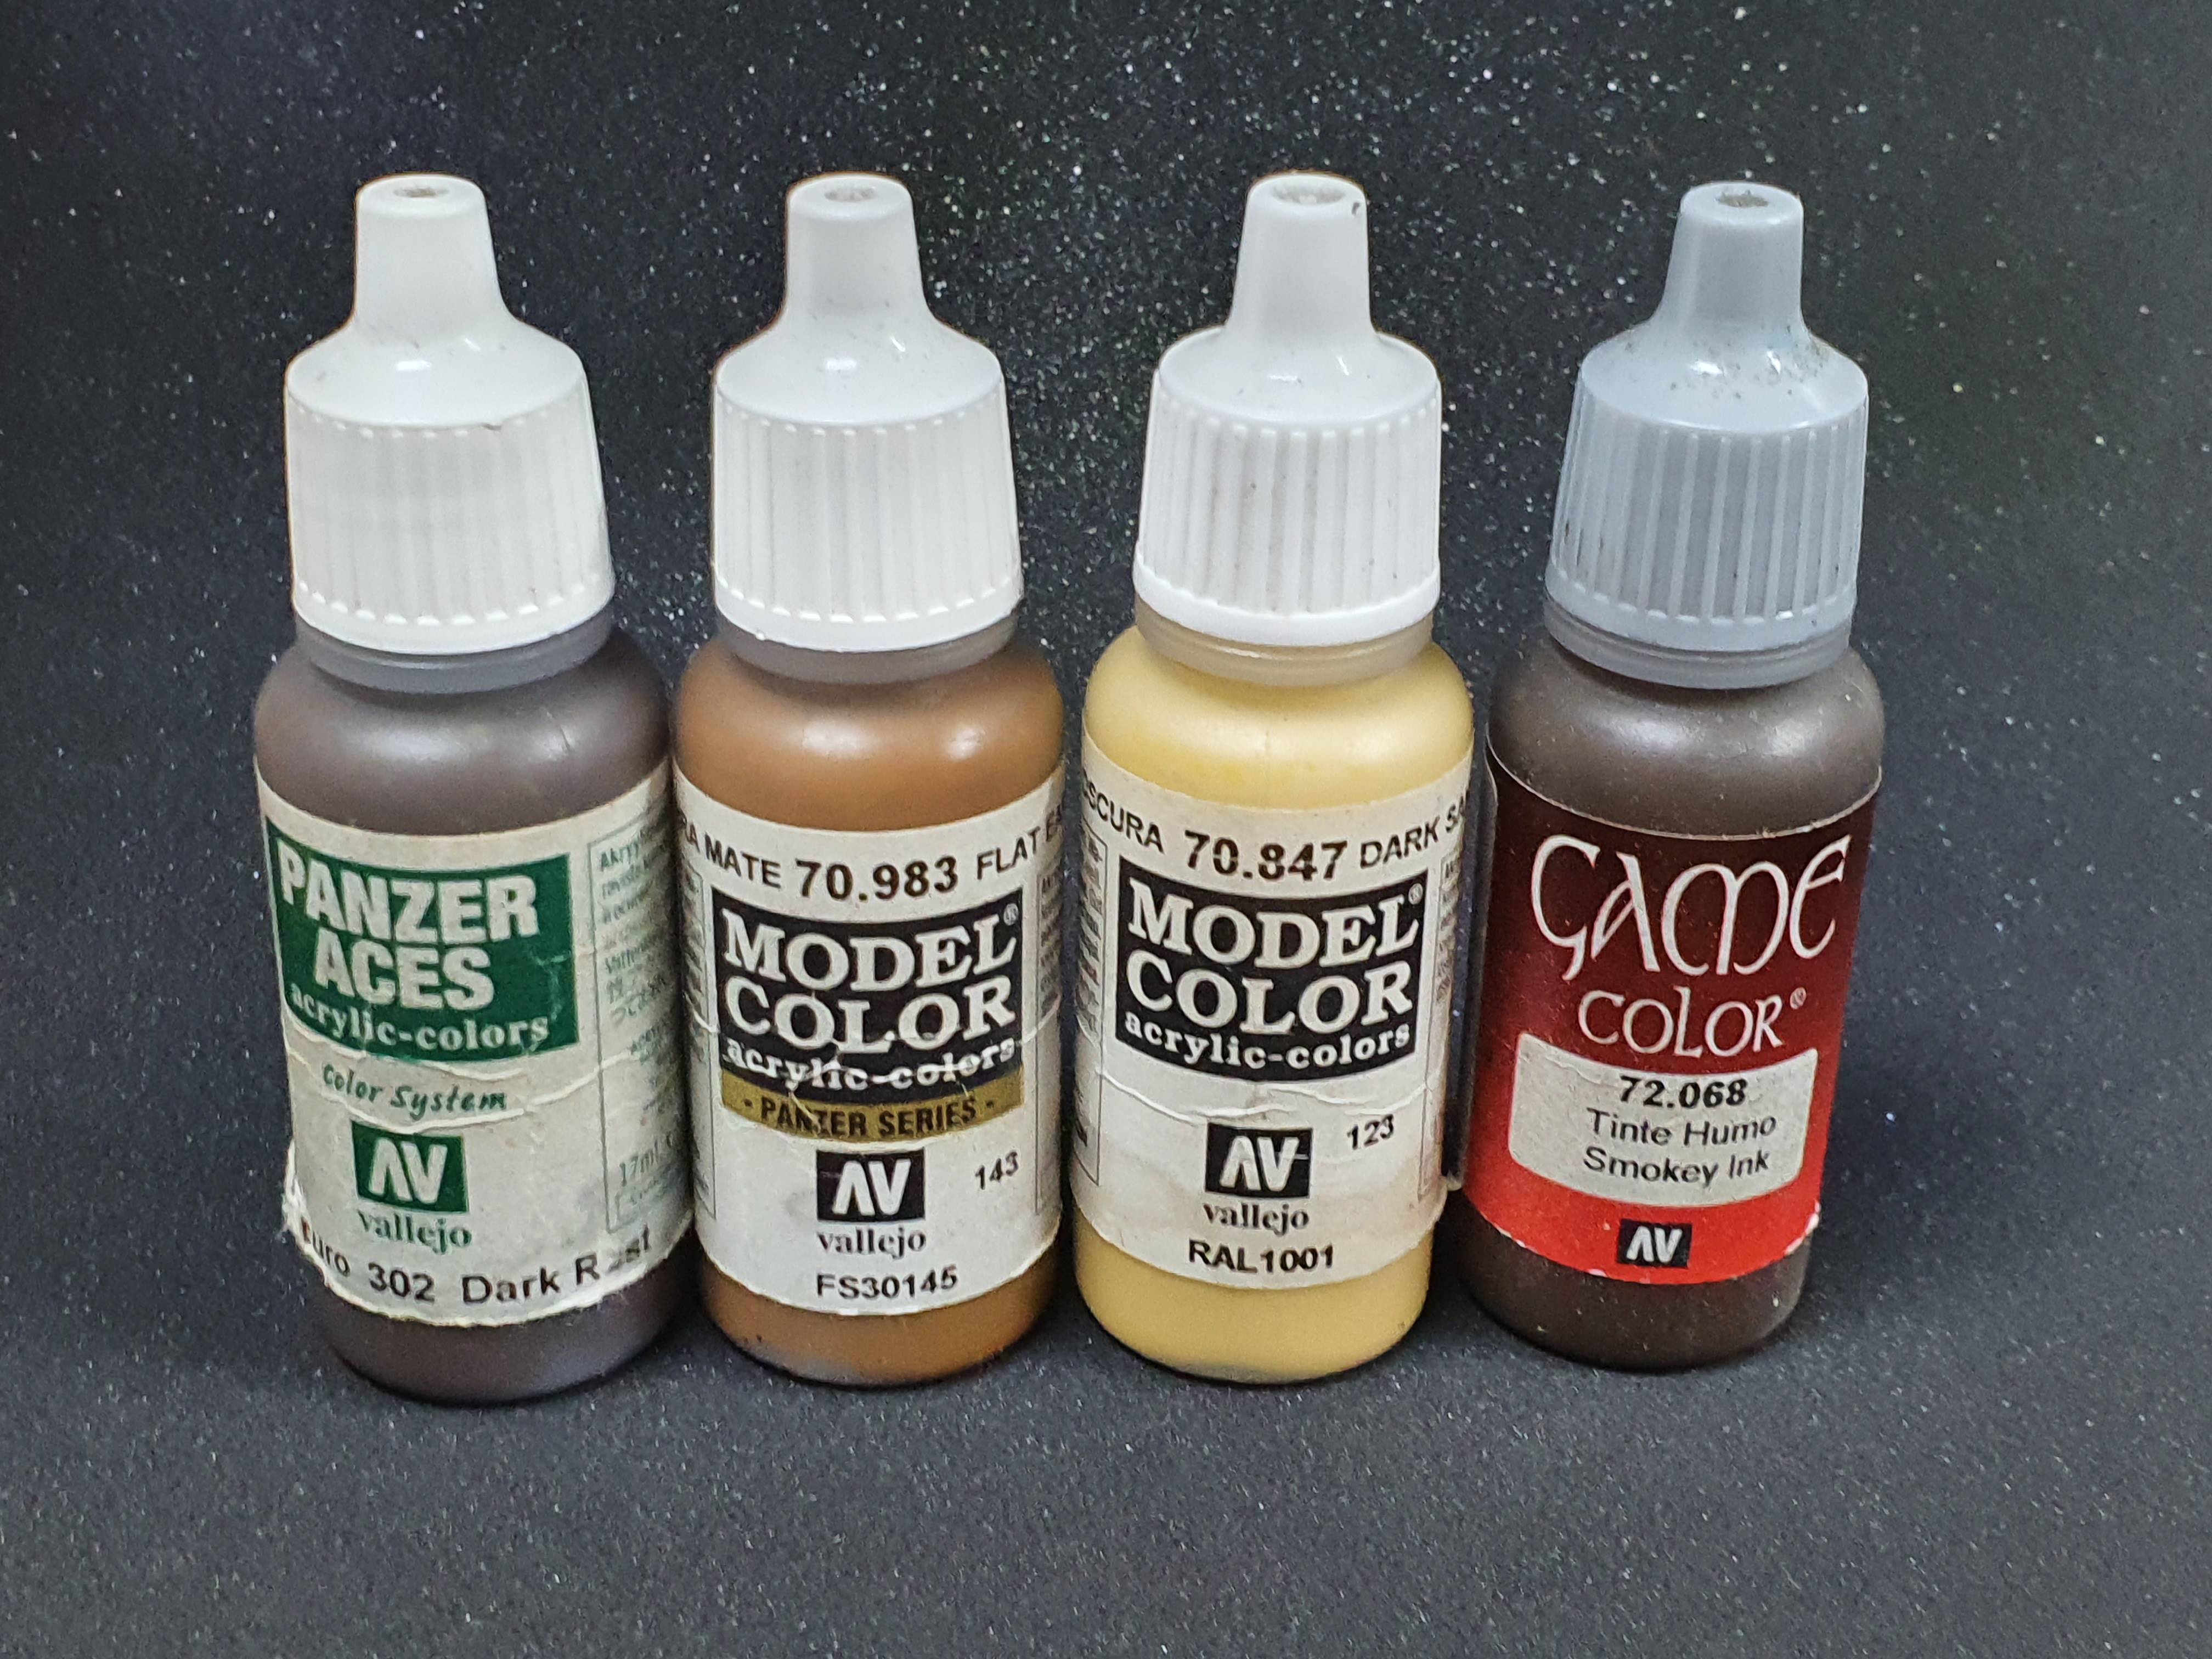 Leather detail paints
Lights, lenses and OSL
You can use the turquoise like in some models just add black and white.
However most new Yu Jing have this done in a neon green and I can see this being the case going forward for now.
I love this and have done it a number of ways. my most recent is painting the object or lens in white and do a couple of coats of Green fluorescent use glazes of the dark green in the corners or around the base of the object you can add black to make the dark green even darker. After this is done I use an airbrush and just Green fluorescent around the area for the glow. Add white the the Green fluorescent for the highlights and a drop of white only on the object and not the surroundings.
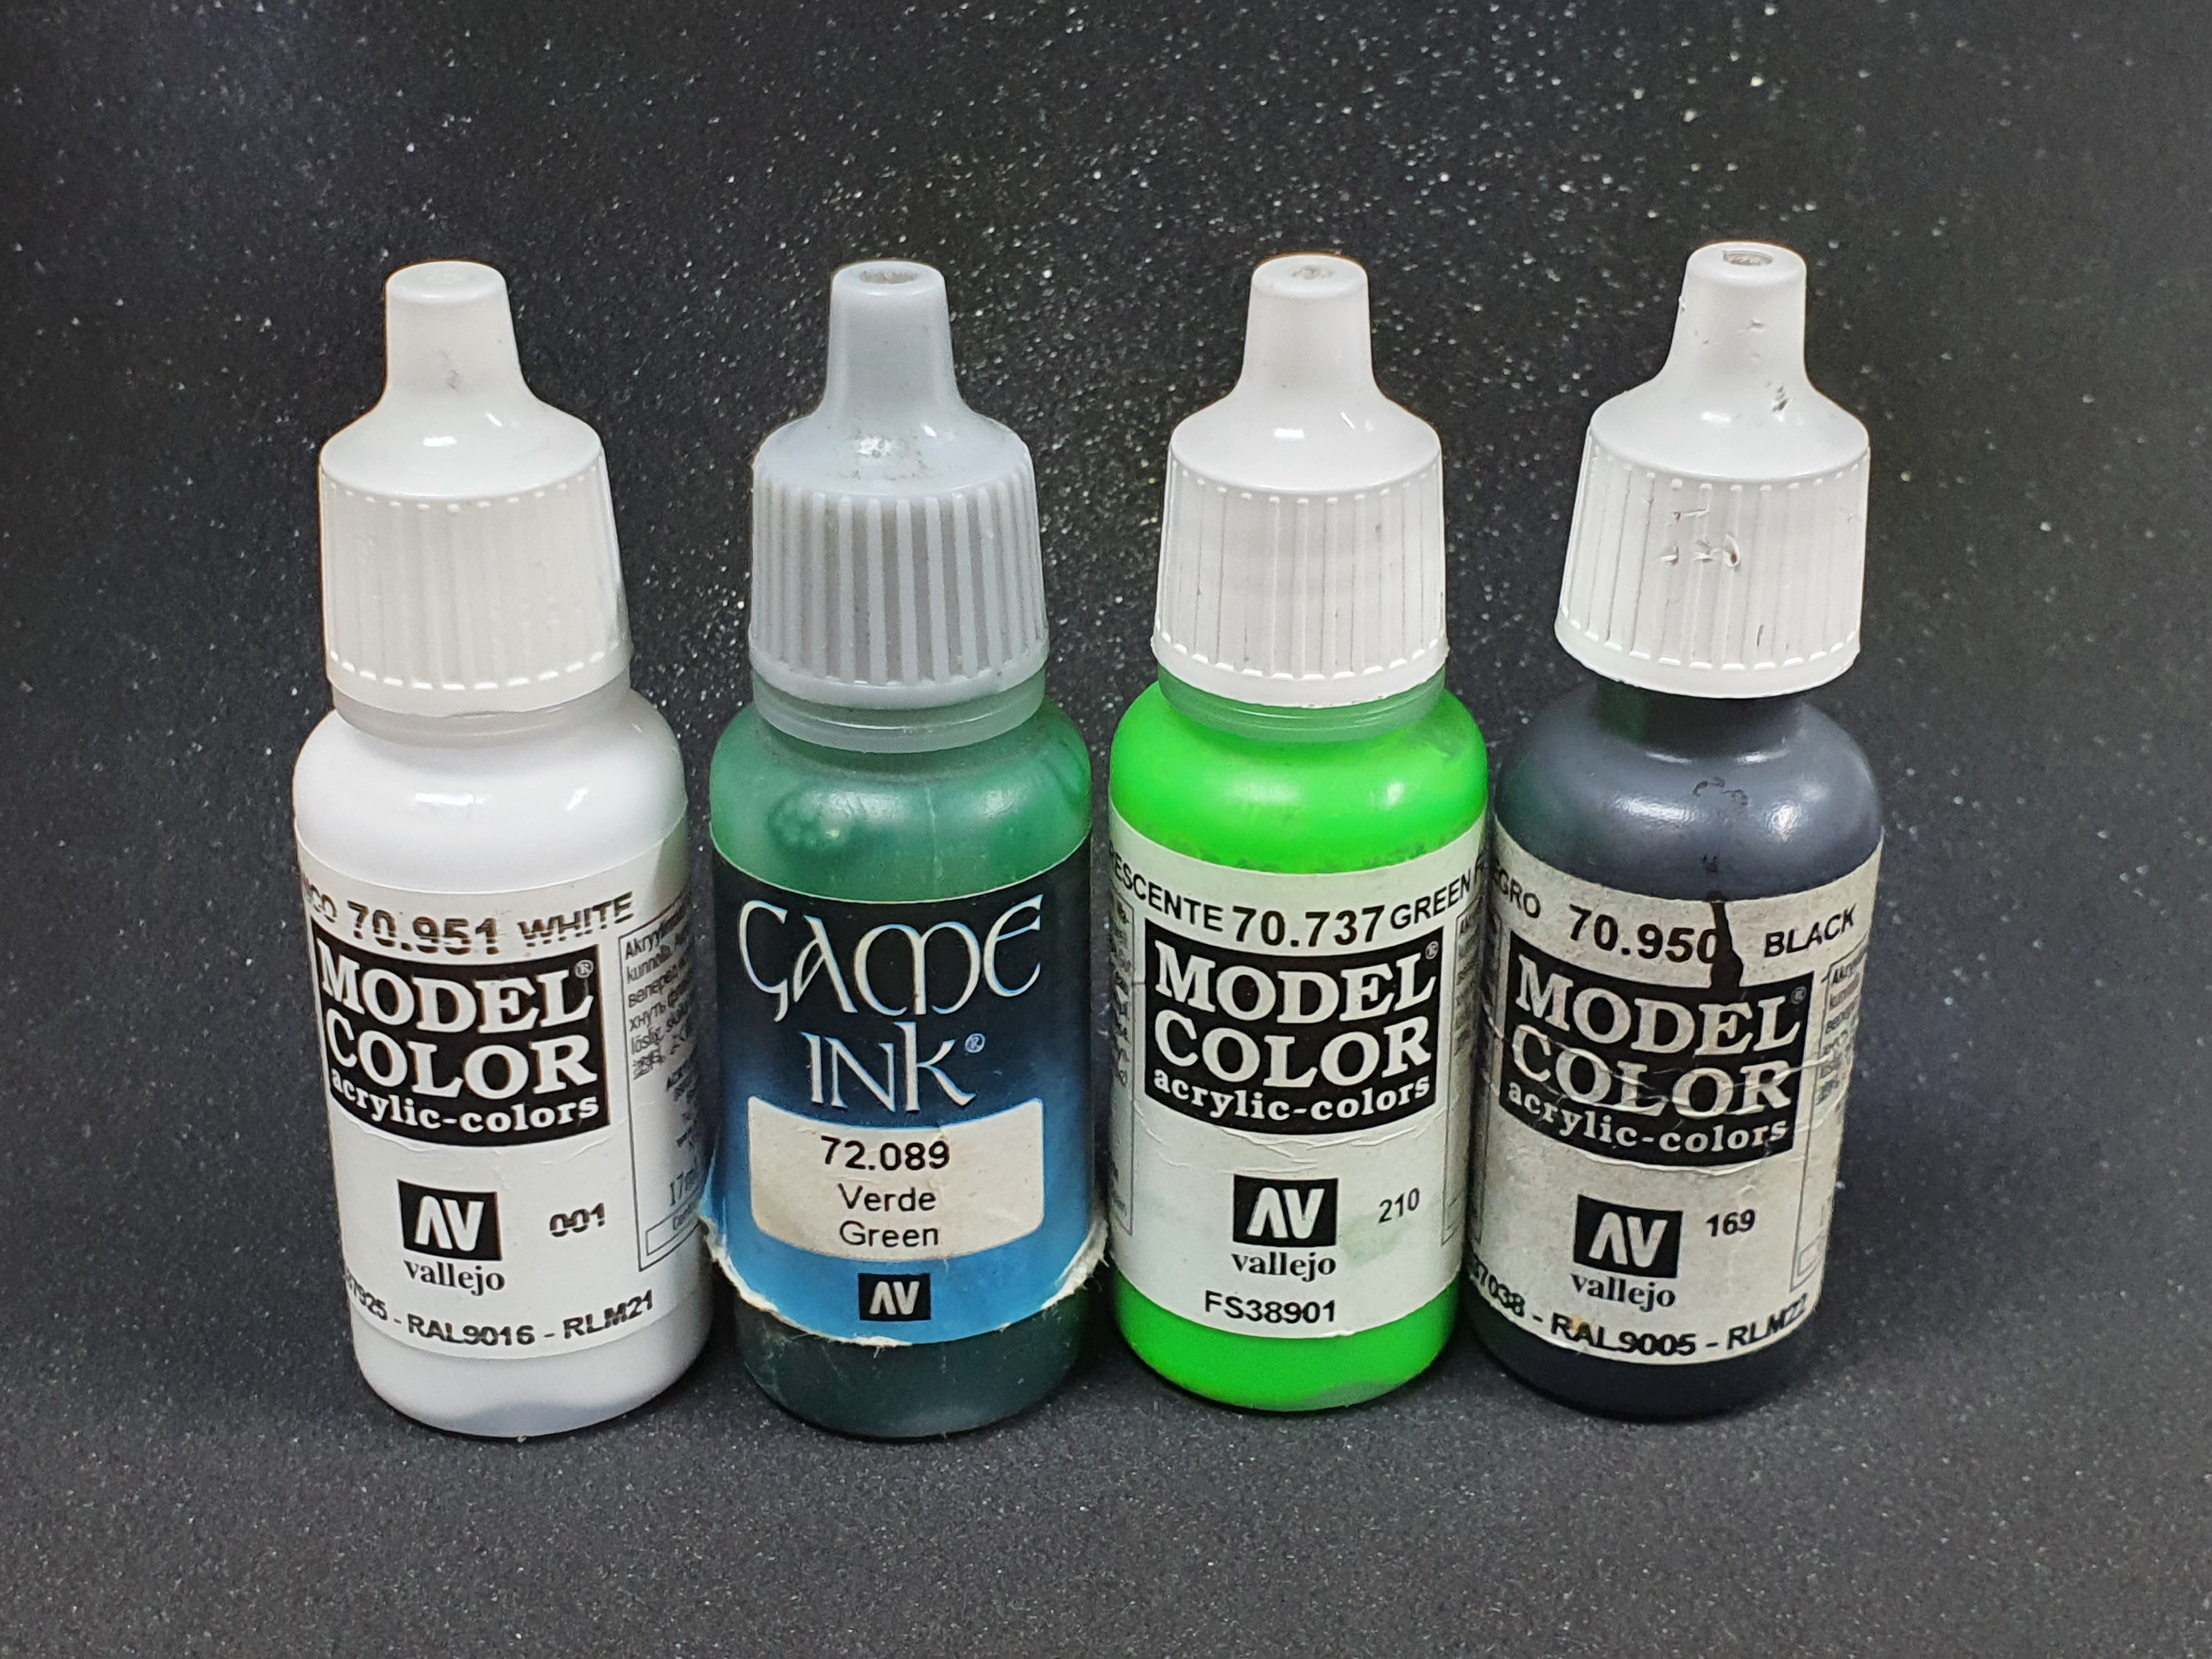 Lights, lenses and OSL paints
Finishing up
You have painted your socks off by this point it takes me between 2 – 5 hours to paint a Yu Jing model at the moment. Want to keep it that way?
I use varnish so that I can handle the models without fear. I start by using gloss varnish this is the main hard coat. This is great however you will probably see that it looks horrible now due to the glare of lights on it.
To remove that glare after it’s dry I use ultra matte varnish. This evens out the different finishes of all the paints inks and glazes I have used and I like the look. Again if you do this another way that’s ok too.
Mediums and varnishes are not required however they are there to make your life easier. glaze is used to thin the paint but keep it strong and not separate. Retarder medium is used to give you another couple of minutes working time and it’s easier to remove mistakes. Varnishes are used to protect your models to remove the fear of people touching them or you using them to play games.
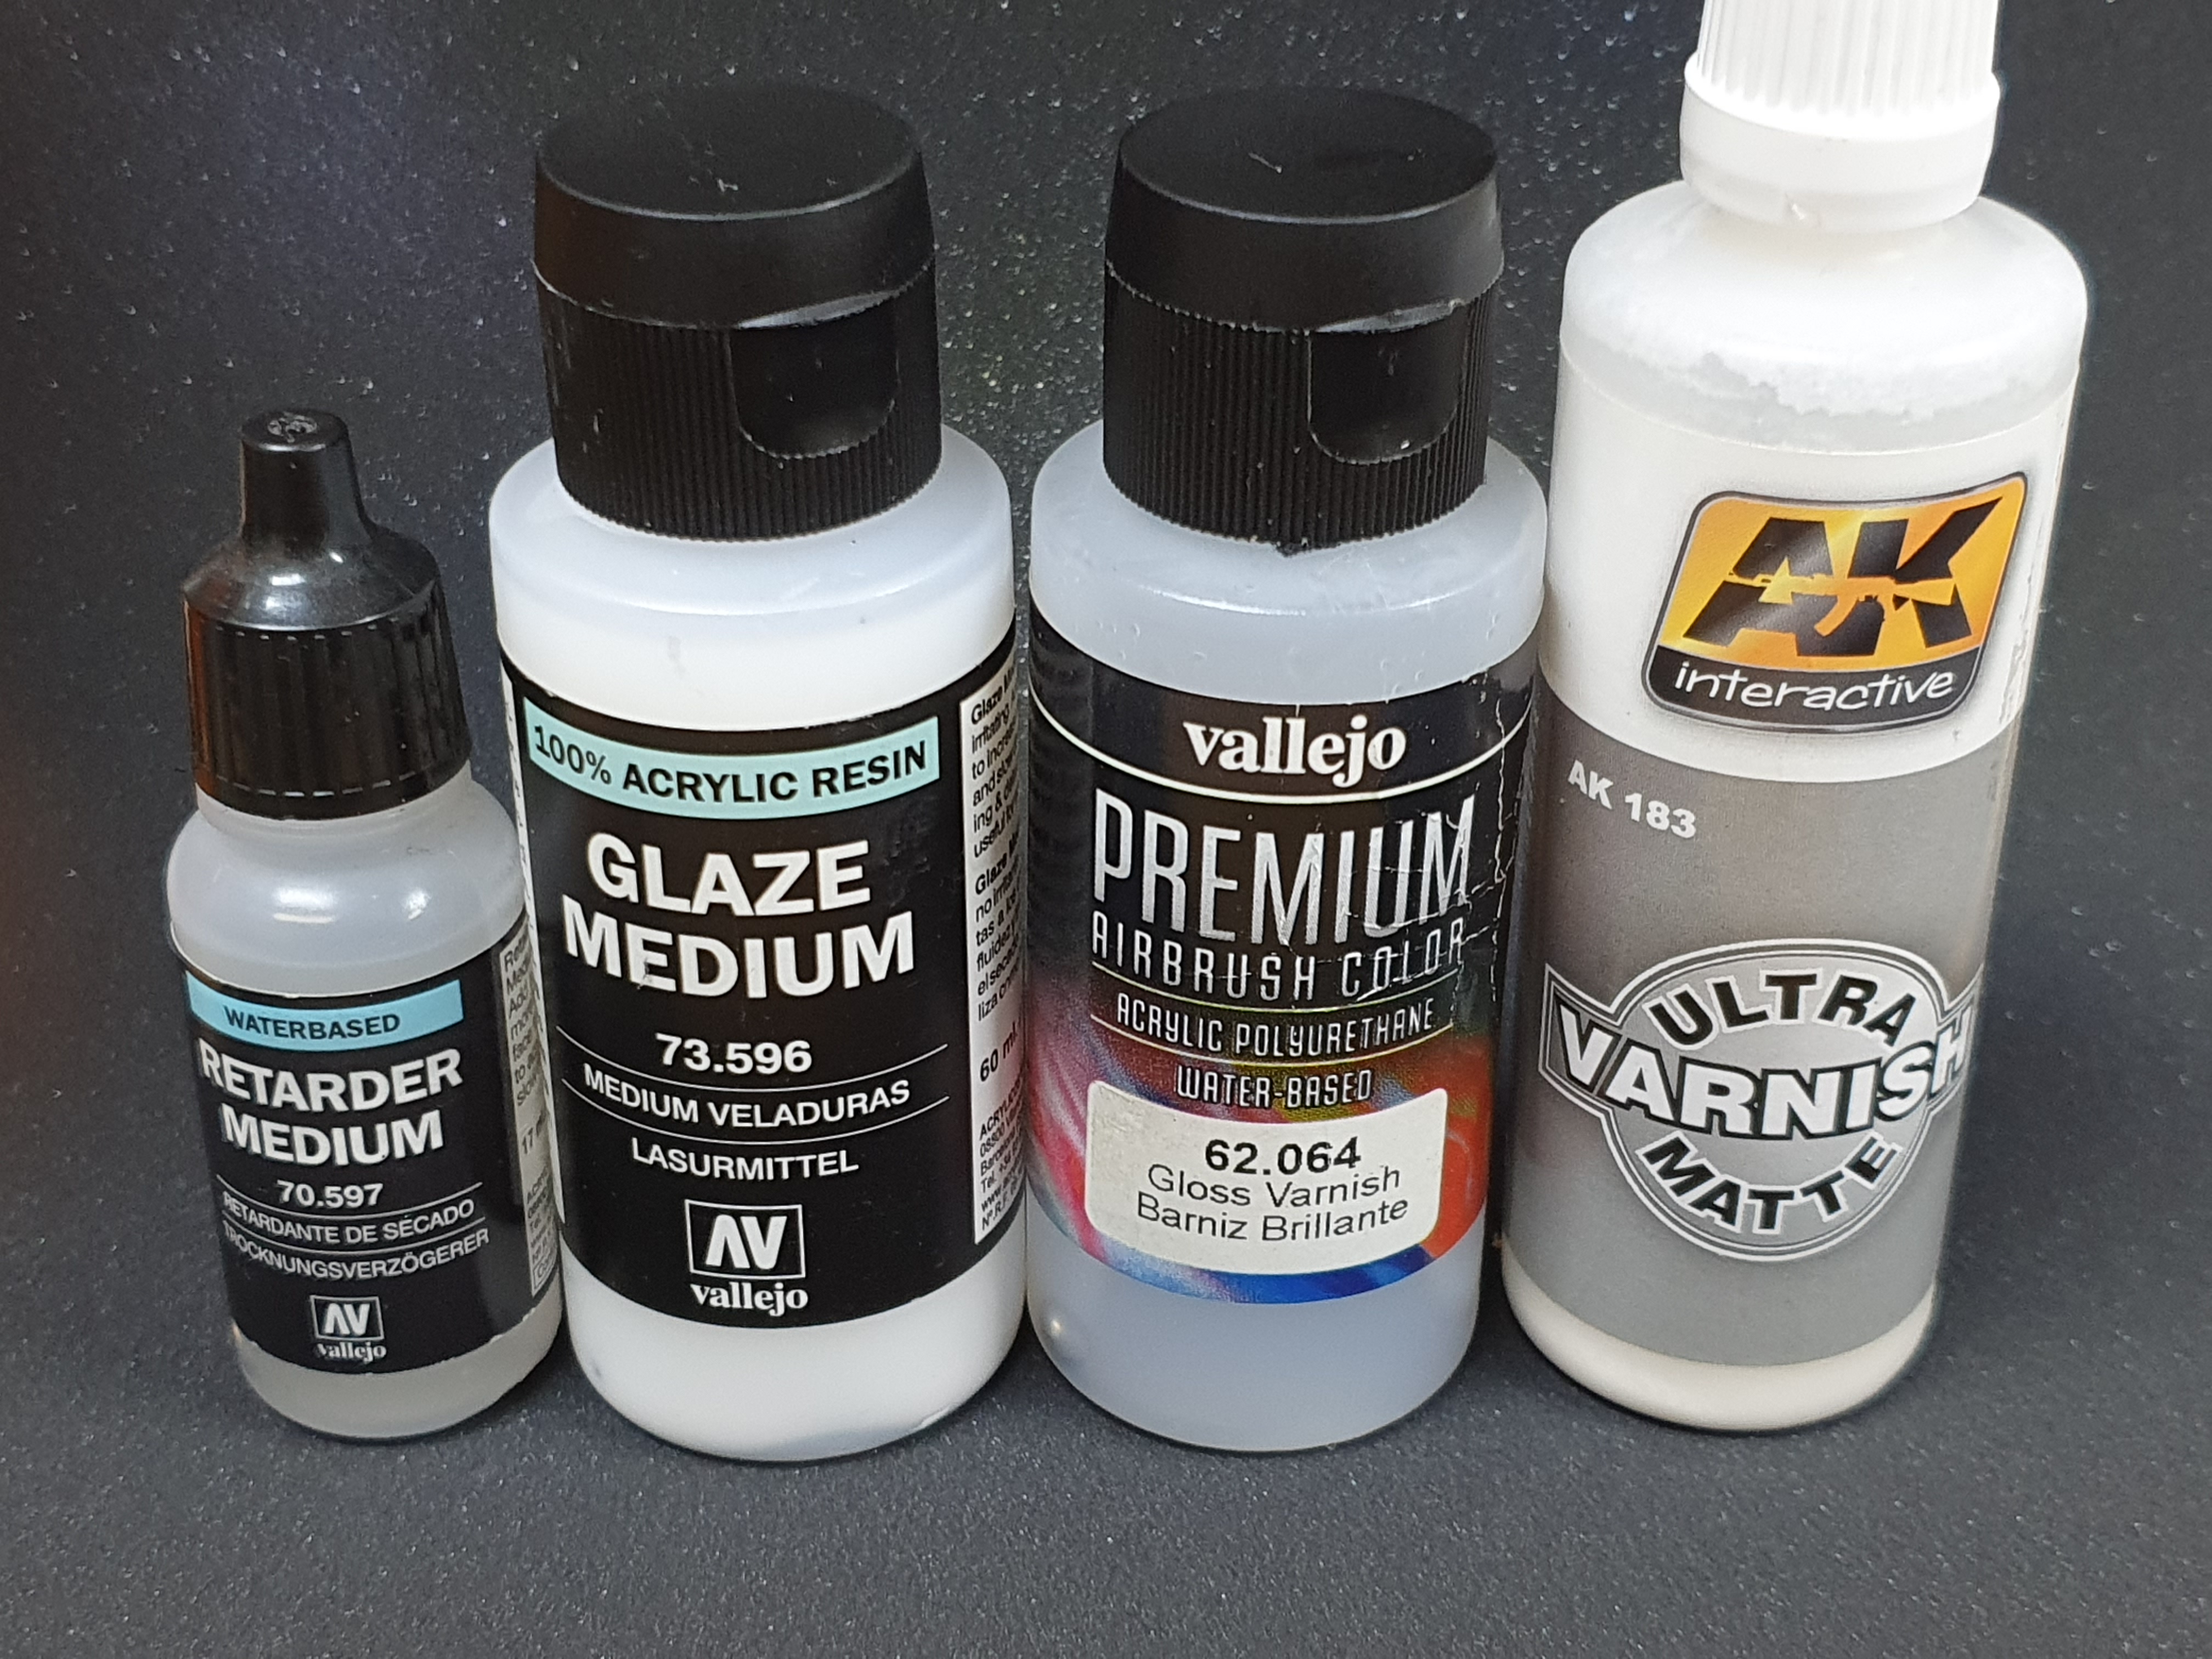 Finishing up and mediums
I have picked up most of my colours from Angel’s books which I can highly recommend. I have not directly referenced his work for some time but no doubt it’s still close as the end results still look similar. You can layer techniques on top of this by adding chipping, battle damage, rust, dust, snow, ice, etc onto it. I would only leave your OSL stuff to the end to light these effects properly. You could also chose to paint them blurple but I would say from experience it’s much easier to resell an army painted in close to the studio scheme unless you have a full force.
There are loads of YouTube tutorials, free painting guides, introduction booklets and even one in the paint set which contains most of these colours along with a Zahnshi forward observer that you cant use as that in Code One but you could use it as a medic or hacker.
Whatever you do, remember to have fun then it’s always worth it.


Leave a Reply