


tidewater Darkstar


Early Encounter
Finally, some talk of fighting! I was going to complete an elaborate narration of the background to our campaign, but after drafting a few historical details, speculating only part of the story into life, and sounding more like the book I was reading on Pacific Theater strategy in 1942, I had to go back to the battle. I mean we honestly just wanted to play some games and get experience. So maybe a little later… For now, our first battle of the campaign, a meeting engagement in the asteroid belt of Gliese 442, Canadians vs. Japanese:
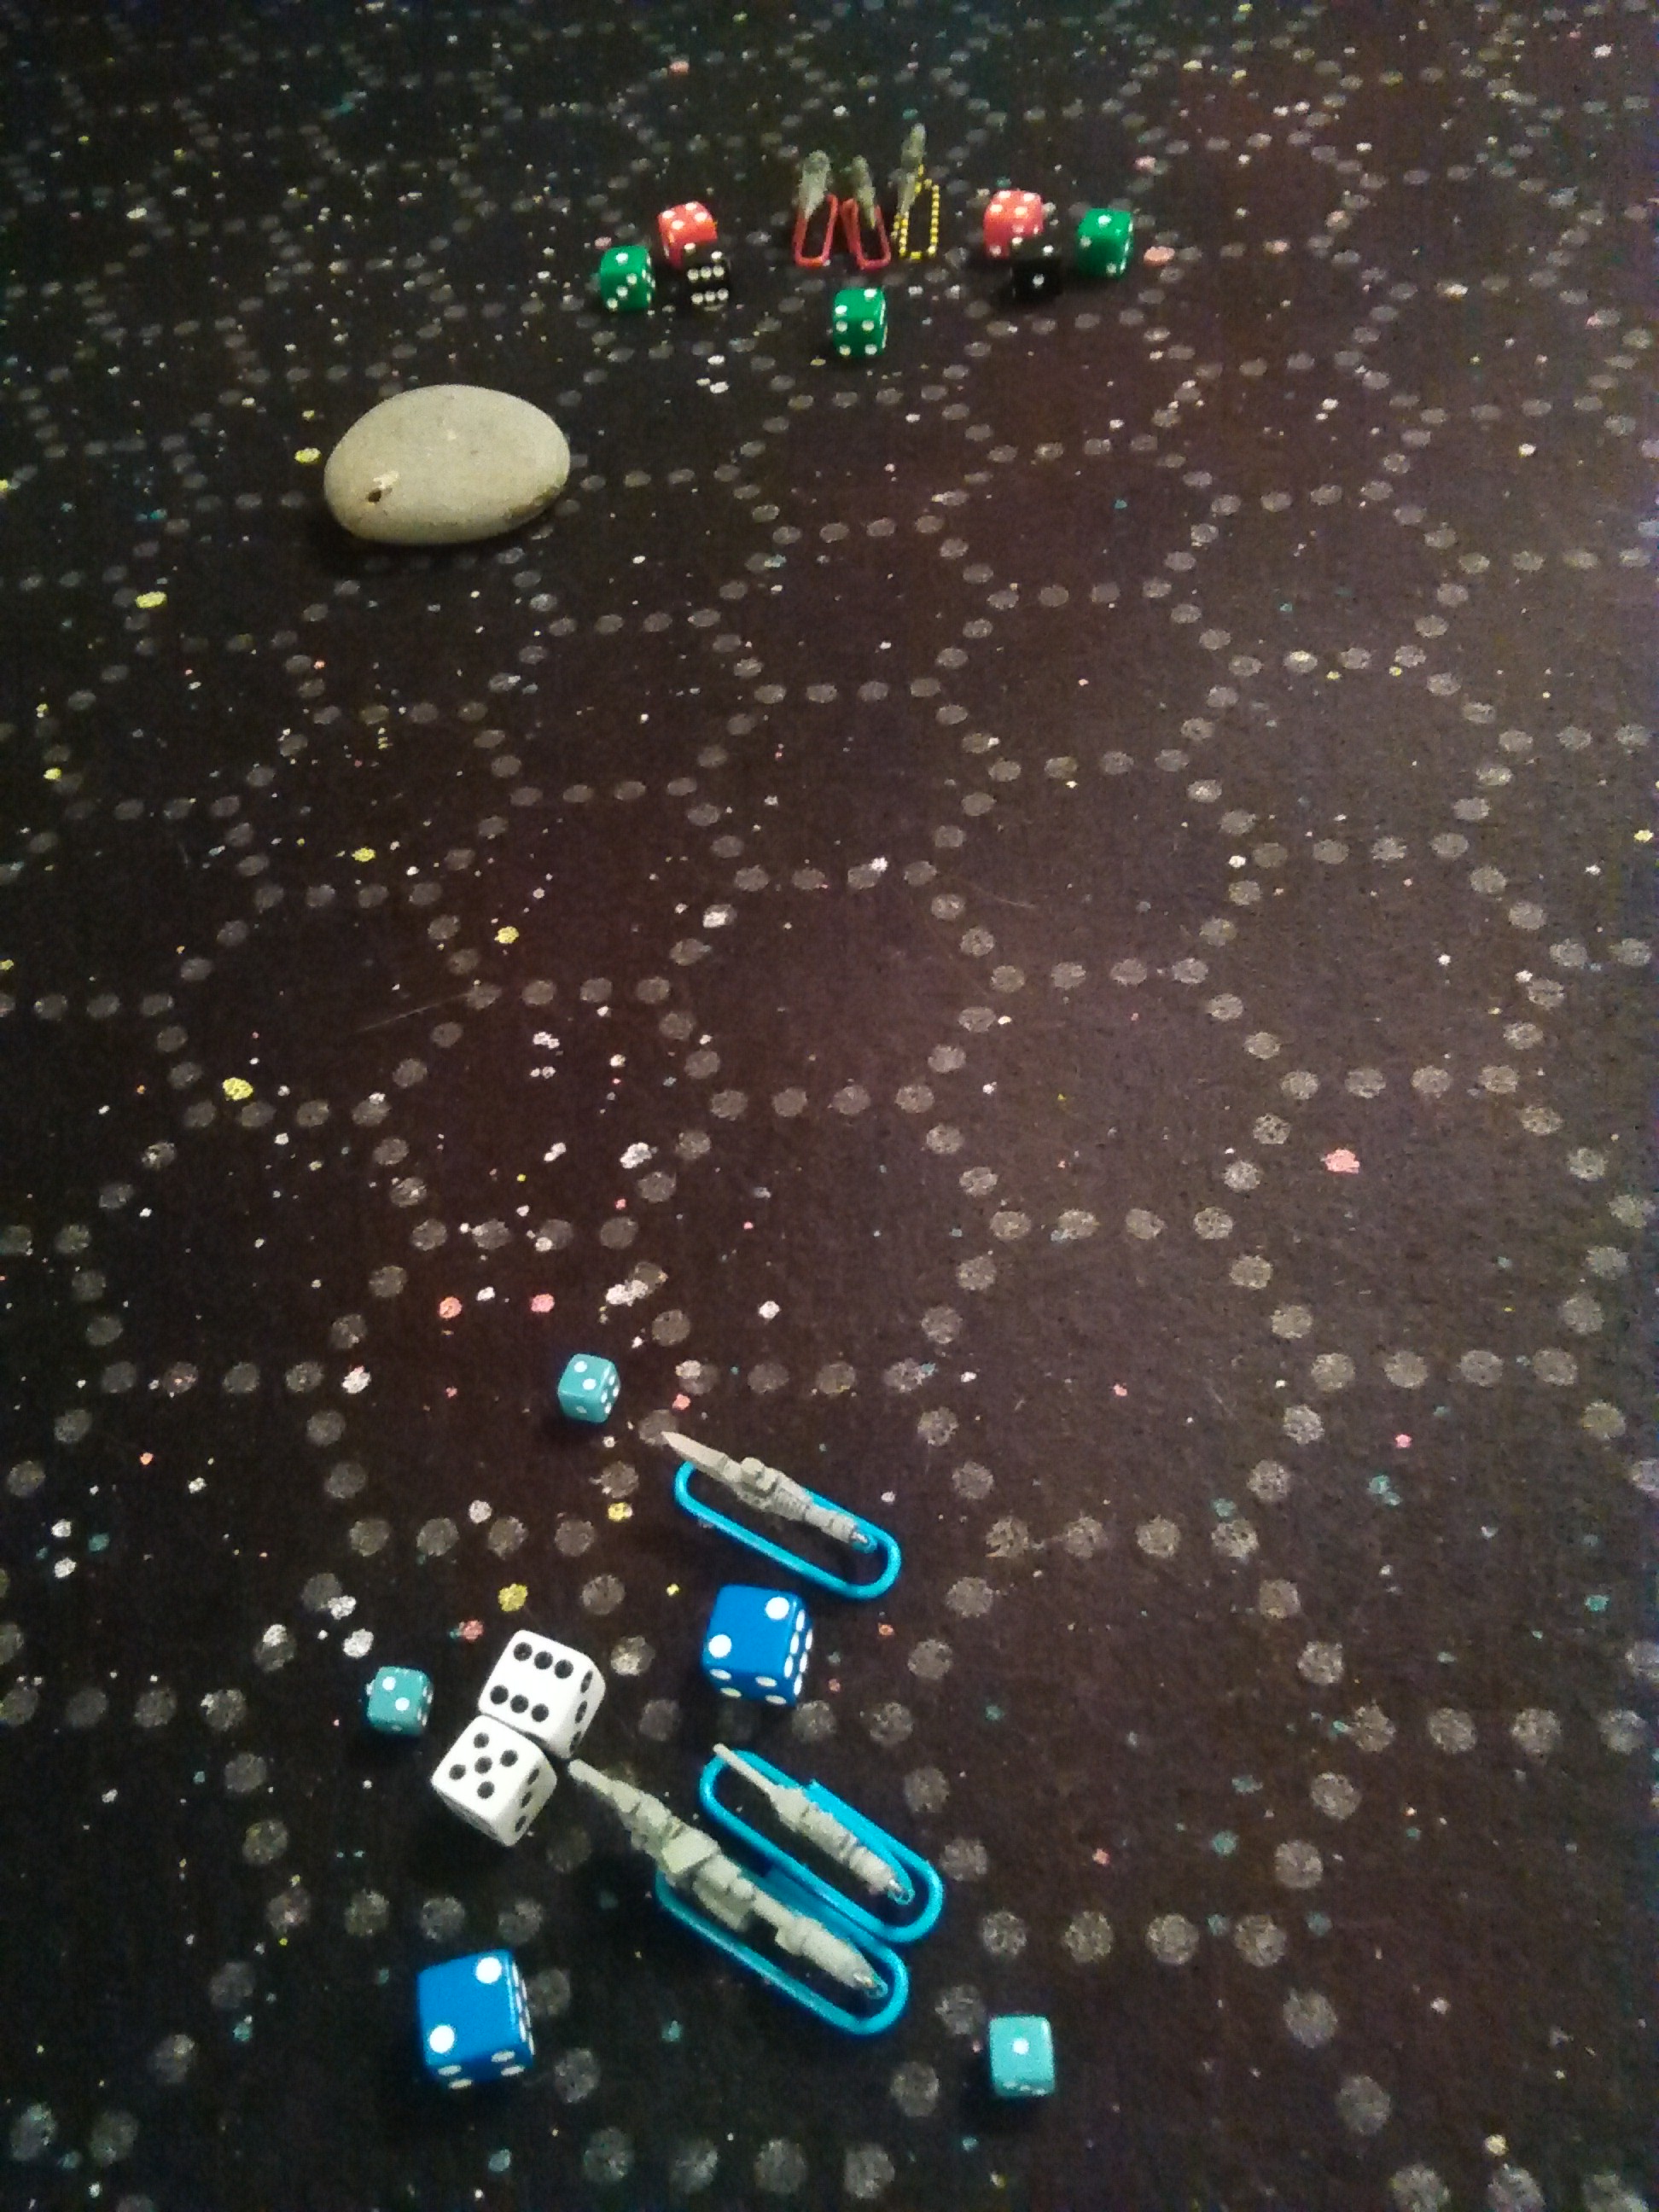 The ball opens: the IJN' 1st Advance Group of KISHIJOTEN, SOYOKAZE, & NARIKEI approaches at high speed as Battlegroup Wolverine with HURON & MACKINAW bearing up right behind NIAGARA
The tiny D6’s we used here are the first things we used to represent aerospace (scouts, fighters, etc.) and torpedoes (& missiles), so you see everyone launched everything they could. I used blue bases for my Canadians, while the Japanese group leader Narikei (a Taiho-Class Light Cruiser) had a yellow & black striped base, leading the others with red.
My commander’s Maecenas-Class Expeditionary (Light) Cruiser Huron performed well with firepower and fighters, while my Commonwealth-Class destroyer Niagara almost got ahead of herself.
Early on, my Canadians targeted the Japanese Shimada-Class light carrier Kishijoten, and while she wasn’t crippled (we missed all vitals?!), luckily for me he failed his break-off test. But we probably didn’t do the escape move right; he wanted to push straight through my general location, and I said ‘how ’bout the other corner to the left’ (which might have not been the closest).
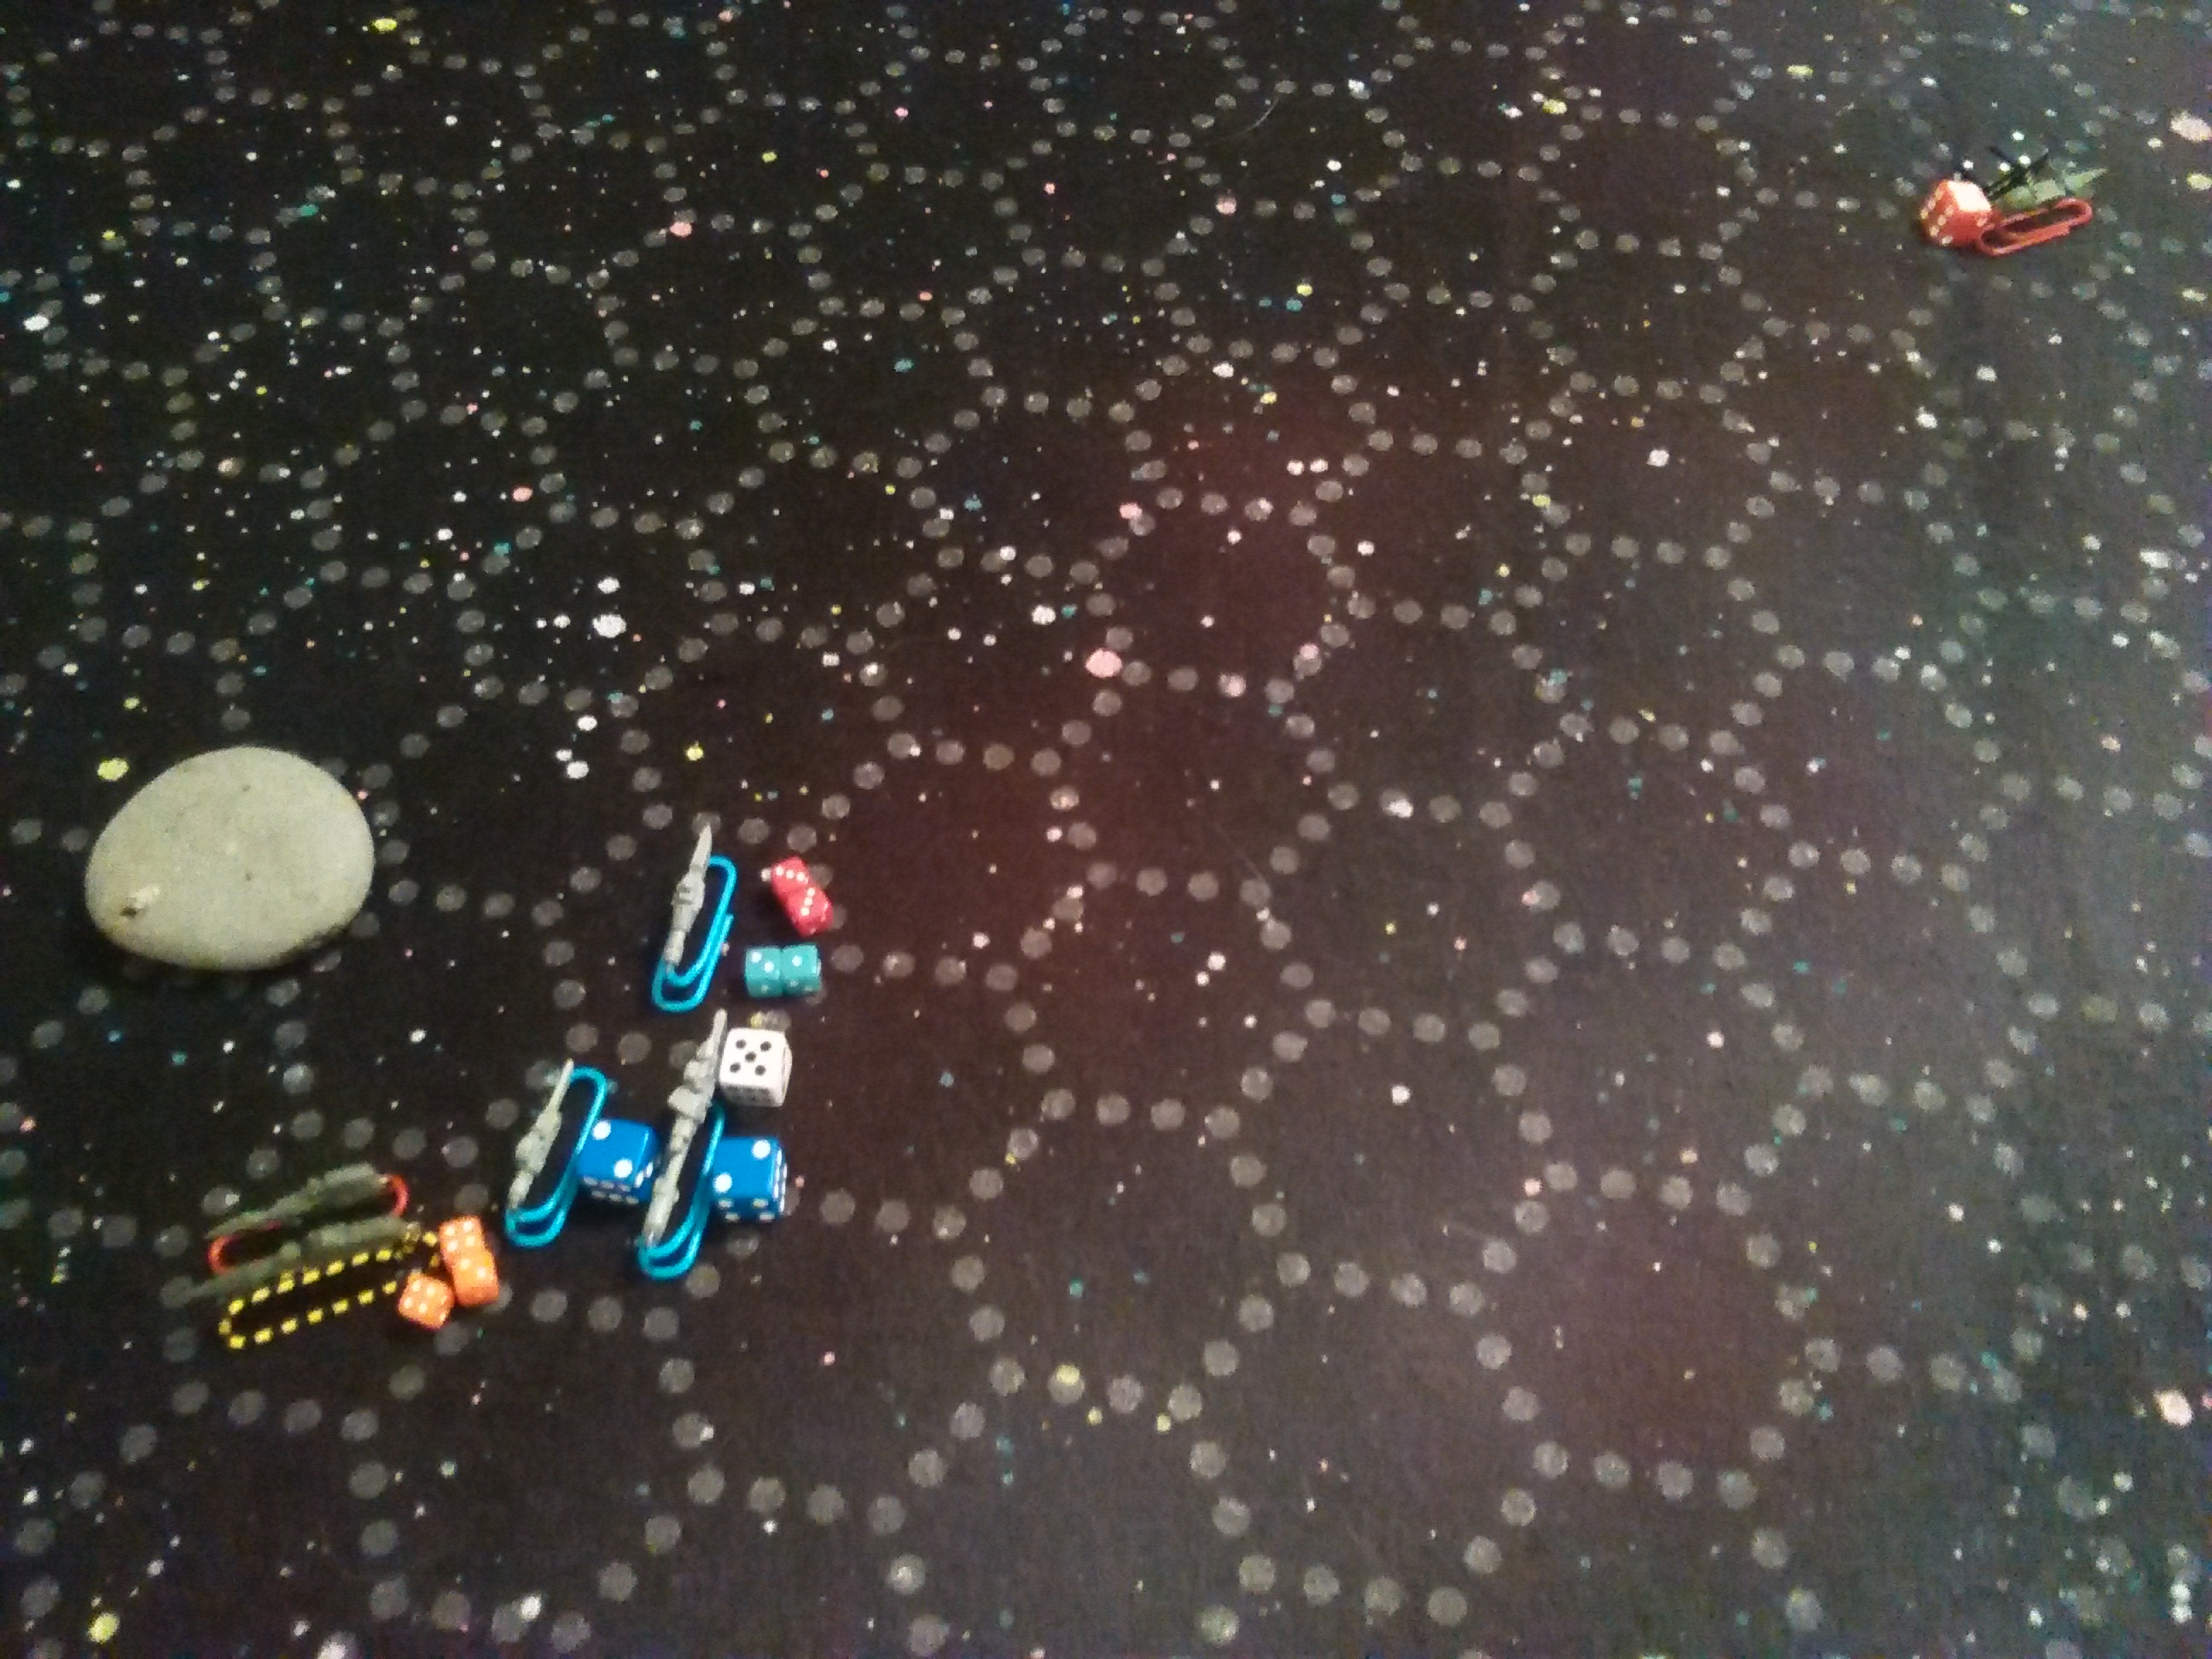 HURON & MACKINAW manage broadsides on the sterns of NARIKEI & SOYOKAZE, with NIAGARA again slightly ahead, whilst KISHIJOTEN is making for home...
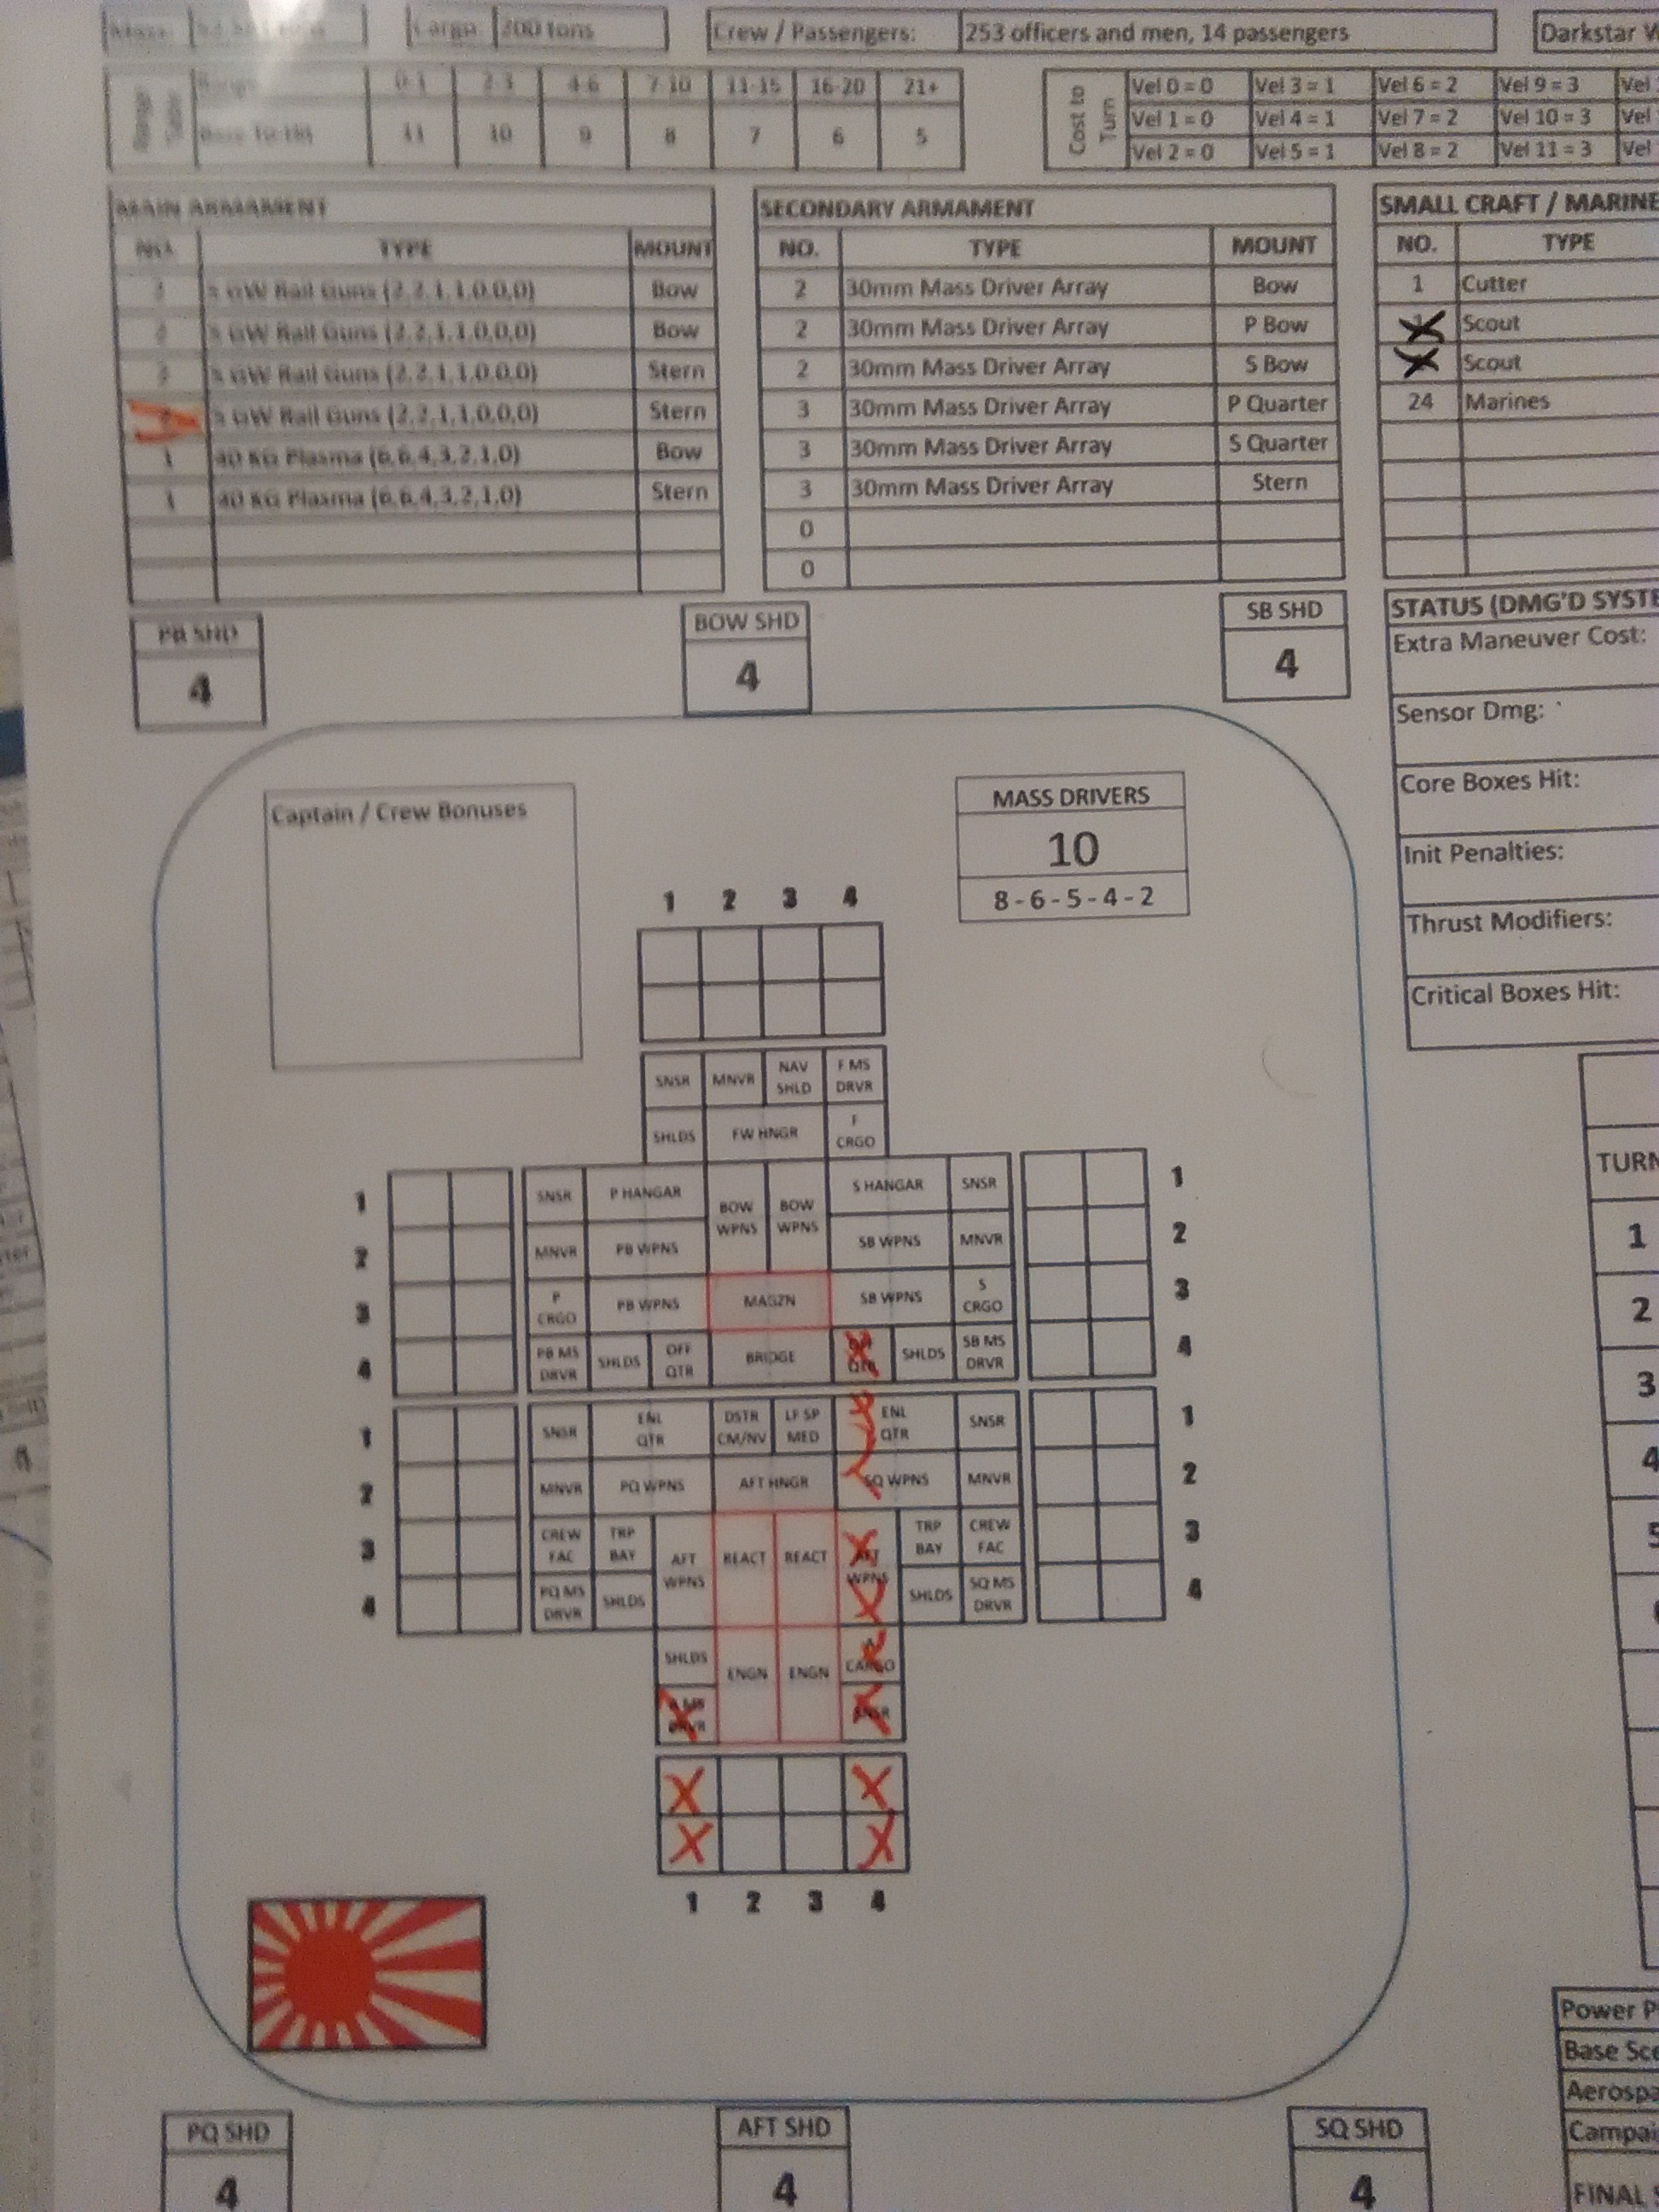
Near as I can tell from photo no#2, it’s likely turn 2, and in picture 3 we can see the damage that somehow scared the crew or AI of Kishijoten into leaving the party early. The next image confirms the result of Japanese return fire after a stern-raking. The Shephard-Class Frigate Mackinaw is Crippled through the Port Quarter, with a roll of 6 on a 5+.
 Yes, I put an American ship into British (ahem, Canadian?) service; sorry, but it doesn't stop there. Anyways, you can see the letters I used to know specifically how it hurt, or atleast the weapons used, with Lasers & Plasma punching through my powerplant connection...)
 Near the end, when HURON veers away from an asteroid, NIAGARA hugging it closely, receiving fire. But although the Japanese are worse for wear, they are not Crippled nor breaking off, and their formation is tight.
It was difficult to recall all the details weeks later, but fortunately I got shots of all six WRS showing the results before we cleared all the marker off. And for anyone who can see it on the WRS’s, any of the Initiative numbers that seem impossible for absolute beginners with no upgrades, that’s because we added CIC bonuses to… everything. The logic flowed from noticing a penalty would result if the bridge took any hits. As the rules and the writer will confirm, only Thrust value and Specific Upgrades add to the intiative roll… (Back to the account:)
The Light Cruiser and Kagumo-Class Destroyer Soyokaze took more damage in the end than their counterparts, but were not driven from the space, so we determined the fight was a draw. Although with the Japanese forces being further from their main base, they would not seek battle this far out again -for now…
 SOYOKAZE is hit hard but proves more steadfast
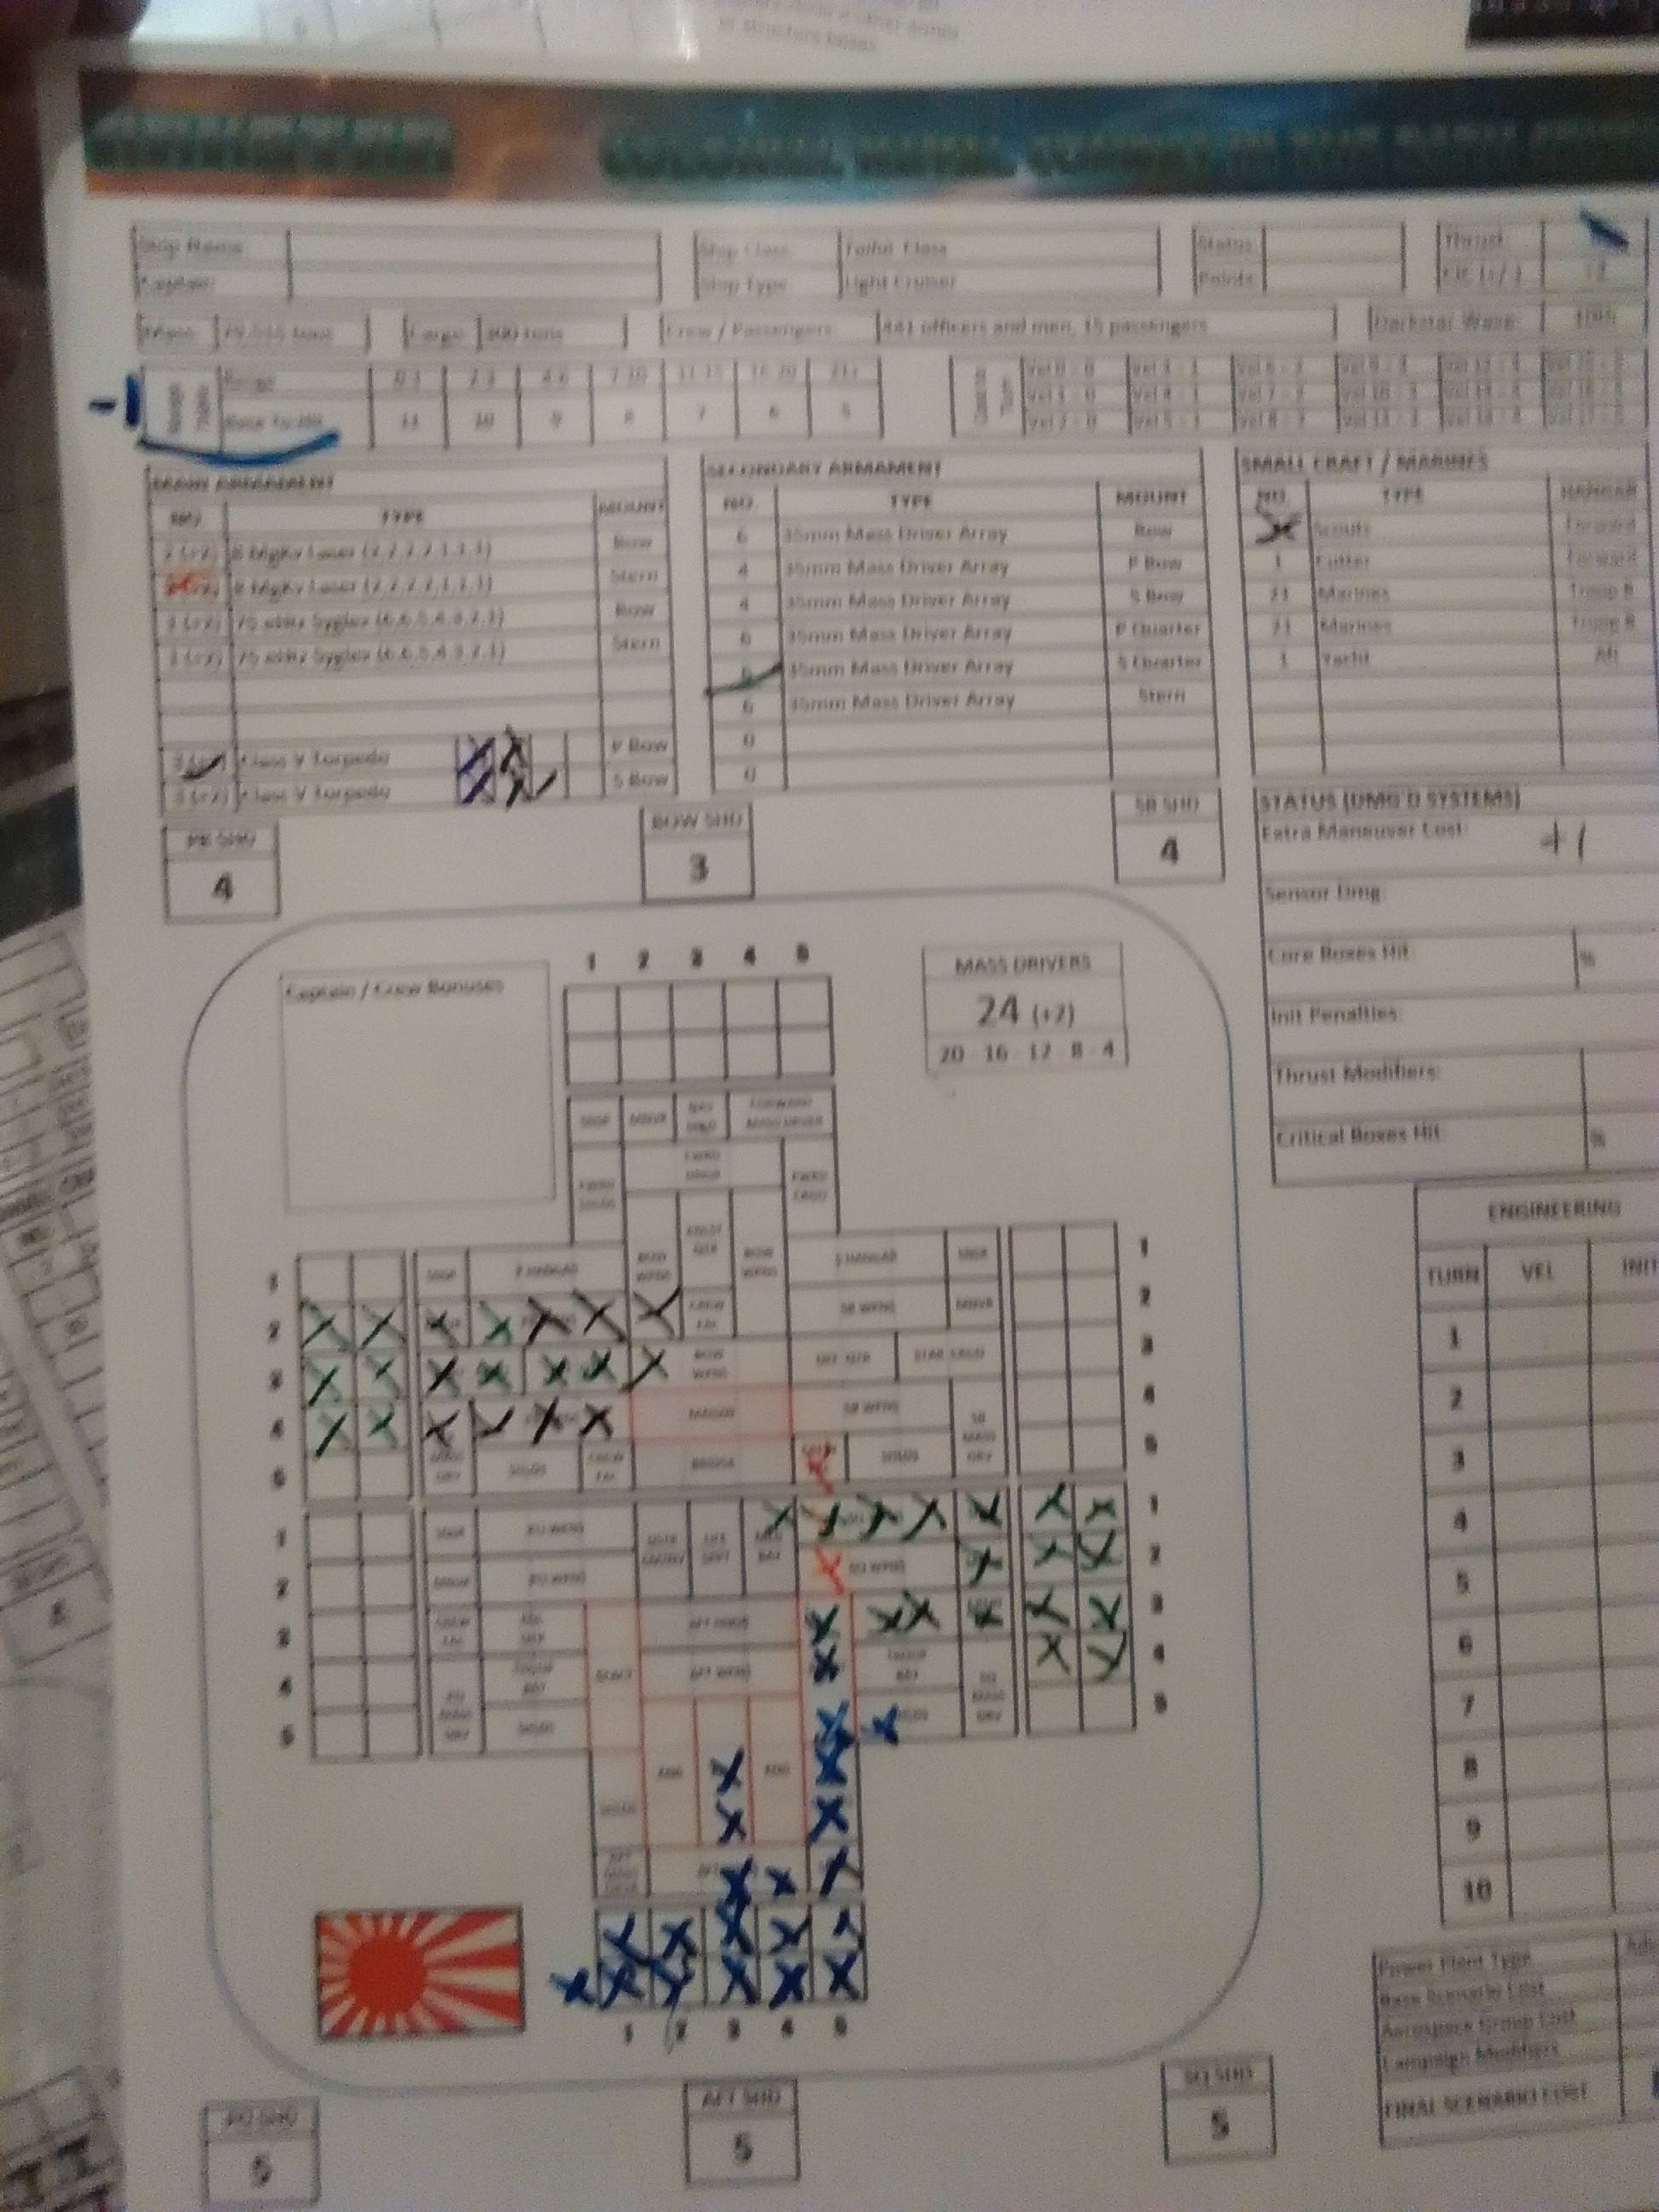 NARIKEI is likewise not driven from the fight or shutdown, but the damage will ultimately keep her in reserve for weeks while the gaping holes in her defenses are patched...


Great battle report! I love seeing other groups try this game and (hopefully) having fun with it. Curious to get your impressions on how the Taiho v. Maecenas class matched up. That’s a match-up I haven’t playtested yet, and both ships are pretty heavily enhanced with power plants and higher-tech systems. Don’t worry about your initiative numbers, they look fine. No CIC bonuses do not apply. The rule is d6 plus ships thrust, so most frigates (for example) with a thrust of 7… would have initiative rolls of 7-13. So yours aren’t “impossible” at all. And don’t sweat the break… Read more »
It’s actually a backlog of images and games played, but some of the later ones have very few images, and some don’t offer much context. I seem to have attempts to damage one of his ships and I roast it on most of the outsides, but can’t do any real damage inside. And in return, he just had to keep most of the hits piling up a throughway to my critical systems. But then sometimes the opposite, or I overkill on torpedoes. We’ve gone up to campaign Day 72 as of this moment, and the first battle was played on… Read more »