


![How To Paint Moonstone’s Nanny | Goblin King Games [7 Days Early Access]](https://images.beastsofwar.com/2024/12/3CU-Gobin-King-Games-Moonstone-Shades-Nanny-coverimage-225-127.jpg)


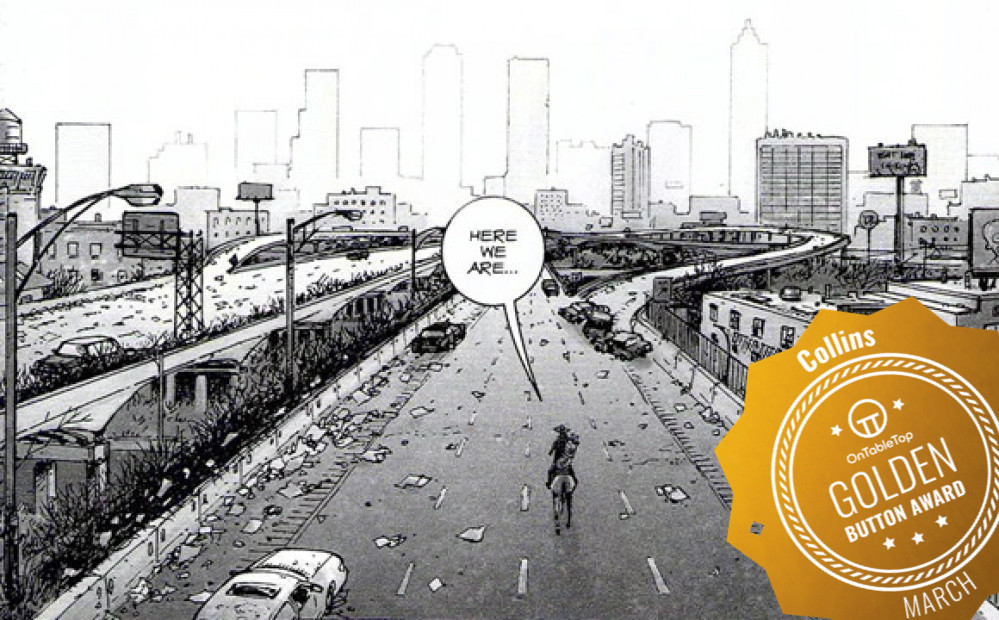
Collins builds the world of the walking dead


Now there are two of them!
Those that paid attention at the beginning know that I made 2 bases with the nailgun of hobby glory… well now its time to maximise the second one.
What I’ve figured out is that the board actually has 2 sides… so given that they’re basically a one and done board (all that effort for one game!! hope you appreciate the storyline project) Ive decided to halve my material costs by doing one normal board and one on the slightly smaller interior of the underside. besides being cheaper it means I might also be able to experiment with resins or making boggy ground etc and have it all contained (hopefully!)
As we are coming close to adding more characters to the story I think it is time to build the big meeting place where a number of ‘events’ could happen. A camp!

first thing I did was add some polystyrene as some landform. this was glued down using gorilla glue (the brown expanding foam glue). simply add to one side and then add water to the other side to be glued and then put the two together and add some weight, I used books and spray cans etc.
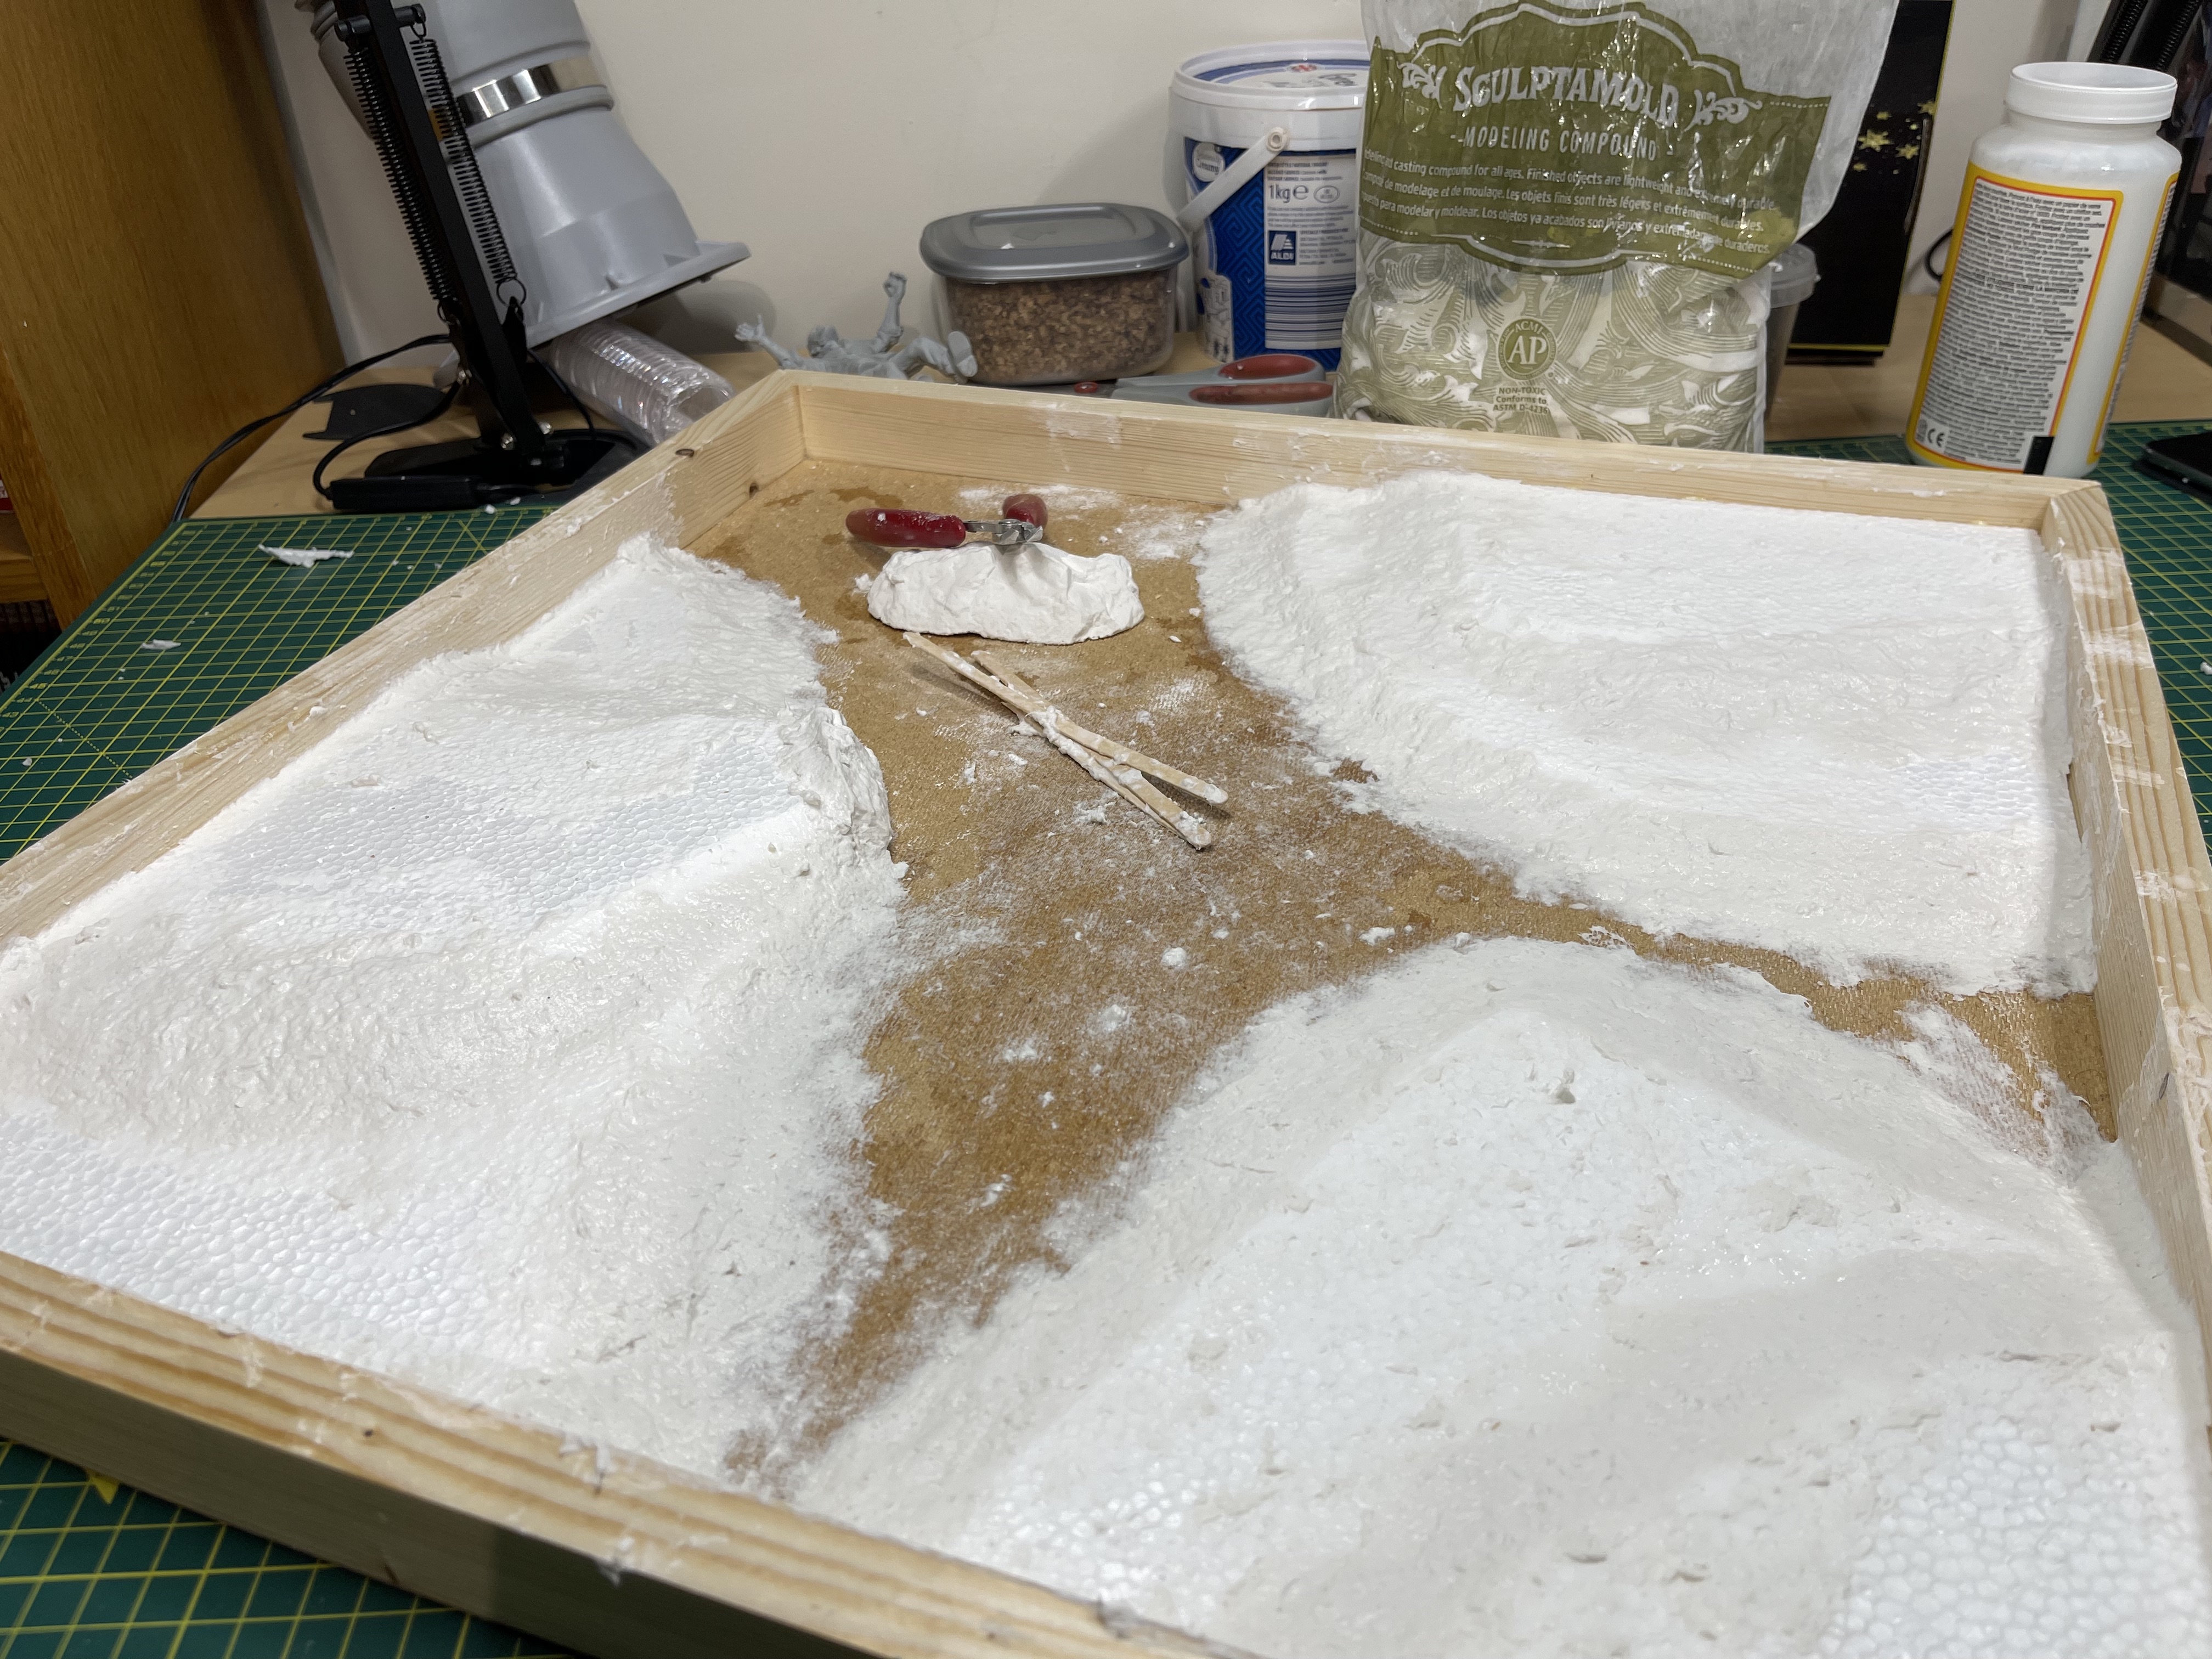
To join the layers I beveled some of the edges using a mega sharp scalpel and laid on some sculptamold (or home made modelling compound).
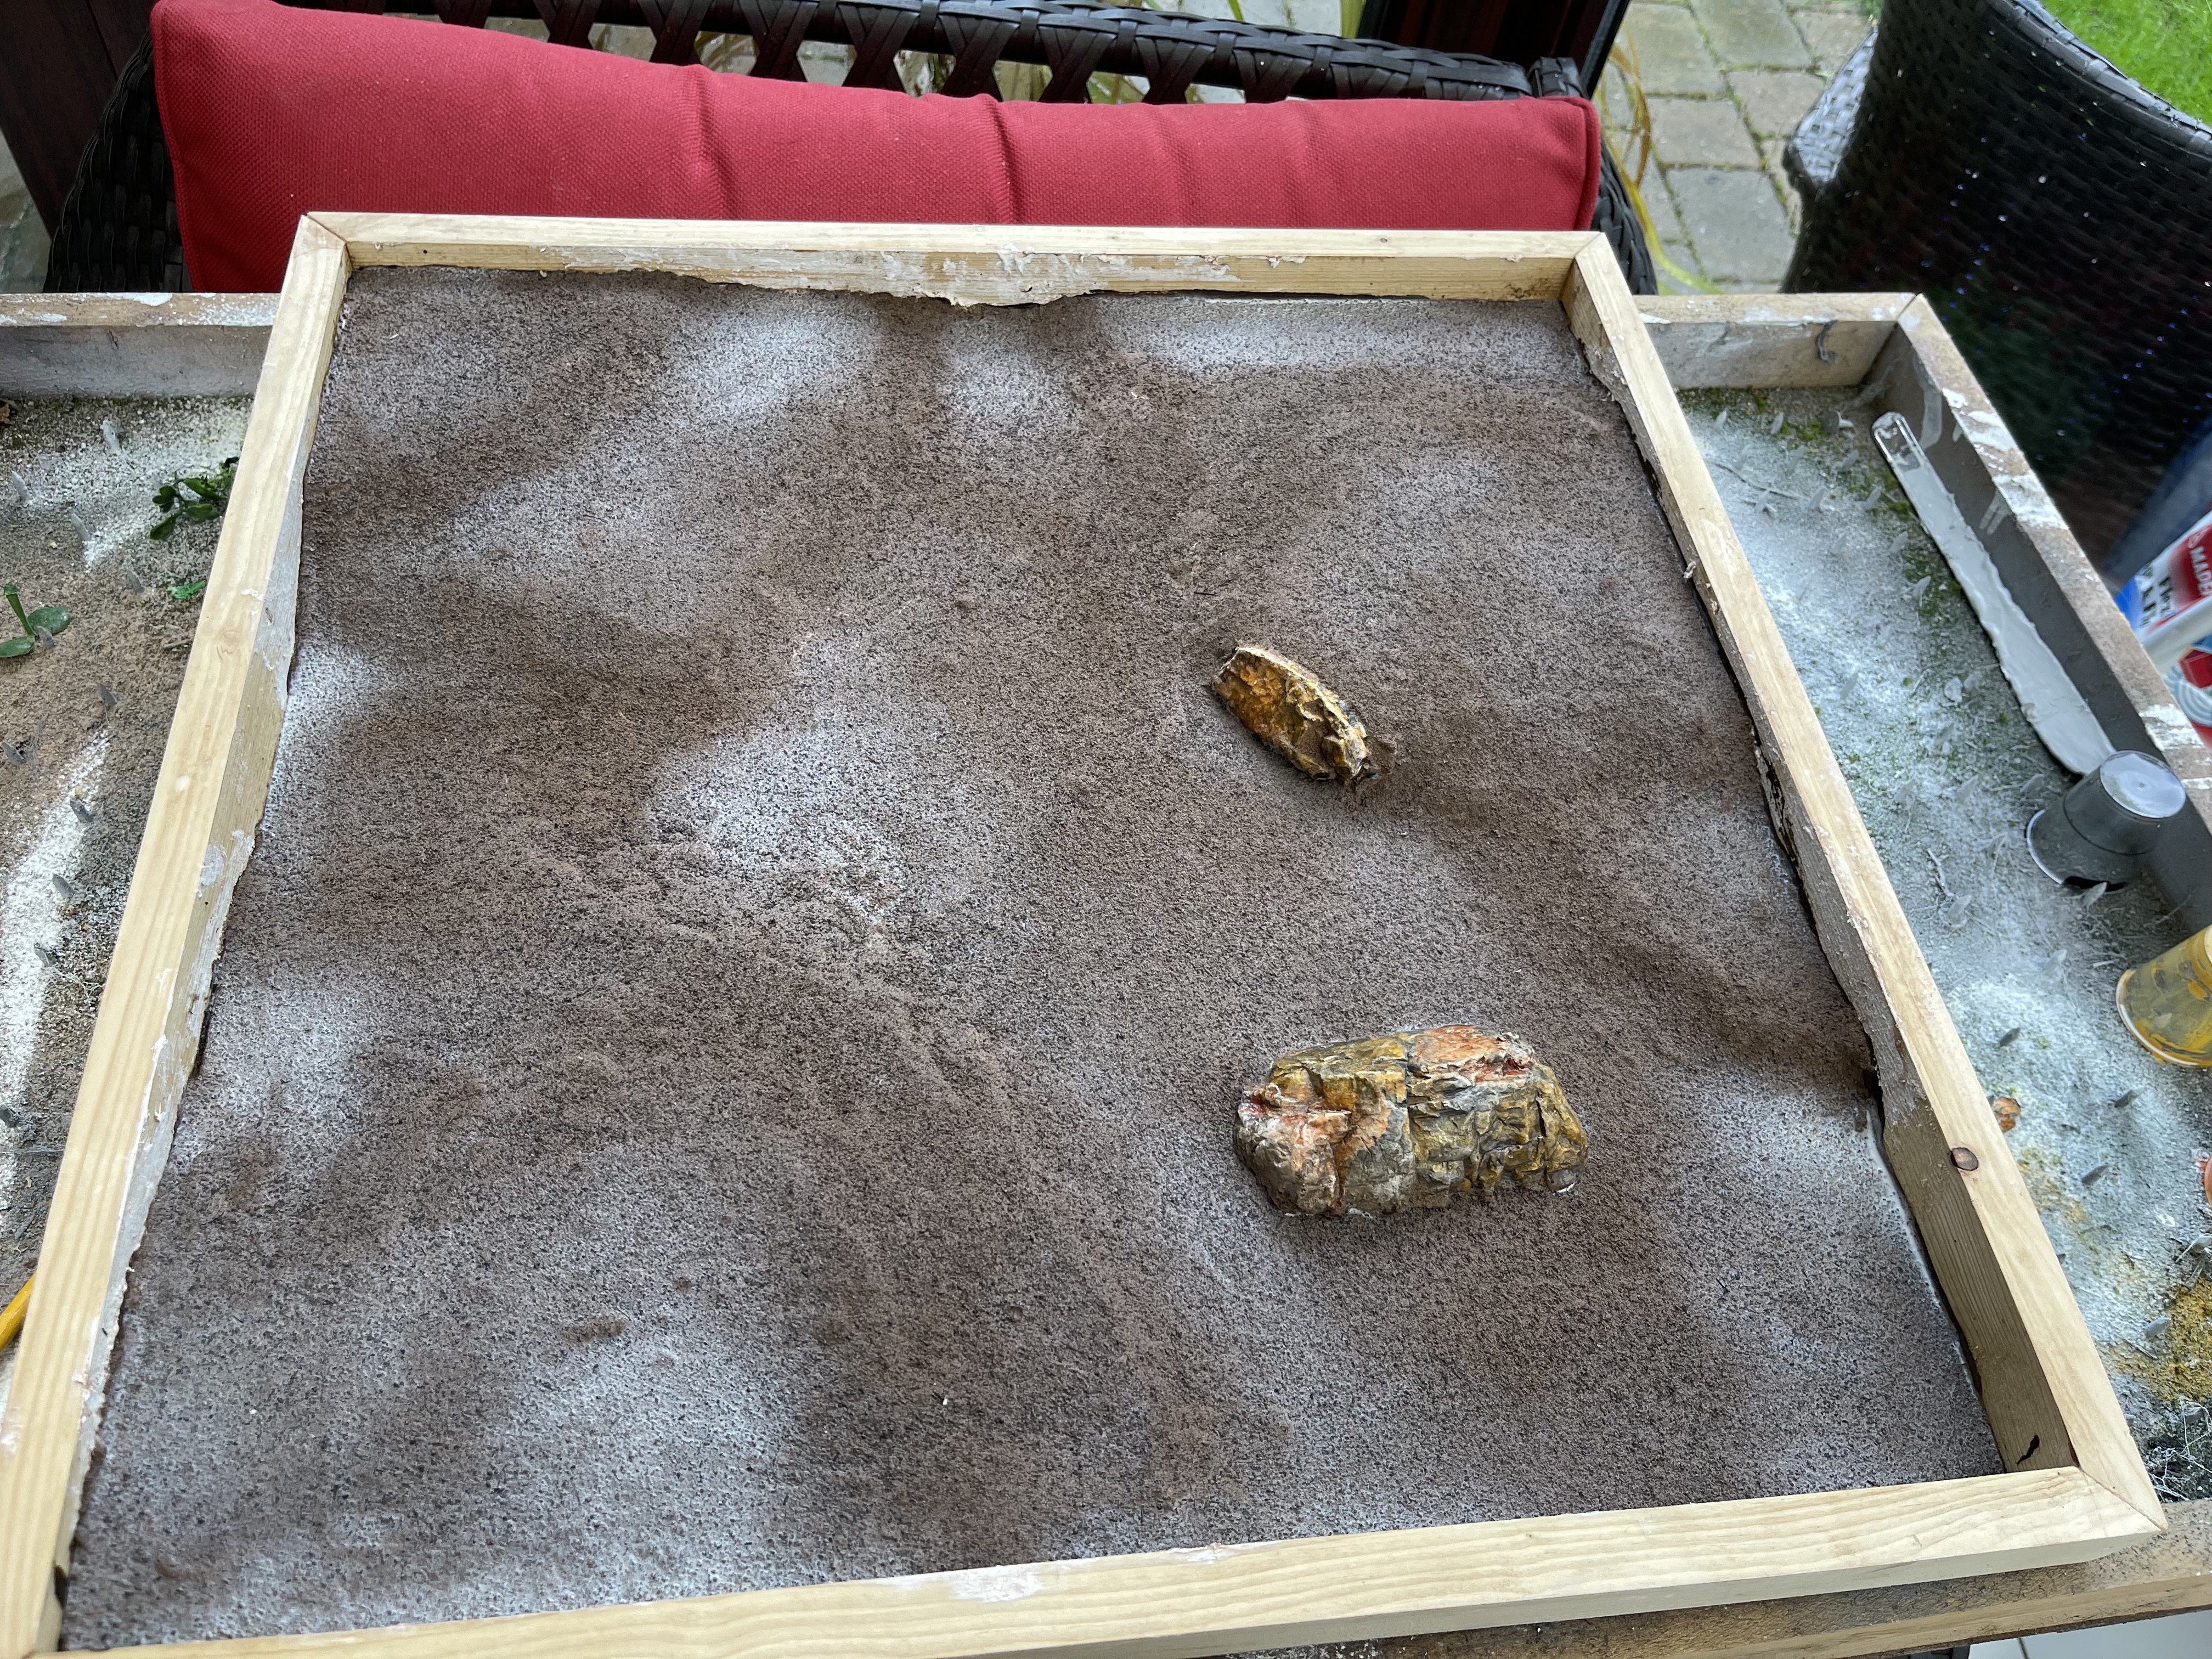
One spot I left a sheer edge so that I could use up some old plaster rocks that I had knocking about (this project is in spring clean after all so using old stock is the point!)
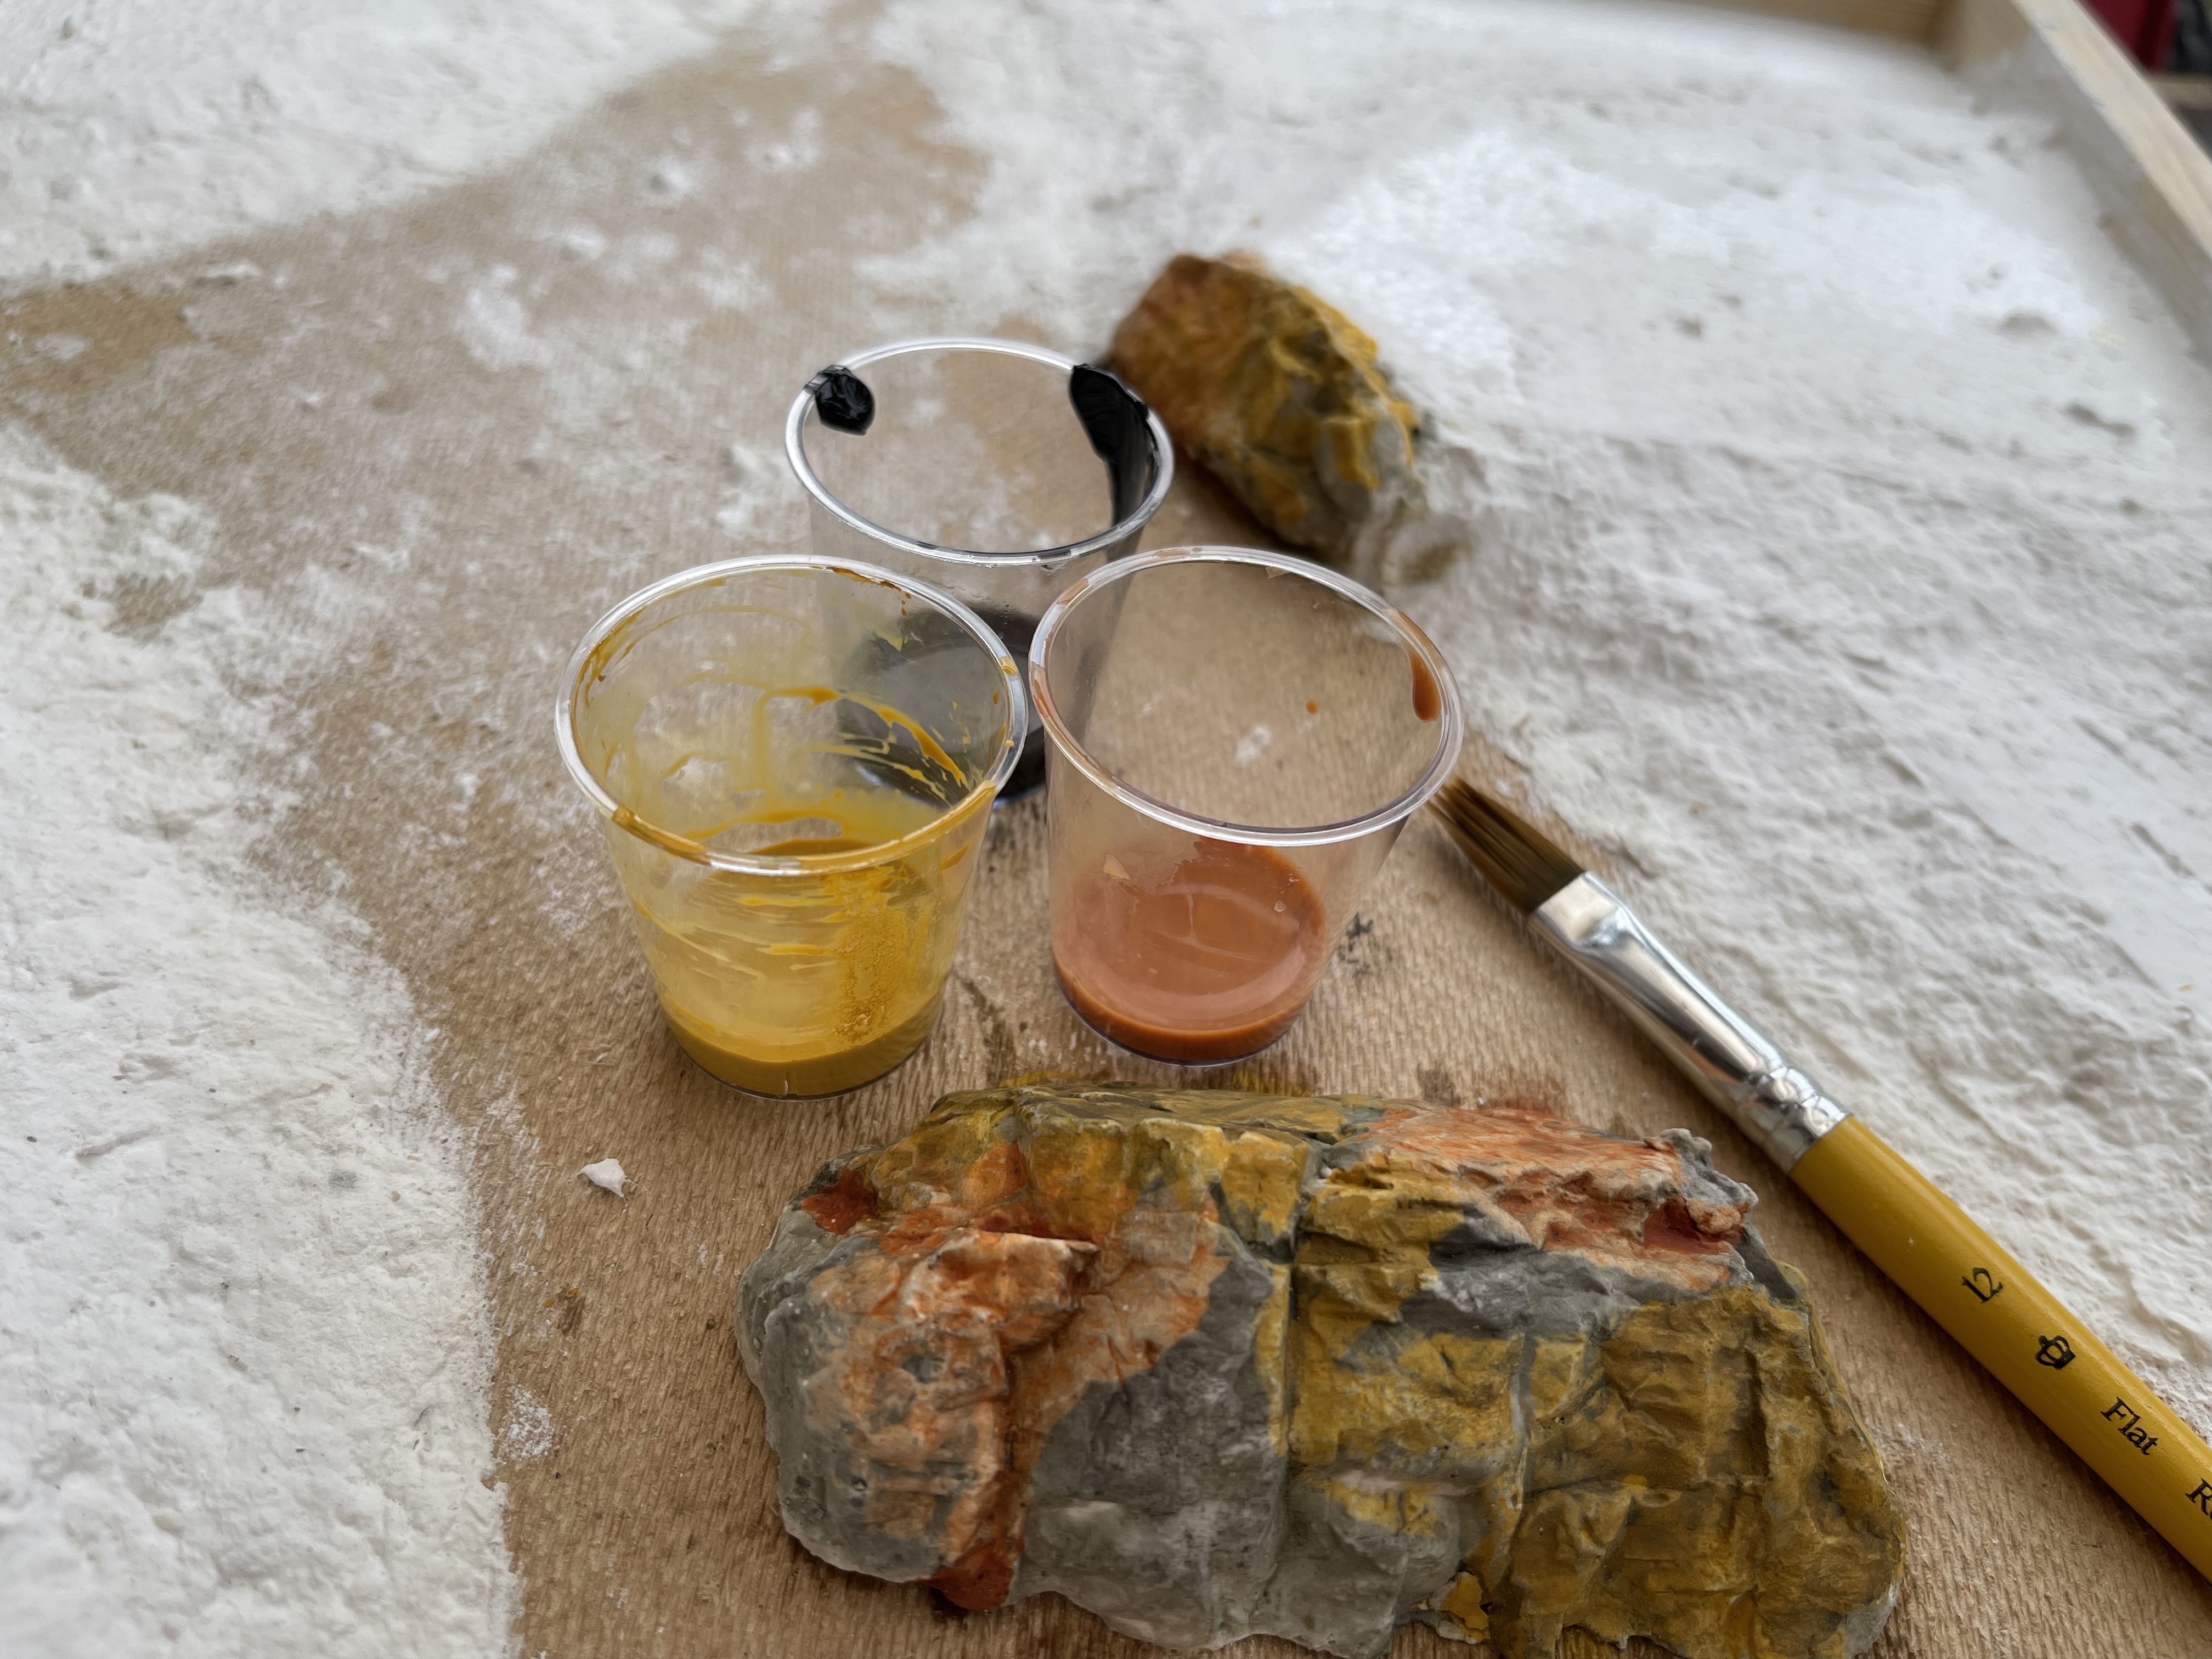
before doing any other painting on the board I ‘leopard spotted’ the plaster rocks.
this is super simple, it involves VERY! watered down paint, you can see in the black cup that there is excess paint that was not mixed into the water.
first apply liberal amounts of the orange and yellow earth tones (use whatever earth tones you want that might blend well with your planned ground form) then give very light layers on black wash to taste.
it is super easy to overdo the black so do not be worried about water that one down a lot. I think I went a little heavy on this one but its ok.
I might go back over it with a drybrush to try and tie it all together.
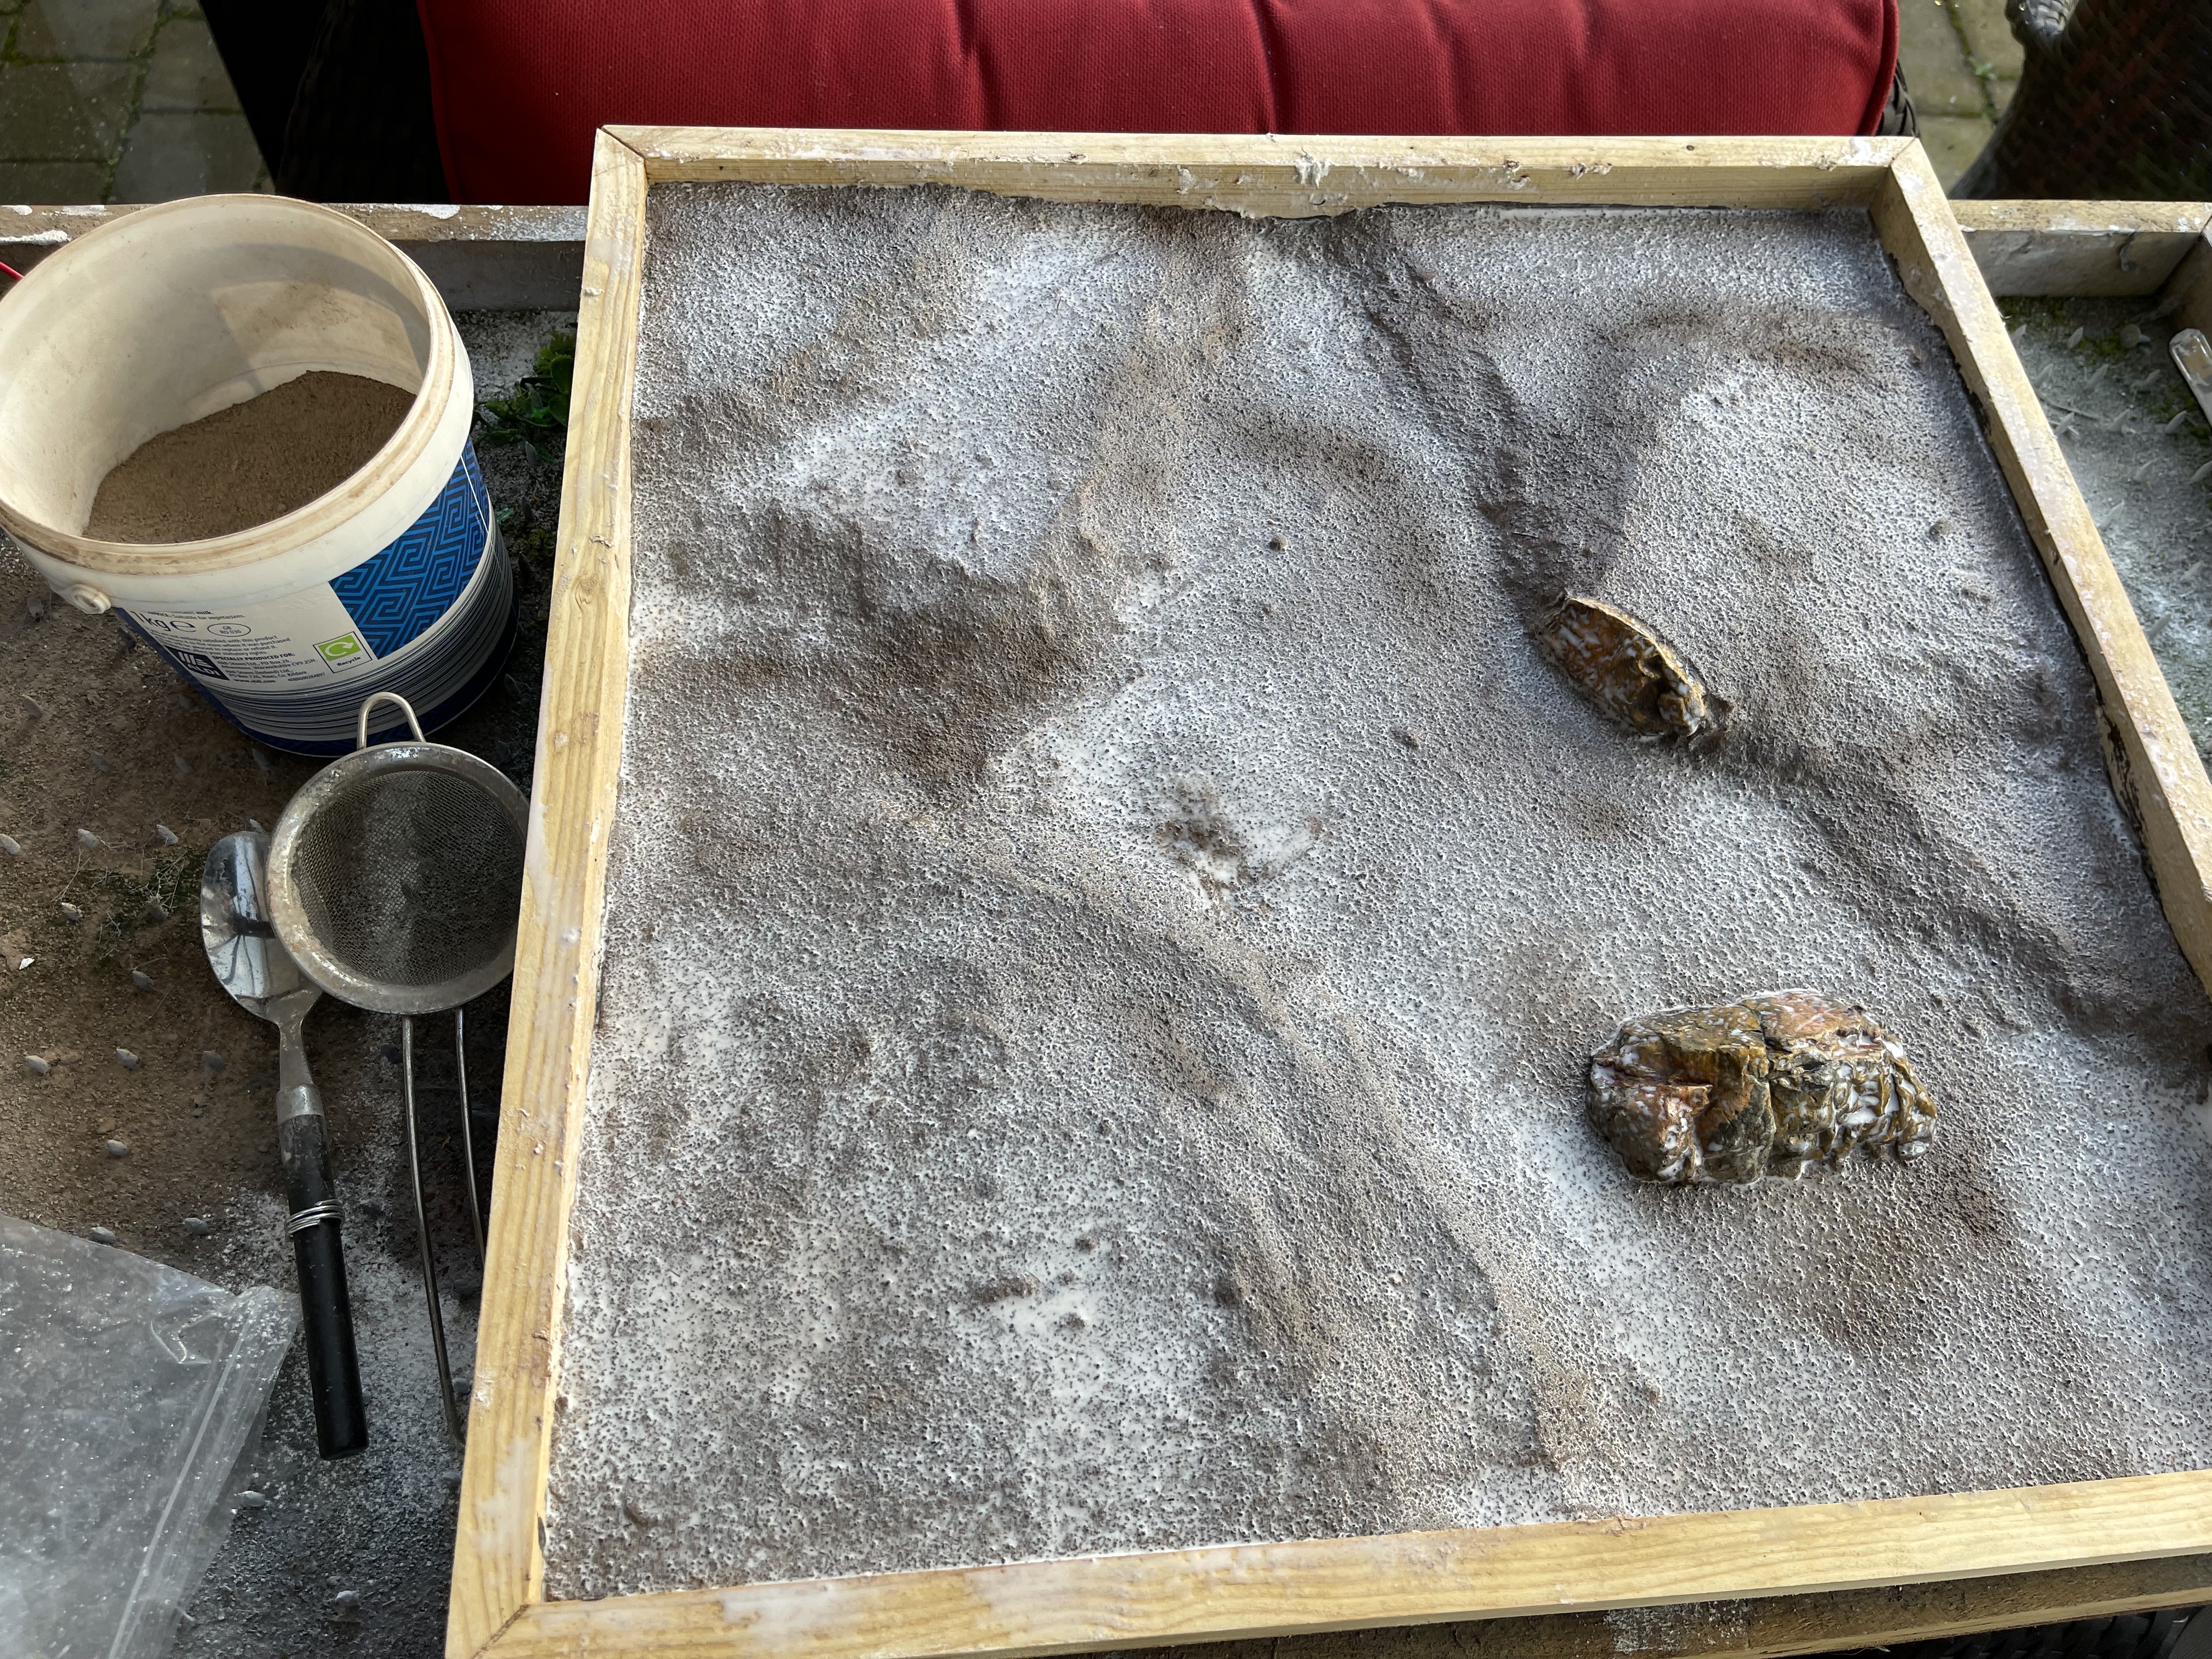
All the white ground then got a coat of raw umber brown. this is not necessary but is insurance against me mucking up the next ground form step.
The ground form texture is a 2:1 ratio of soil and brown tilegrout. once the paint is dry I simply slaver PVA everywhere I want soil and sieve on the mixture to create a nice even but random covering. in the past I’ve built up little mounds with this to make it ‘not flat’ but I didn’t in this instance because I was deliberately not careful with the sculptamold, and, in the past when it drys it has occasionally gone very chalky and fragile.
to seal it all down I used two things,
ISO to act as a flow agent sprayed onto the board through a windowlene spray bottle after the ground cover is laid down, this helps the PVA/water mix (again sprayed via windowlene spray bottle) flow into all the little cracks and bind everything together.
Left to dry for a few hours this is the result.
At this stage you could start adding your greens and browns for grass etc but life got in the way so you’ll have to wait till next time for that.


I like the leopard spotting technique, might have to borrow it someday.