

![Flames Of War – Villers-Bocage 80th Anniversary Battle [Catch Up Now]](https://images.beastsofwar.com/2024/06/Flames-Of-War-Villers-Bocage-80th-Anniversary-LIVE-BATTLE-225-127.jpg)


Hunting in the Darkness – KD:M


Recommendations: 578
About the Project
An attempt to get the core of my Kingdom Death collection painted. Survivors, Monsters and maybe some extras.
Related Game: Kingdom Death: Monster
Related Company: Kingdom Death
Related Genre: Horror
This Project is Active
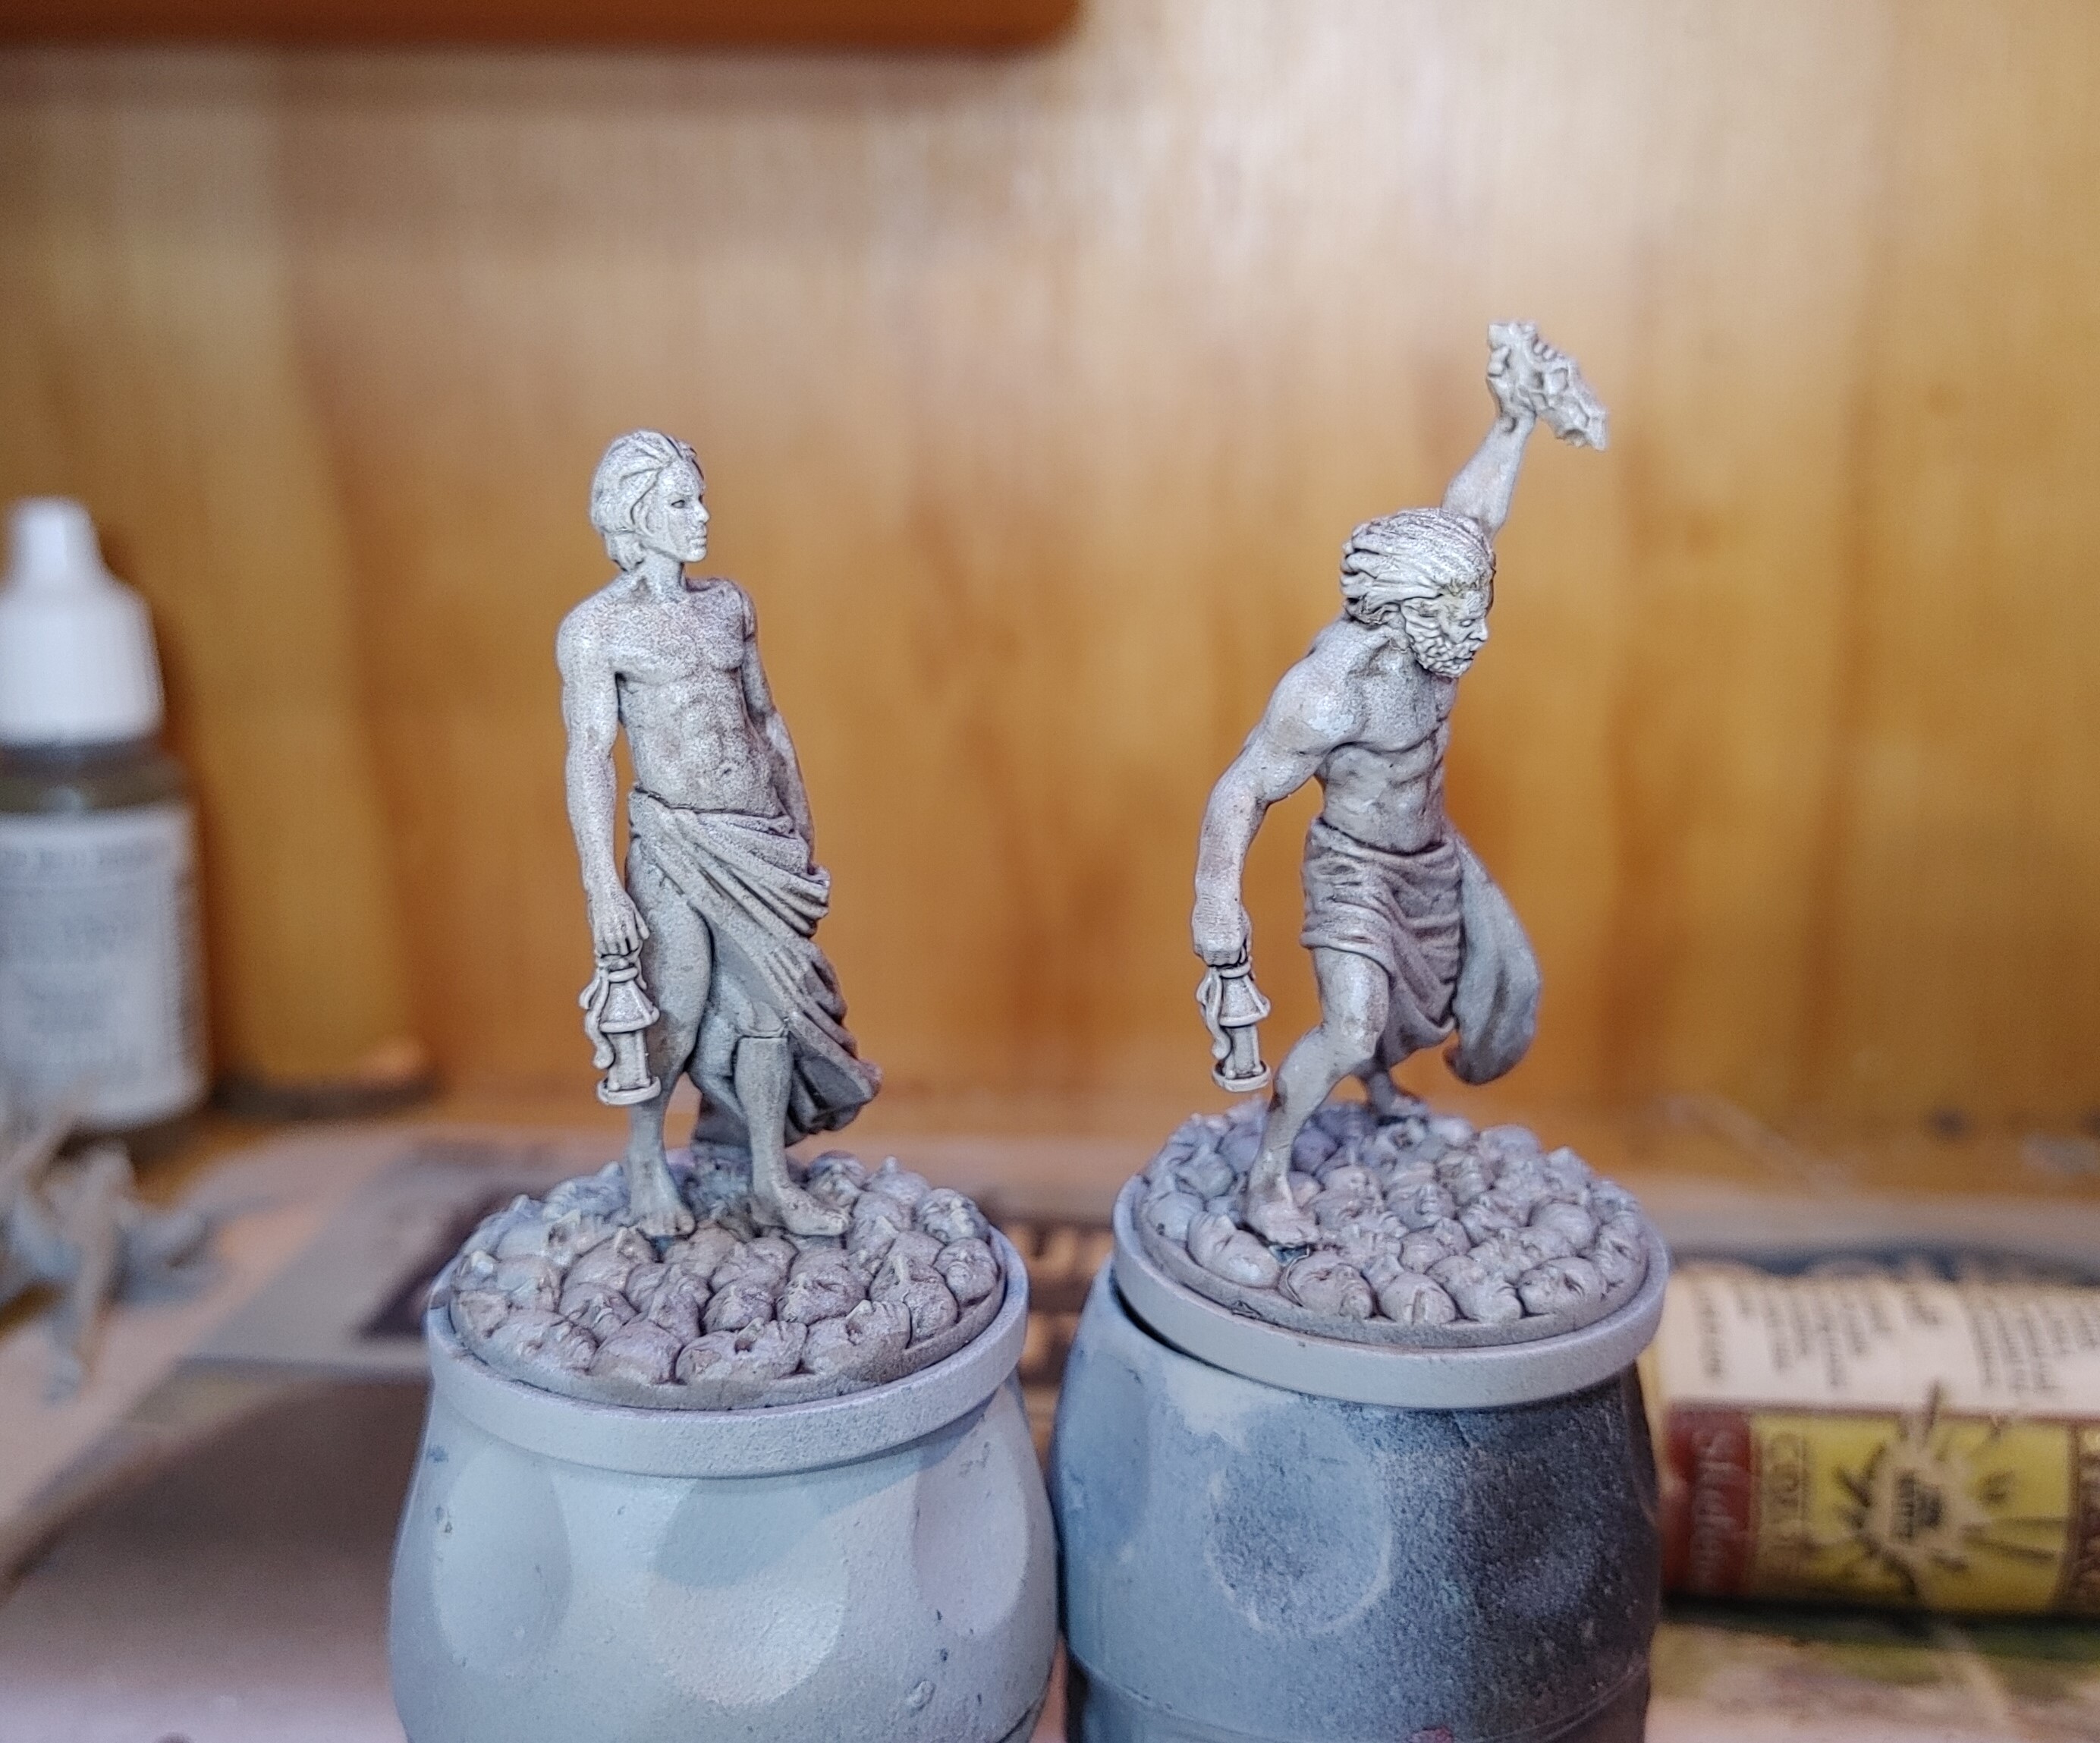
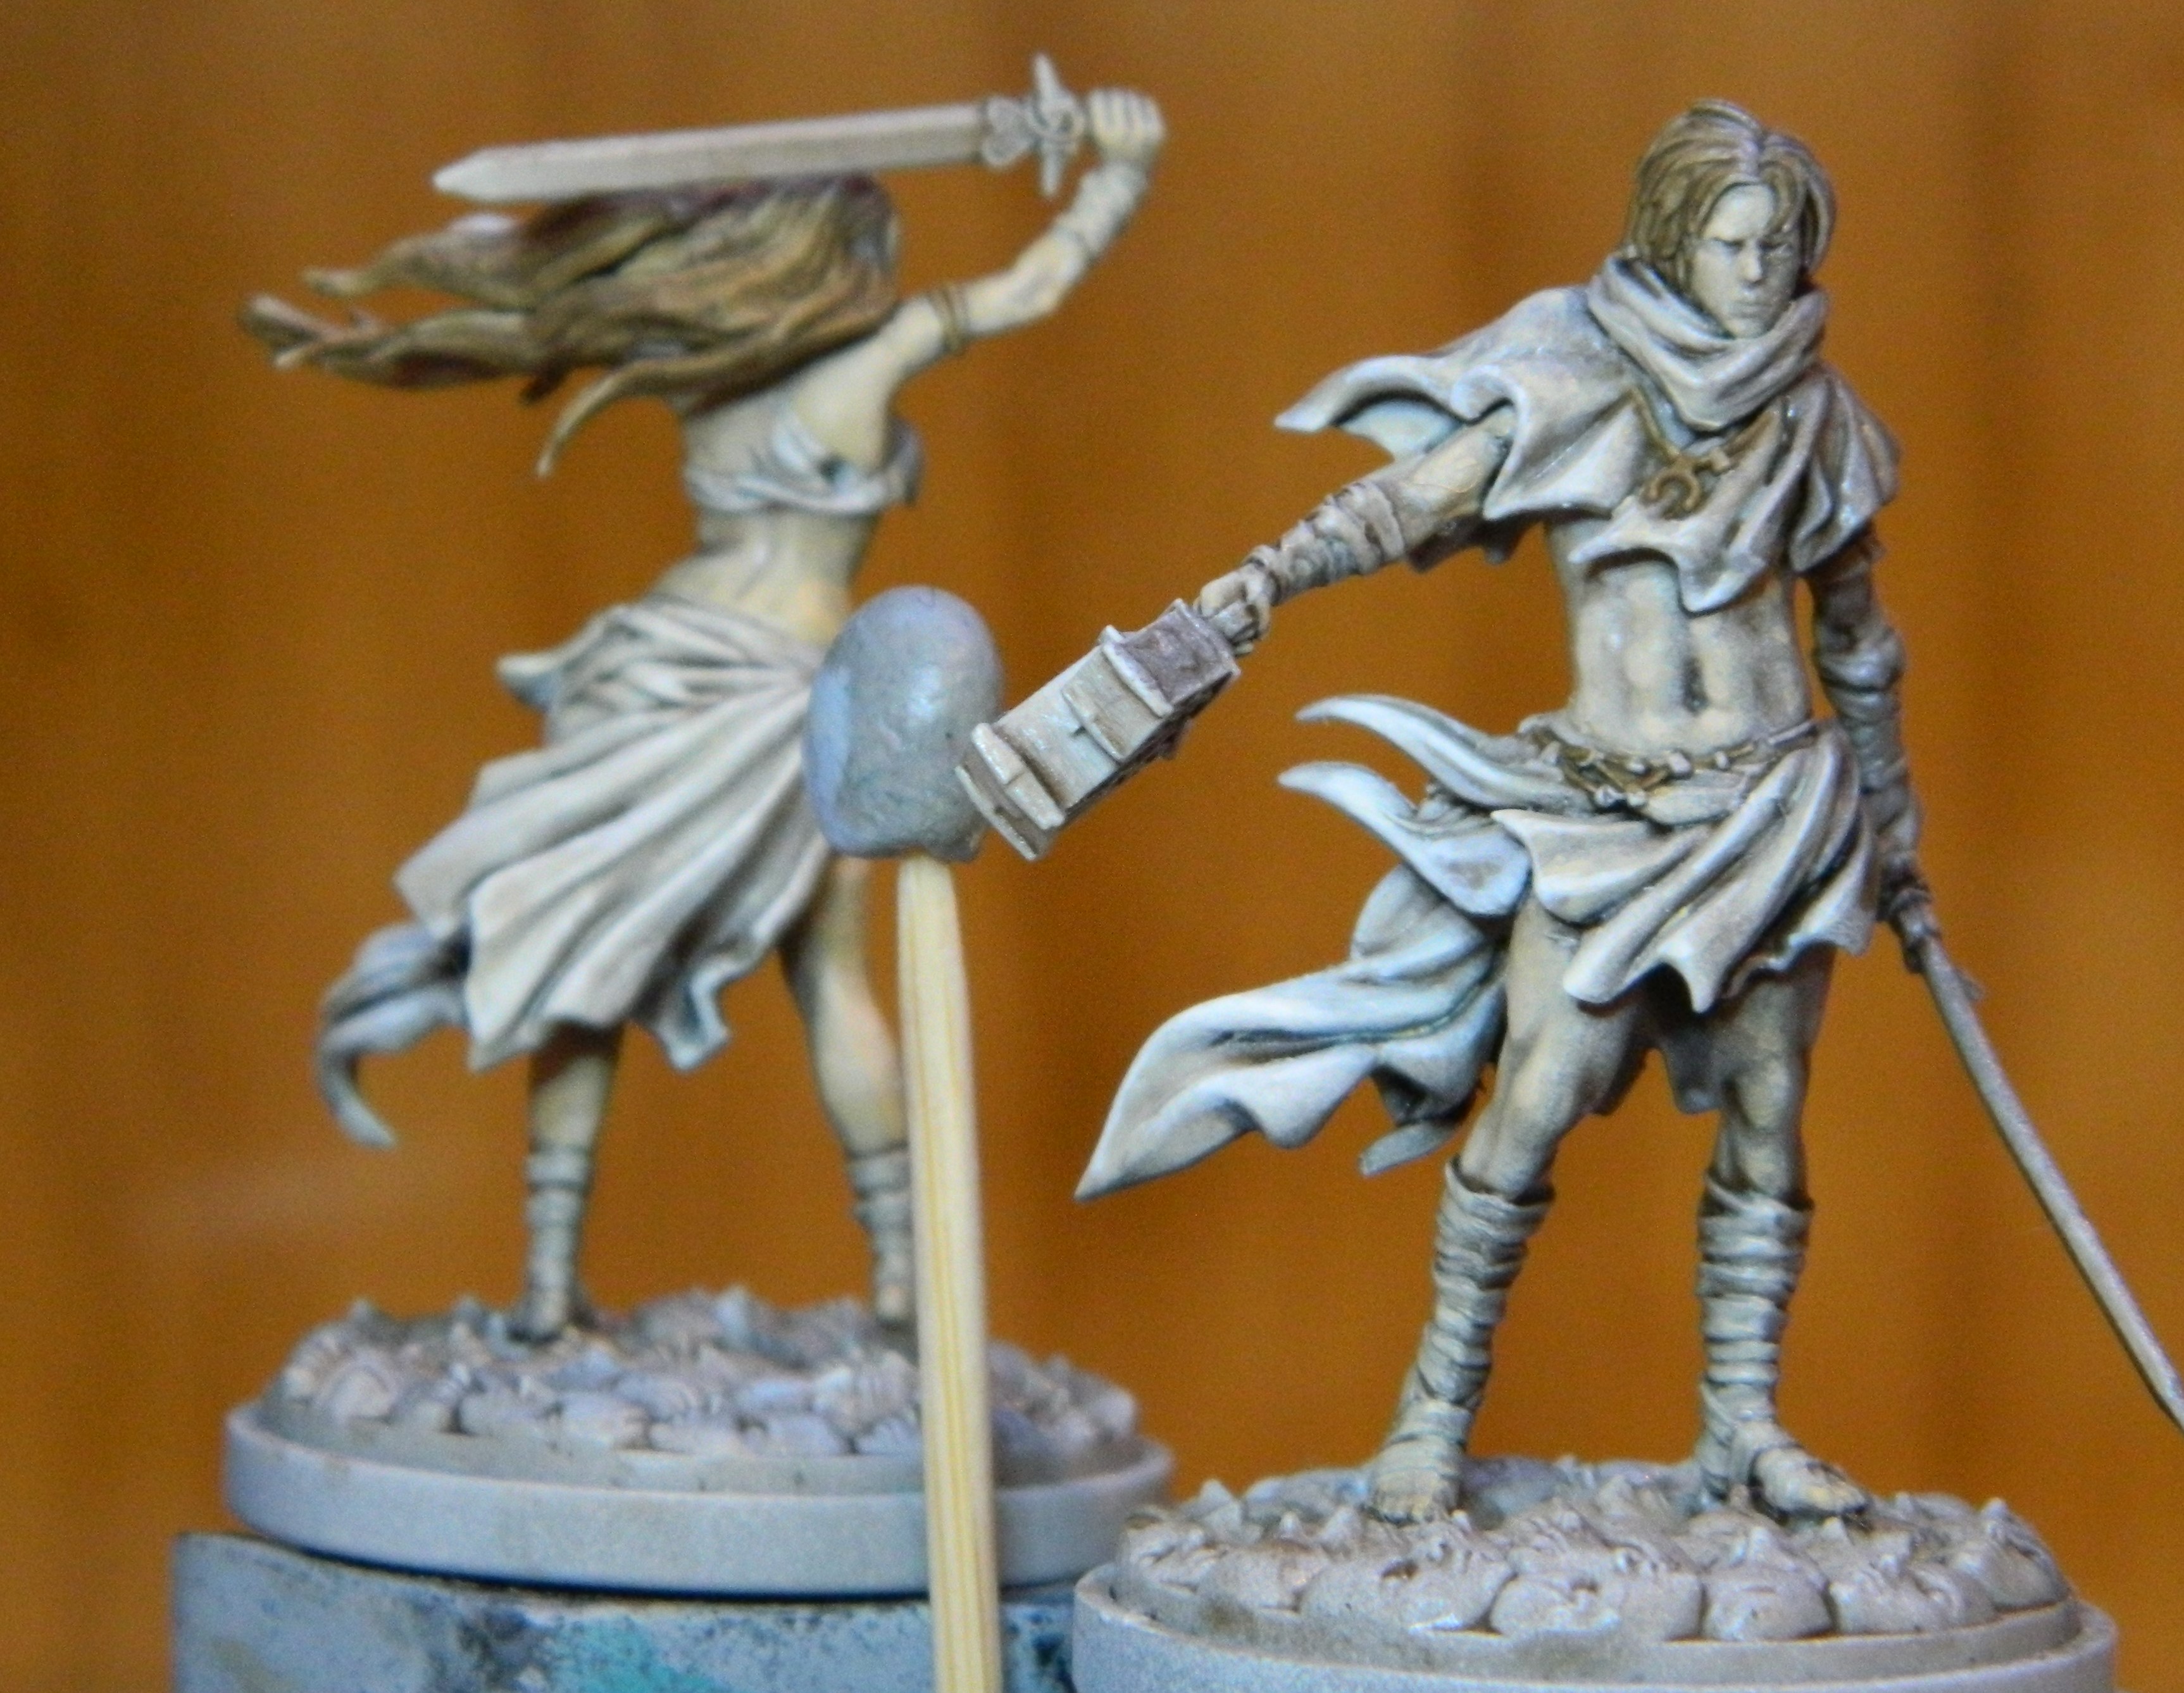
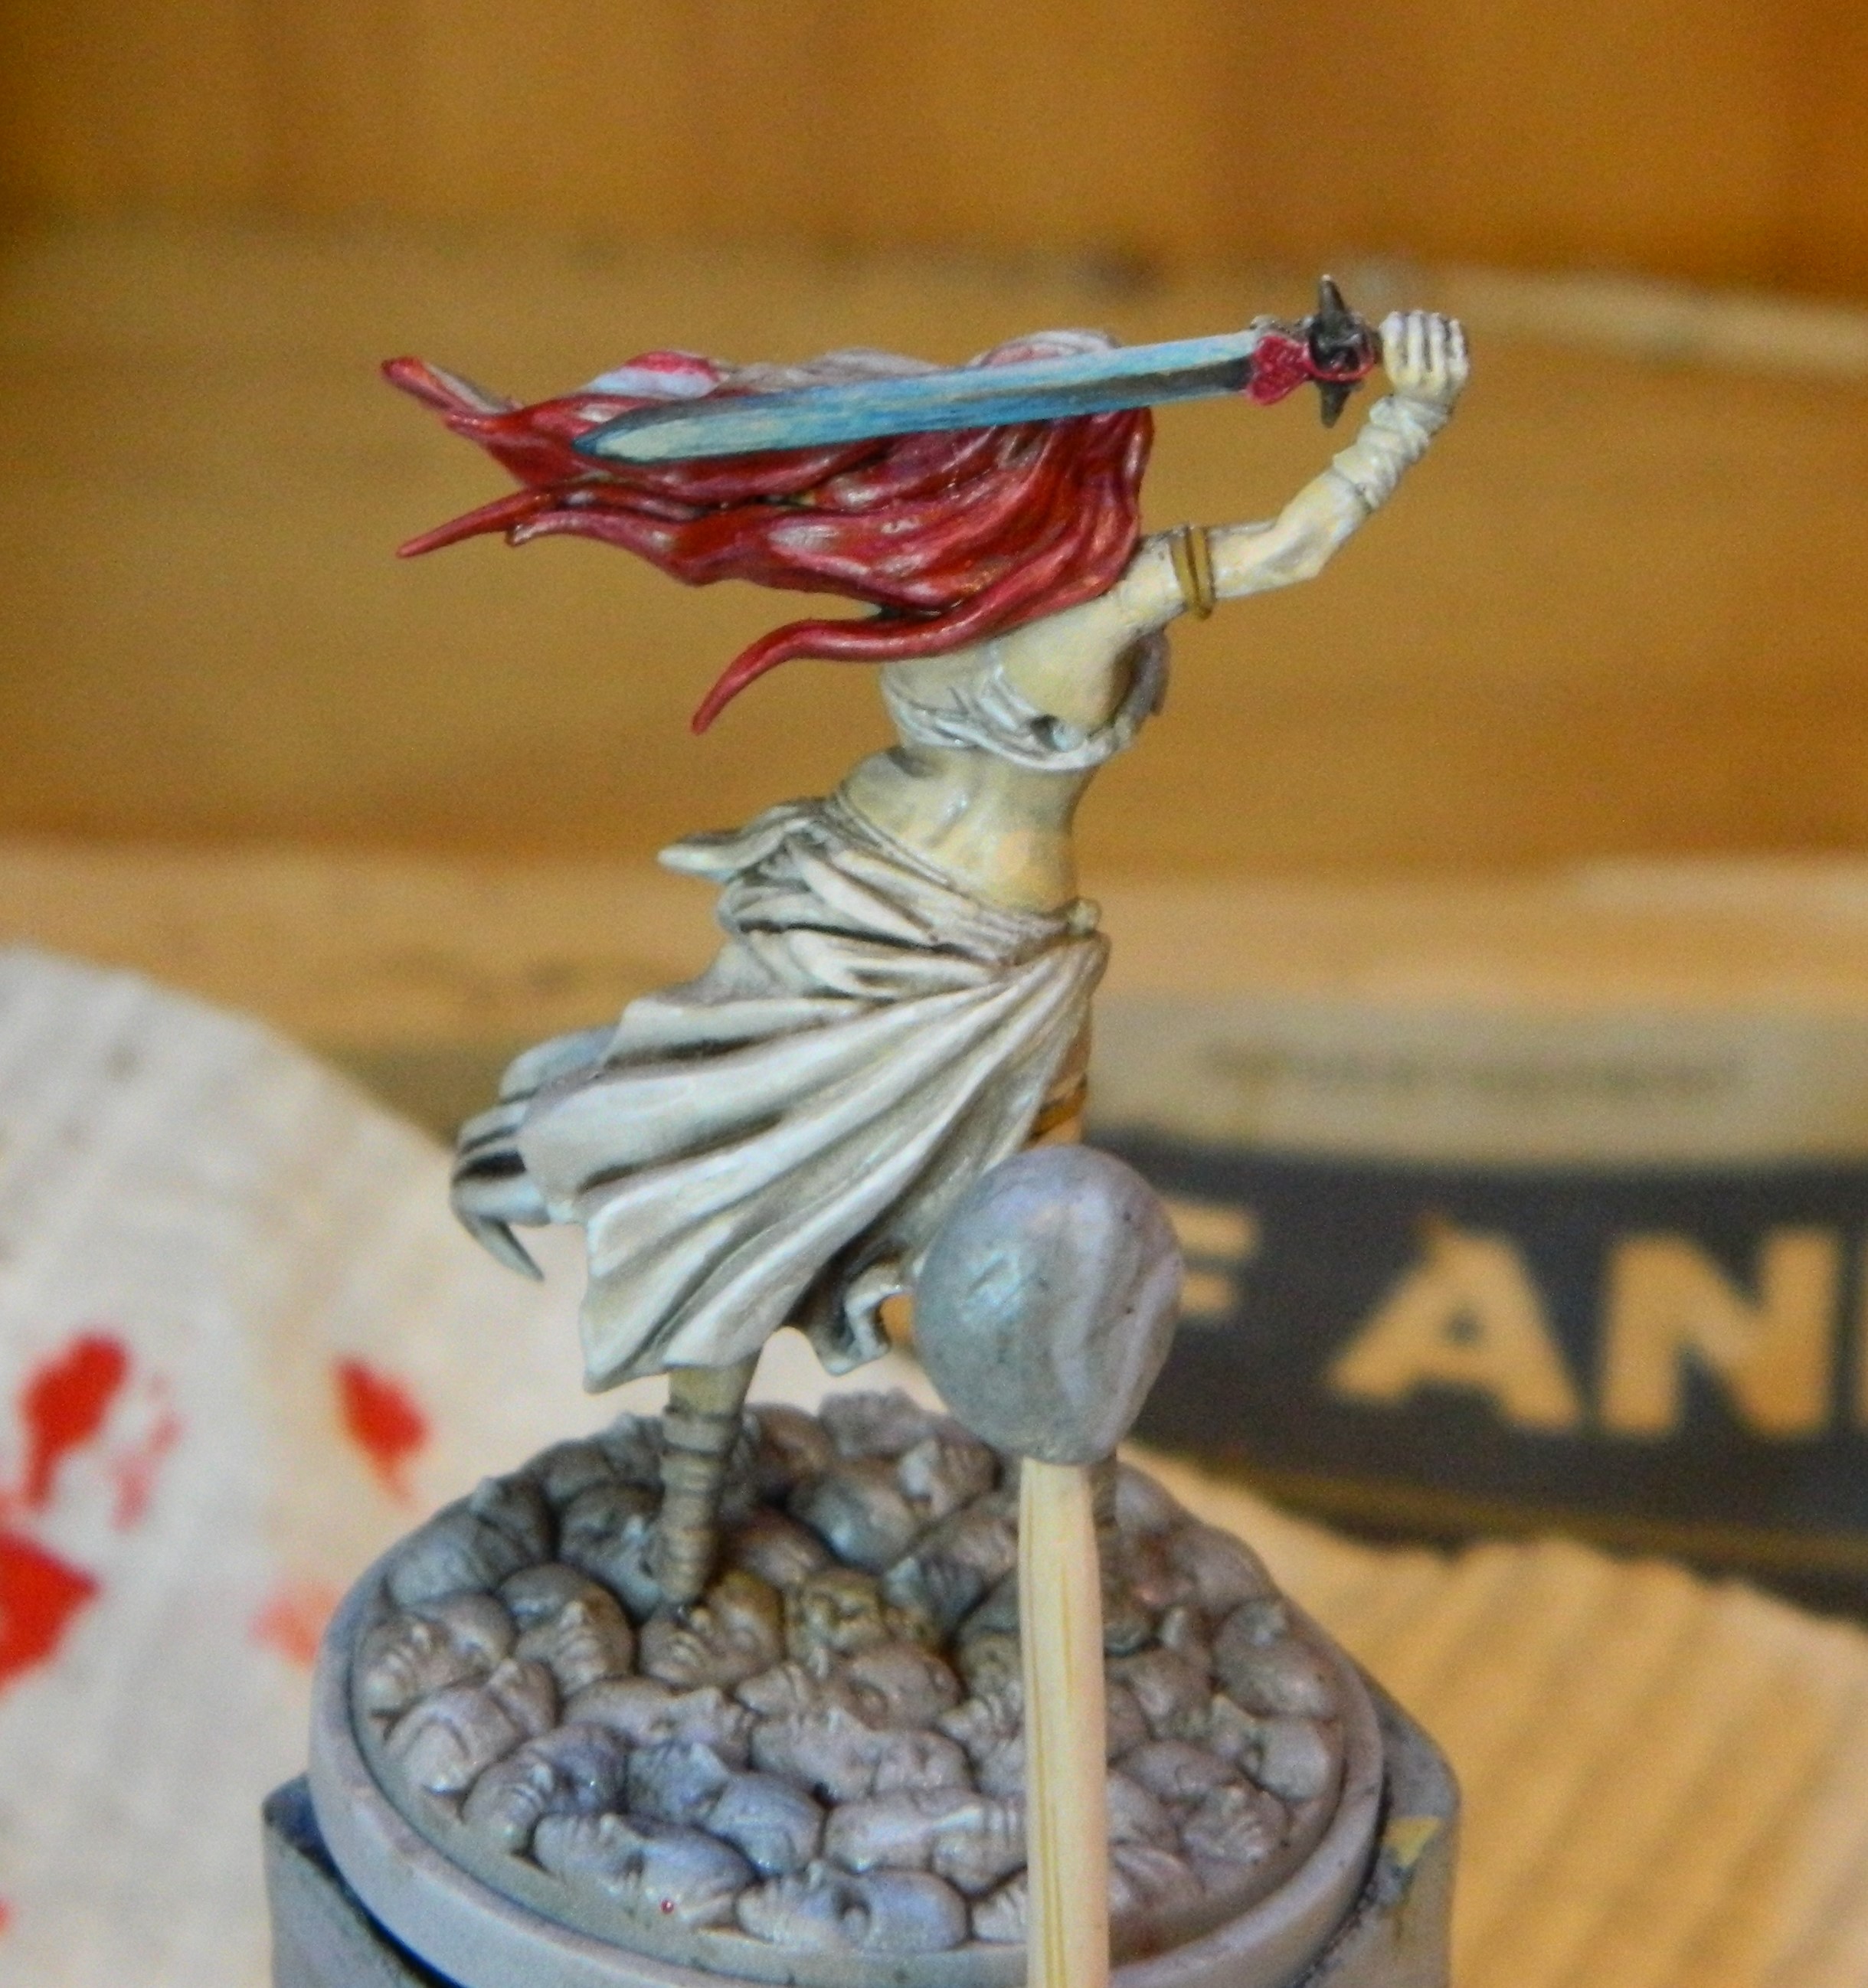
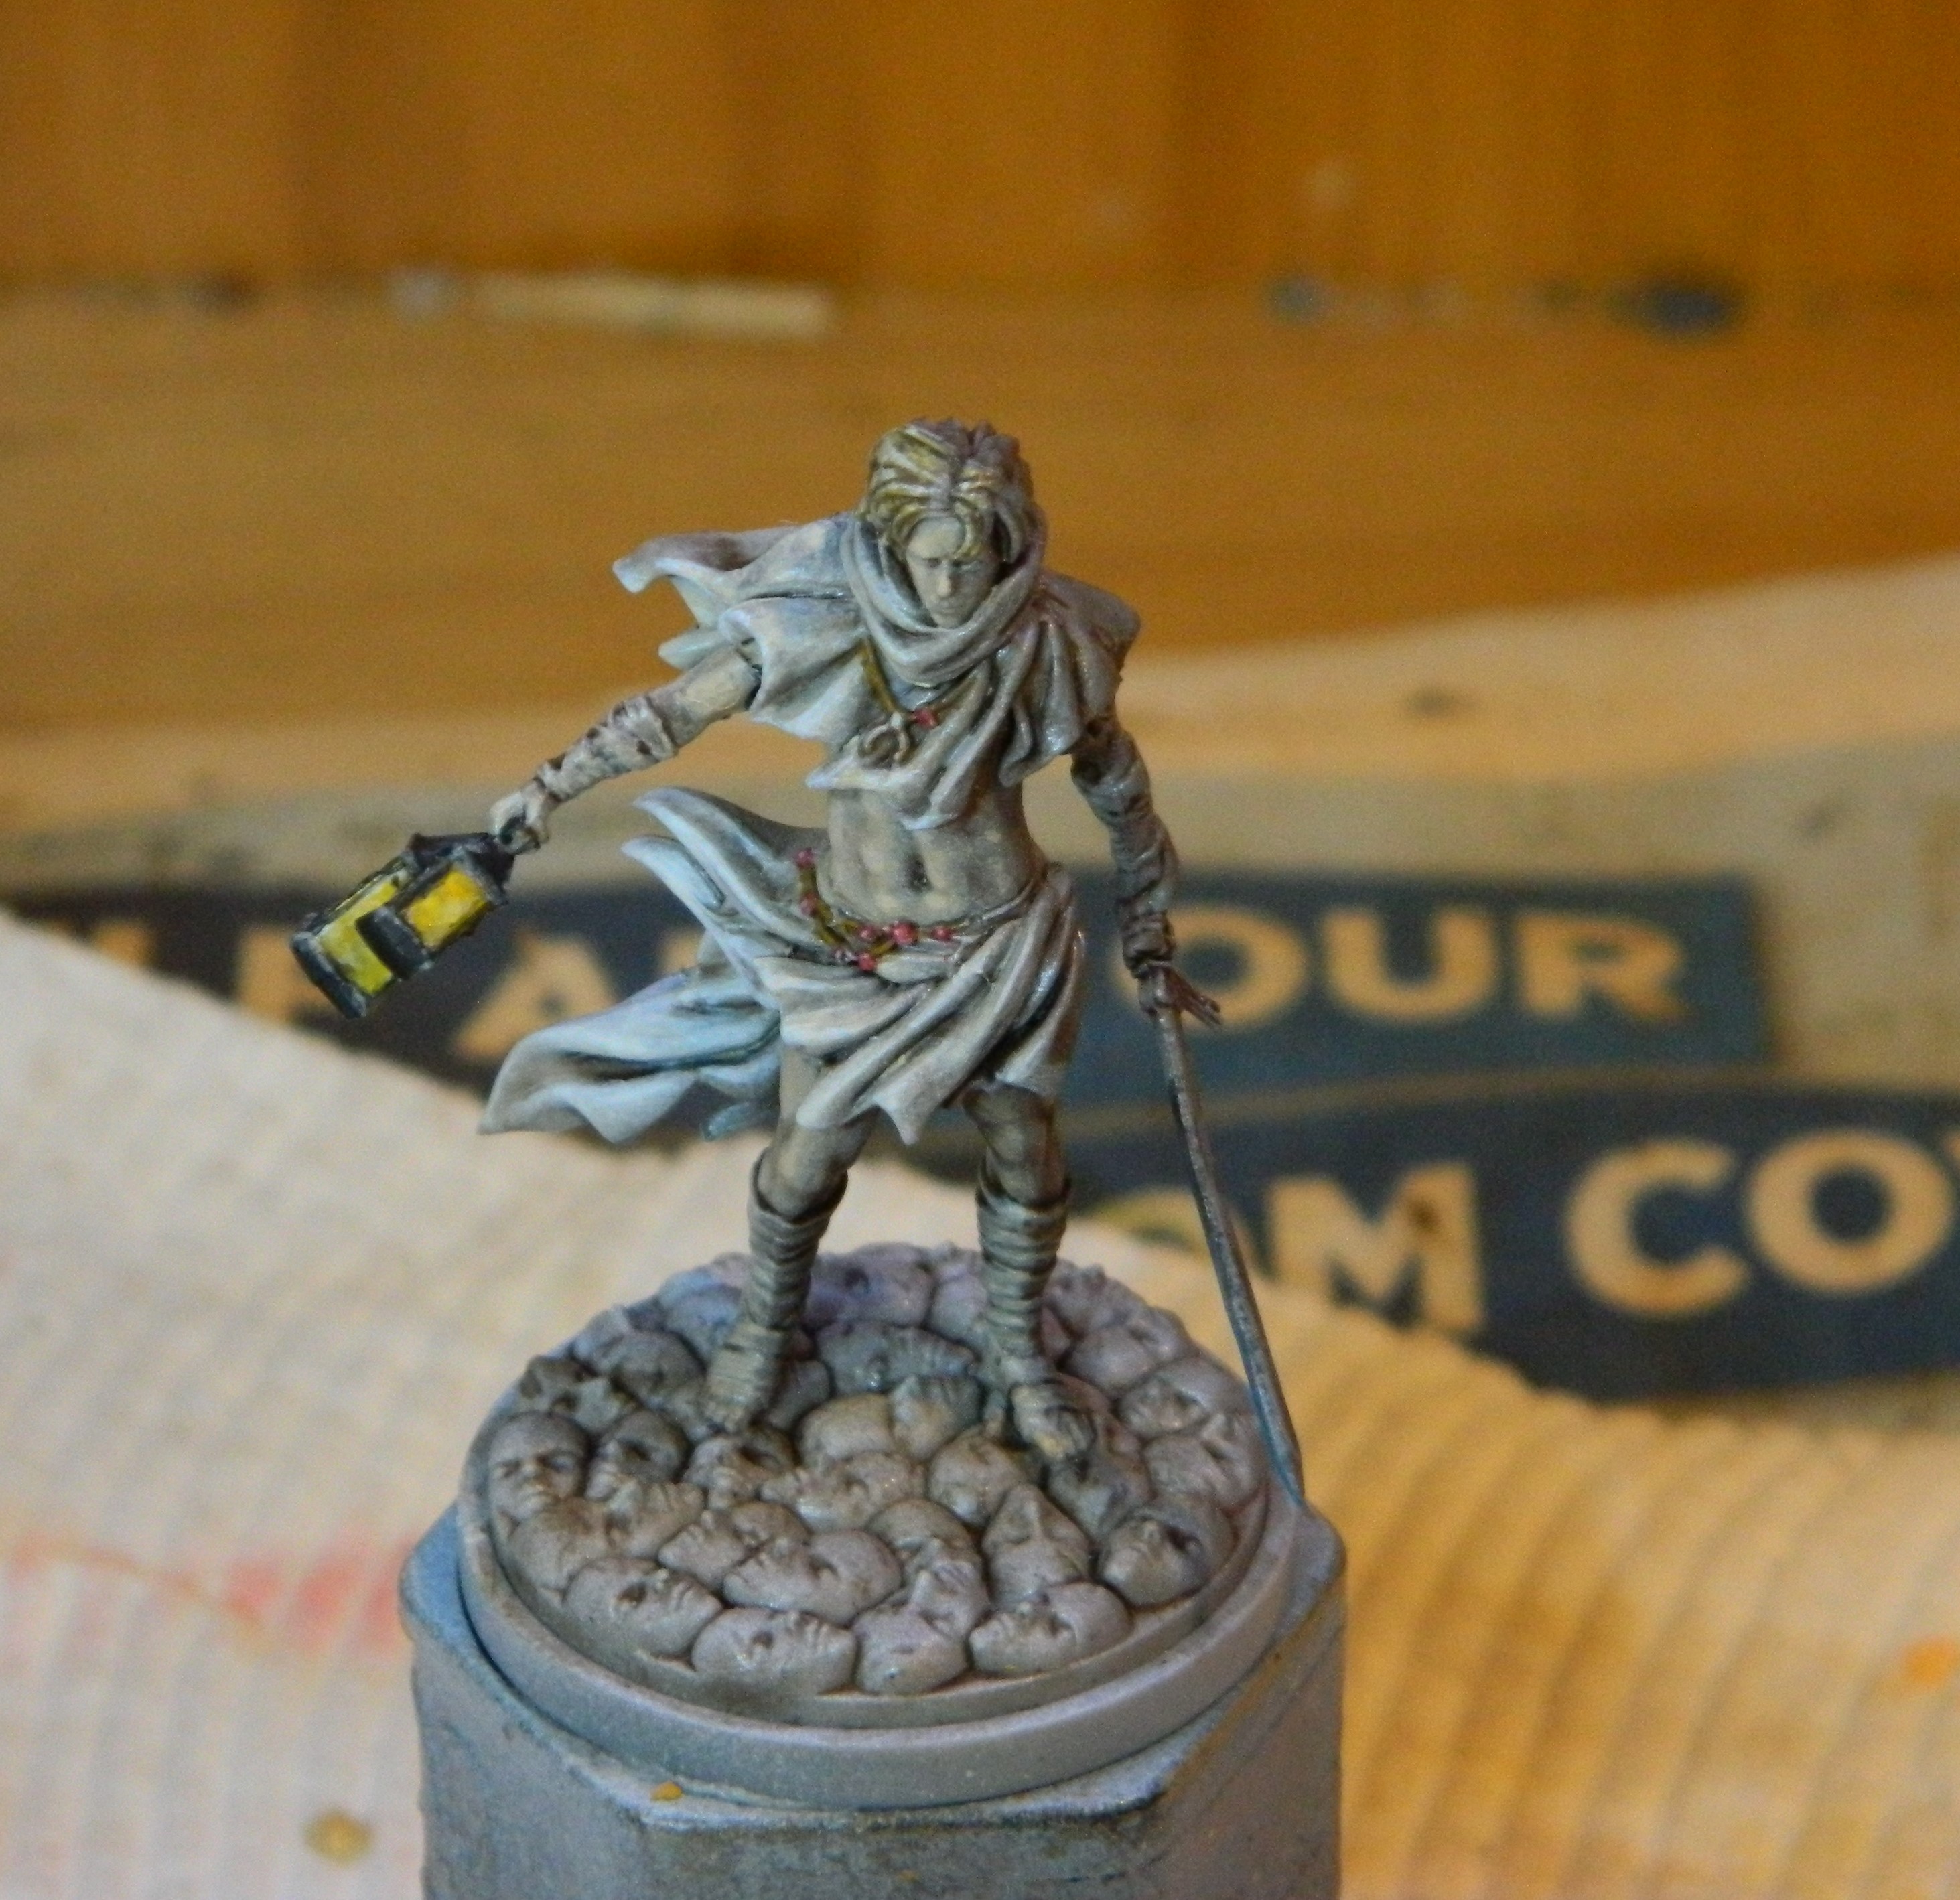
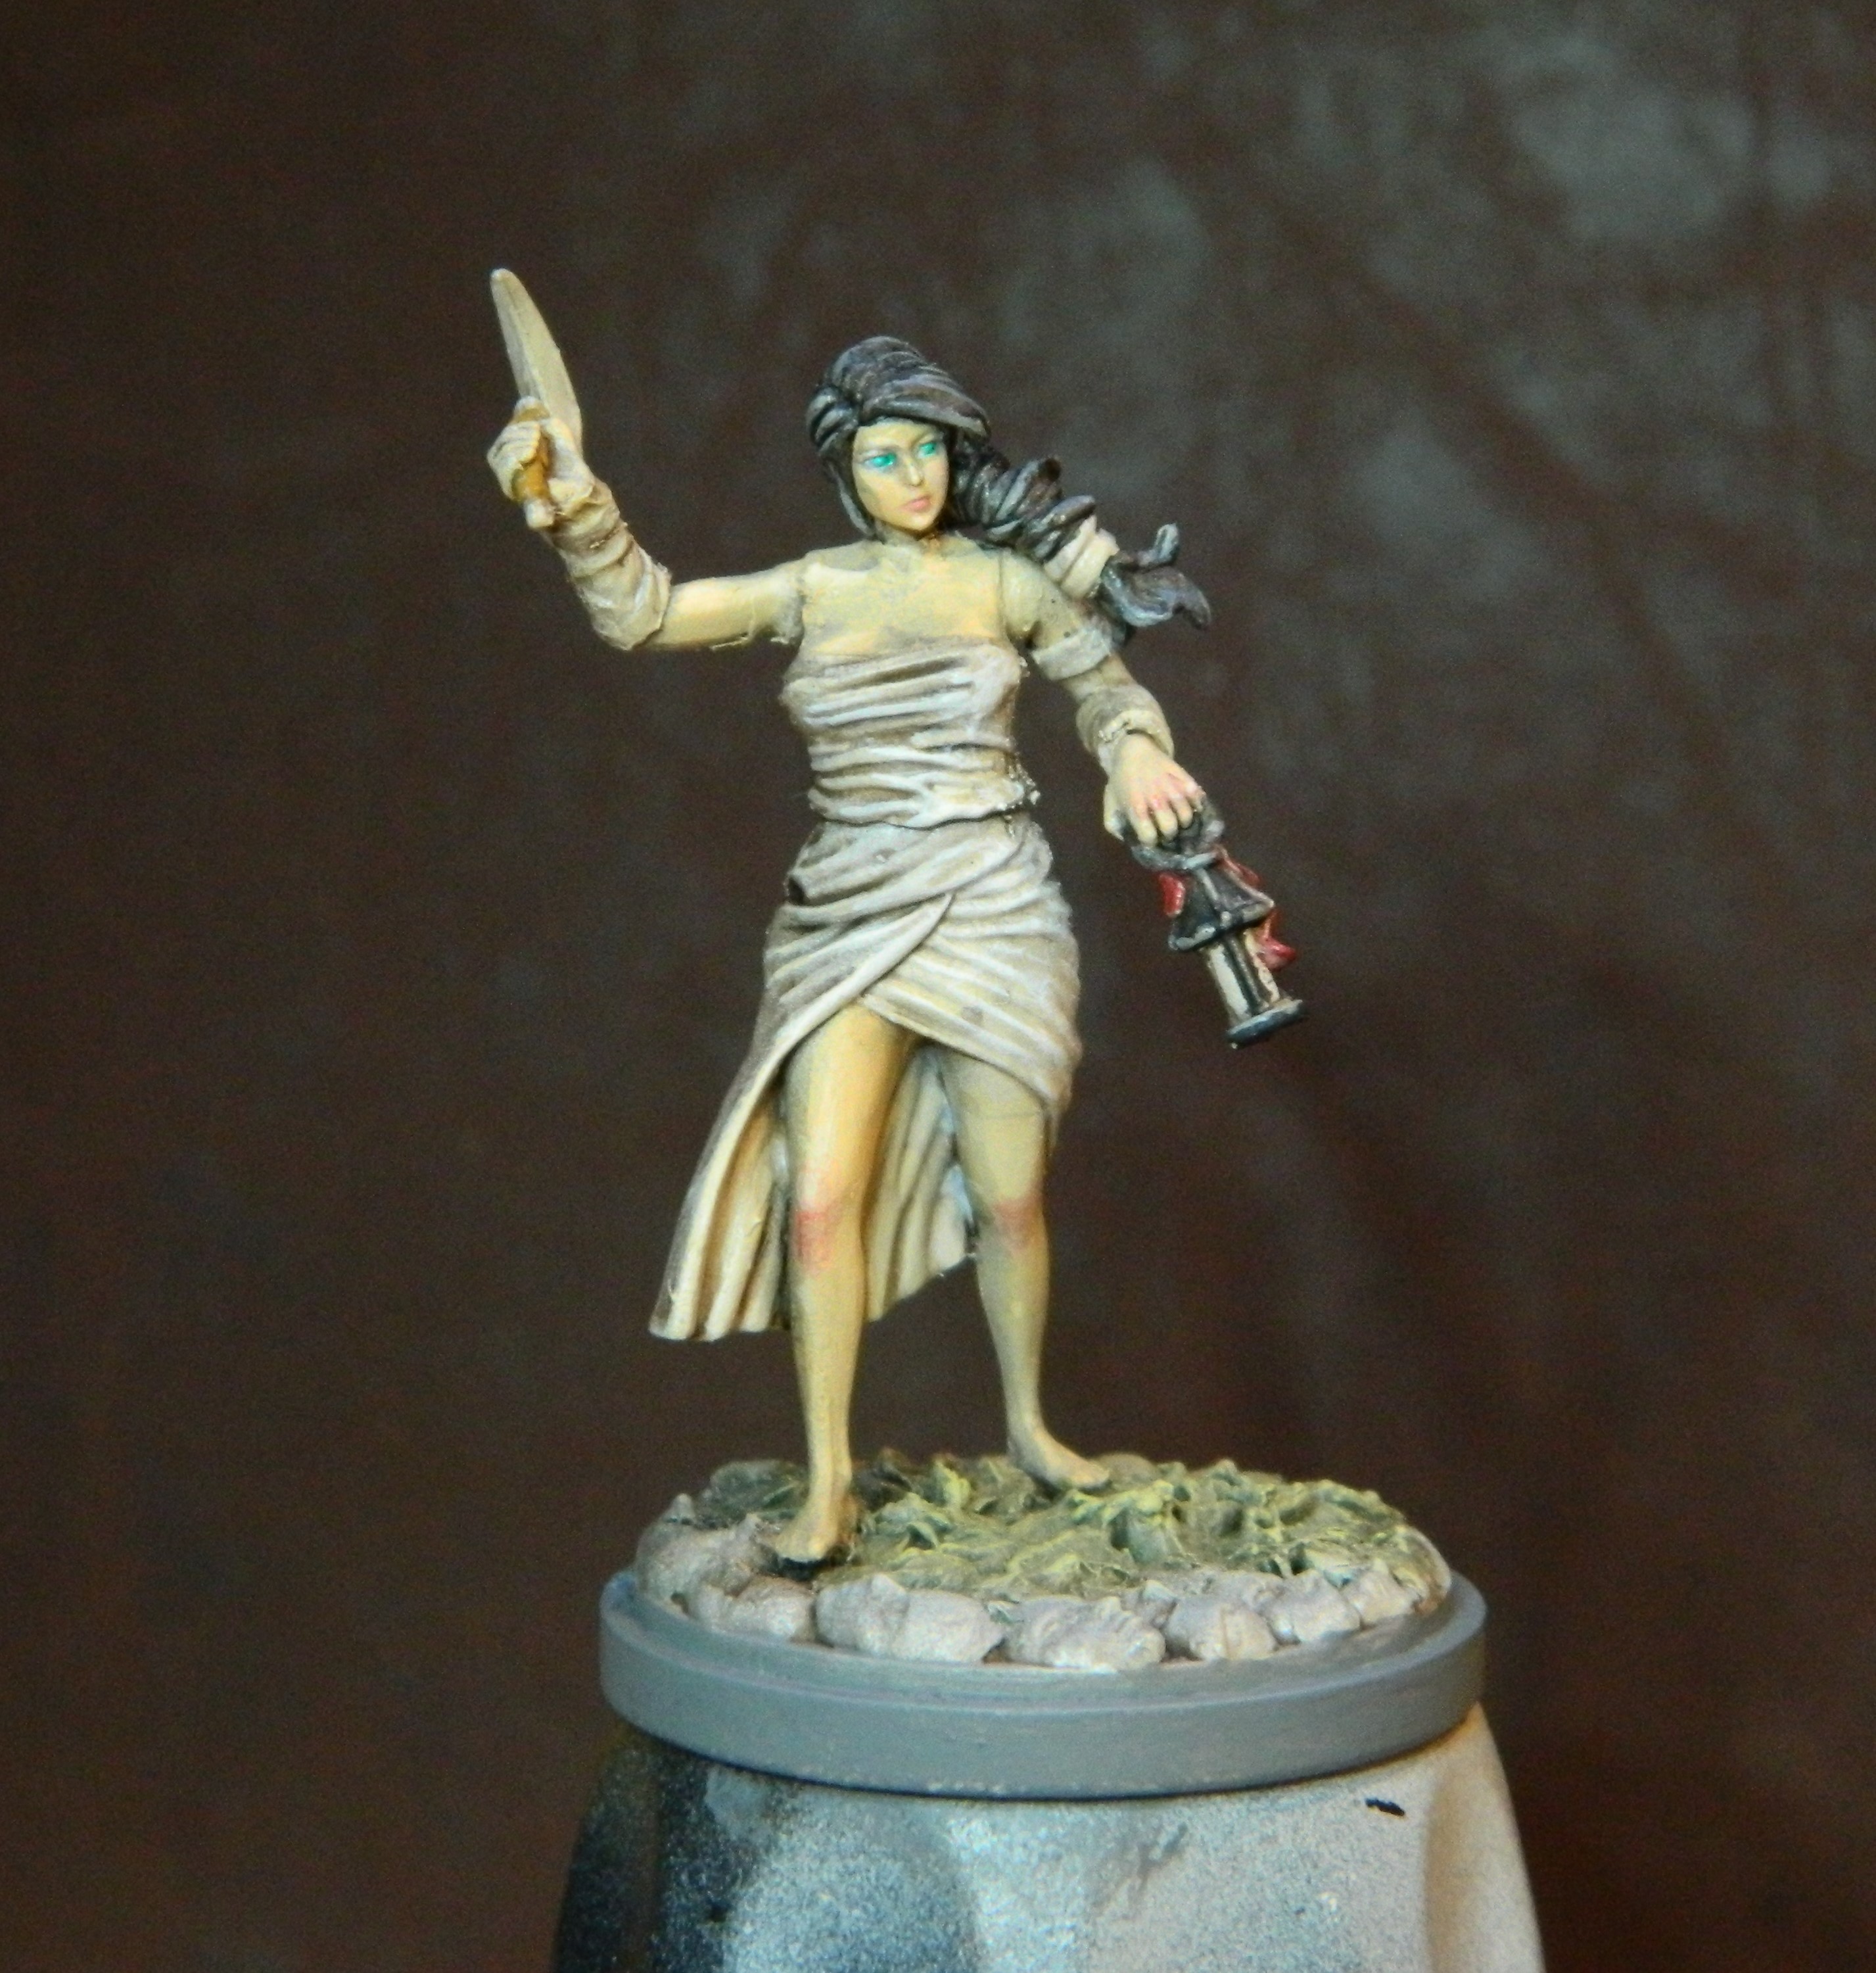
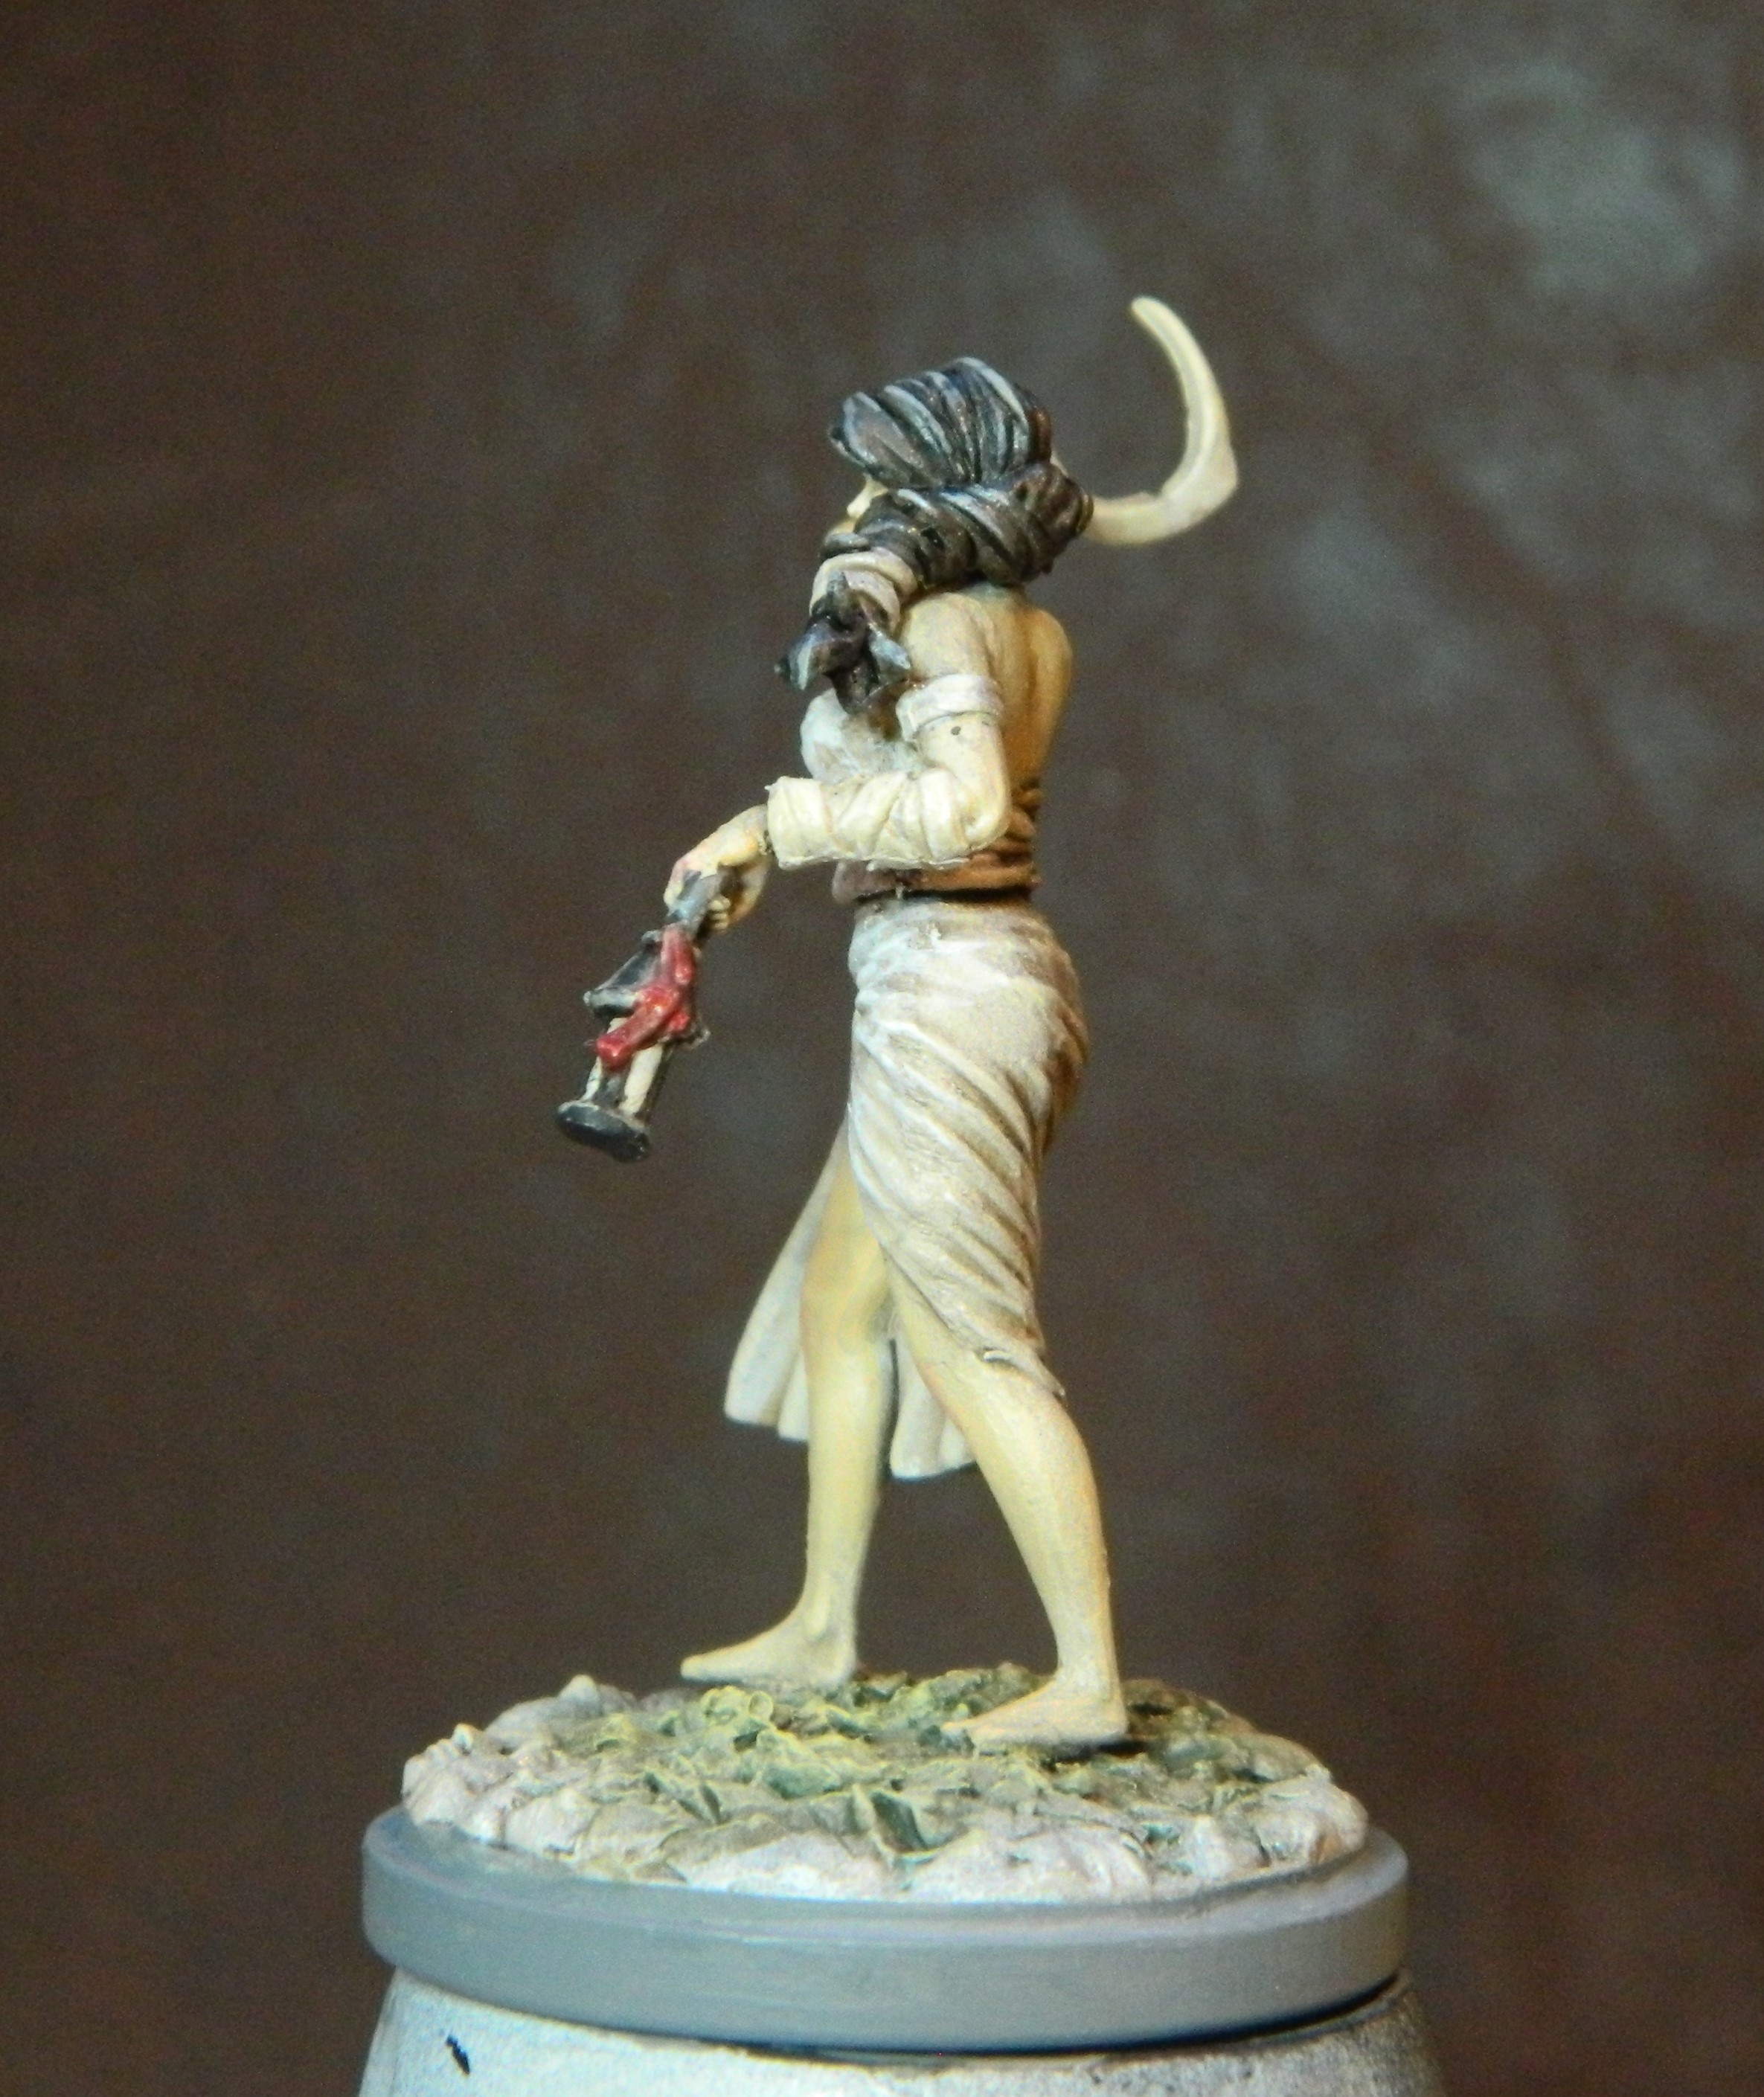
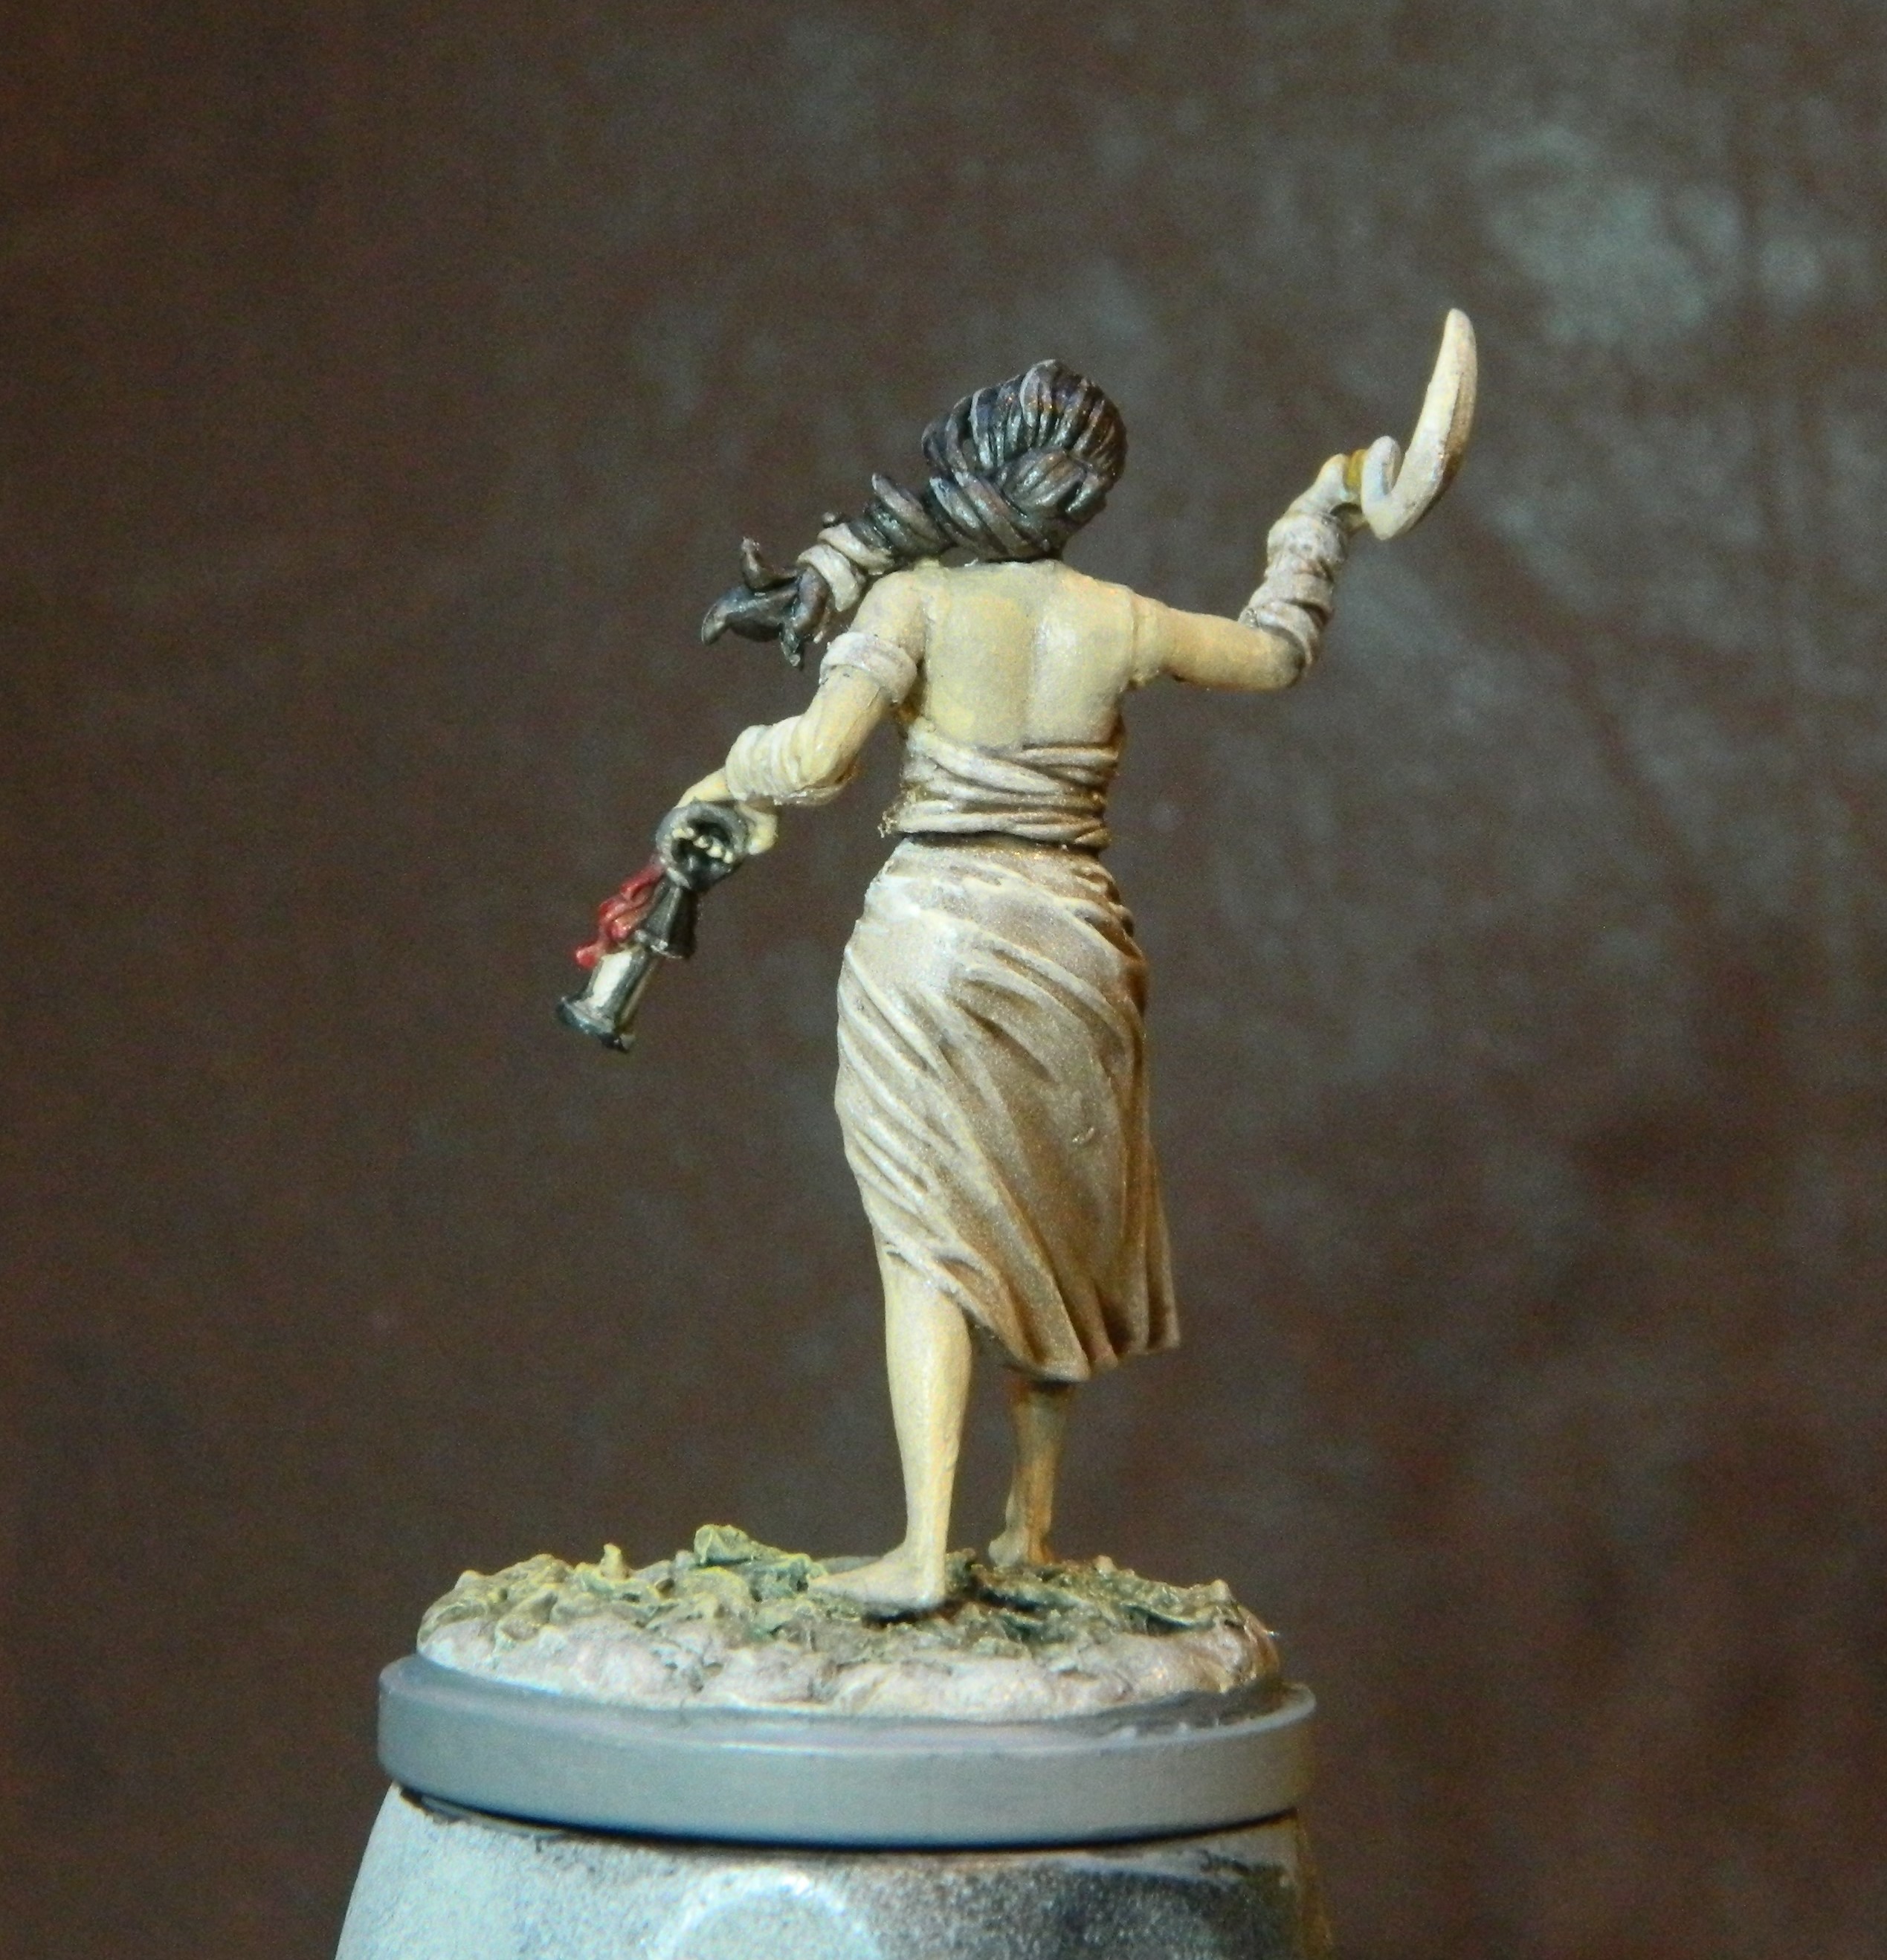
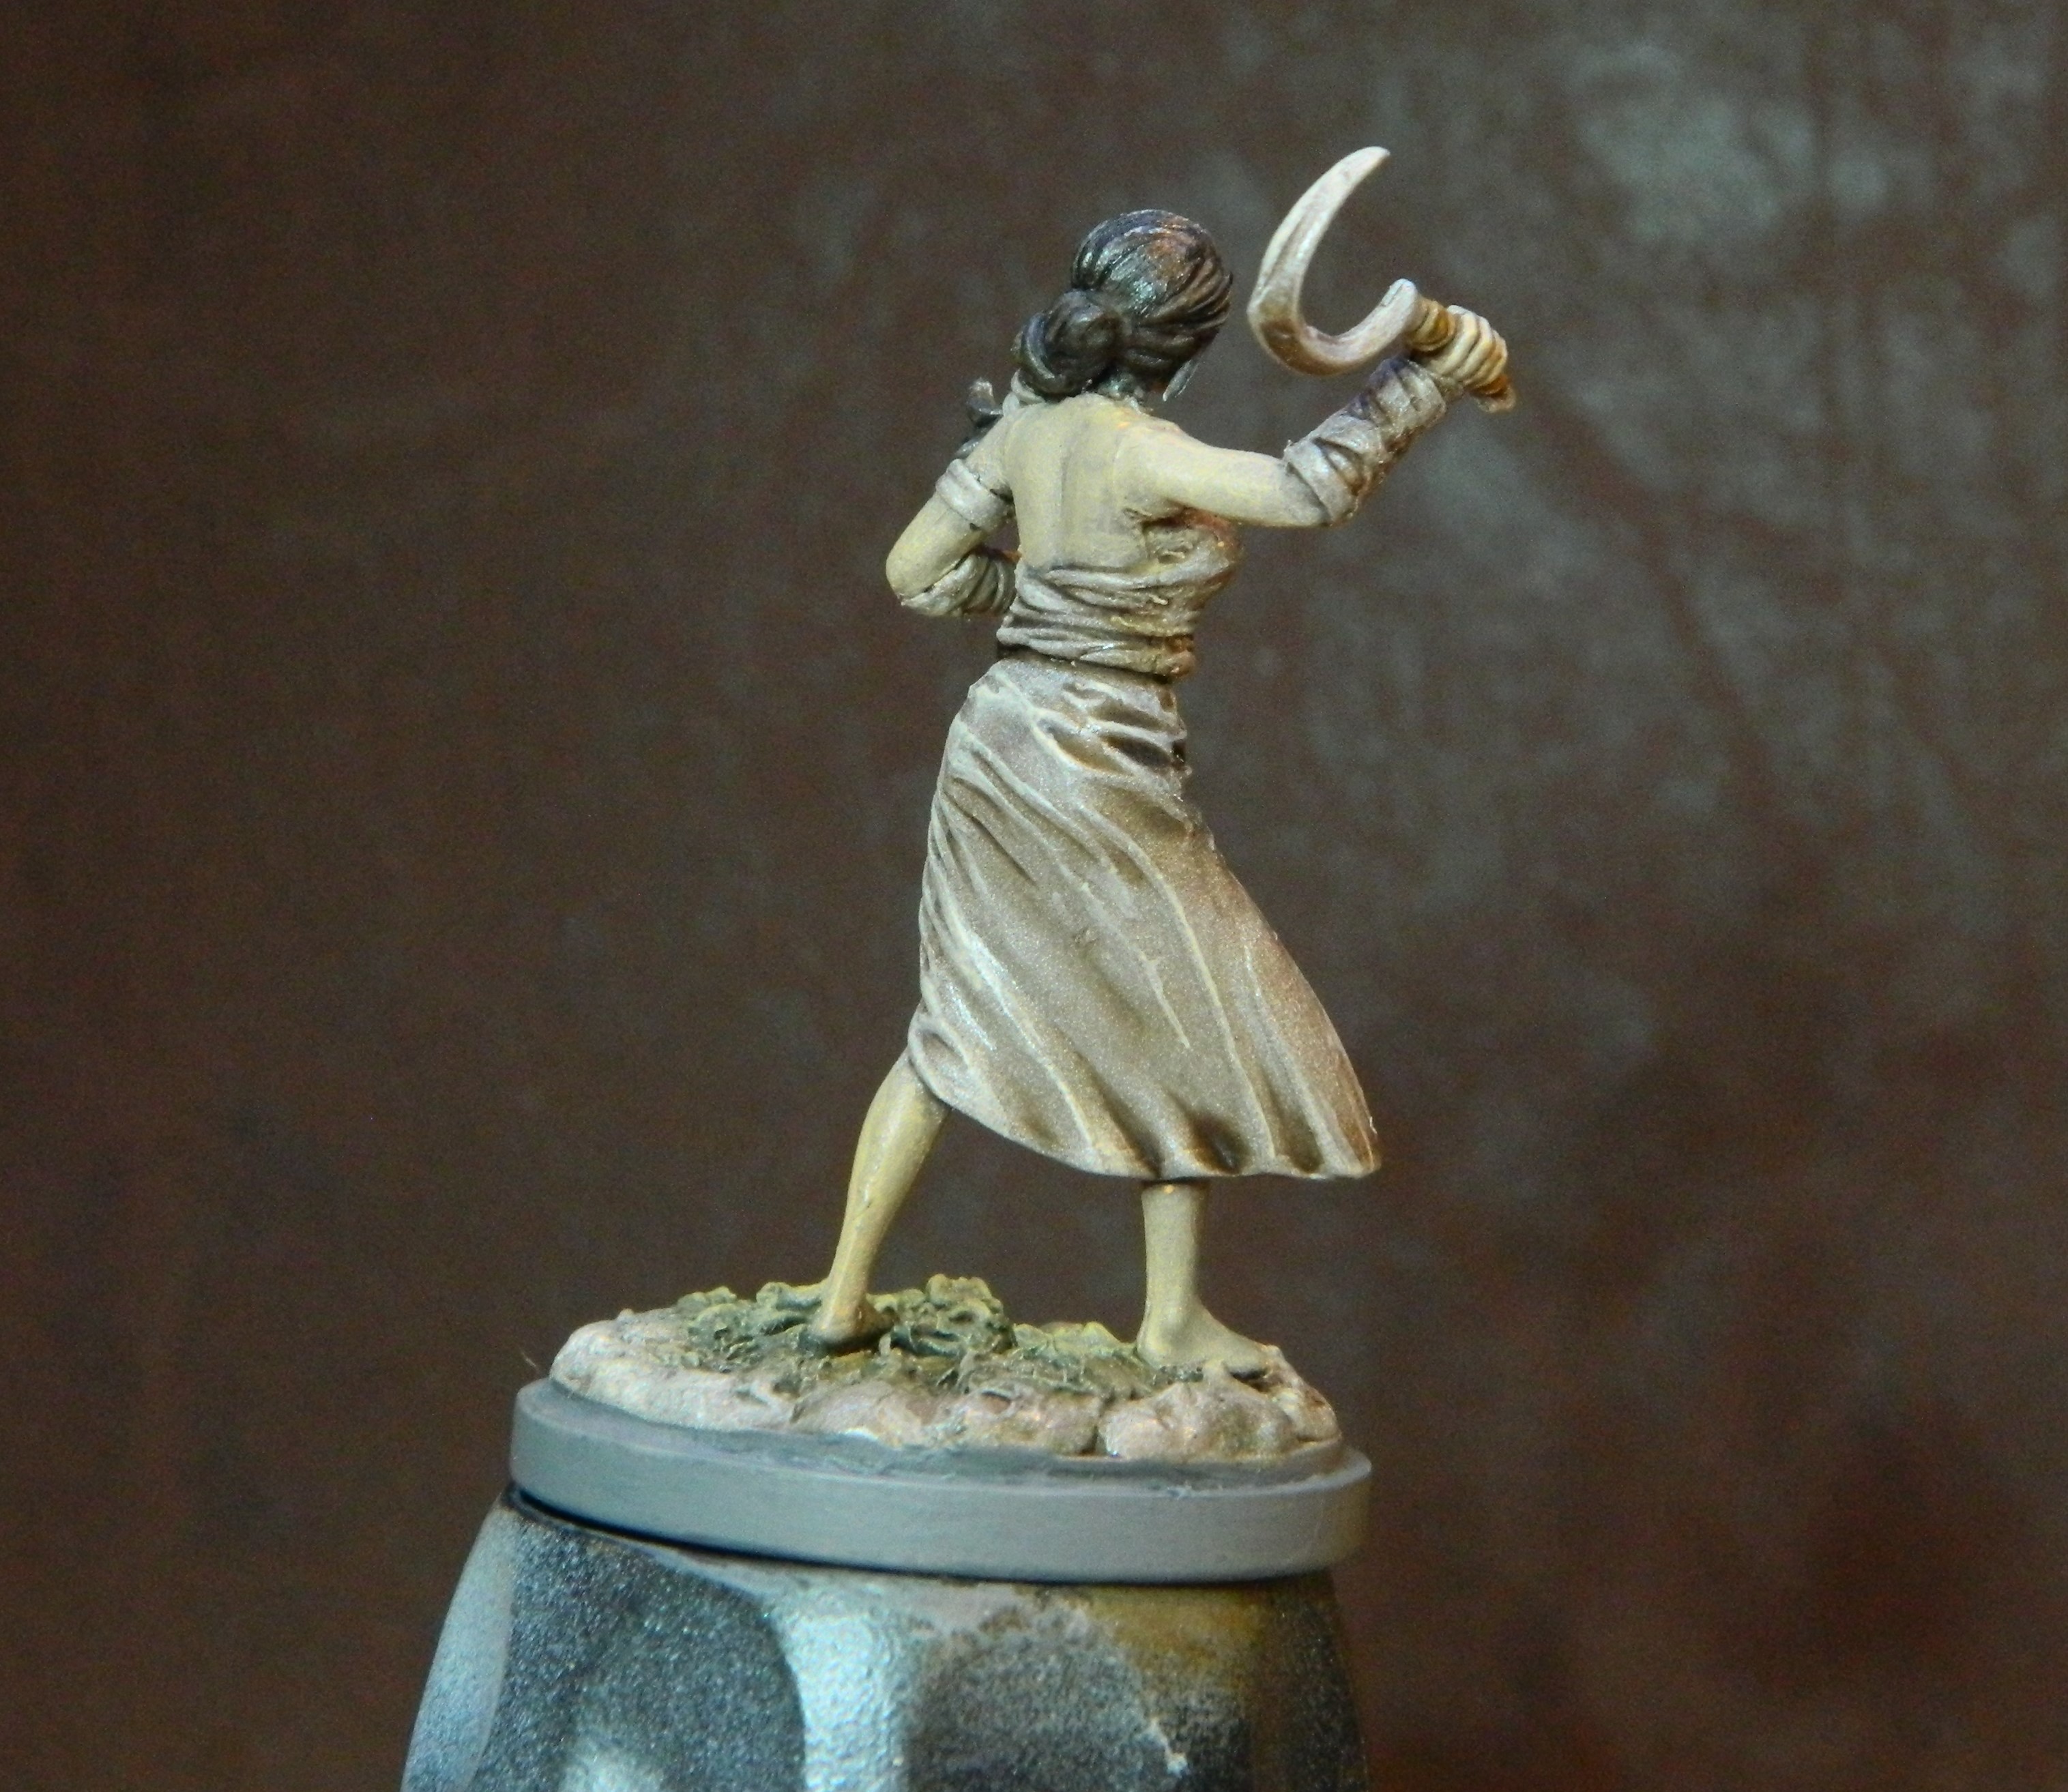
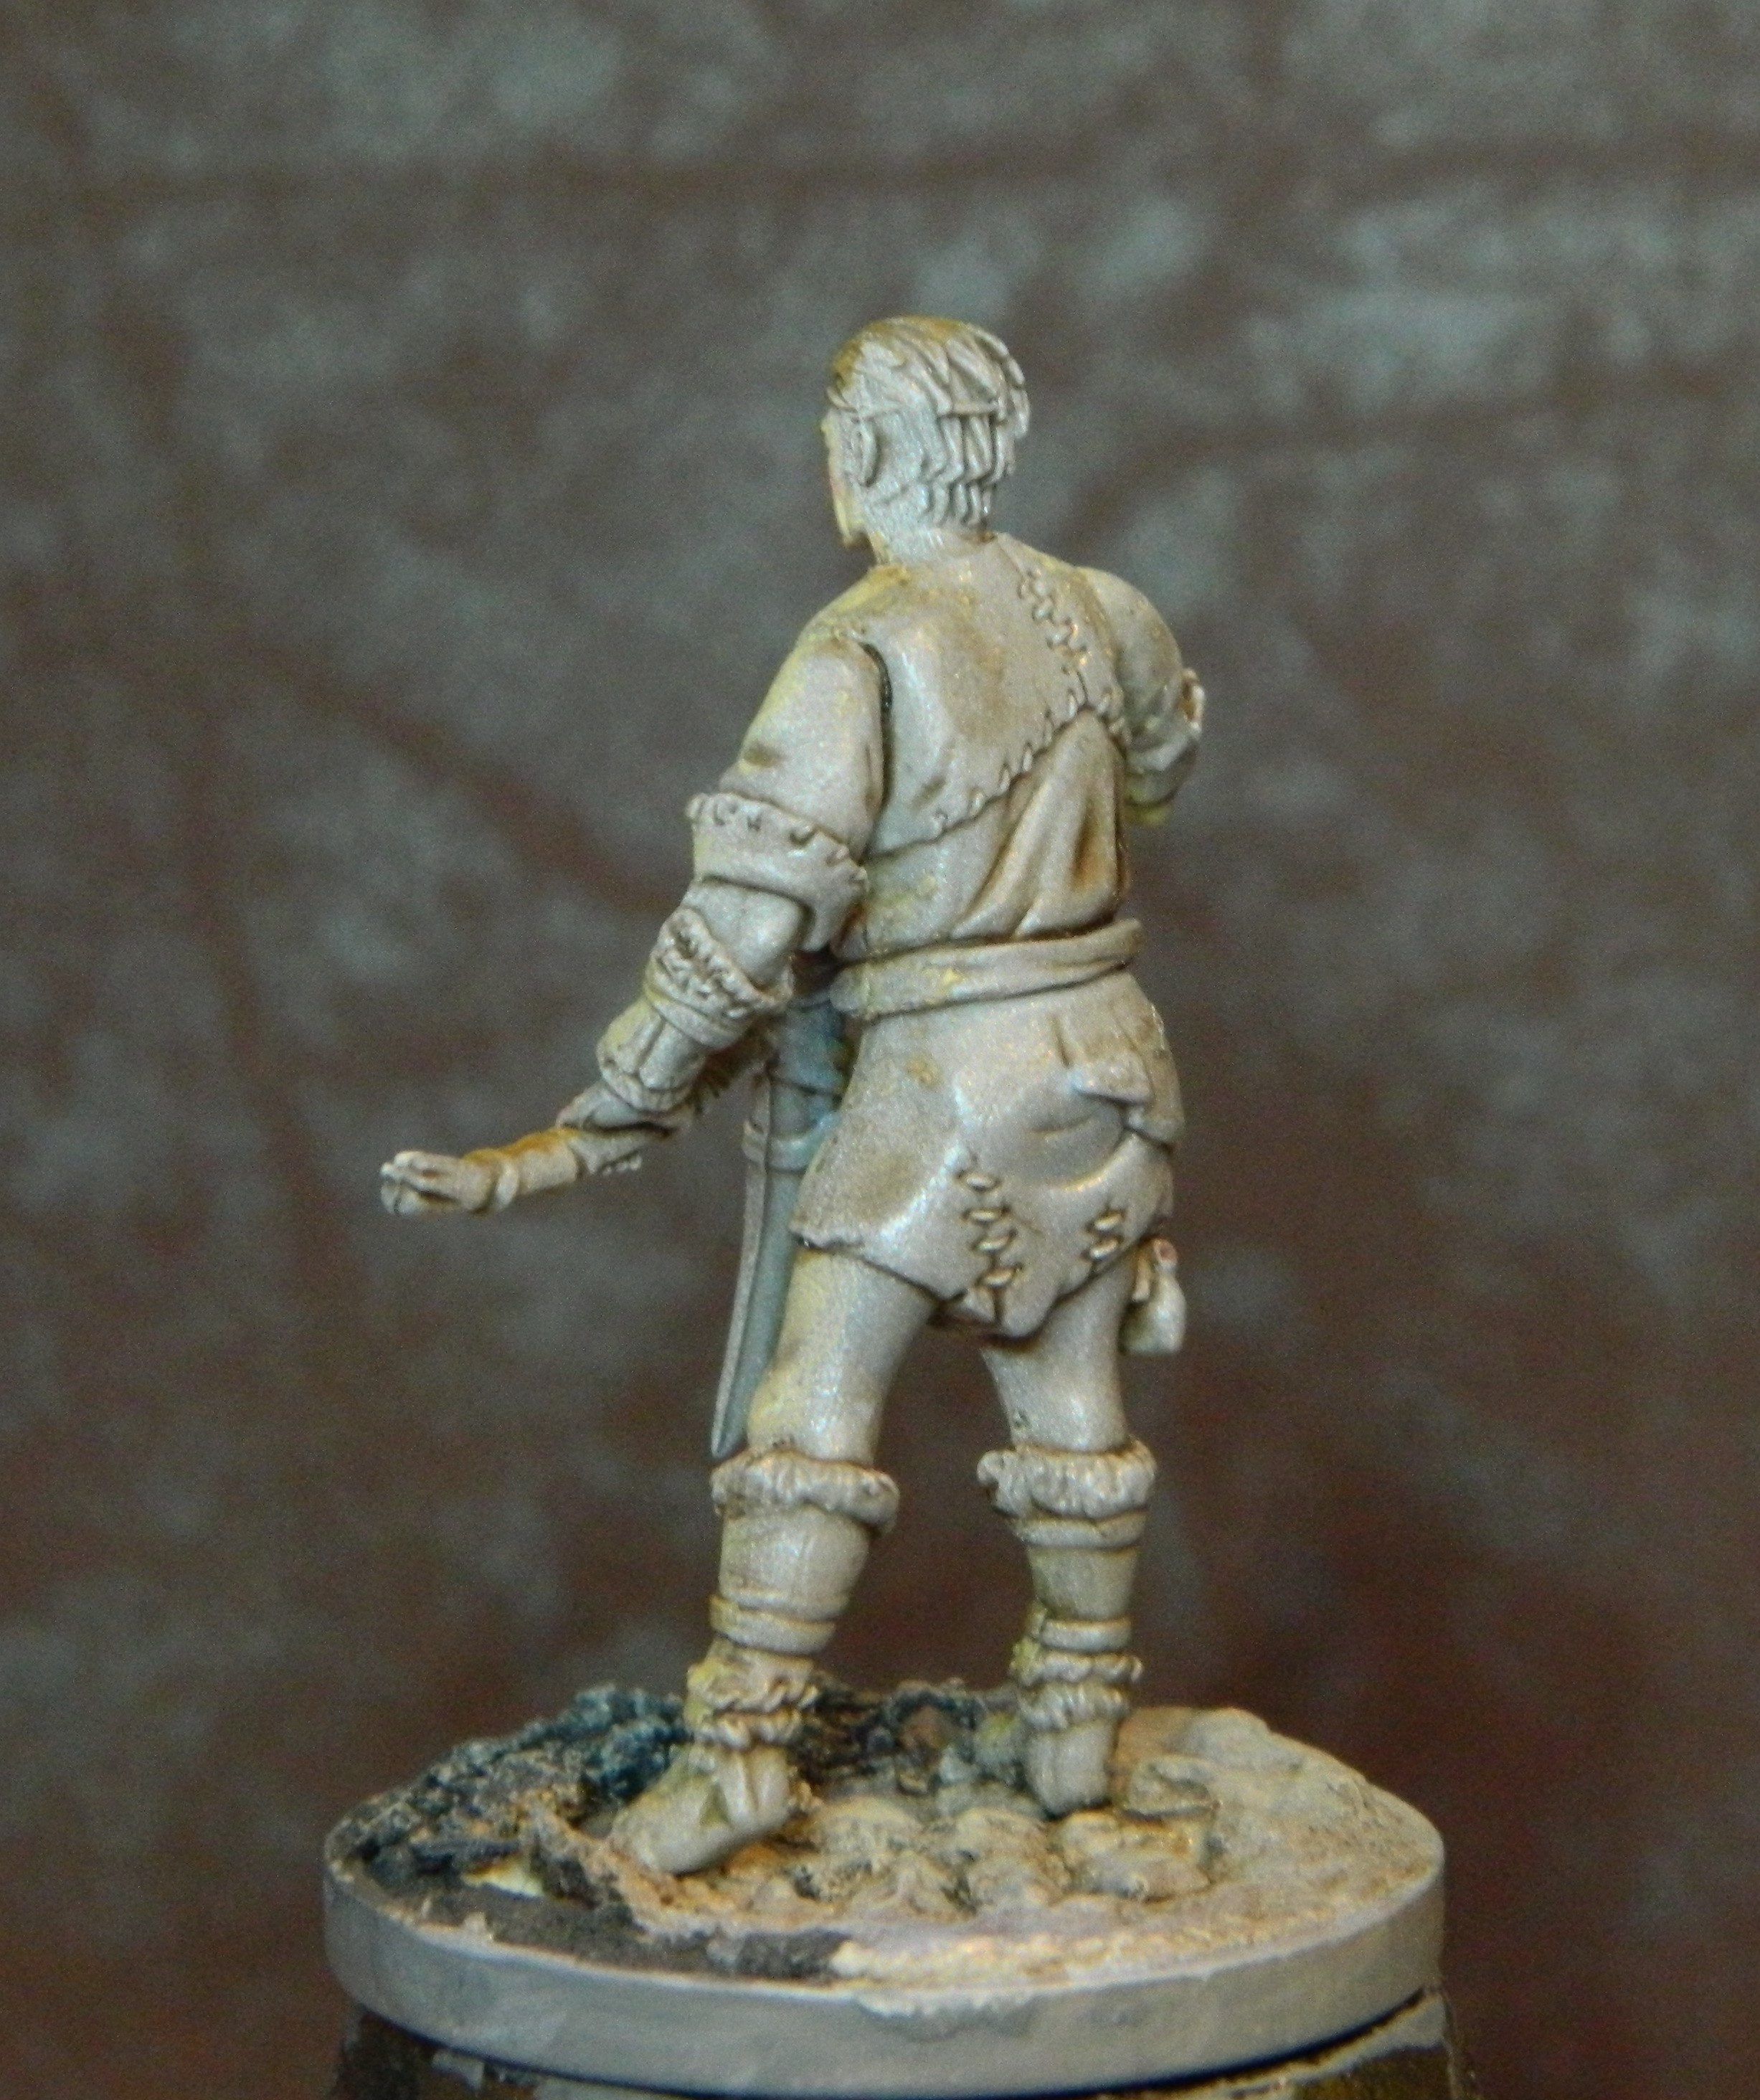
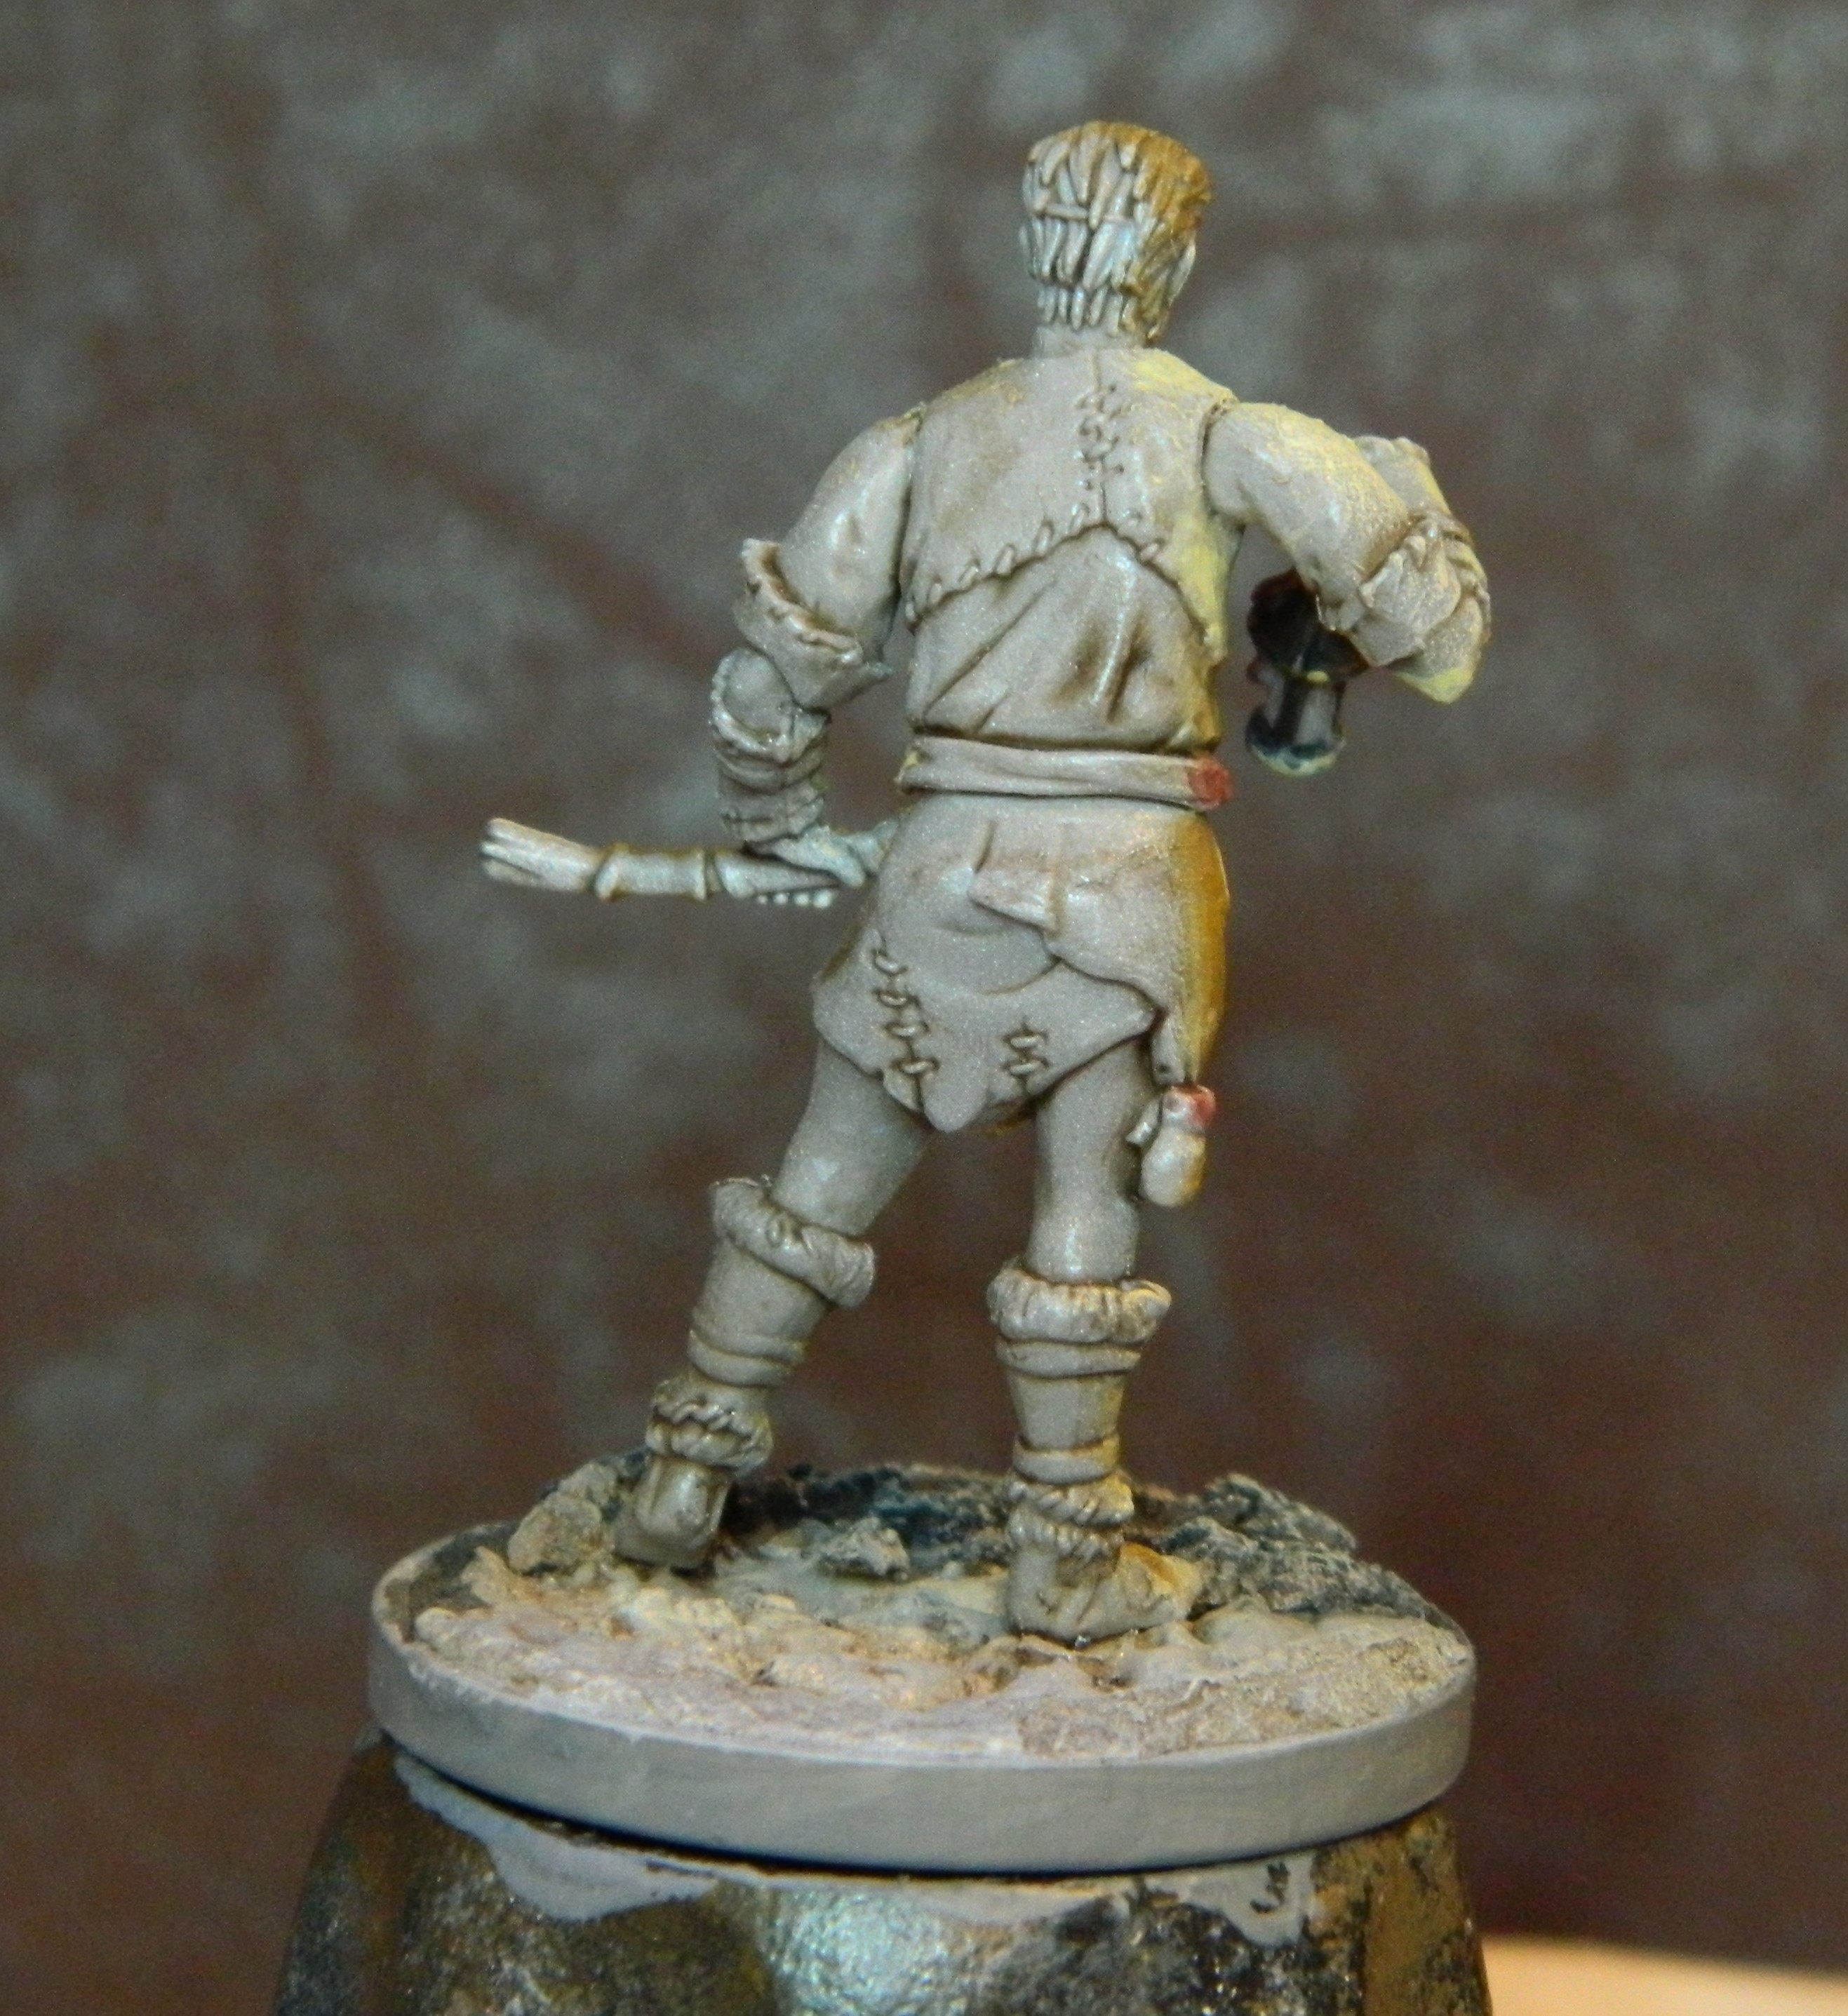
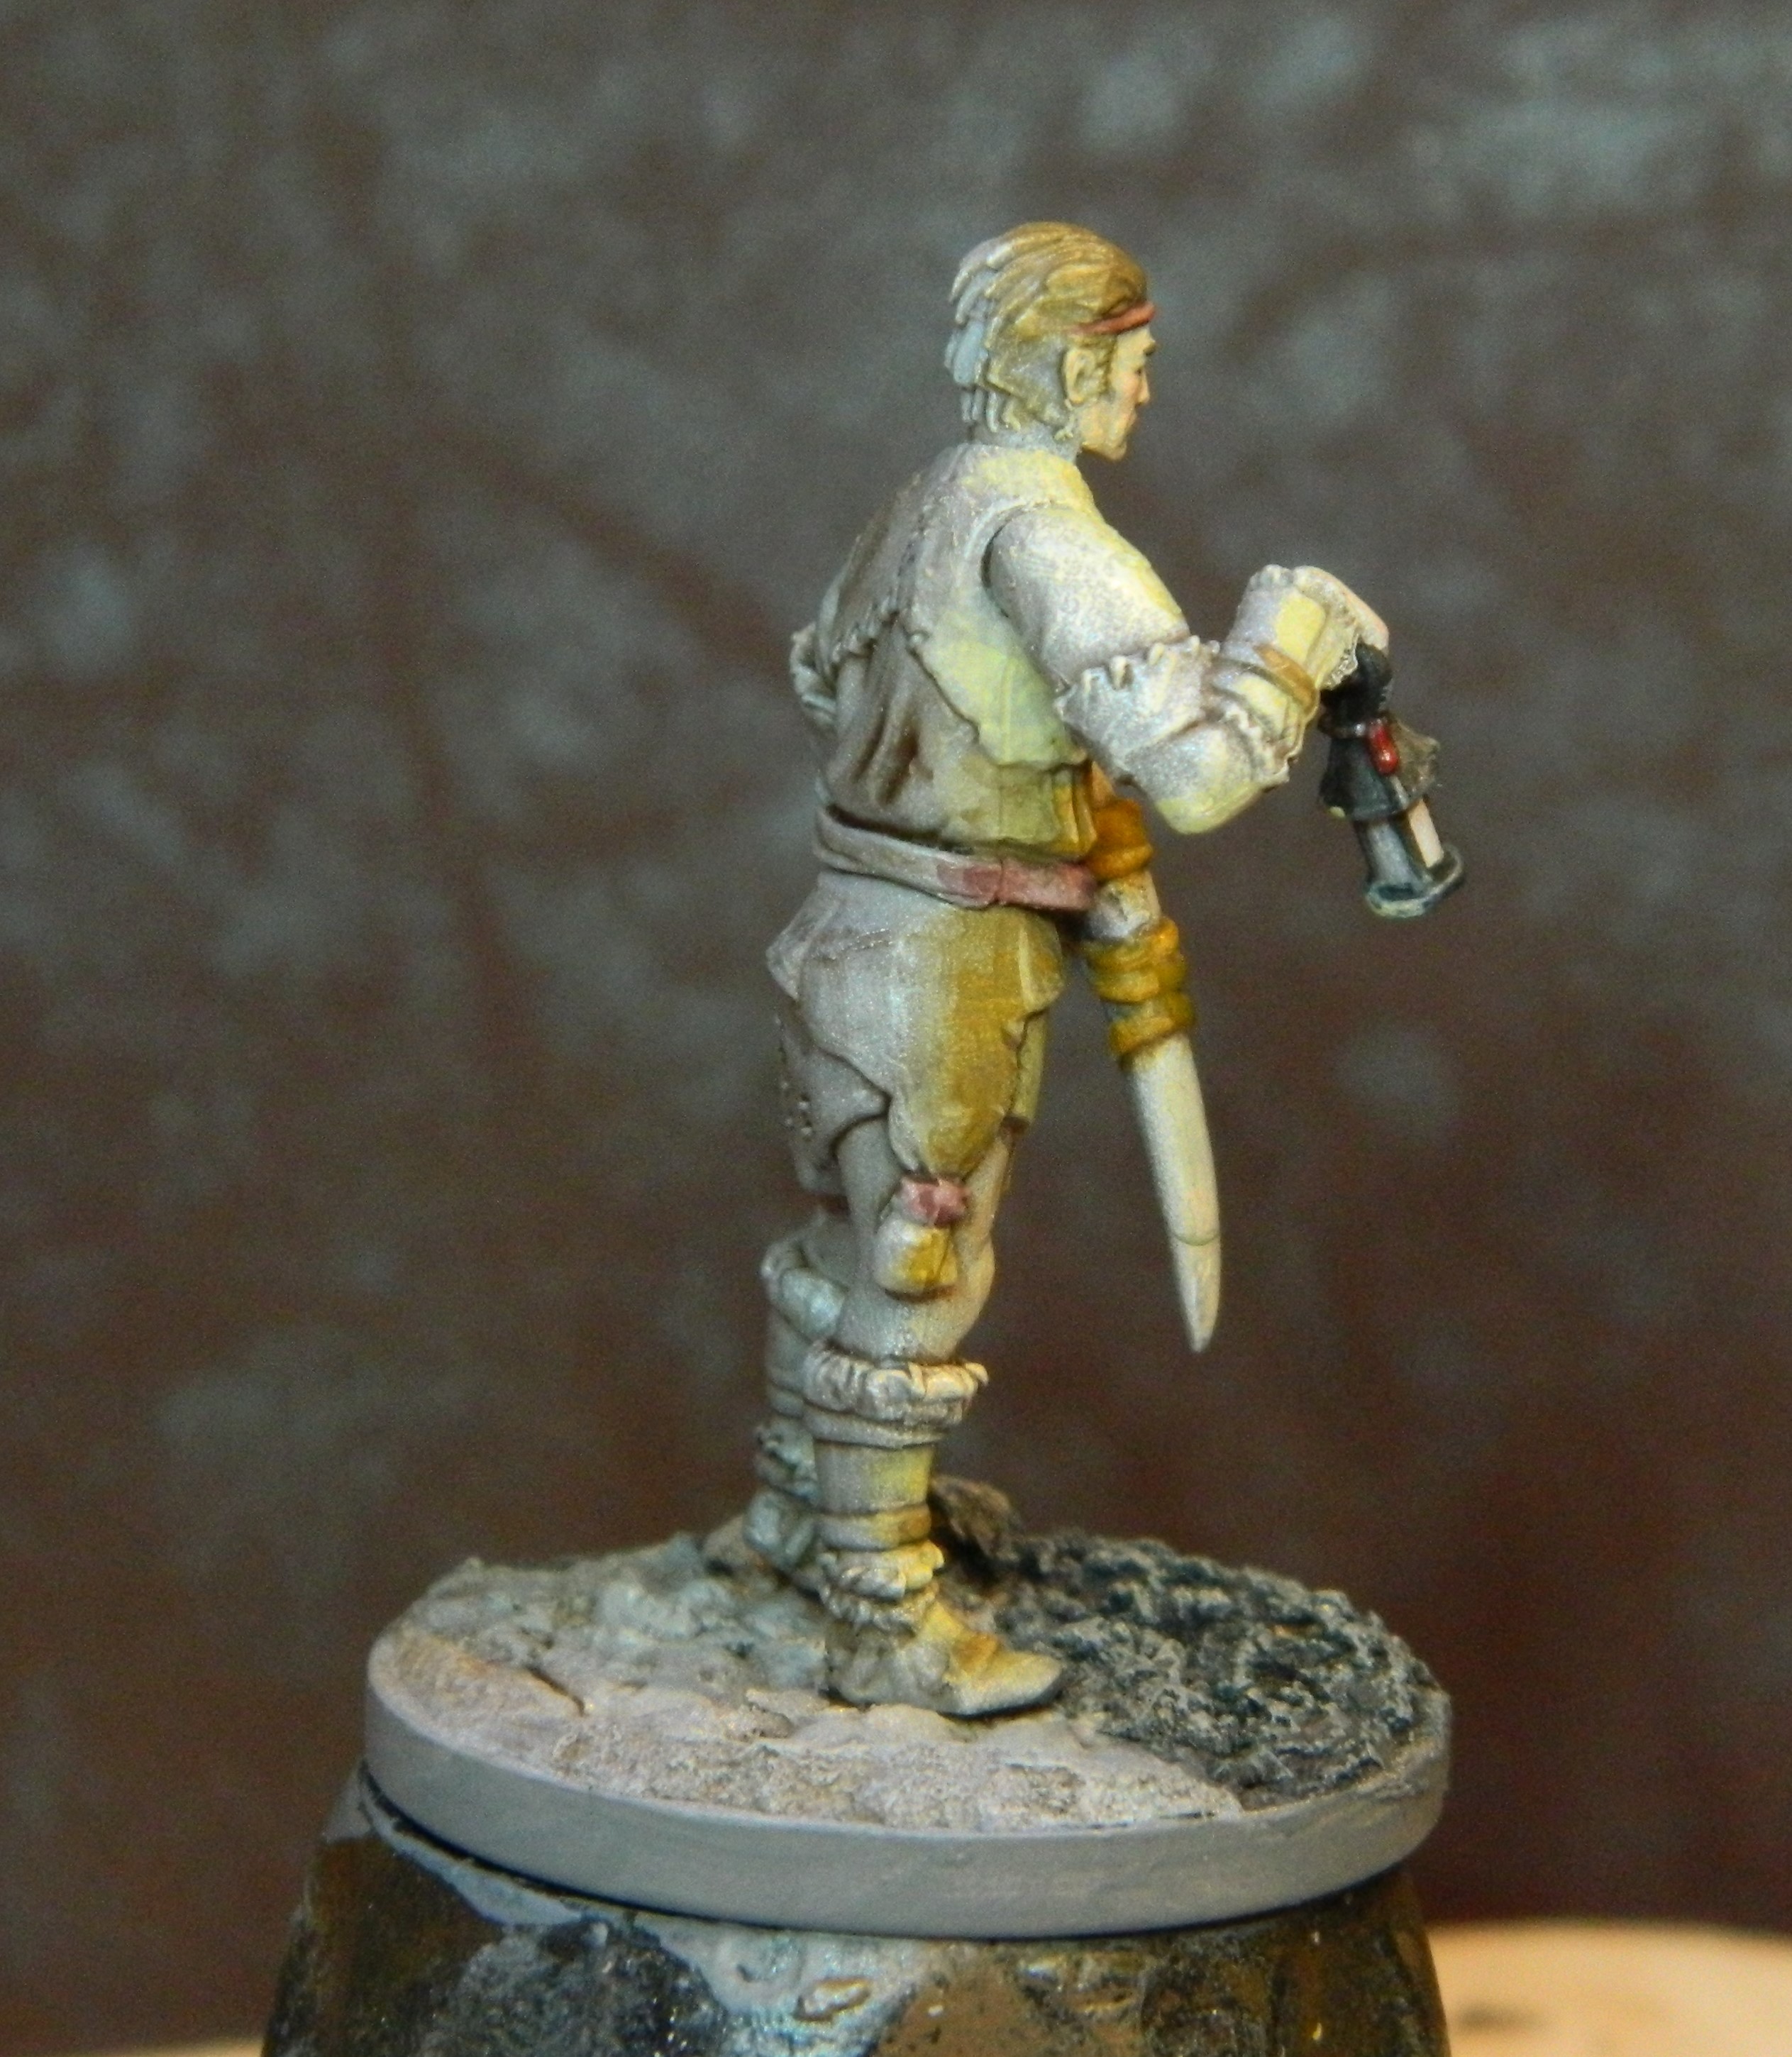
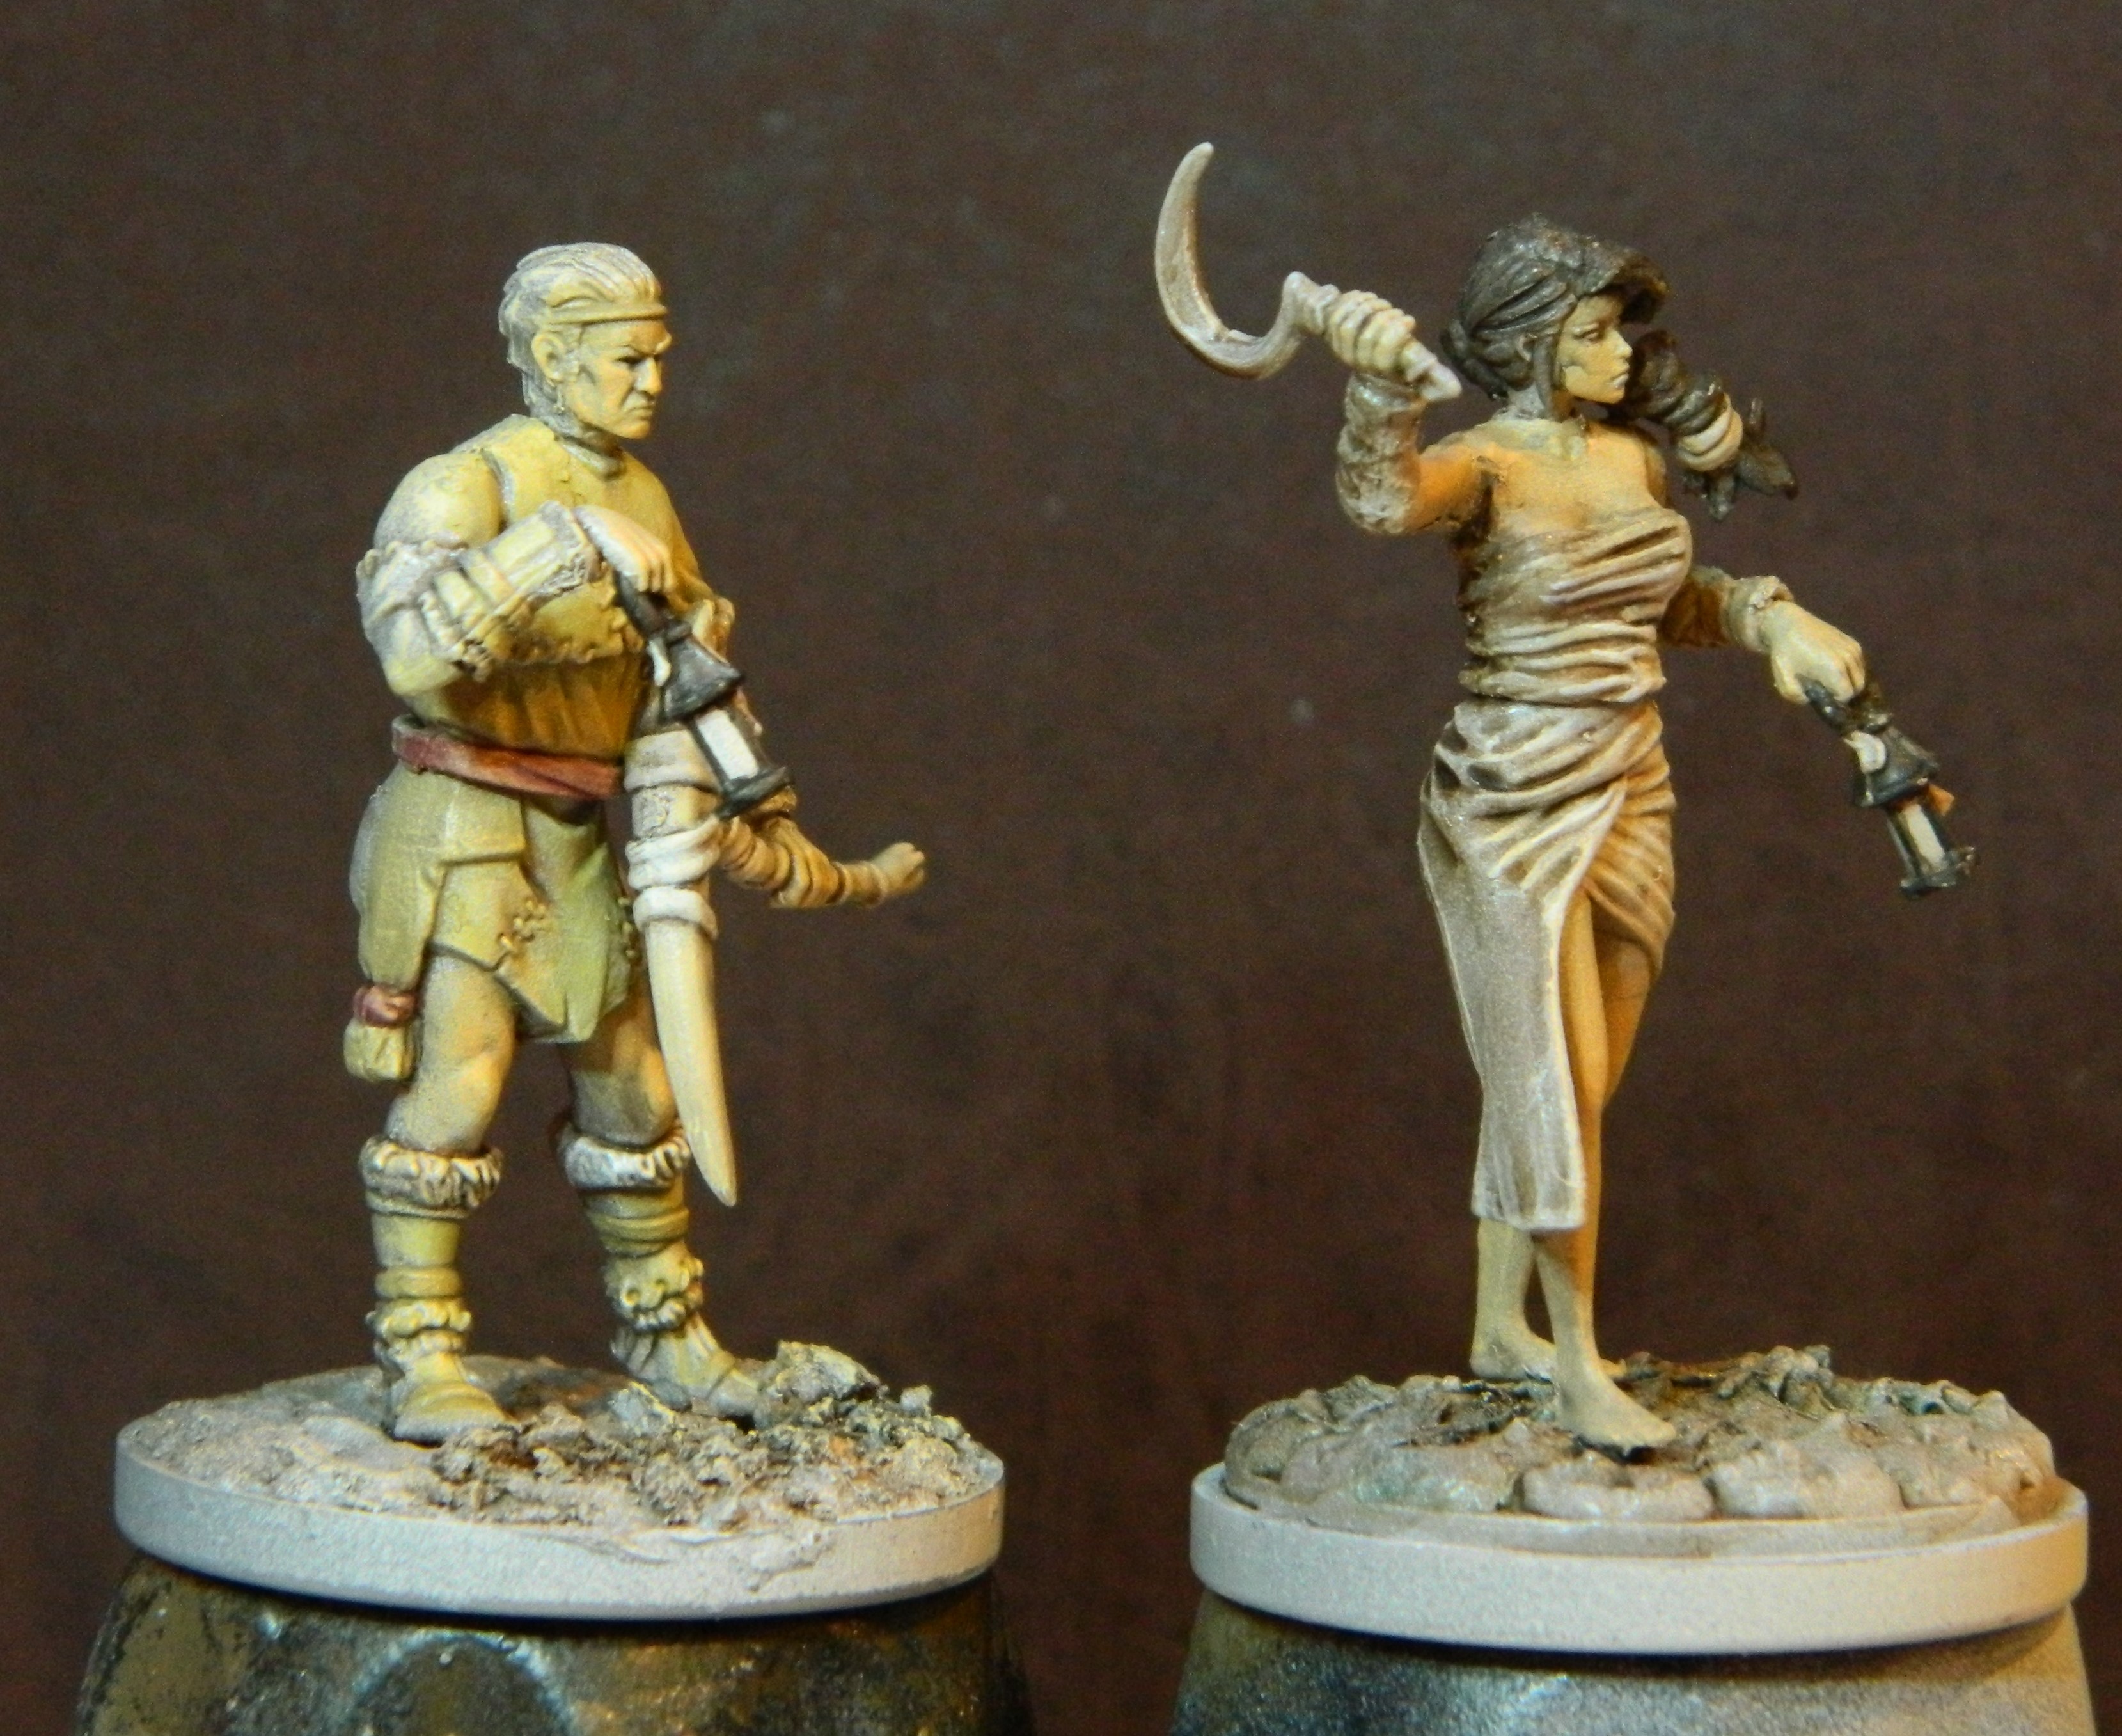
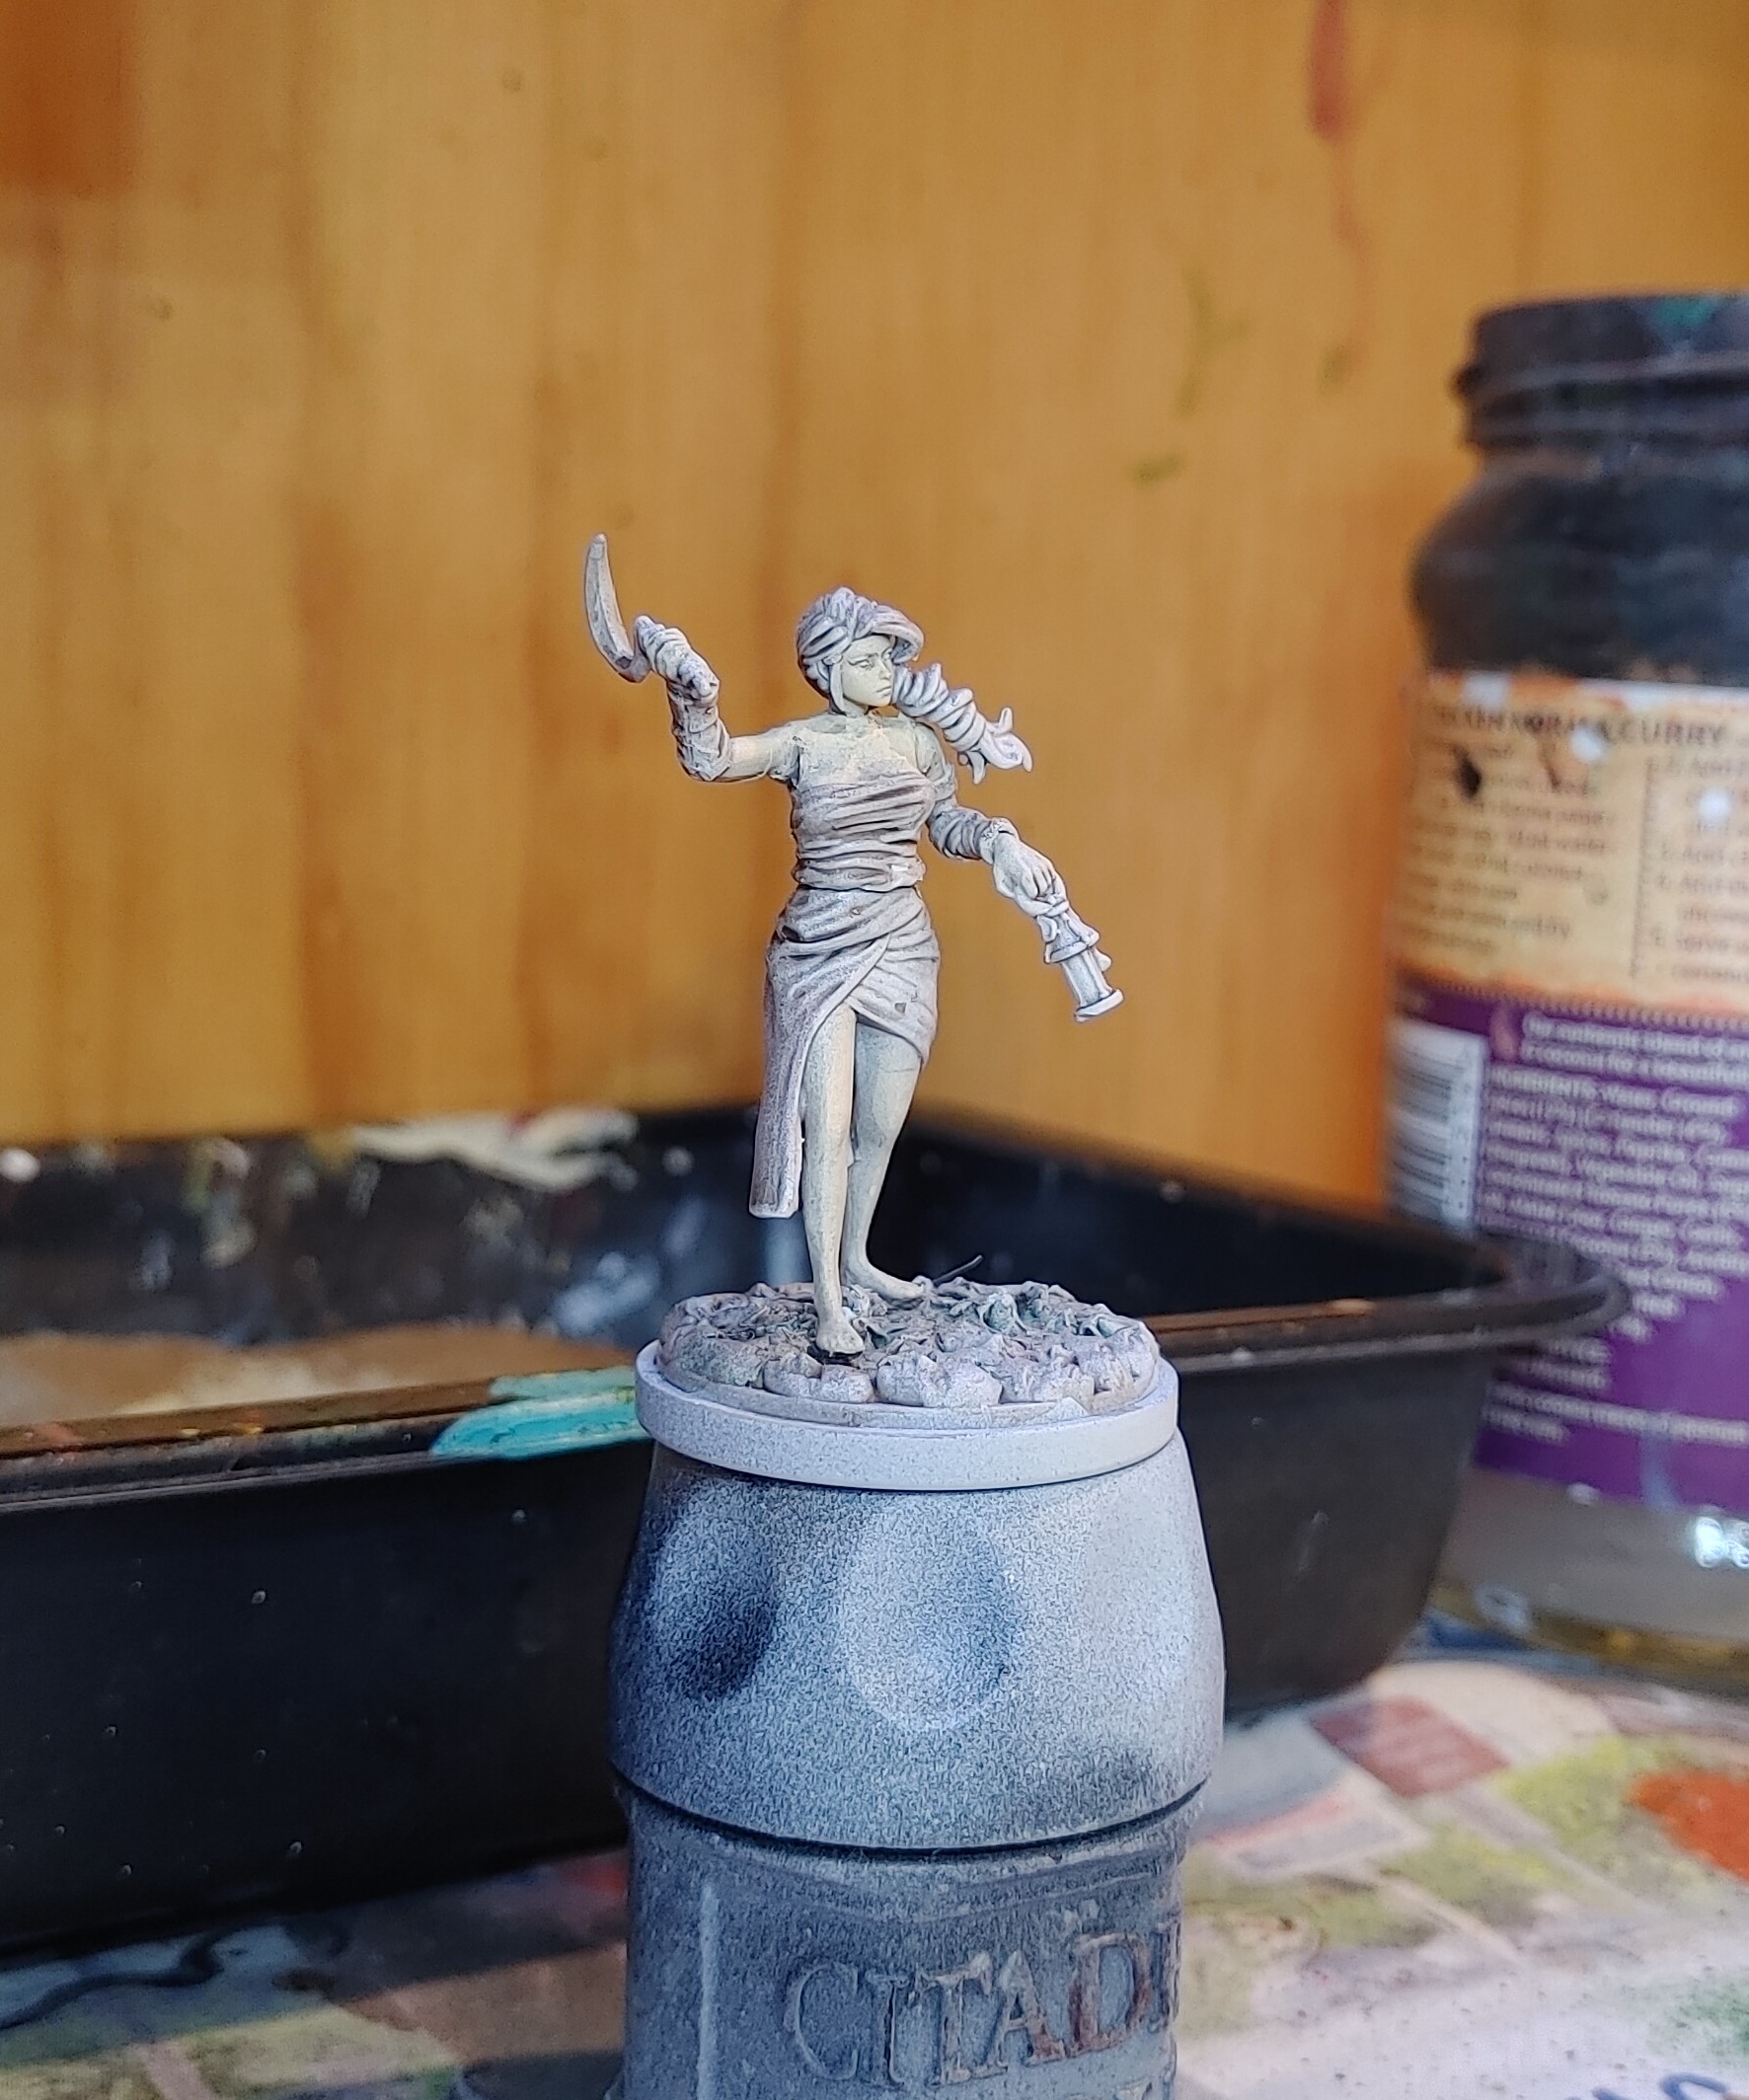
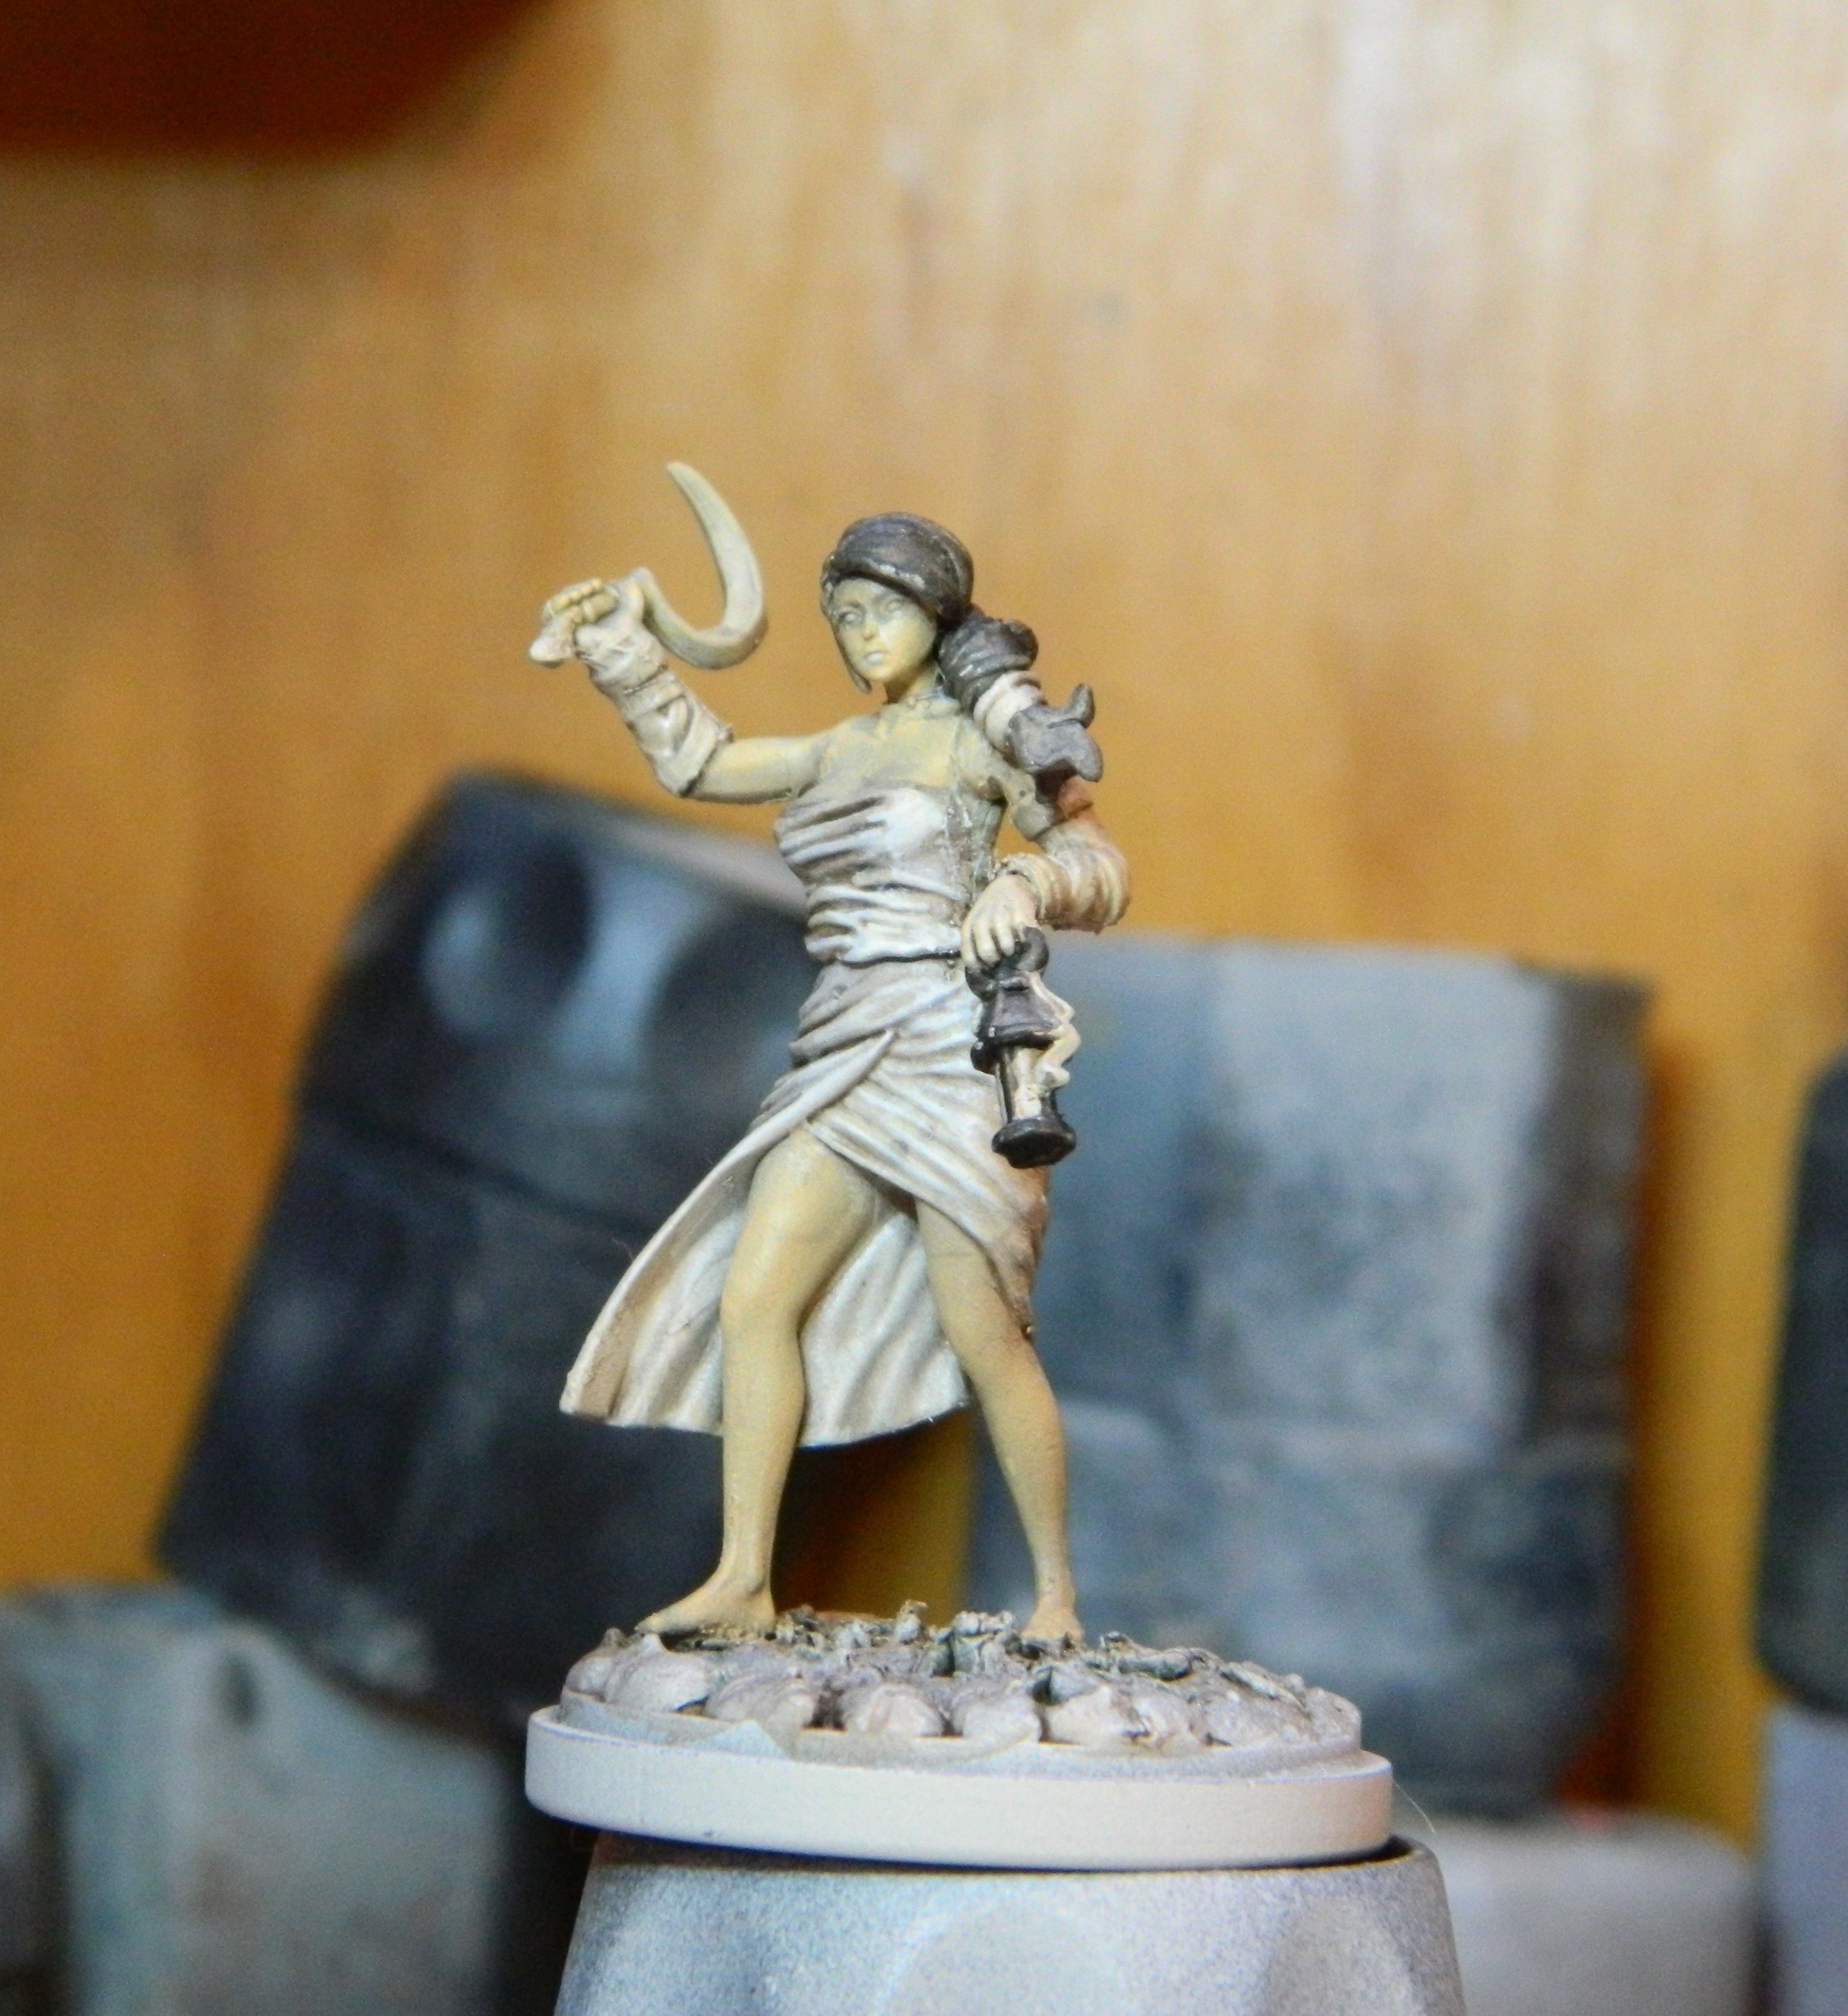
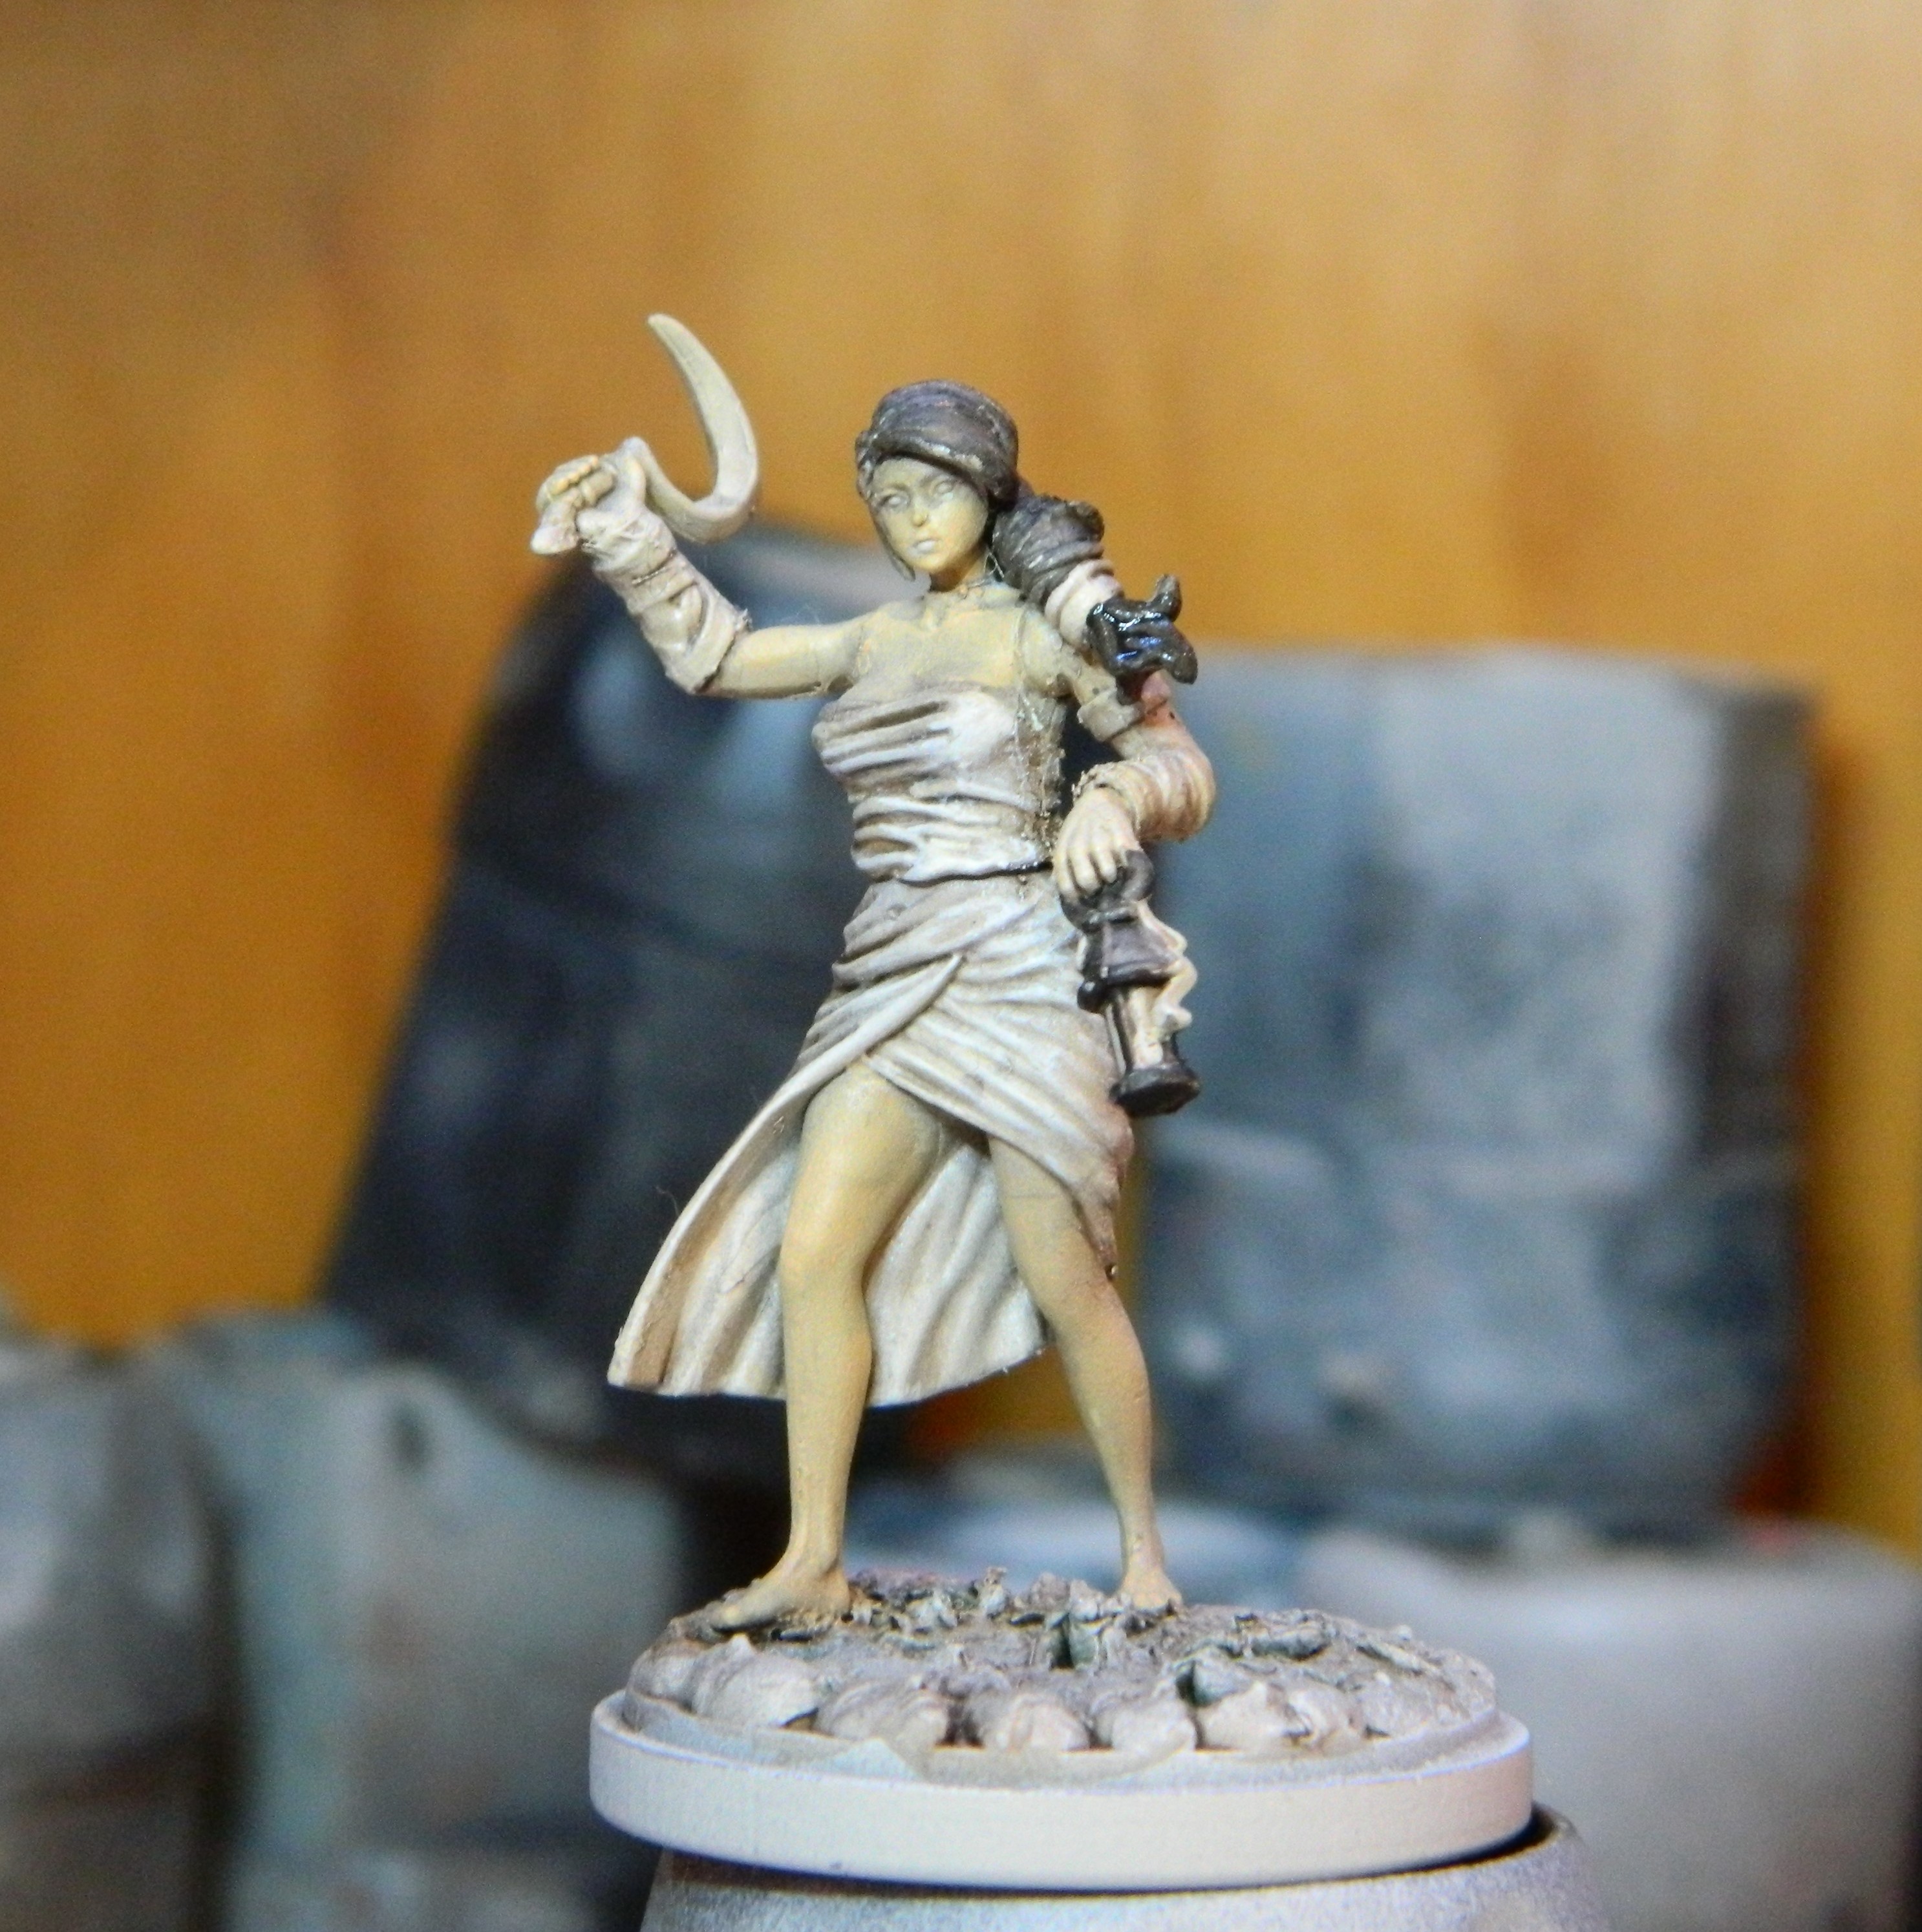
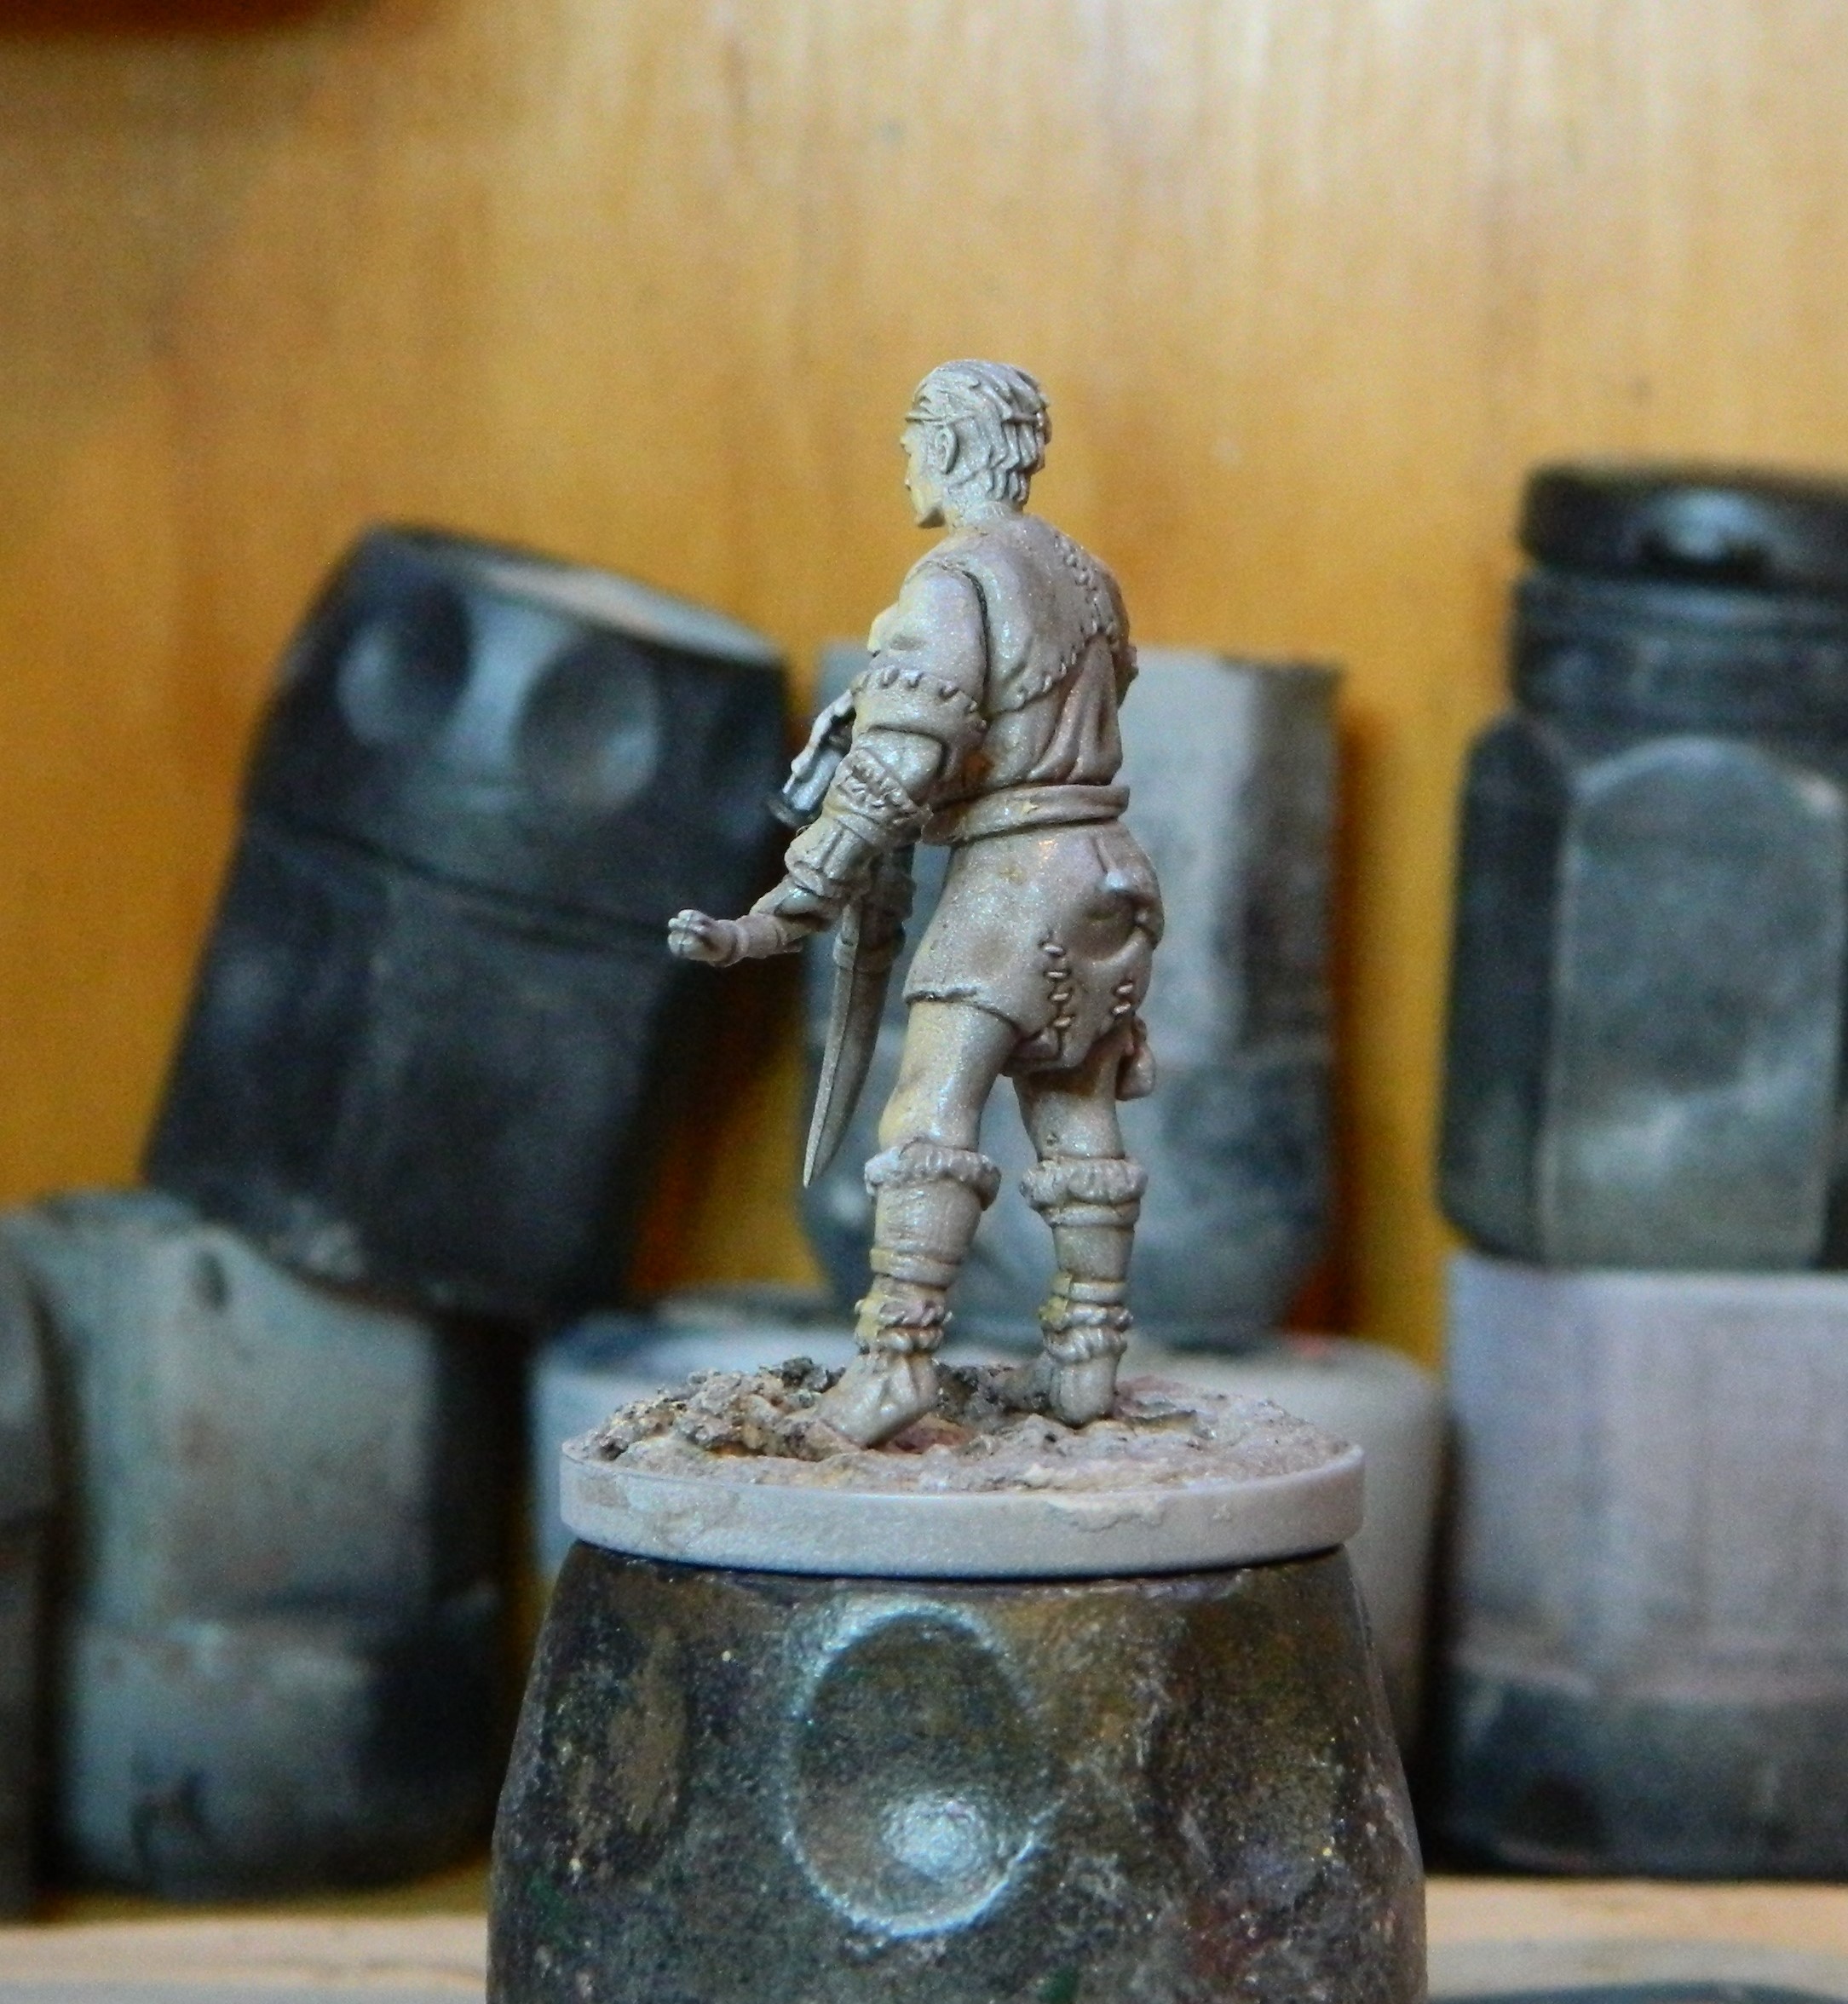
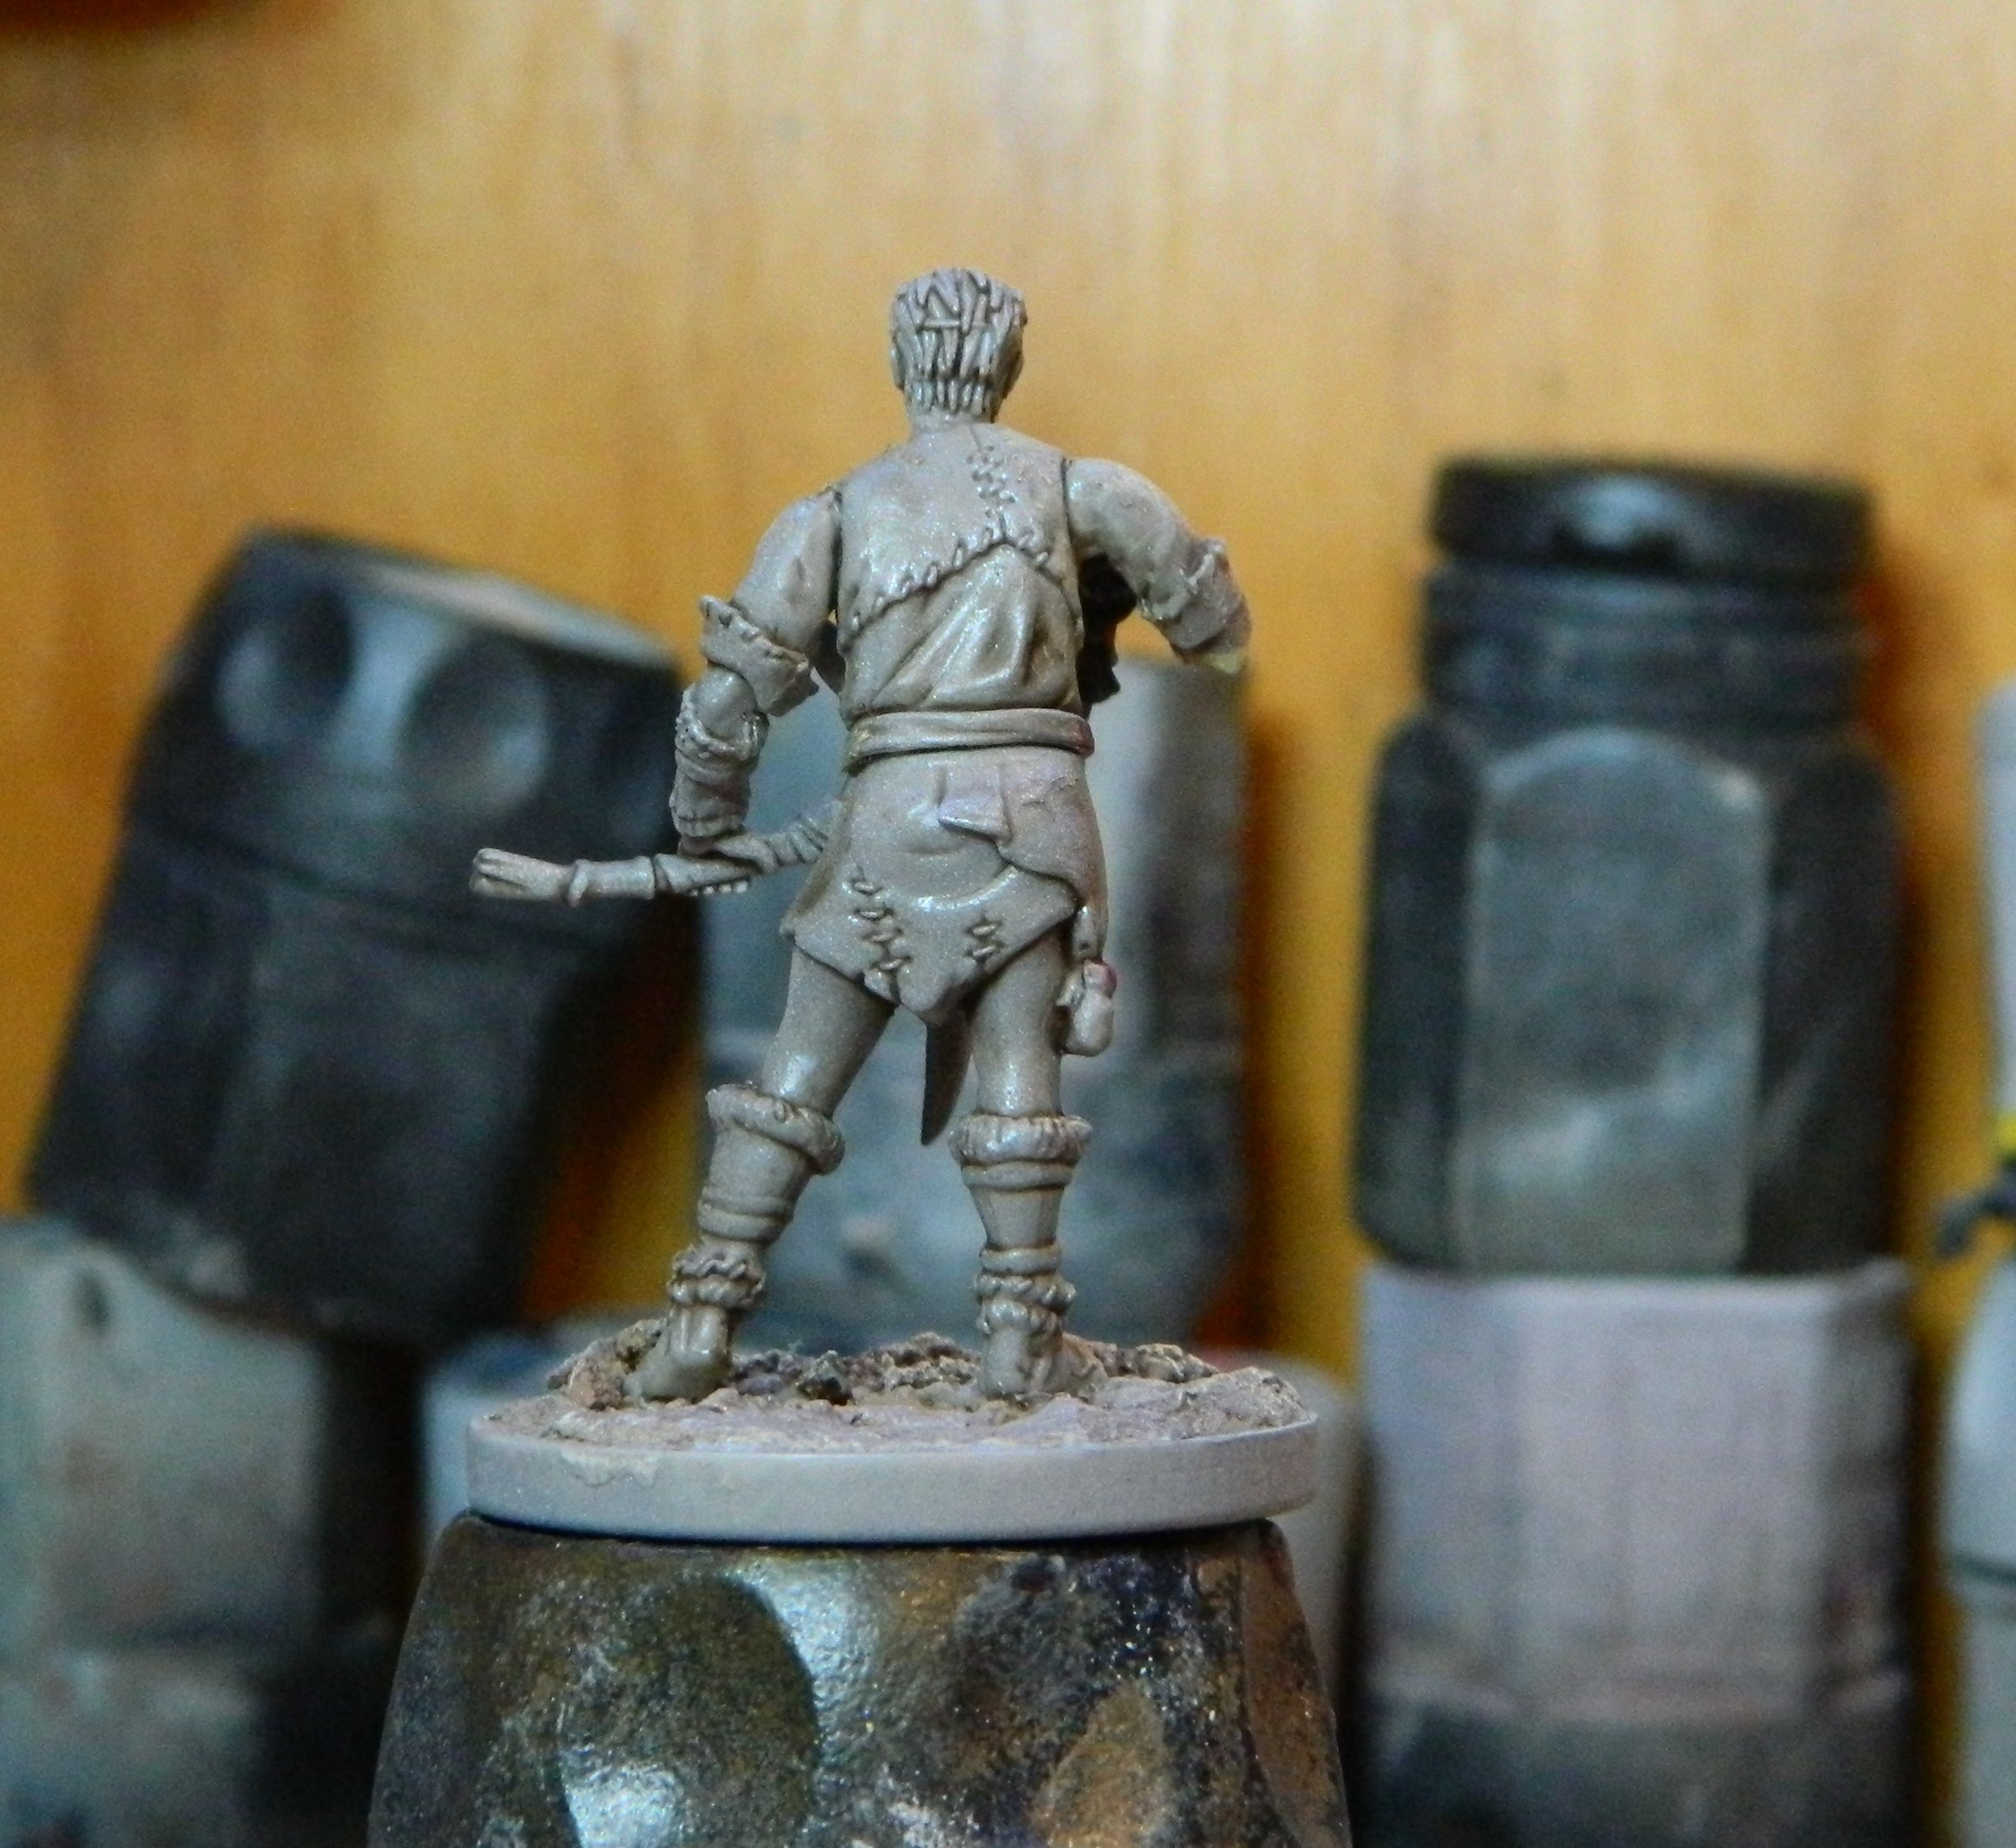
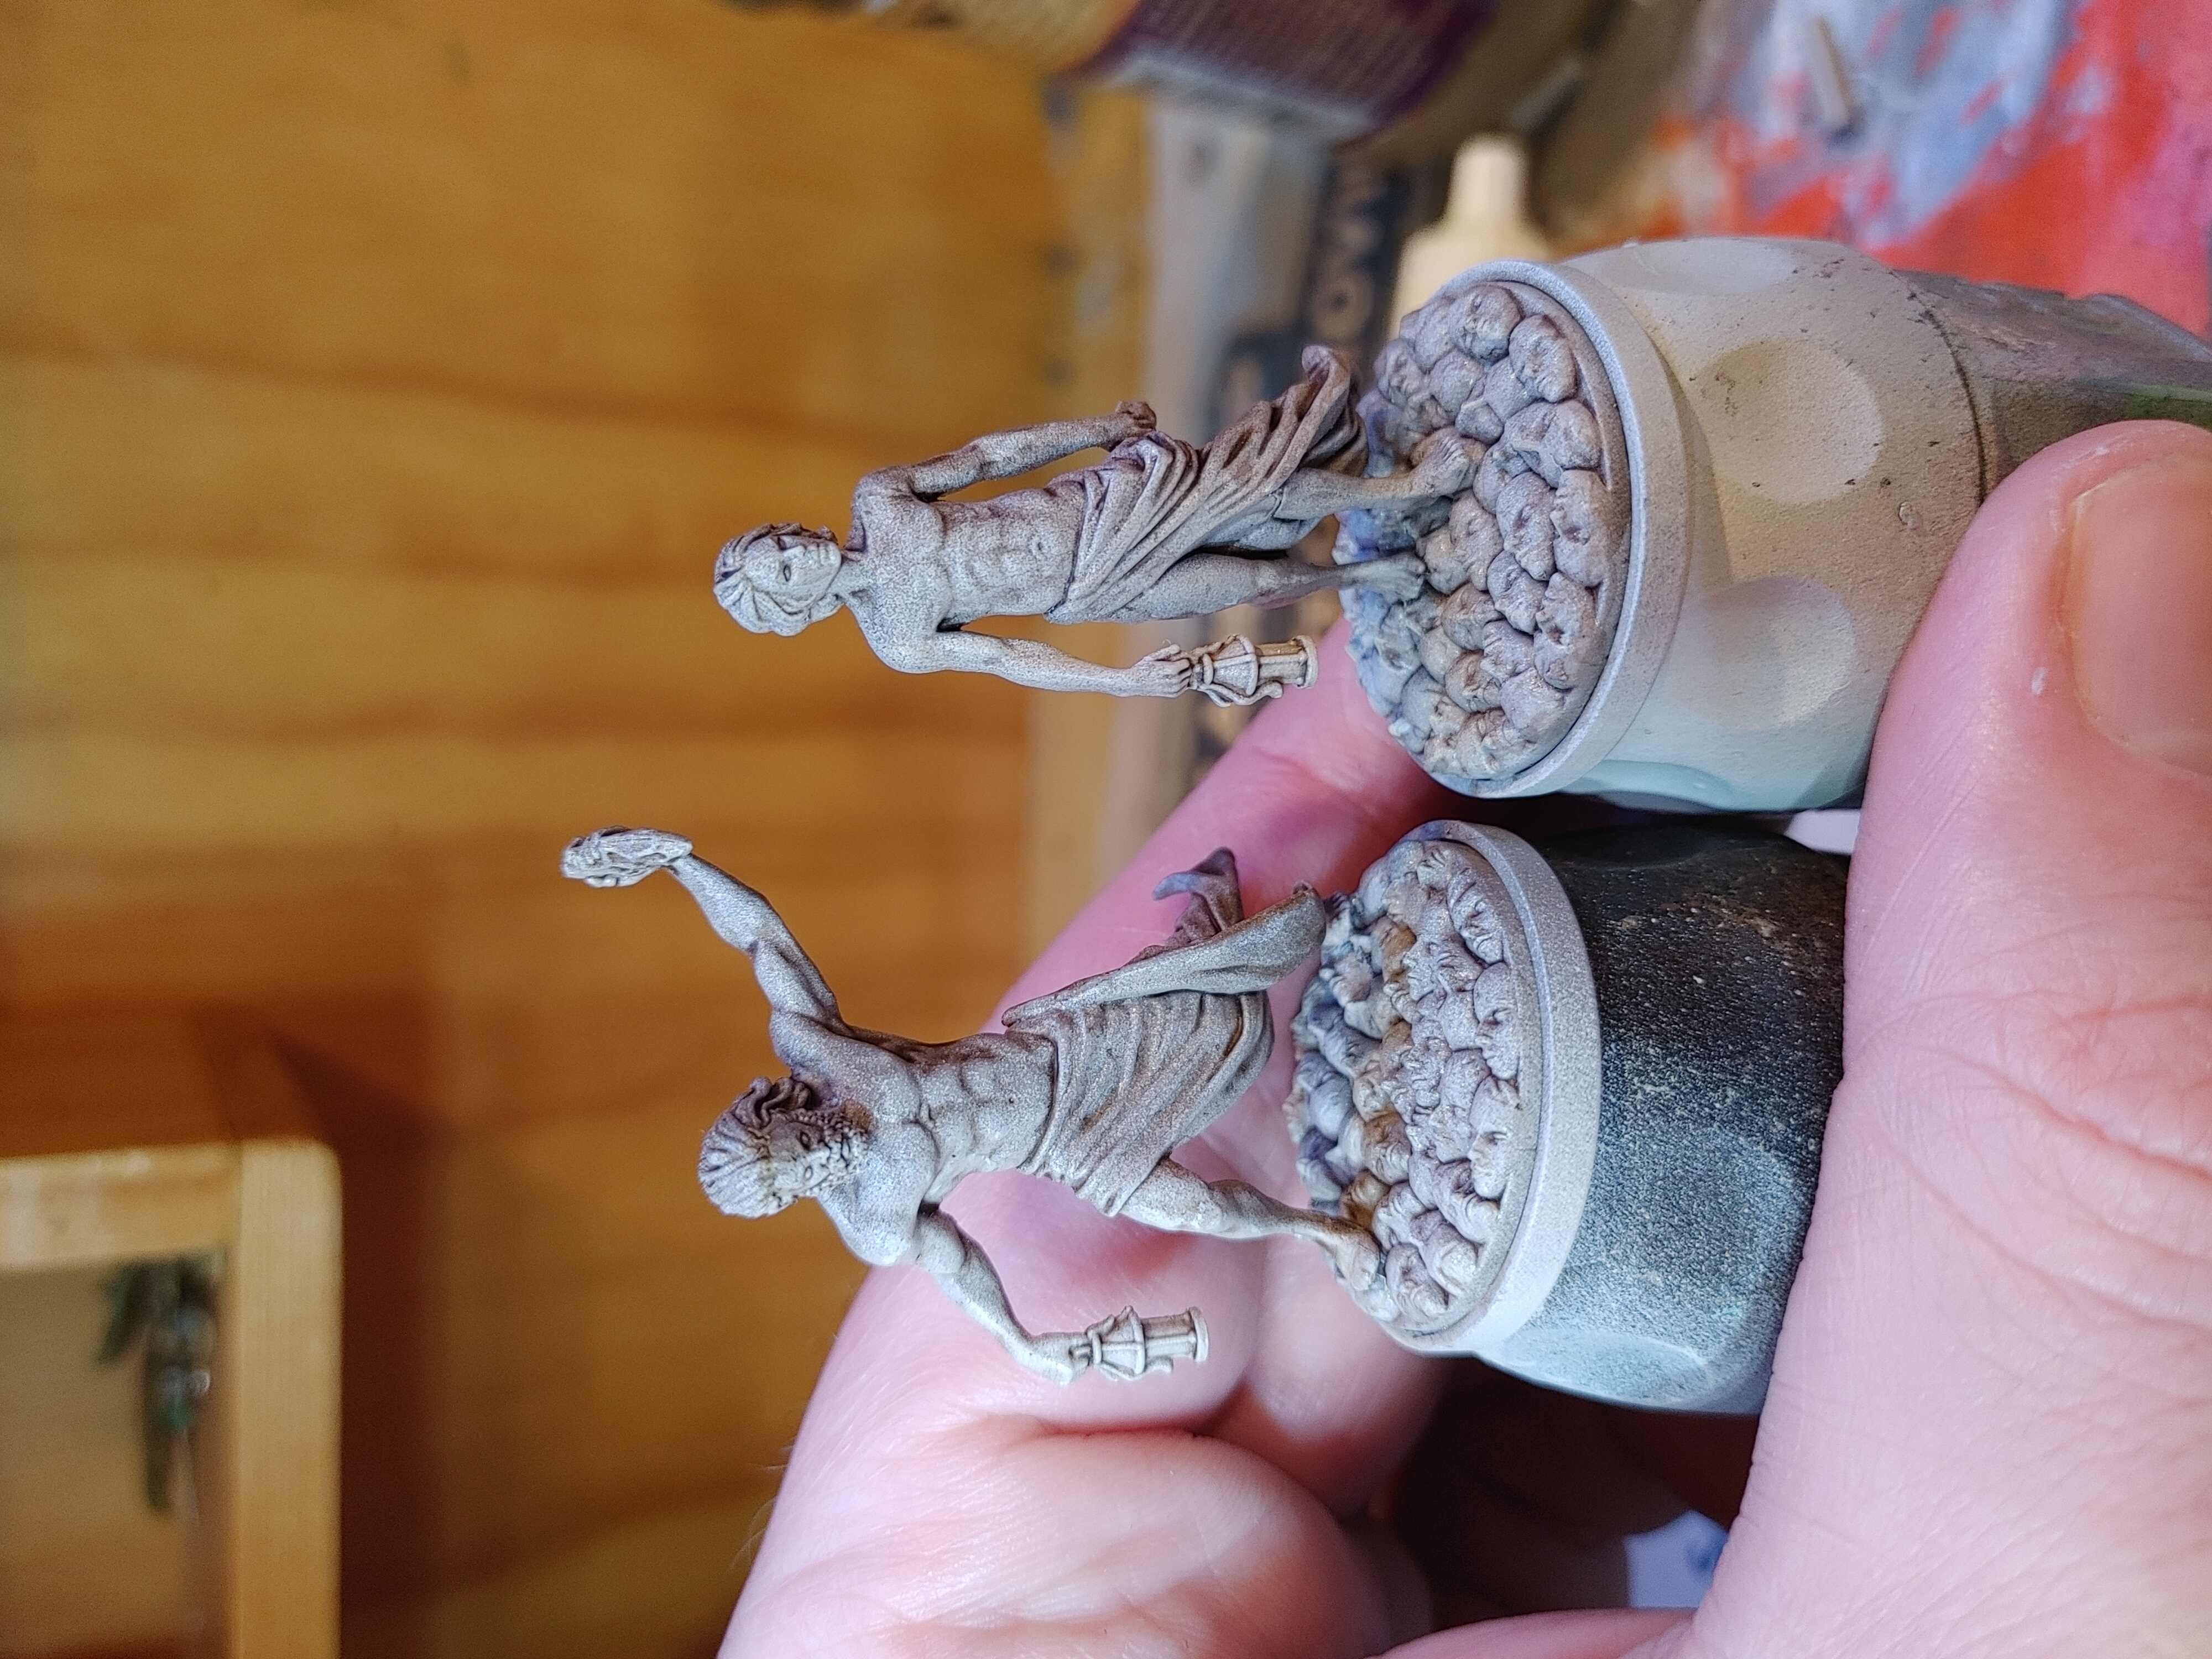
1 Mar 22: The Intimacy Couple
A pair of unnamed survivors, referred to only as the Intimacy couple. Represented in artwork in the game, and later other miniatures from Kingdom Death.
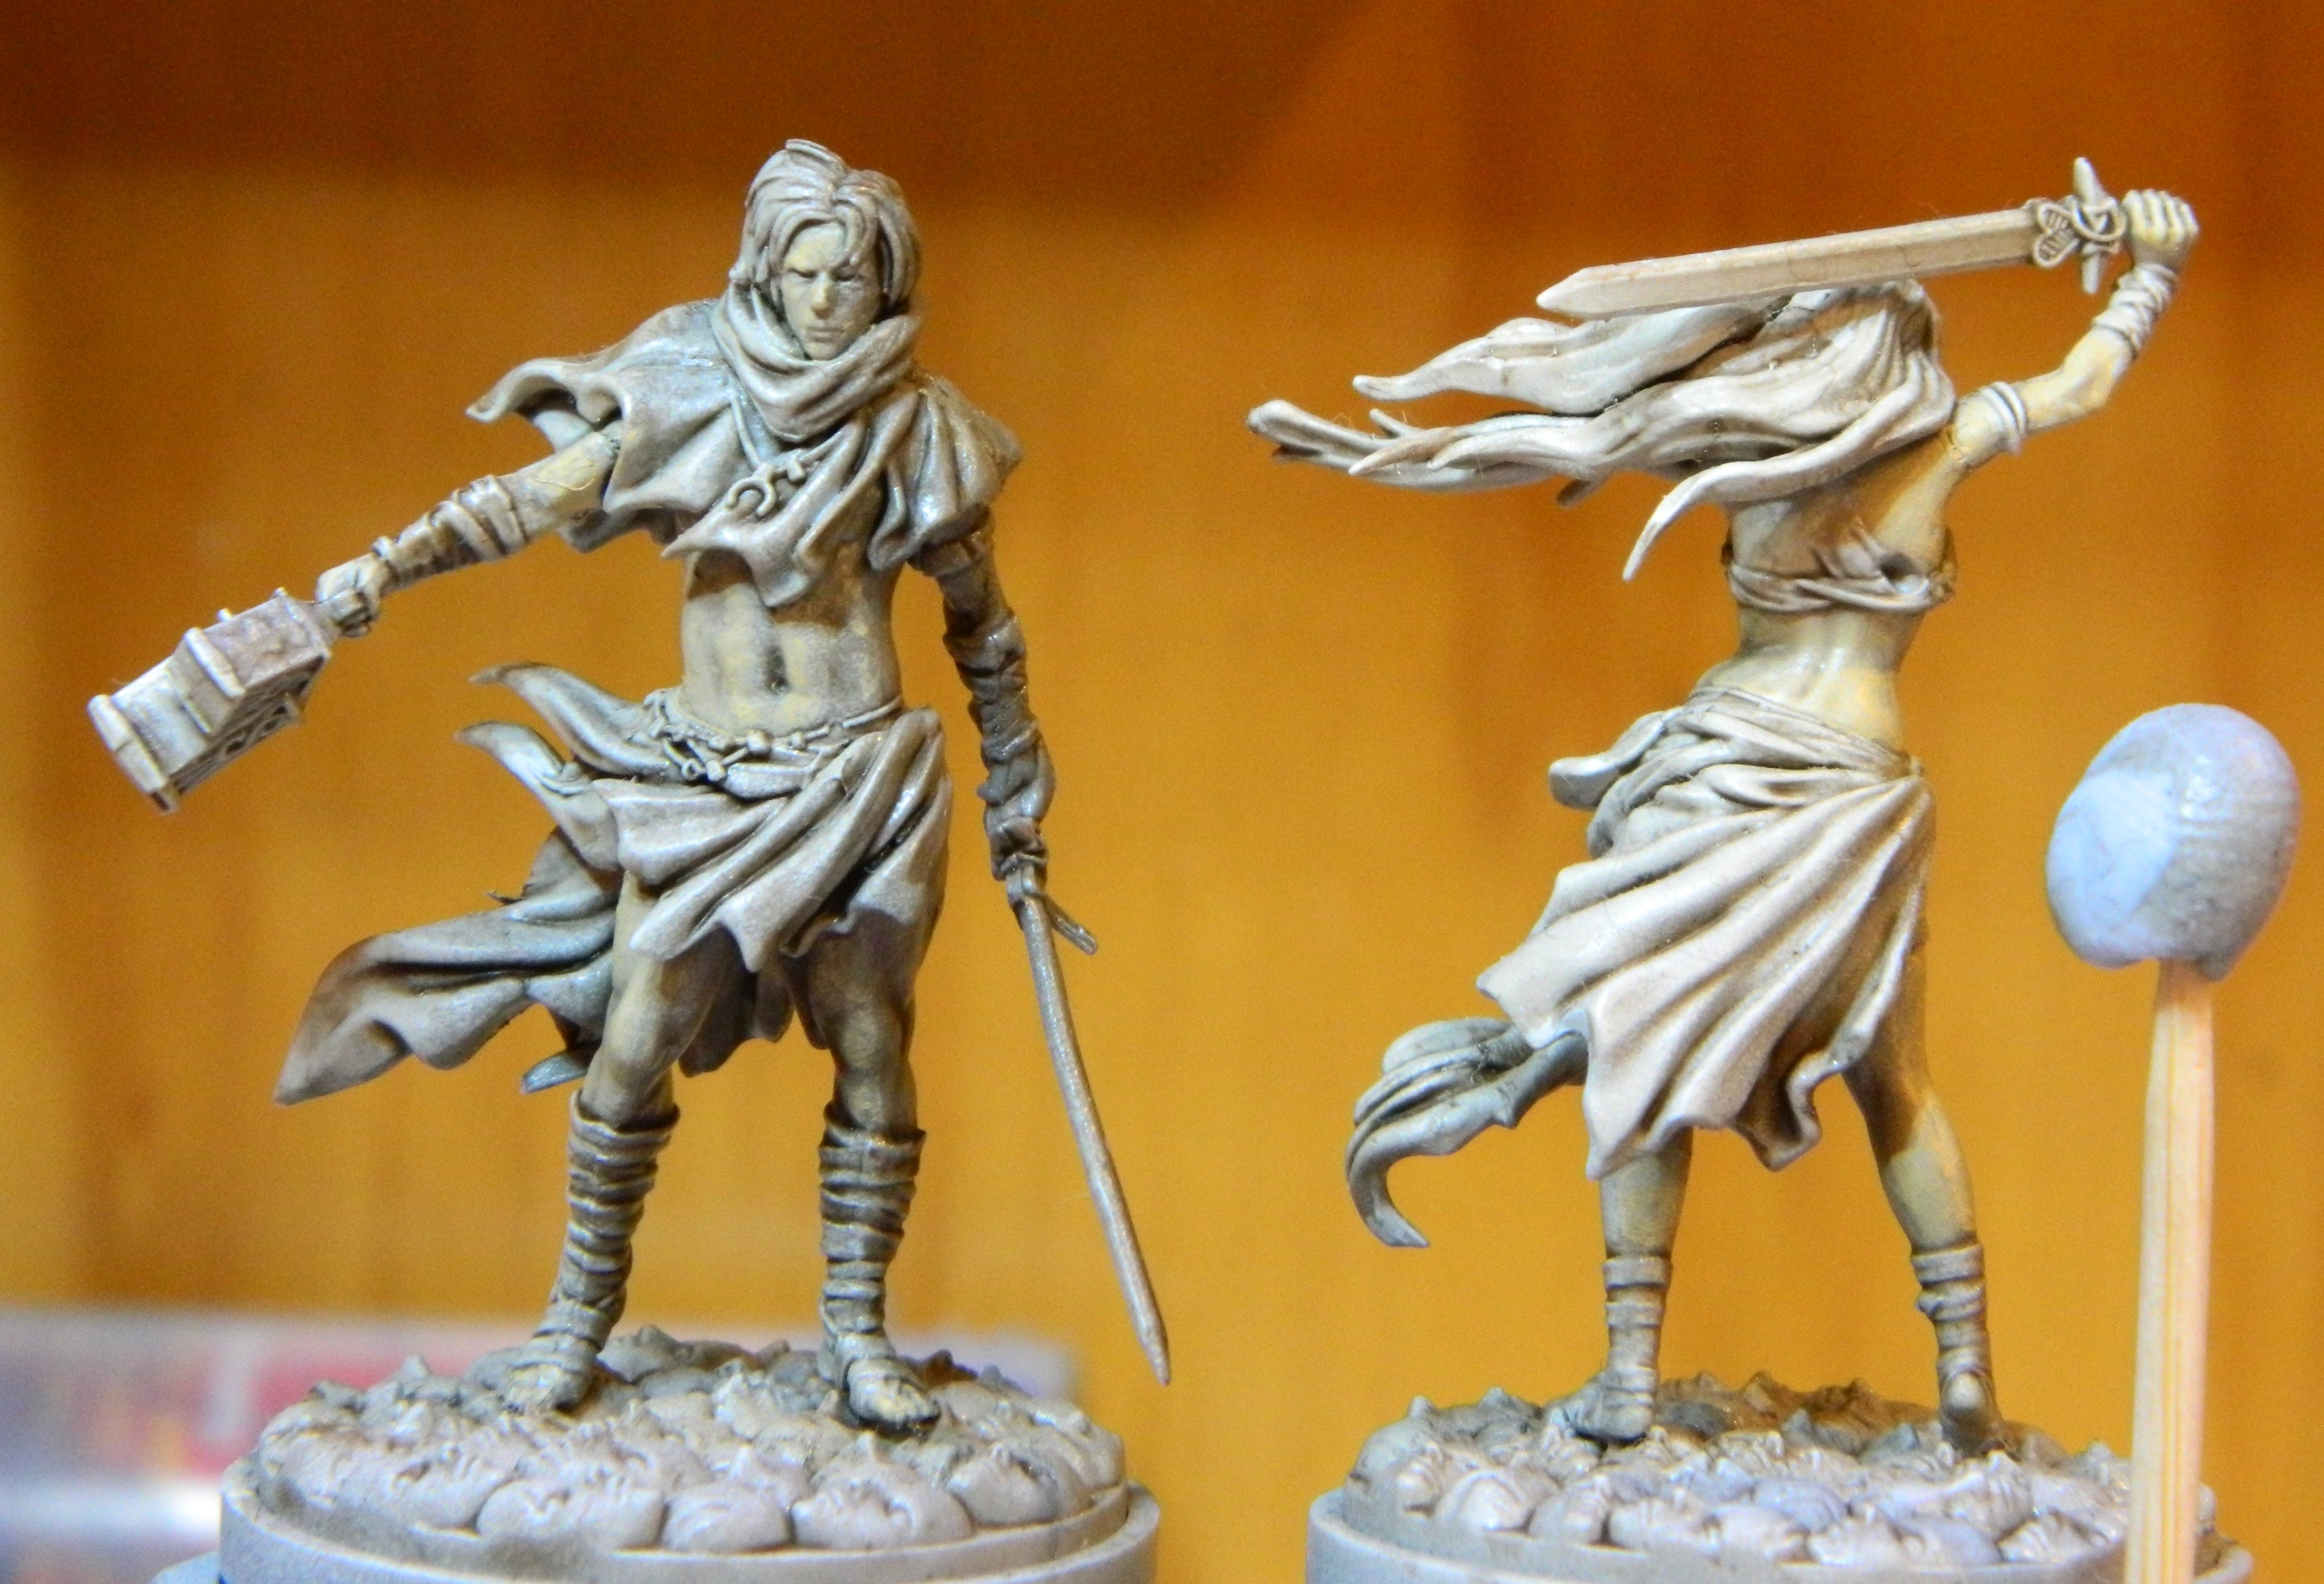 Skin tone glazed in, three layers. The blob on the toothpick represents the light source.
Same base steps so far as the previous minis, grey primer, white zenithal spray, multiple coats of shade.
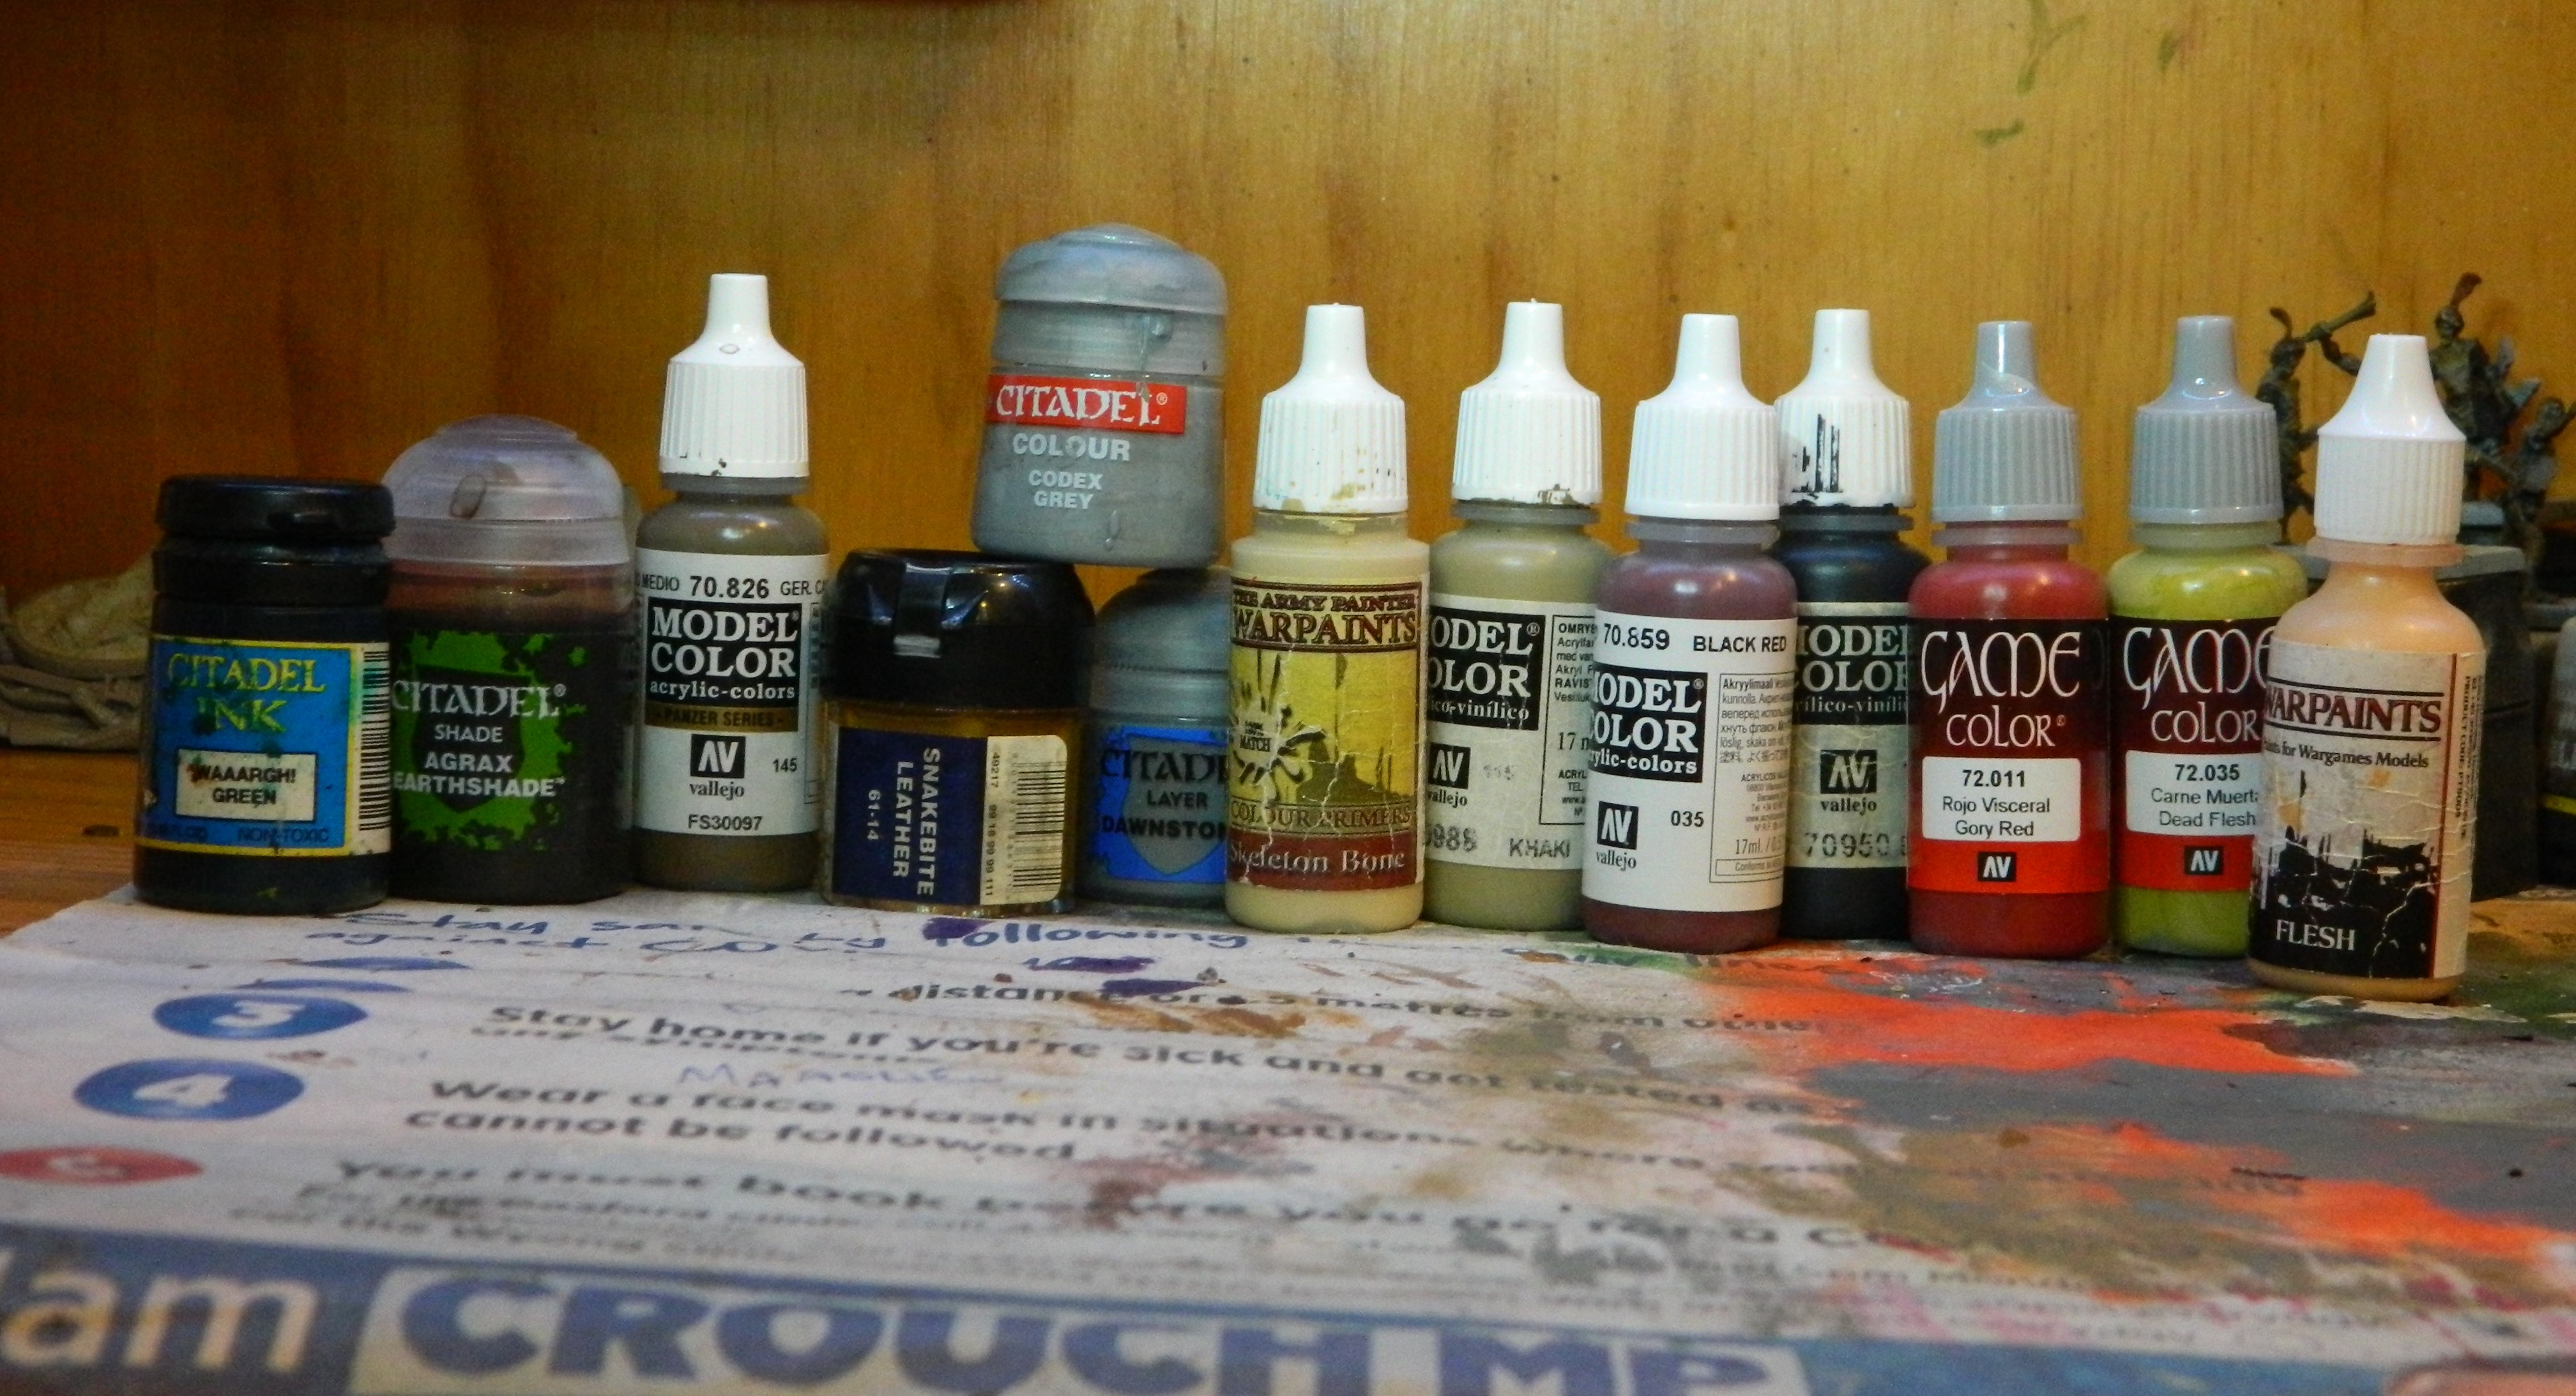
Skin colour used is the Mantic/ Warpaints Flesh colour.
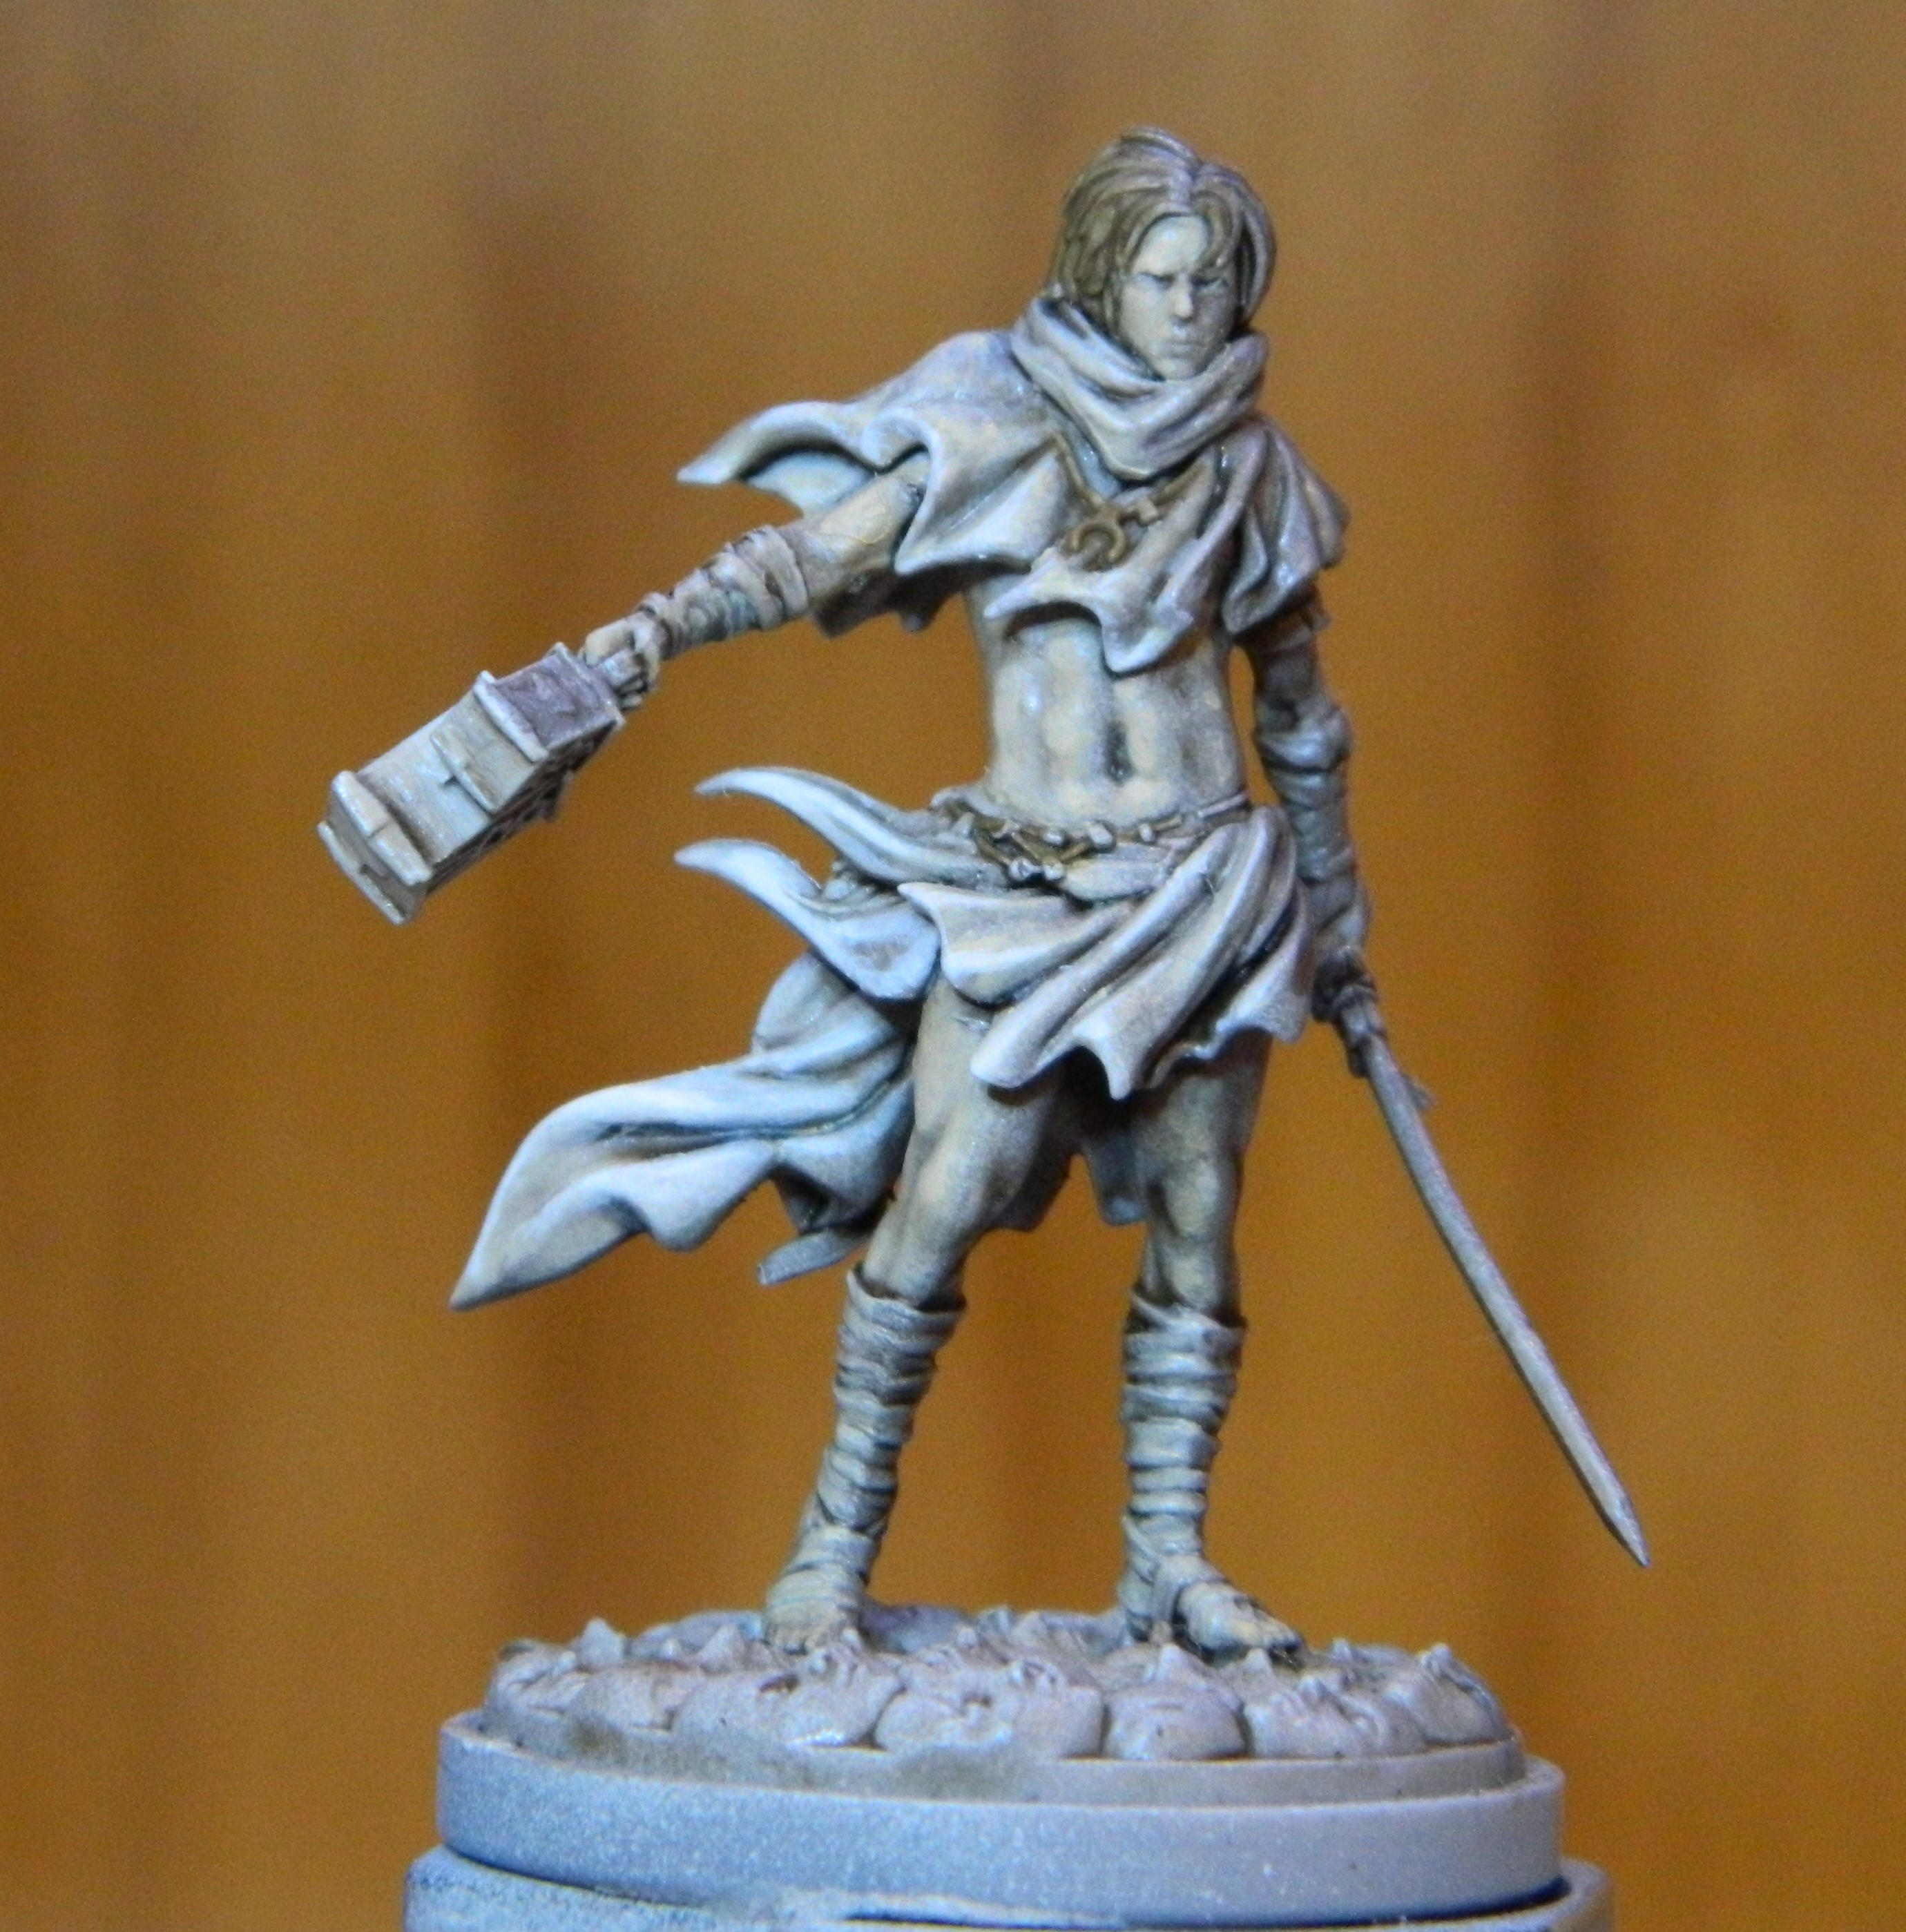
Since these two miniatures can be posed together, the light source is the two lanterns being held by the male. I’ve based them separately though to use for gameplay. I have stuck the blob of blue-tac on a cocktail stick to the side of the female miniature’s base to mark where the light source is.
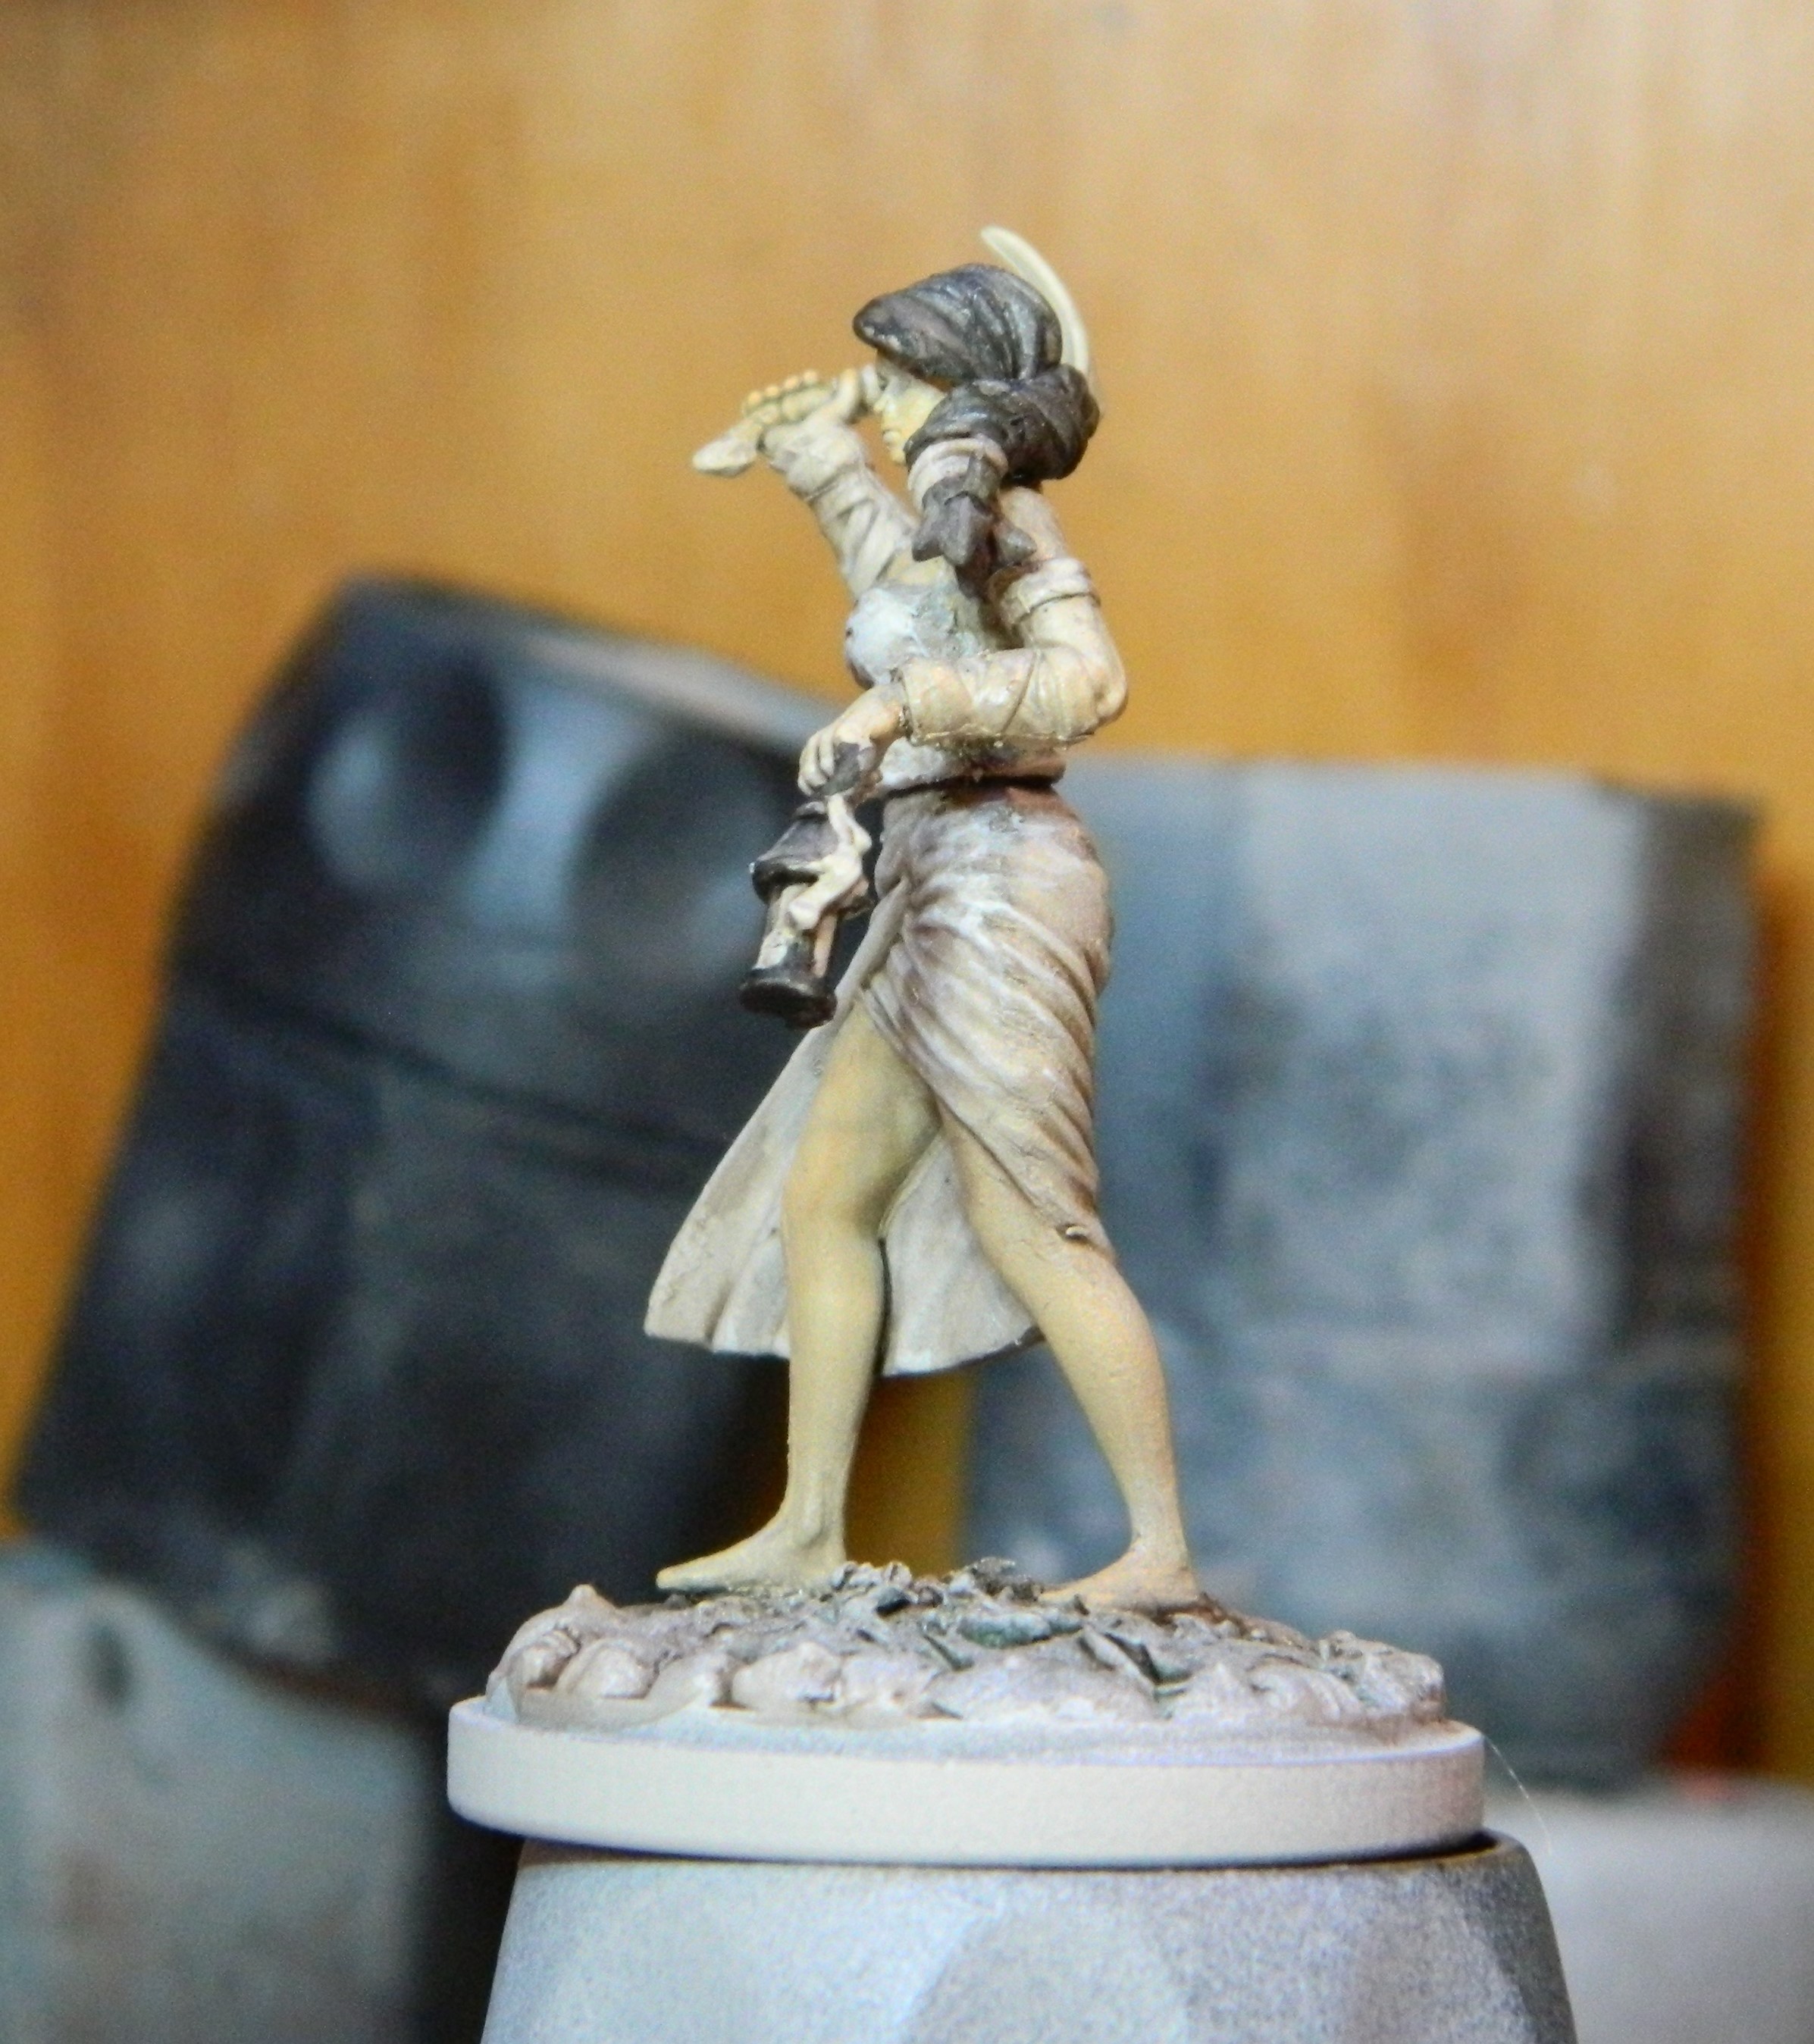
7 Mar 22: Progress

The cloth was a glaze of Army Painter Skeleton Bone, then later Vallejo Ivory for the highlights.
Base coats of Vallejo German Camo Mid Brown for the hair on both and various trinkets.
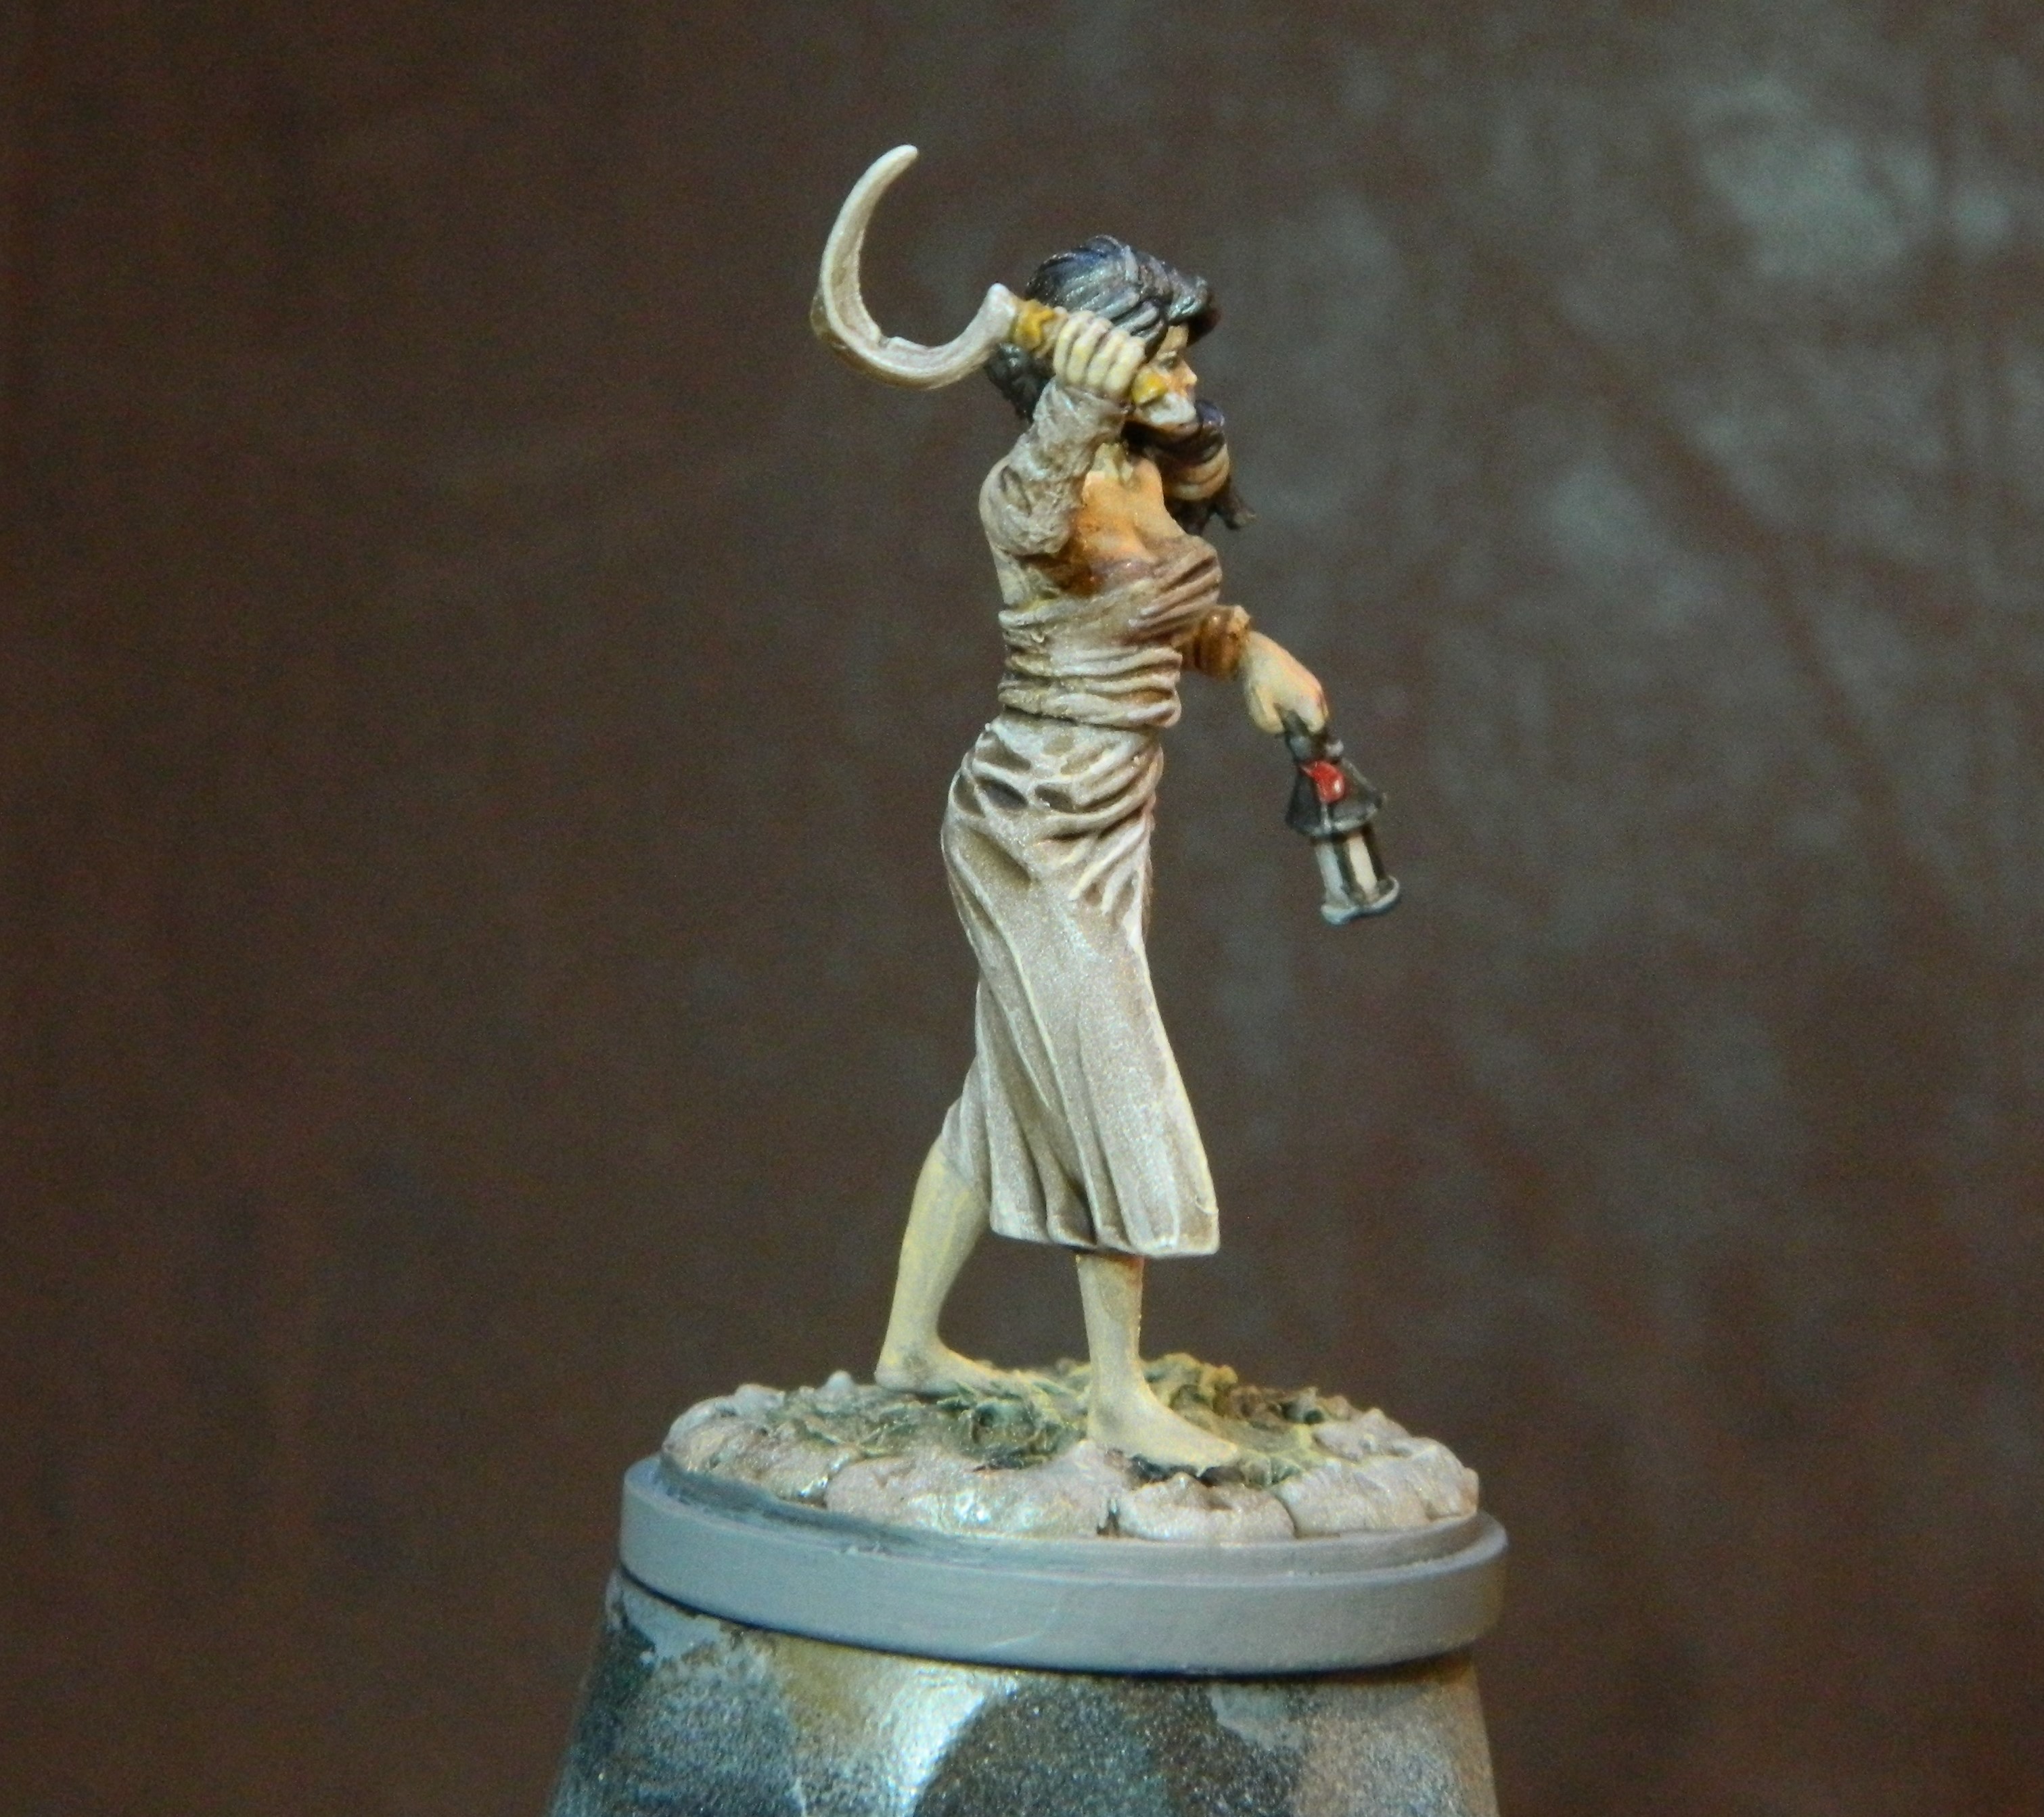
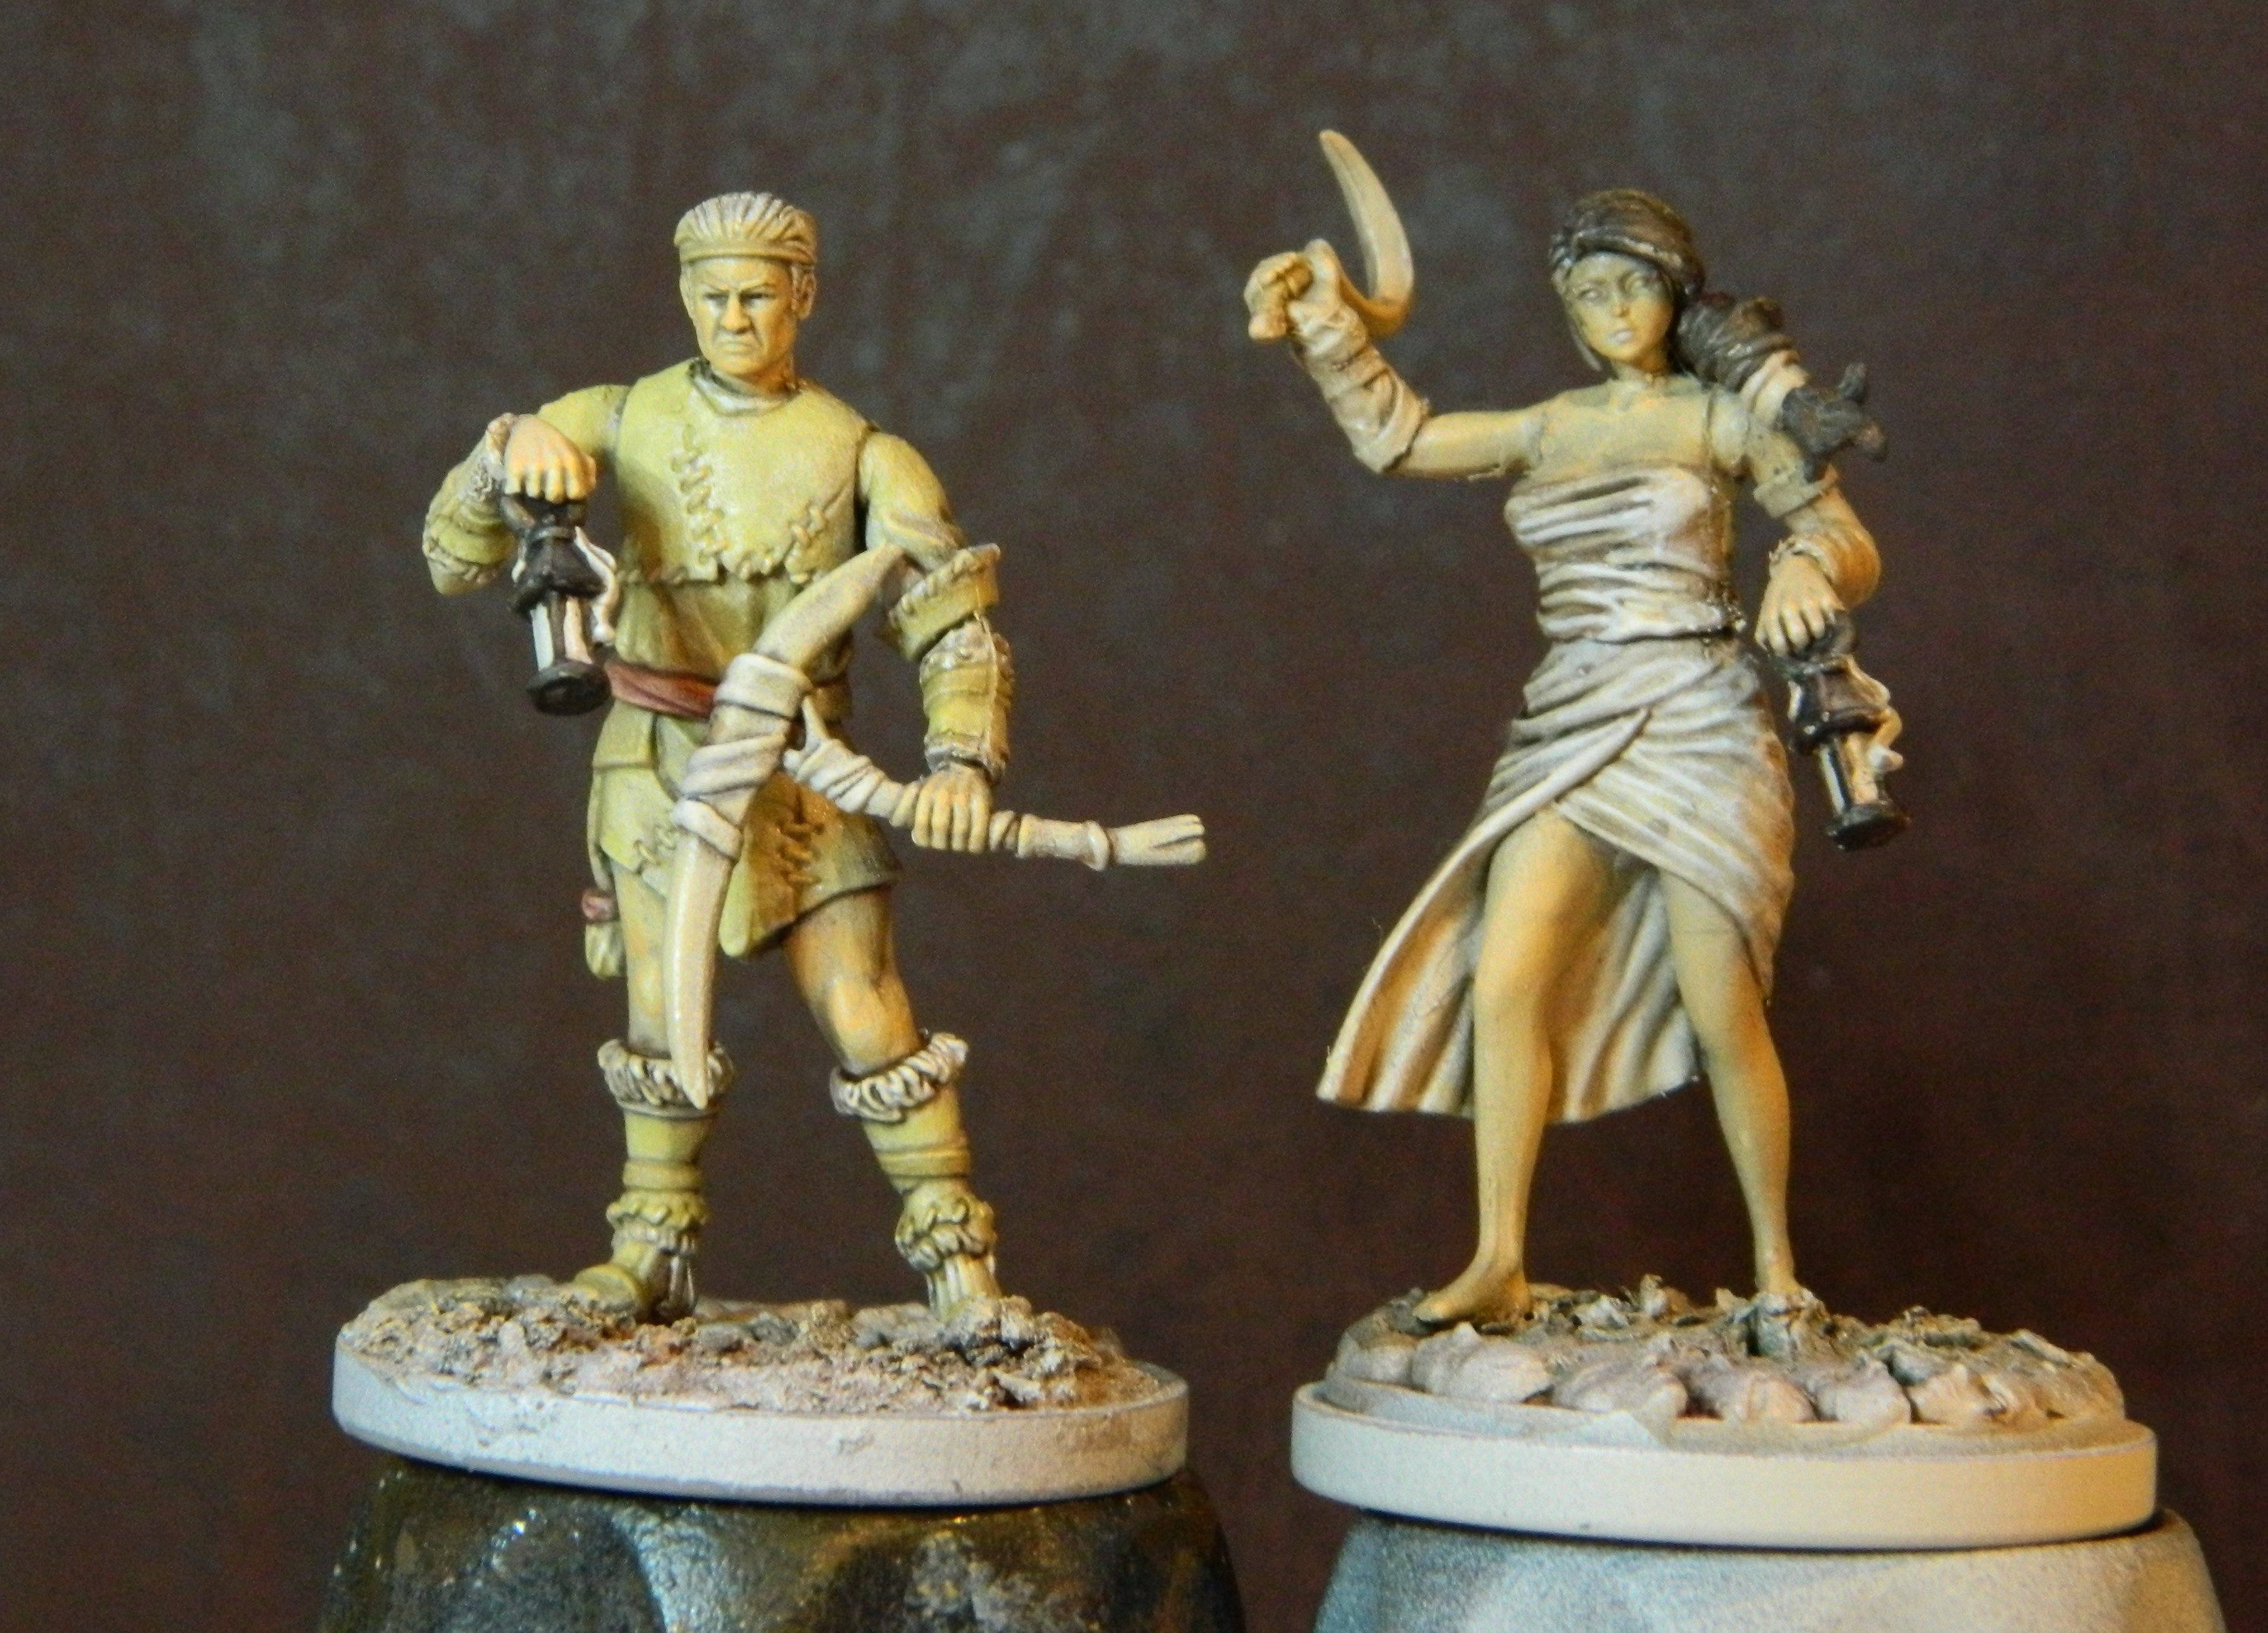
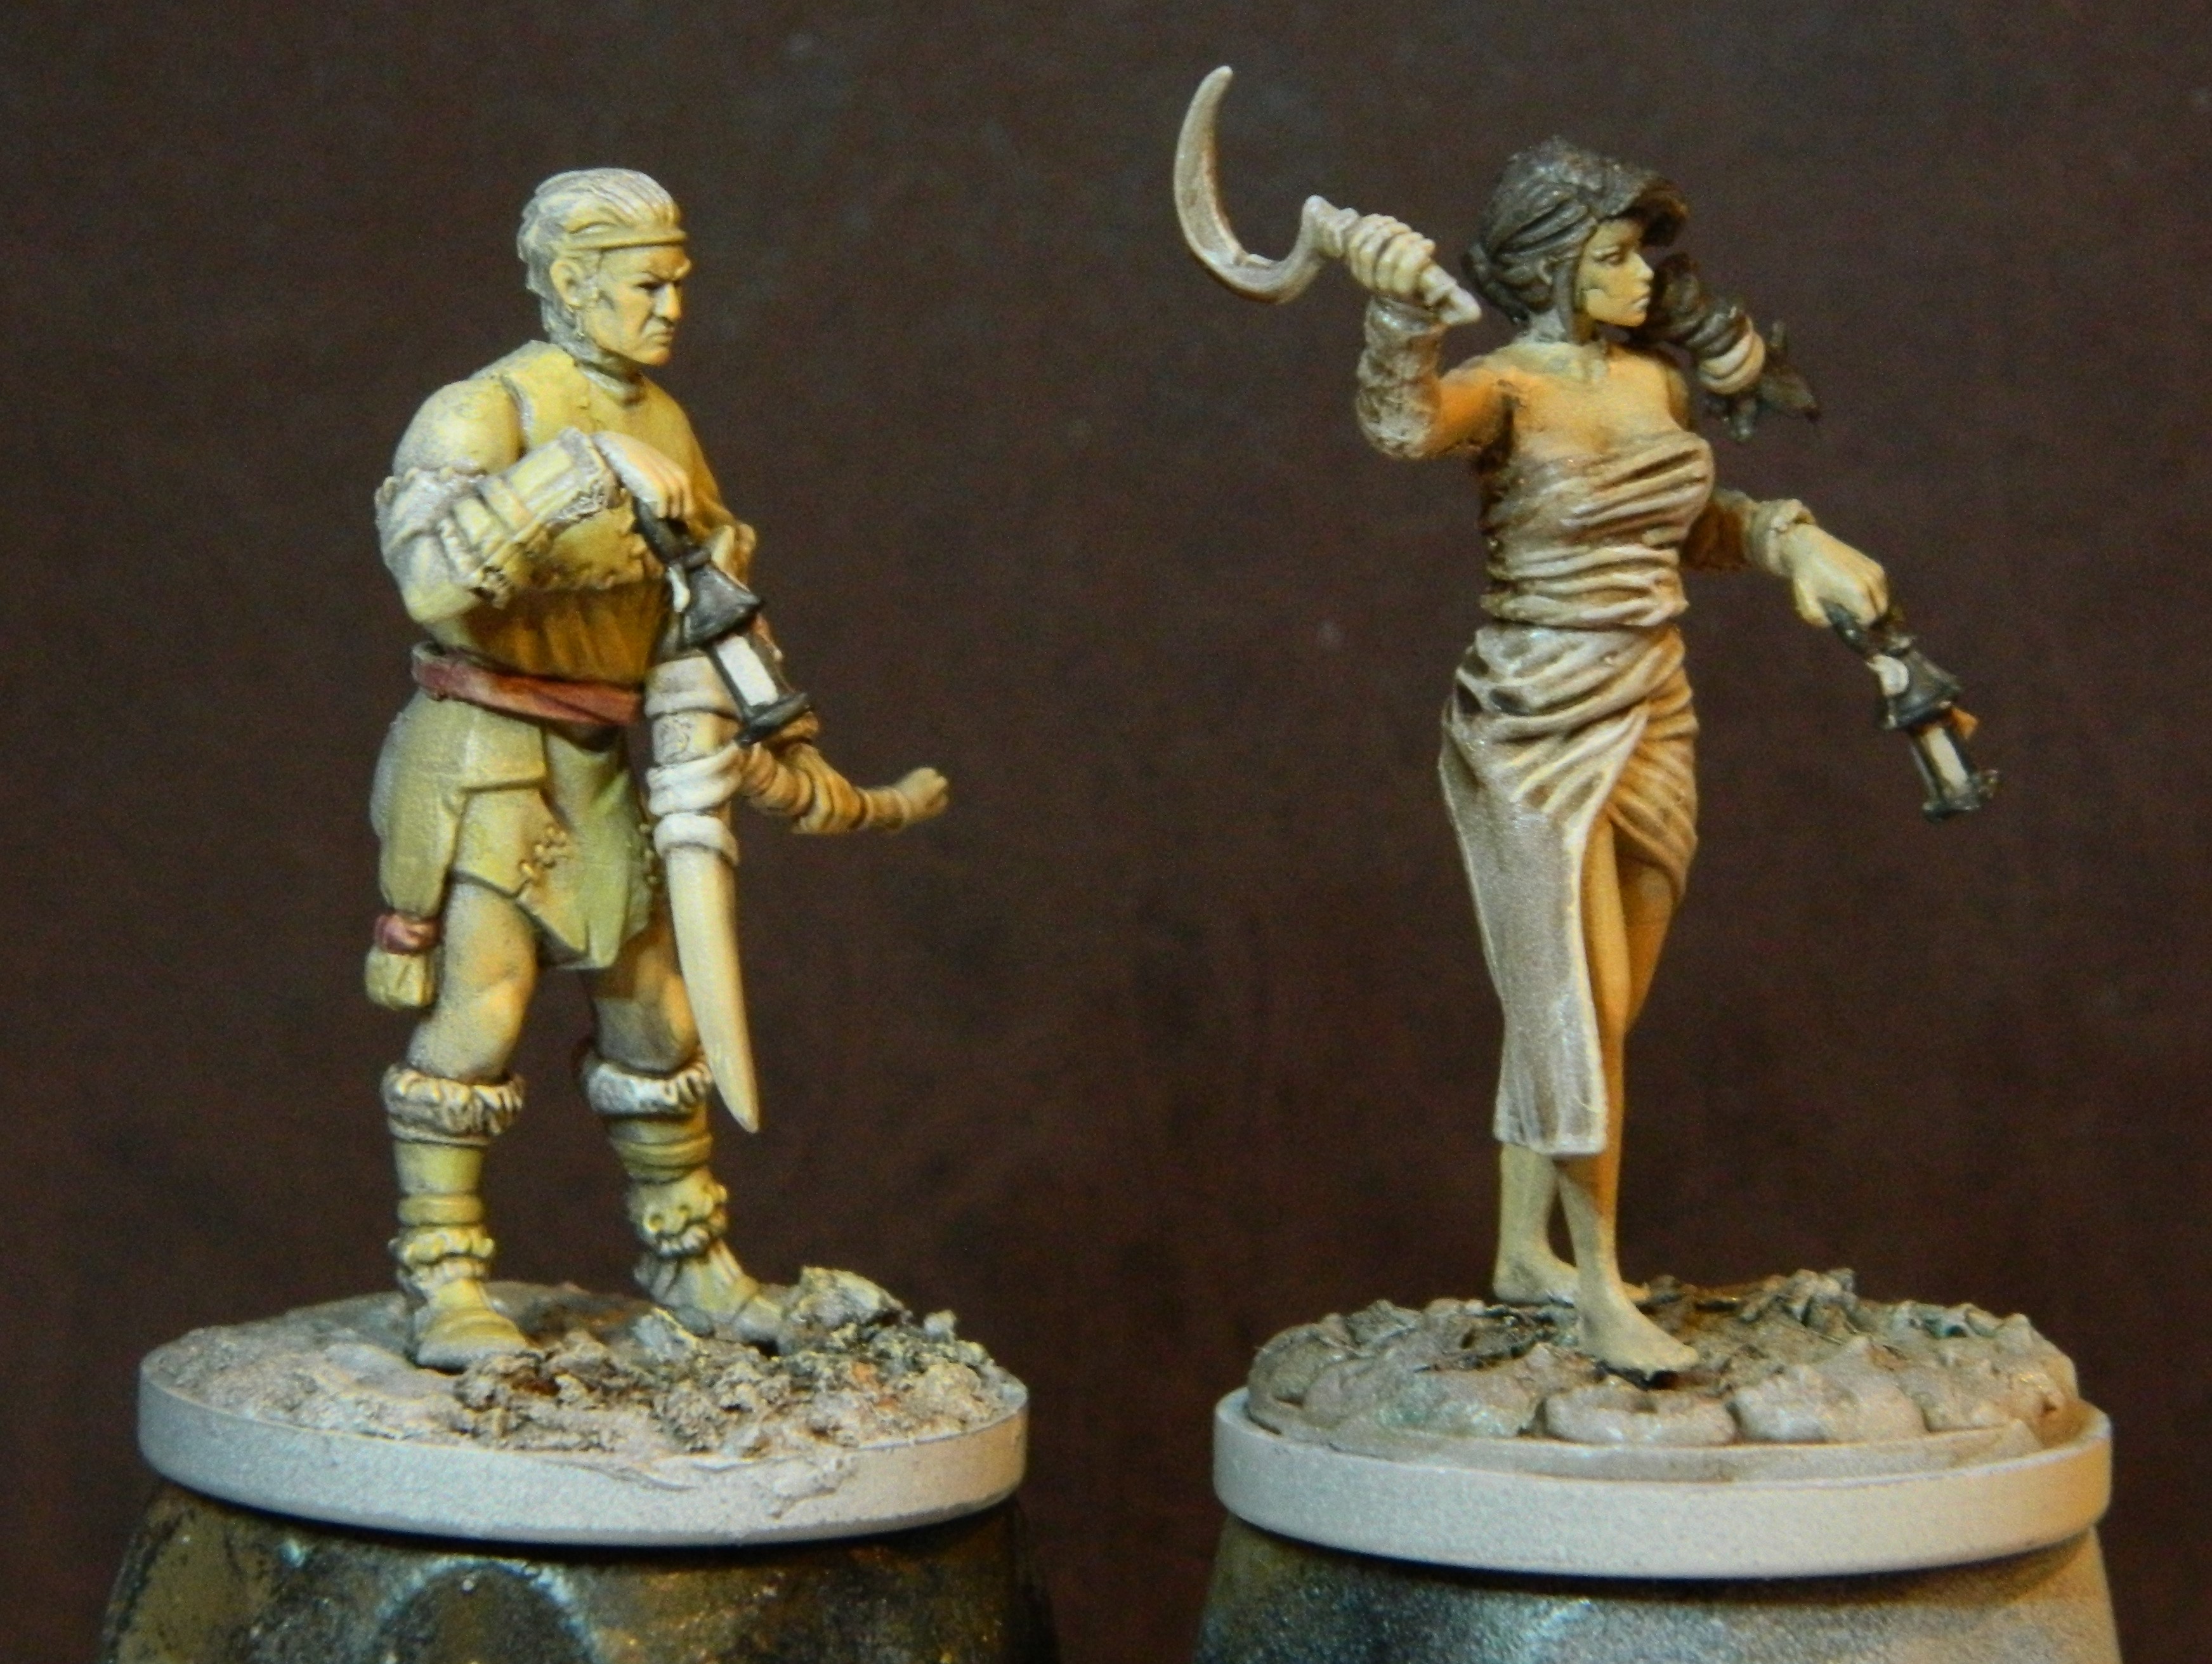
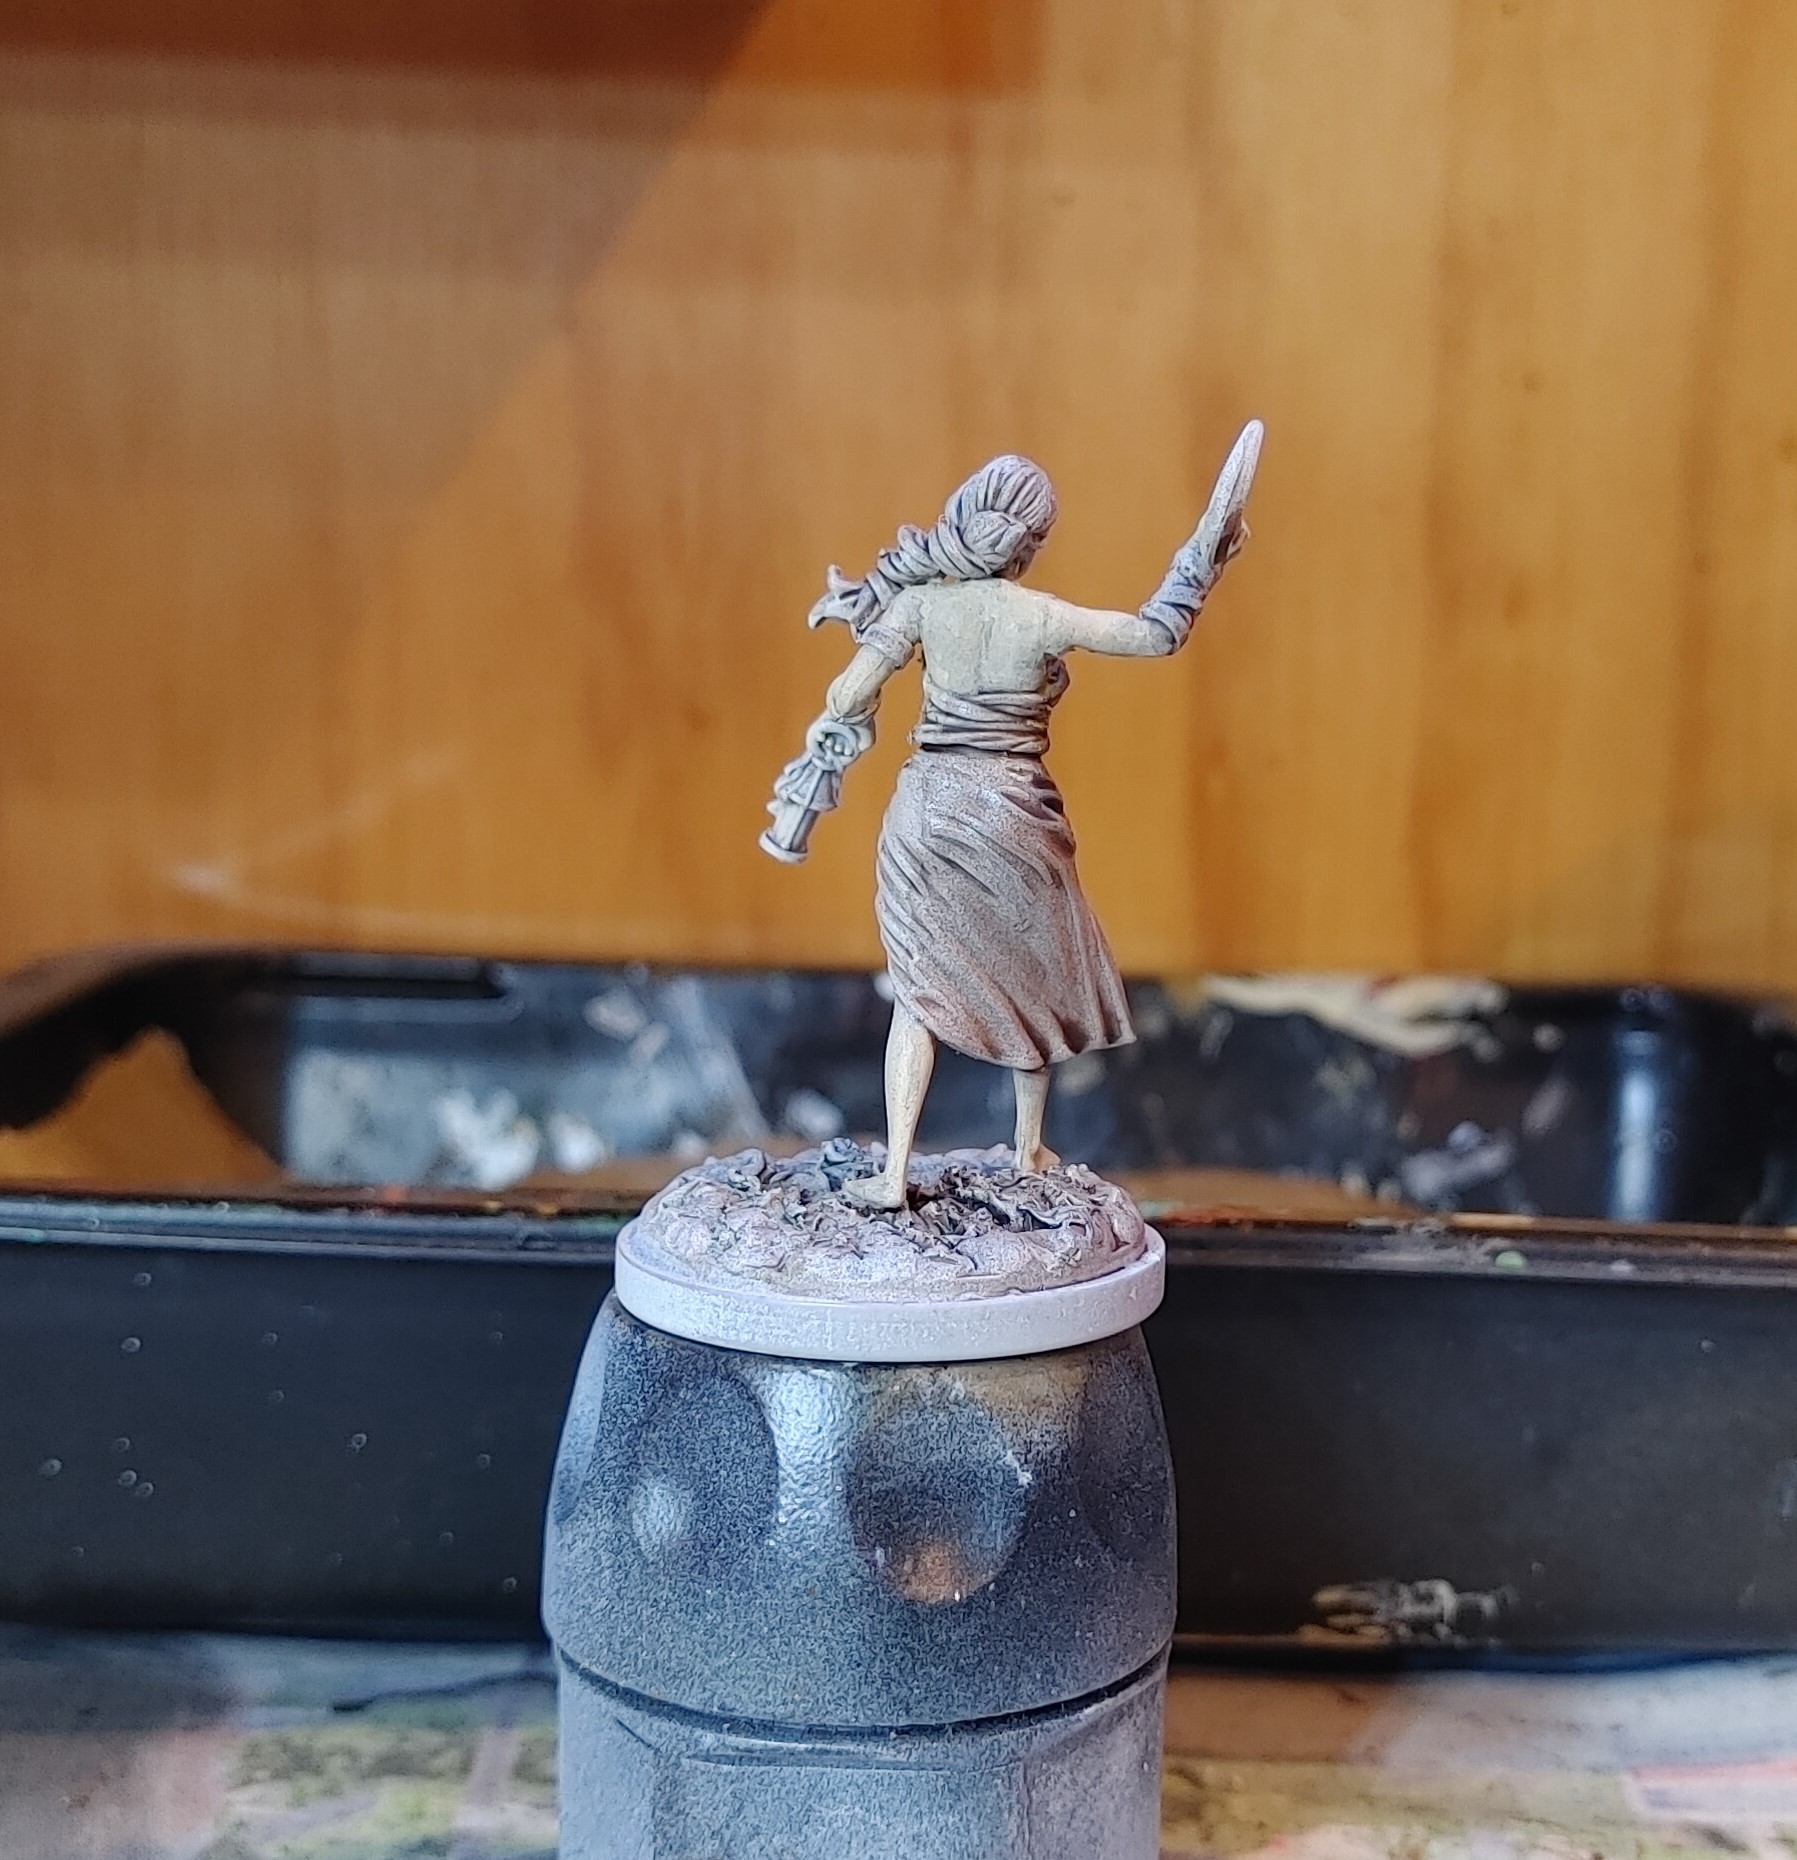
14 Mar 22: Spots of colour in the dark.
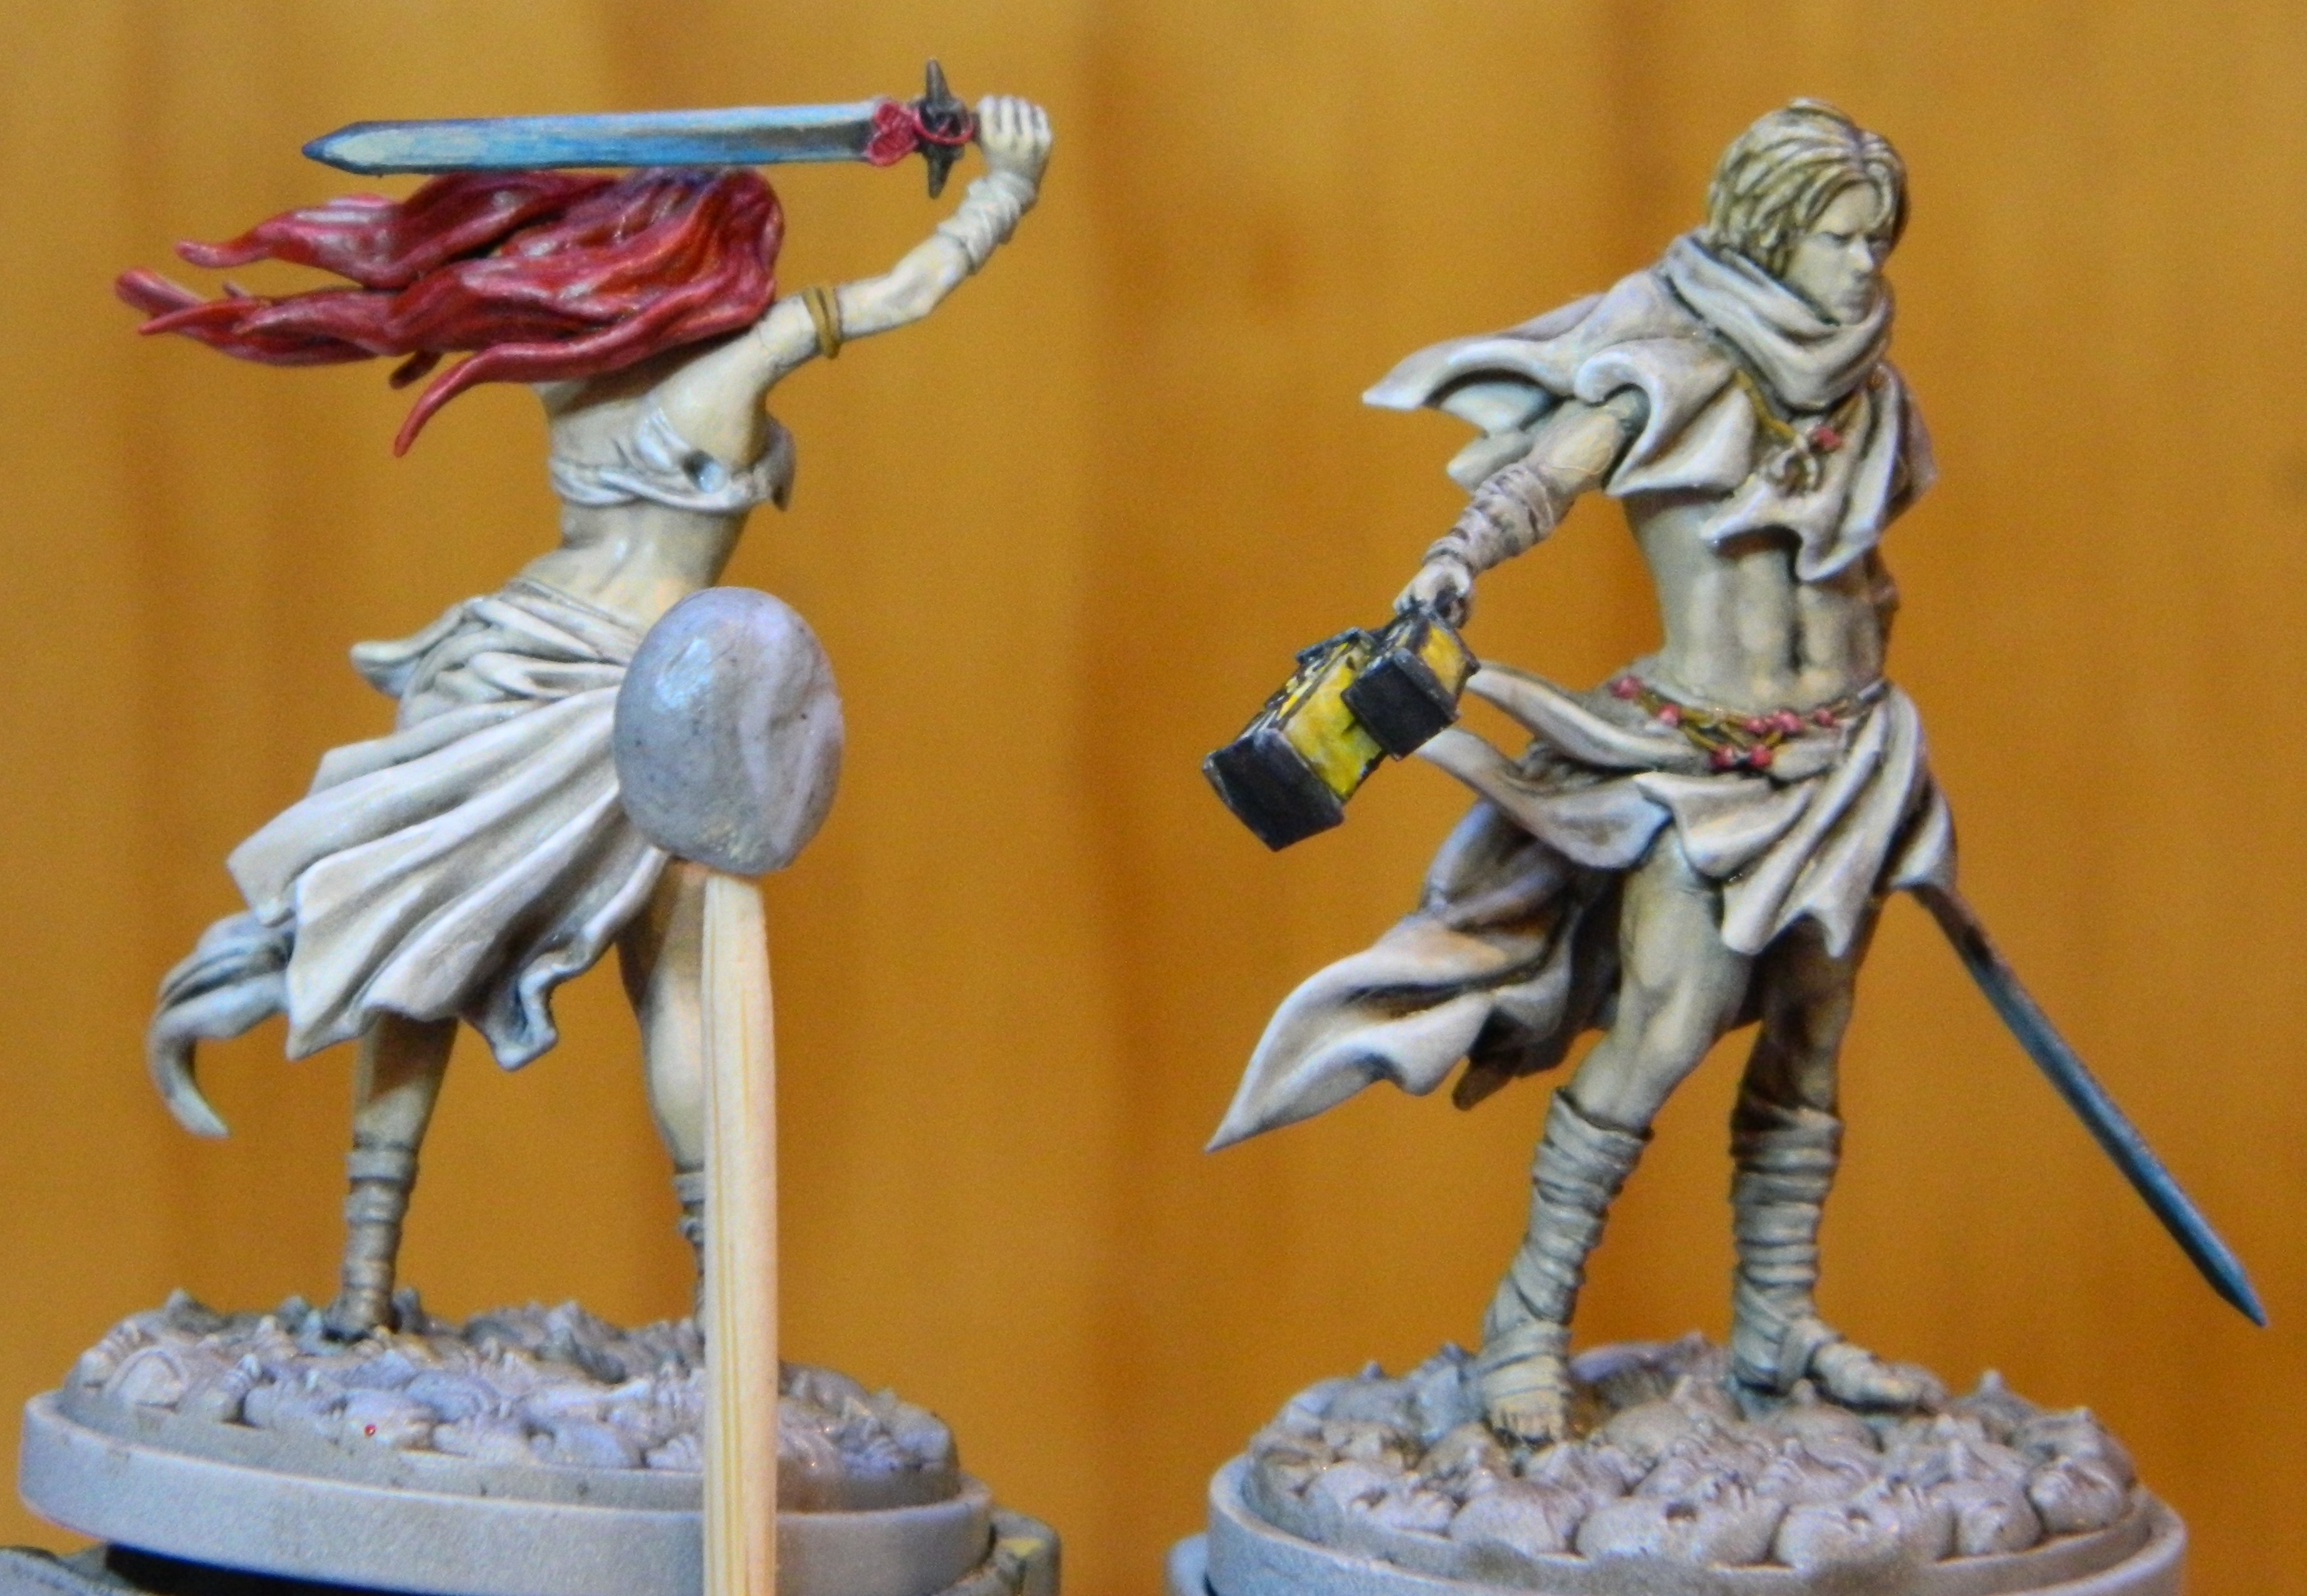 Red hair on Her, trinkets on Him. Yellow light in the lantern and... something... going on with the swords...
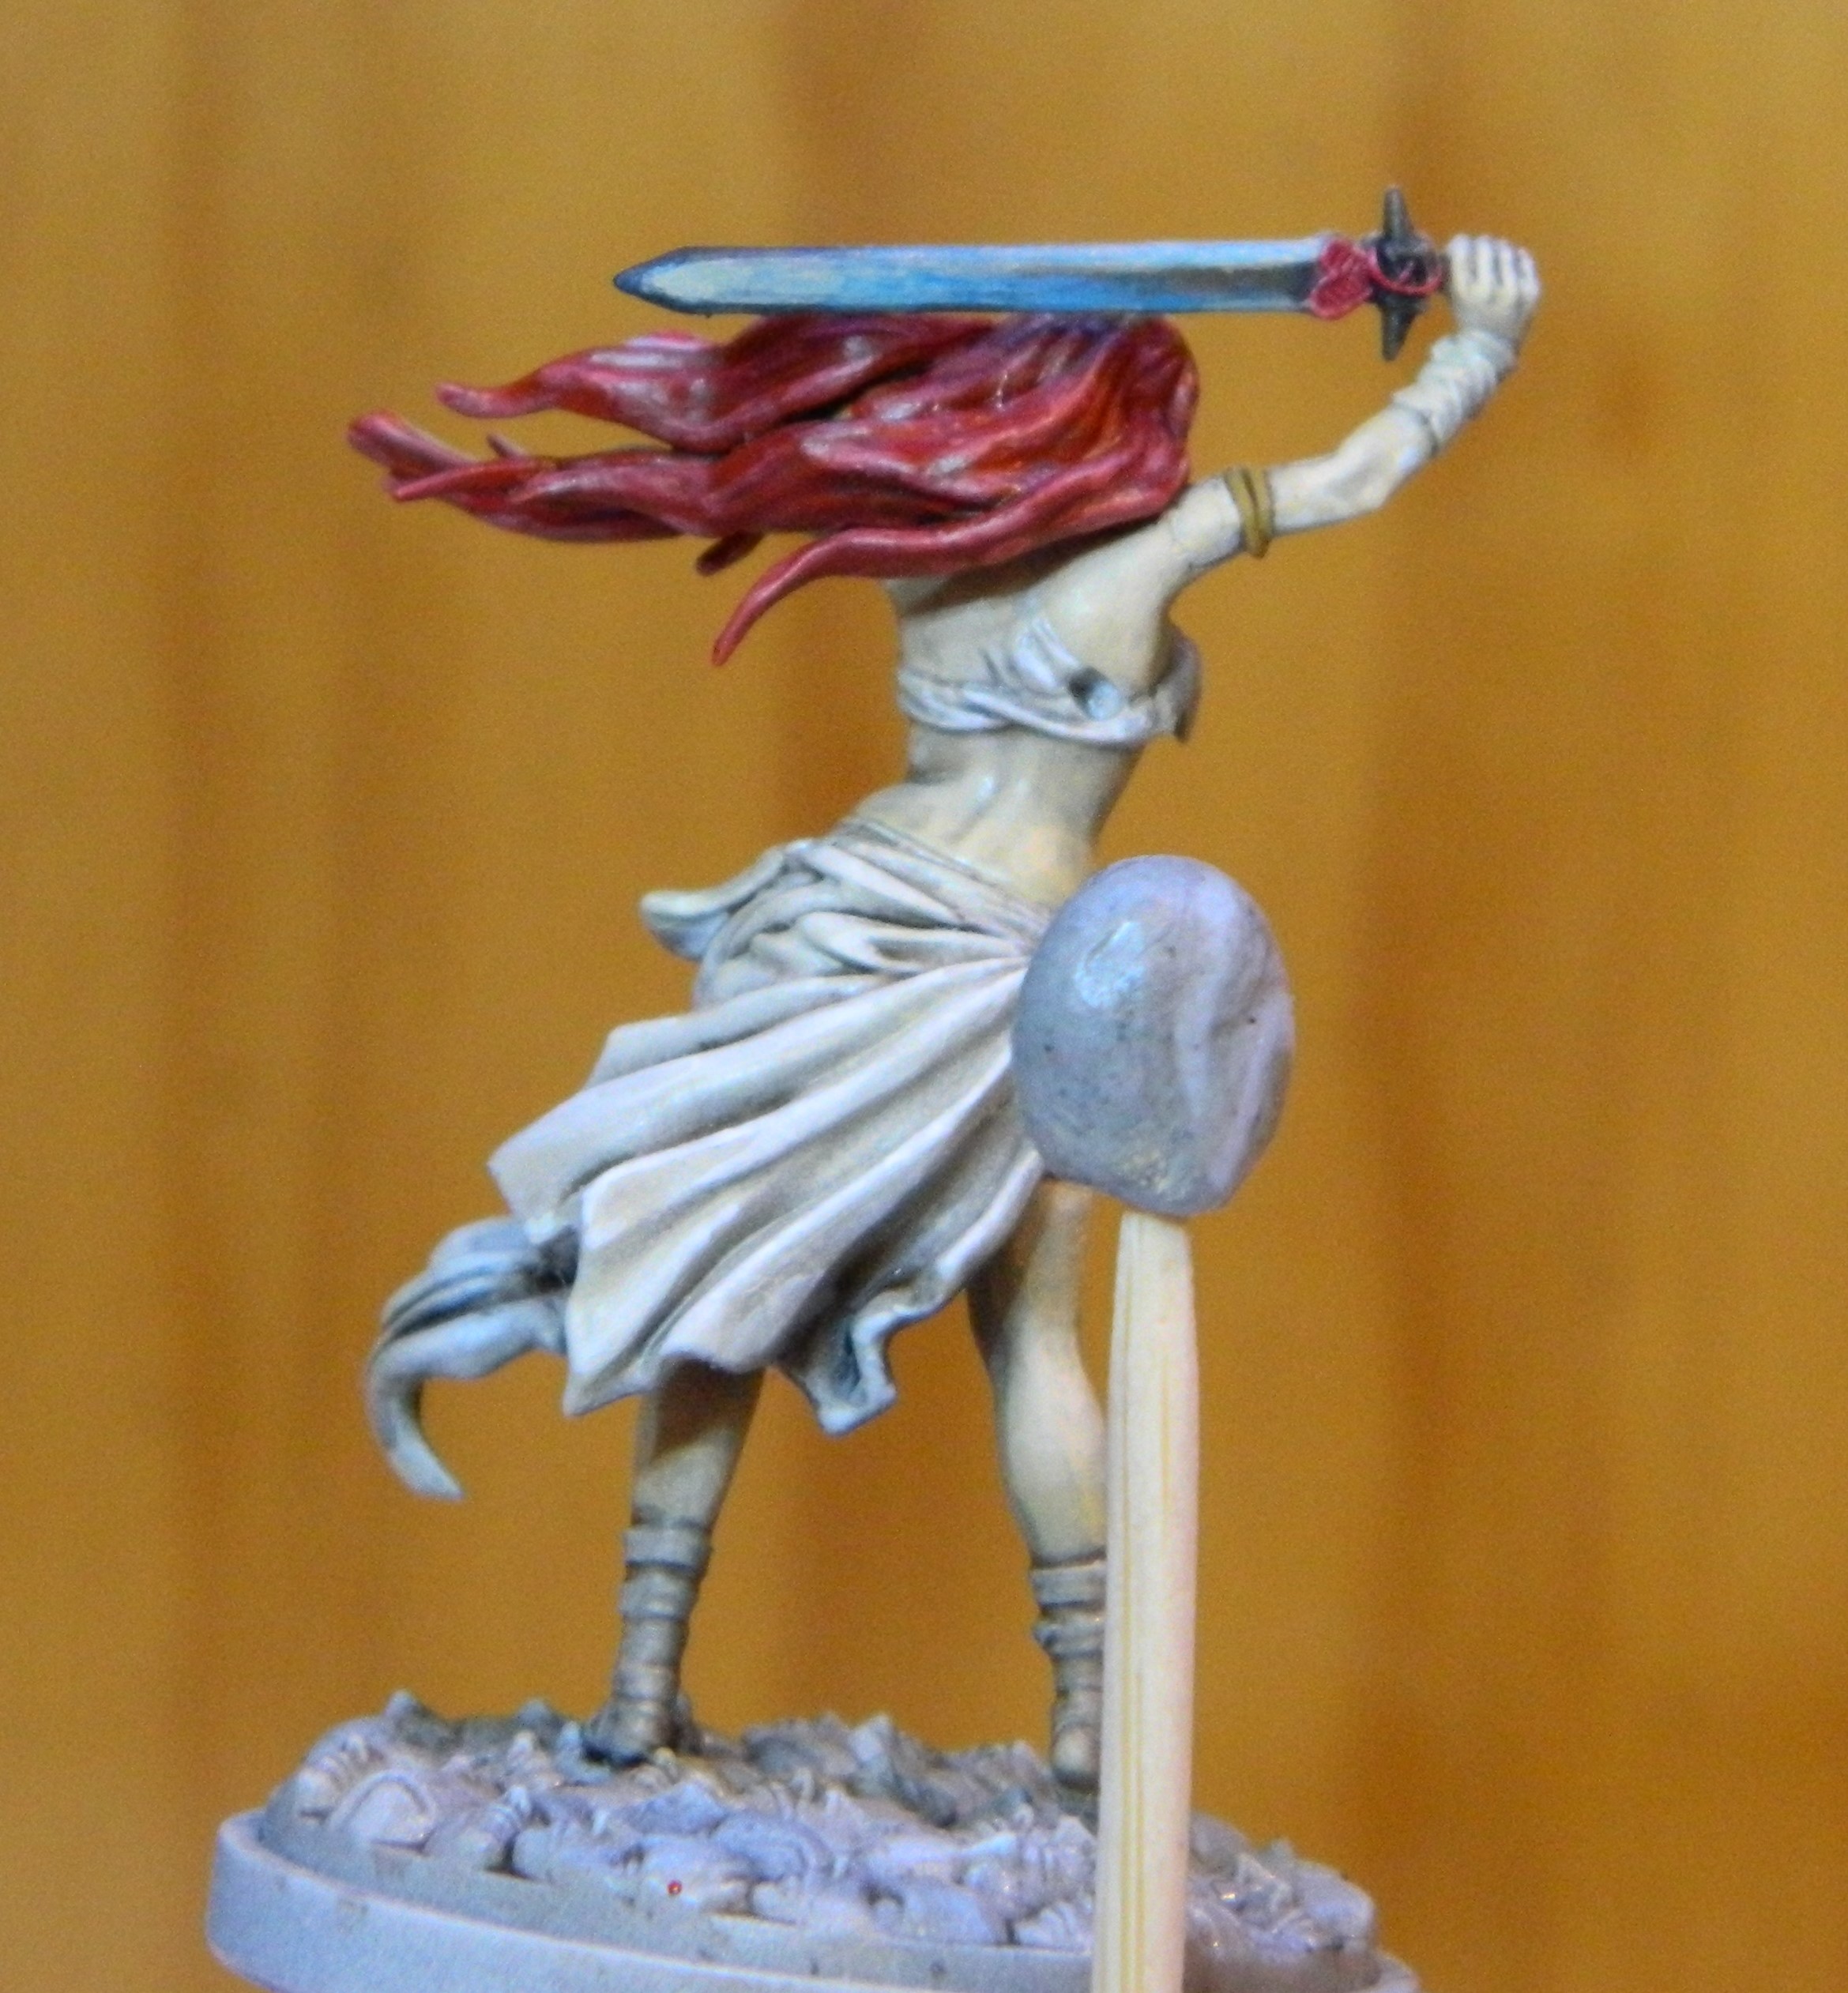
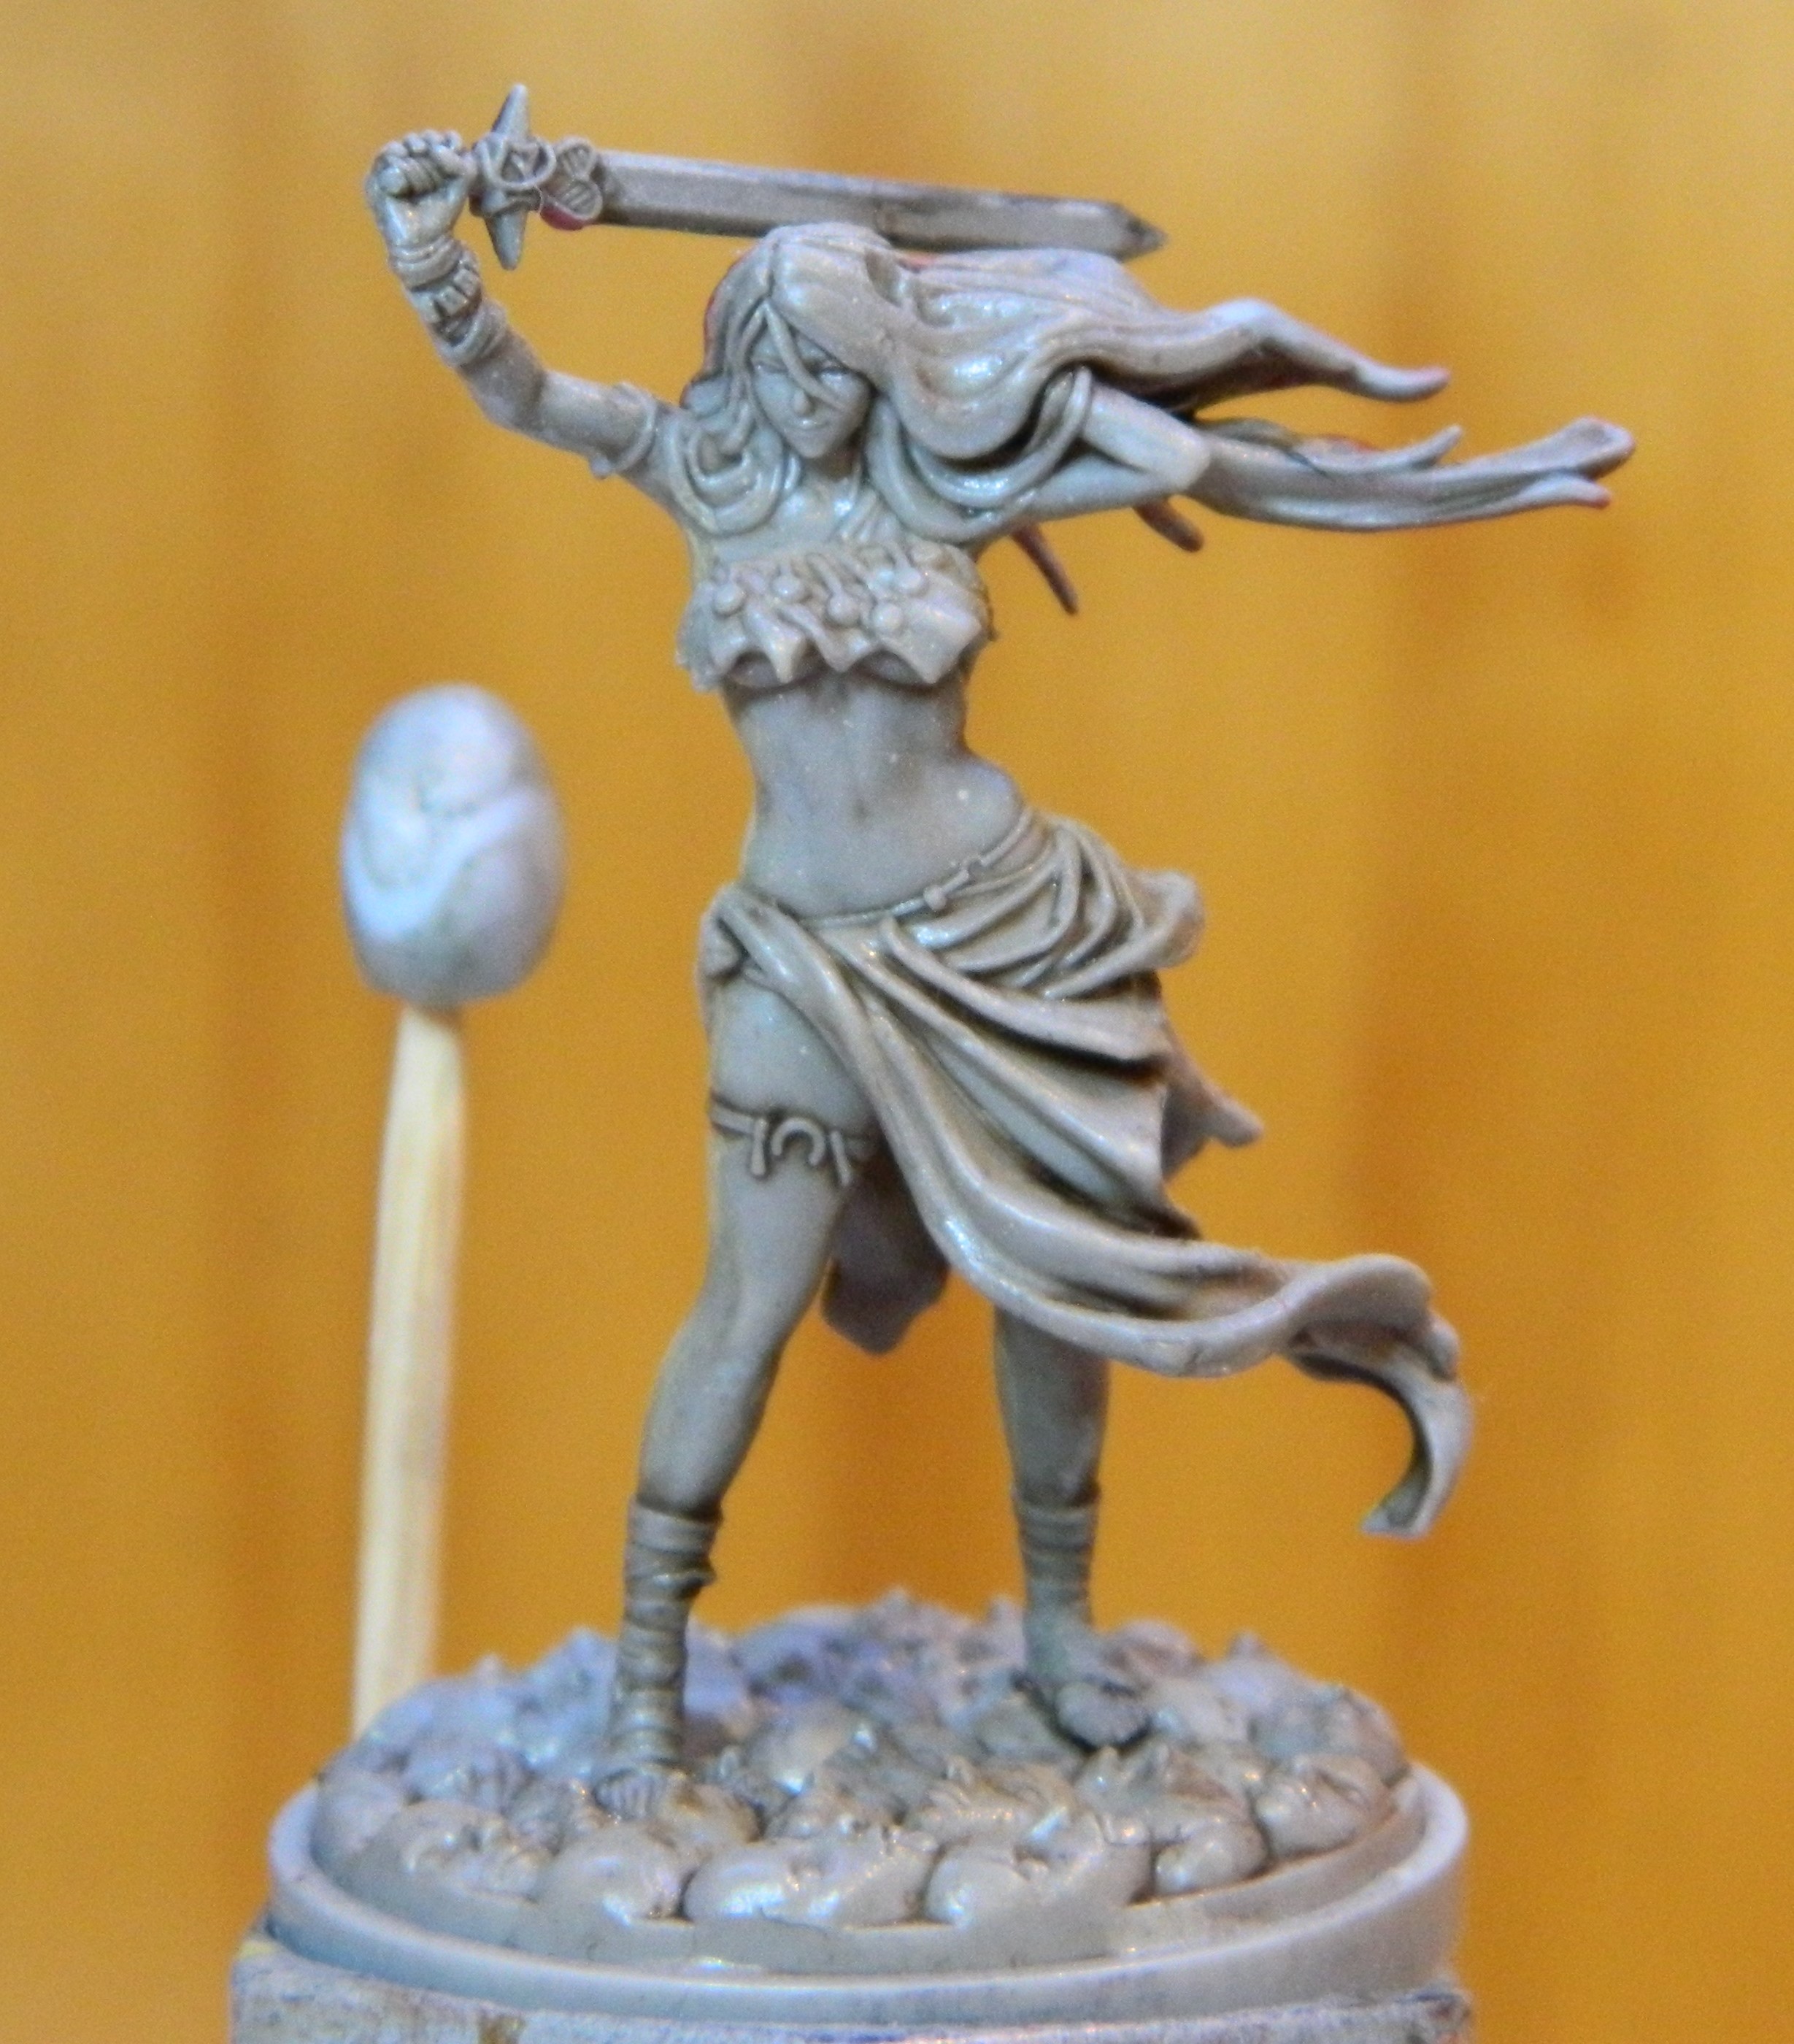
Skin was higlighted, just a touch of Skeleton Bone mixed with the Warpaints Flesh colour.
Her hair is Citadel Mephiston Red, Agrax Earthshade, Mephiston Red + Skeleton bone to highlight. Then a red ink glaze to knock the pink back.
I didn’t want it to be the same red as the Lonely Tree… there’s another mini for that.
His hair is Citadel Iyanden Darksun and then Citadel Golden Yellow to highlight.
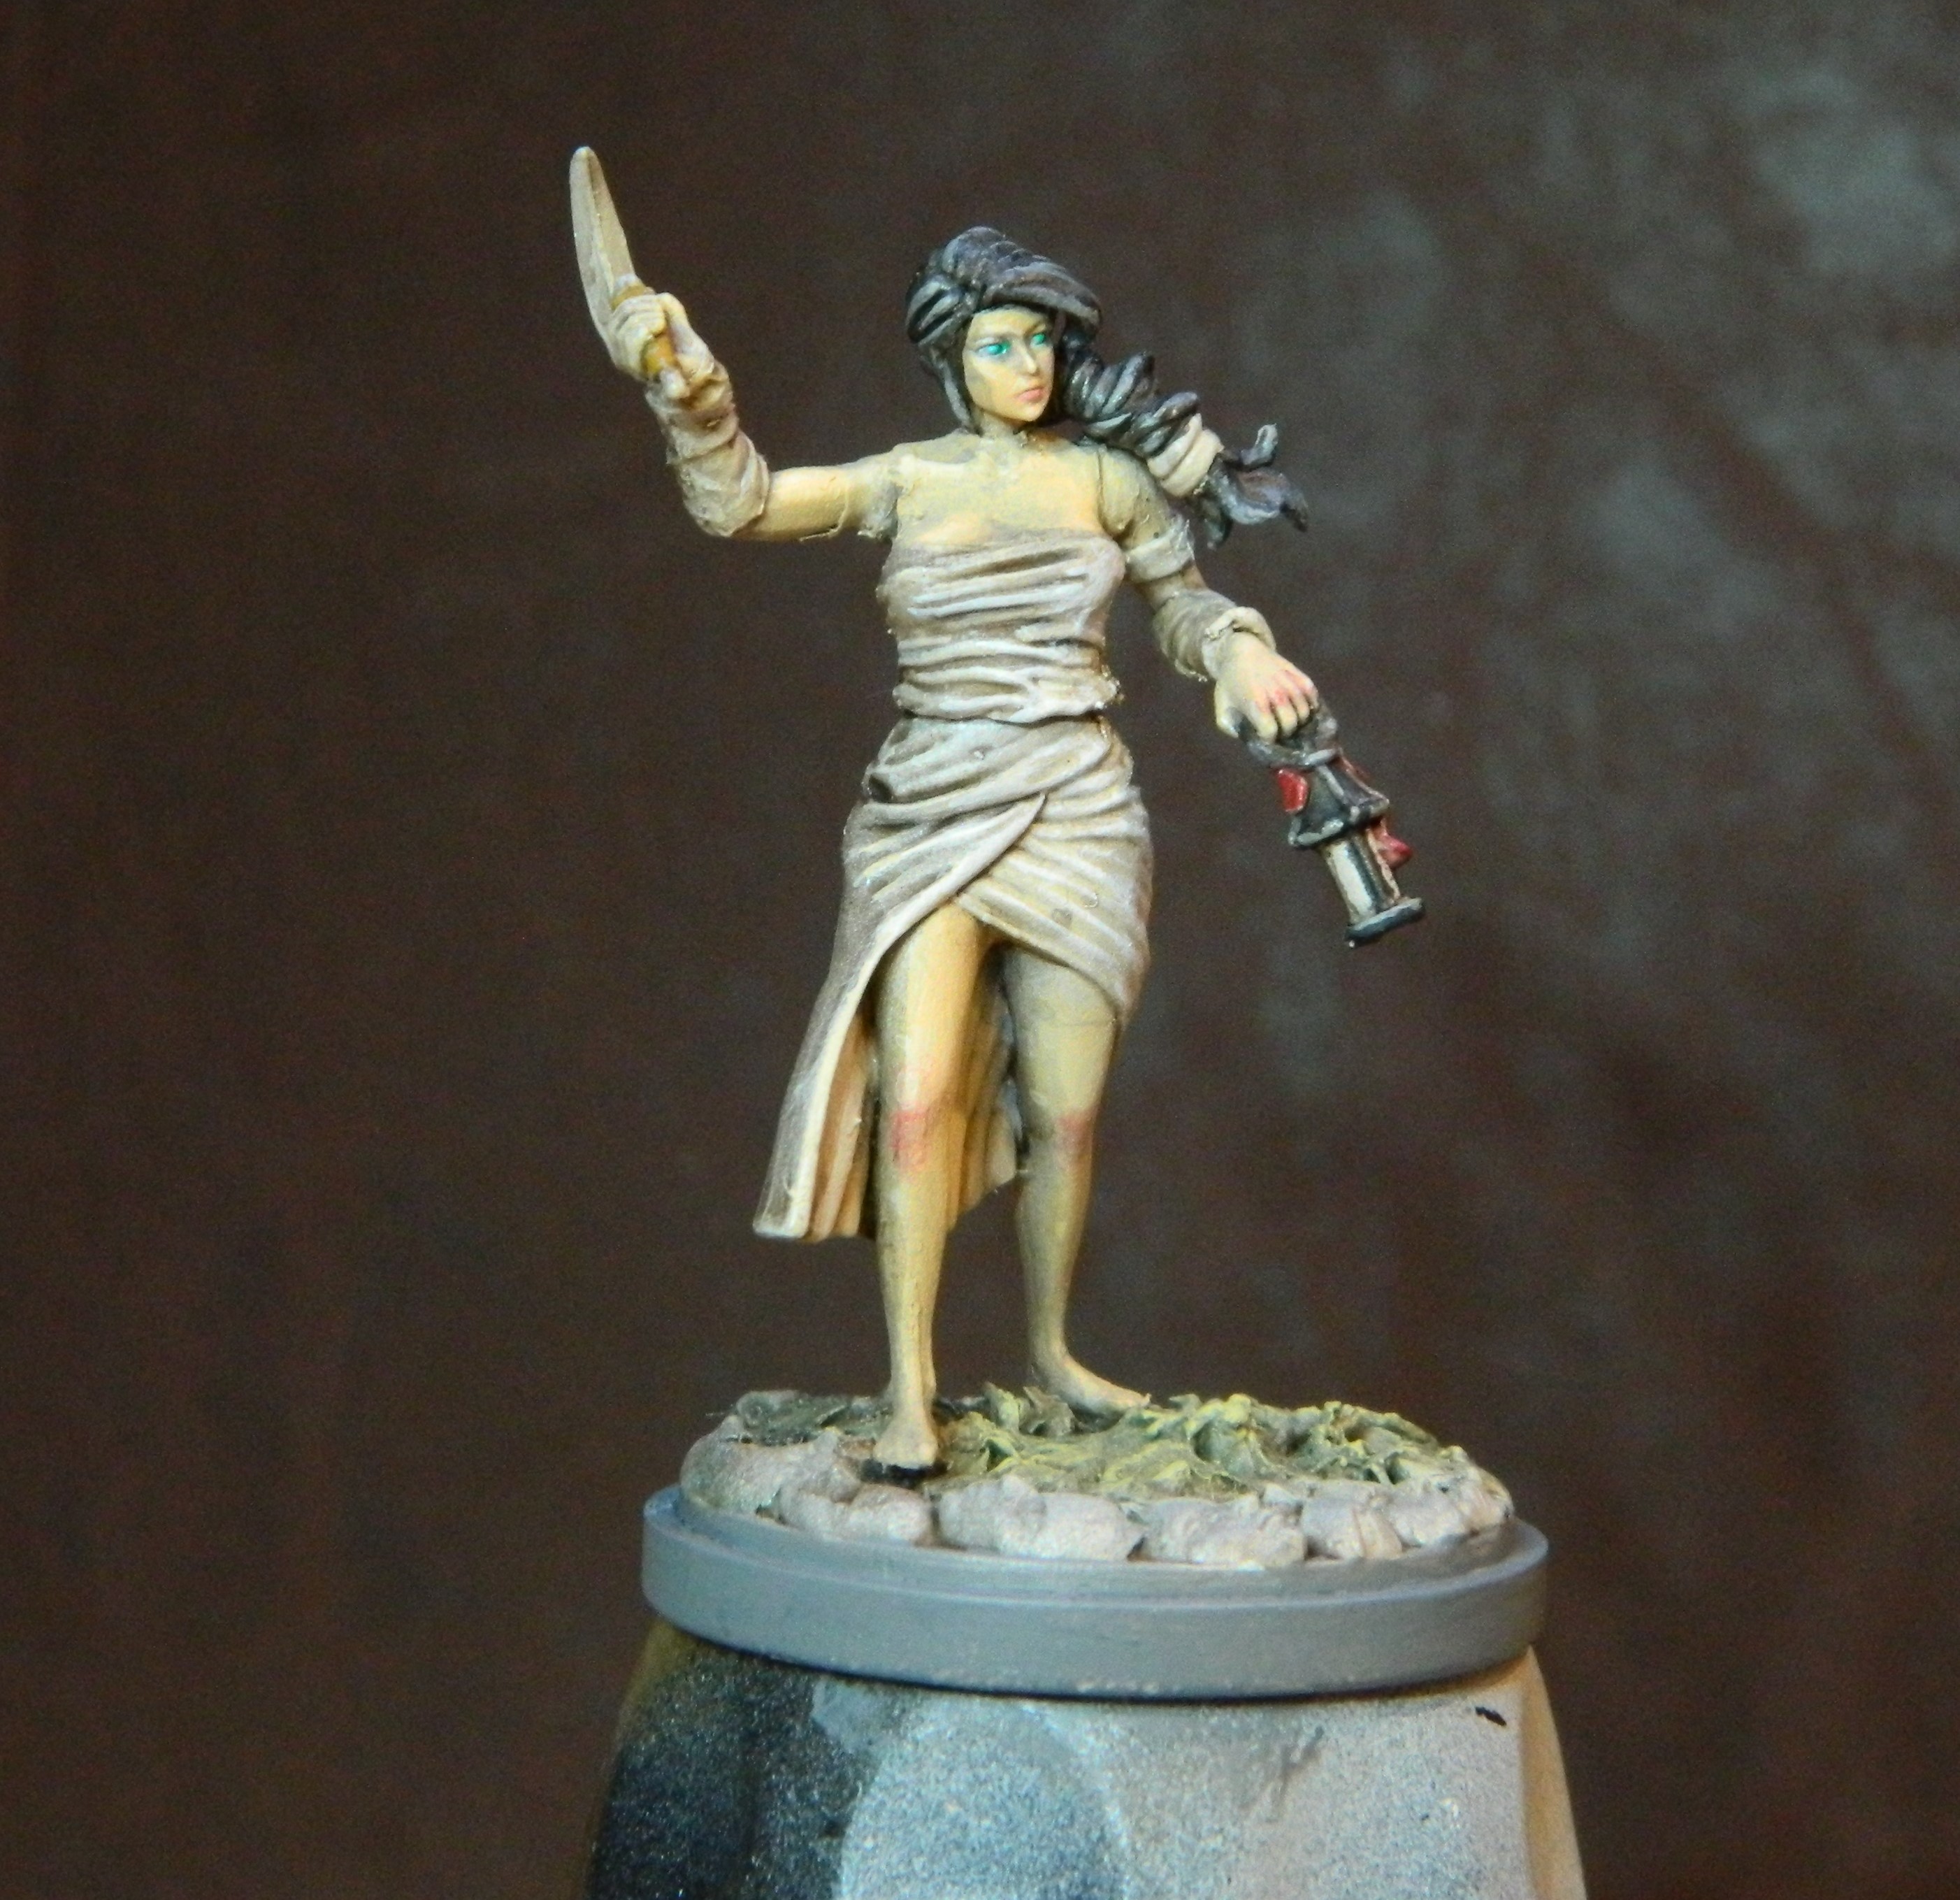
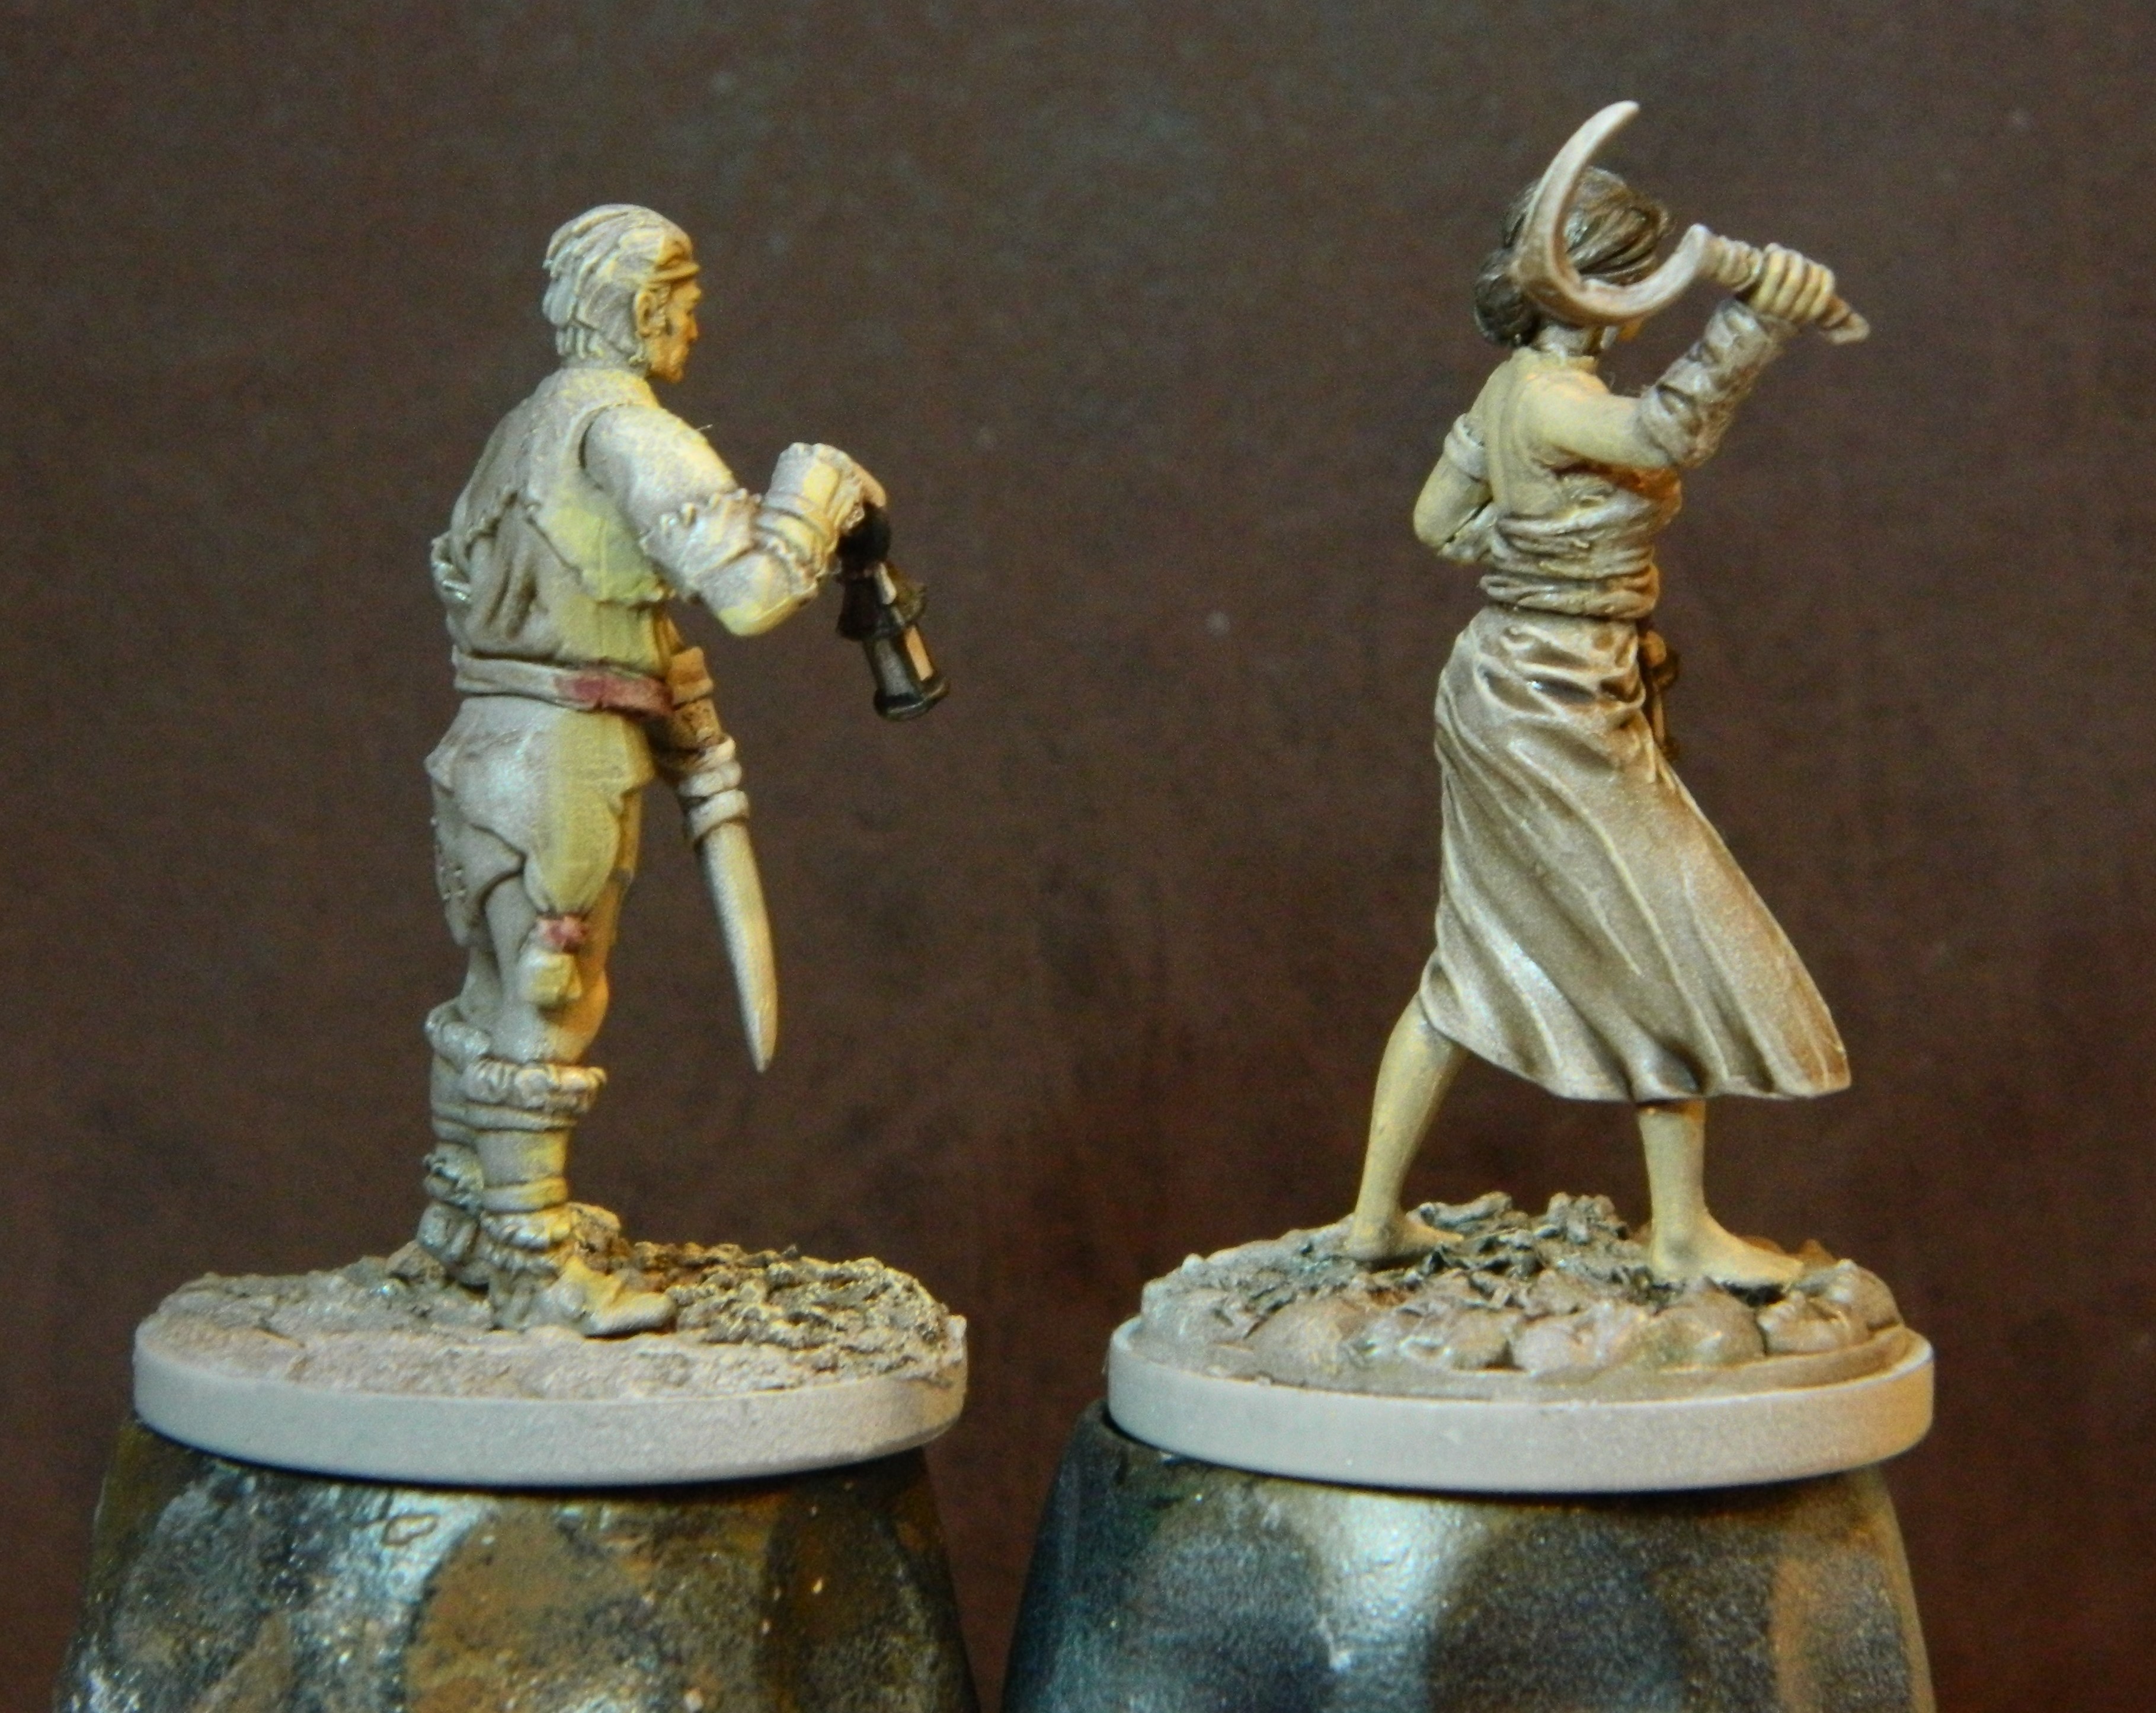
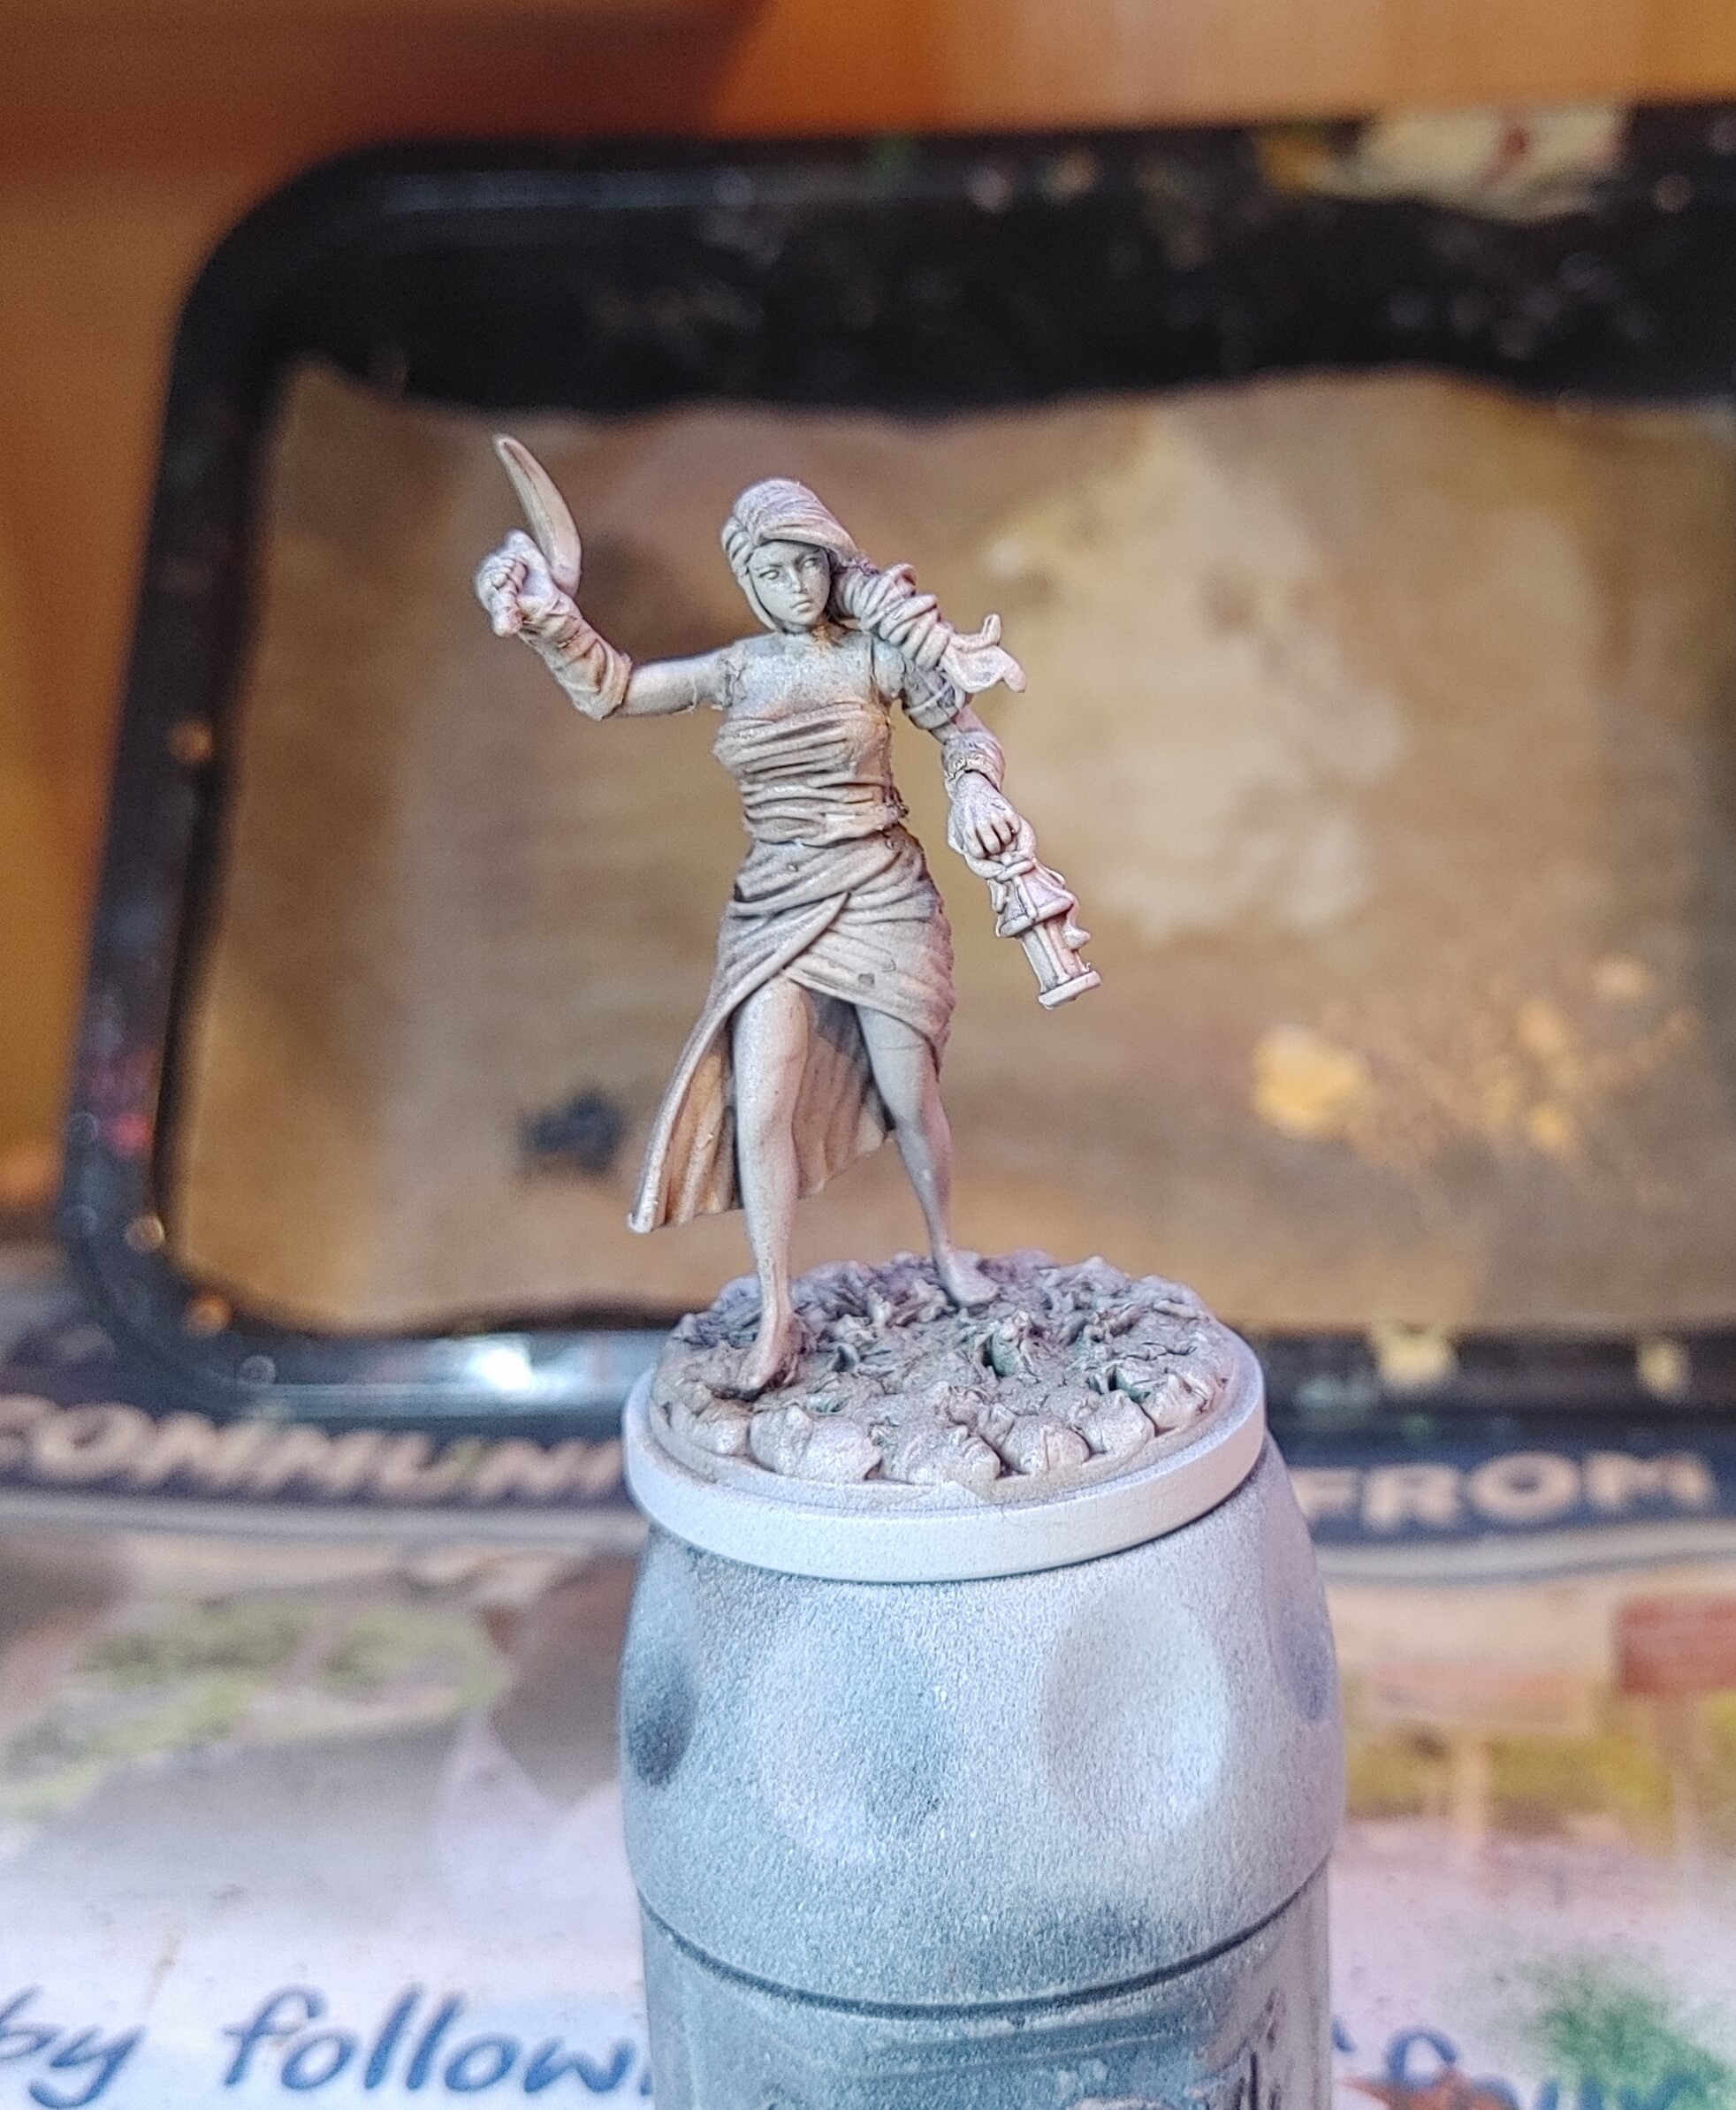
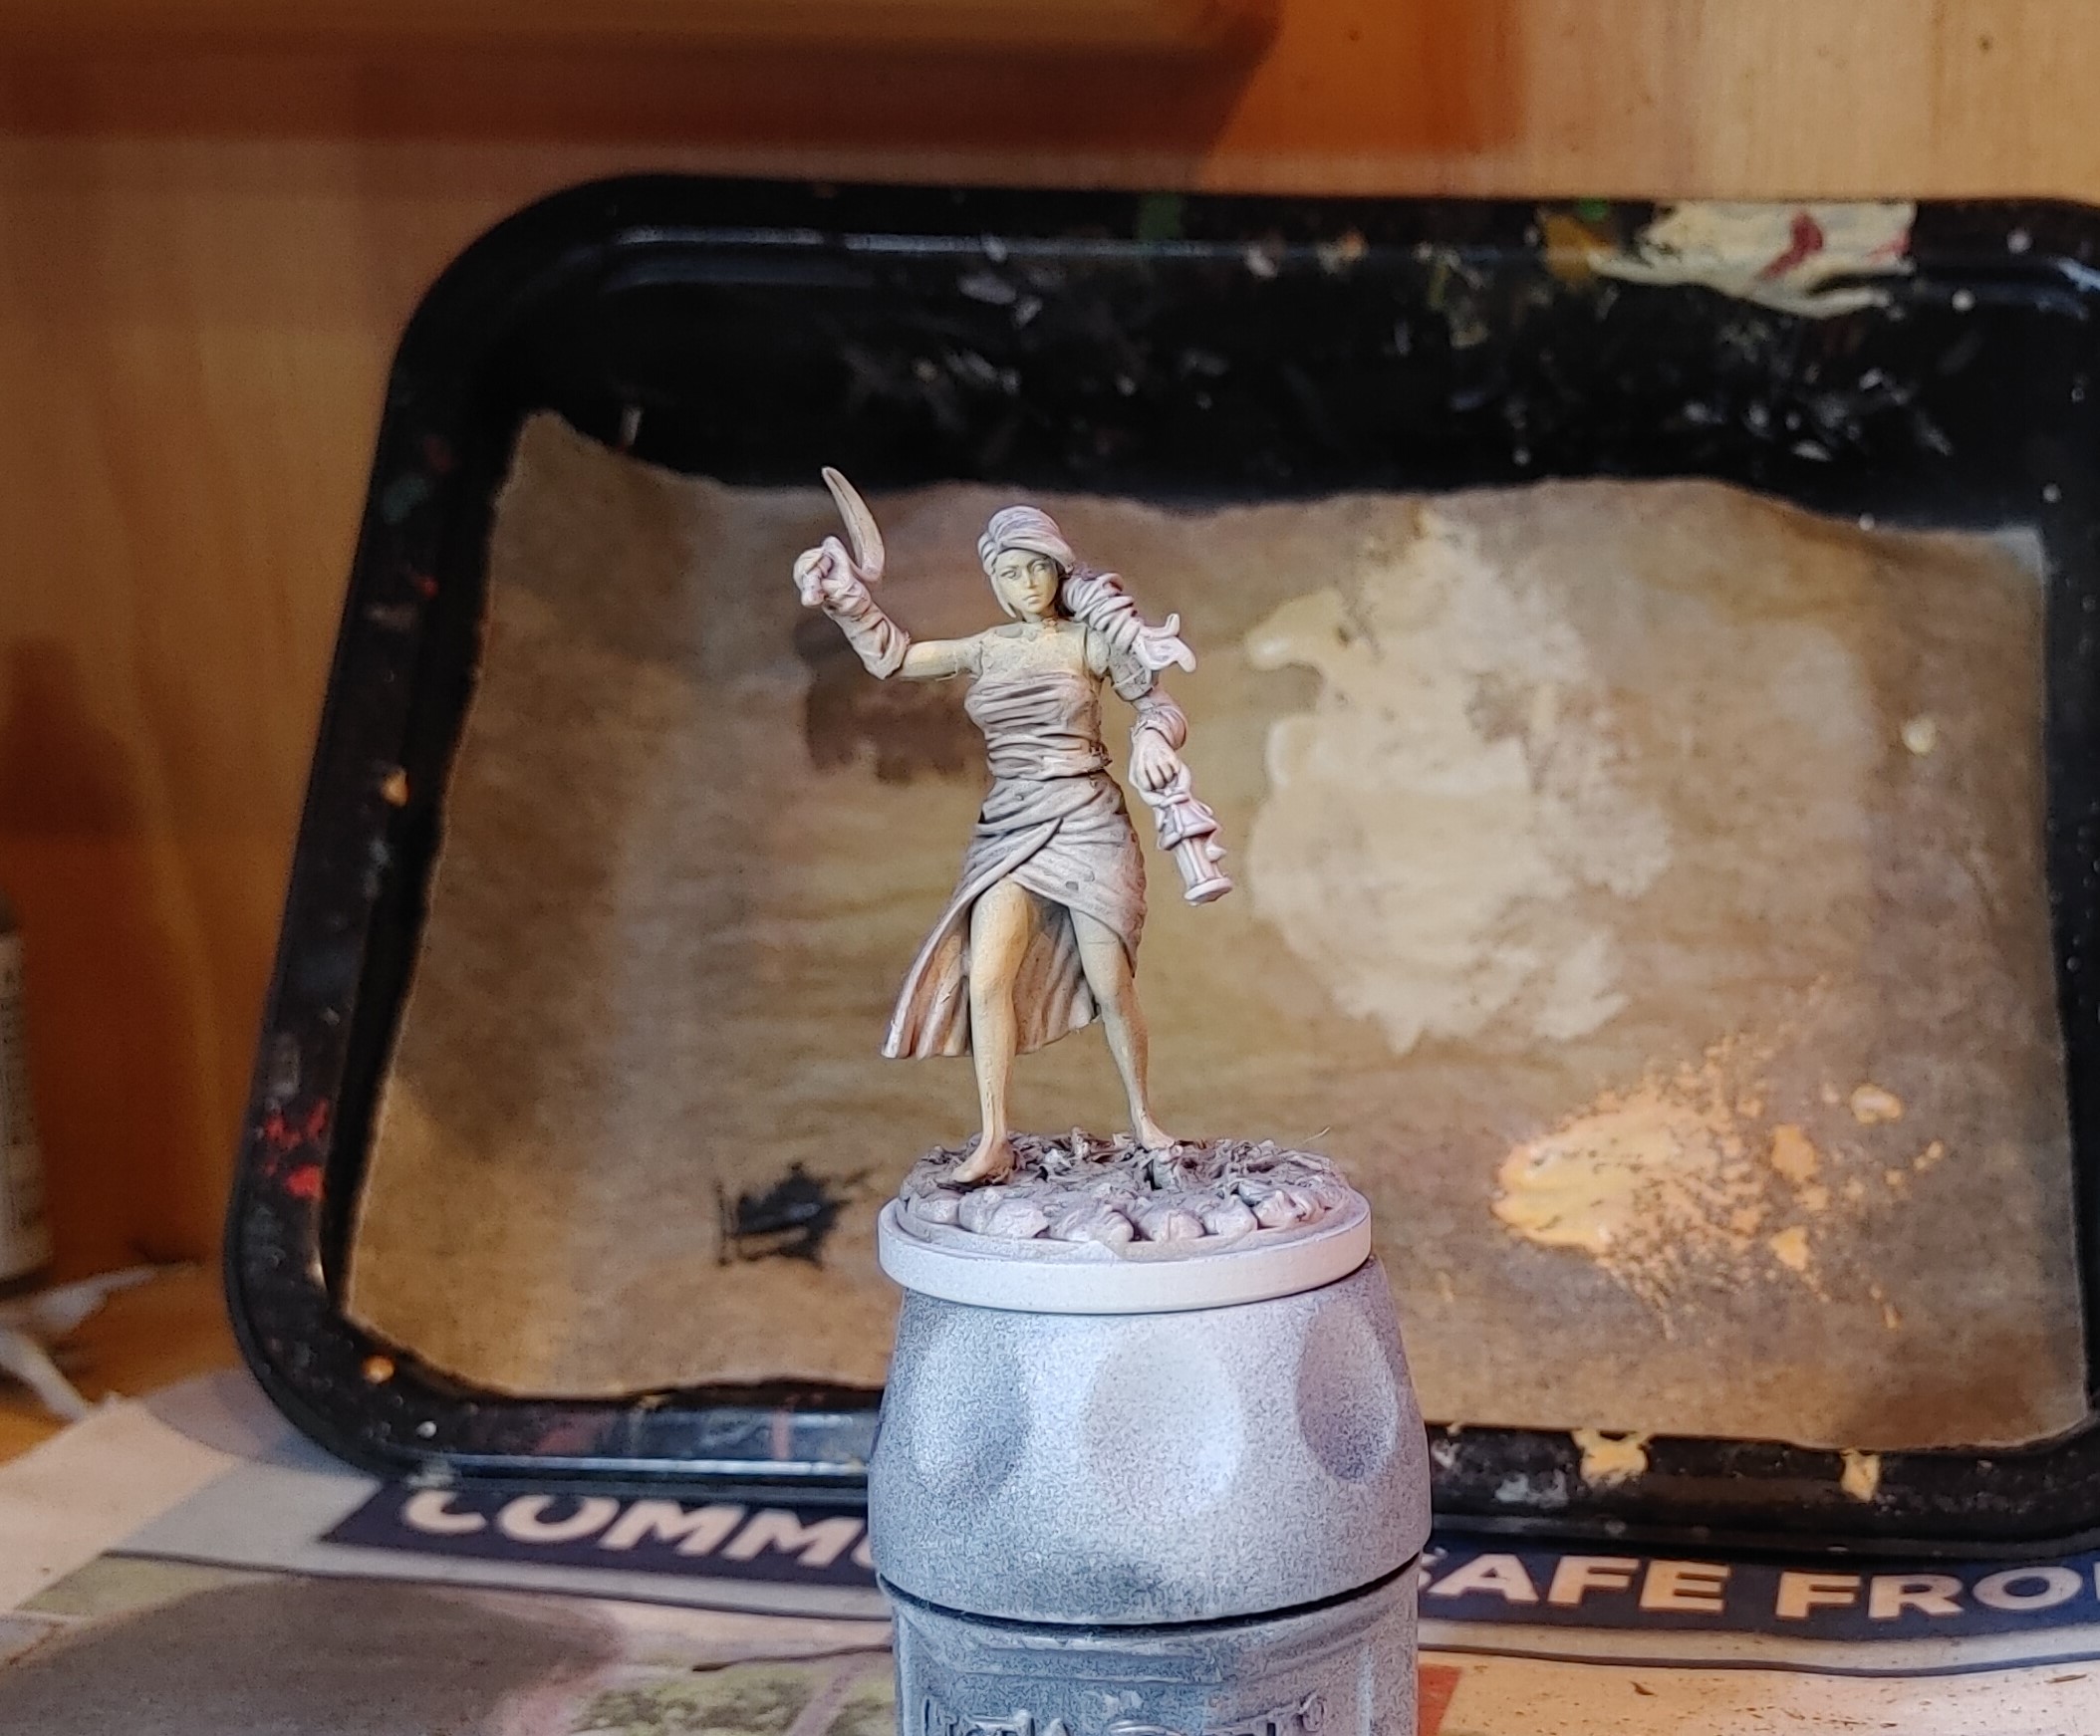
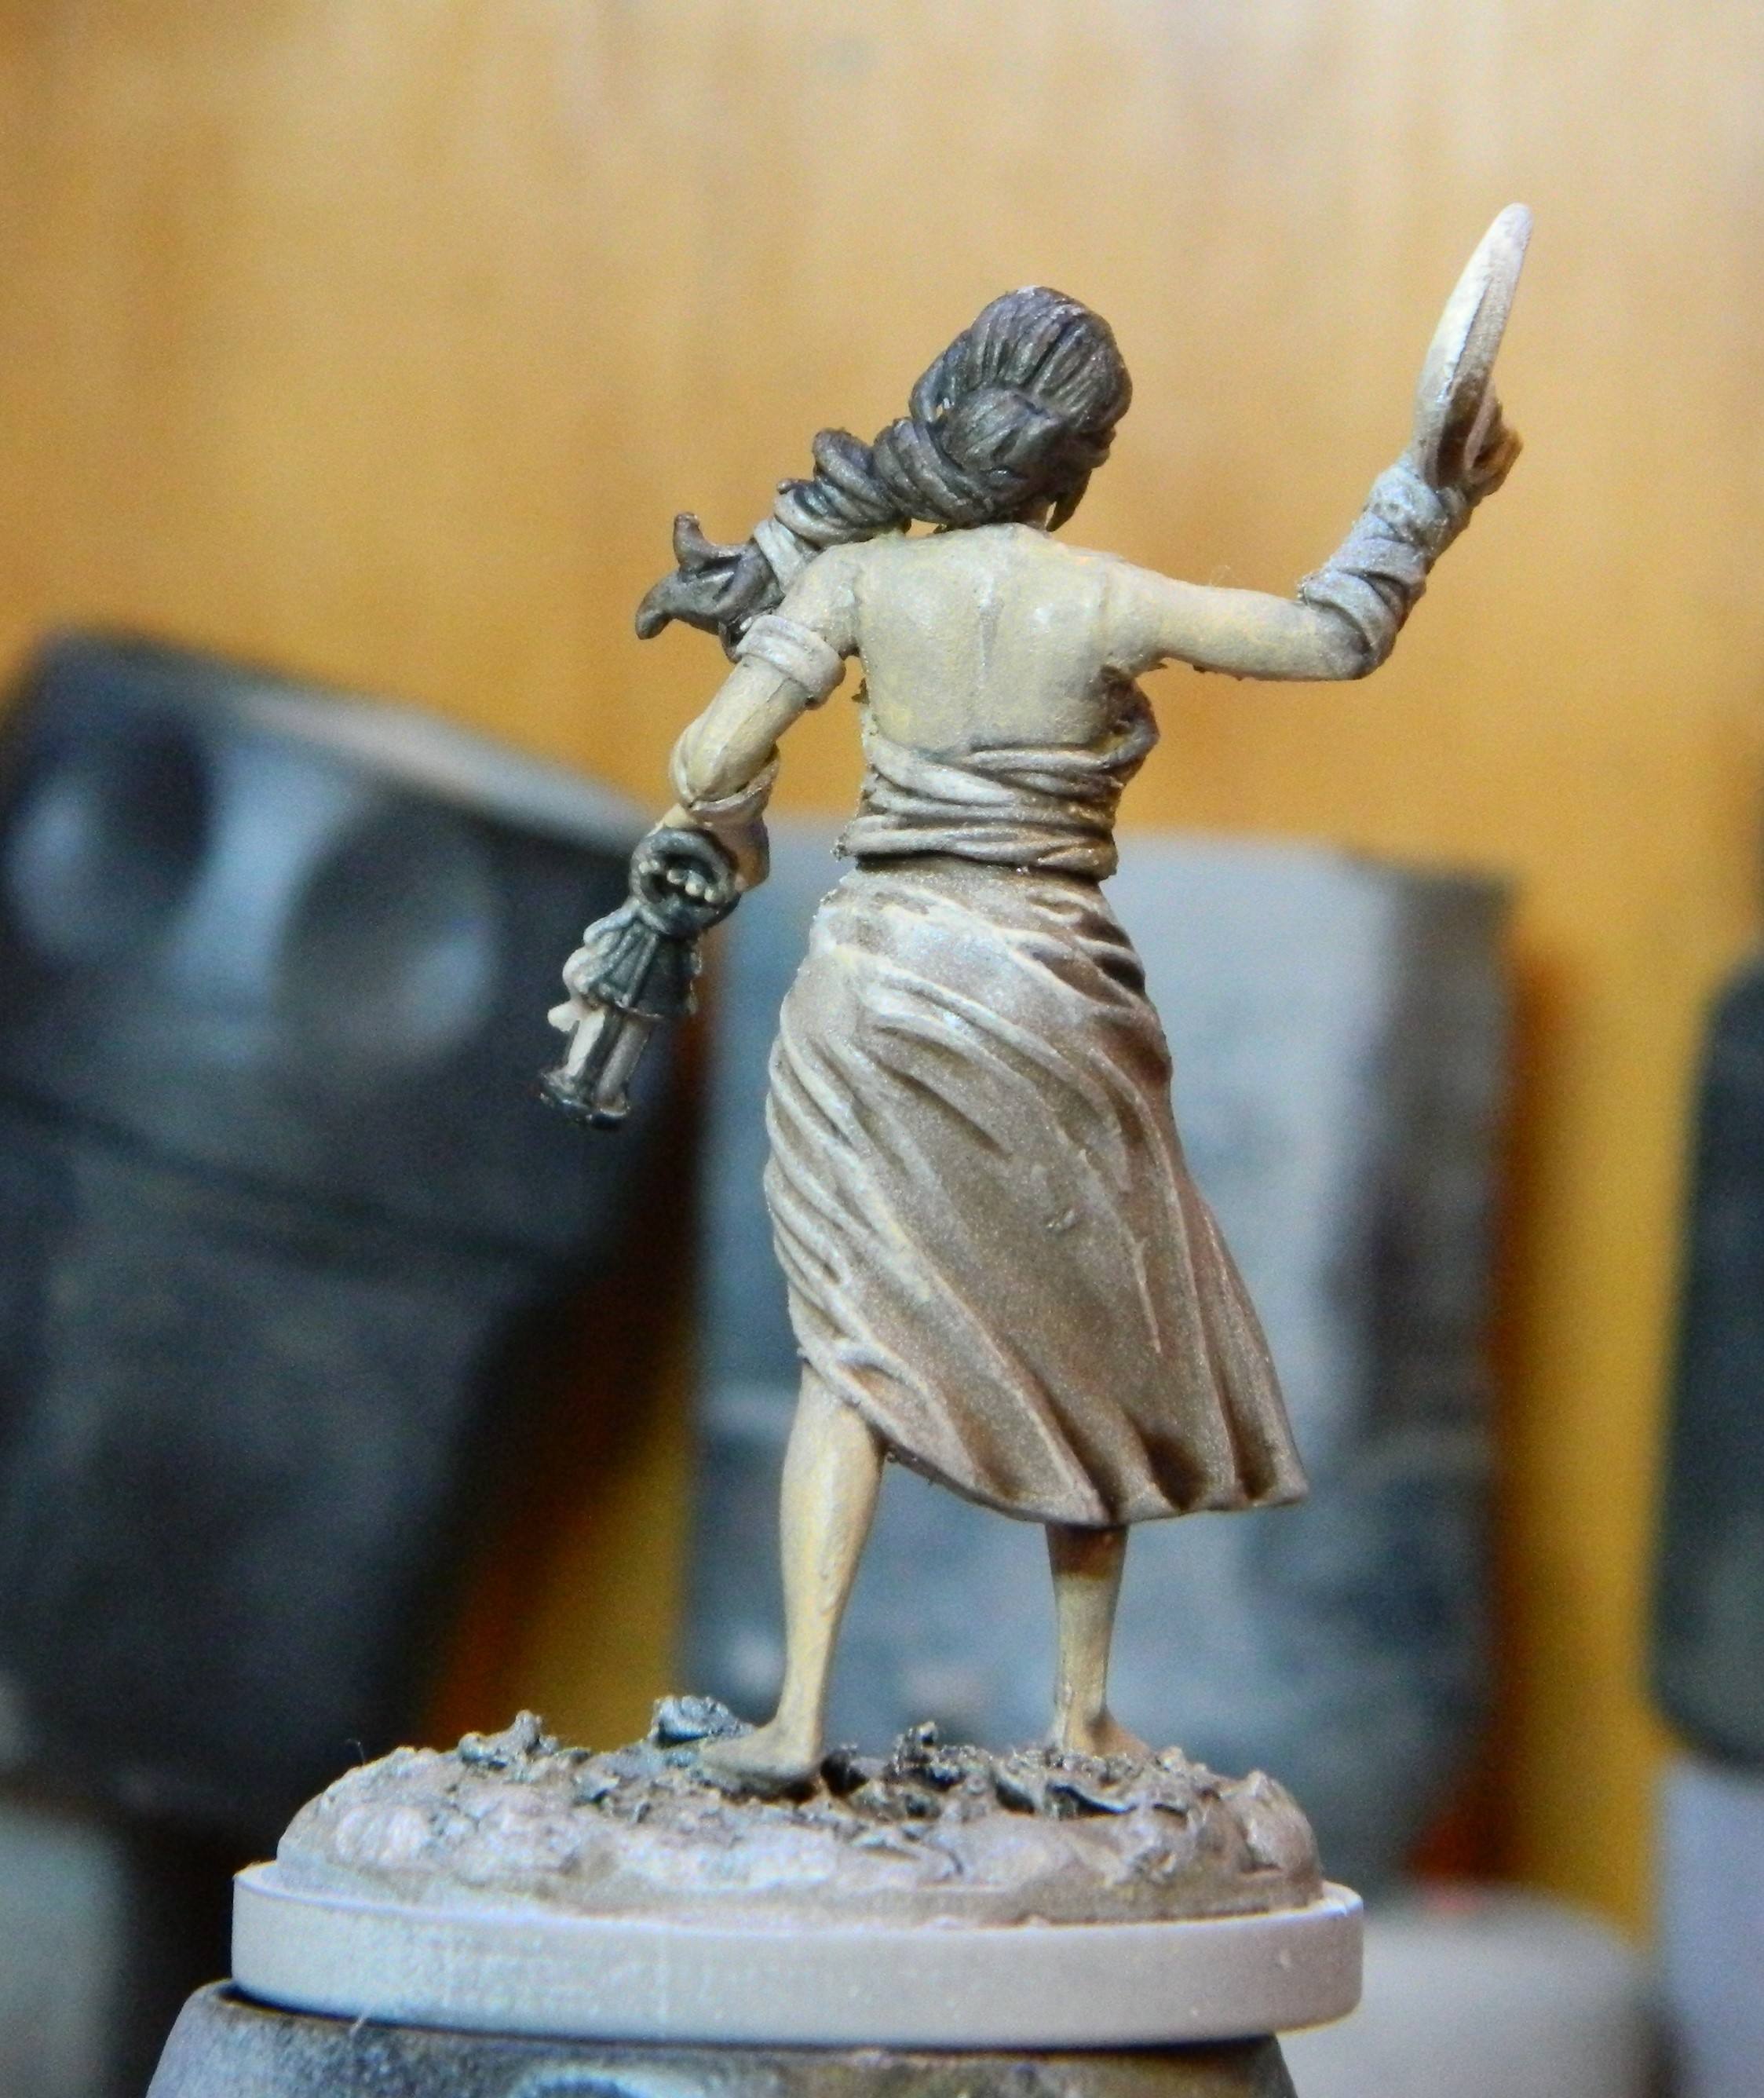
Haha, also I realise I’d not shown the front of Her. Lloyd shots only!!
So, there’s the front of her in mono.
If I ever get another set of these minis, I’d do them in full colour, on a single base, properly standing back-to-back.
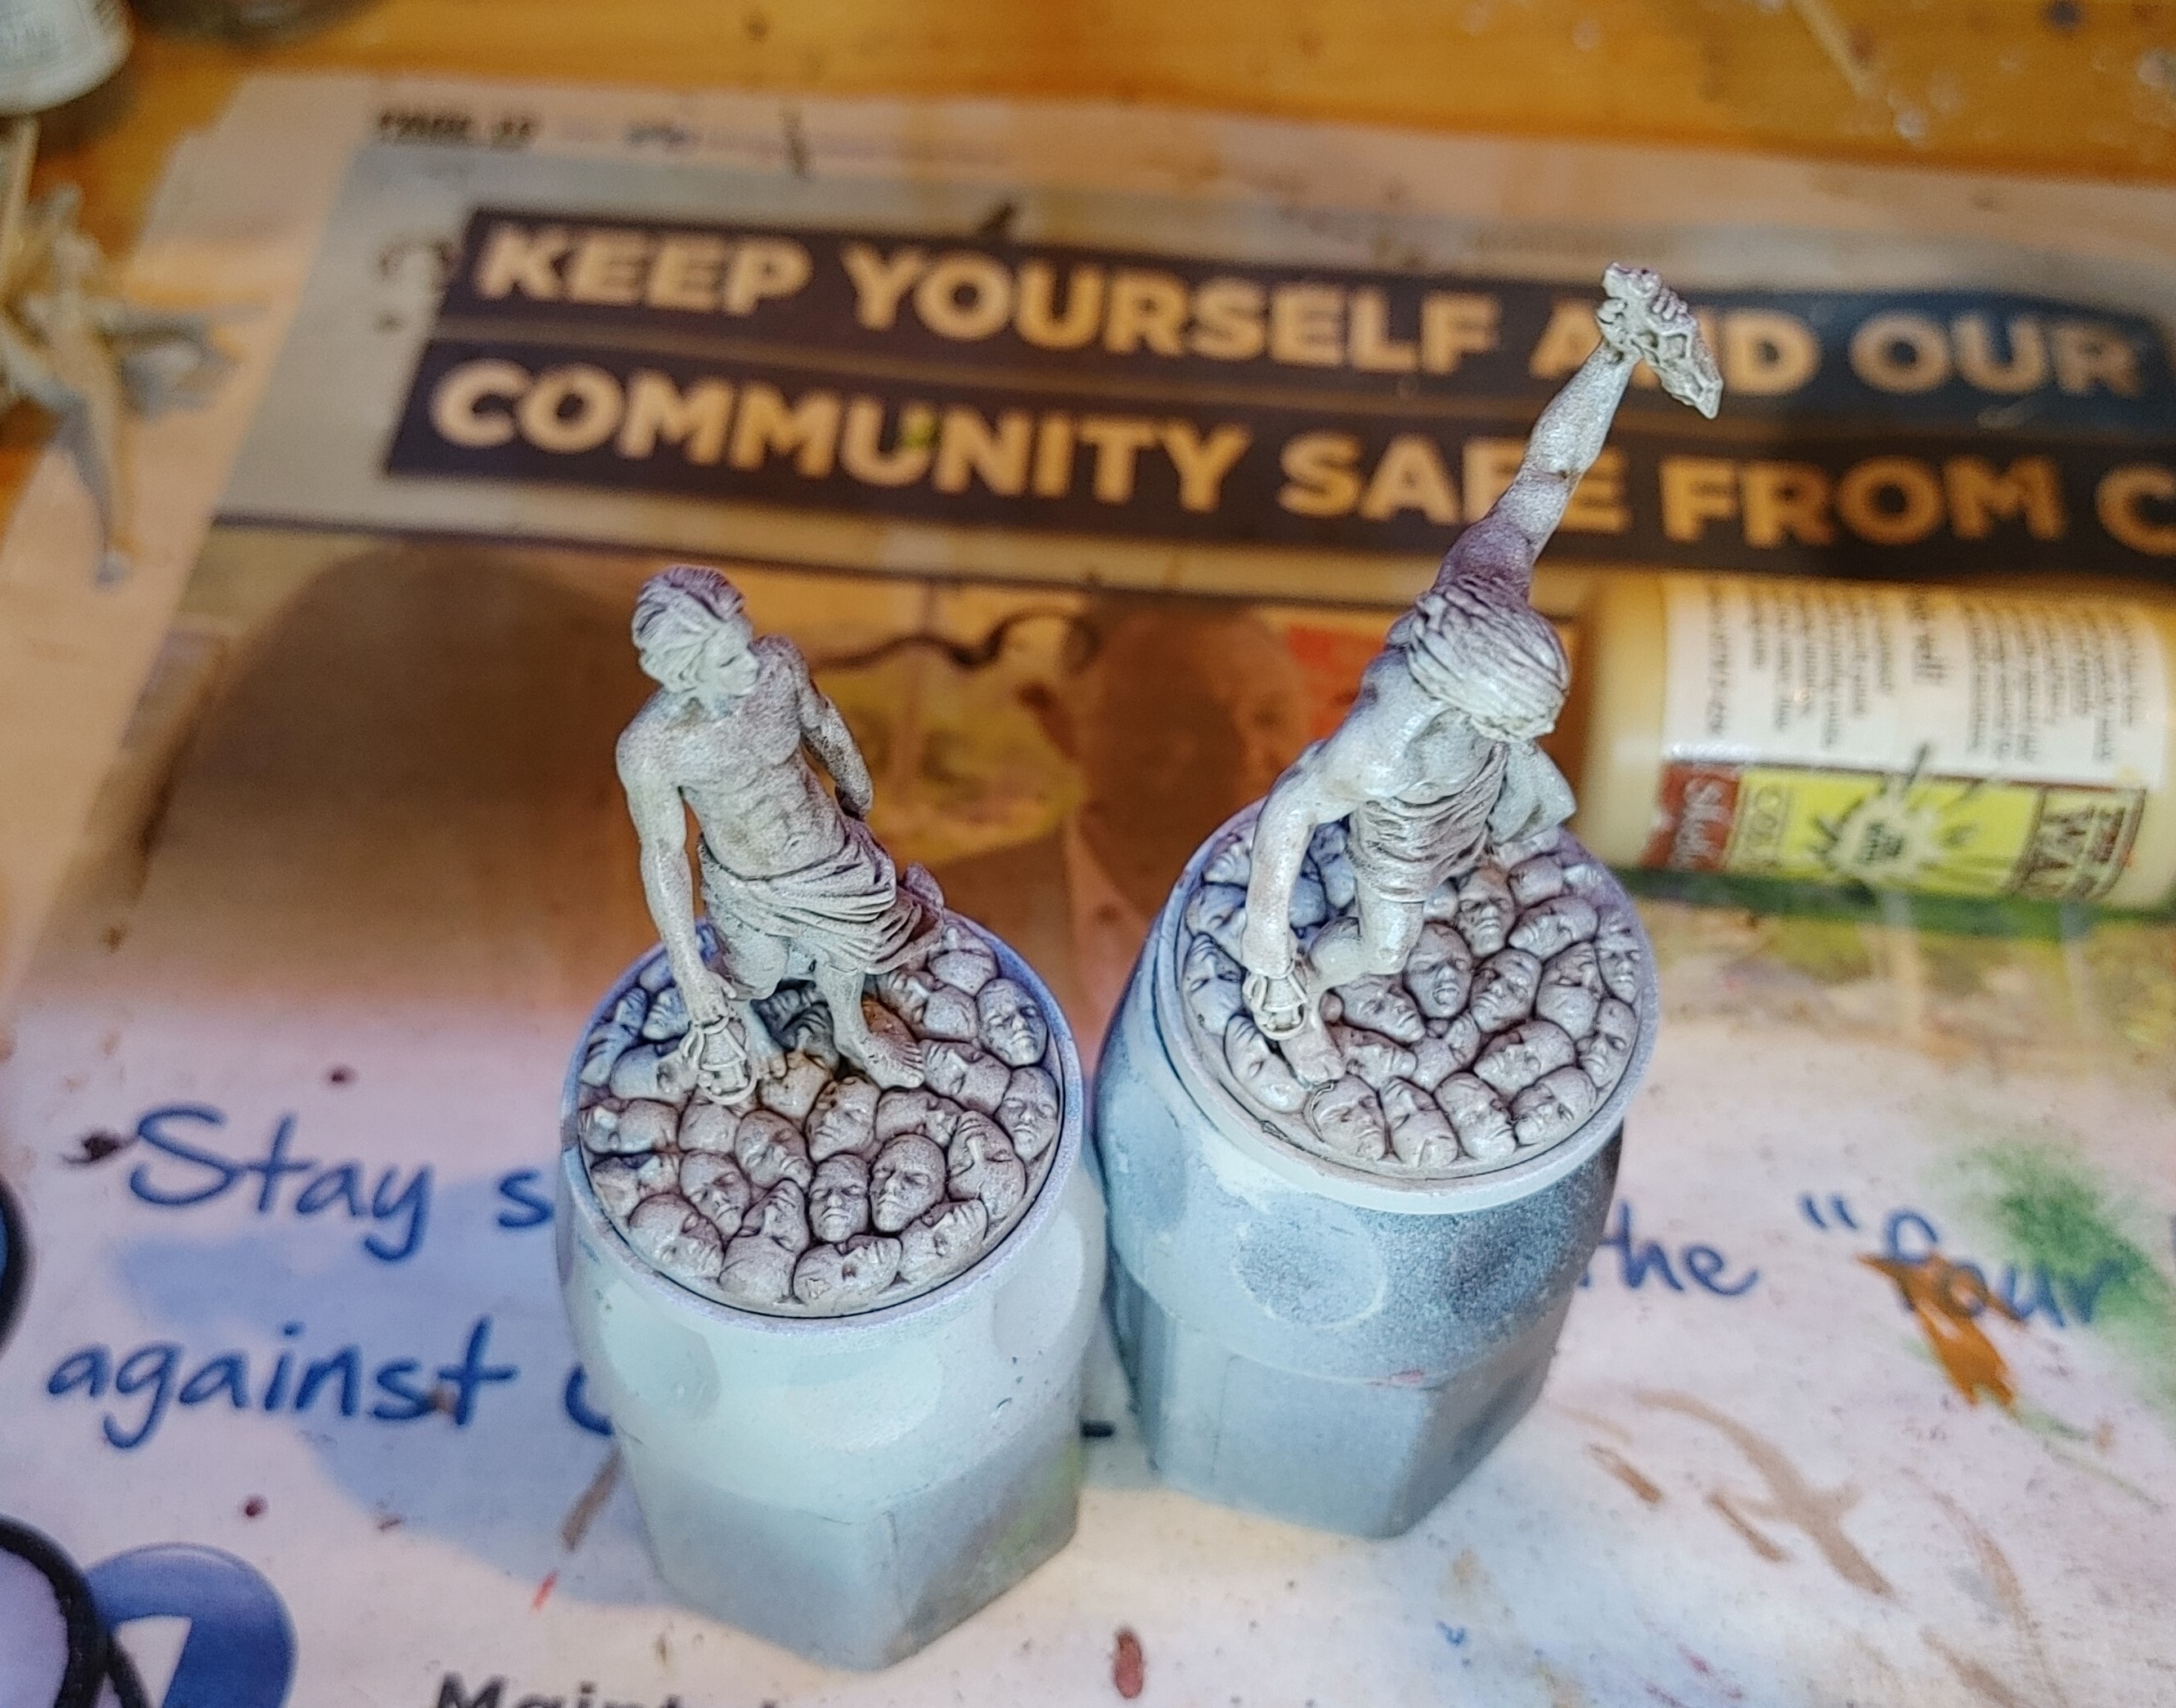
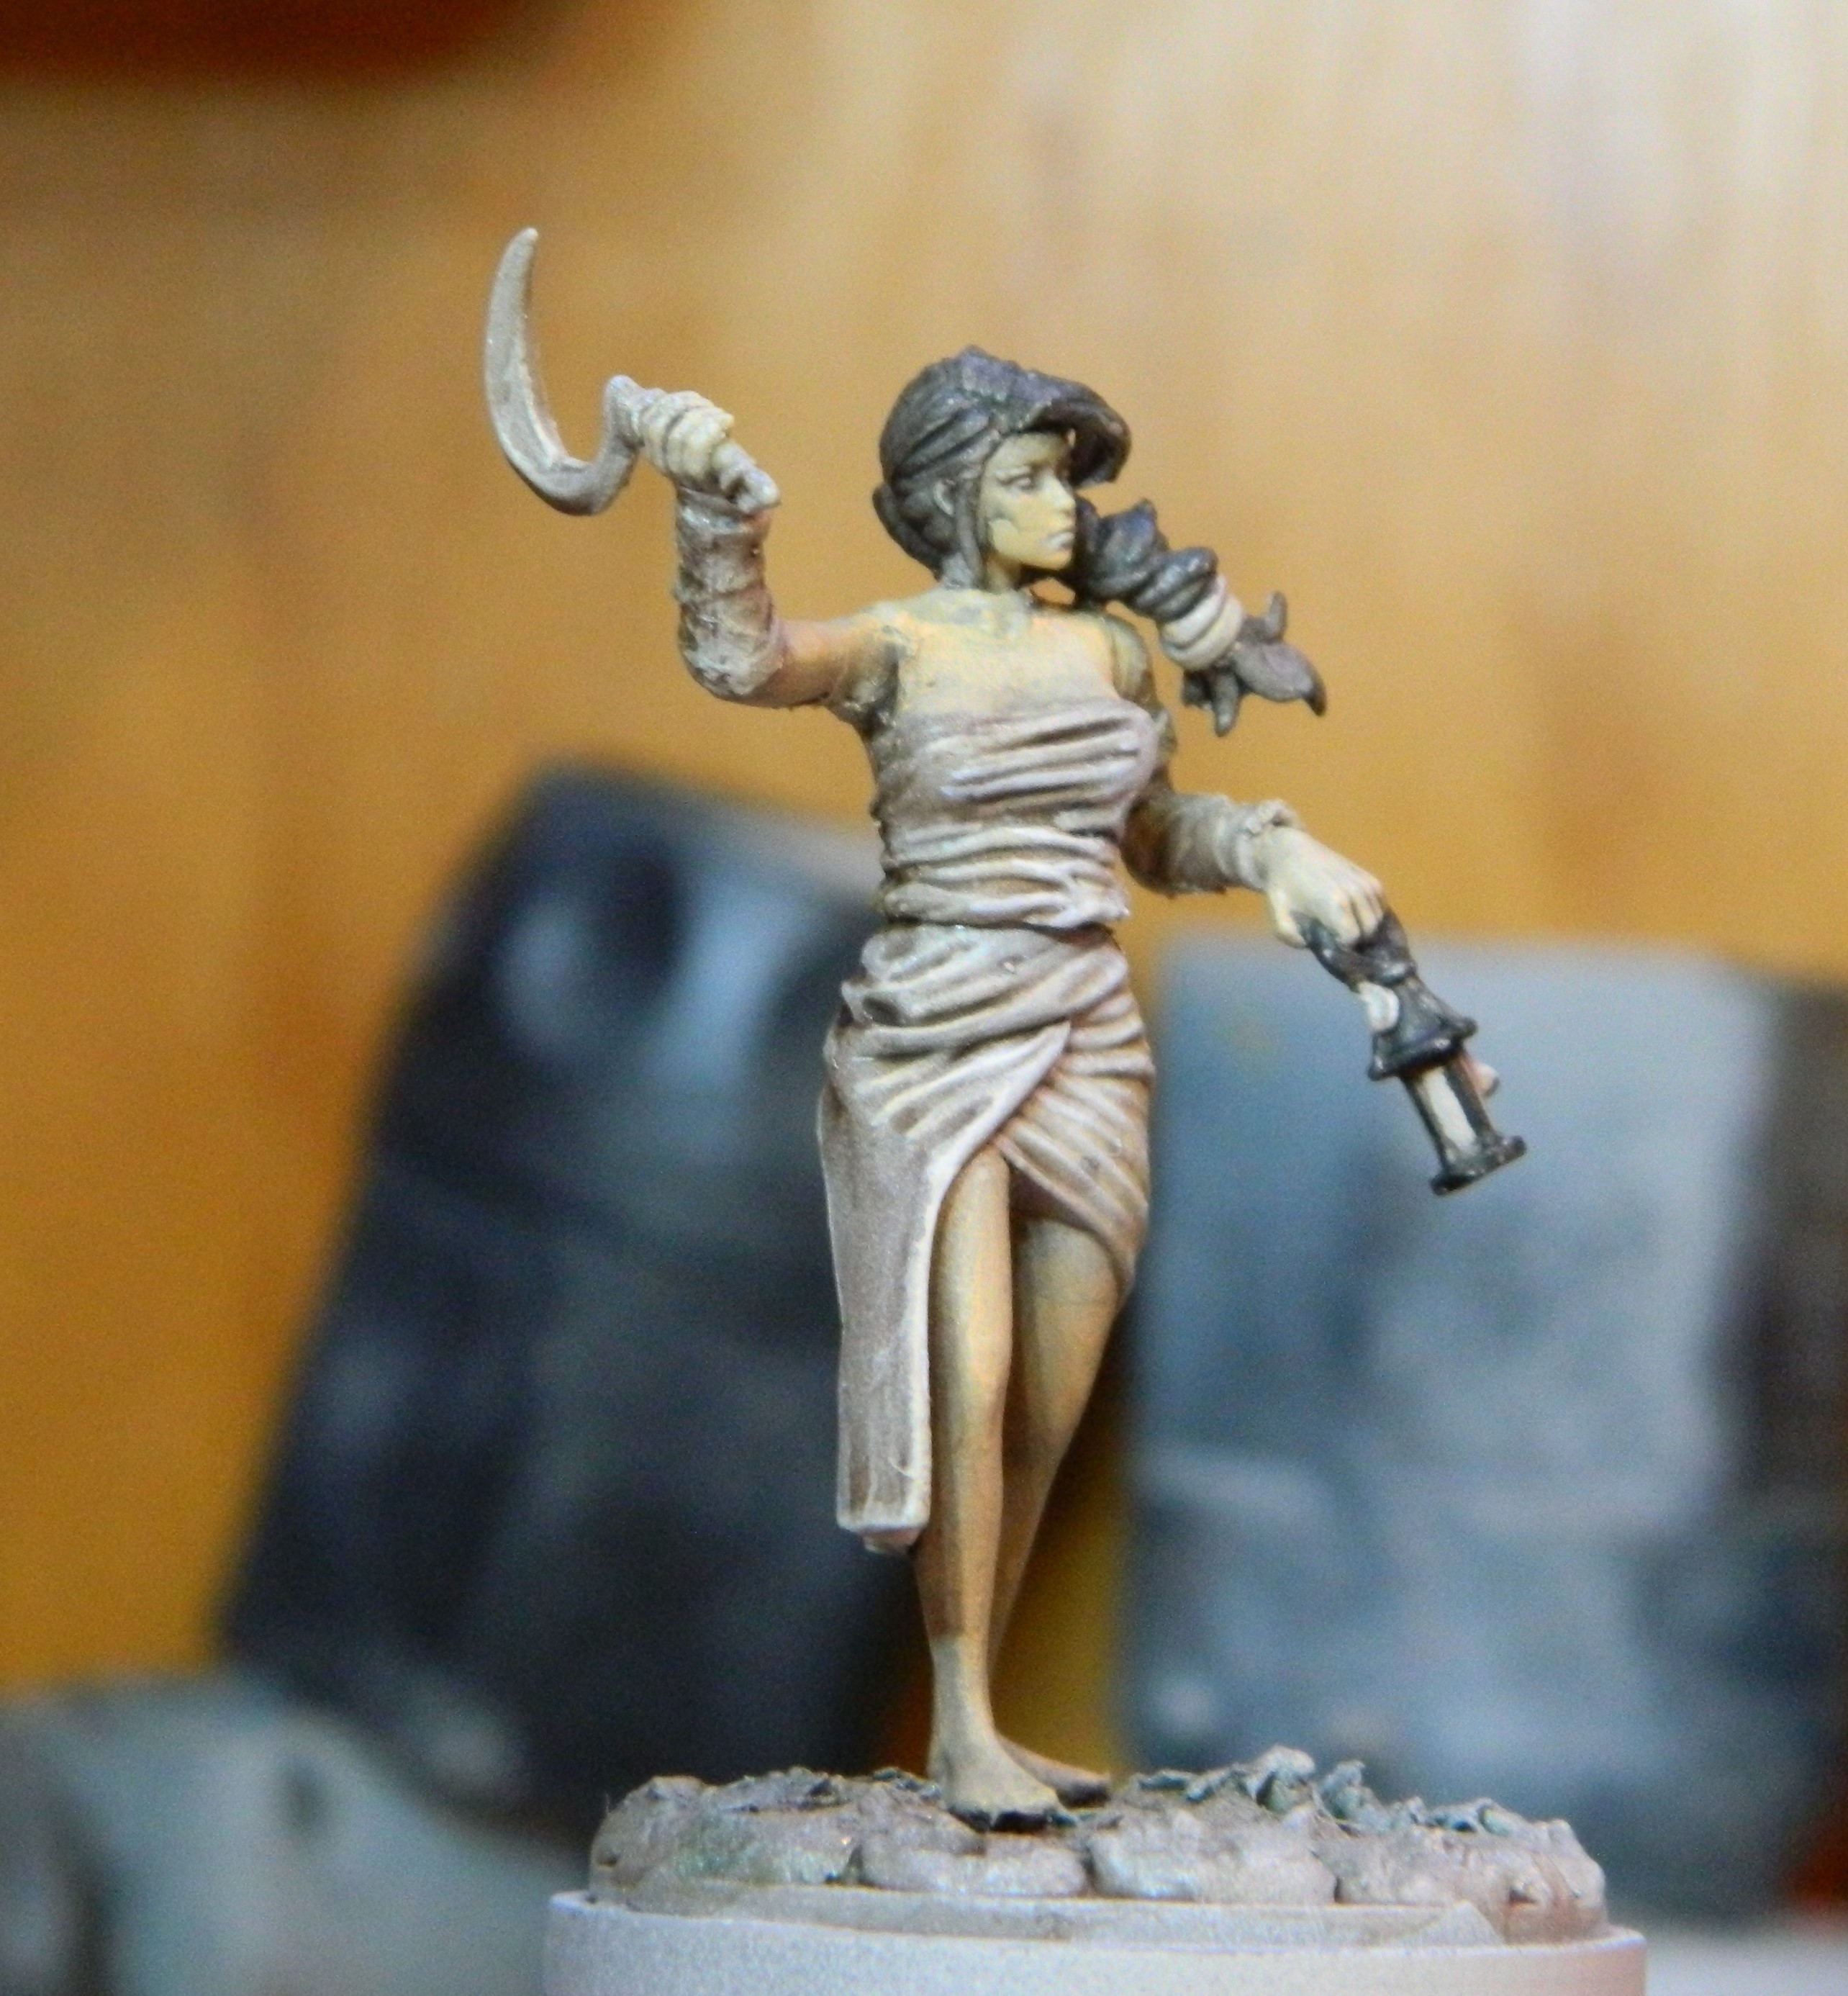
15 Mar 22: Done? Pretty close...
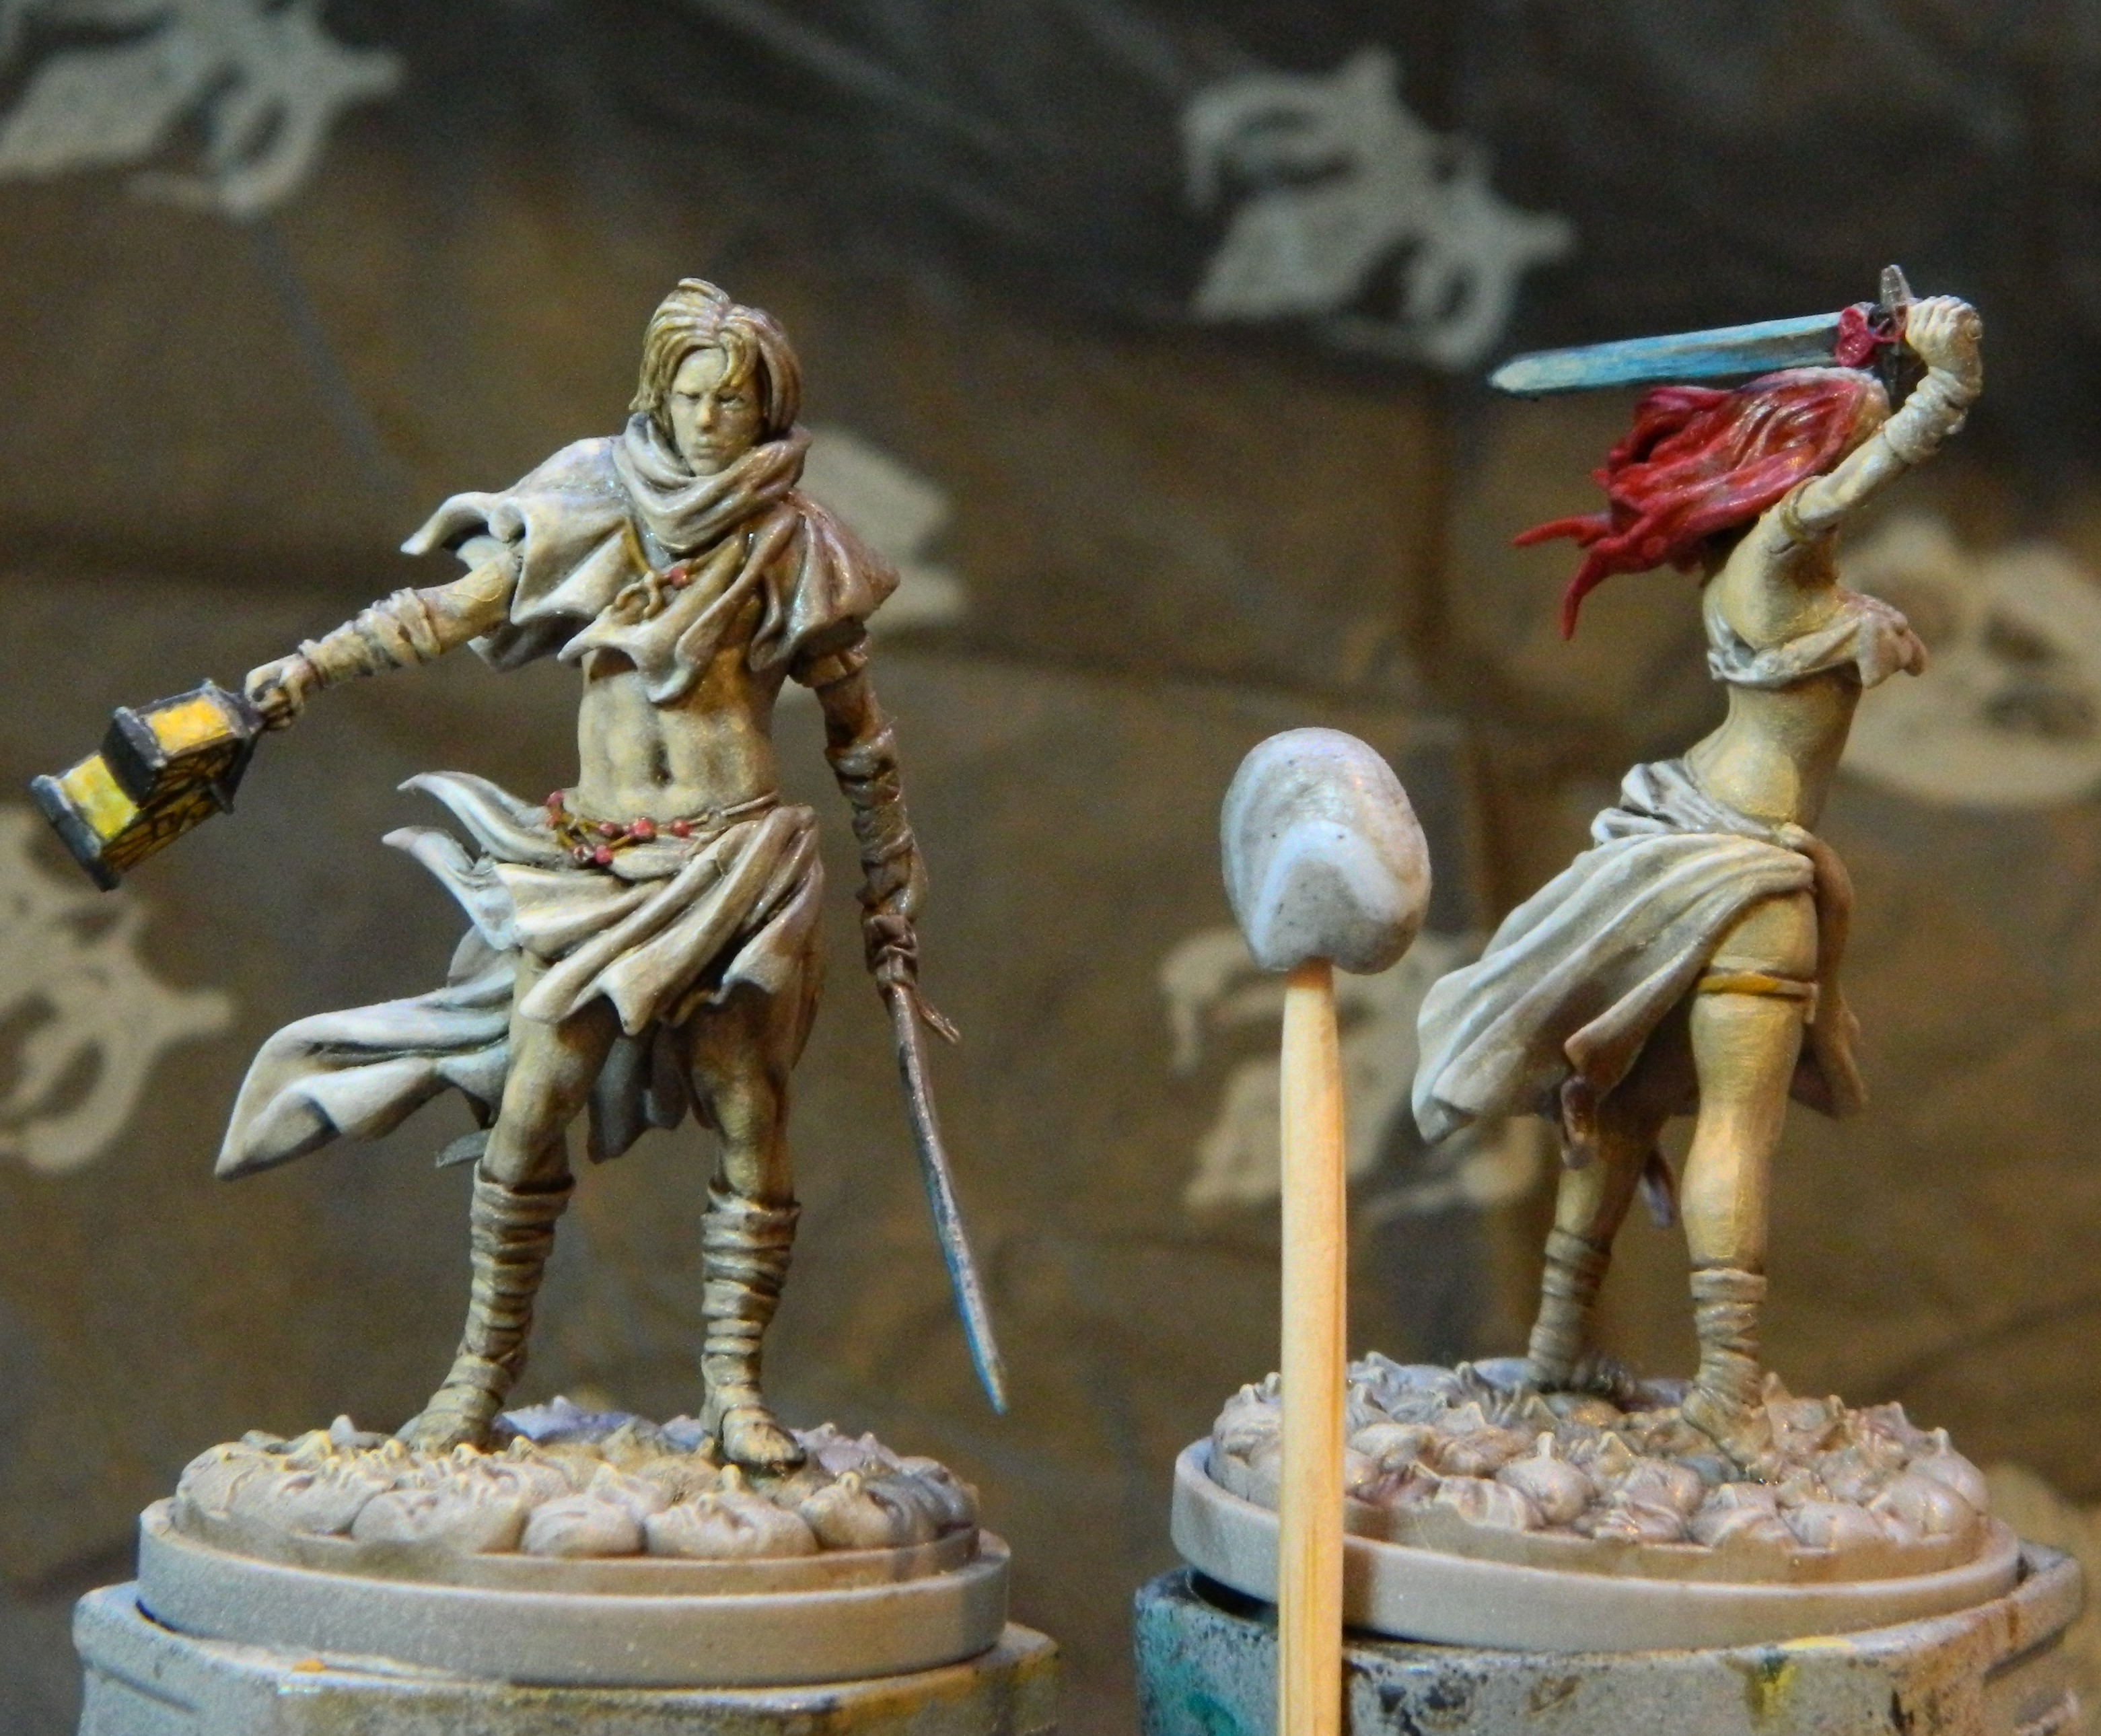 As usual, the photos show me what I could tweak... His left arm... Her hair... But overall I'm really happy with these two. A couple of touches later and they'll be done!
16 Feb 22: Got it!
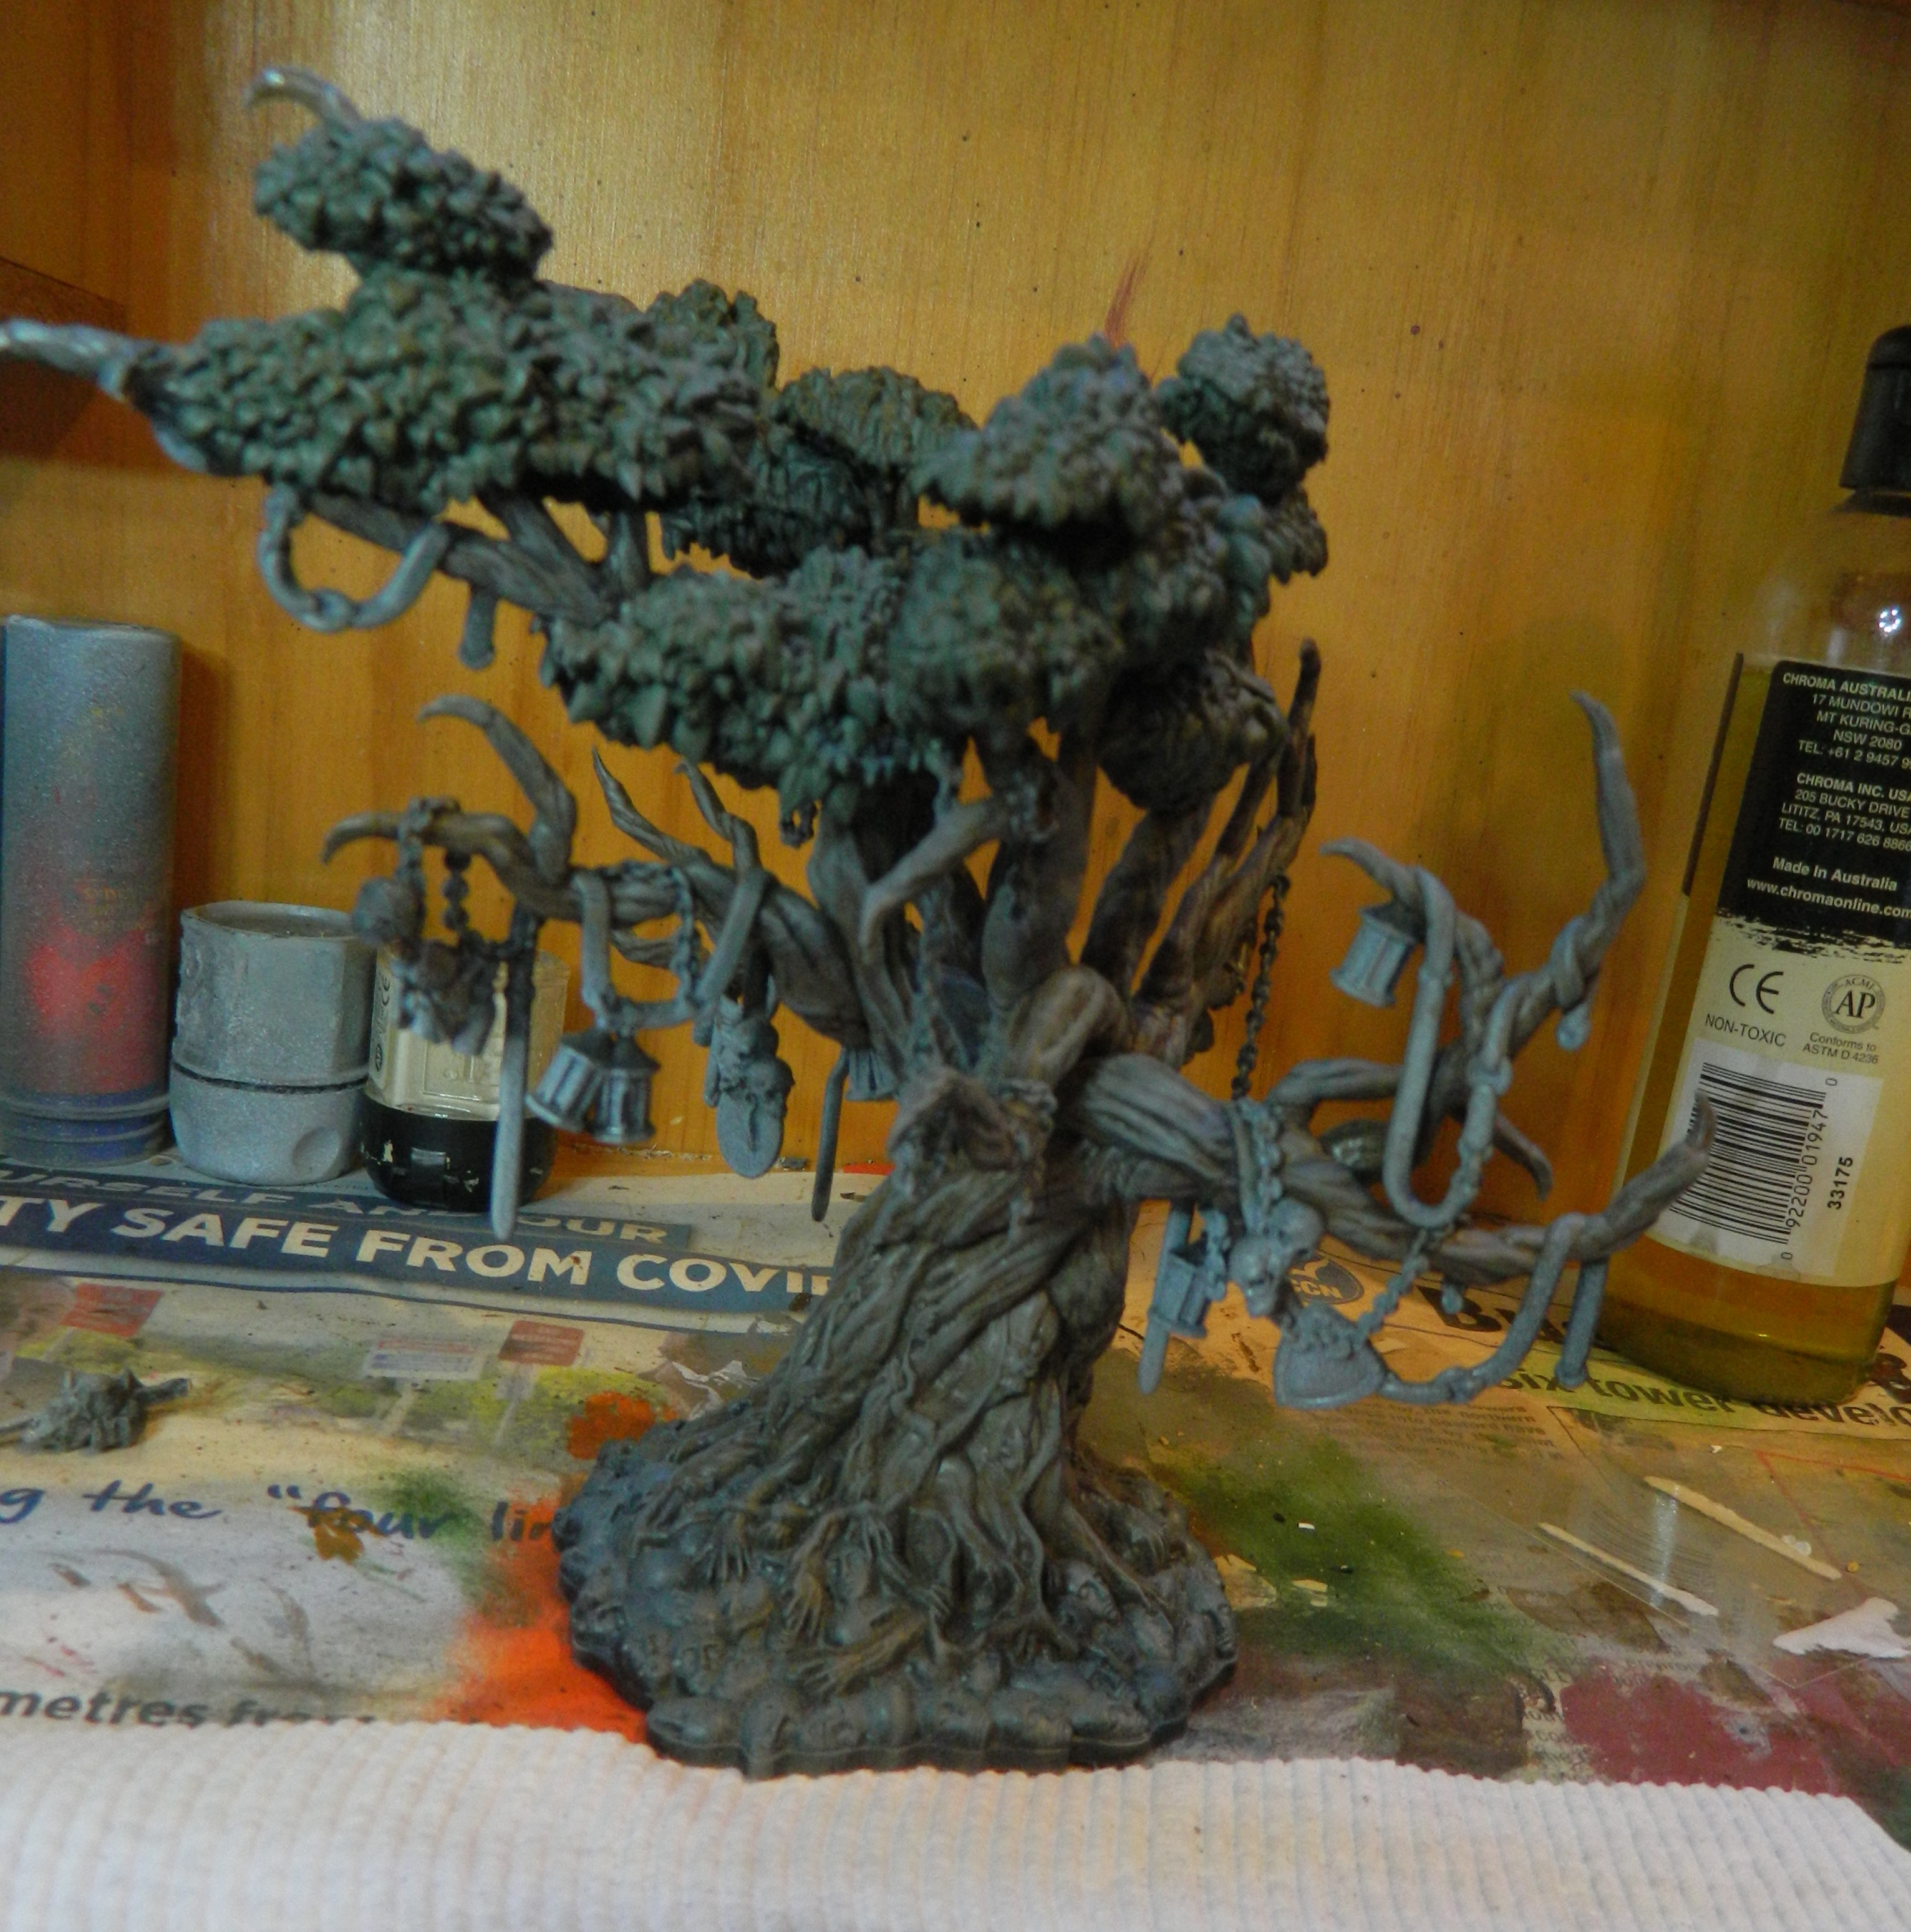
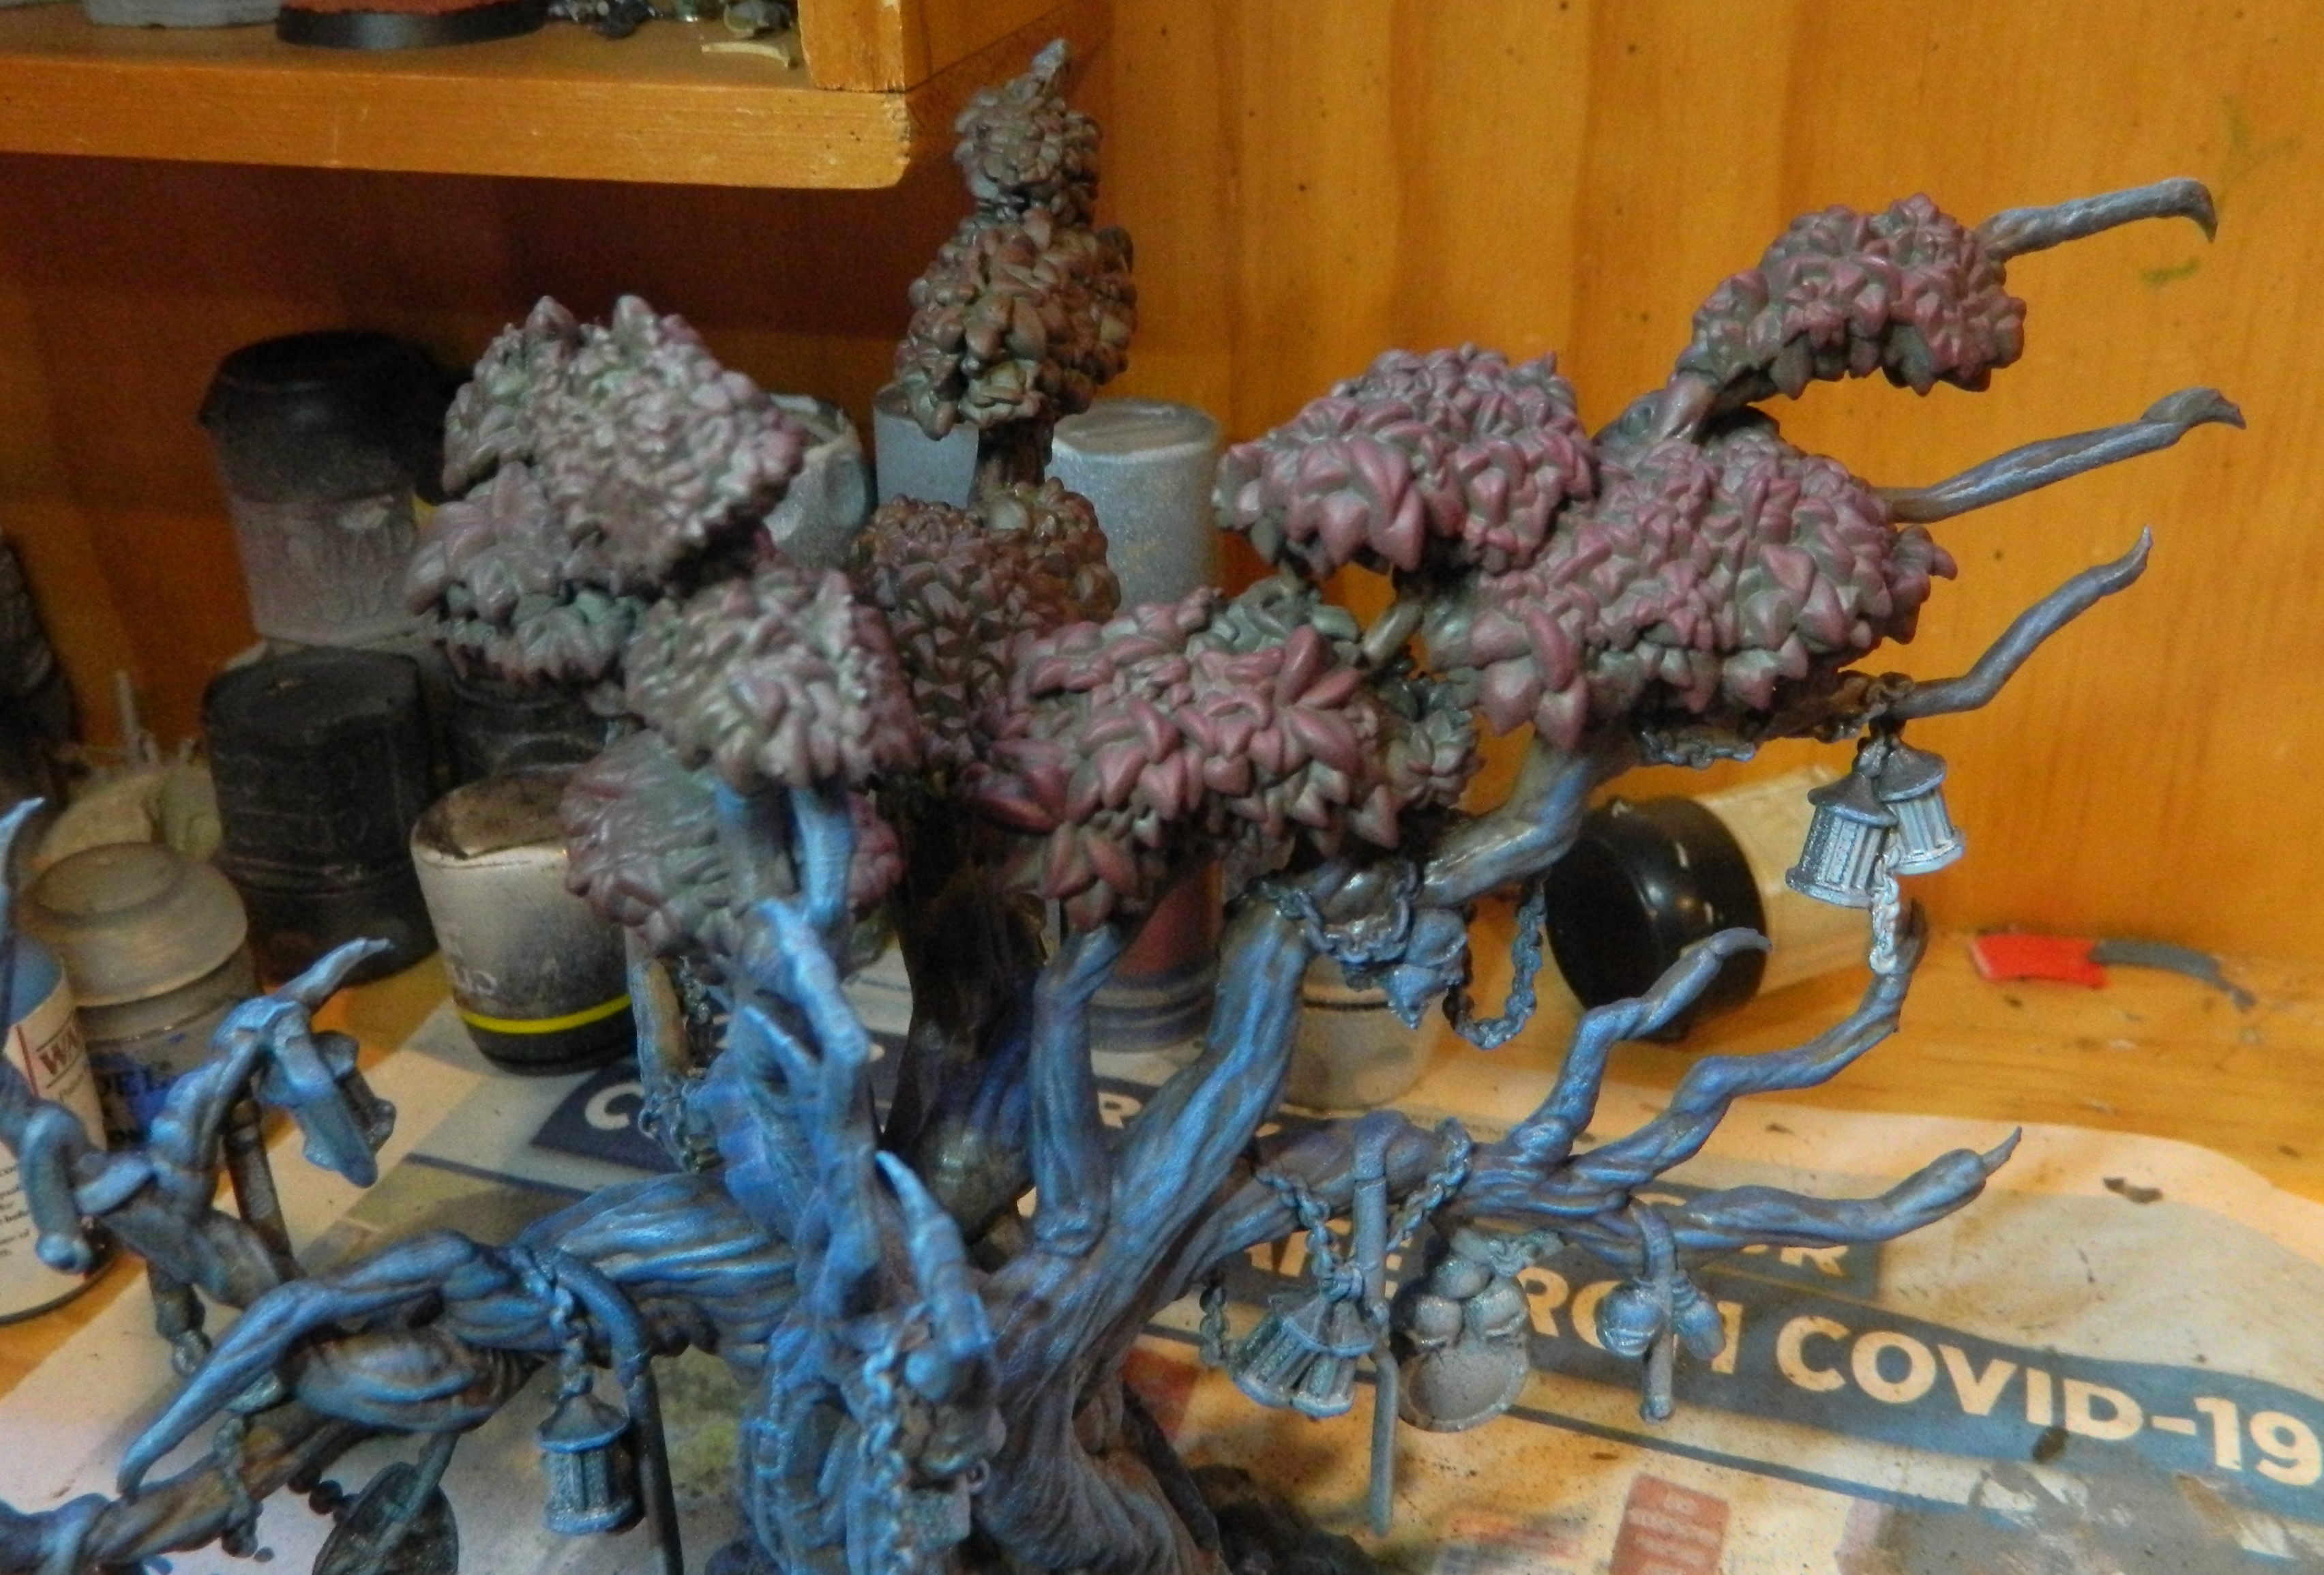
Still not happy with the leaves, I decided to try hitting them with a light drybrush of AP Skeleton Bone. As soon as I’d done the first clump I thought it looked better.
The photos still don’t show it that well, but it looks good to the eye.

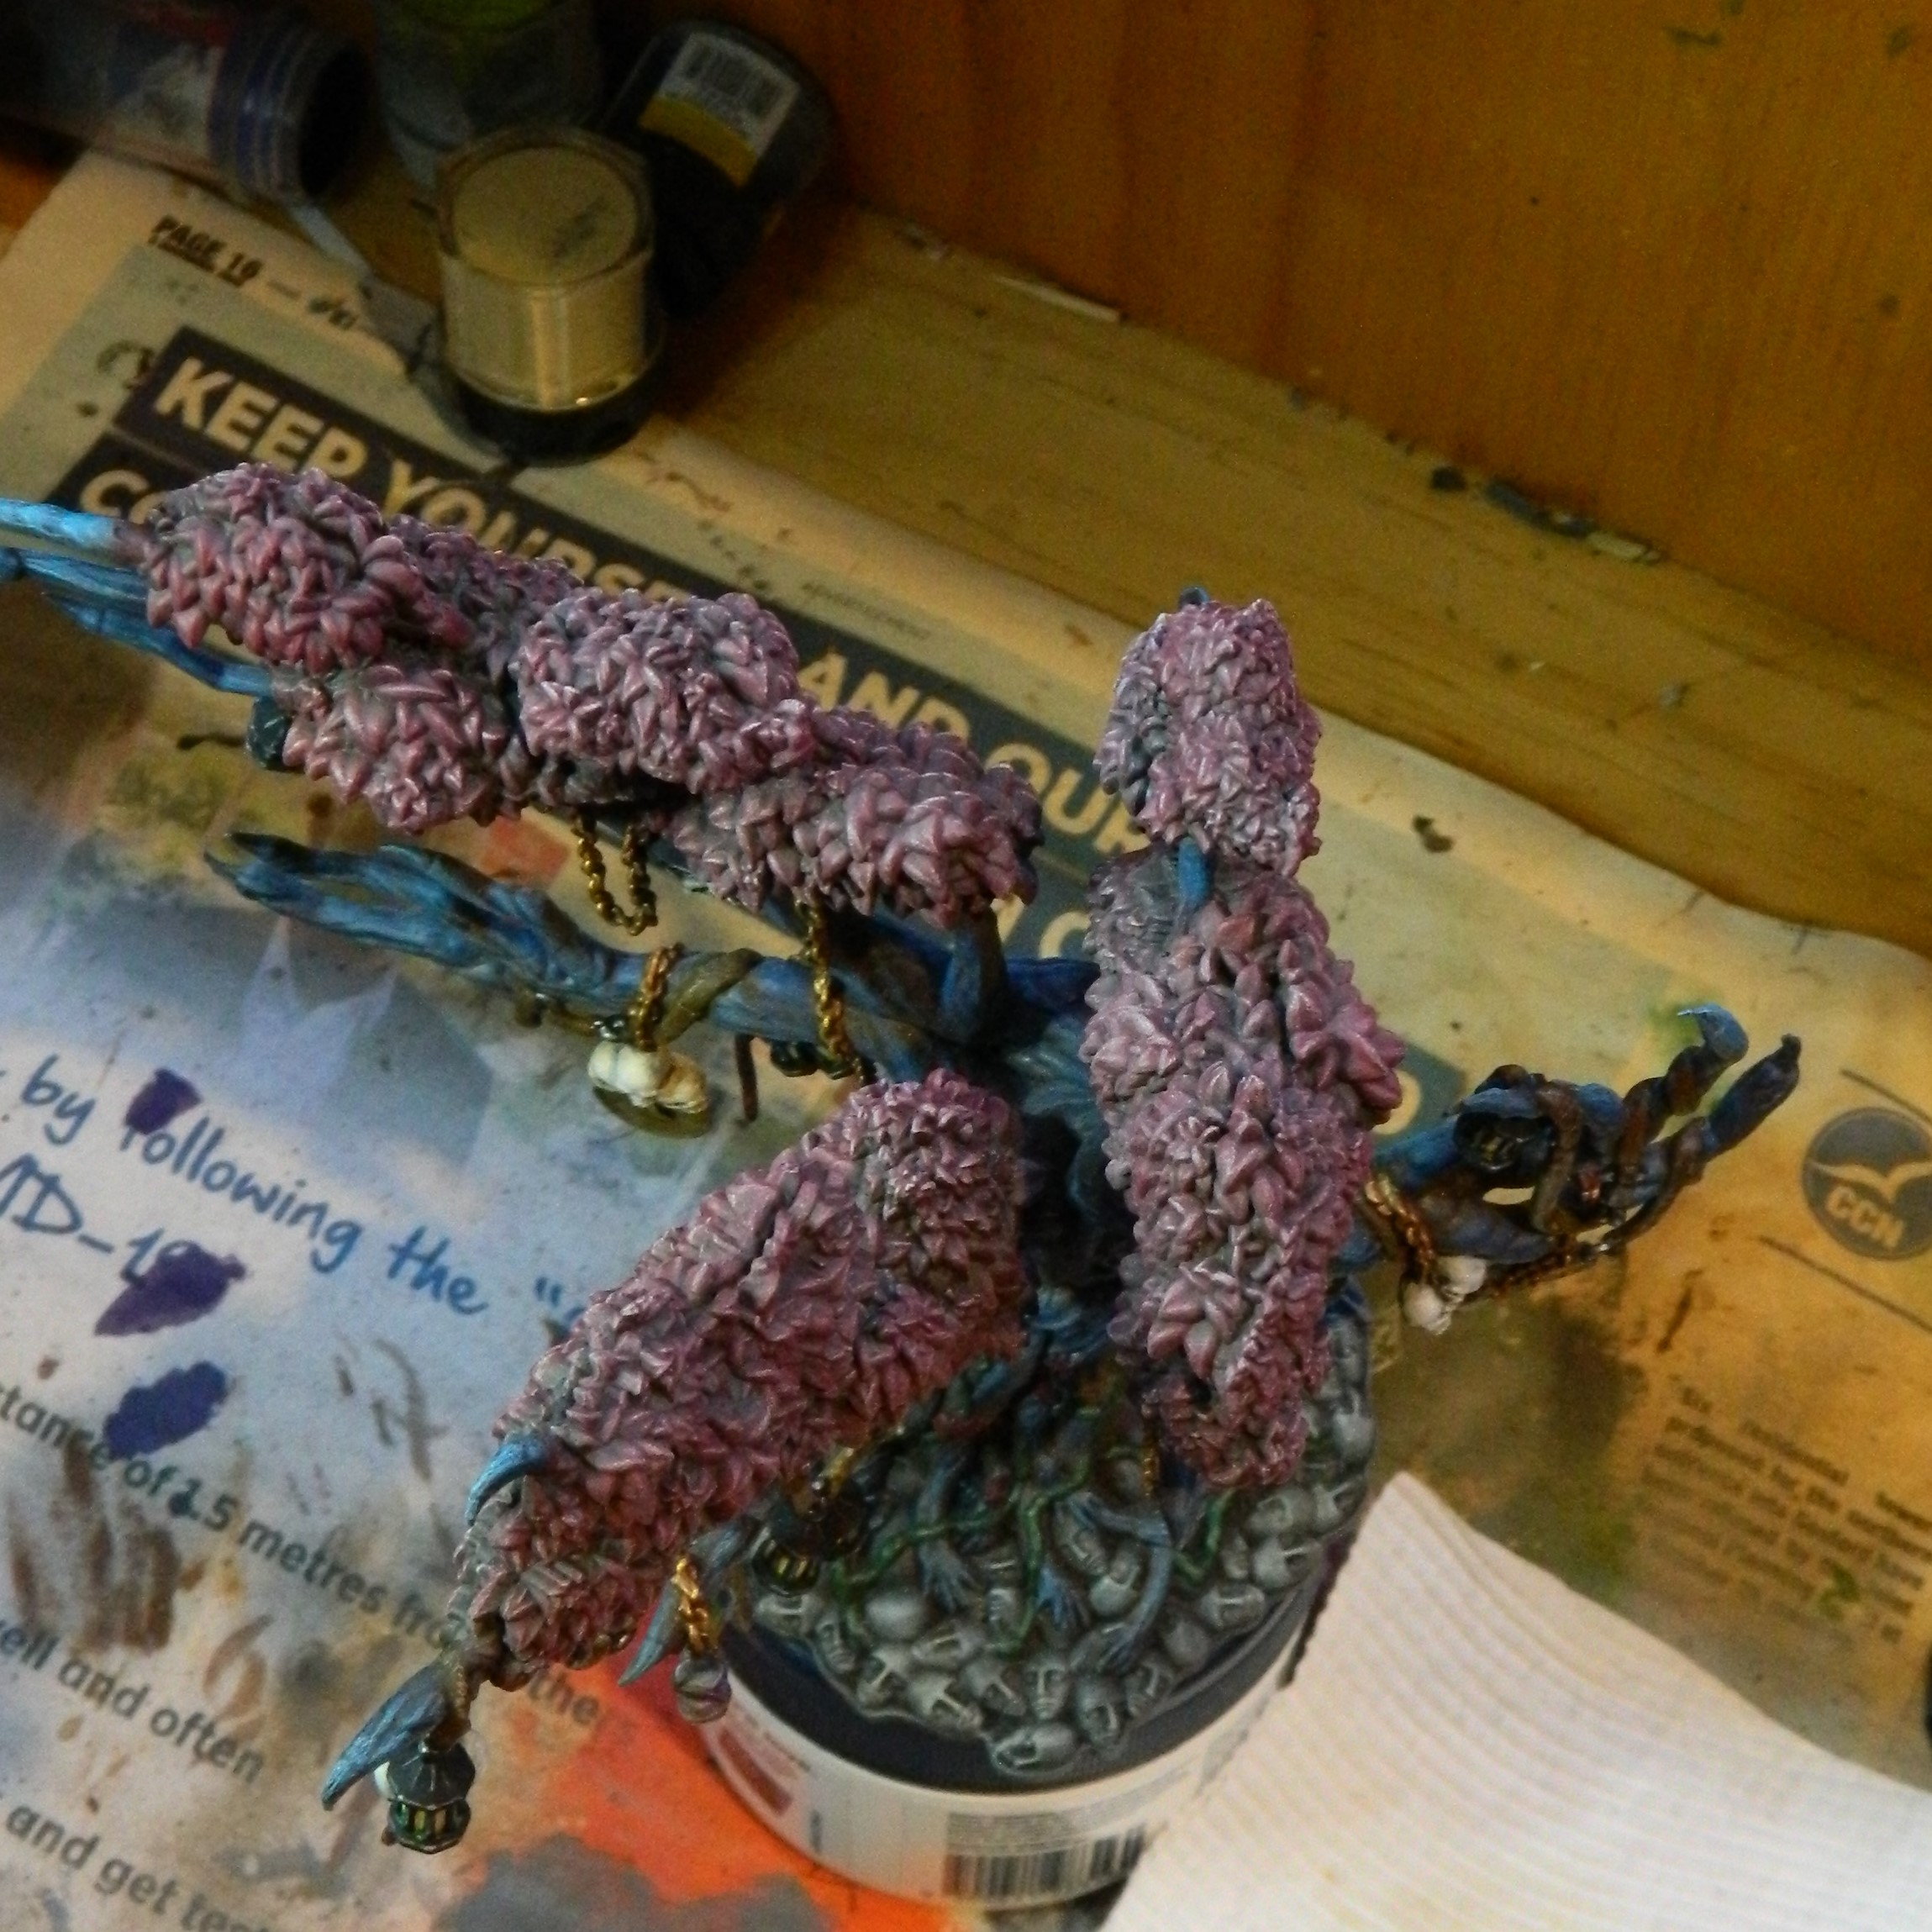
11 Feb 22: Return to the Canopy
 I was dissatisfied with the leaf situation, old on the right, new on the left
I’d wanted the colour on the leaves to be stronger, even at the beginning. To brighten it up I overbrushed with Celestra Grey, then came back in with the Vallejo Red Black as a drybrush.
It was more pink, so I went over again with a drybrush of Vallejo Gory Red. It’s better, but I’m still not 100% satisfied. Comment below if you have any suggestions!
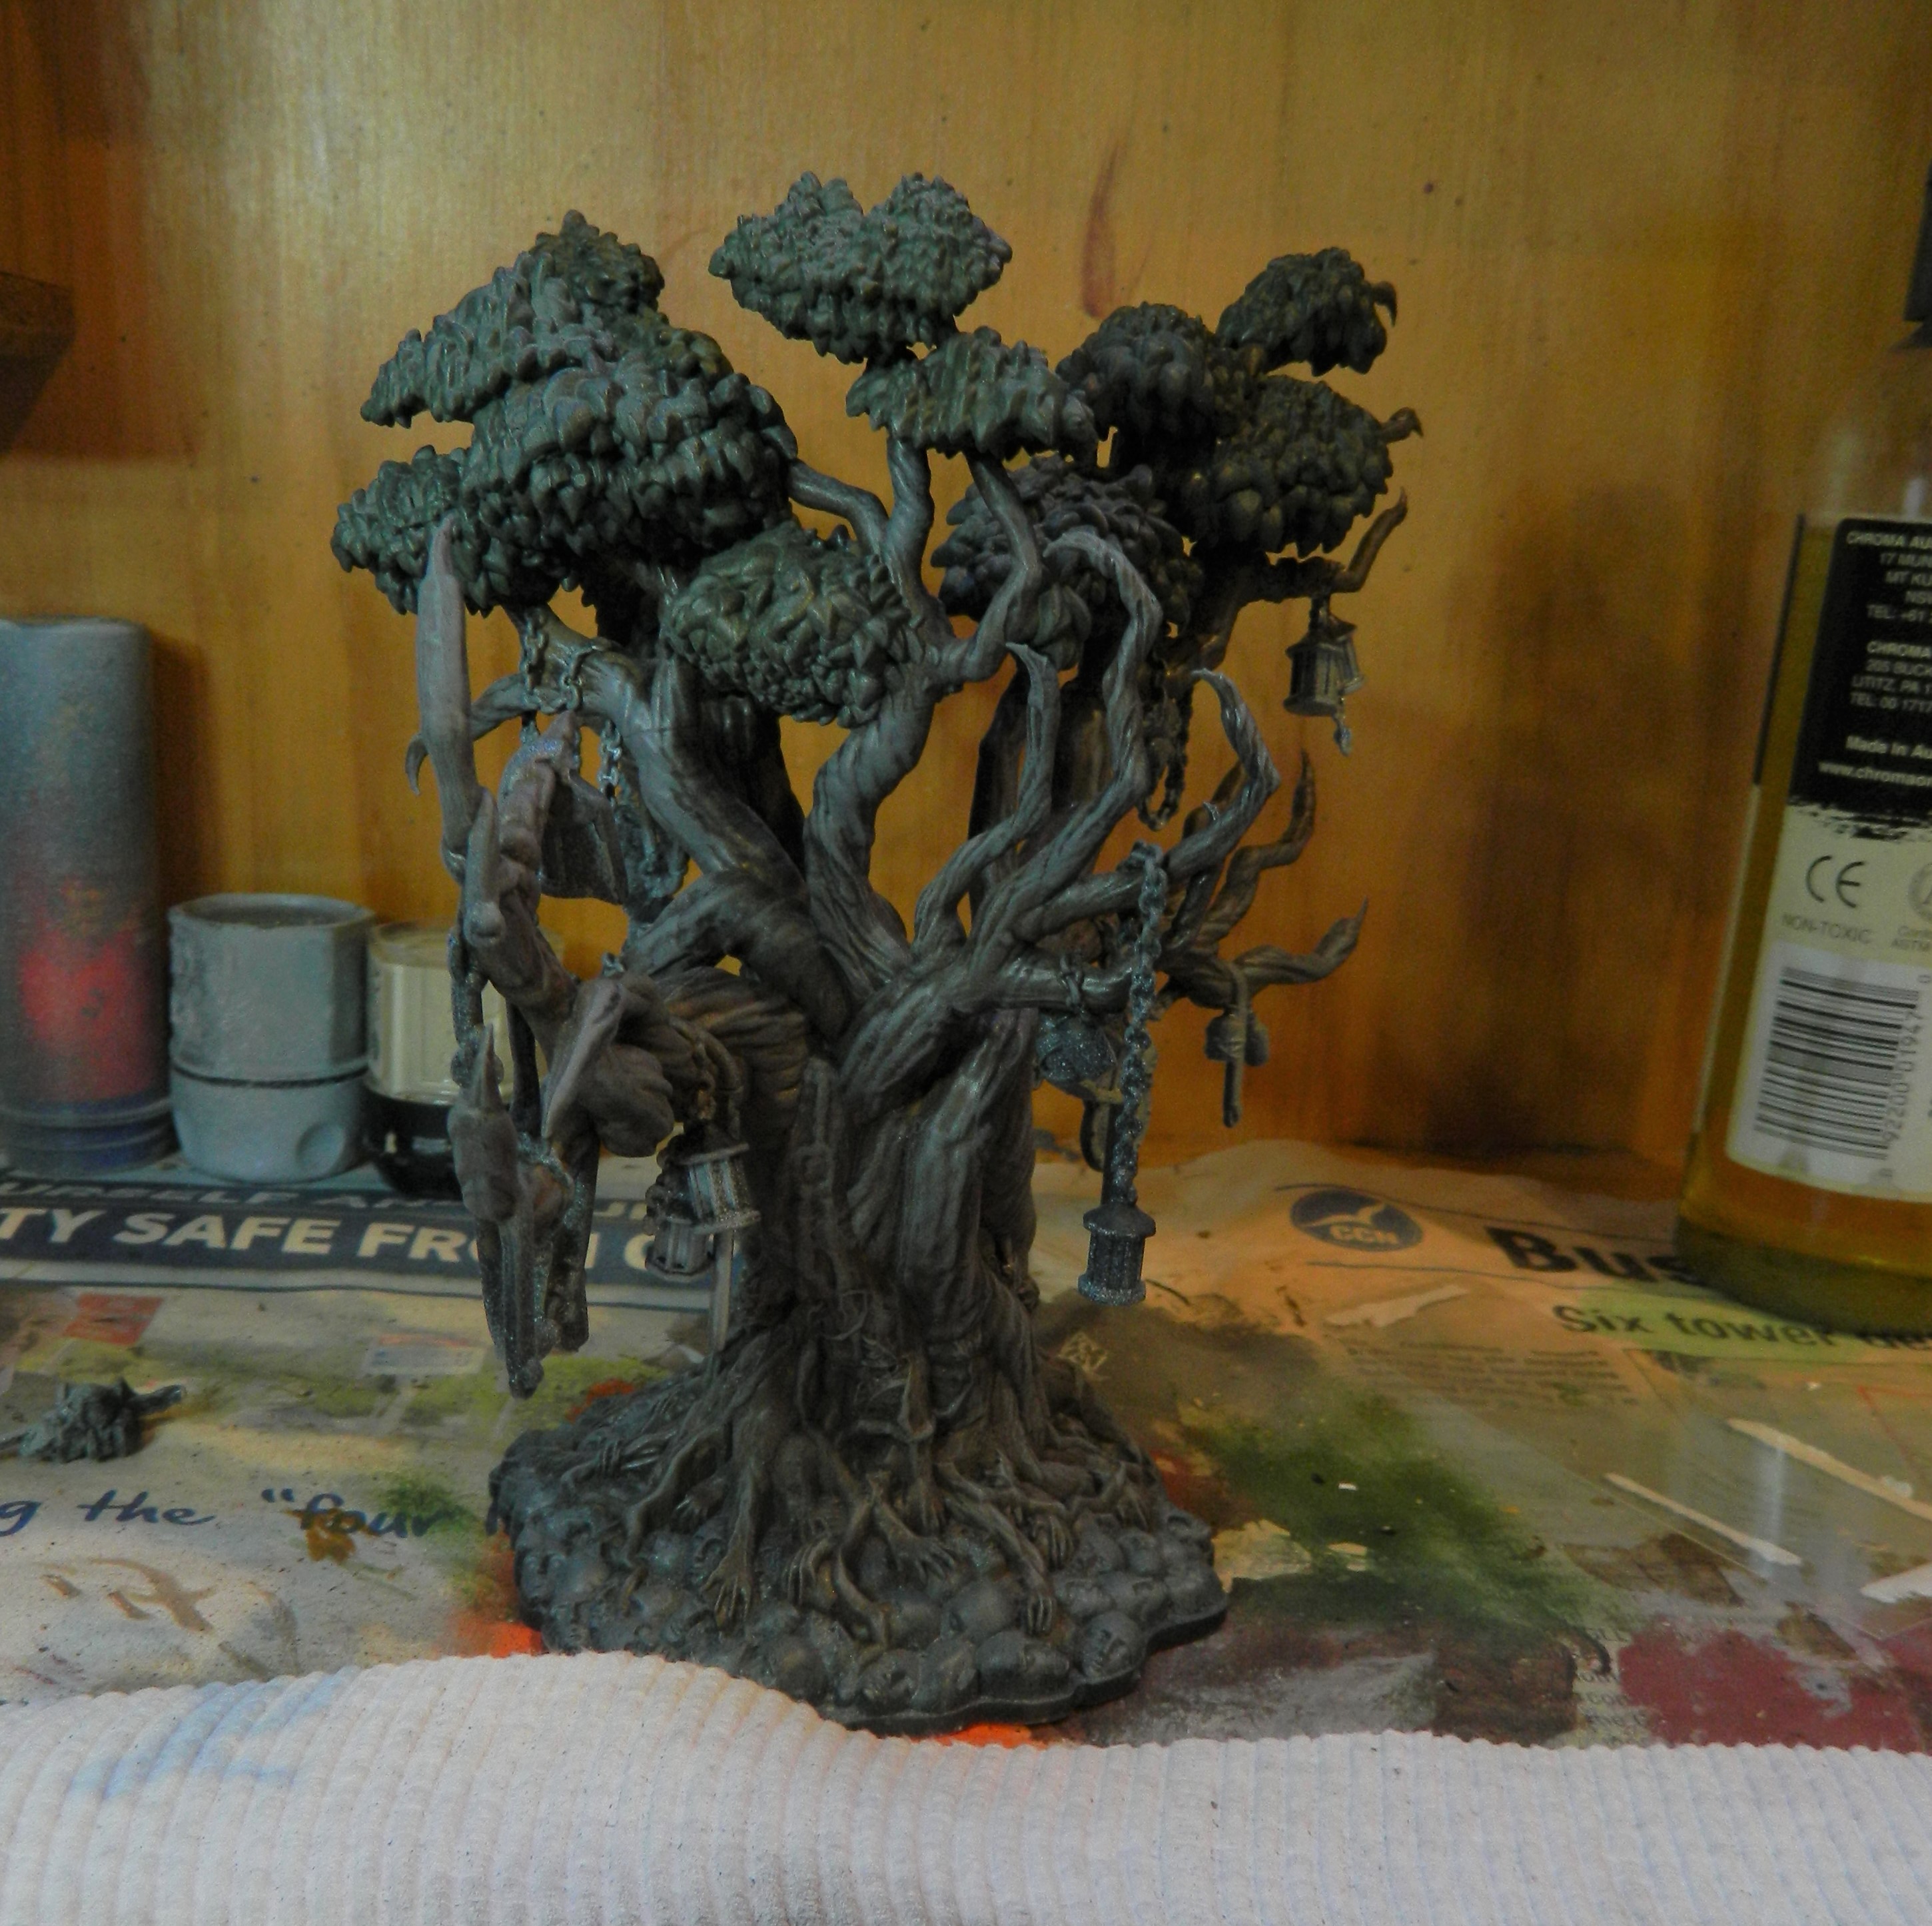
13 Feb 22: The other thing that bothered me about the leaves was...
the fact that they’re also growing halfway up the tree trunk. Leaves don’t do that (usually). I went back to the original art and saw that it’s actually supposed to be another plant growing up around the tree. Acanthus most likely. So now when I looked at the miniature again, I could see the stalks of the plant growing up out of the ground. I thought about ignoring it, but I couldn’t.
I got stuck on the colour for a bit, got some opinion from someone for options. I went with green. In the end I was glad I did.
Old Citadel Ork Flesh and highlighted with Goblin Green.

Also complete here is the base. I had to touch up the edges with some Gesso primer as I’d rubbed right down to the plastic in spots. Recoated with black. Drybrushed with GW Dawnstone and given a brown wash. Then carefully highlighted with Celestra Grey and finally Skeleton Bone.
1 Feb 22: Hittin' the bottle!
Misleading title is misleading!
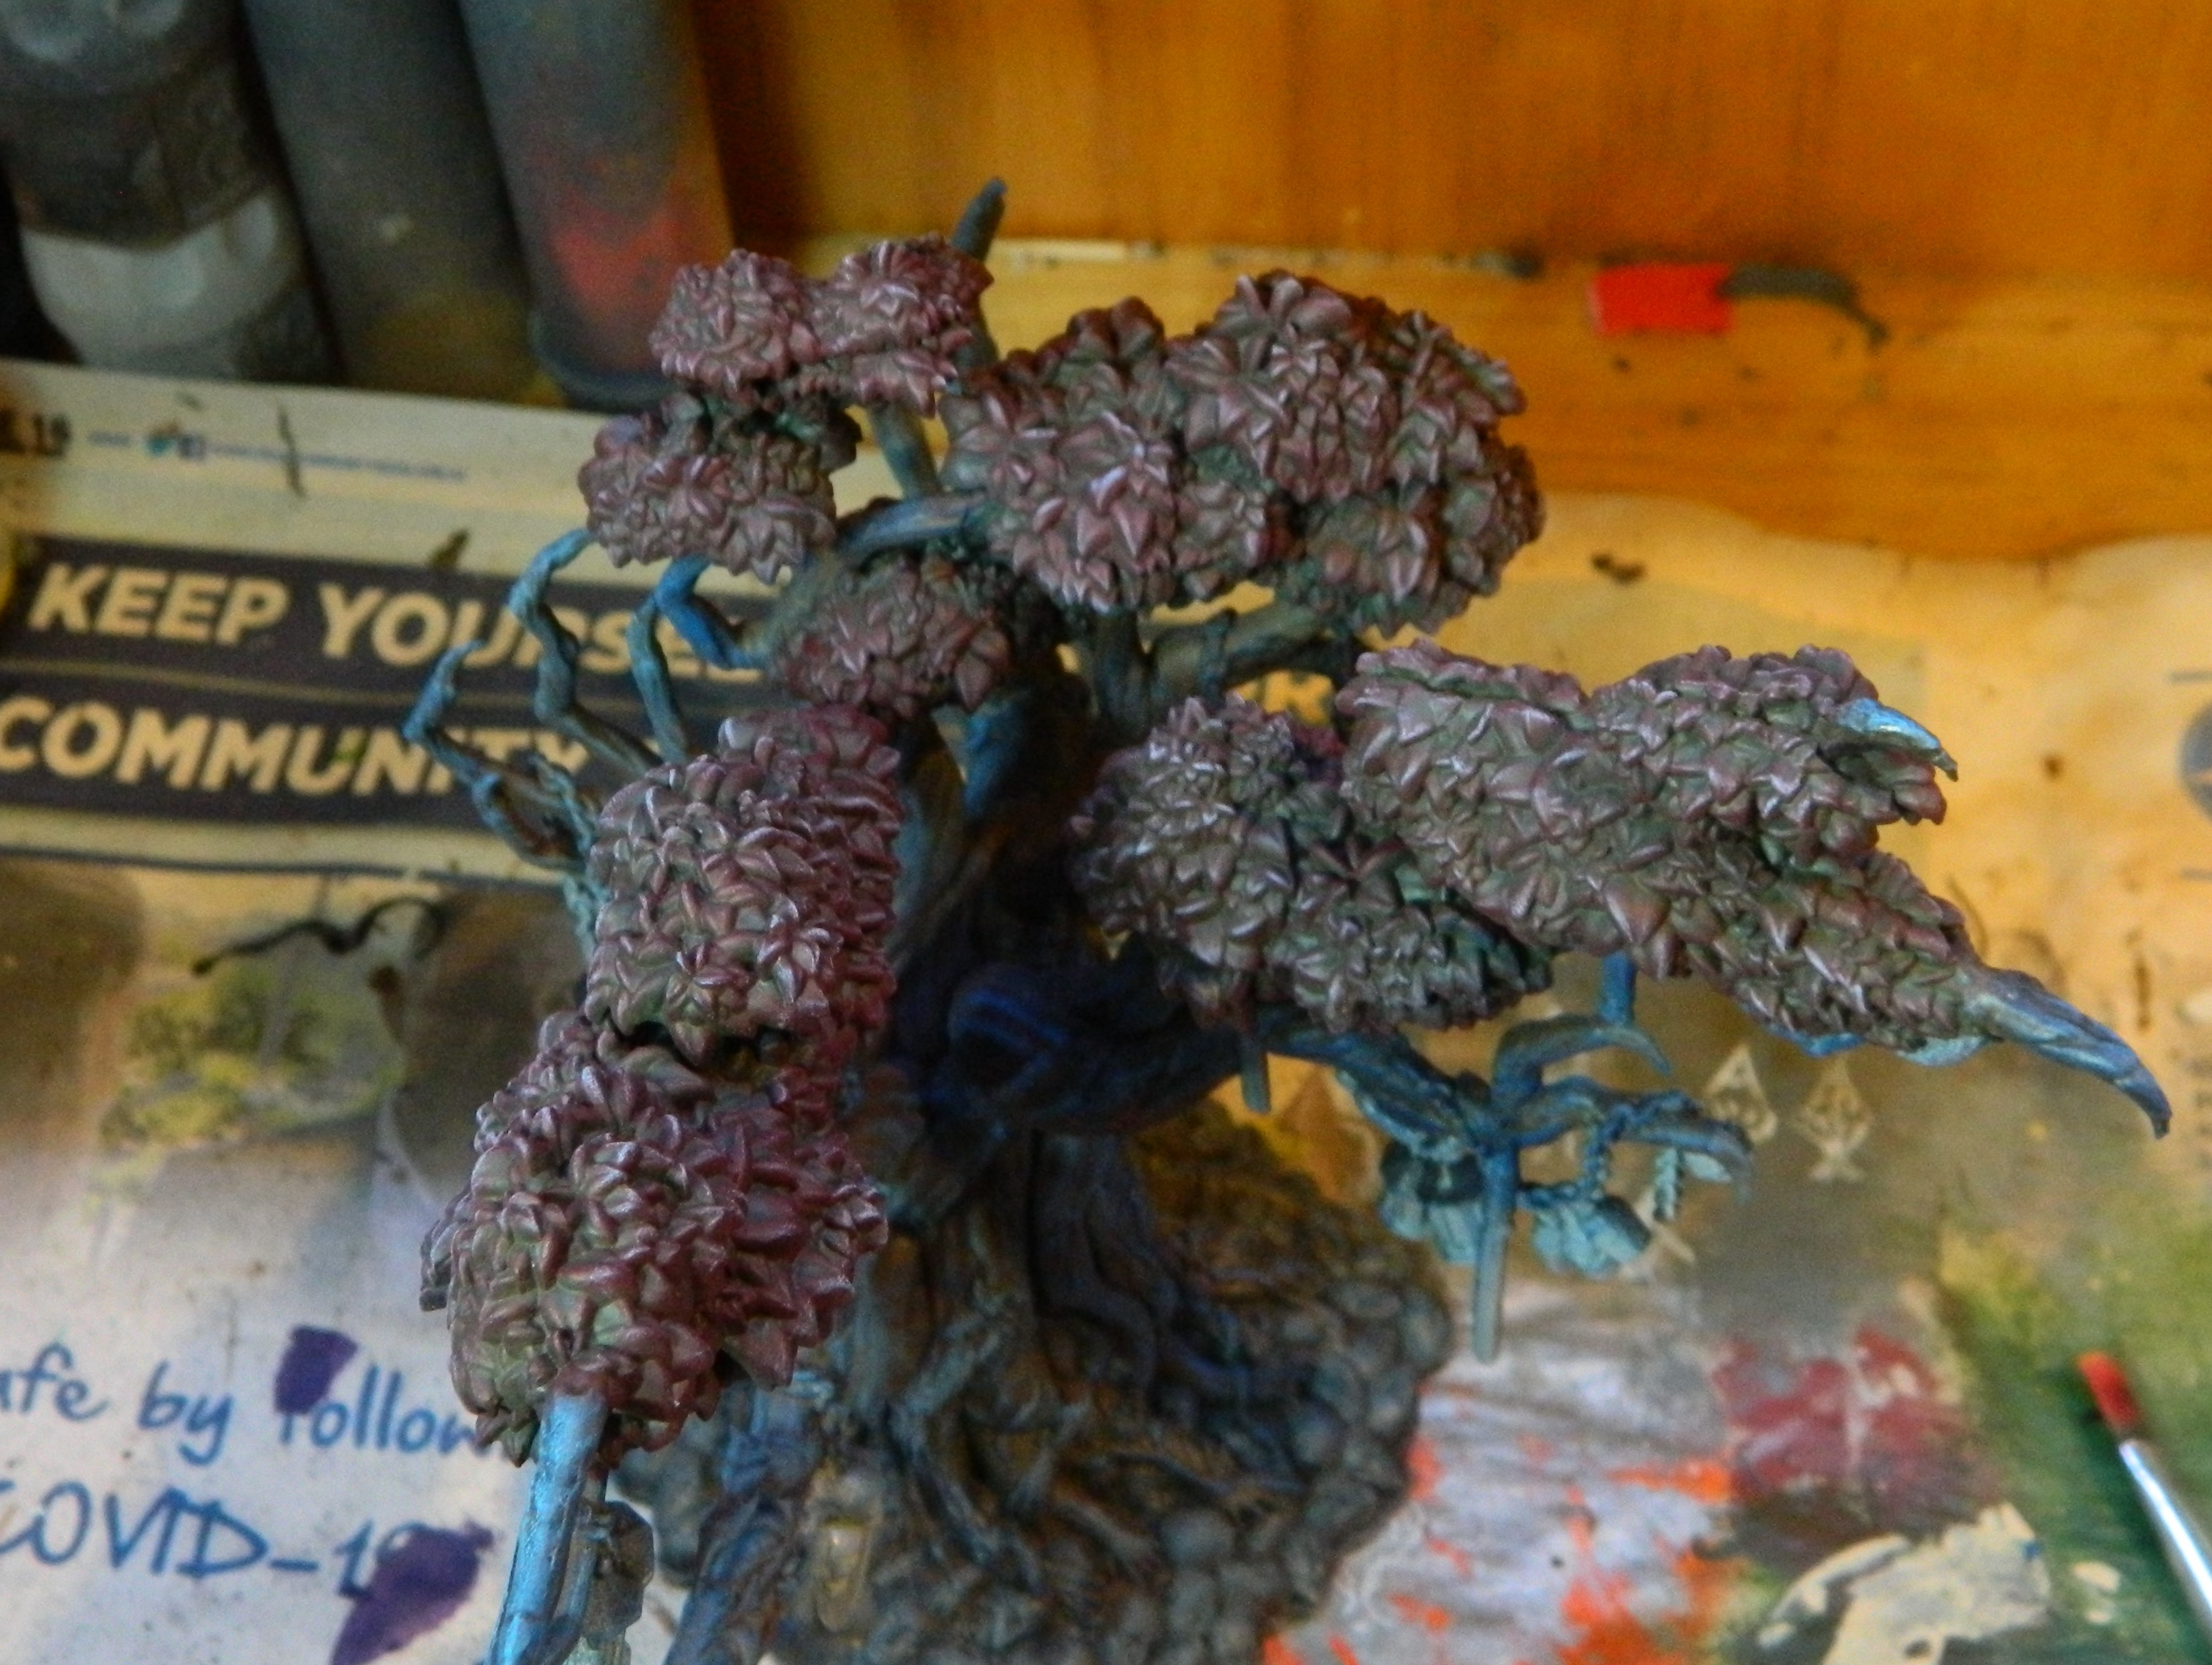
There are quite a few bottles hanging from this tree. Before this project, I’ve never really had much business with painting bottles. I took an easy option with the first. I went with a basic pottery jug, Terracotta. There’s Pottery in the base game, it’s plausible XD
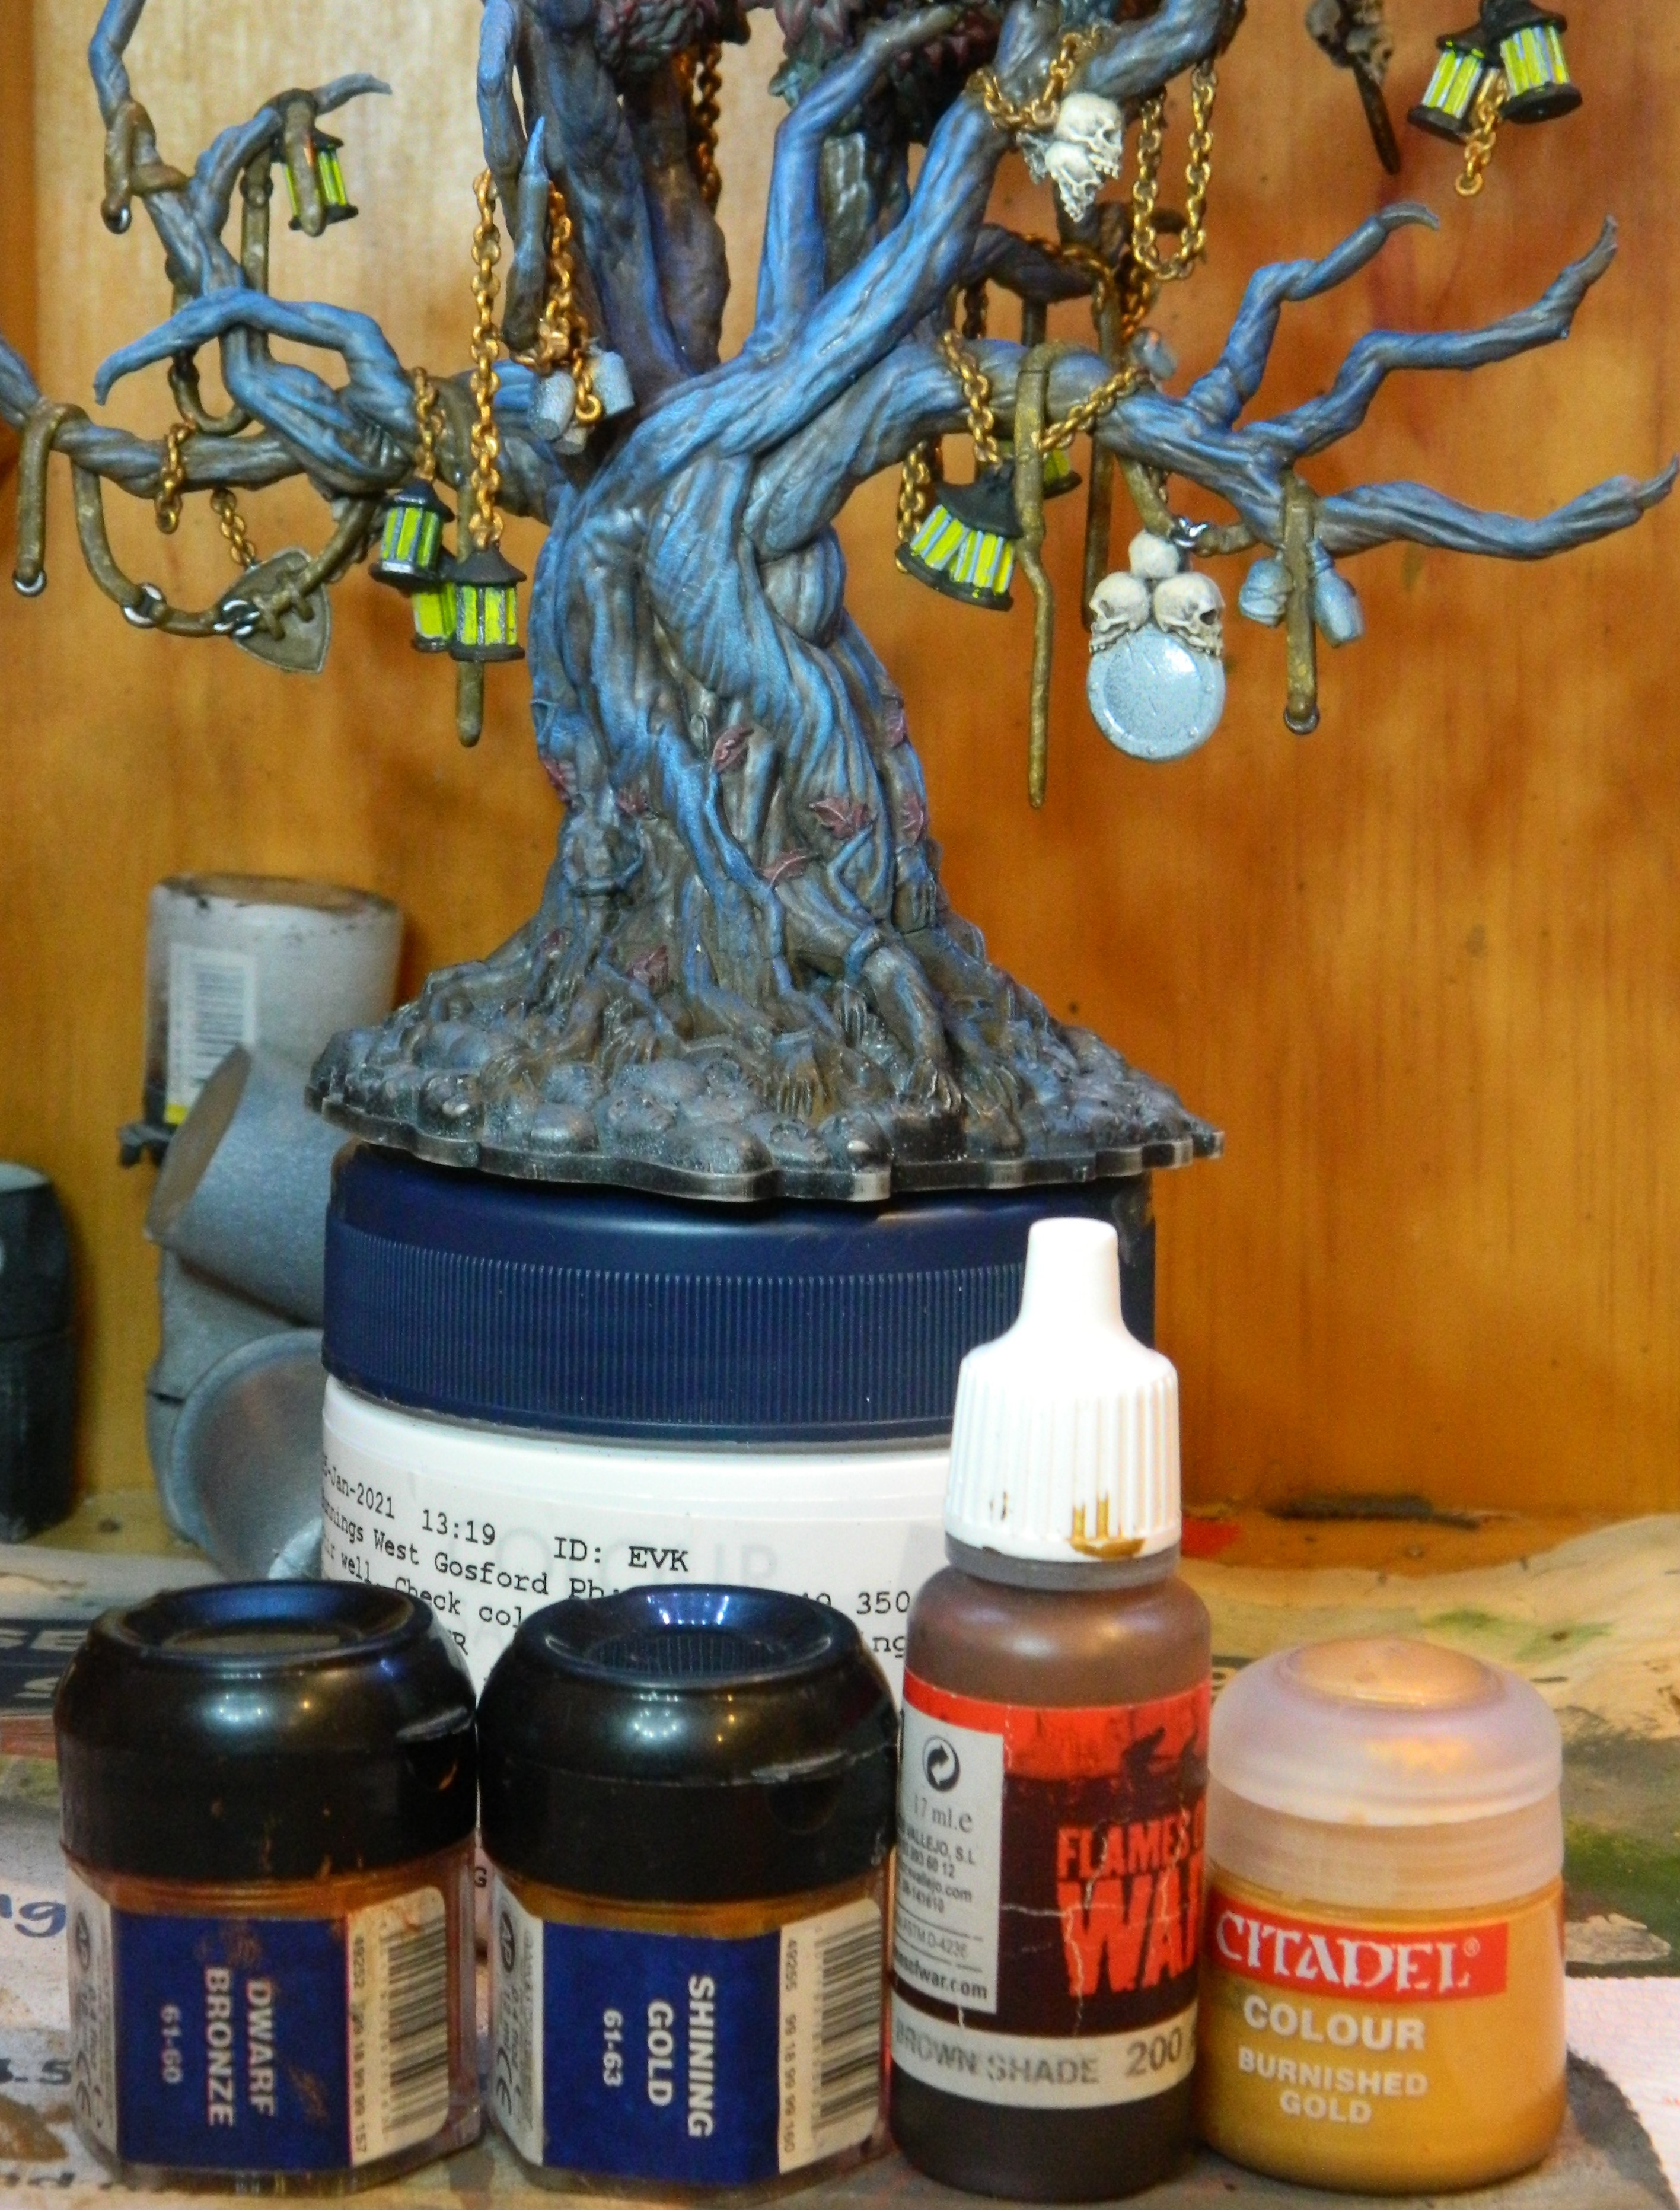
 Colours used
 The pottery jug.
 Sooo…. having not painted bottles with liquid before really, I decided I needed to do some research. YouTube proved useful for something other than advertising when I found Vince Venturella‘s Hobby Cheating series. Two gems next to each other? I can do that! I’ve been painting gems for years 😀 (Doesn’t mean I’m good at it haha!)
Seriously, though his video is so well done. Easily explained, well demonstrated.
 So many little bottles...

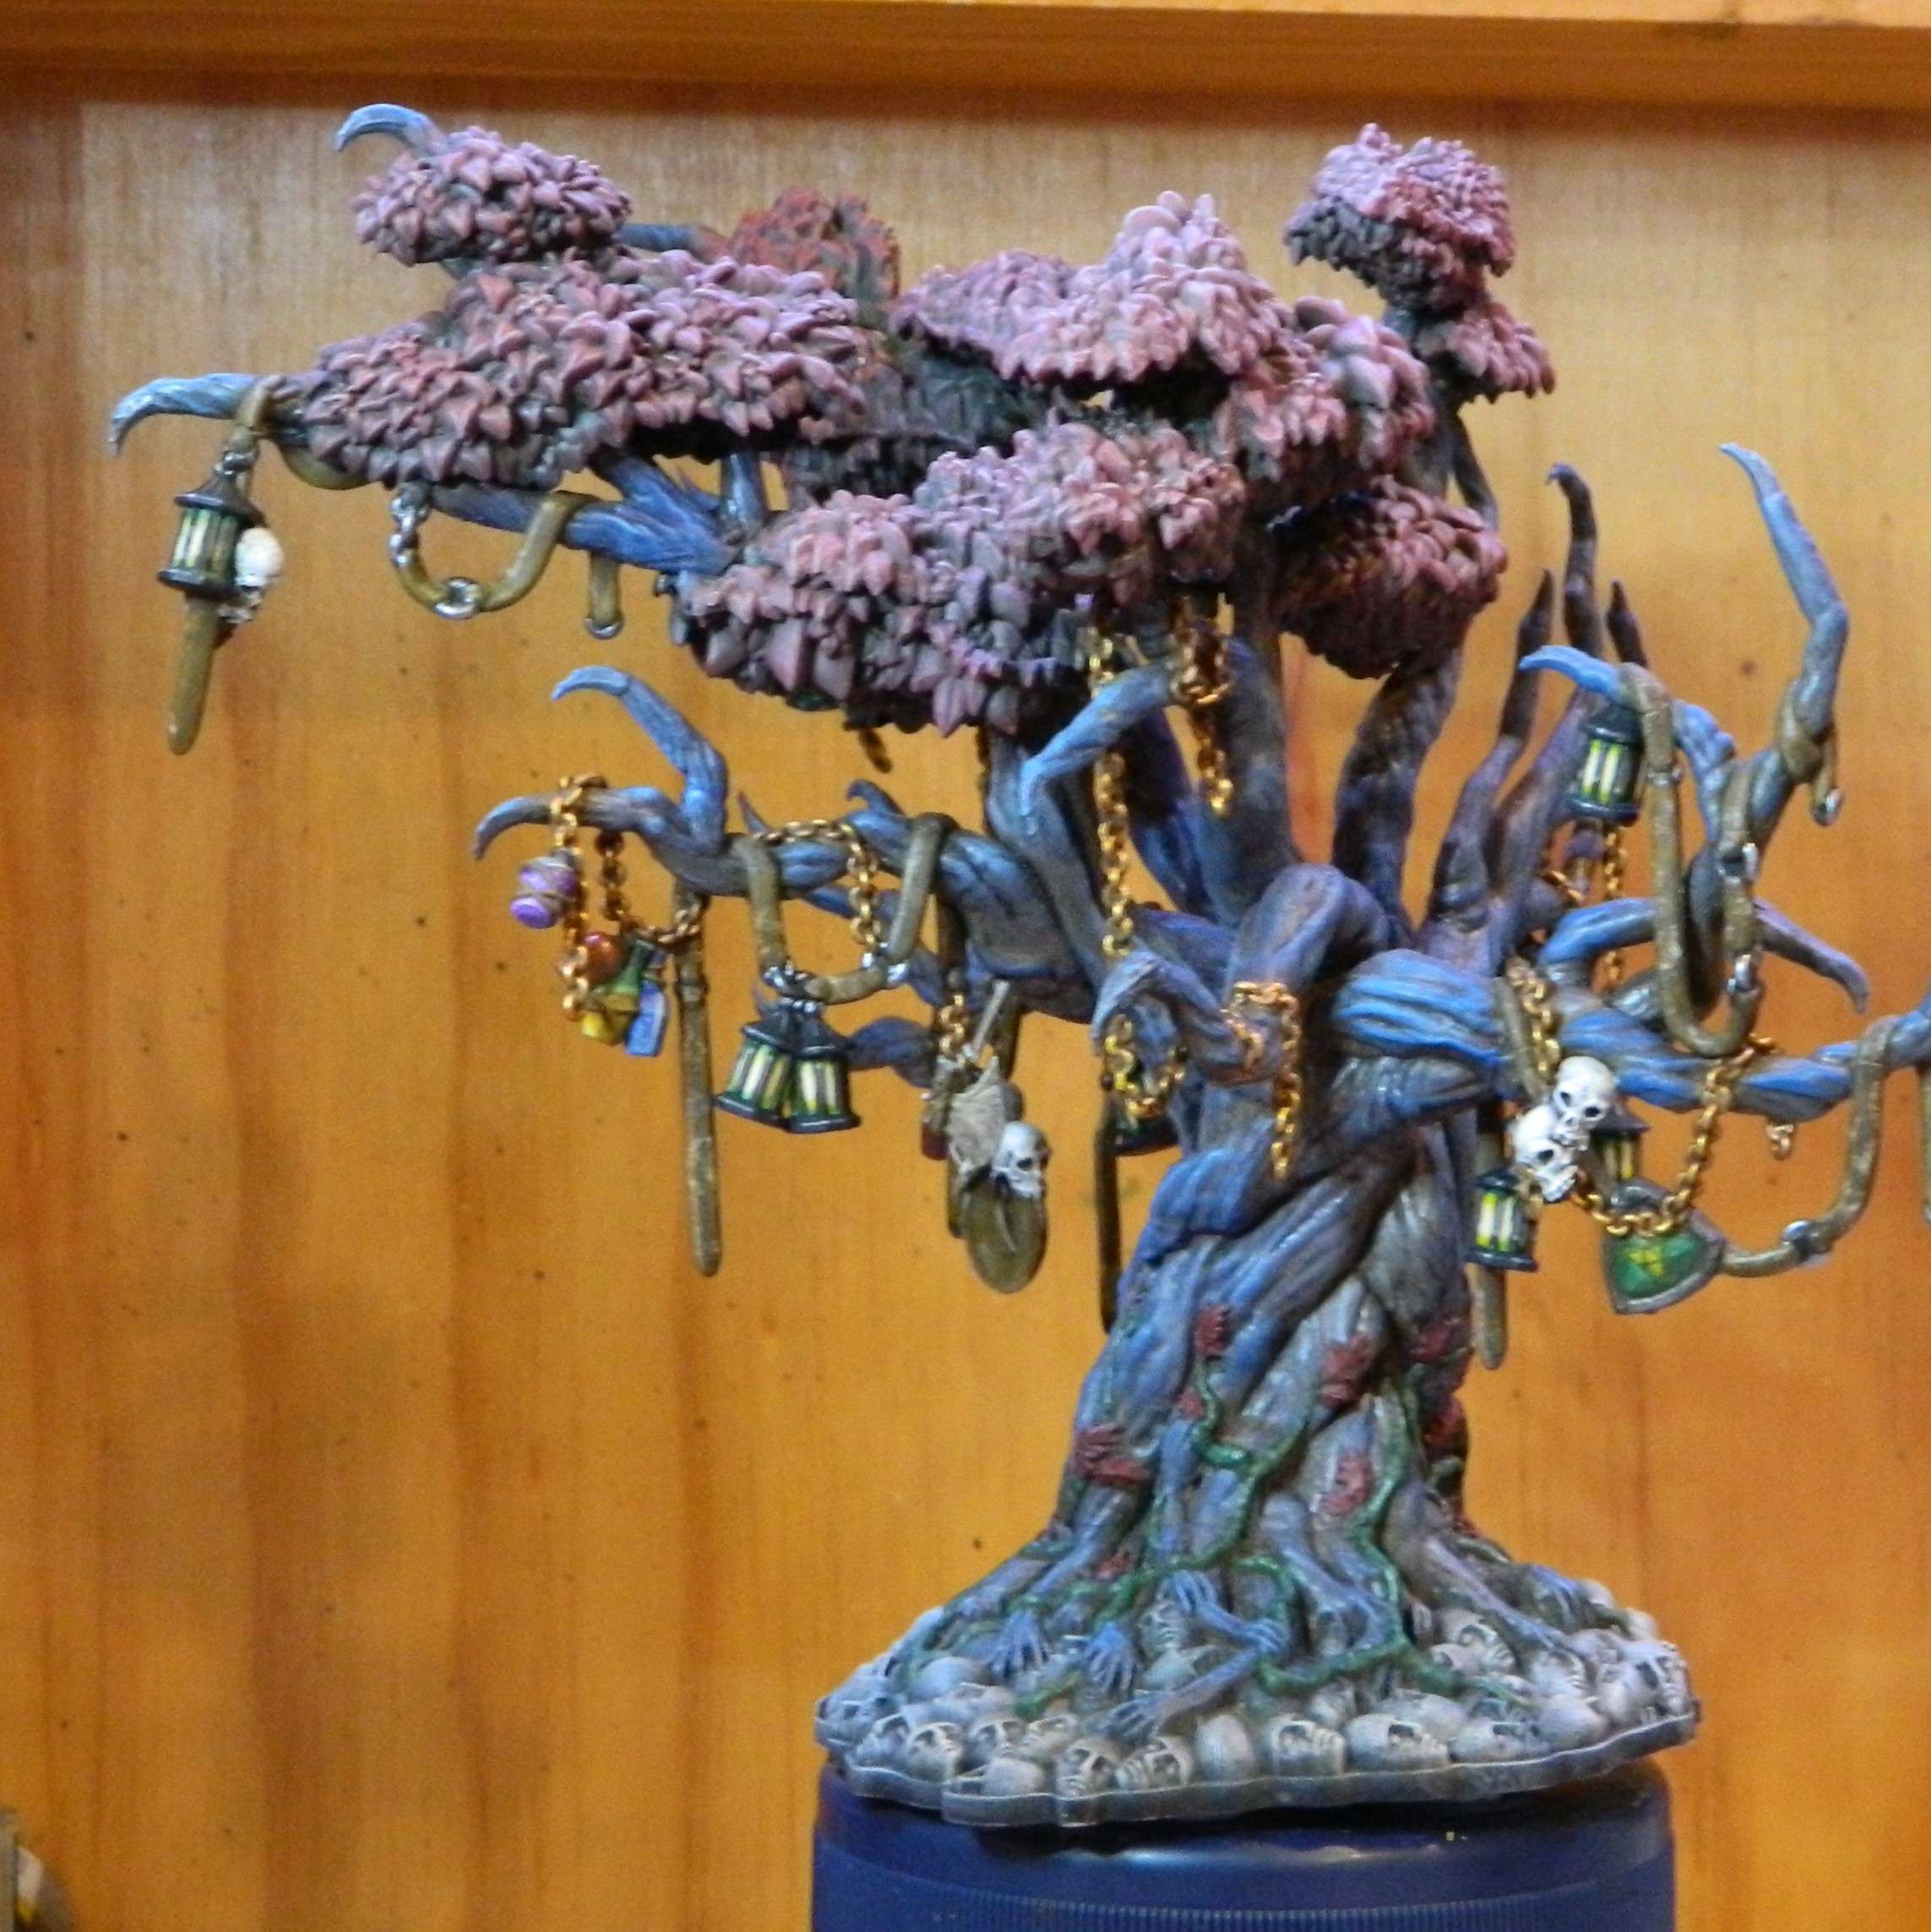
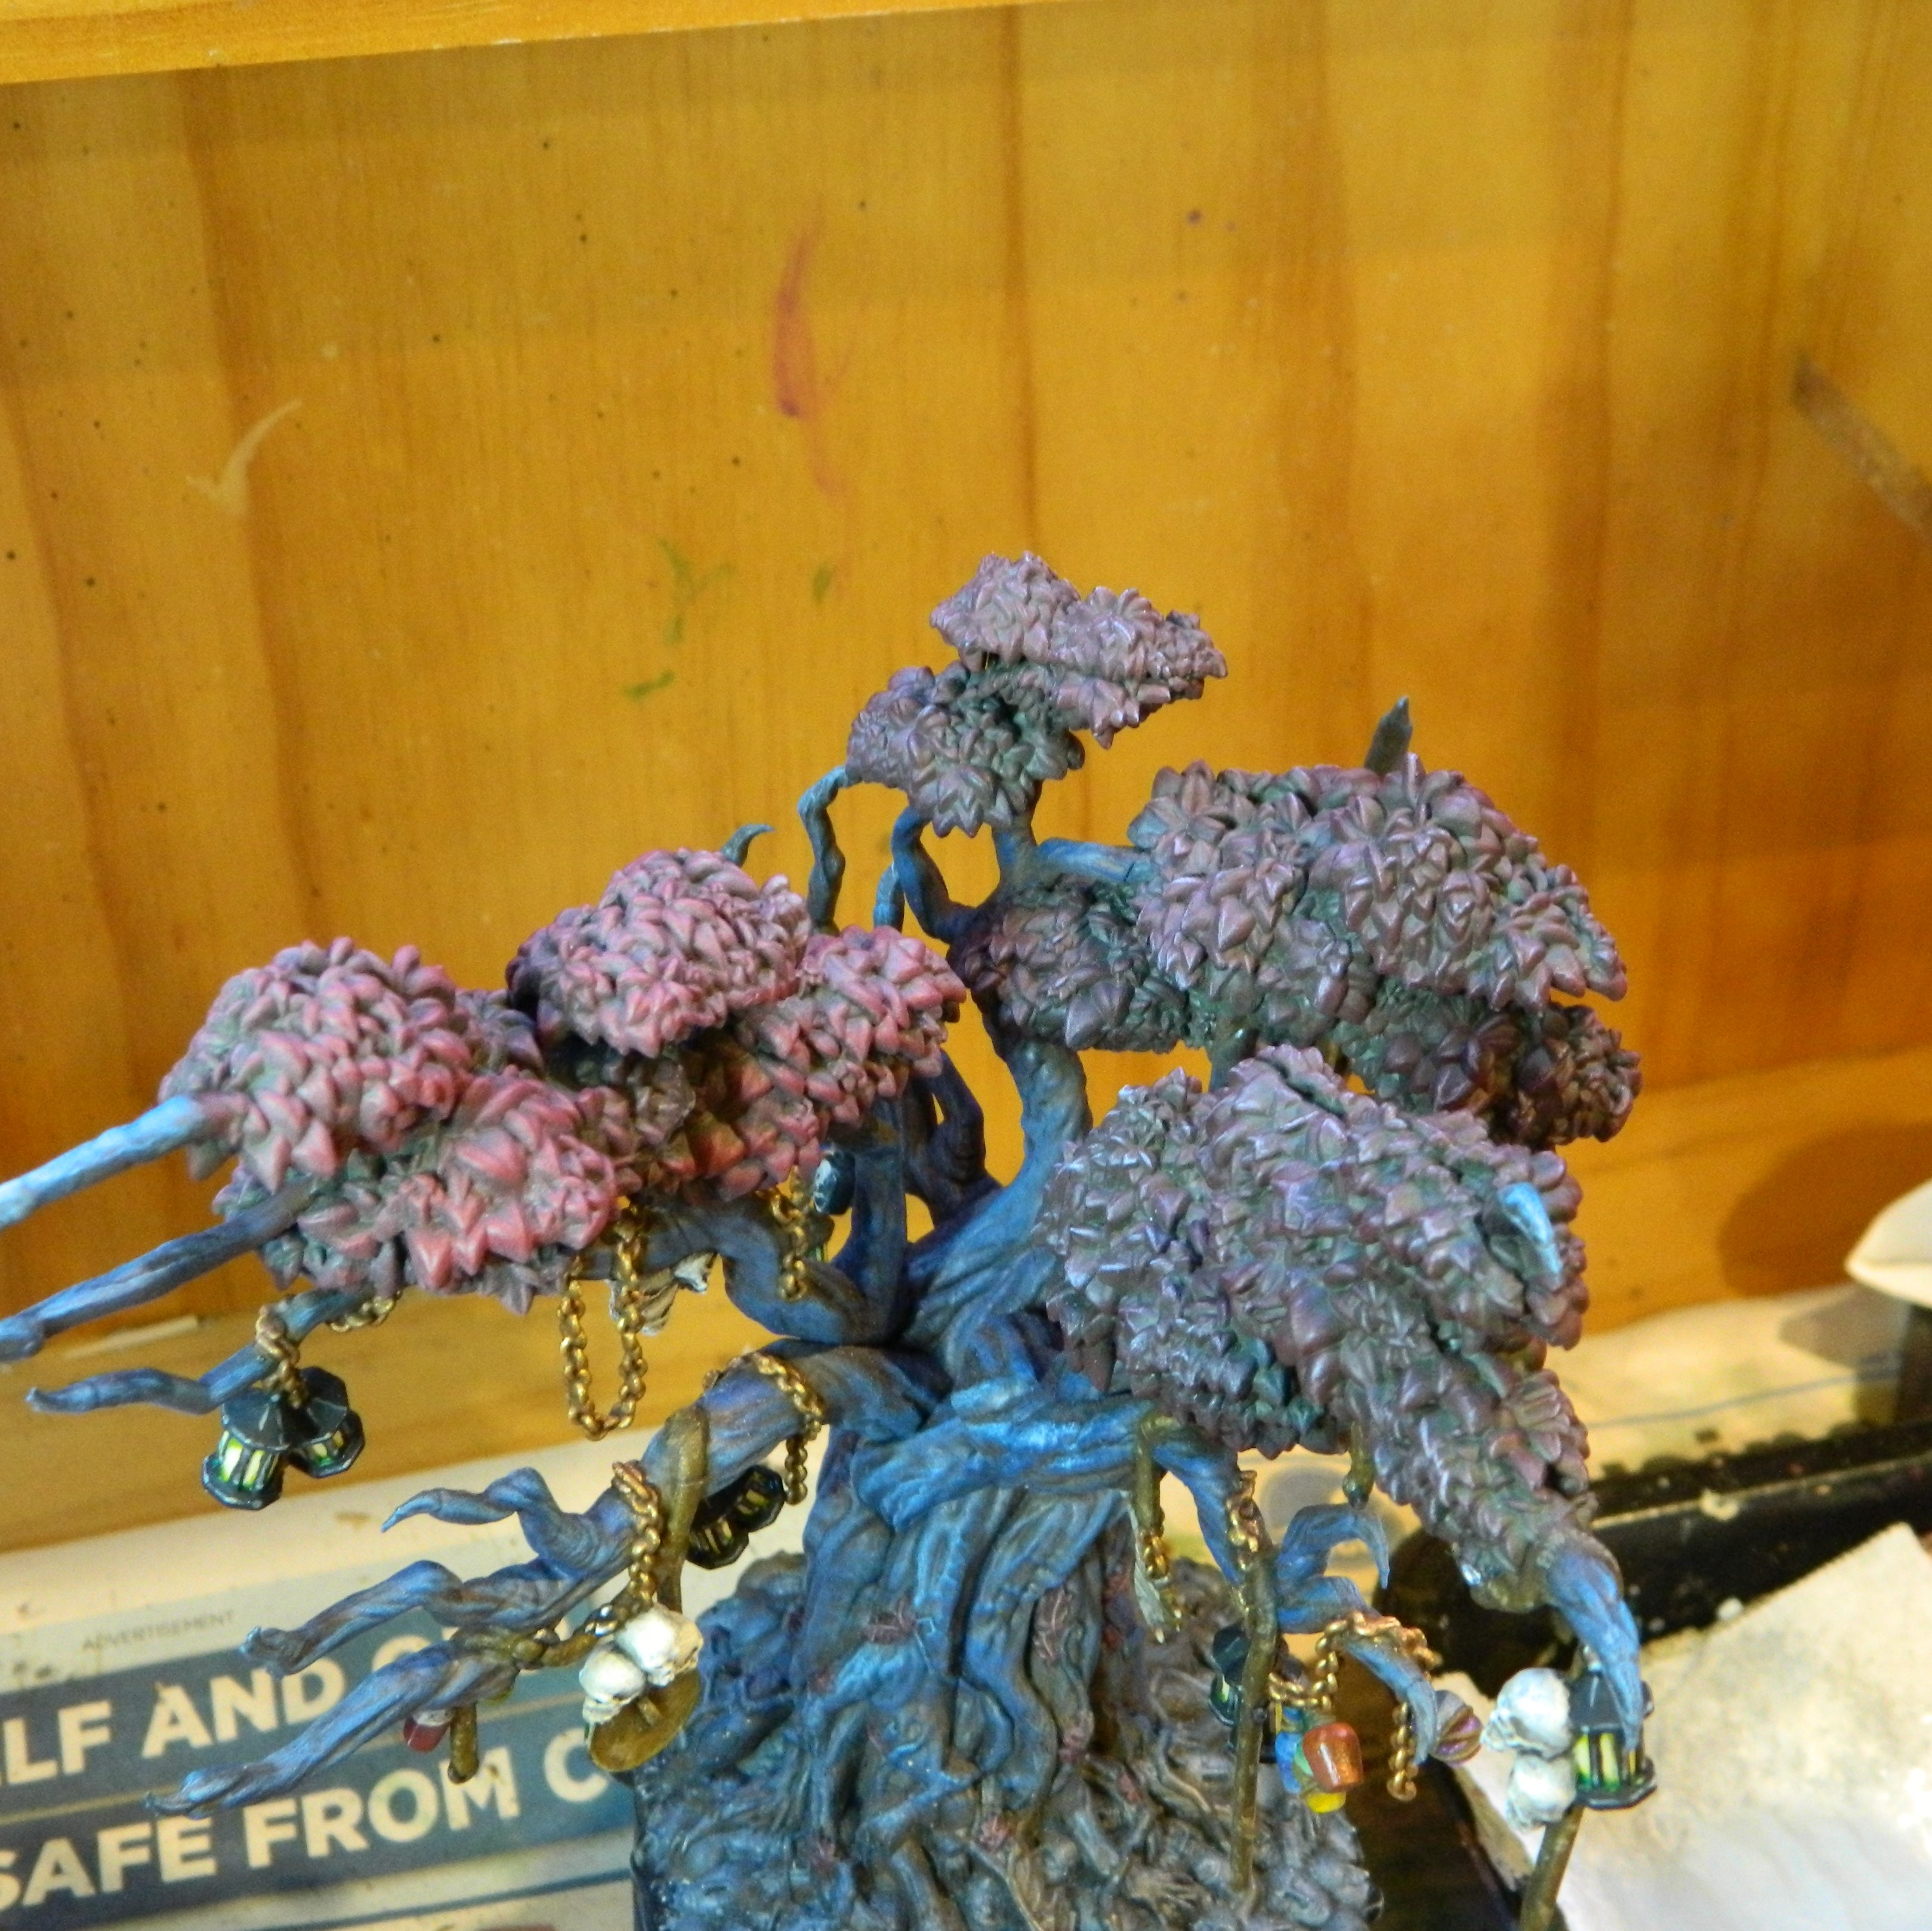
9 Feb 22: Shields and Axe
The last few of the accessories dangling about the tree: two shields and a bone axe. After these are done, a little tidying up and then I want to redo the foliage, it doesn’t pop enough.

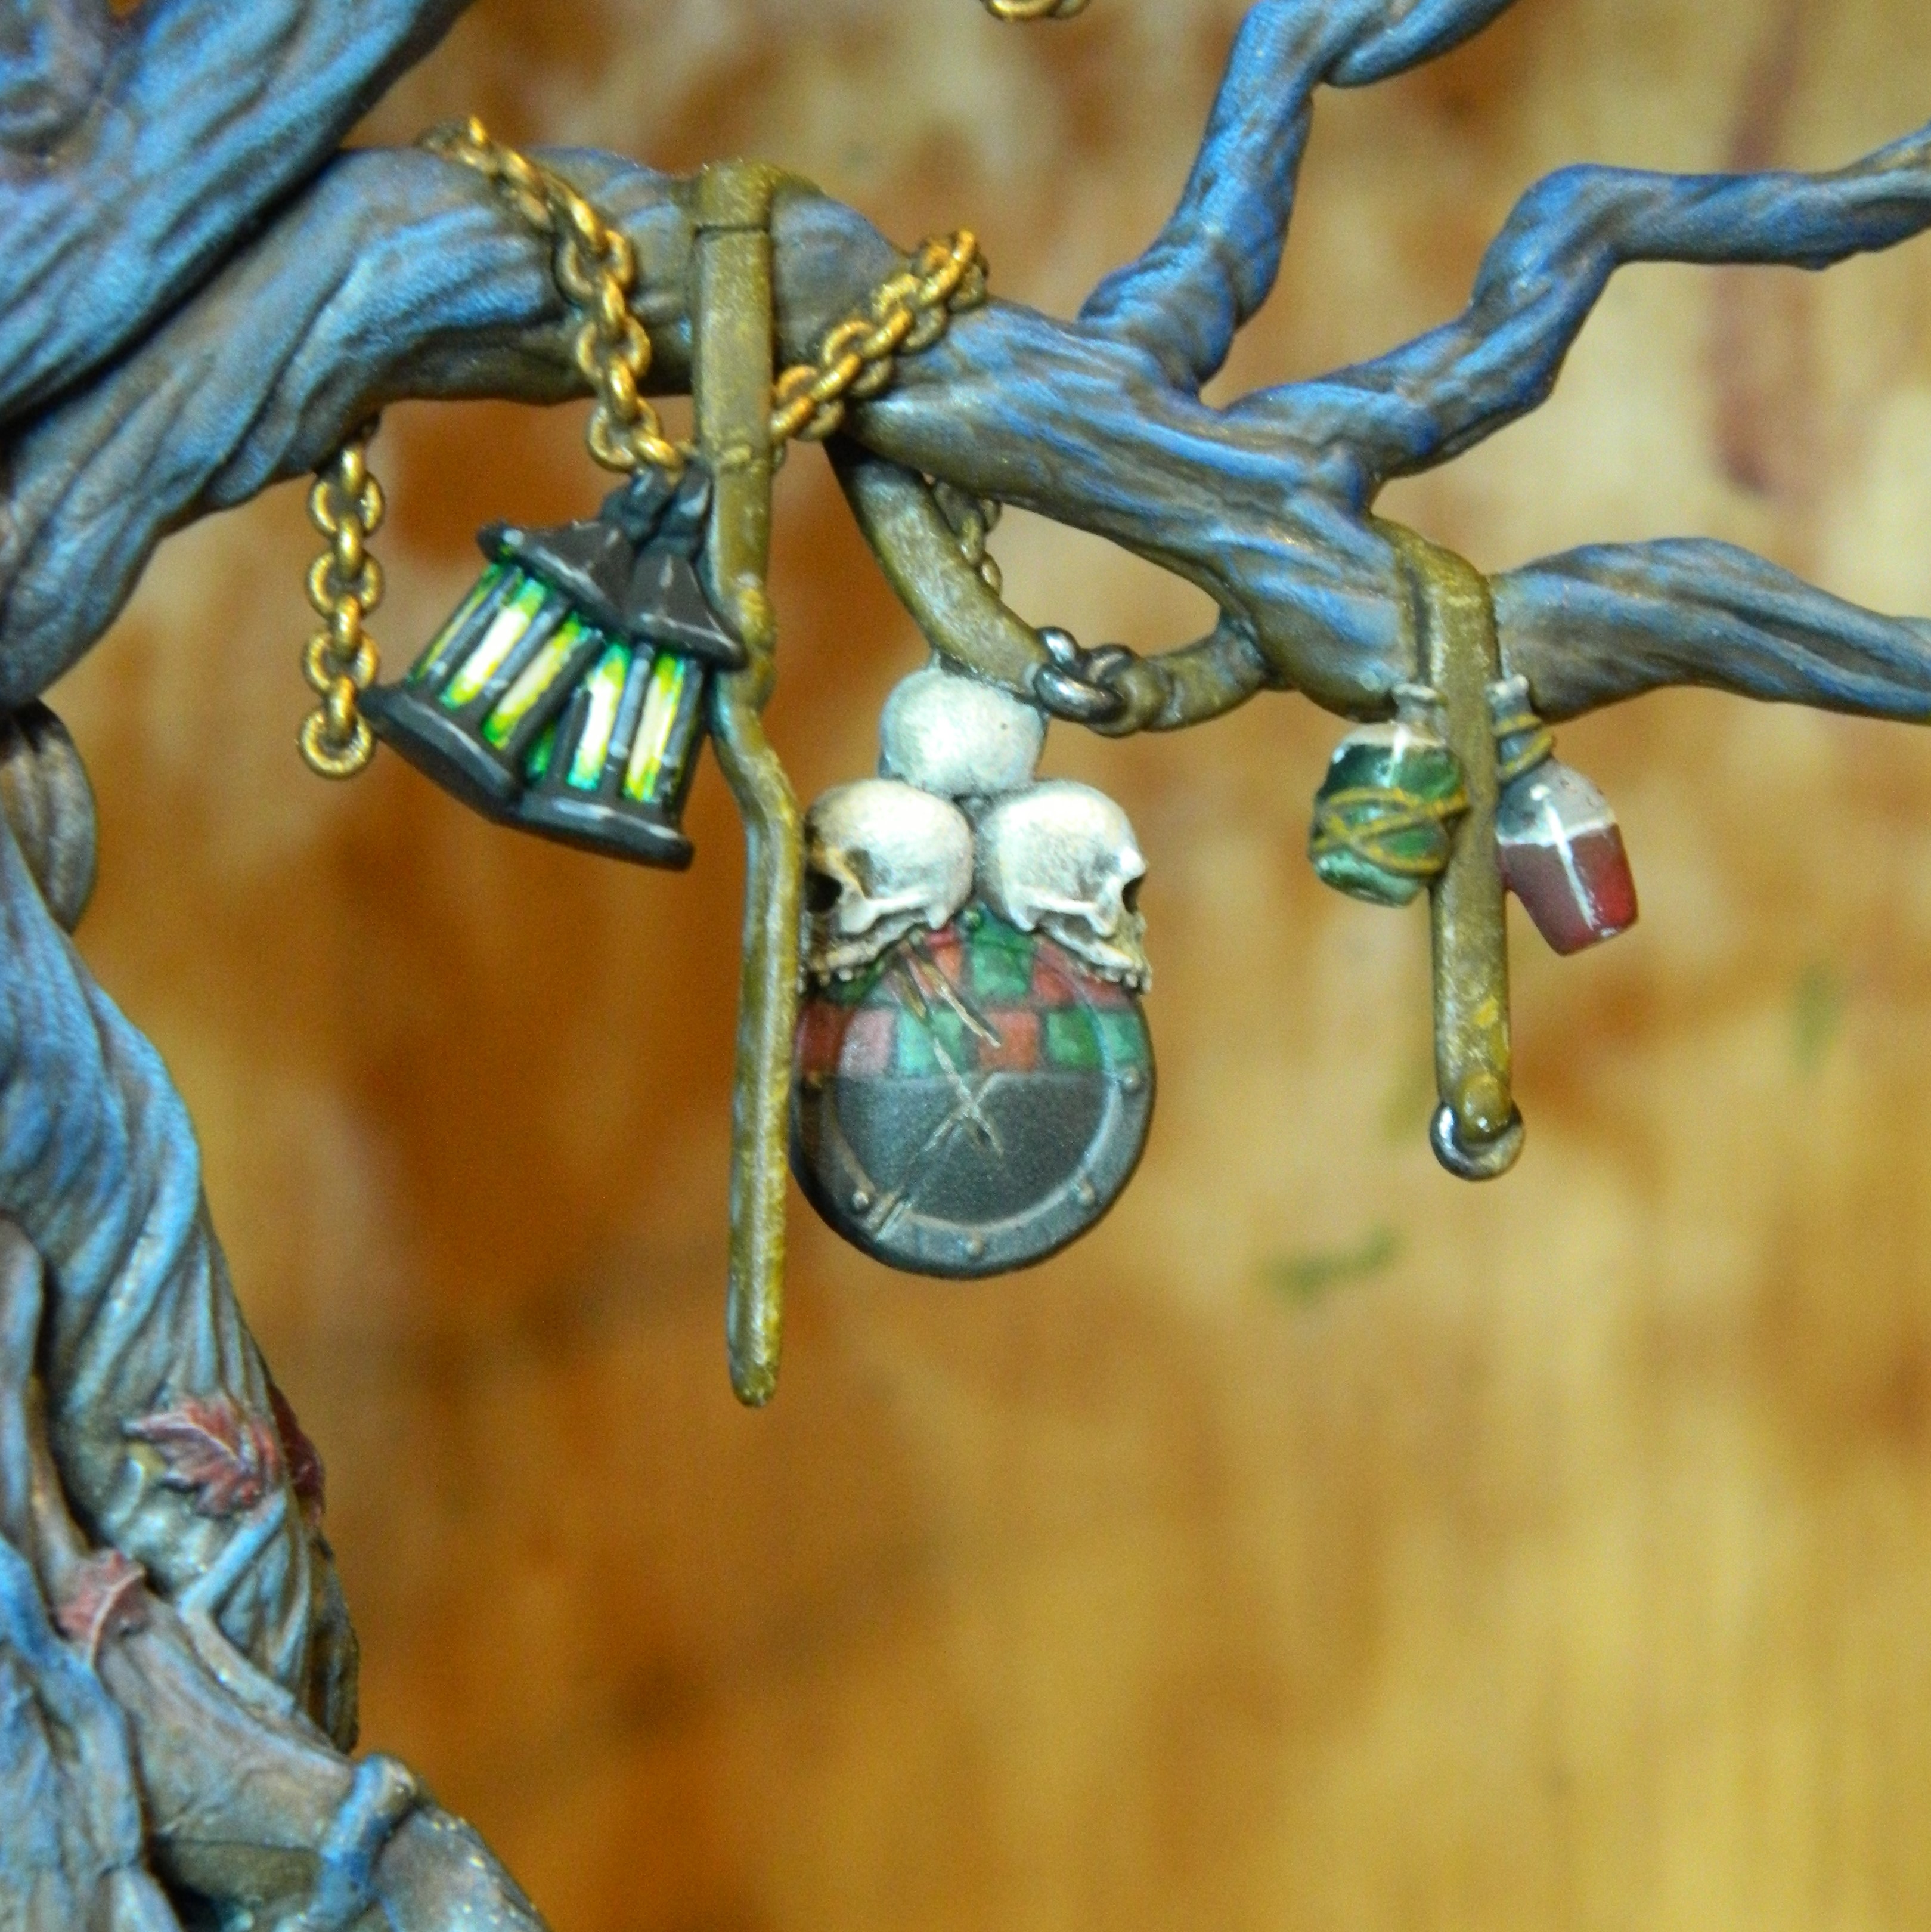

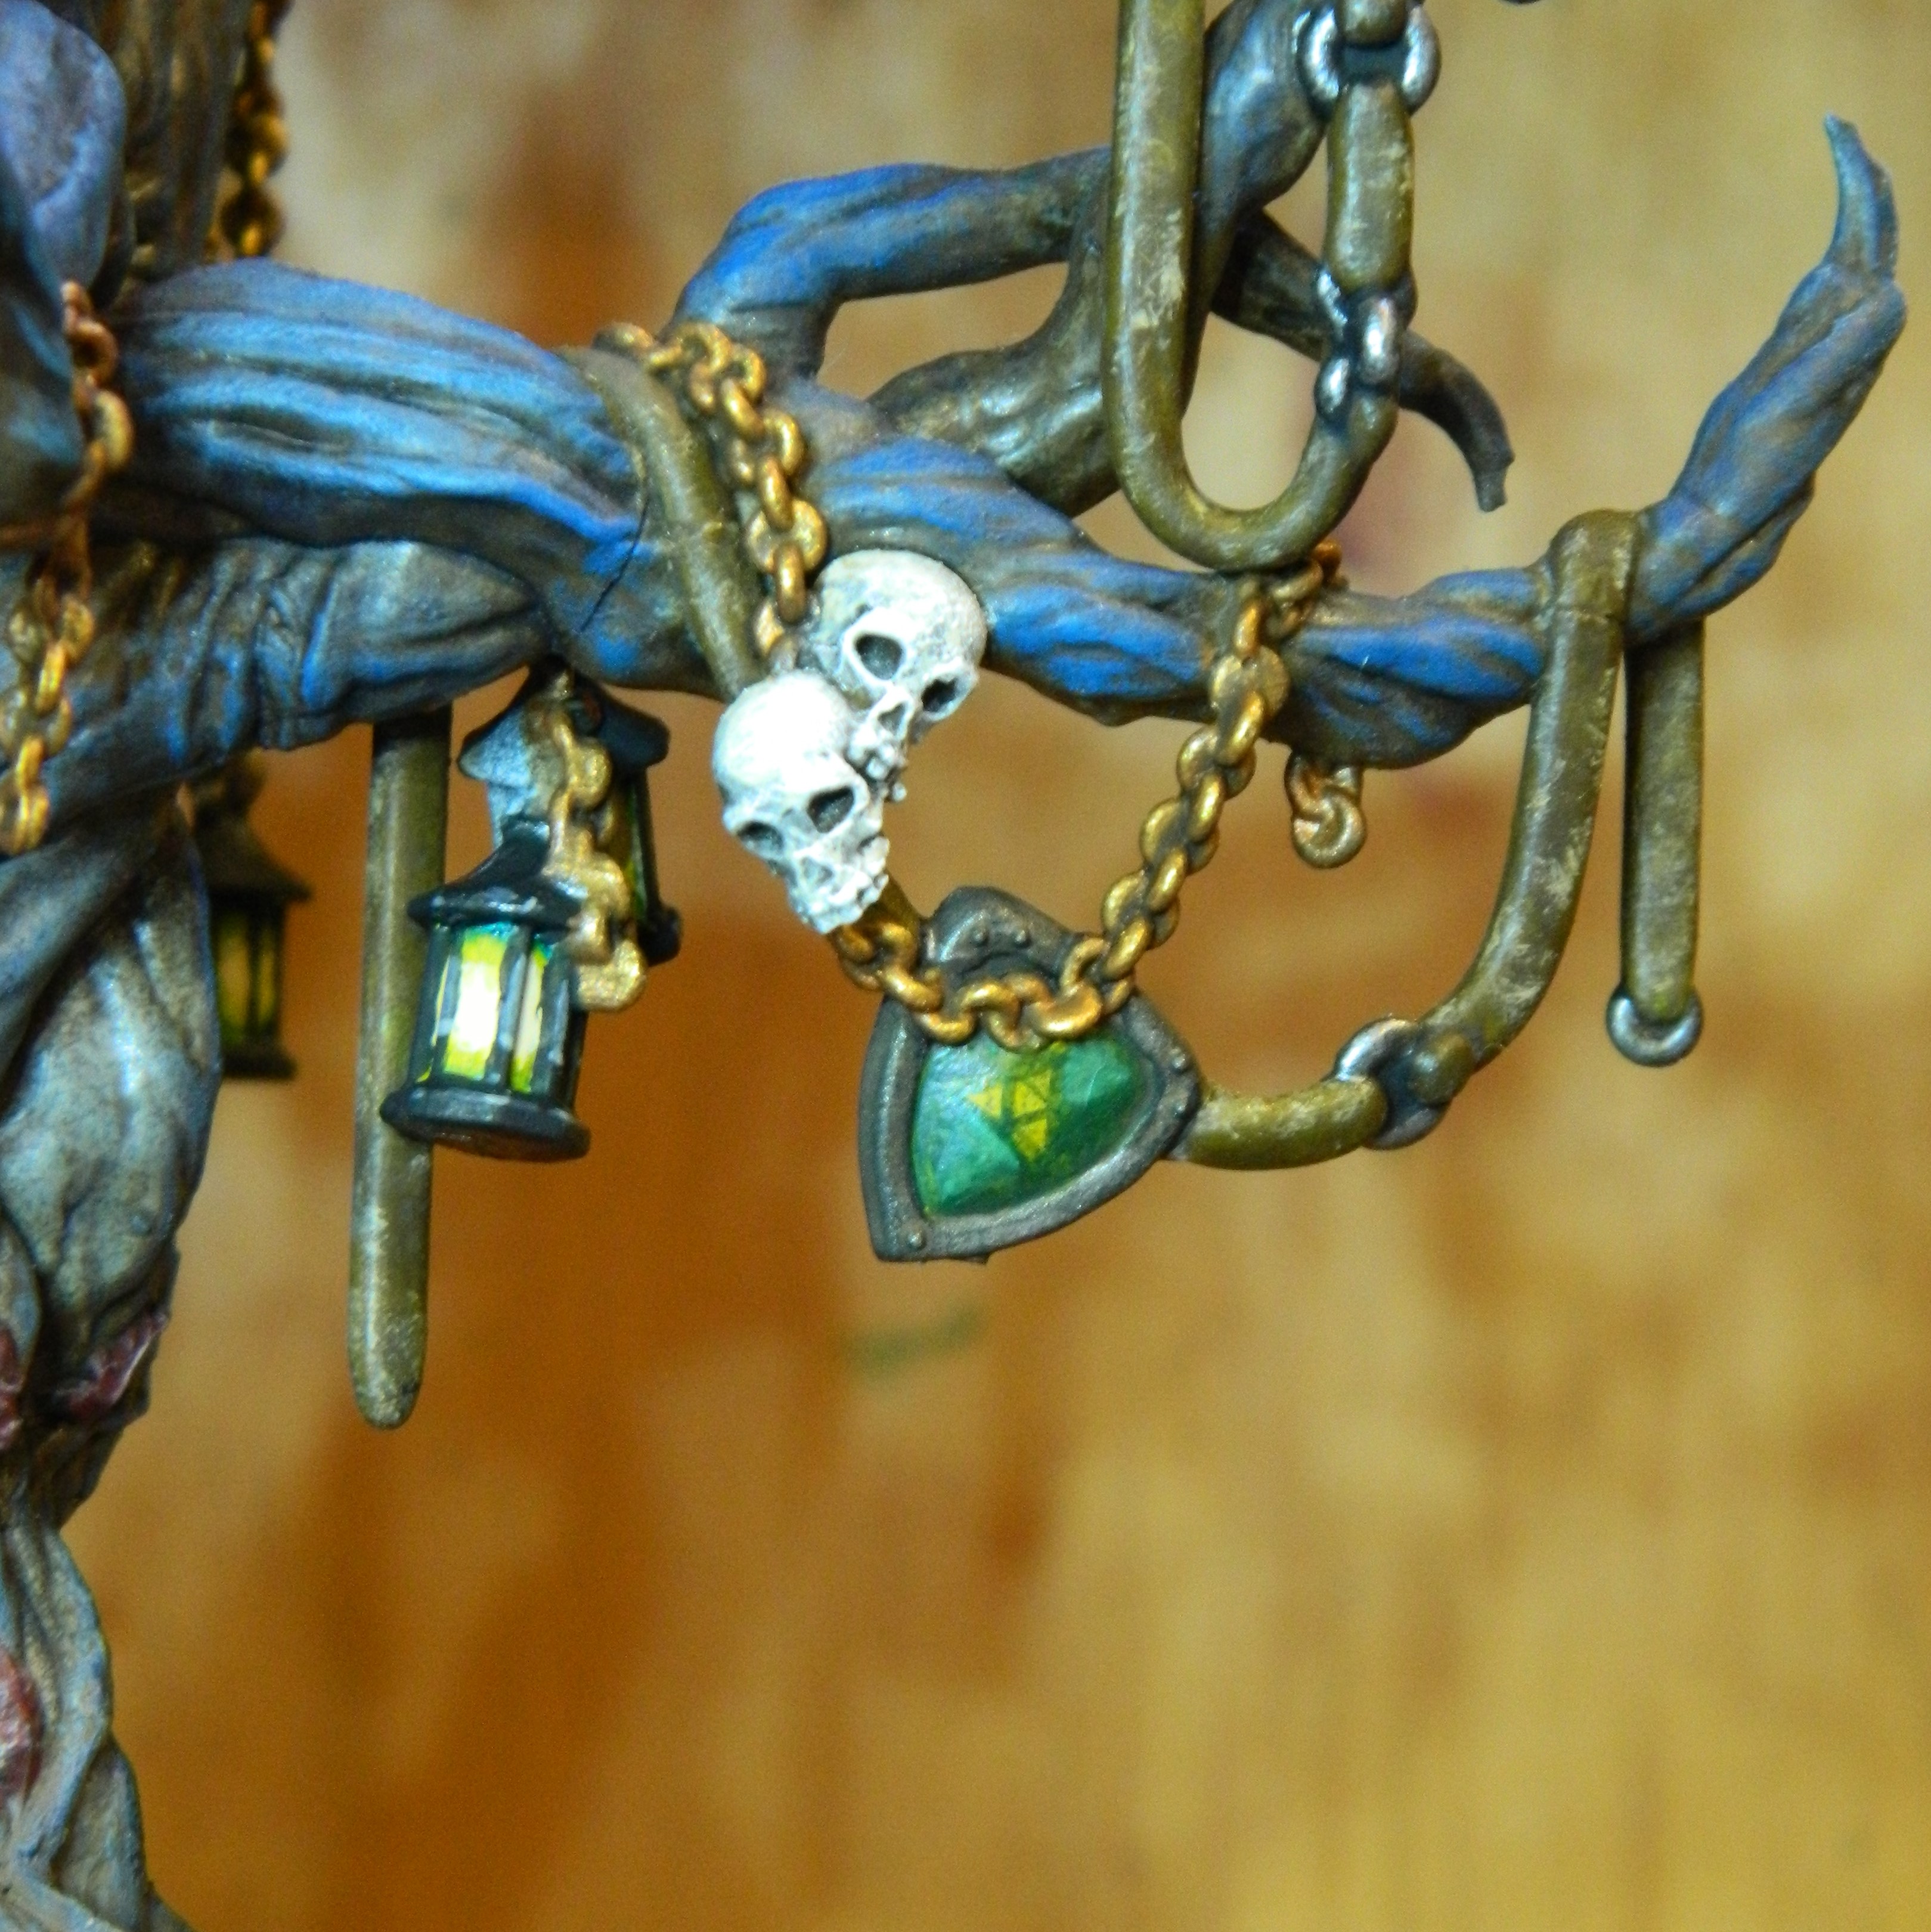
I decided to freehand the shields, I had though of using transfers. In the end, after some ruminating on how to approach them, I decided against it. I went with some other sources of inspiration.
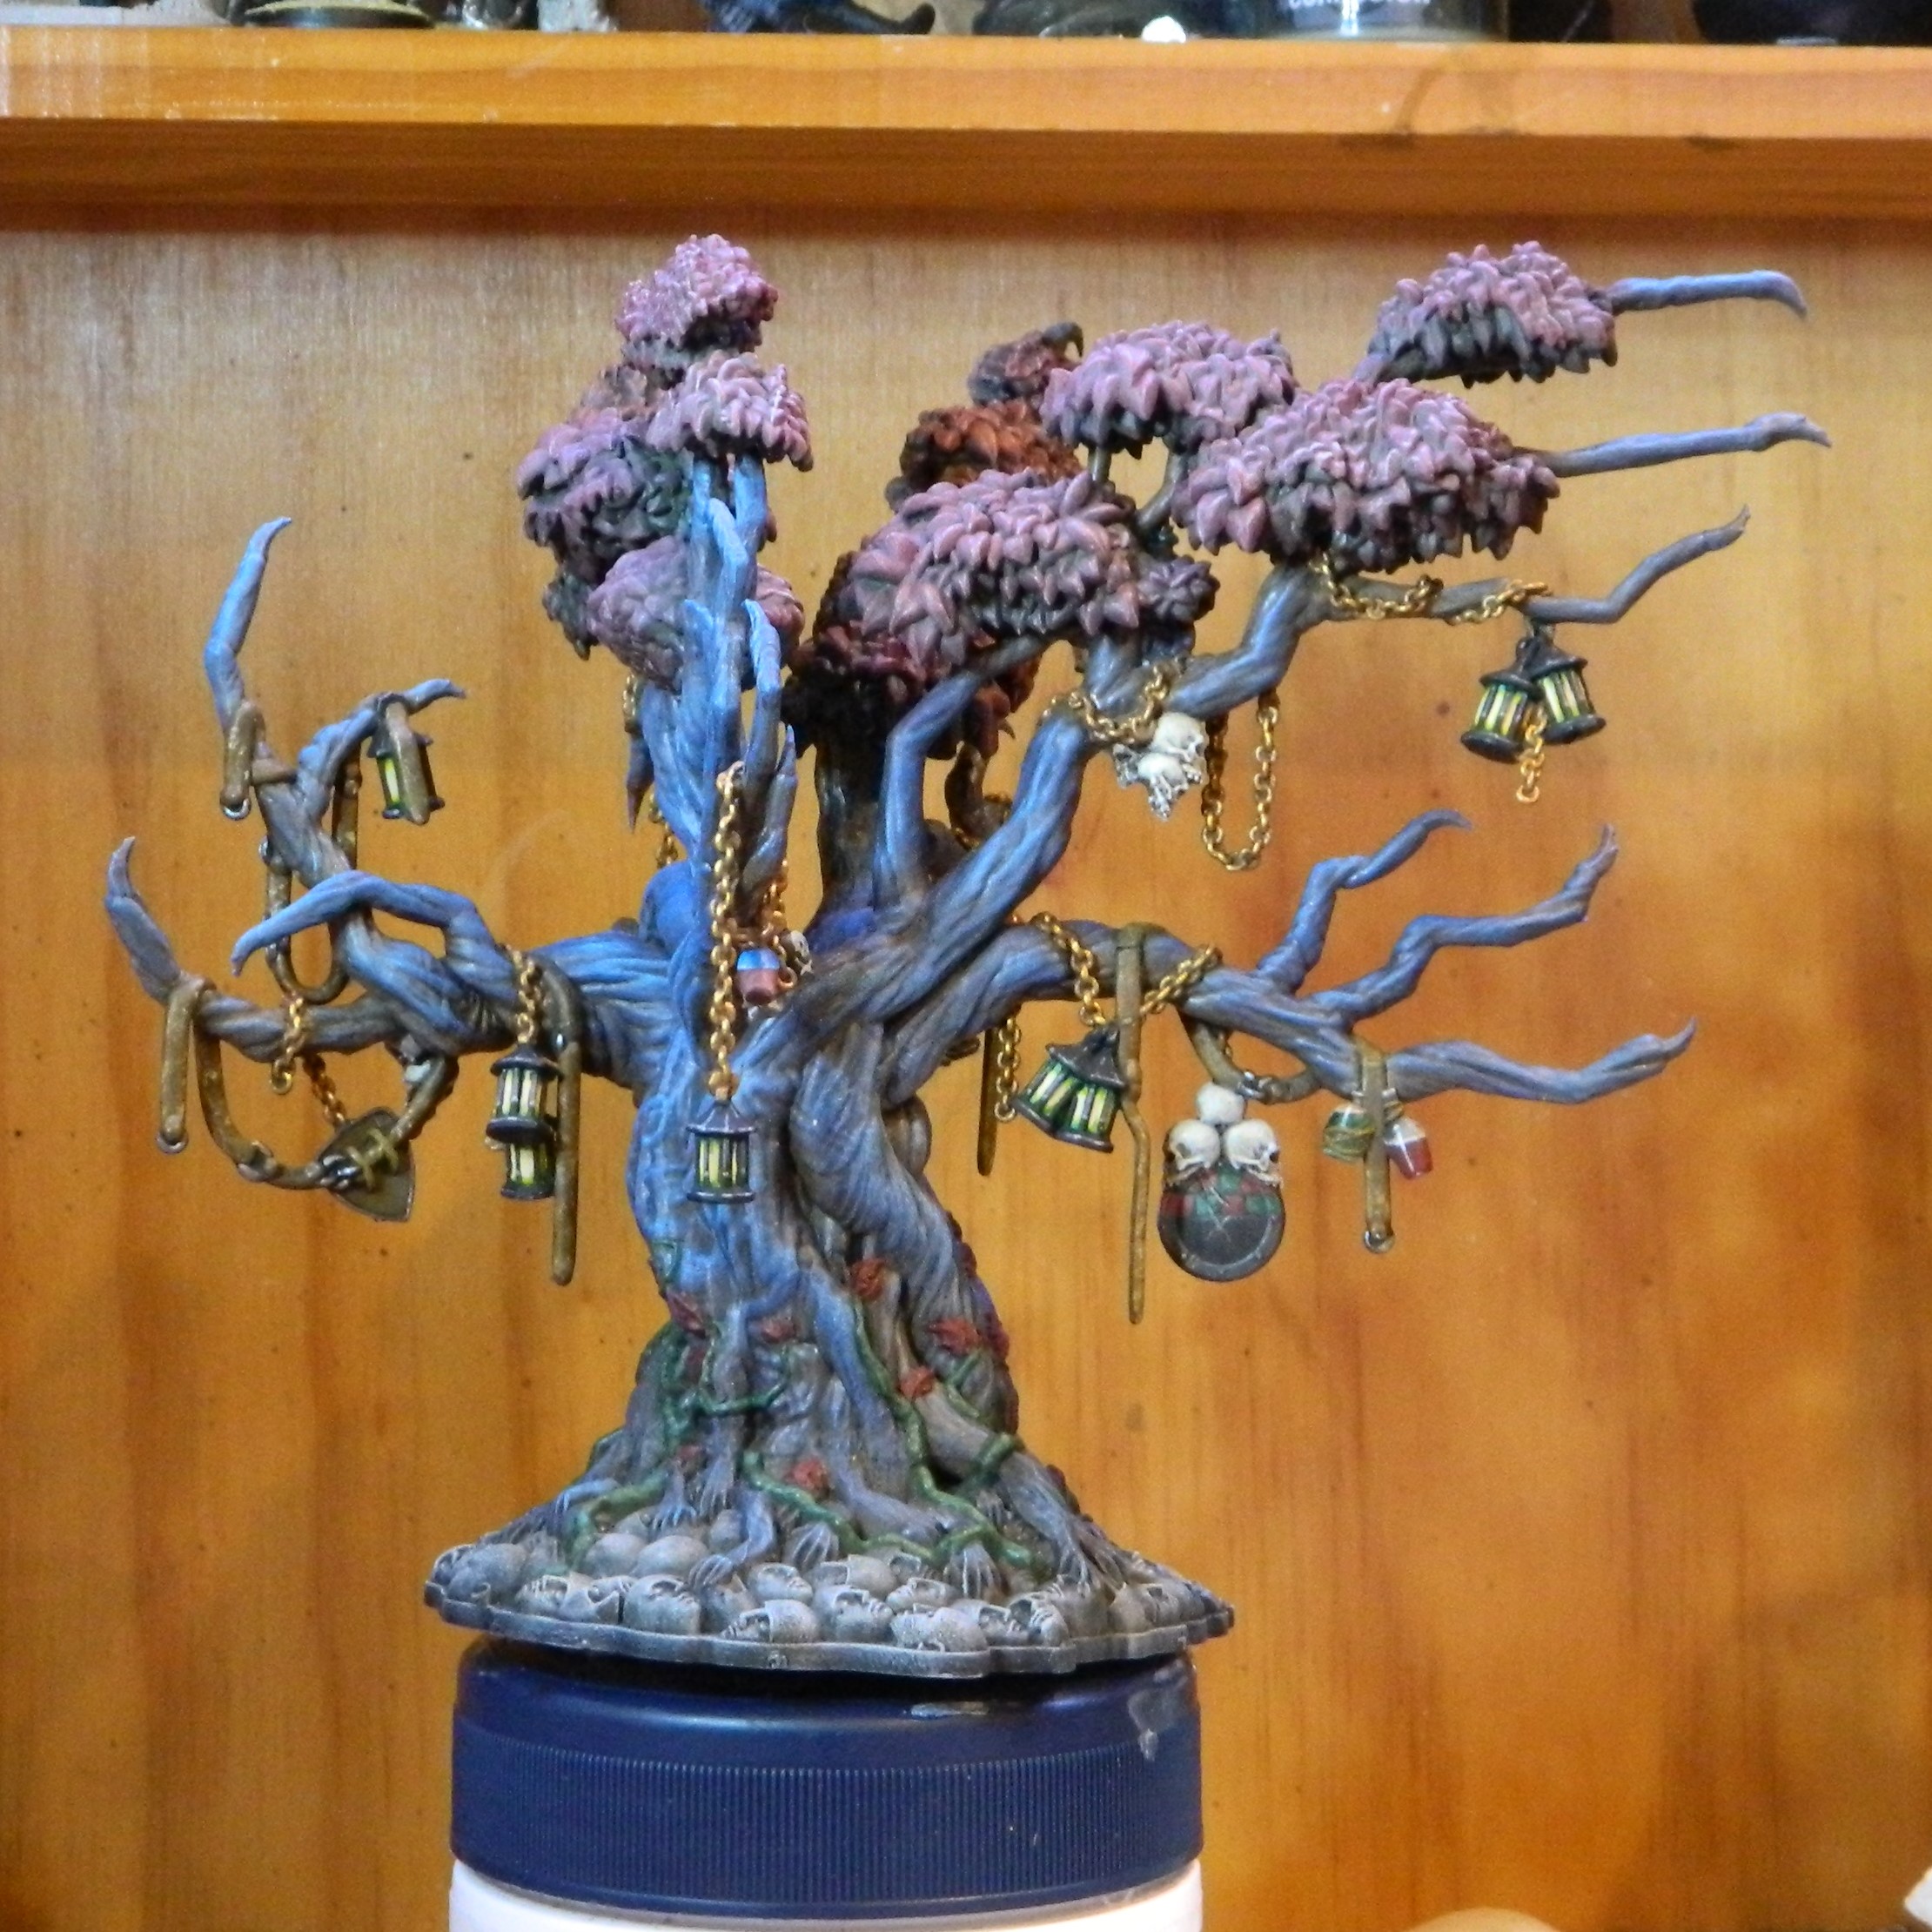
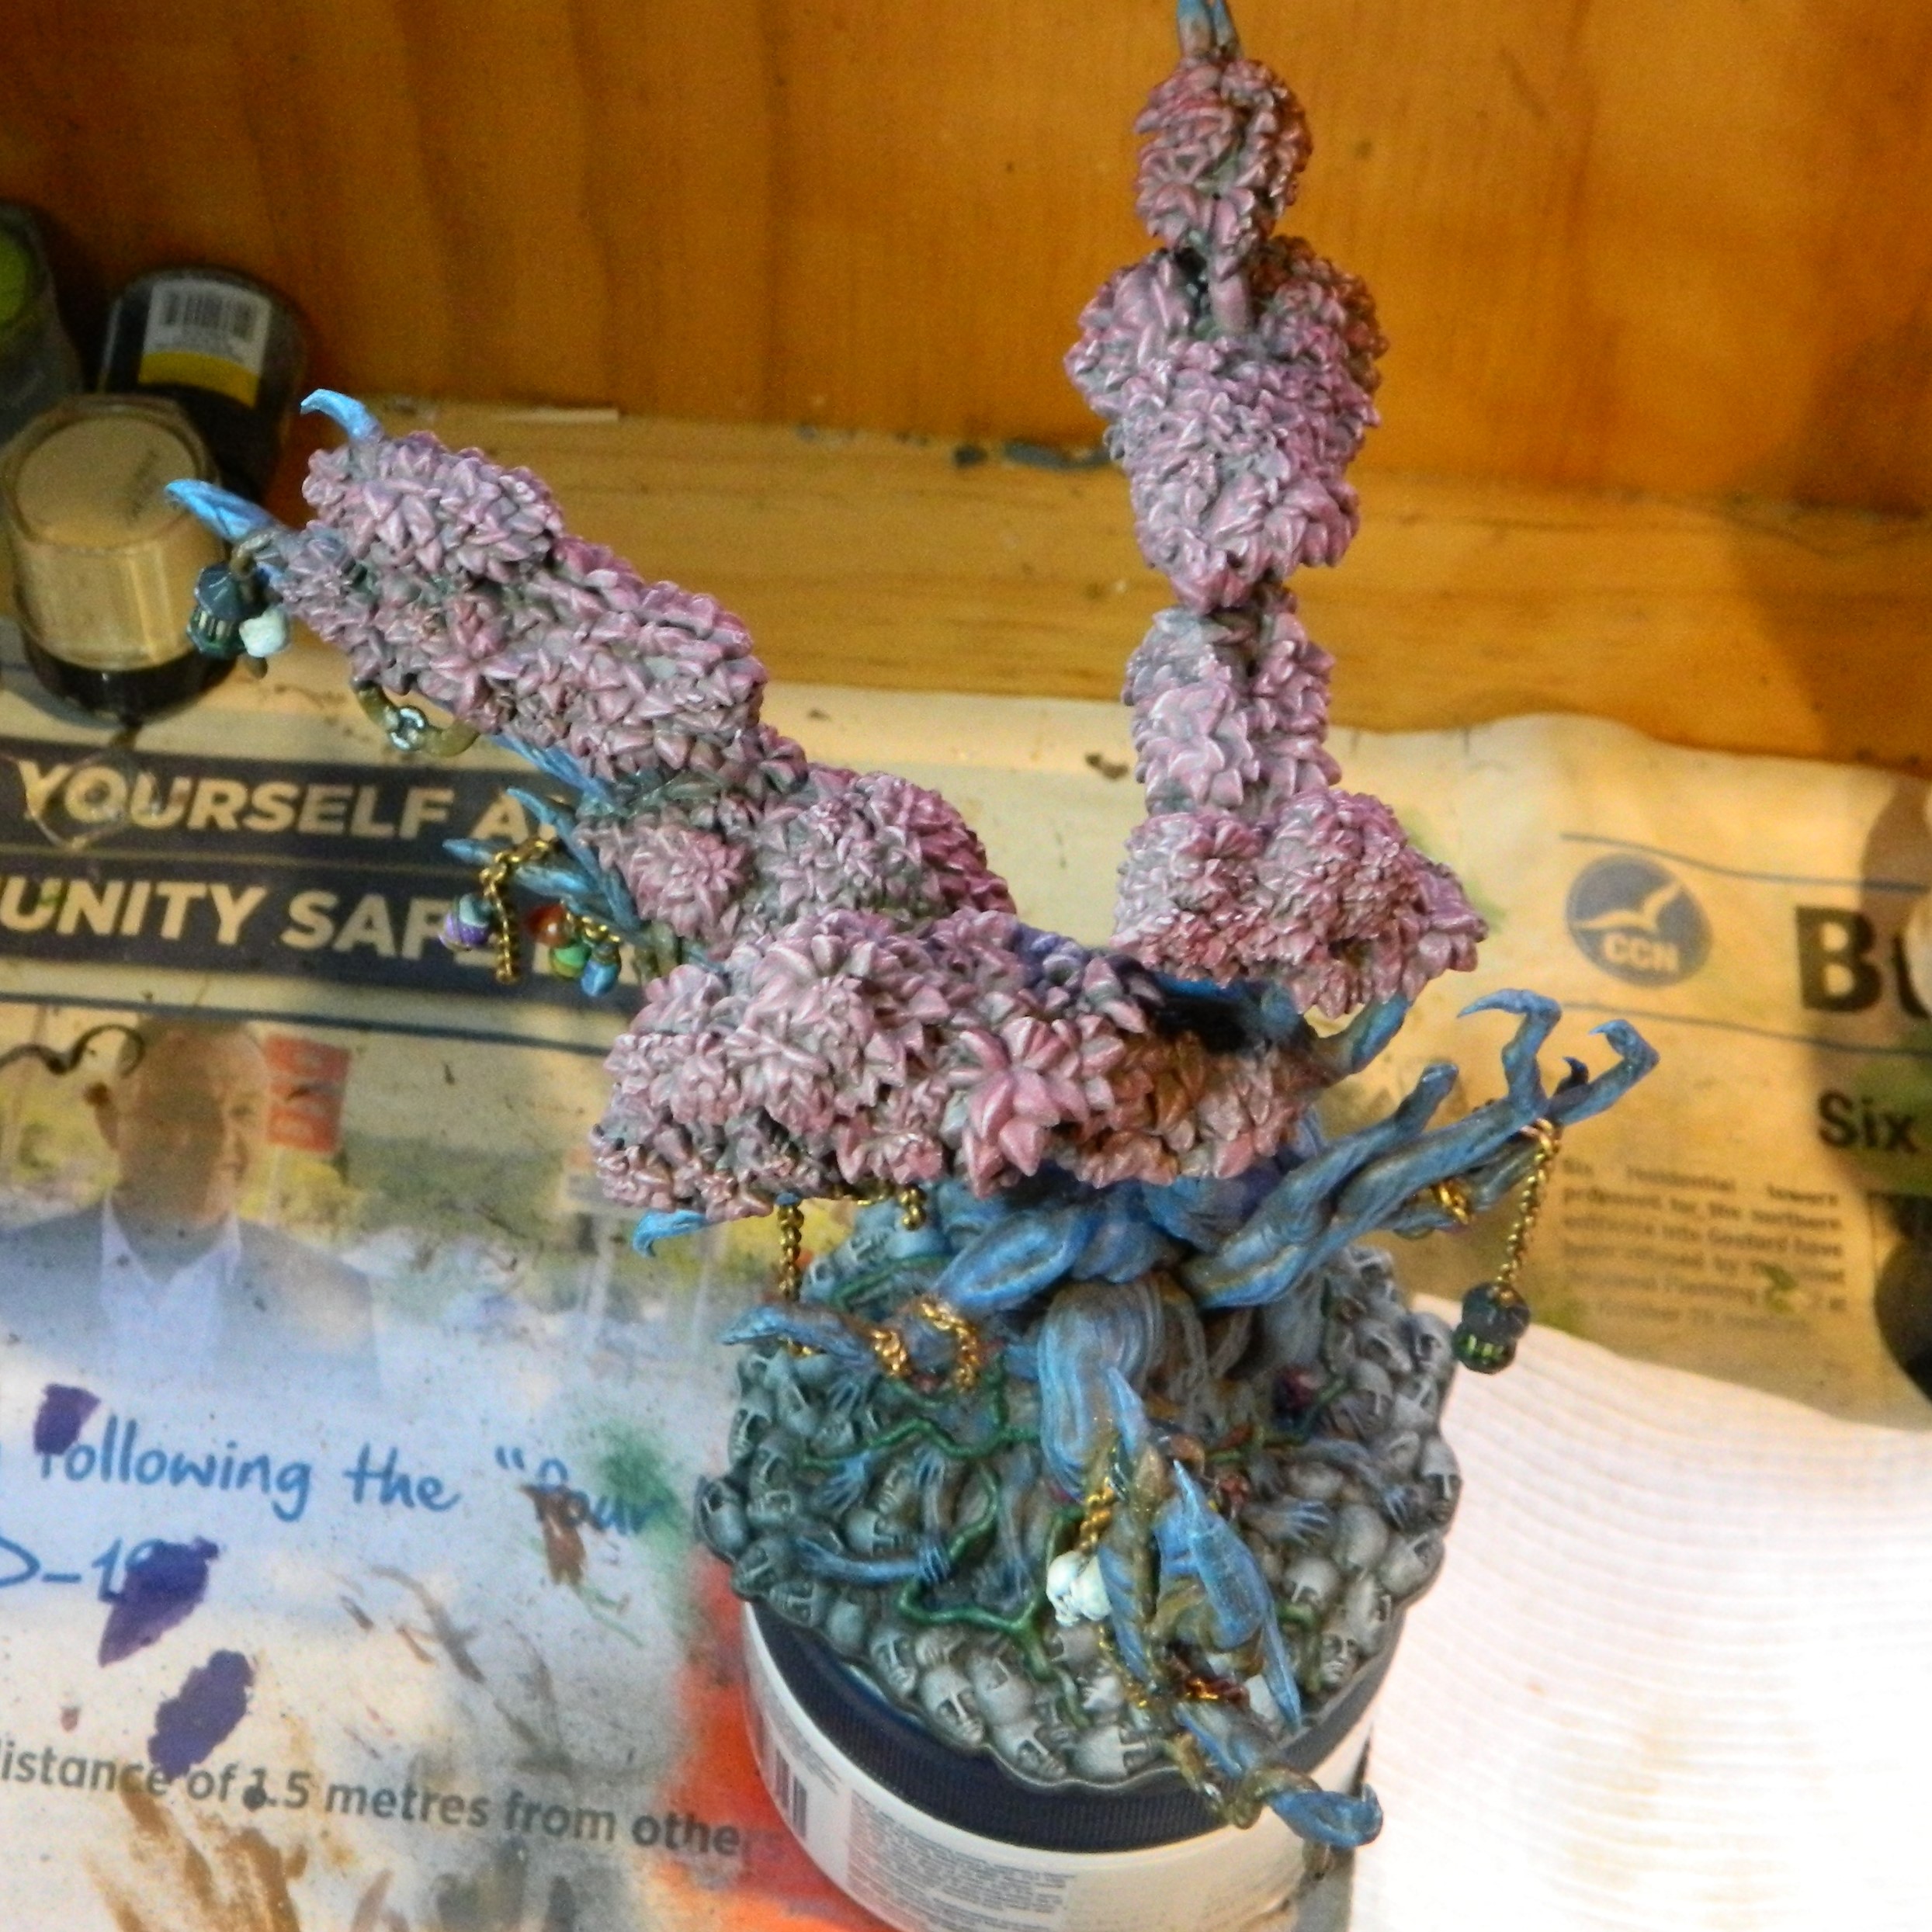
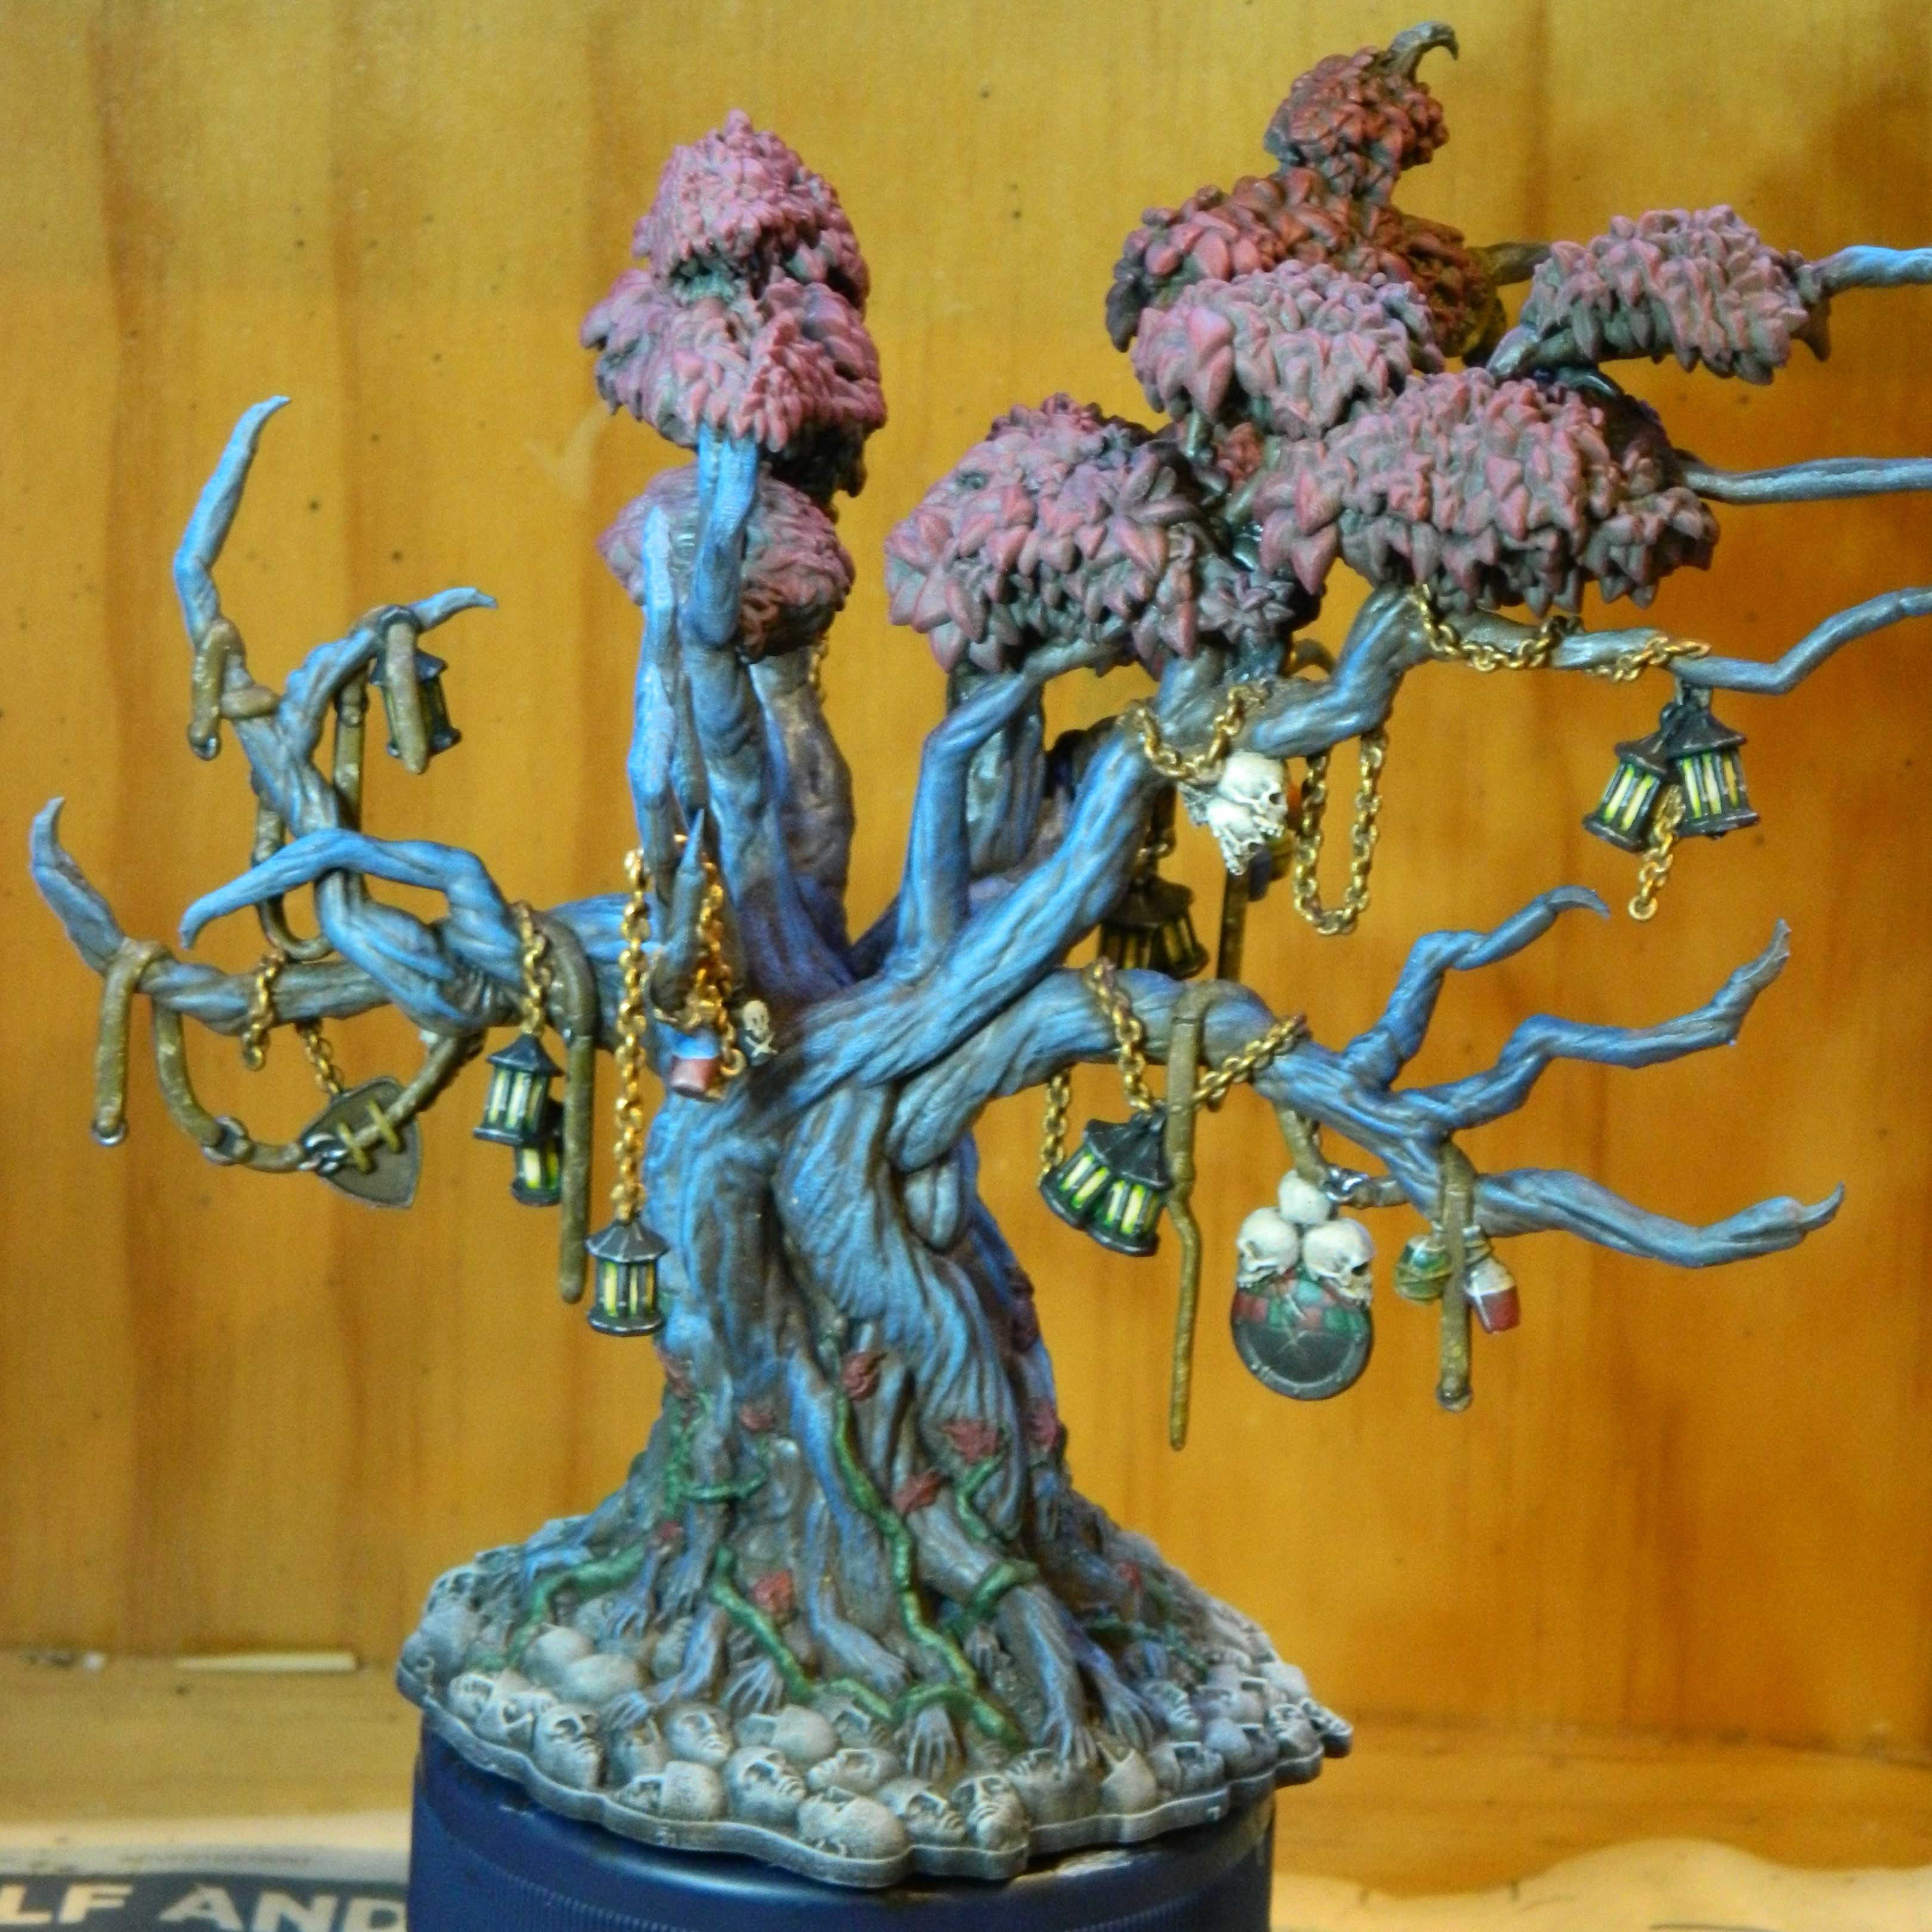
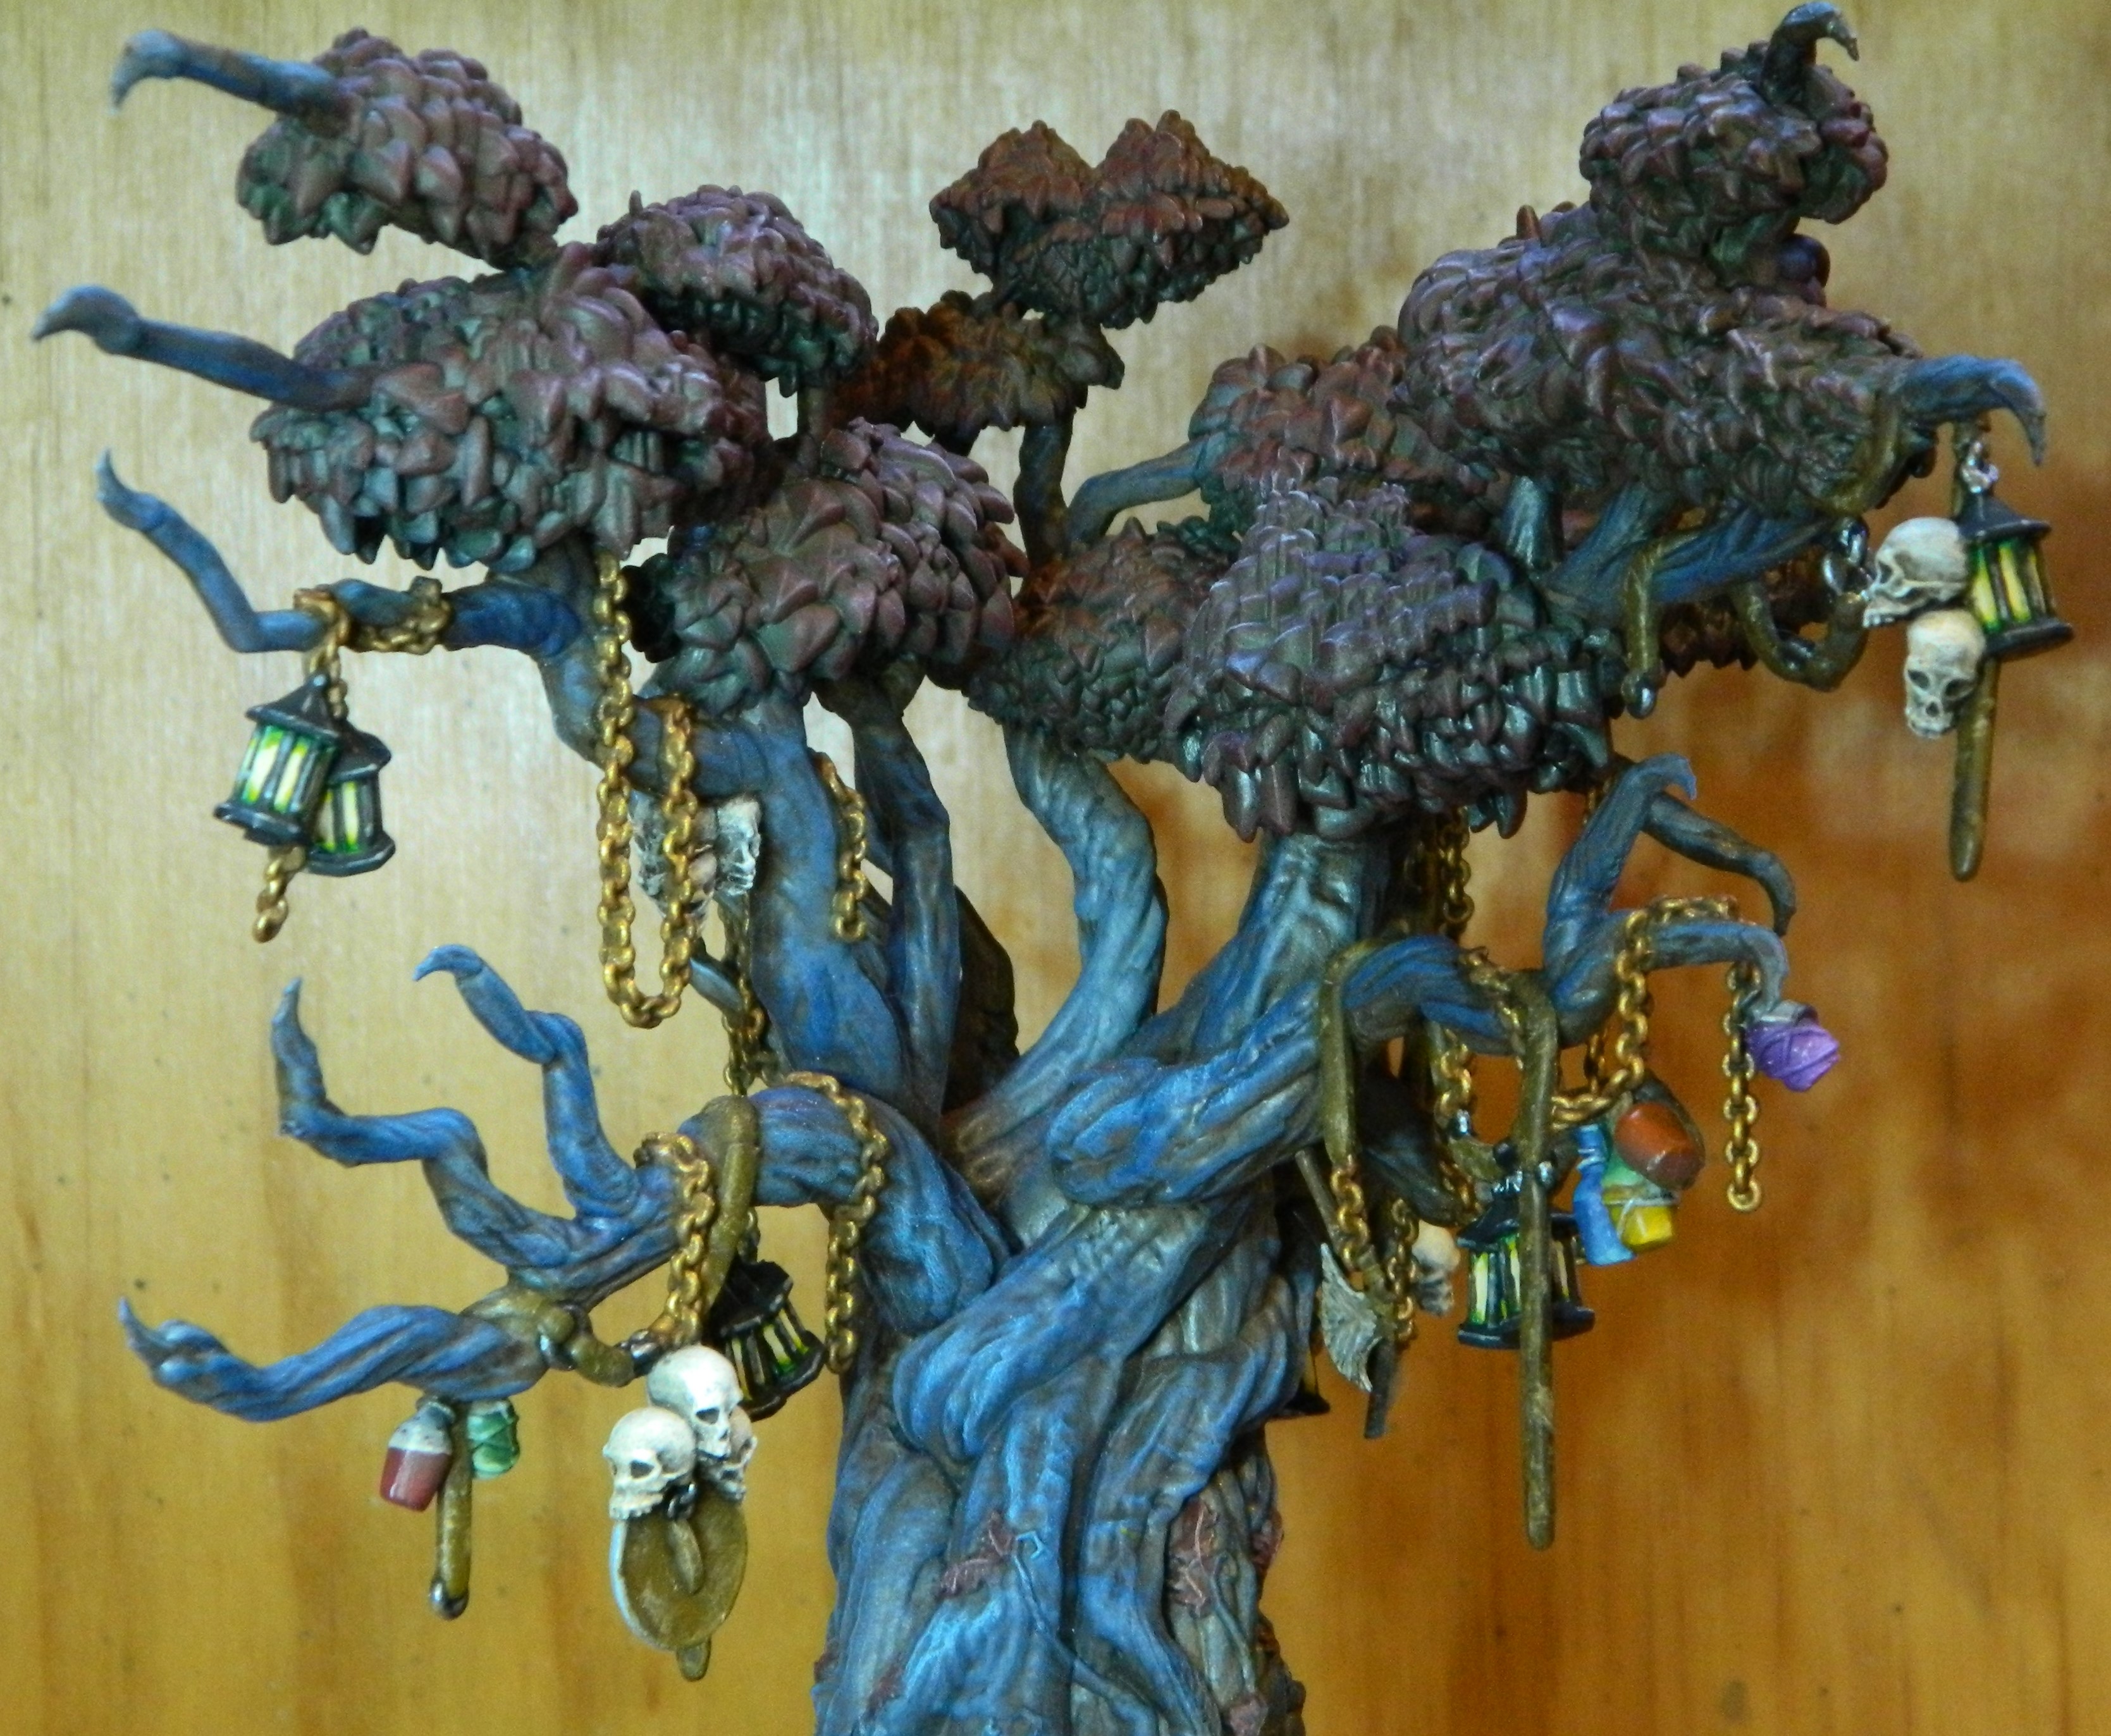
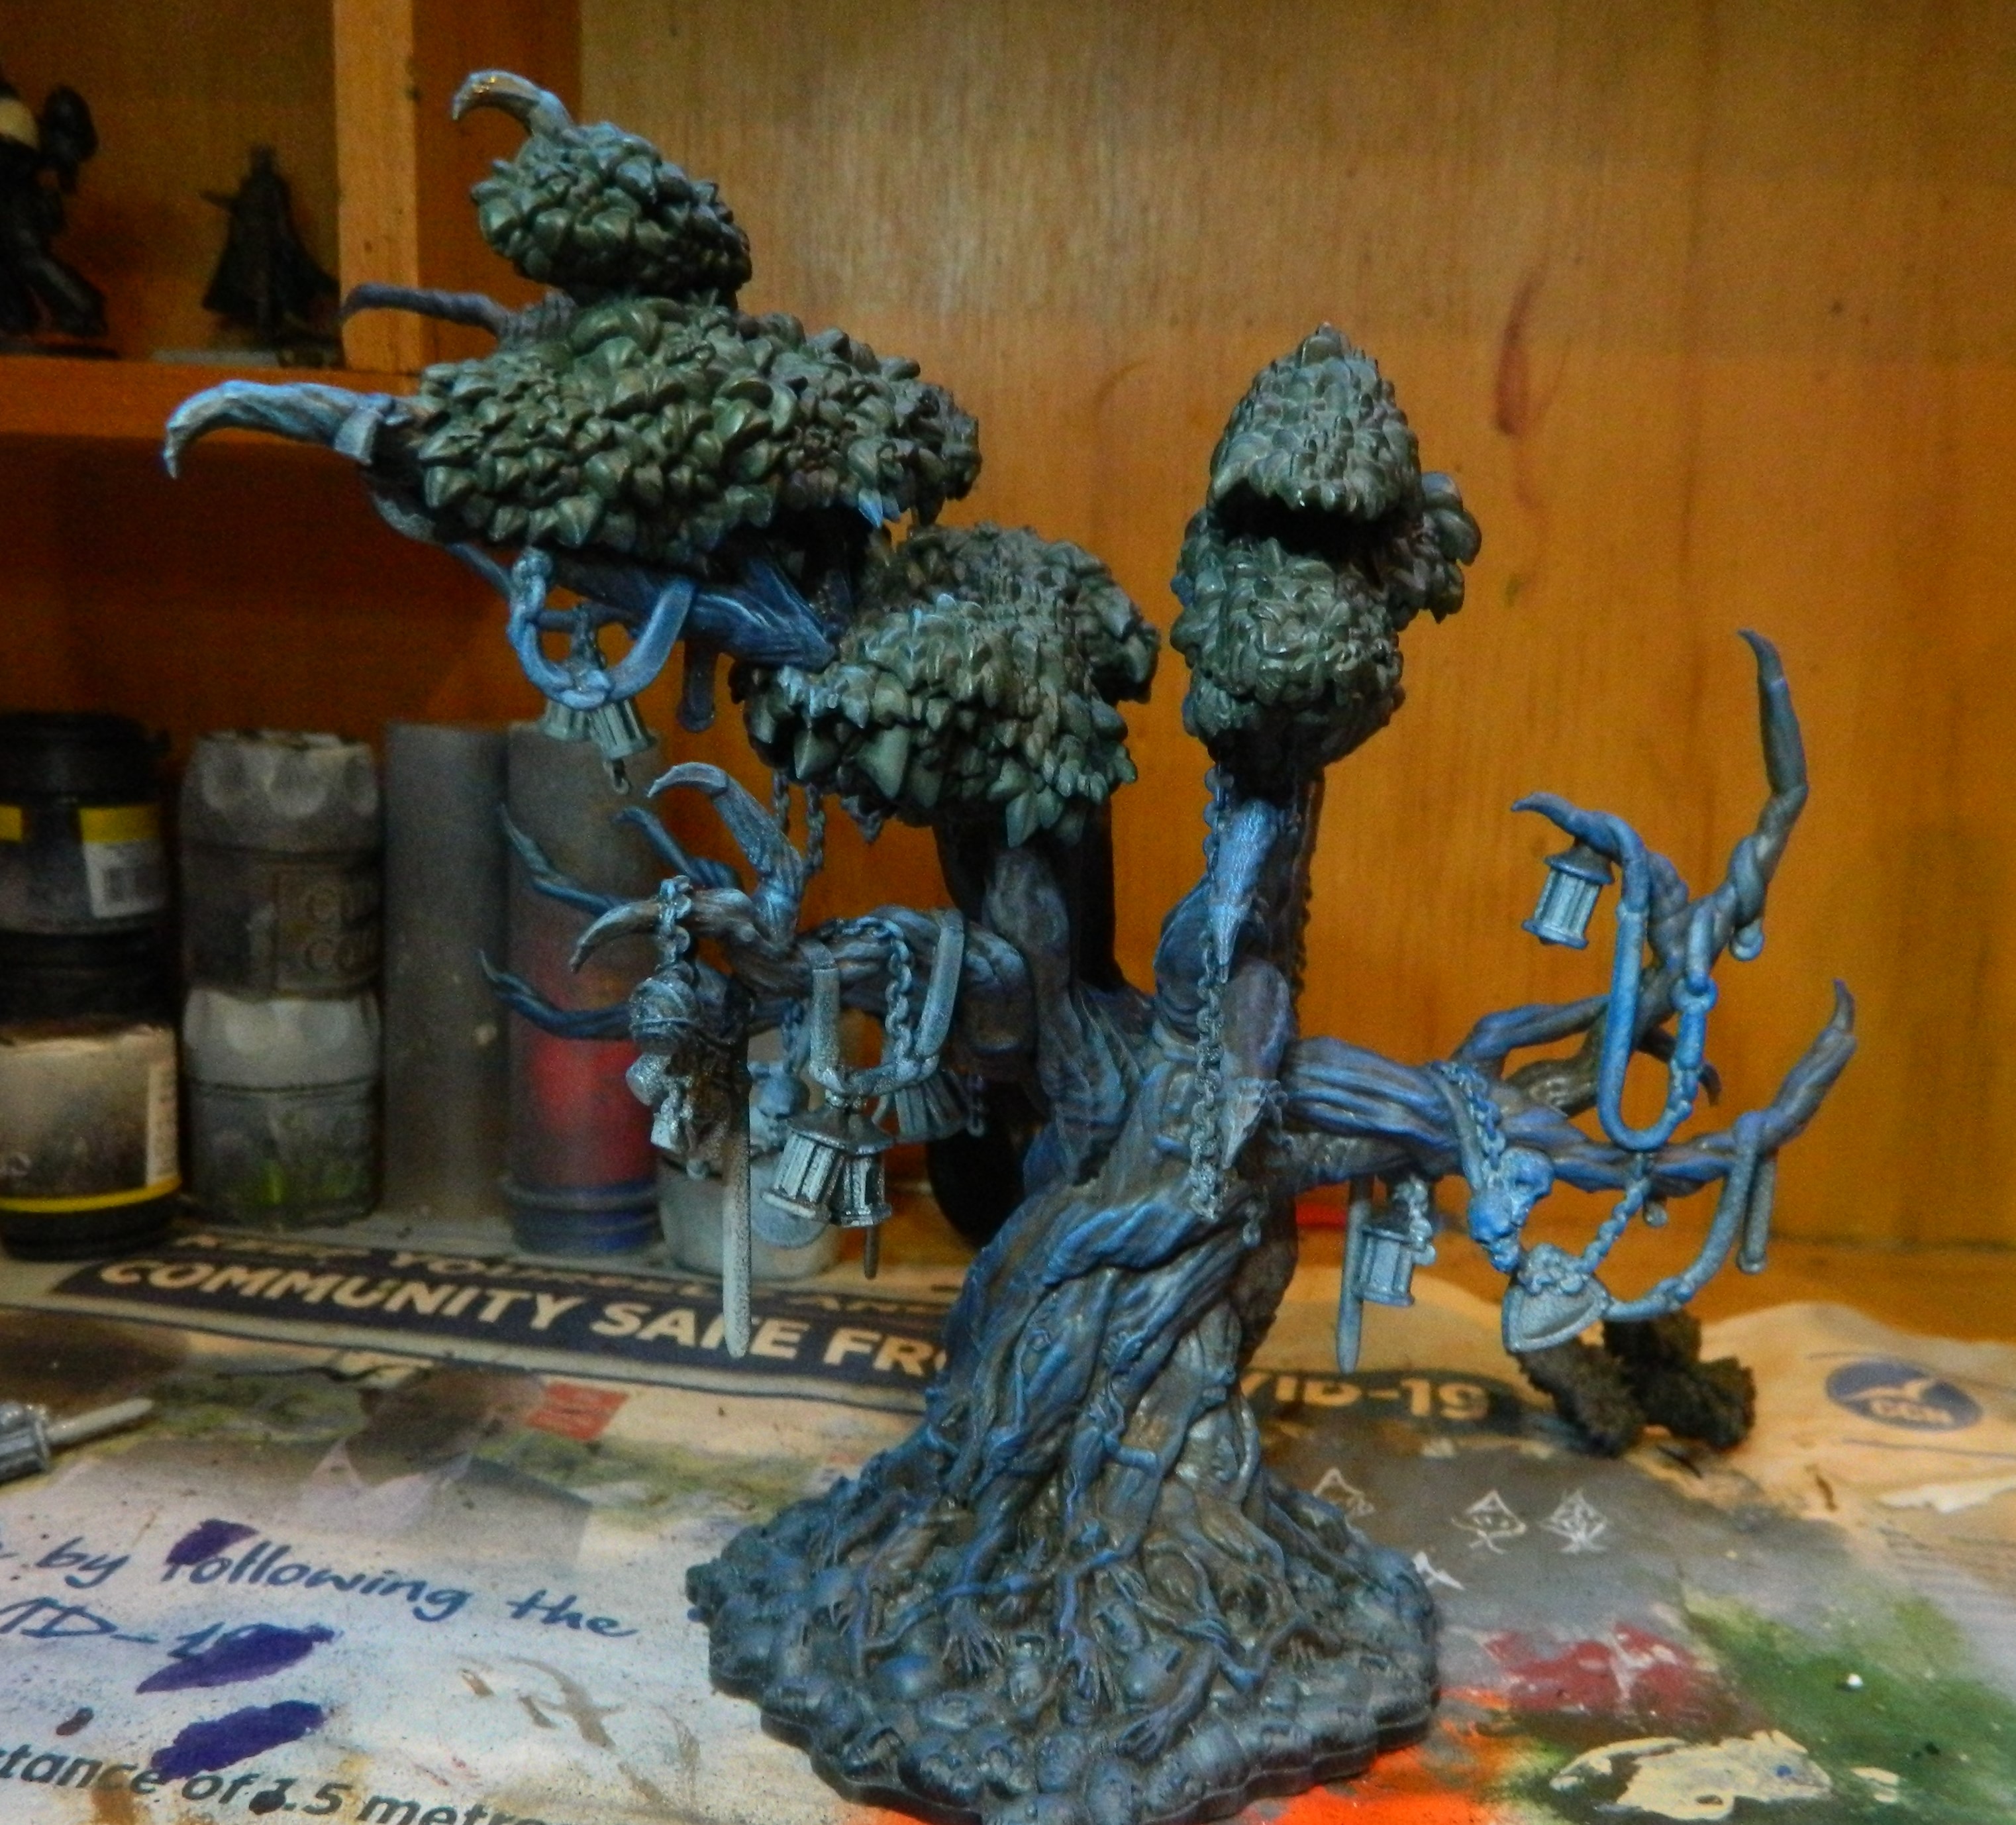
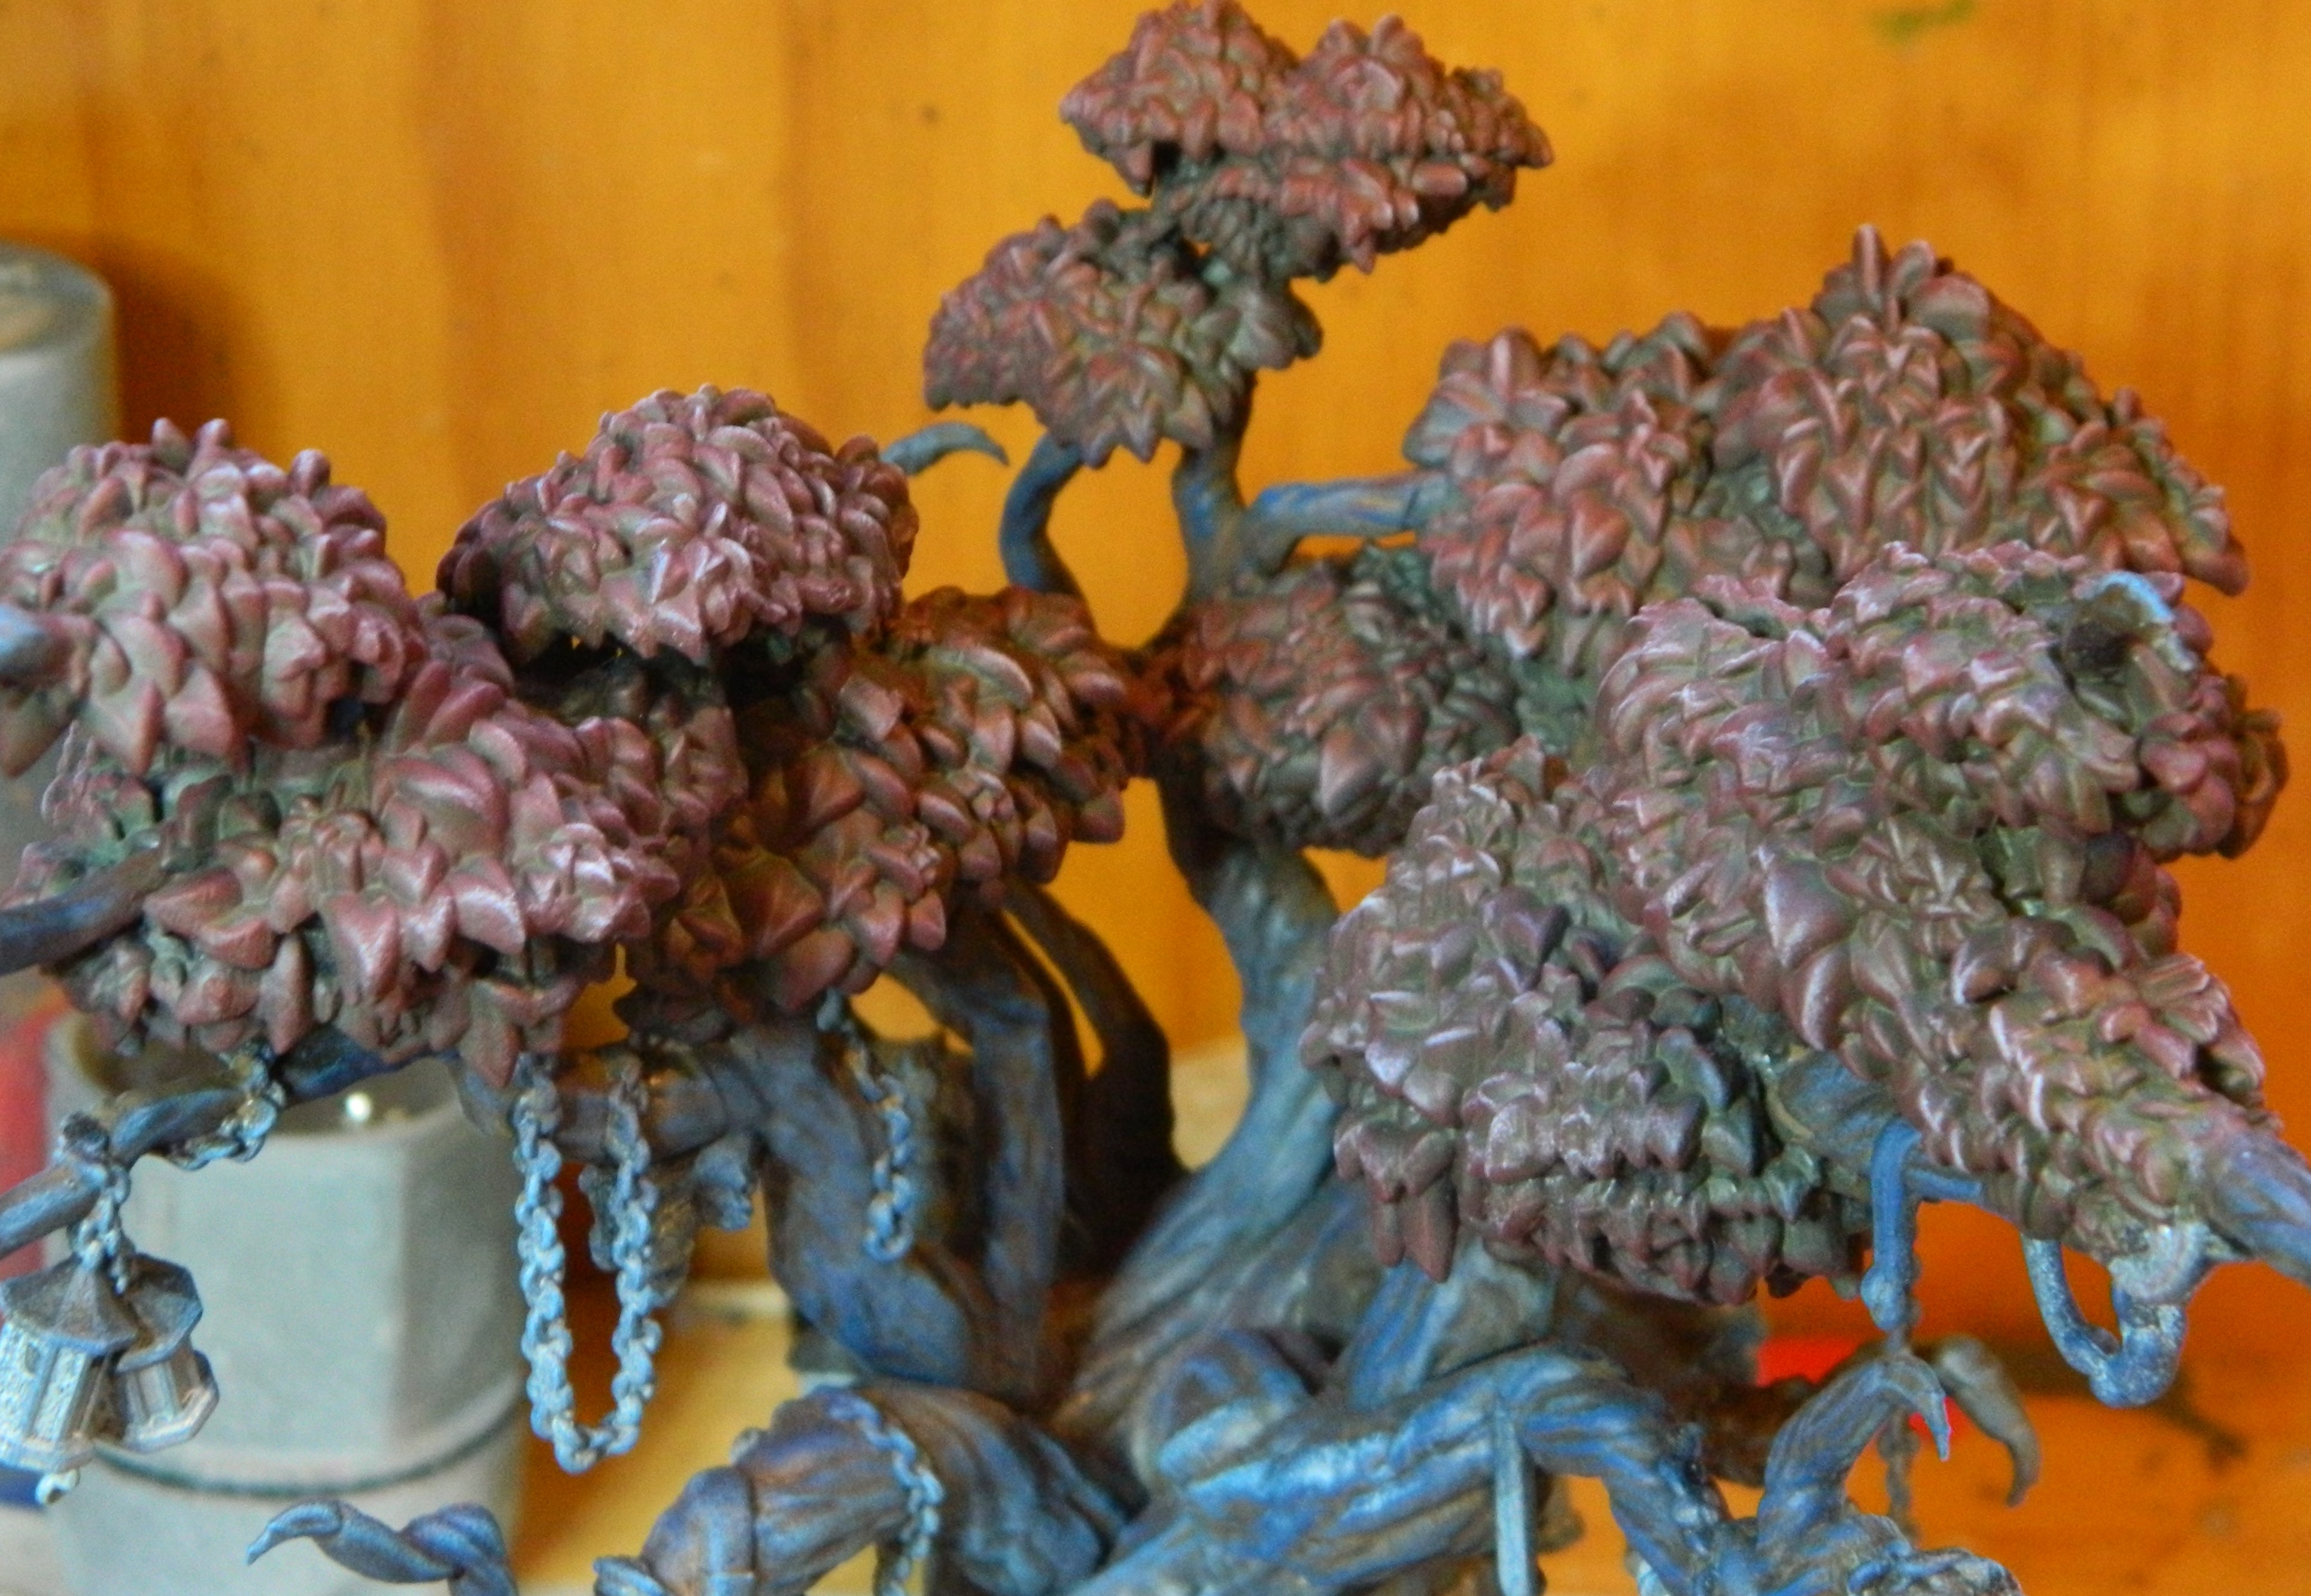
20 Jan 22: Decorating the Tree like Festive Season!
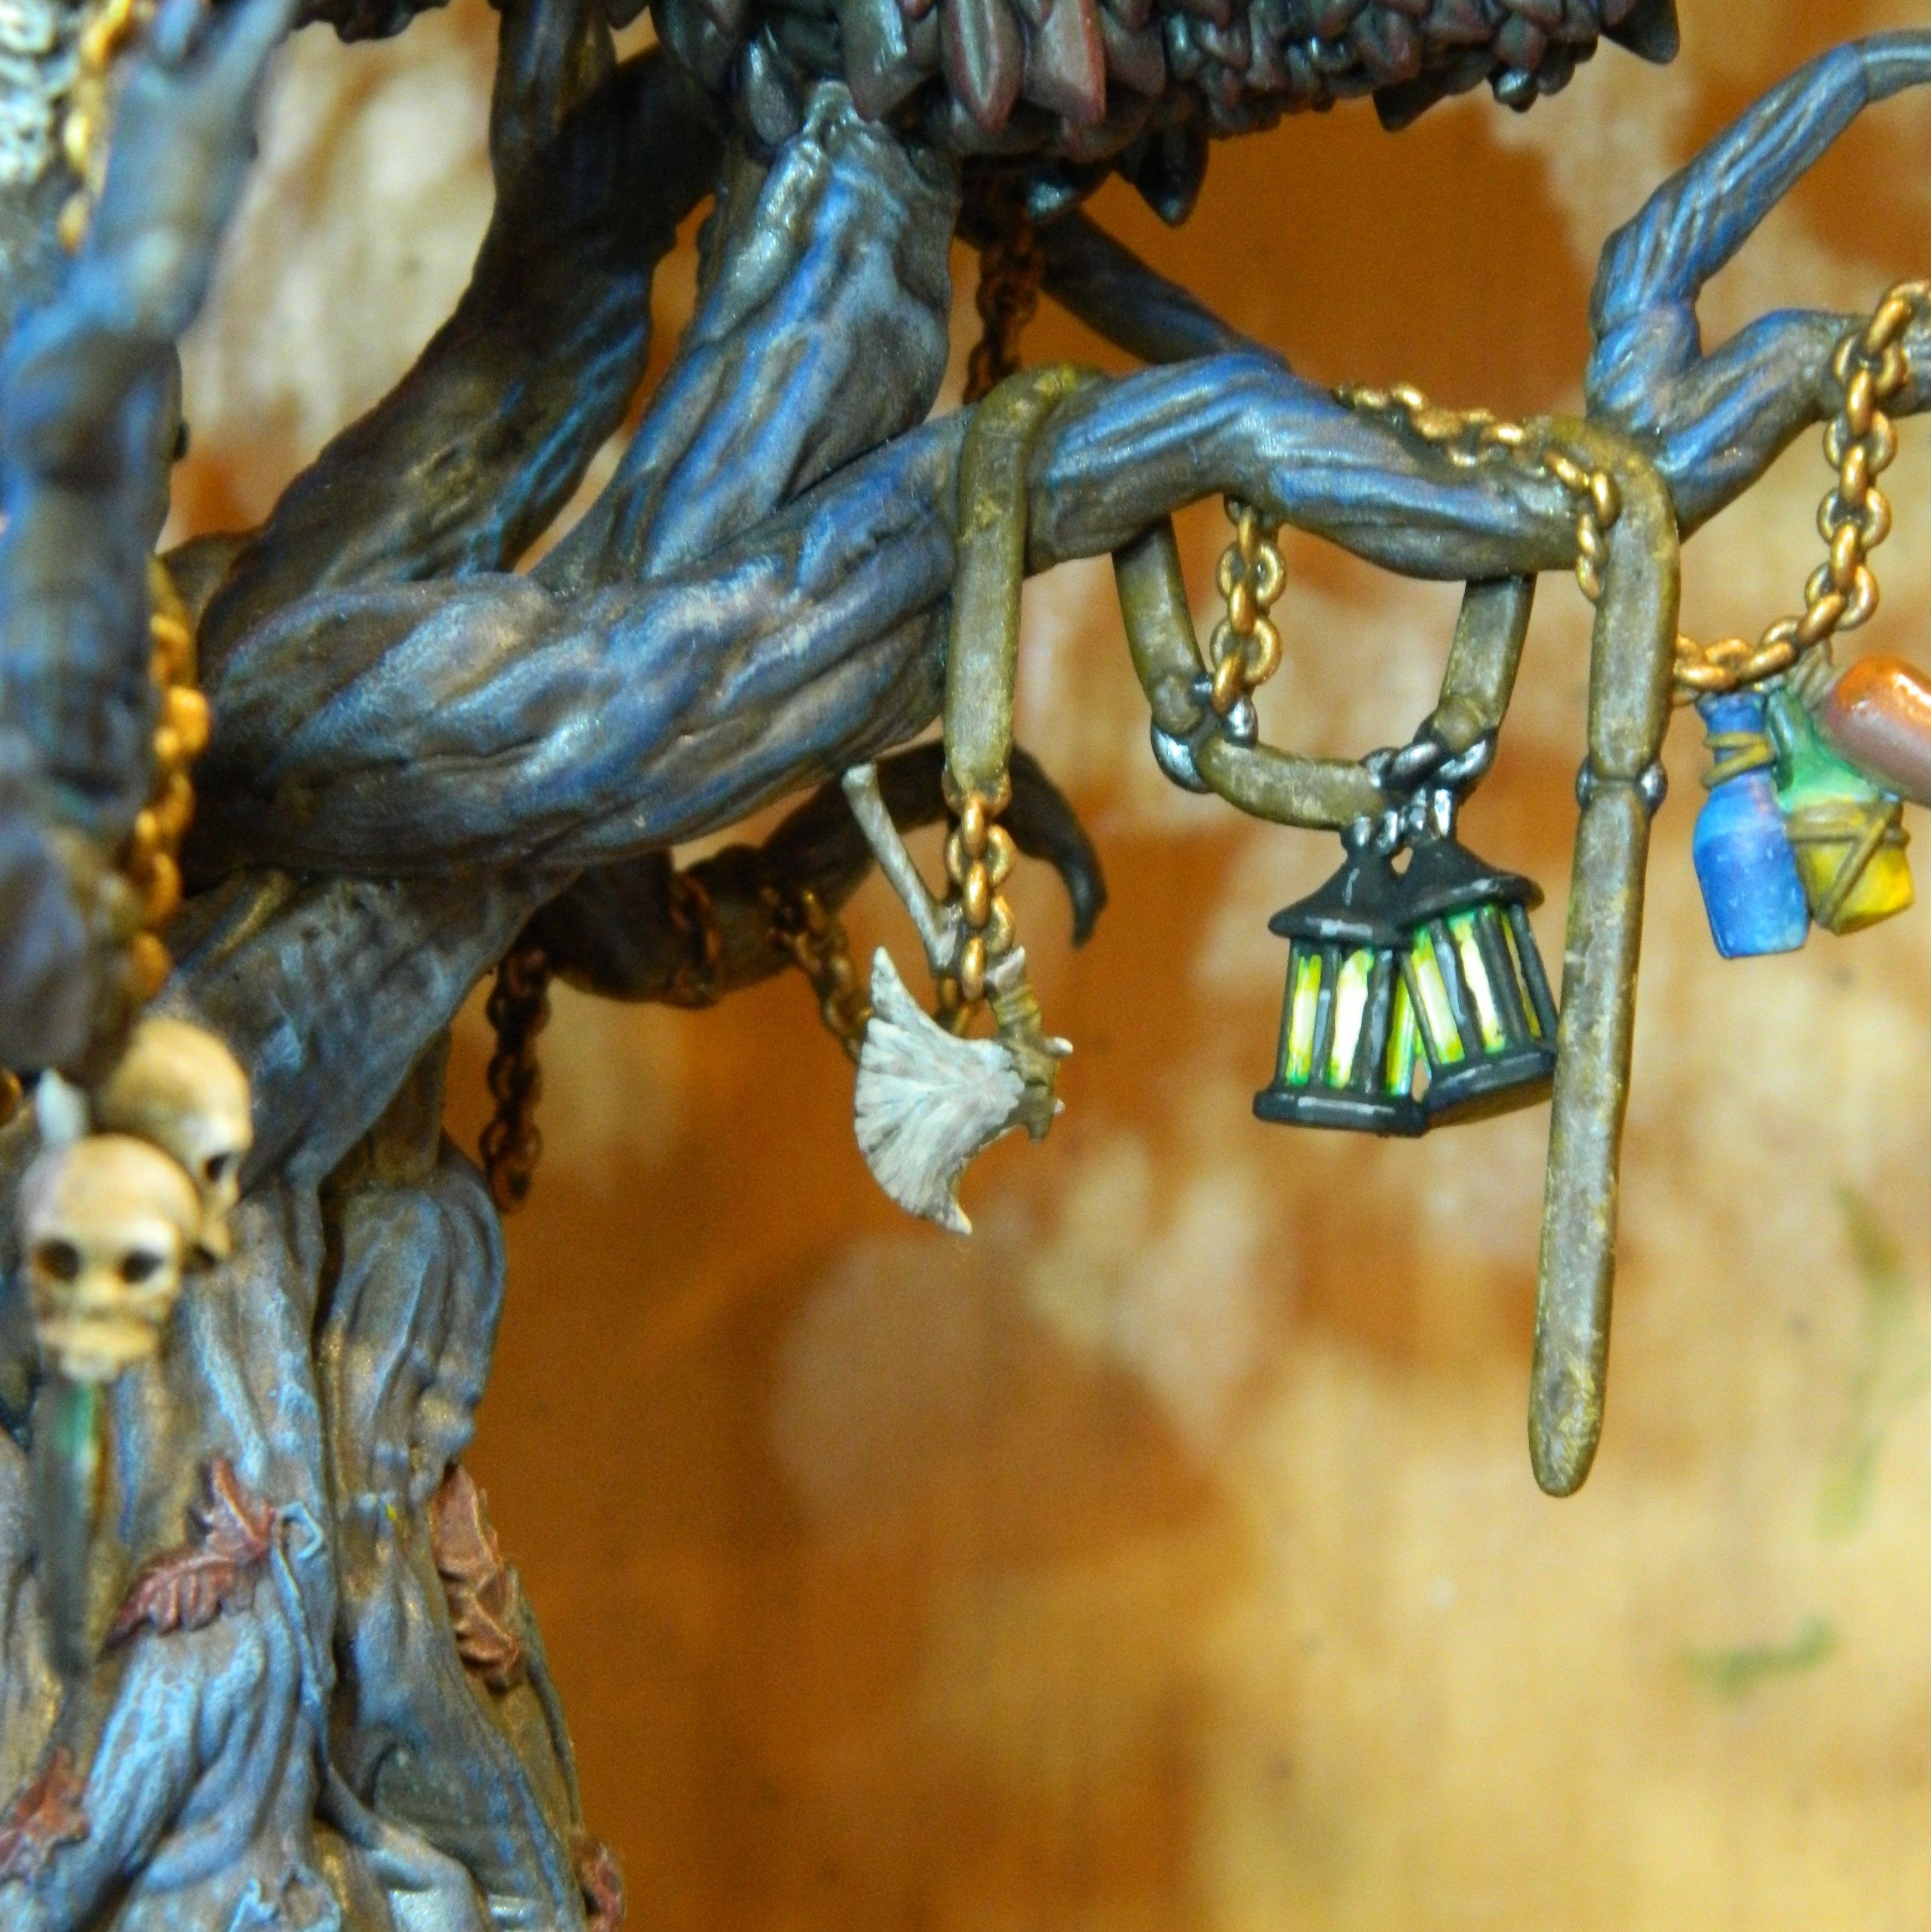
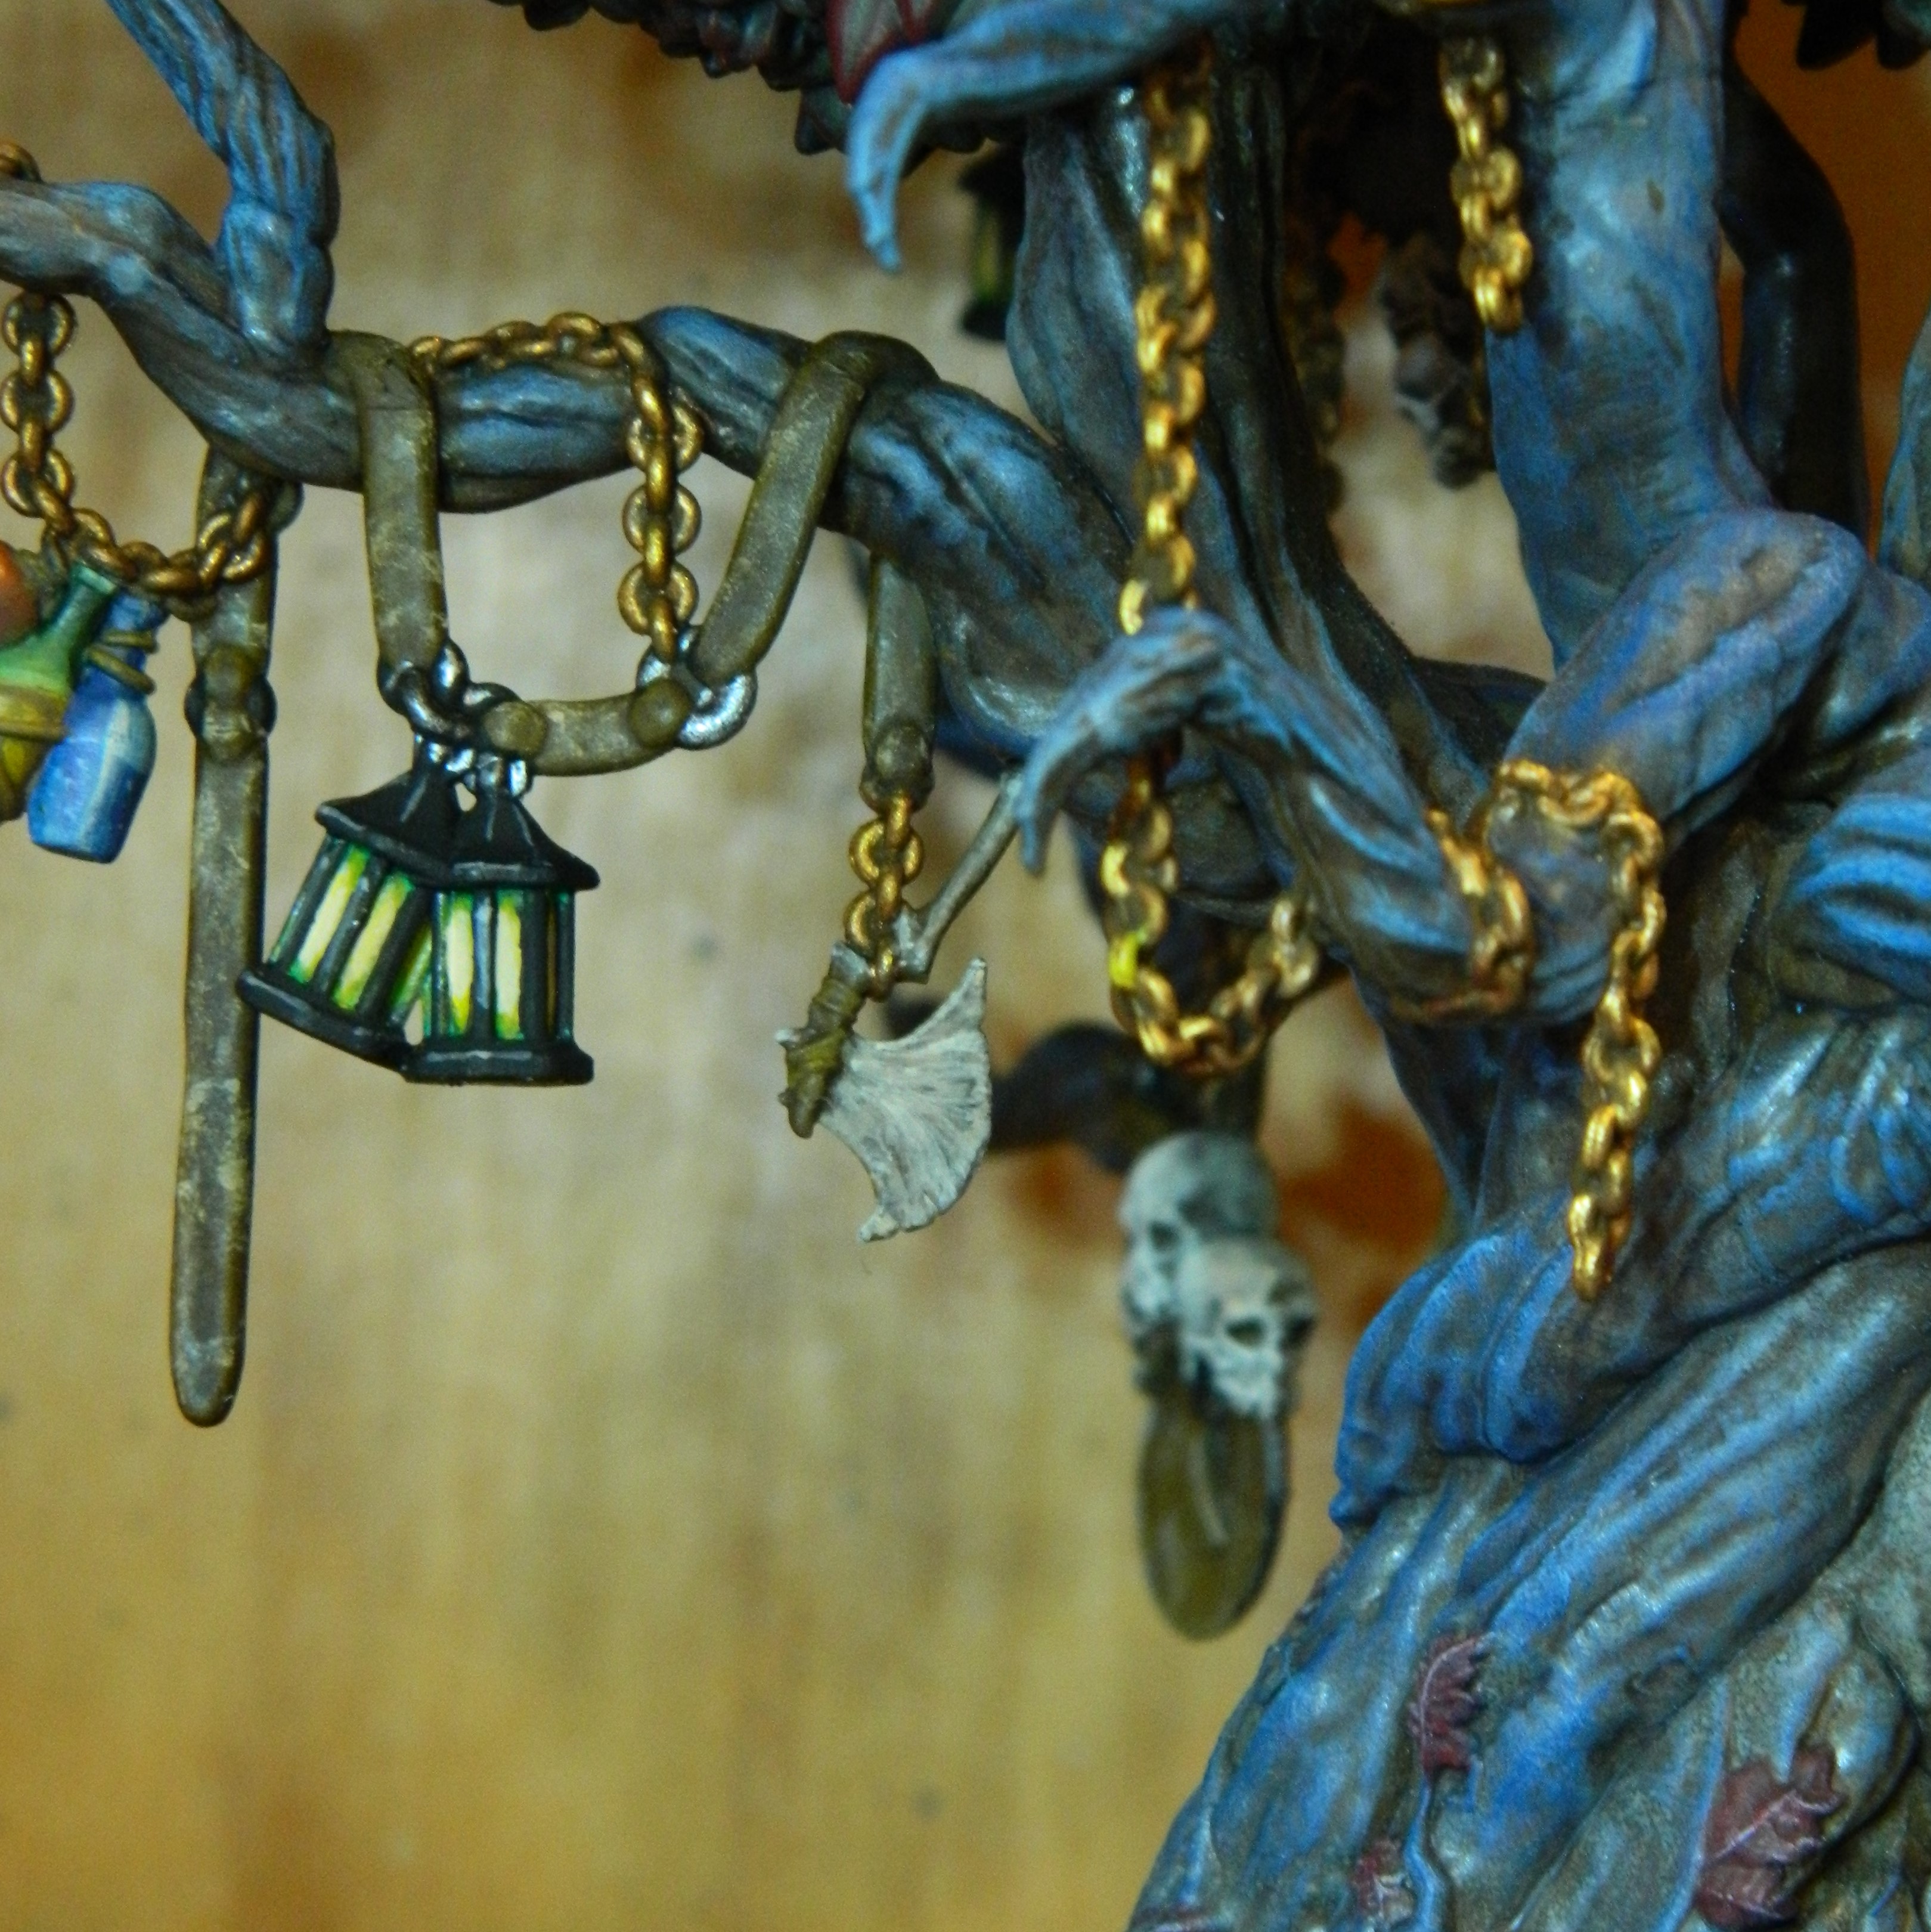
The Lonely Tree is decorated with various accessories… Belts, bottles and bony things! They’re ideal to pop out from the colour of the tree.
 Gold chains
 Skulls
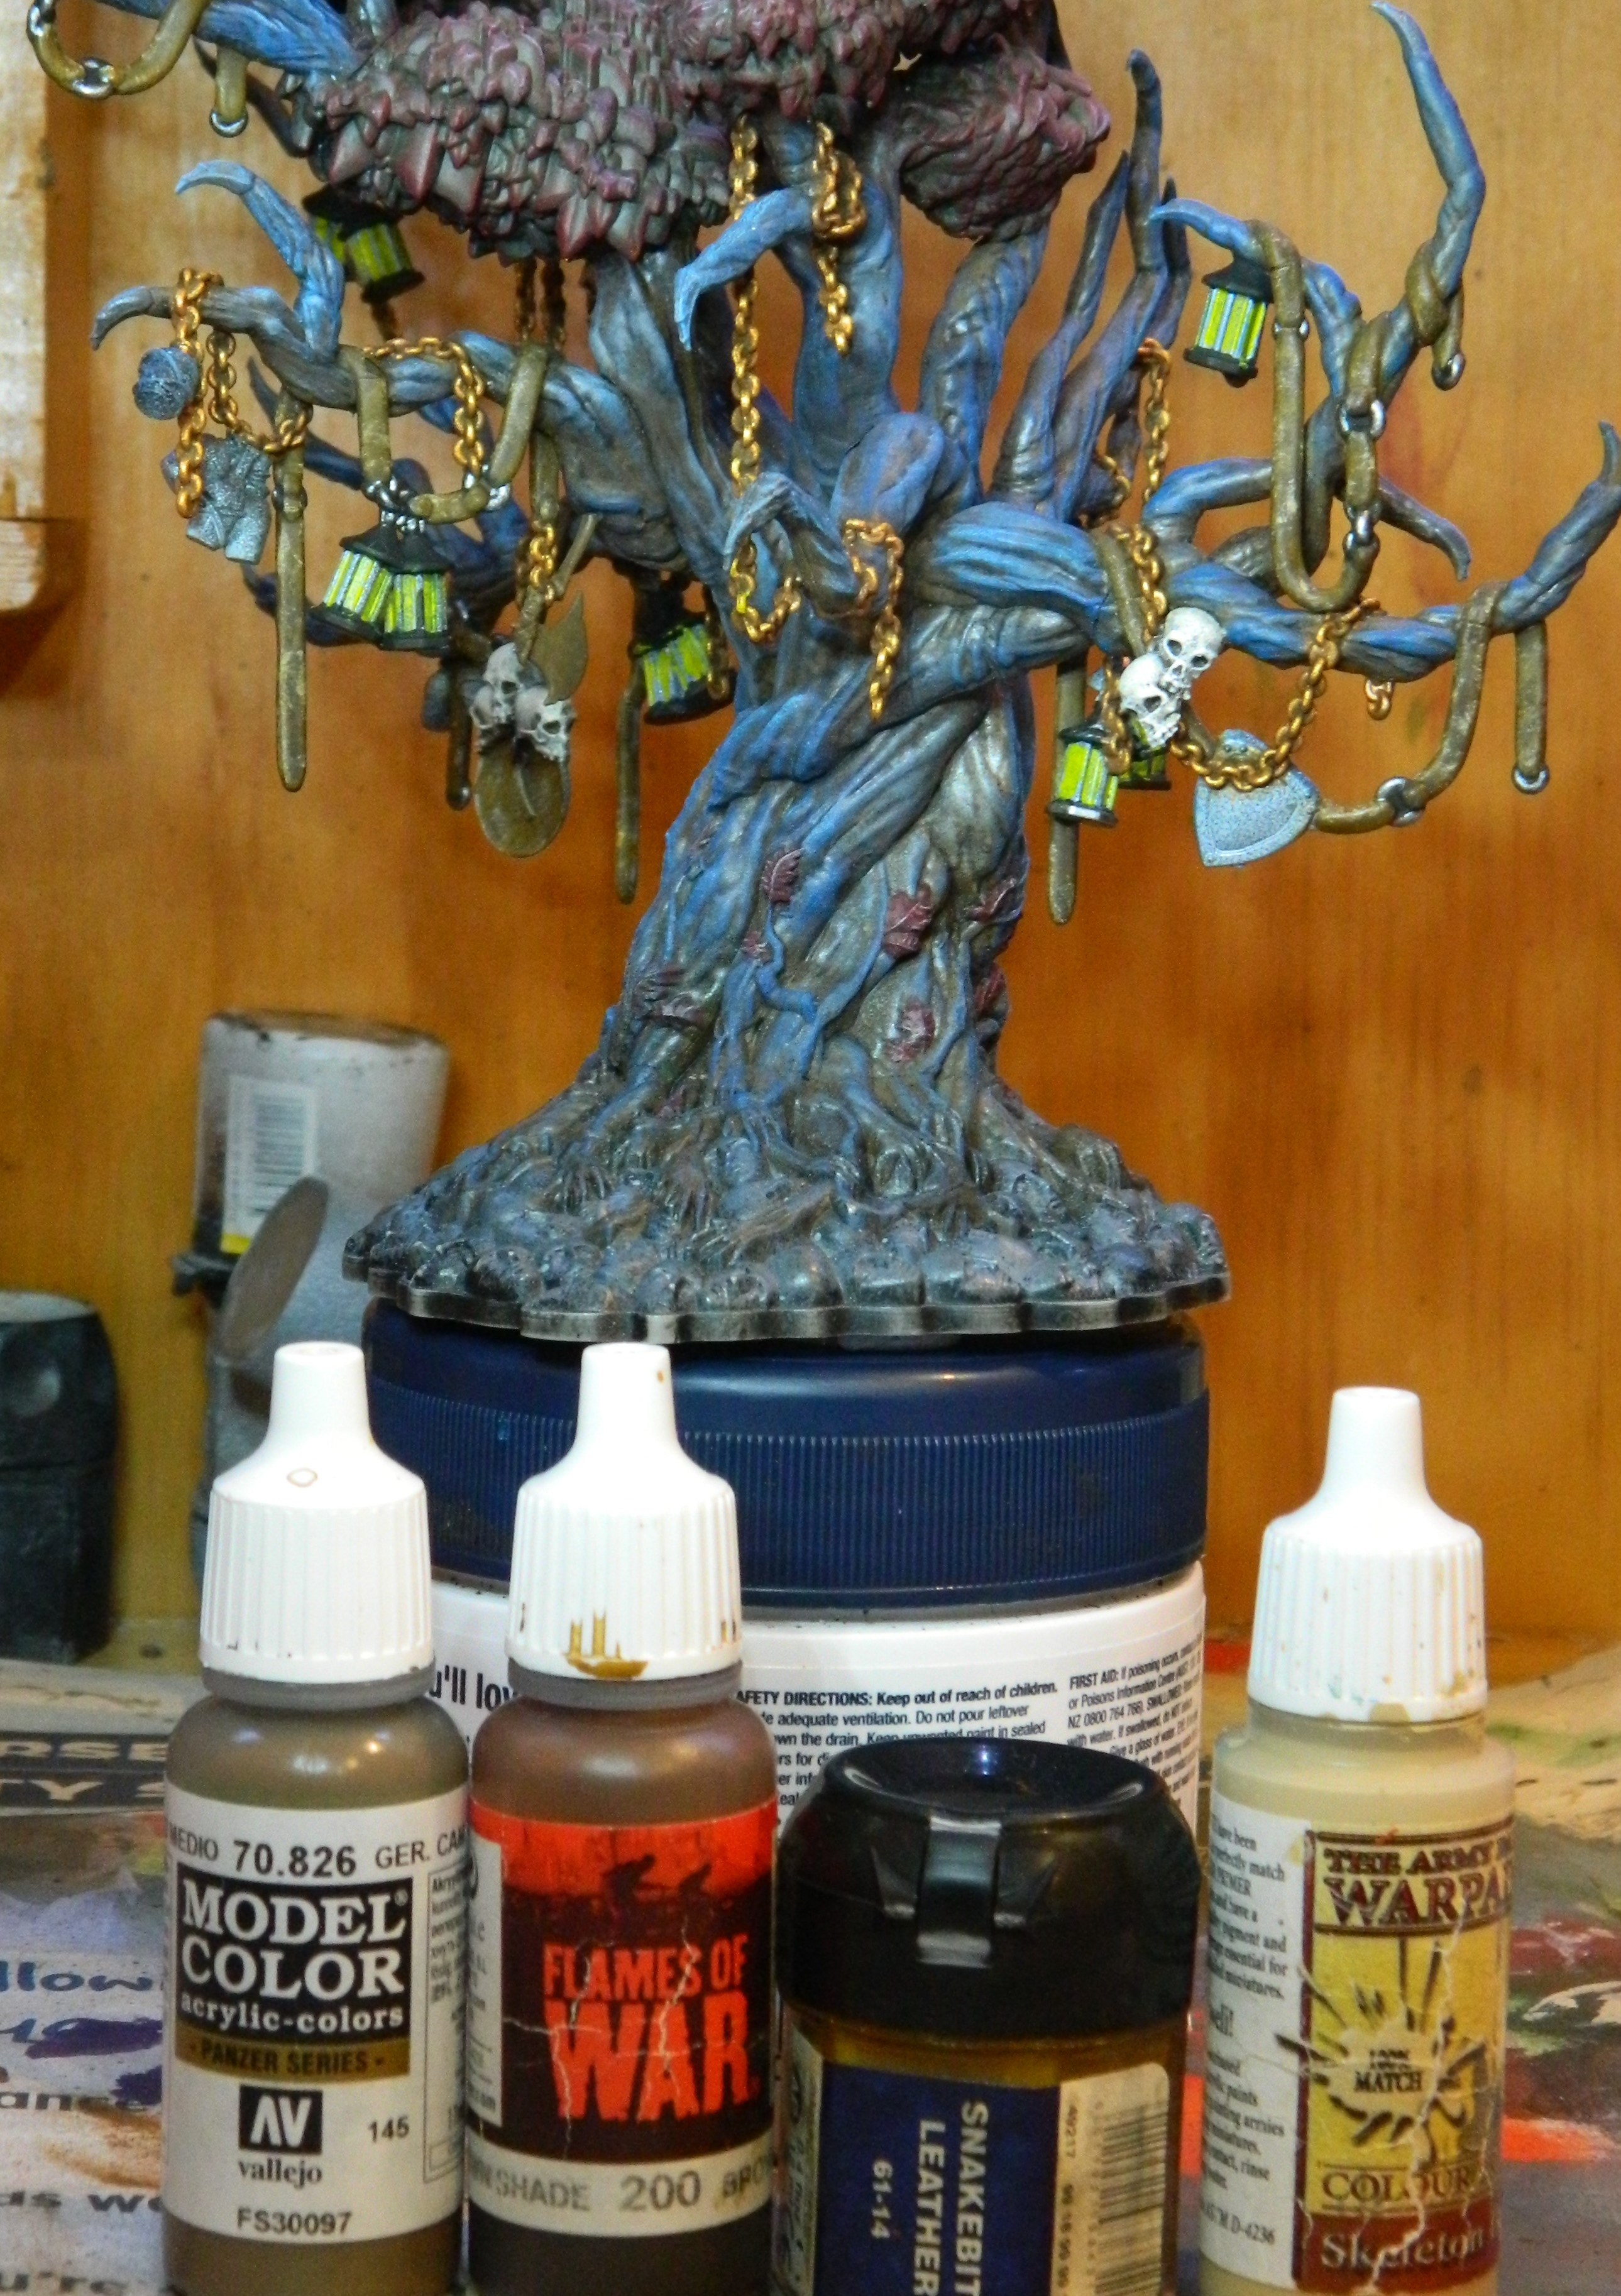 Leather Belts and Shield backs
26 Jan 22: Lanterns light
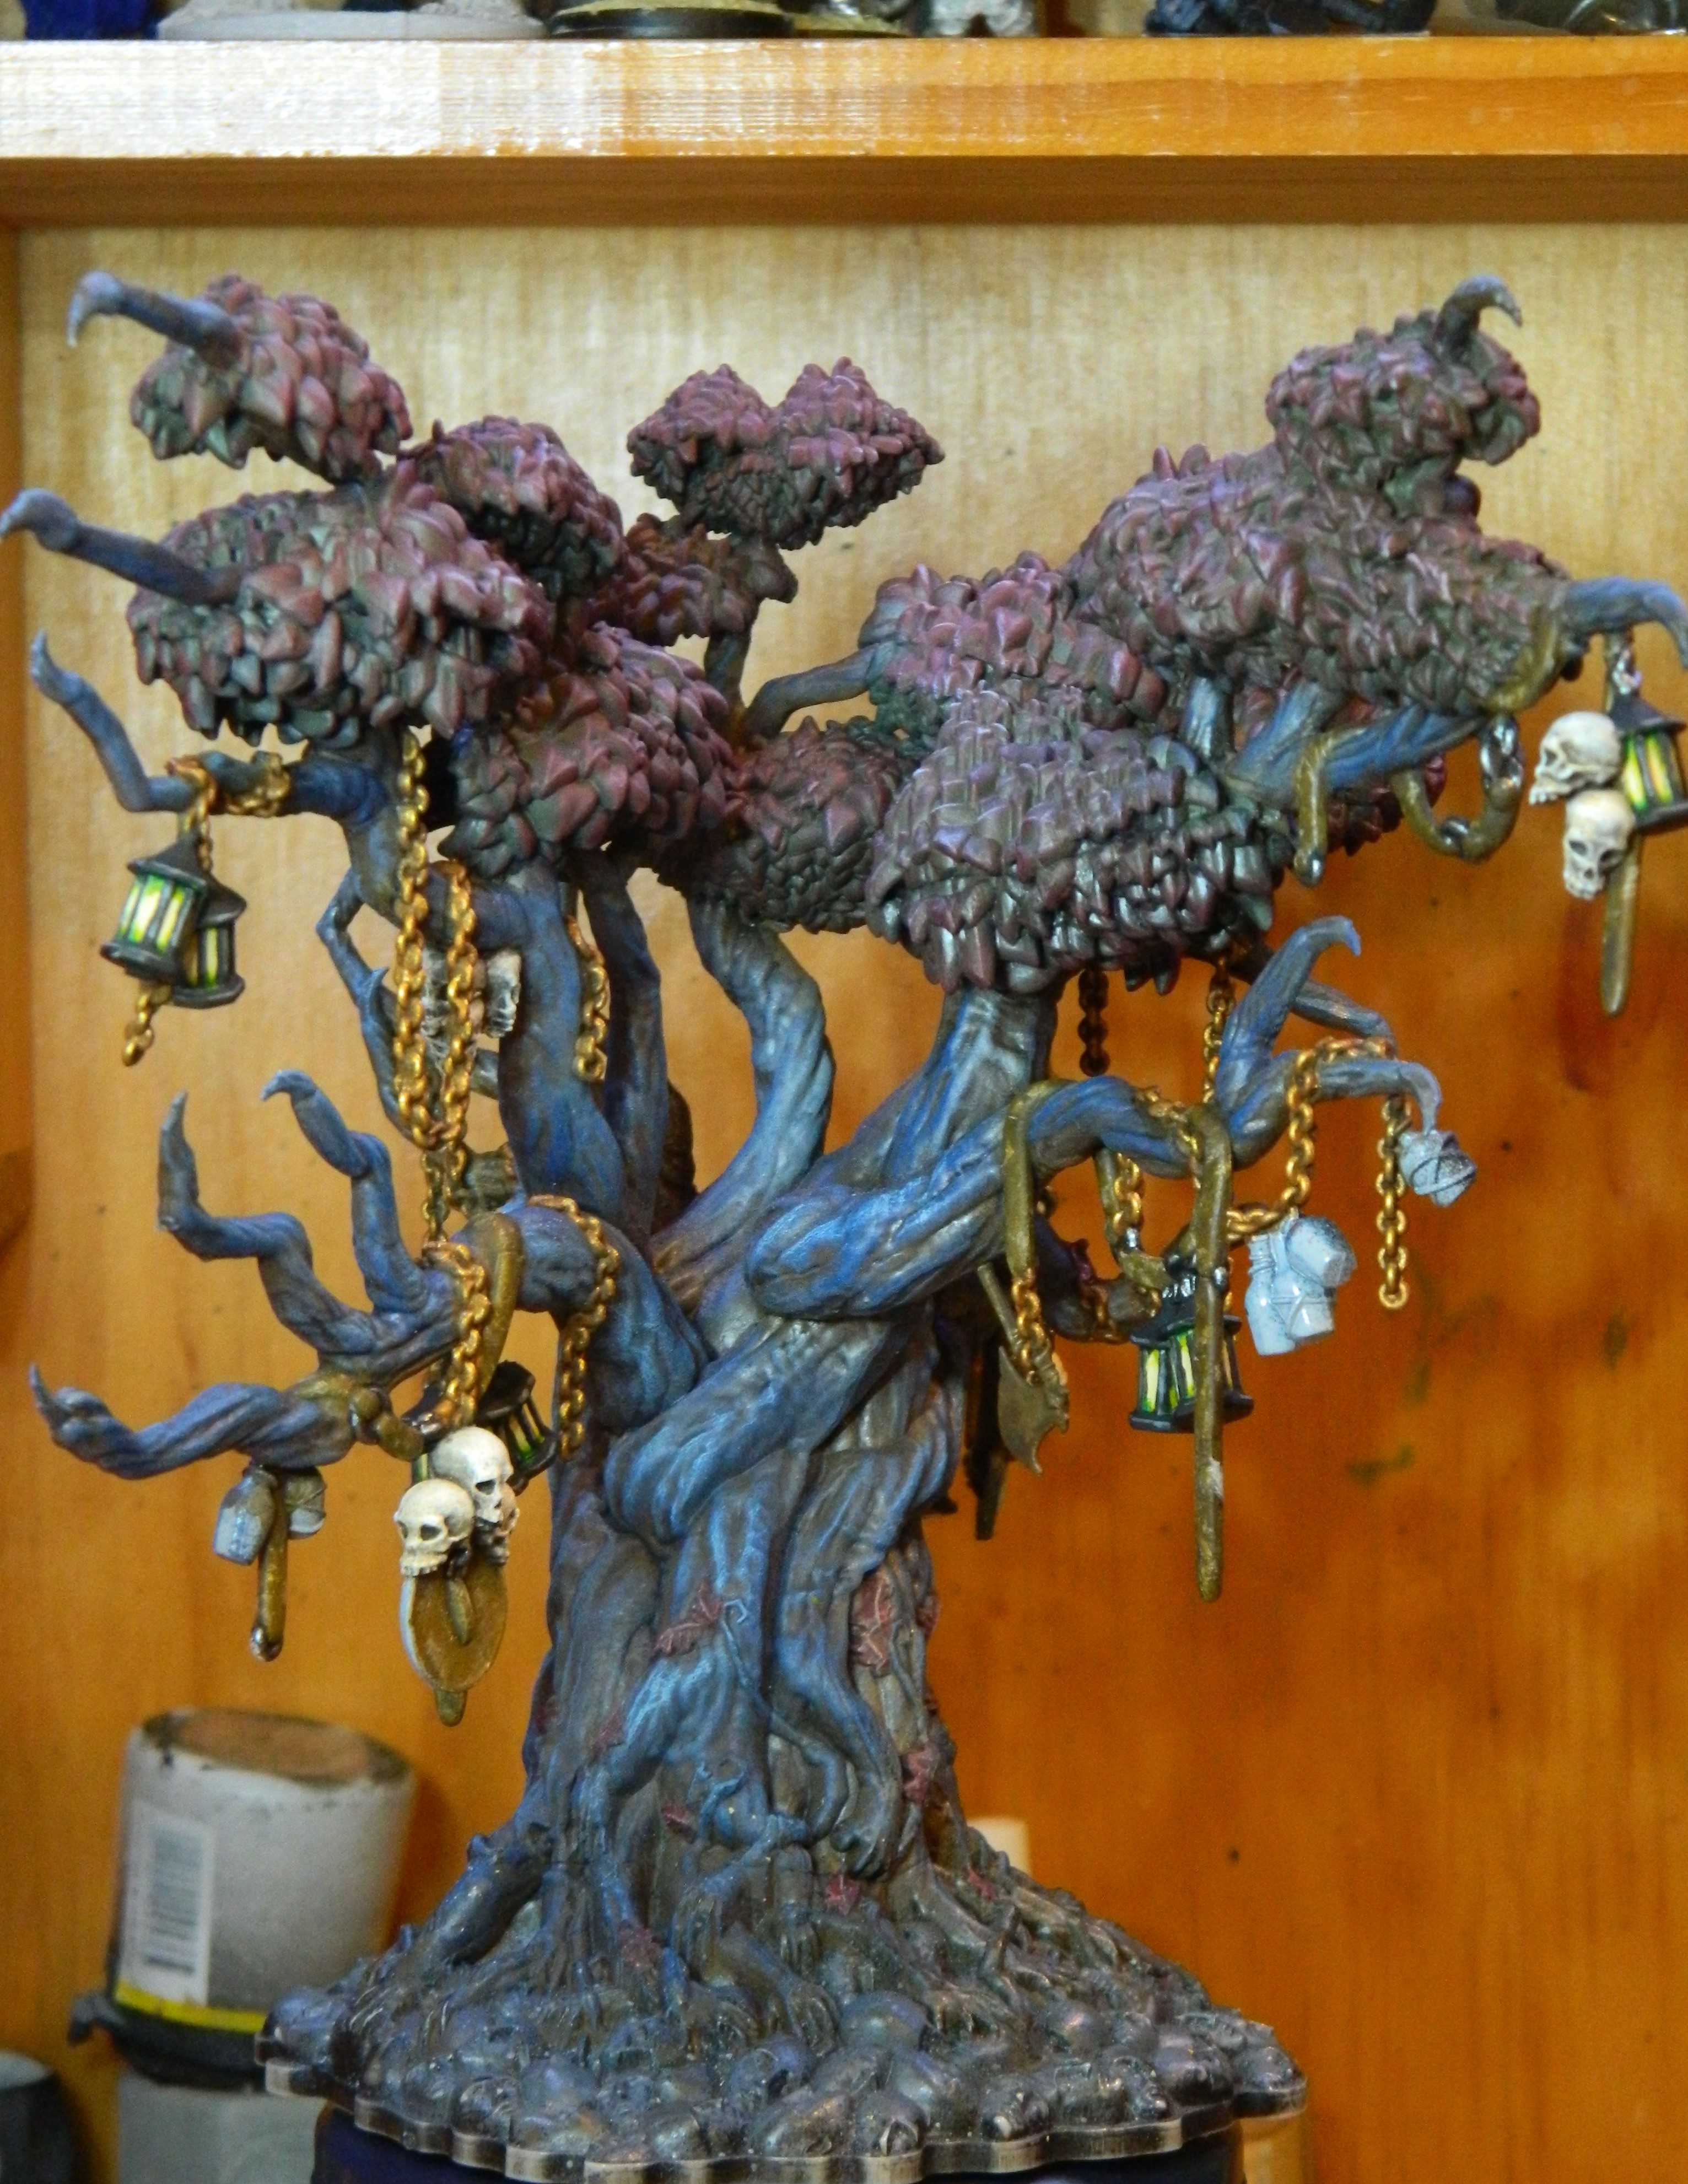 The lantern colour was intended to bring some green into the work. They ended up yellow with a green tinge, but I'm ok with this.
 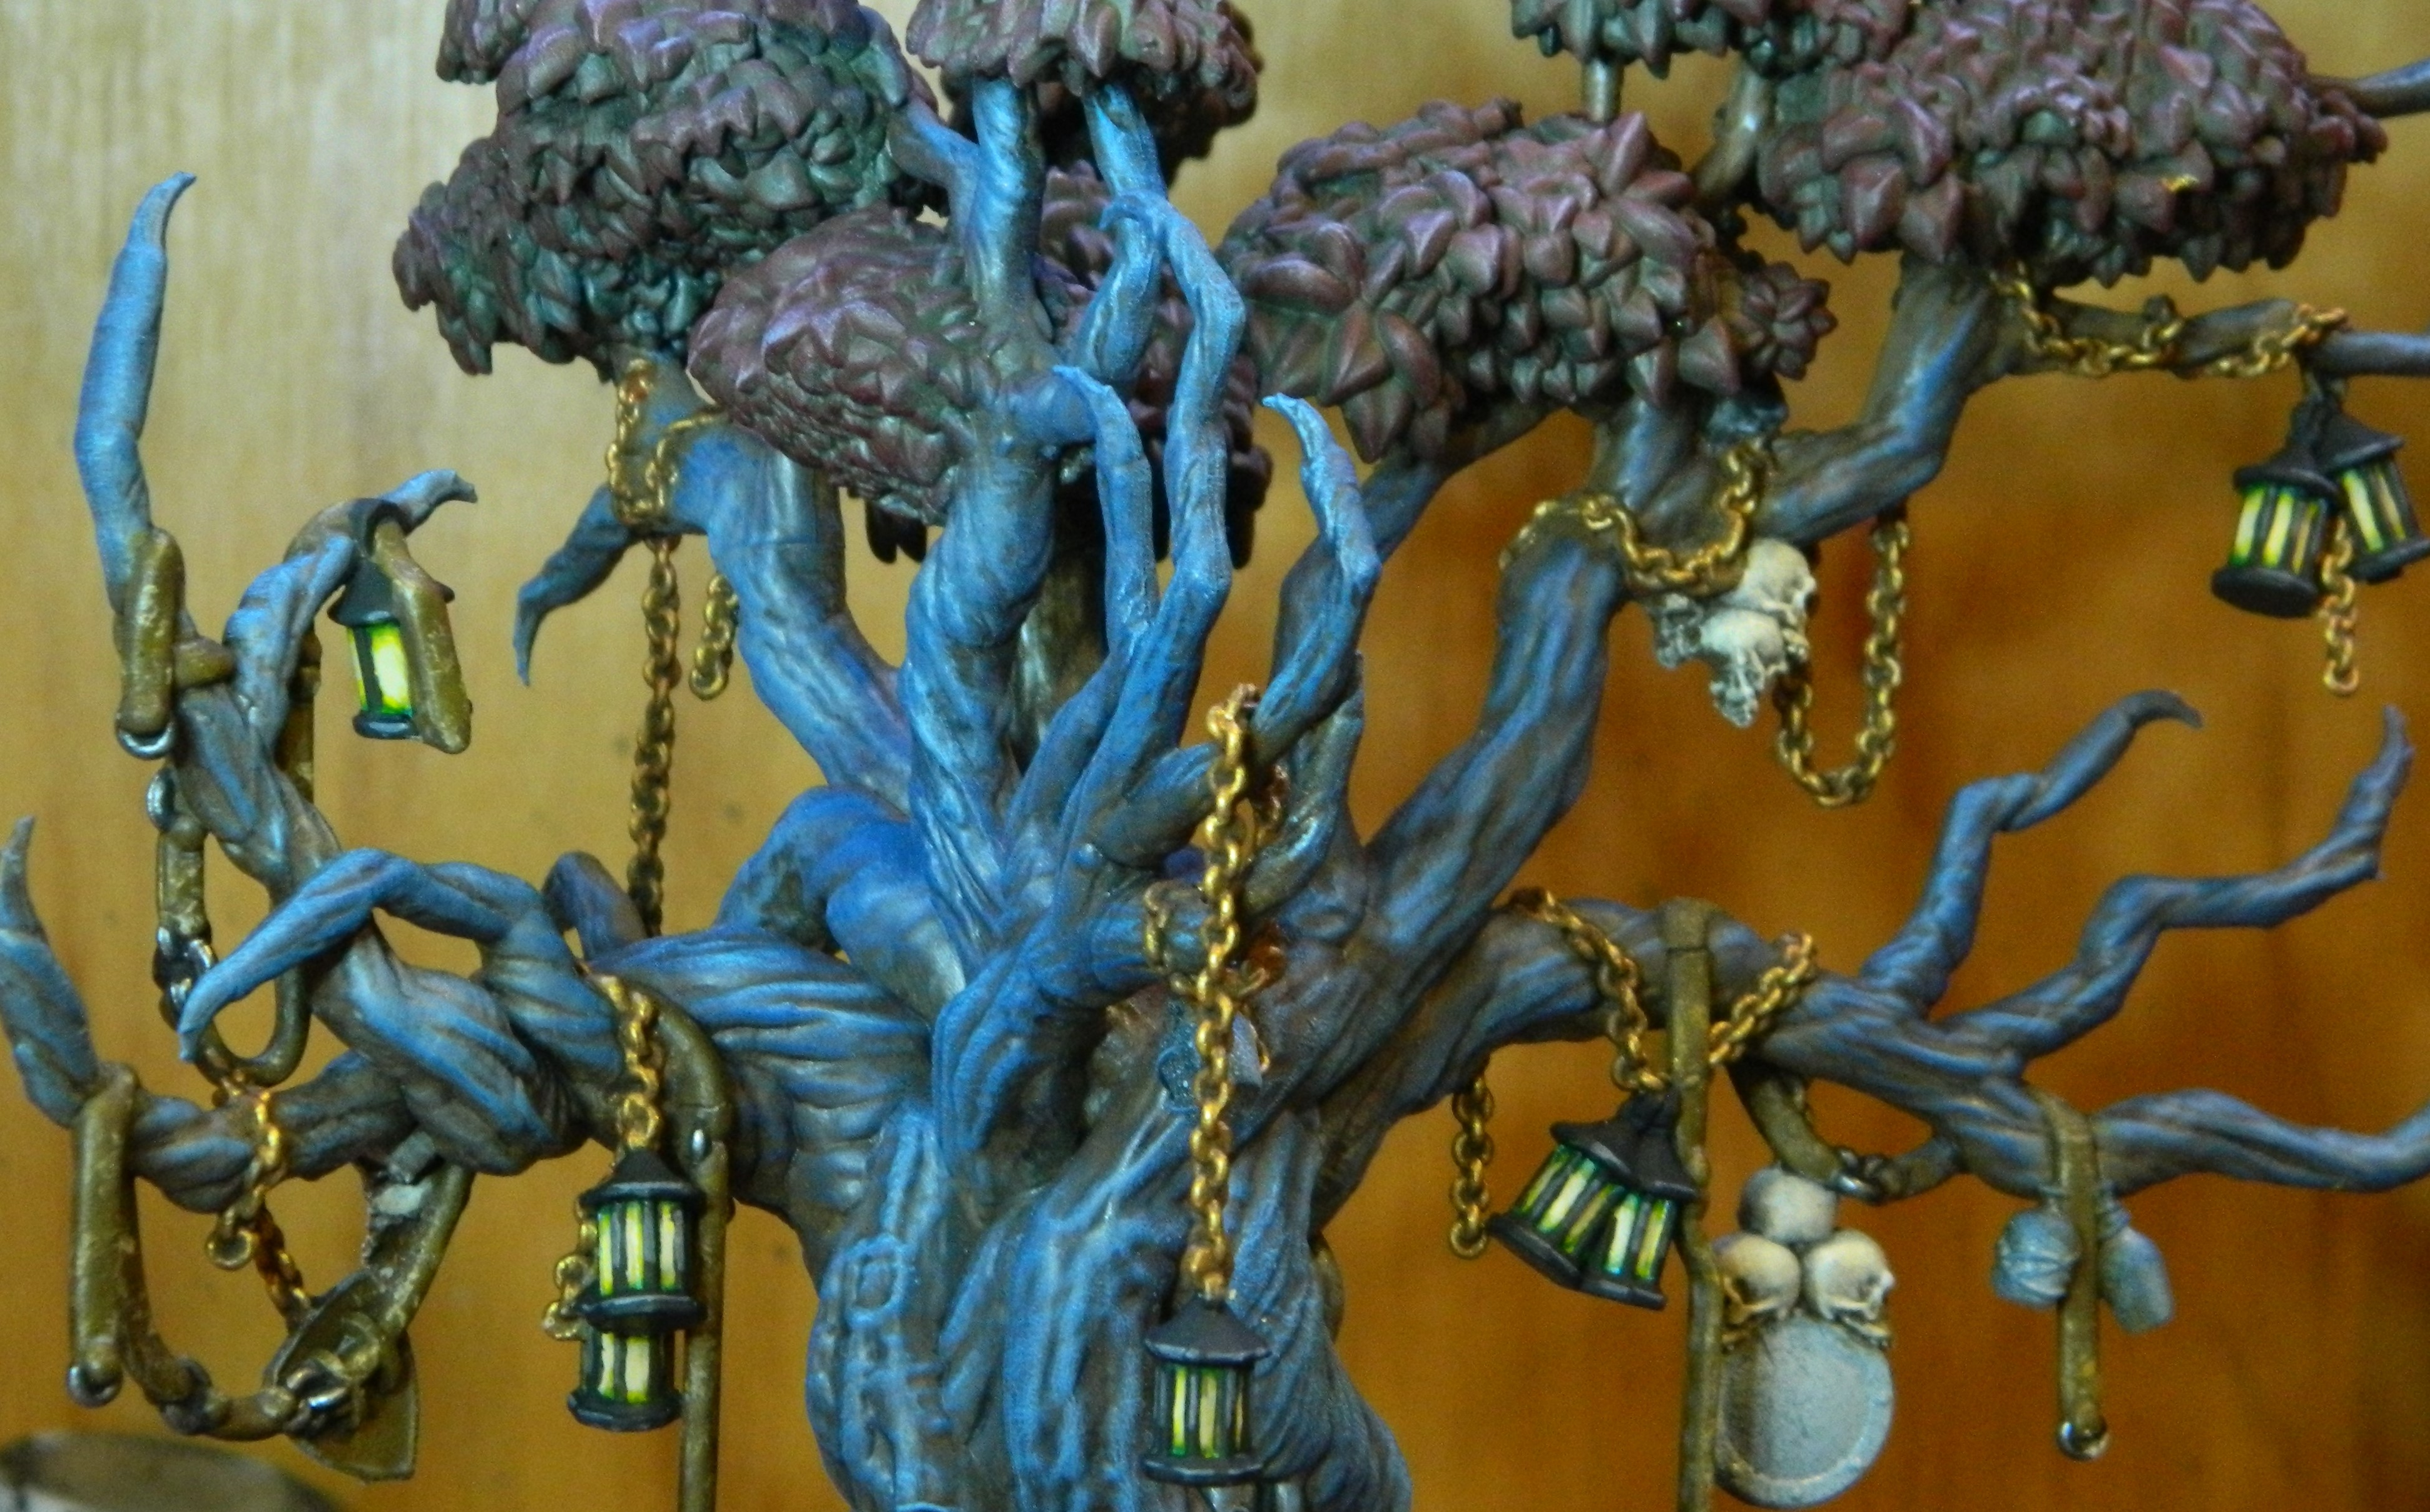 The other side of the tree
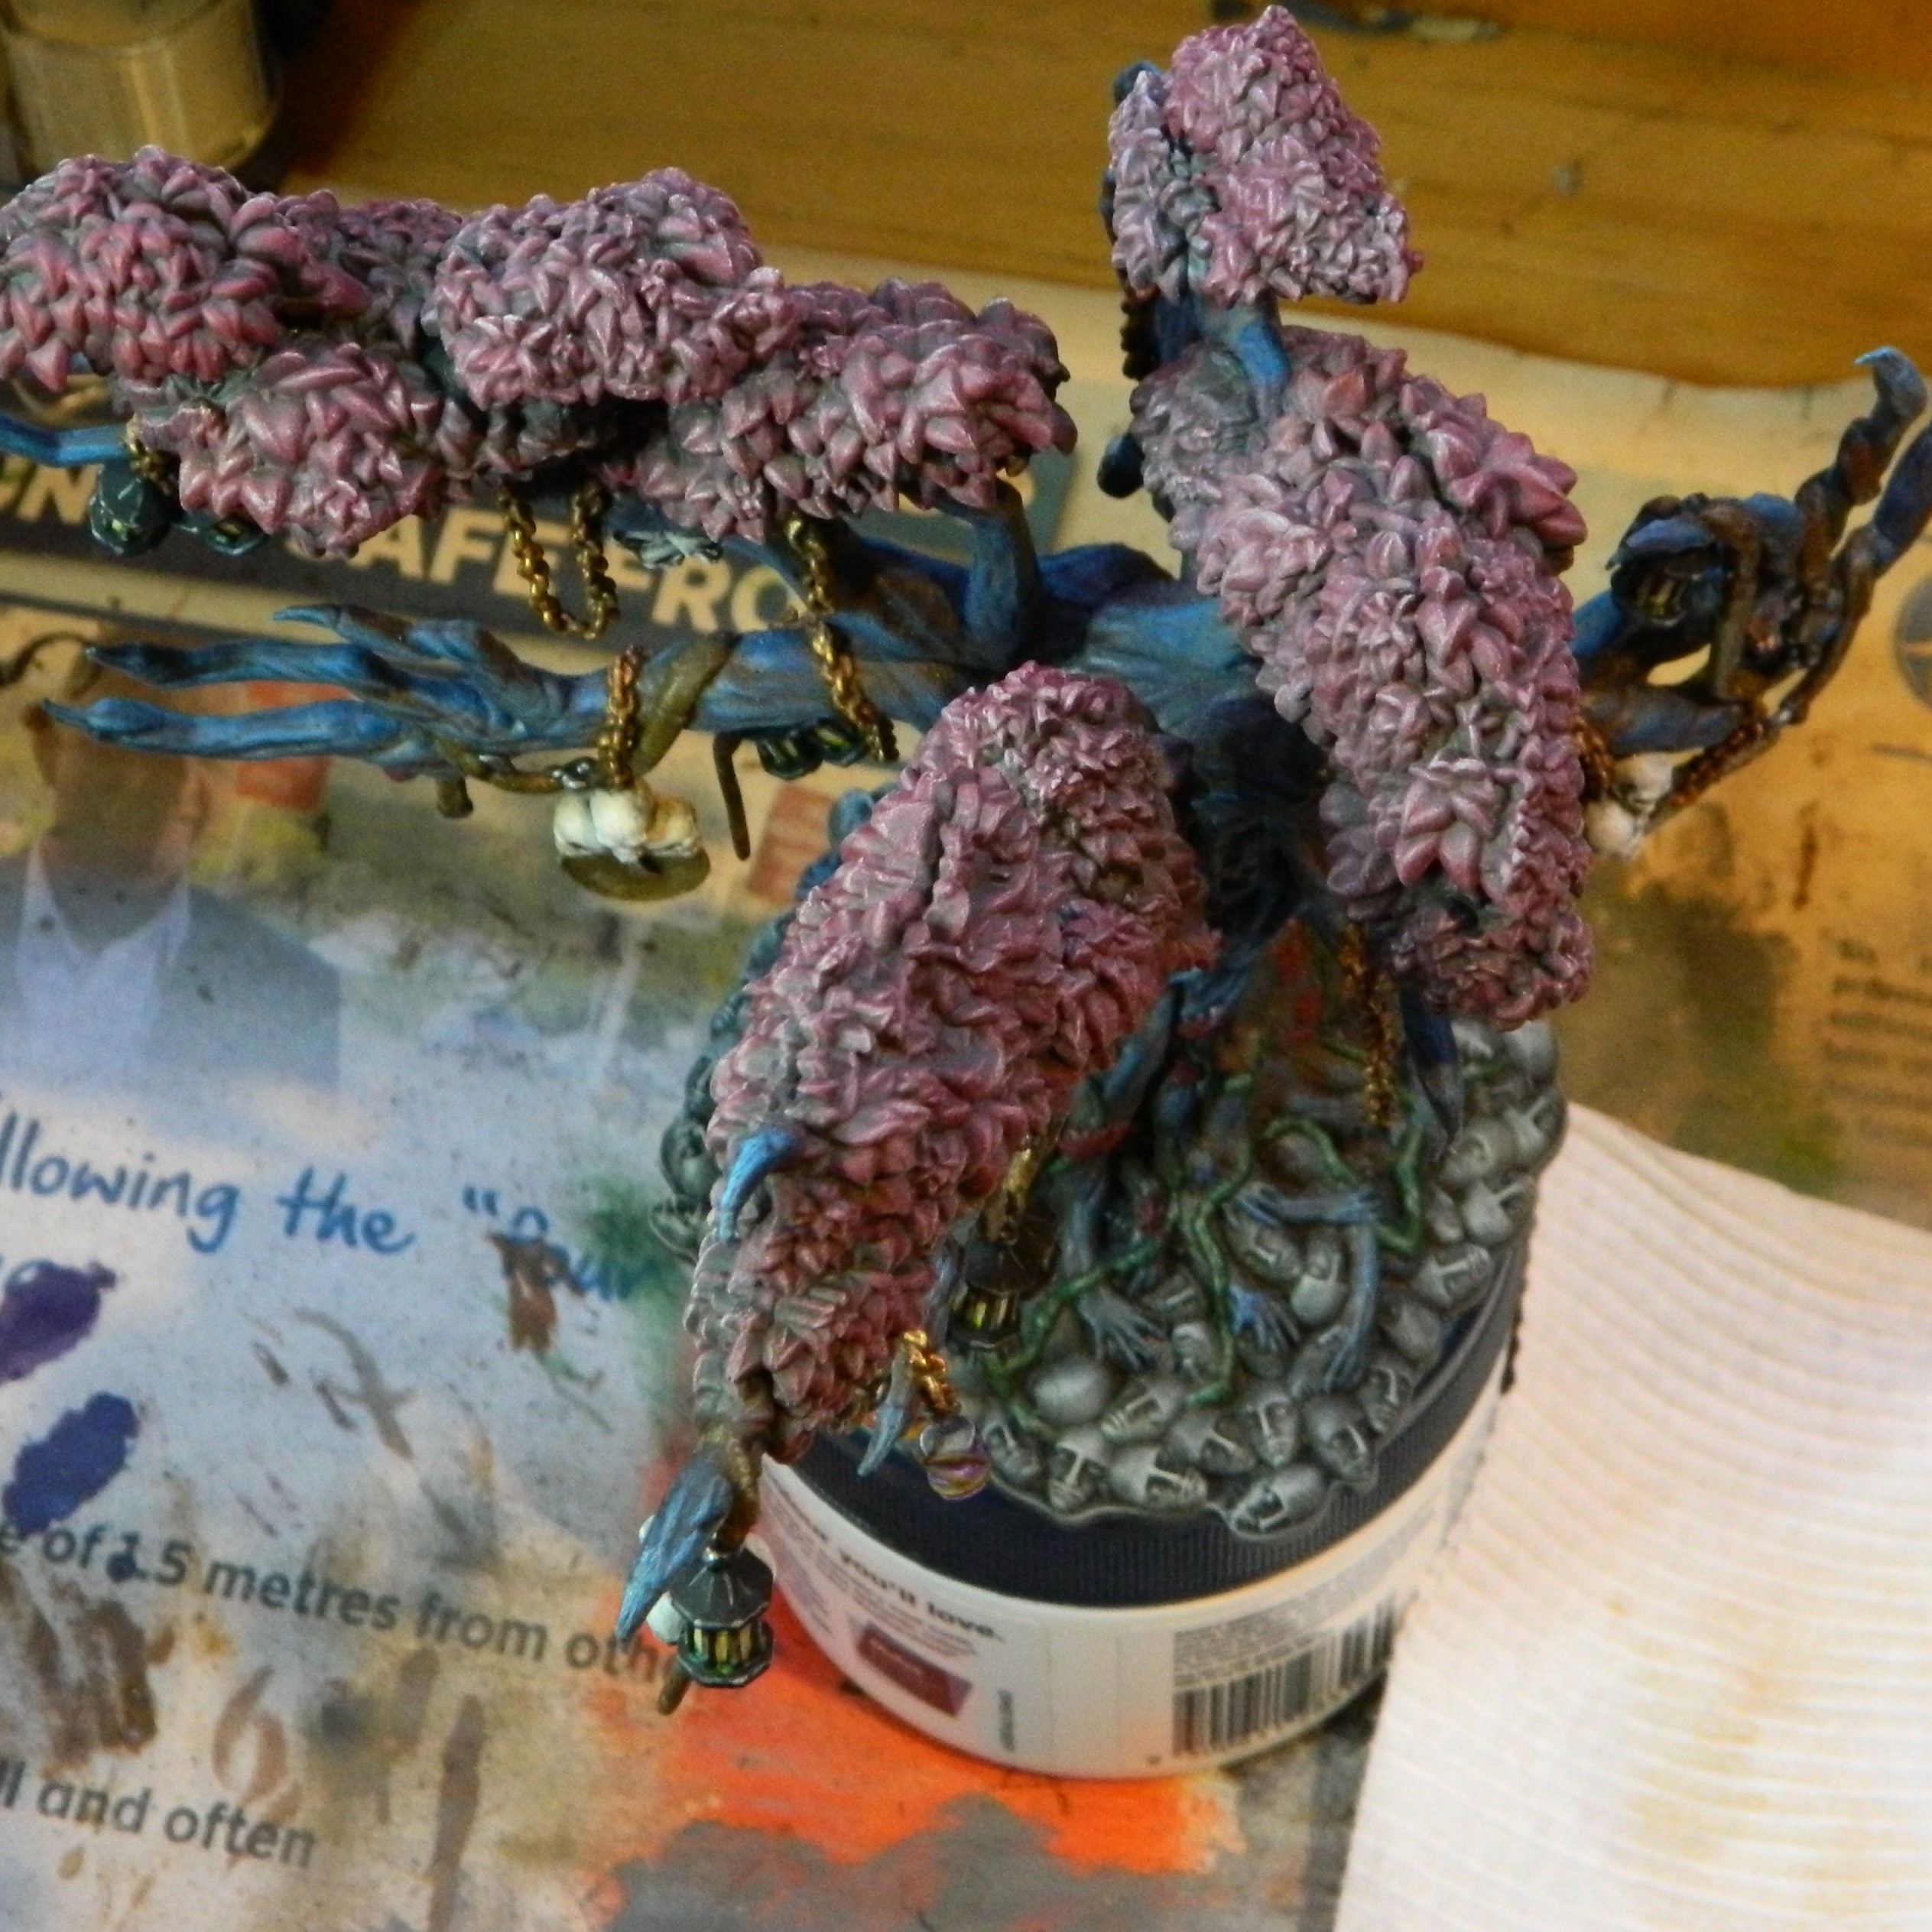
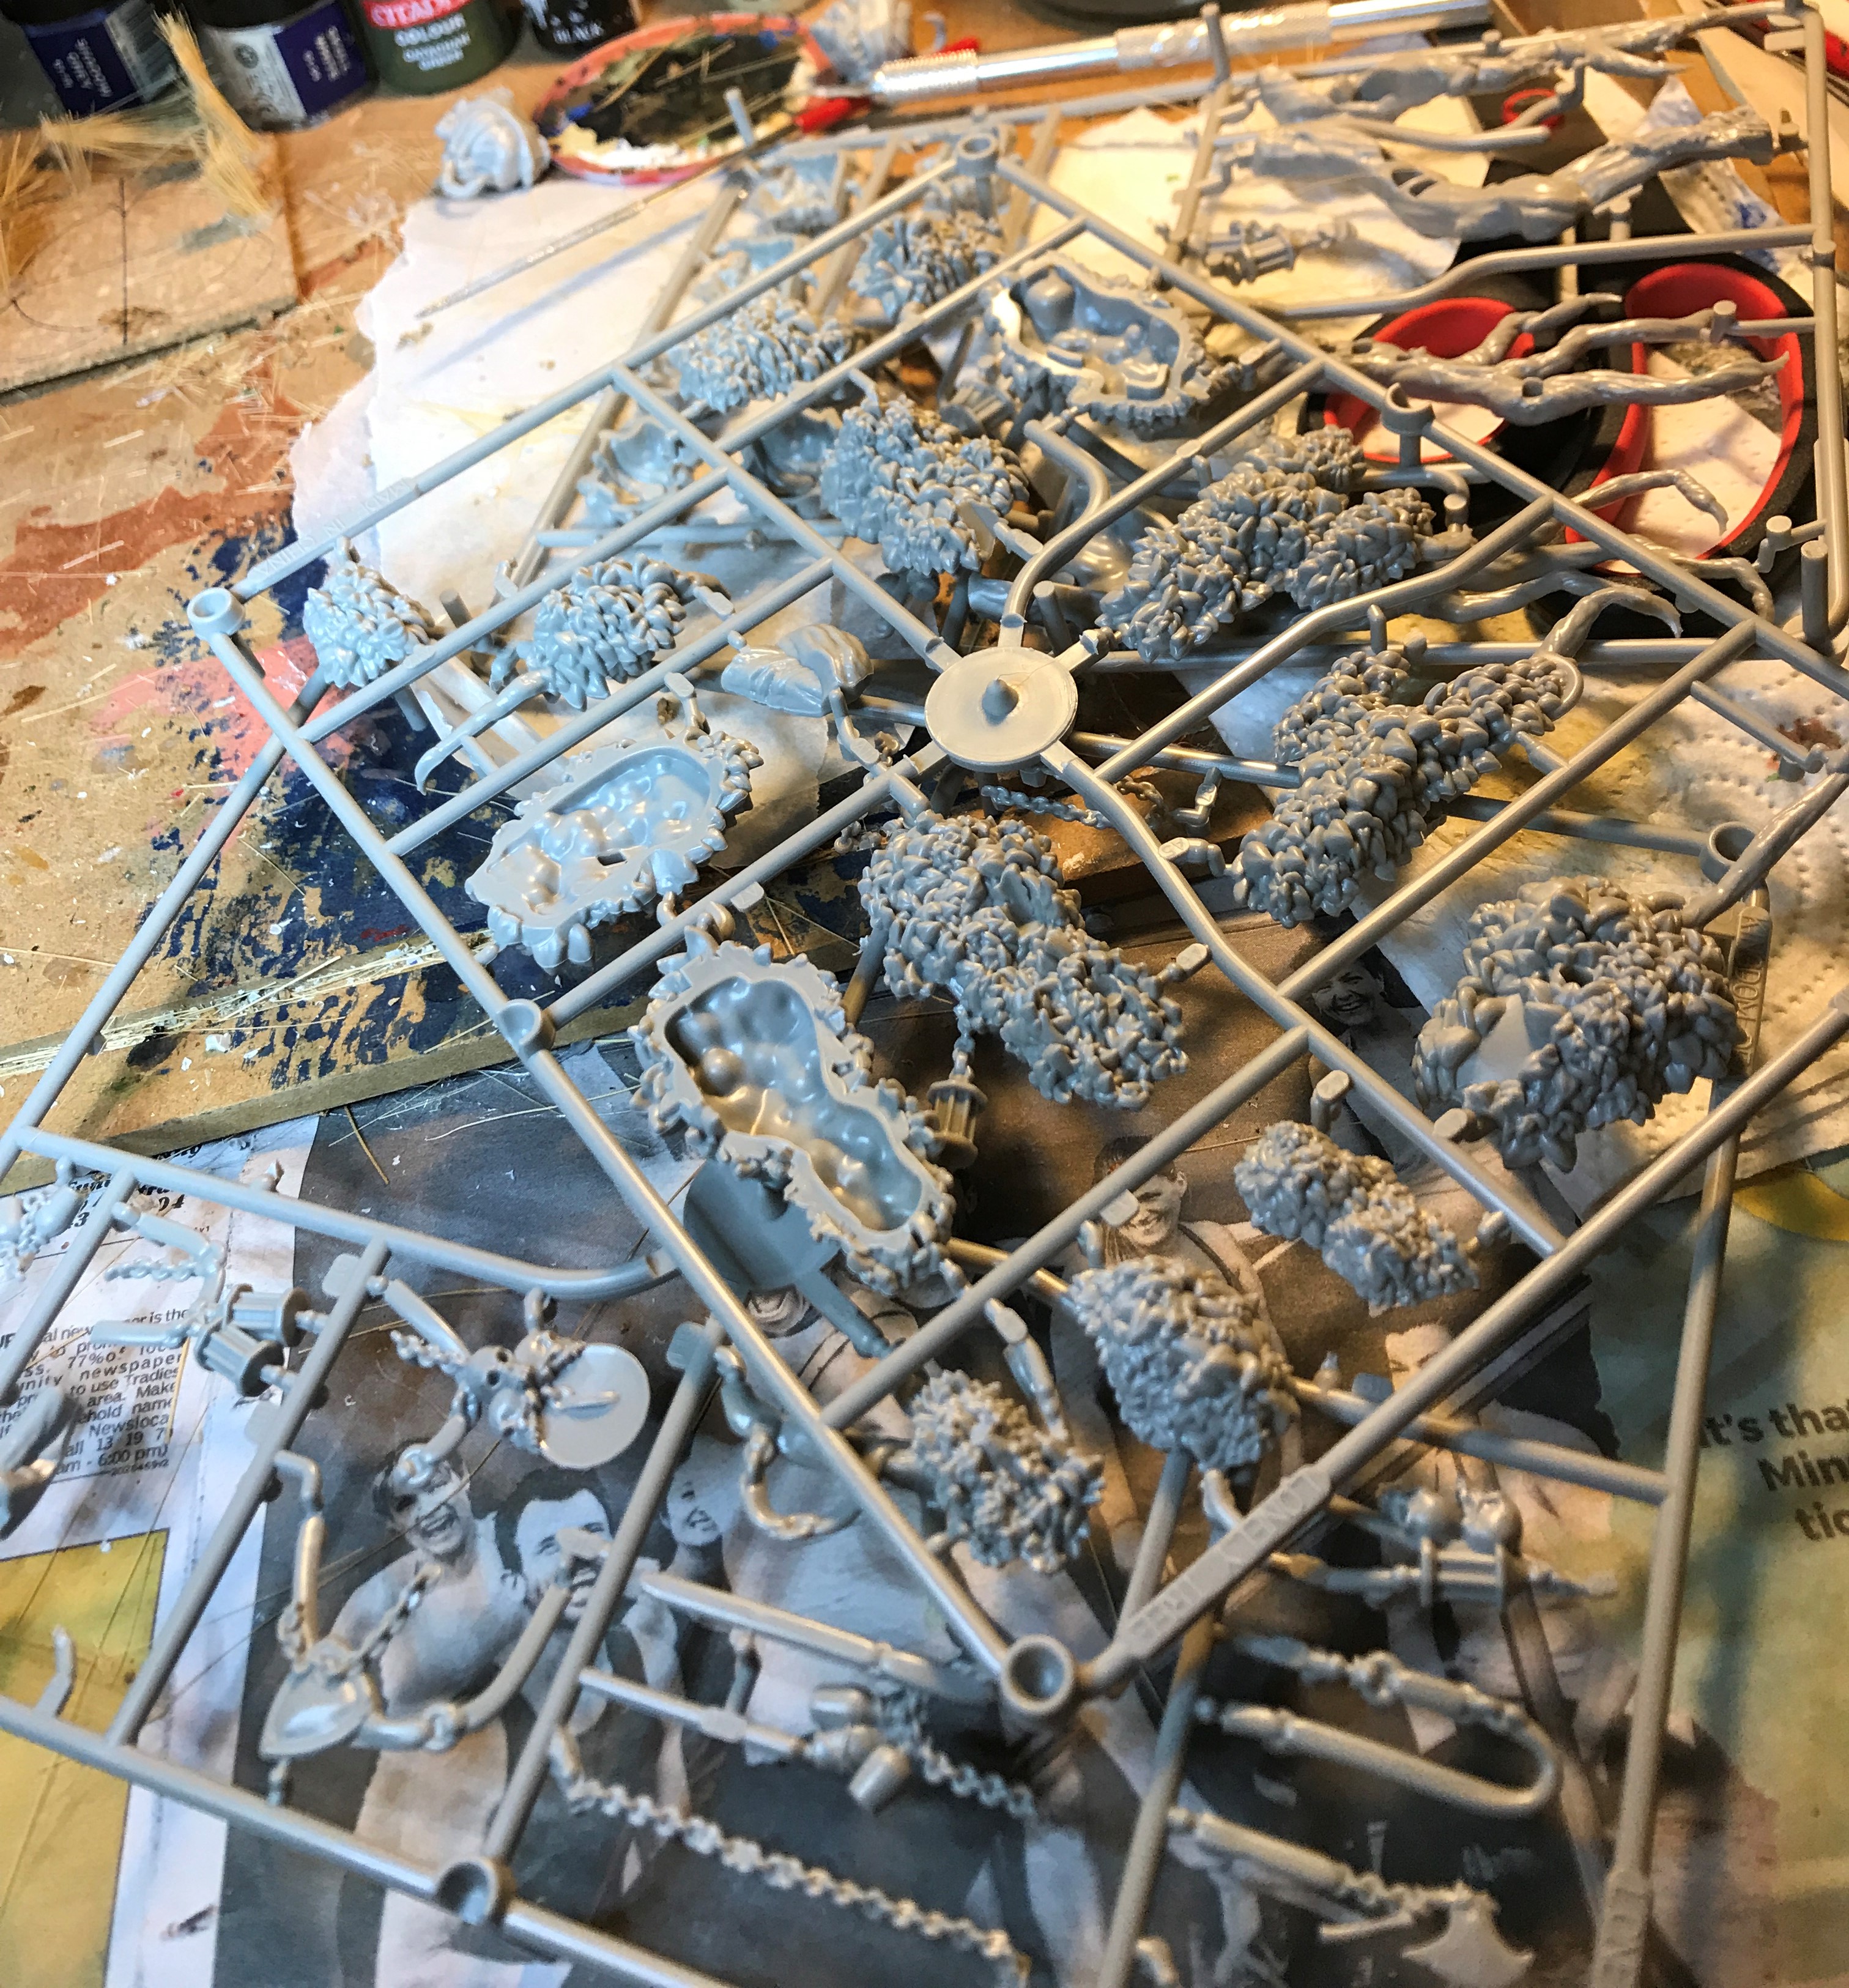
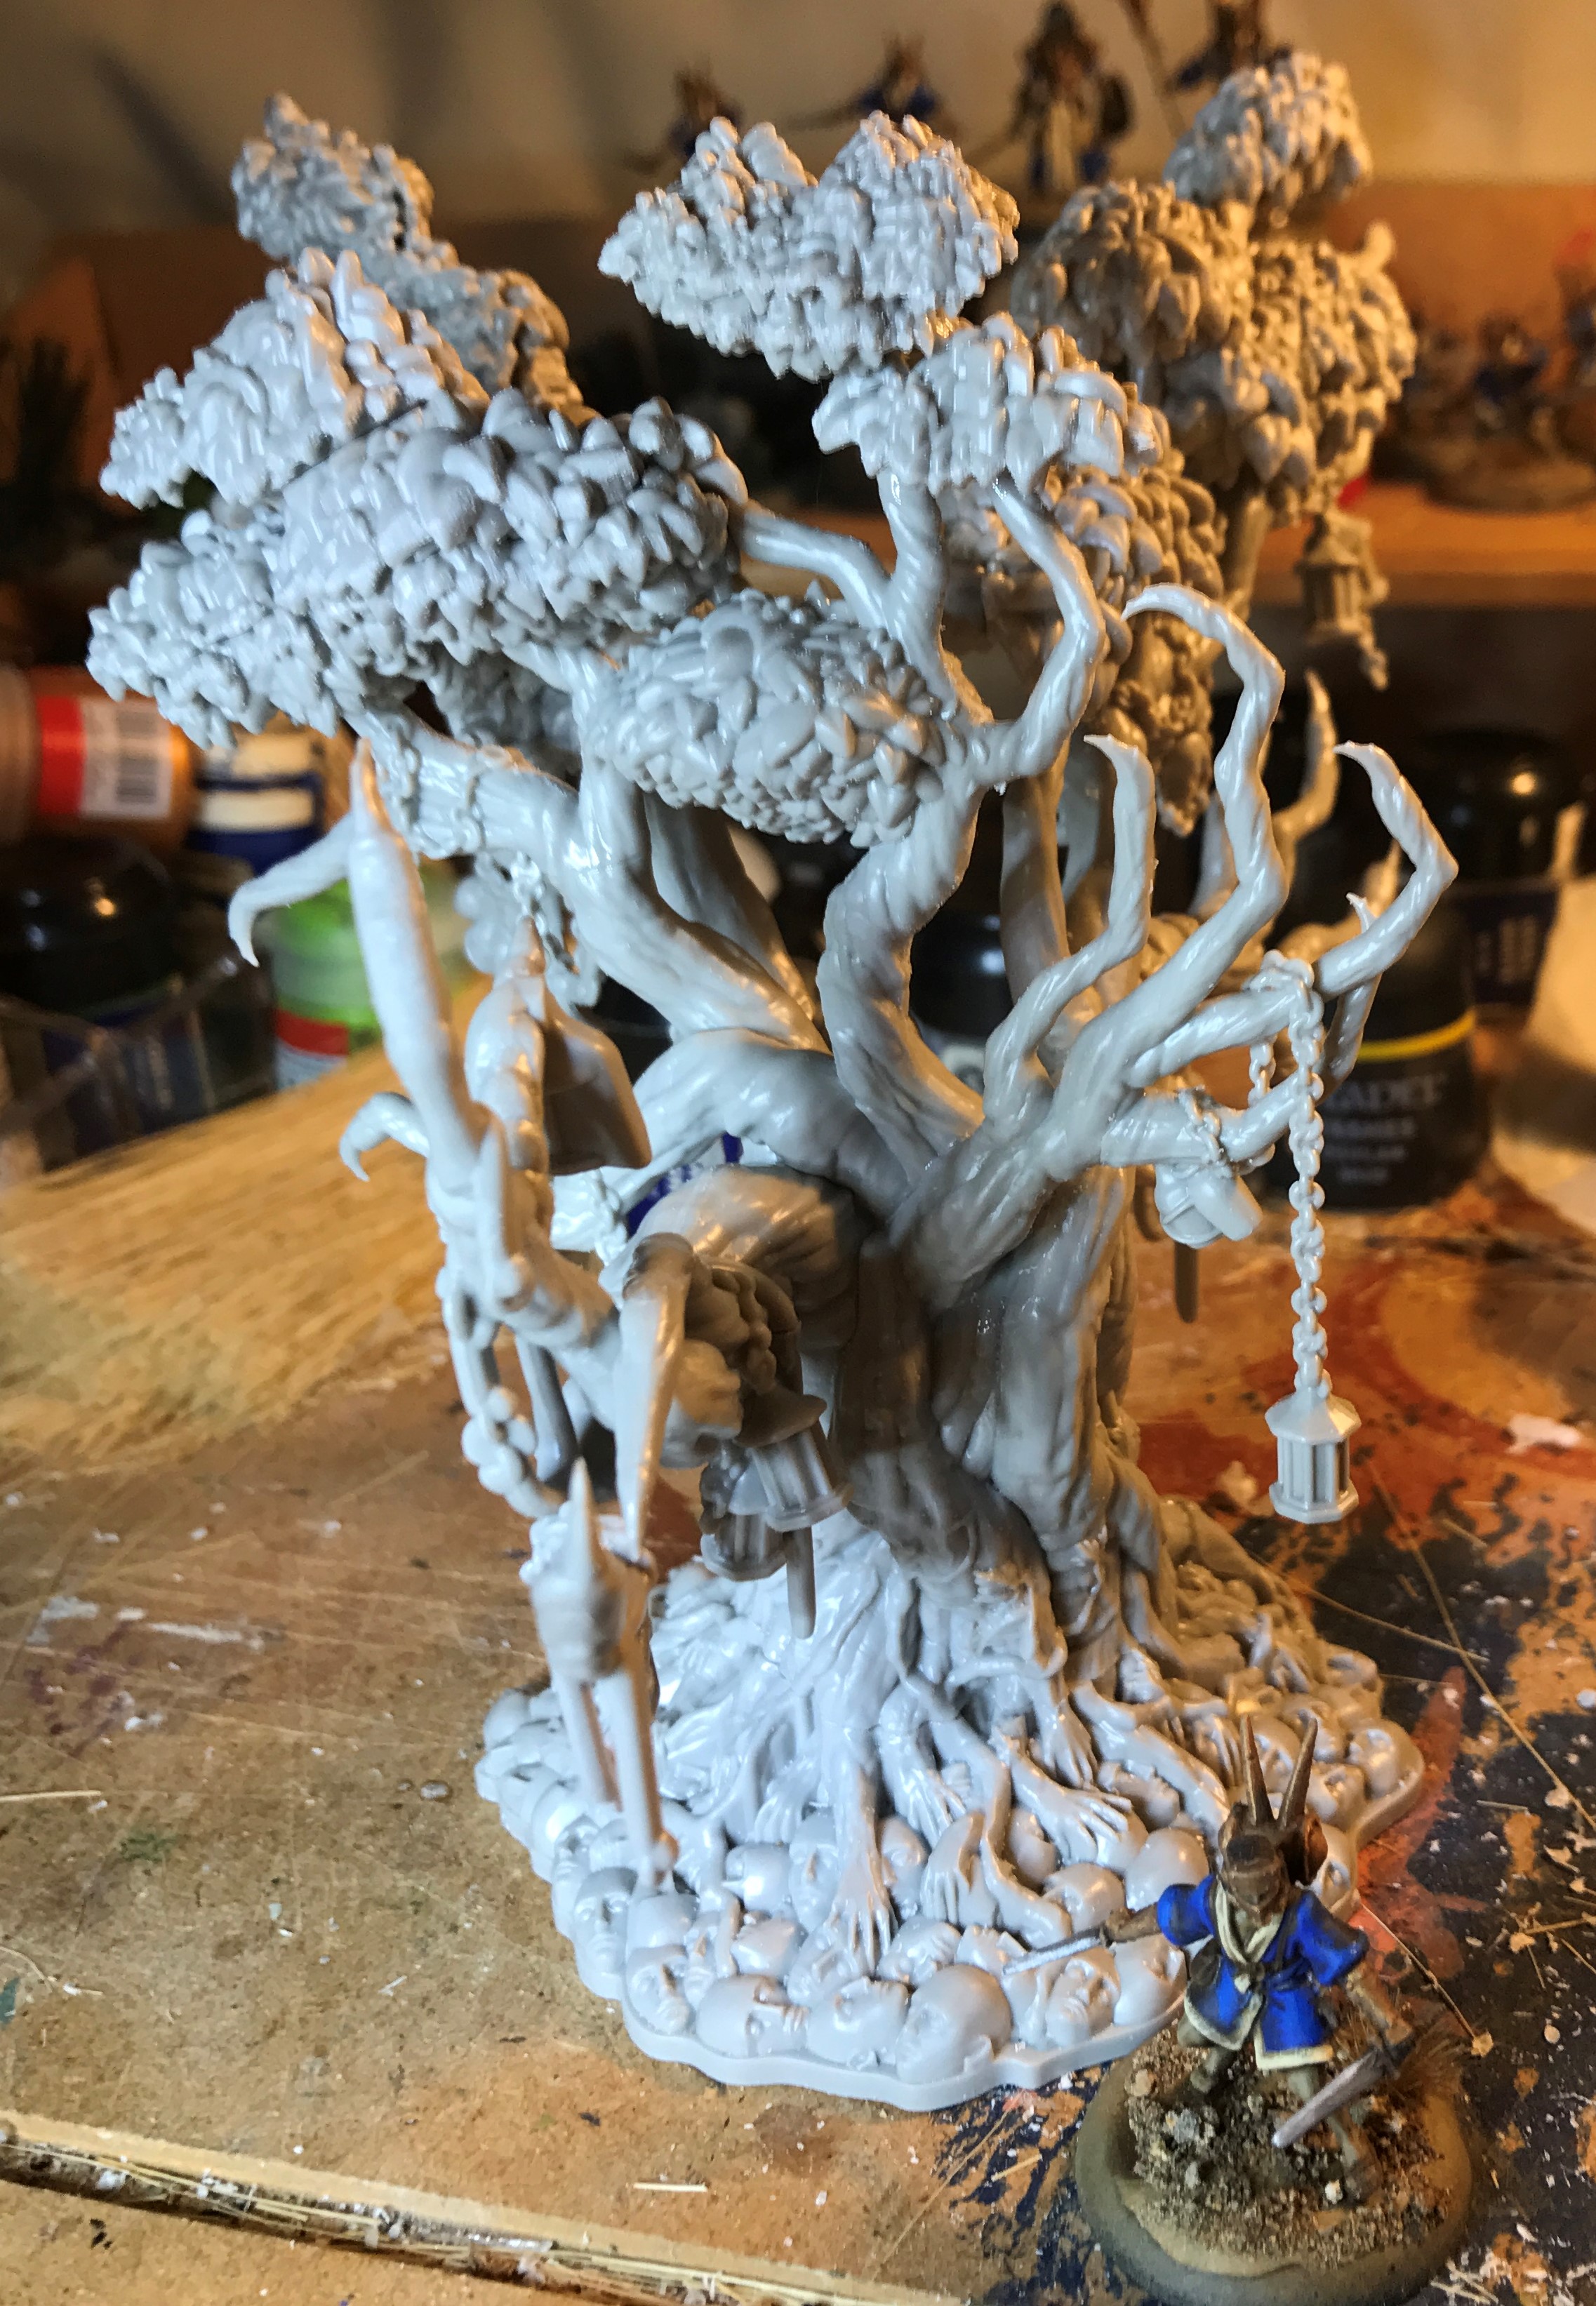
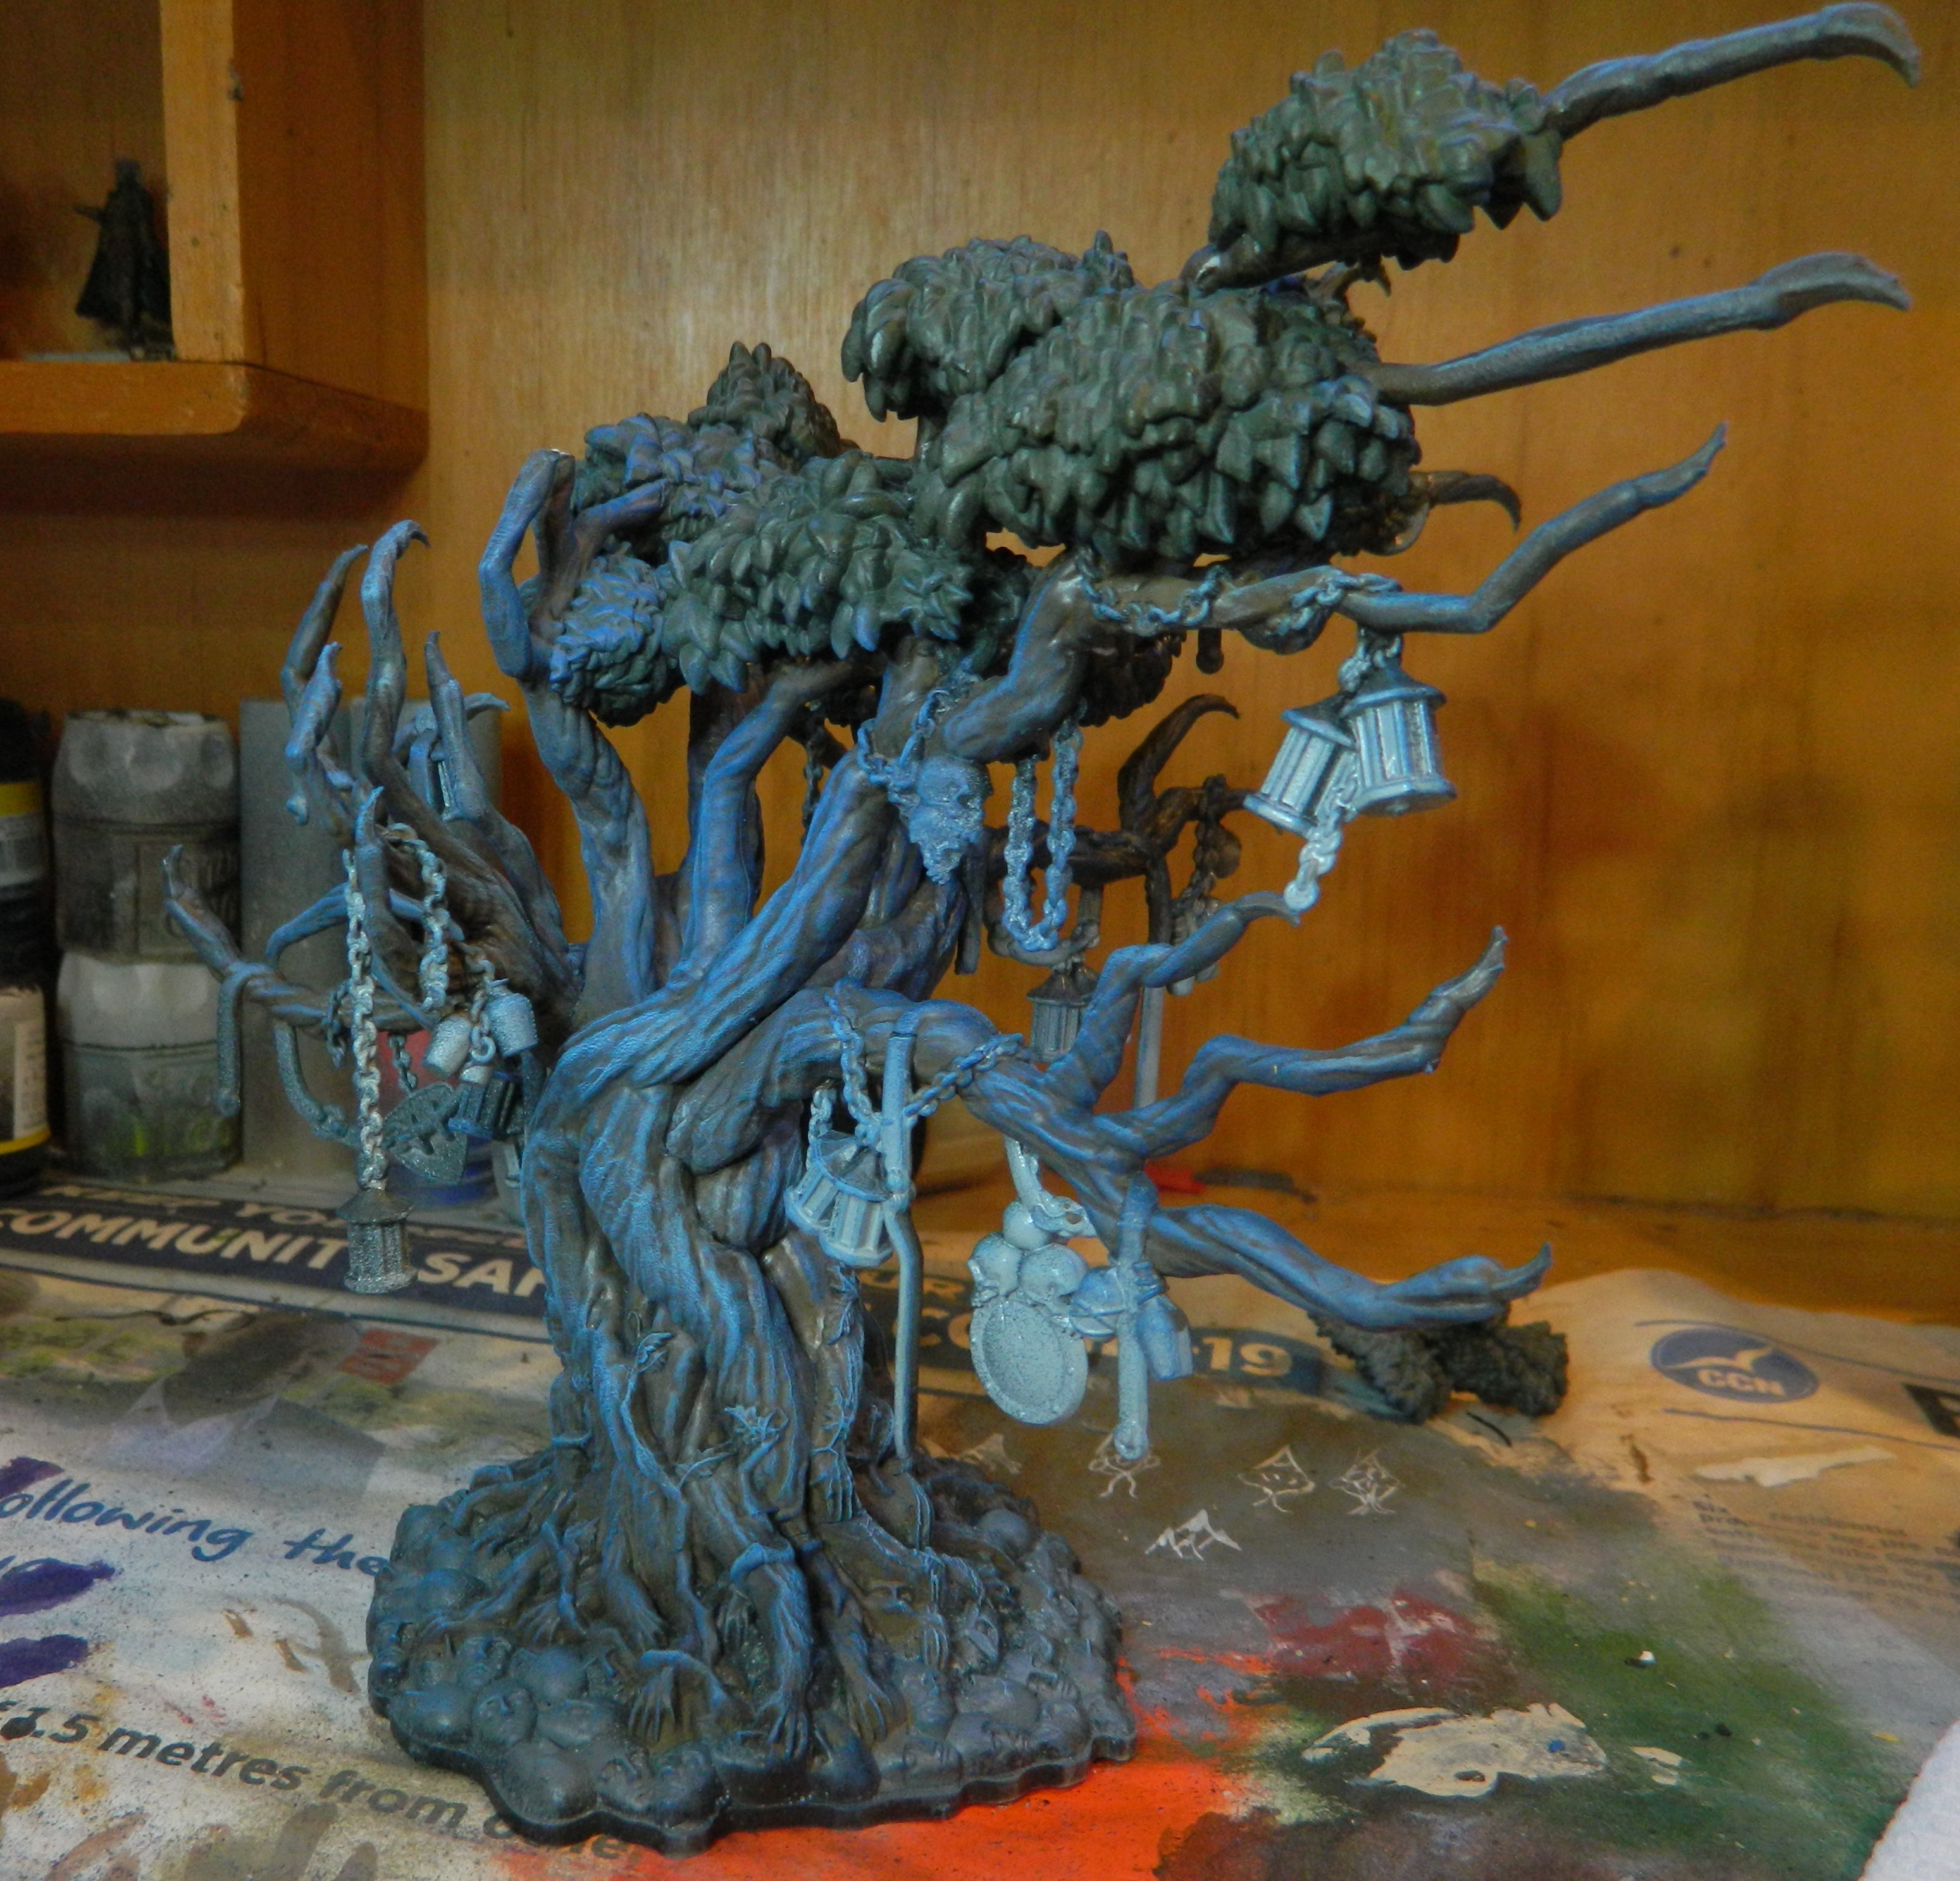
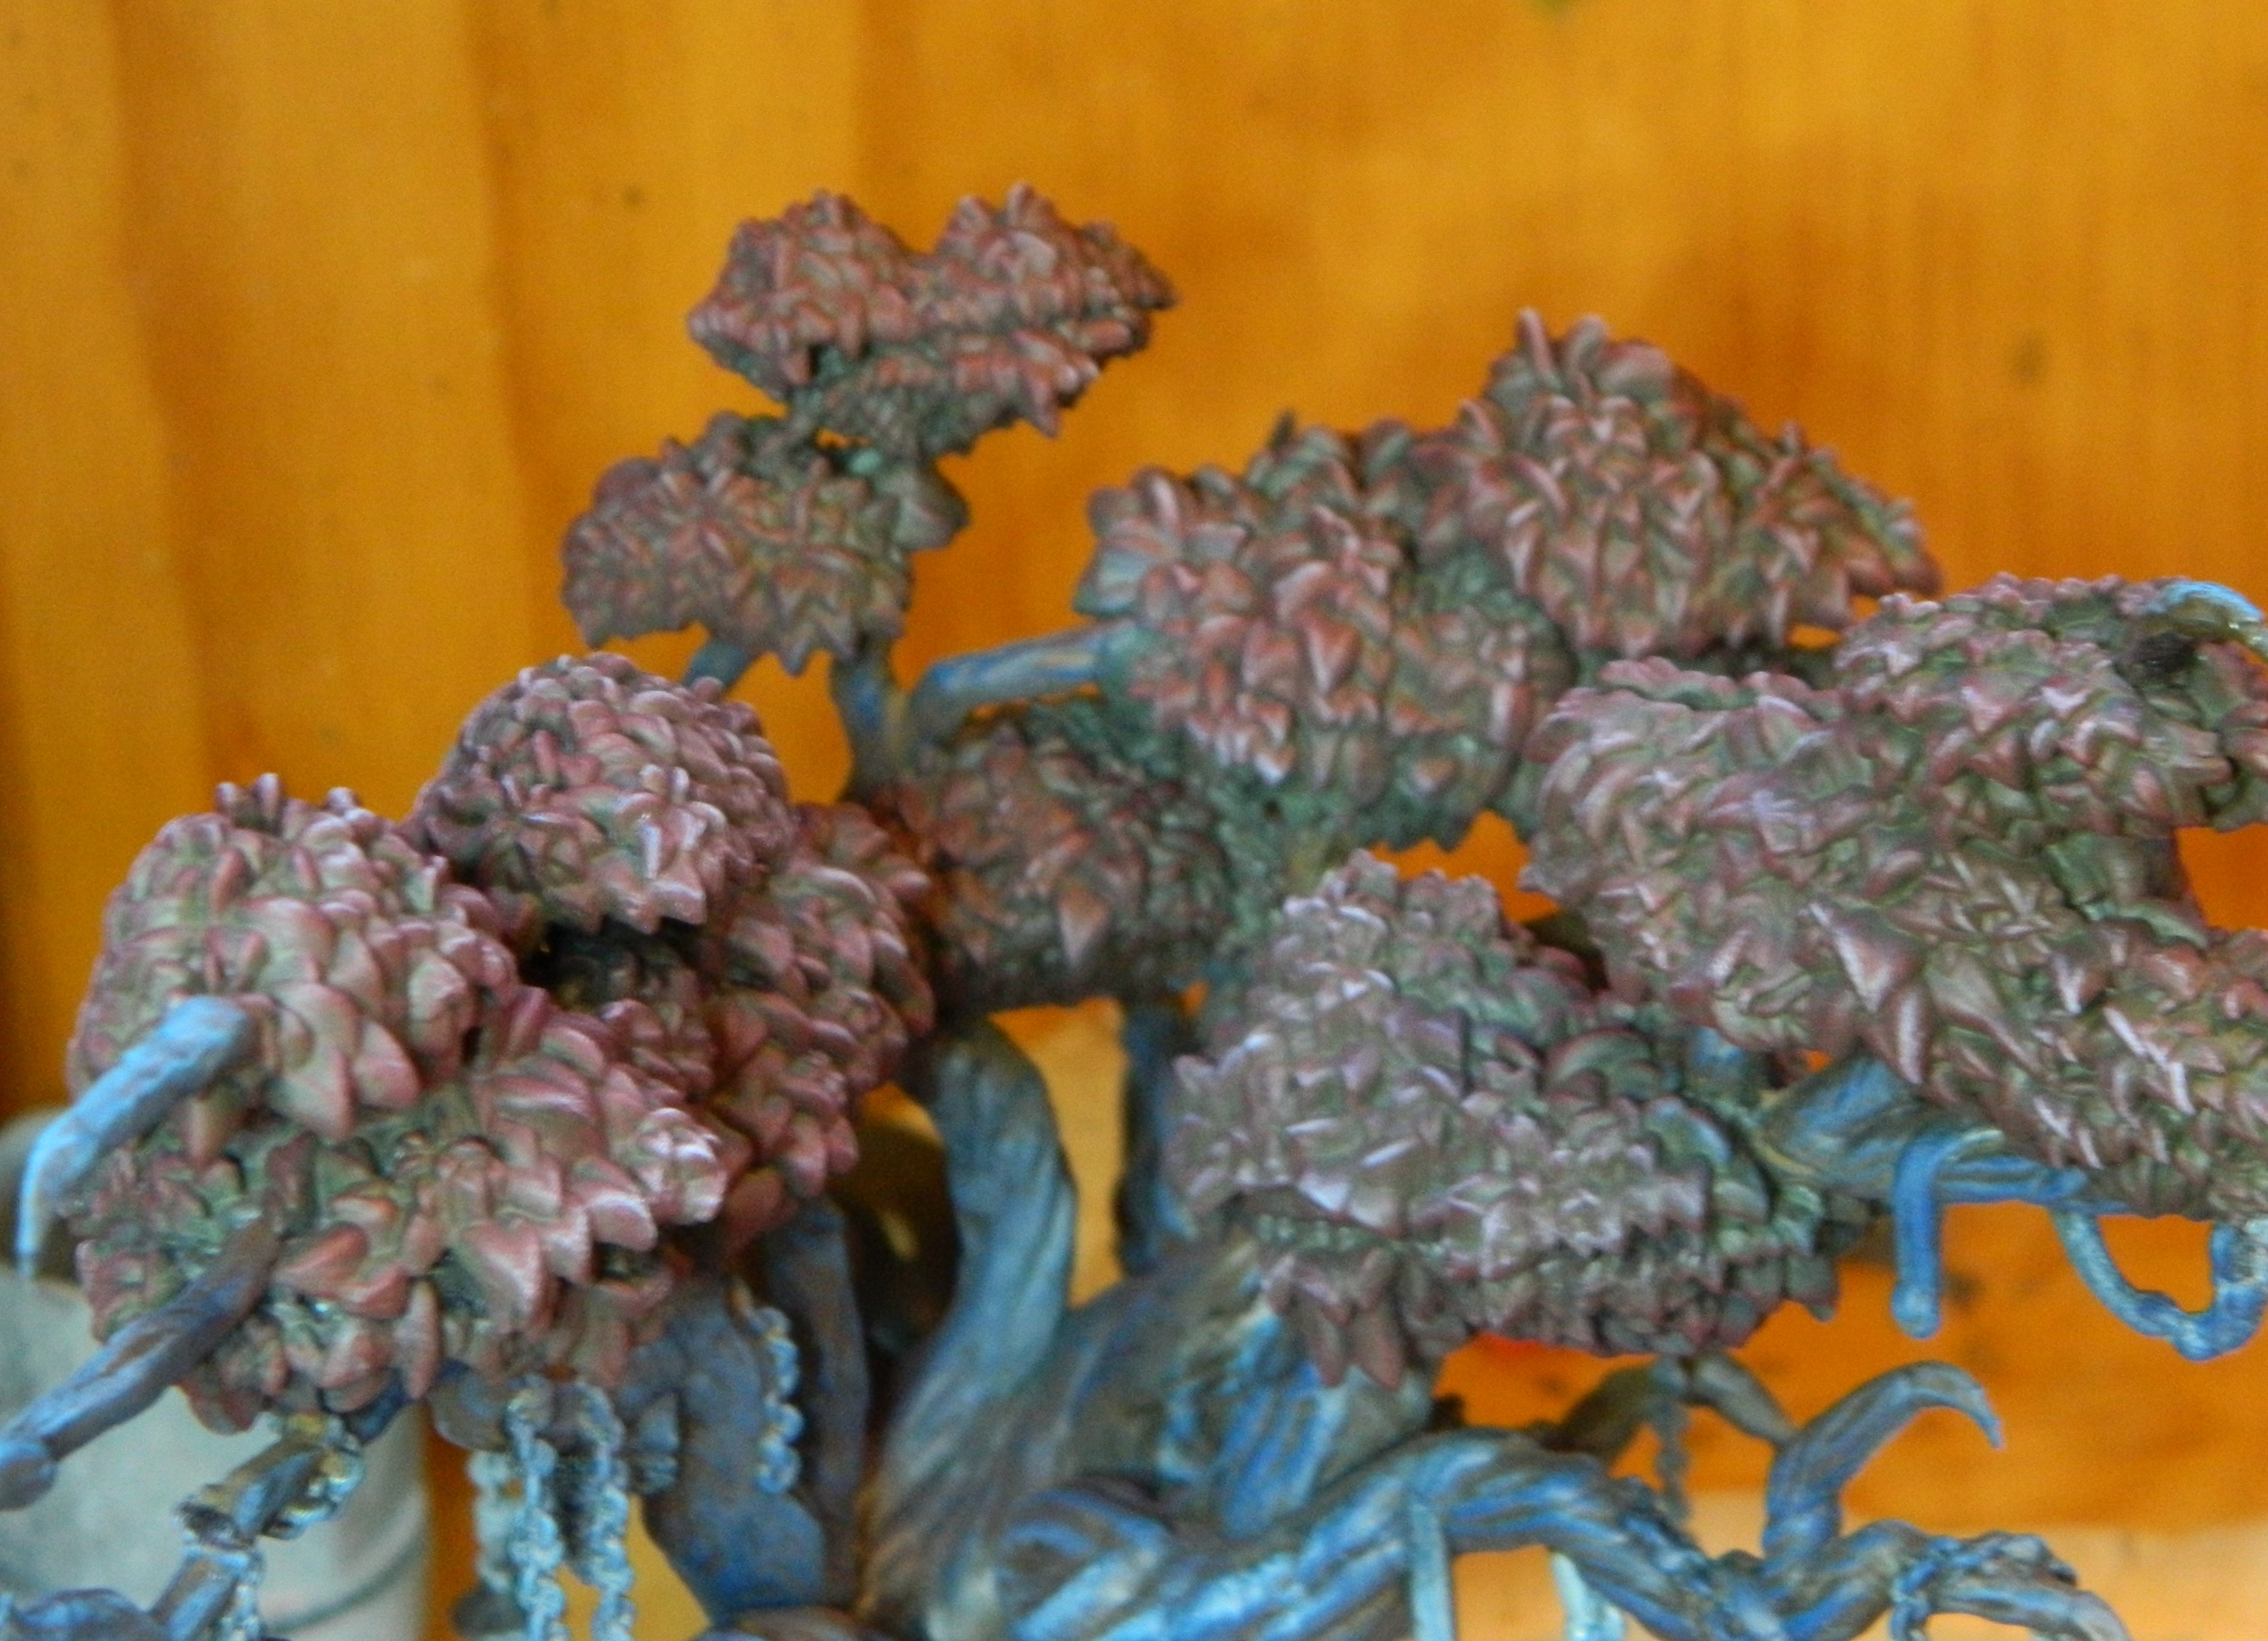
13 July 2017: From a pile of sprue a Lonely Tree grows...


The Lonely Tree
An expansion, a Nemesis enemy, the first official KD terrain for the game. This tree made me want to make more terrain for the game.
The inital build was somewhat complex but went together relatively well.
At some point I did start painting this piece. I primed it black, with a grey zenith prime. I also sprayed bright spots where the lanterns would have been shining, in preparation for OSL.
Later the trunk was painted brown, Vallejo German Camo I think. The canopy got a dark green, I can’t recall what colour. The trunk also got a wash with some kind of ink or brown wash. Army Painter tone maybe??
Anyway, the point is: a brown tree with green leaves is BORING. Not to mention inaccurate, uninspired, and not Kingdom-Death-y enough!
I left it sit, not wanting to finish it. Until…
30 Dec 21: A sinister tree in the dark...
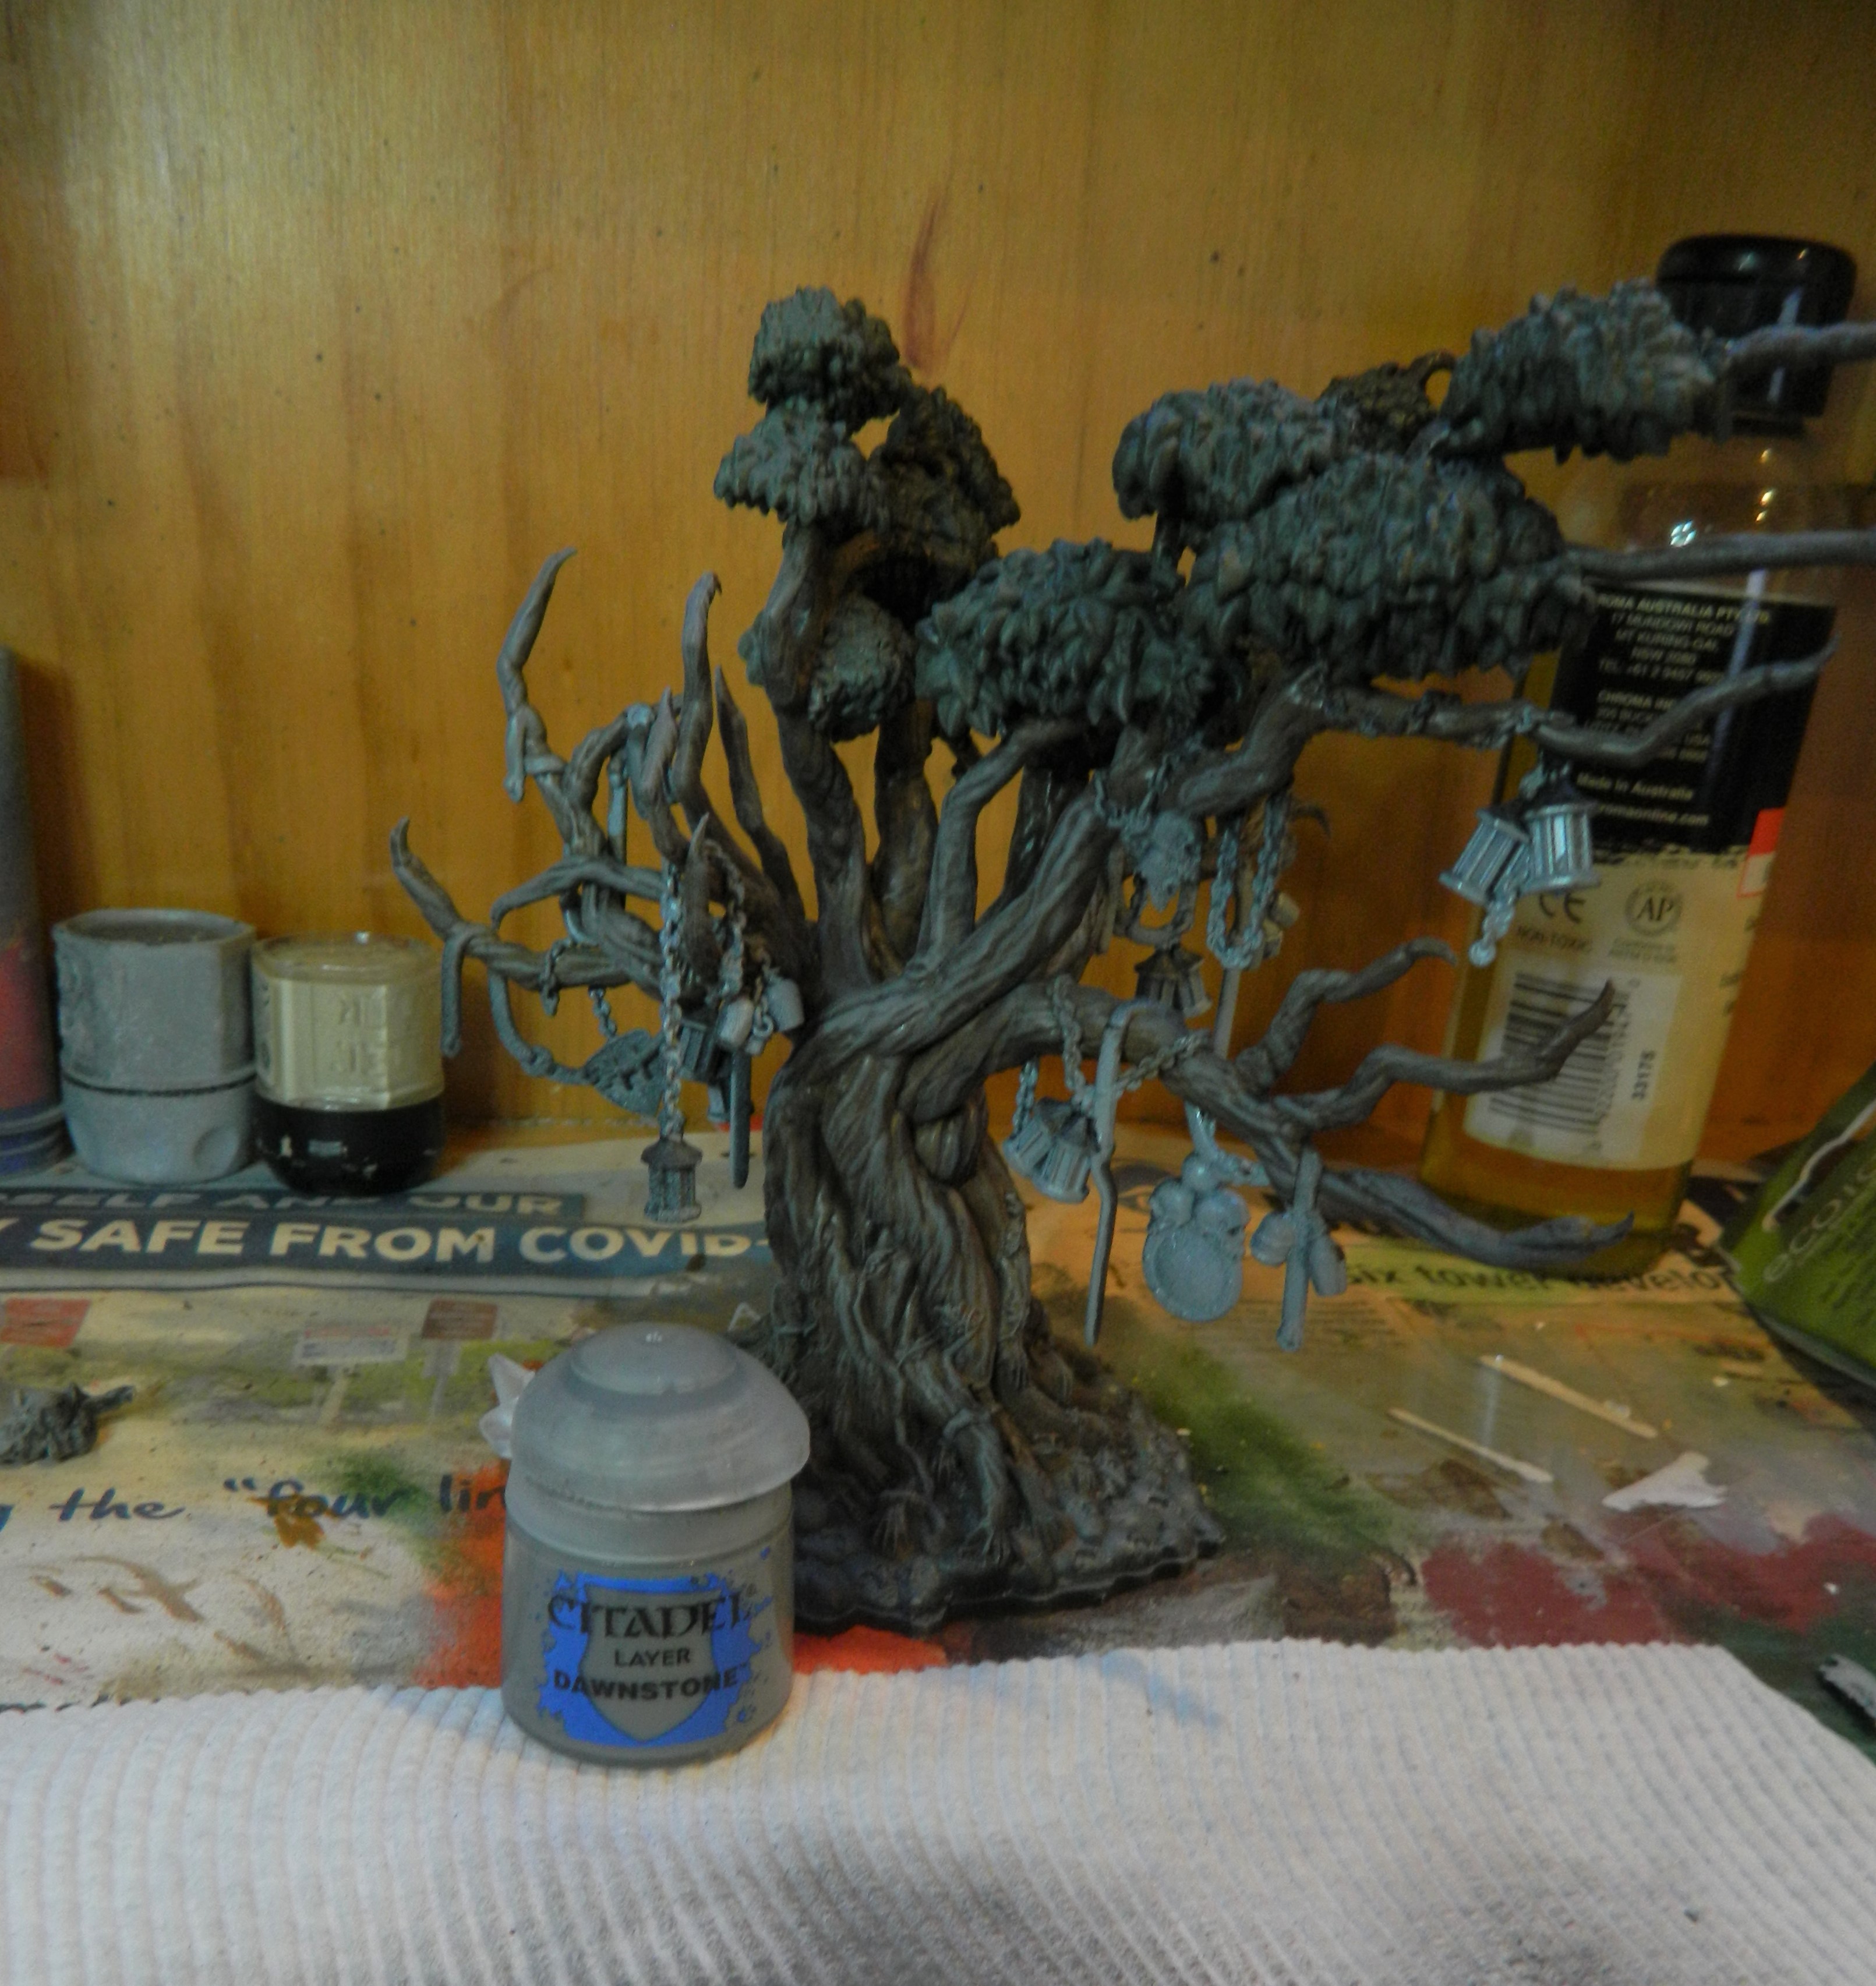 Dawnstone grey drybrush. Some trees are grey... let's try that
A combination of wanting to get it off the incomplete list, wanting to use it in KD and other games, and wanting to try drybrushing with a make-up brush got me to get this one down to the paint table.
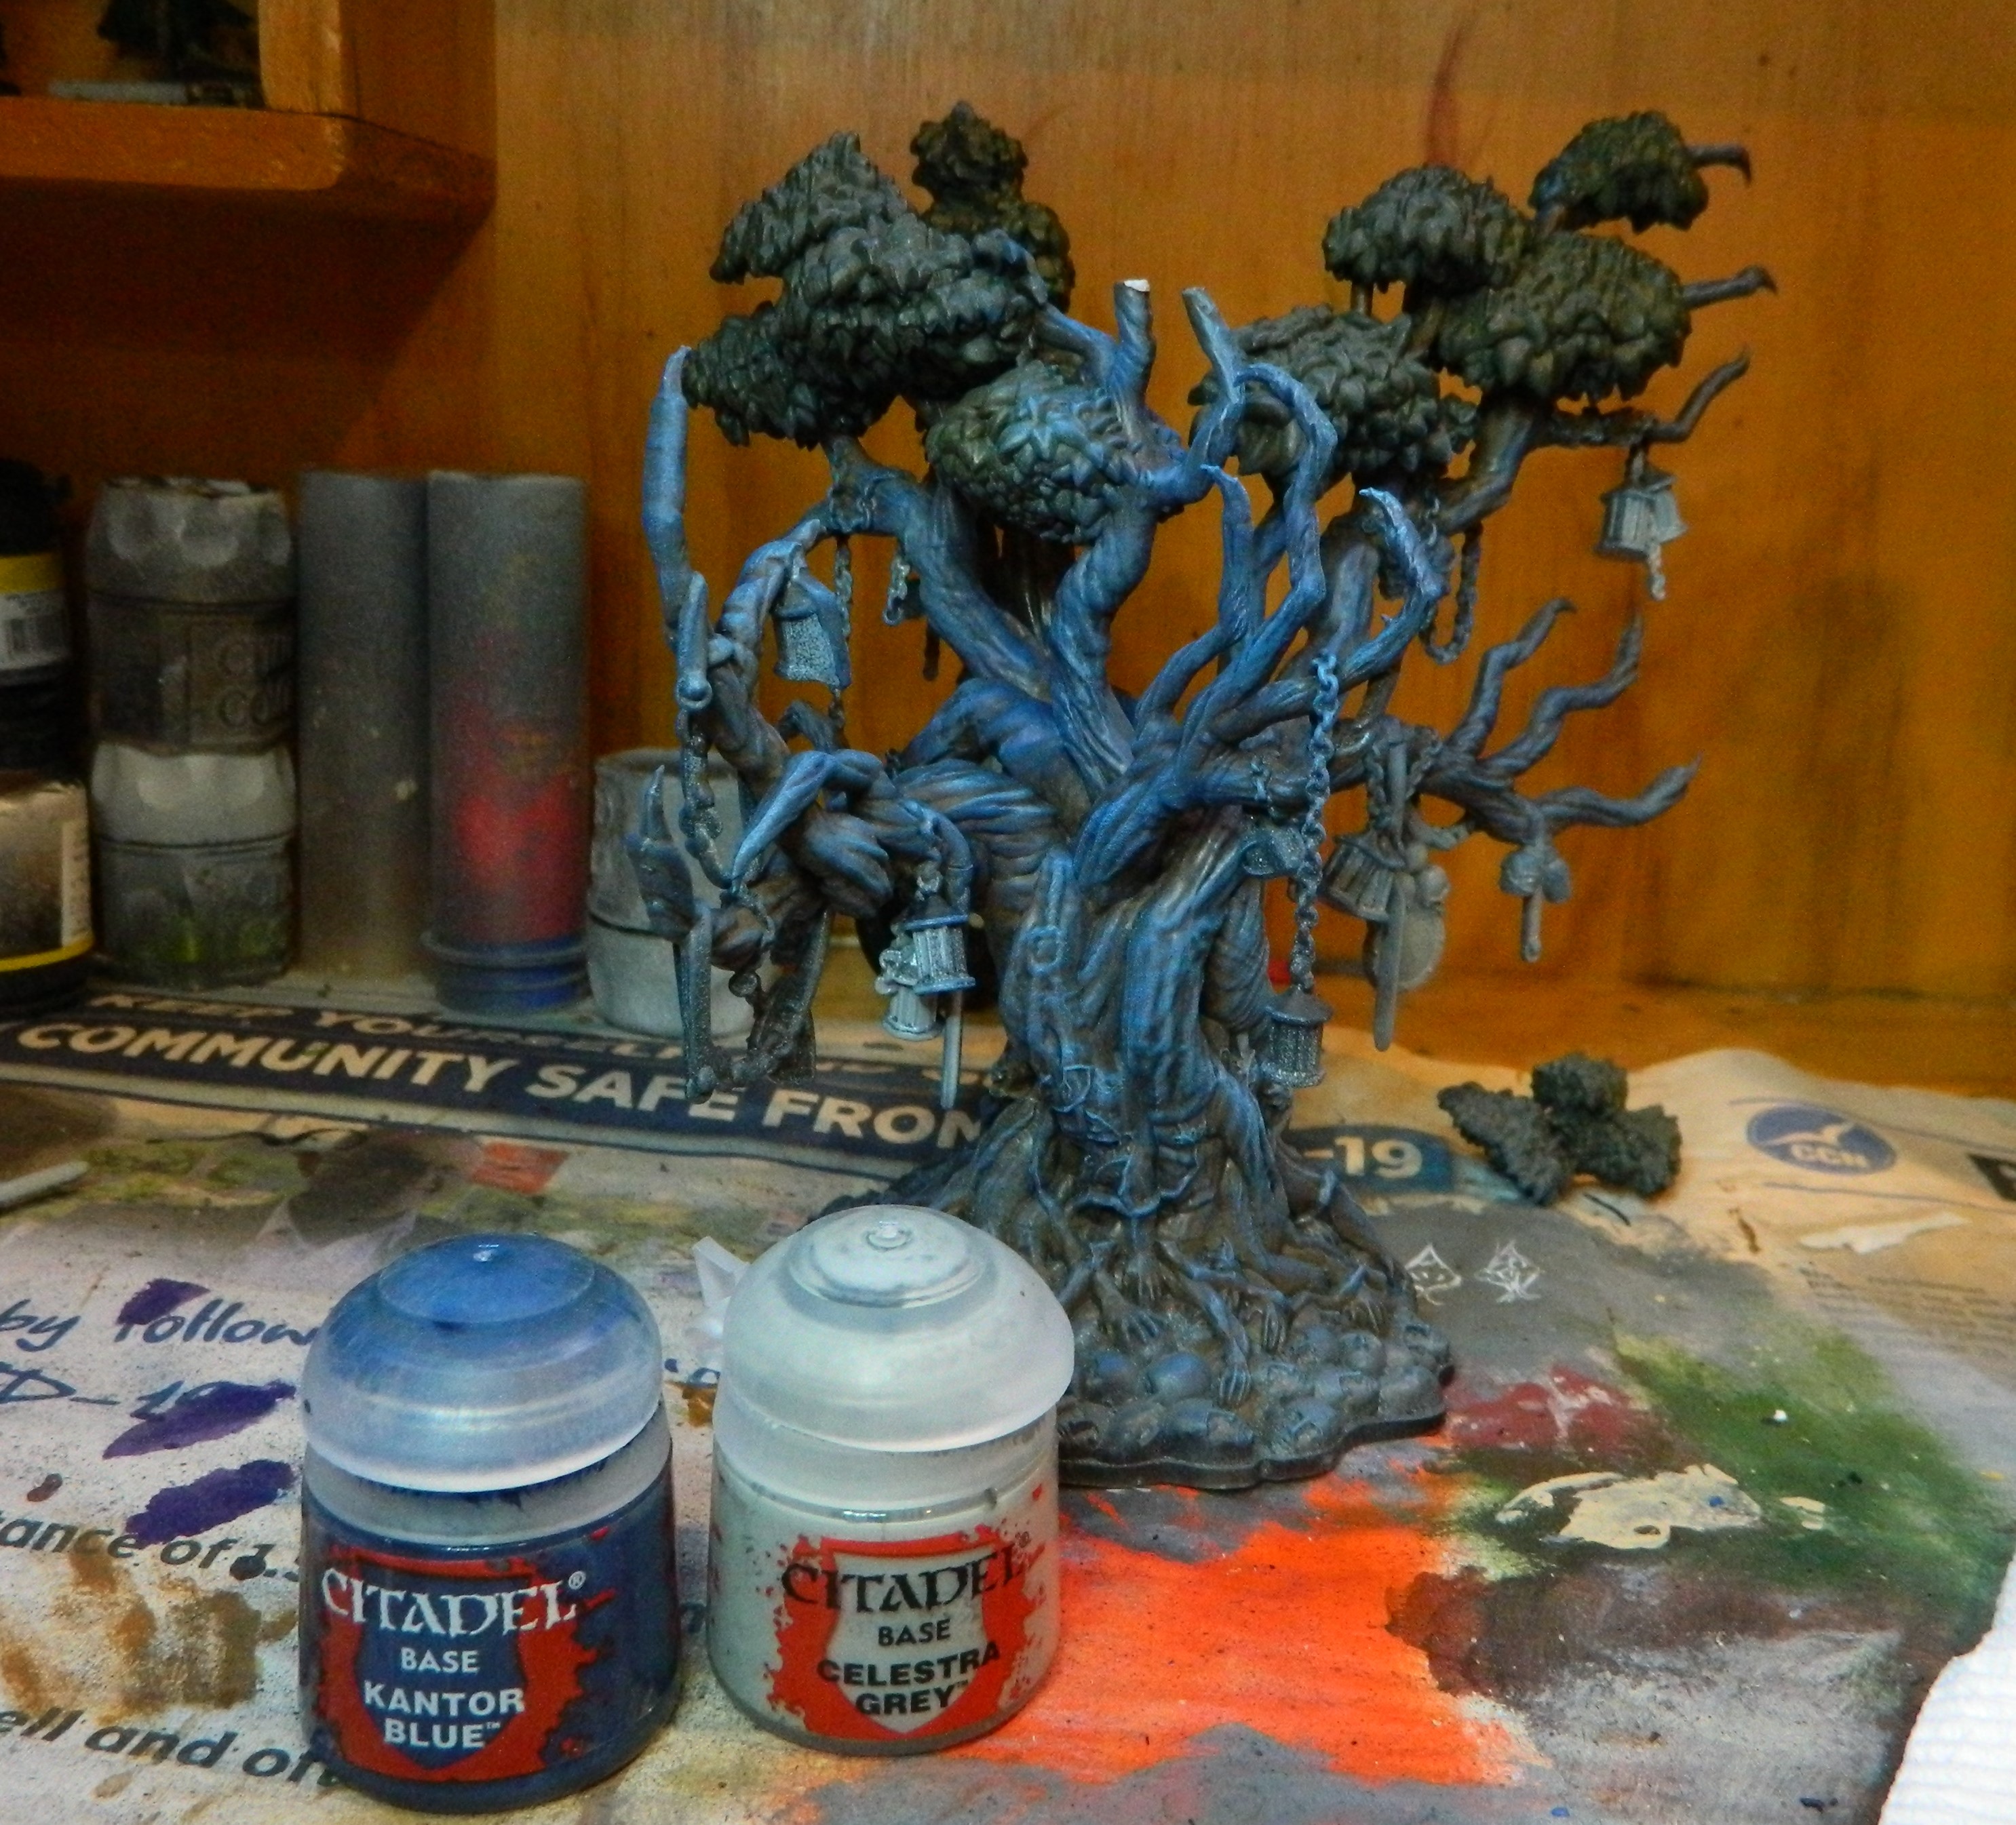 Grey wasn't enough... lets go Blue!
Grey is ok, but not strange enough. I went with blue for a couple of reasons.
Using a make-up brush, I did a drybrush of Kantor Blue, followed by a very light drybrush of Celestra Grey.
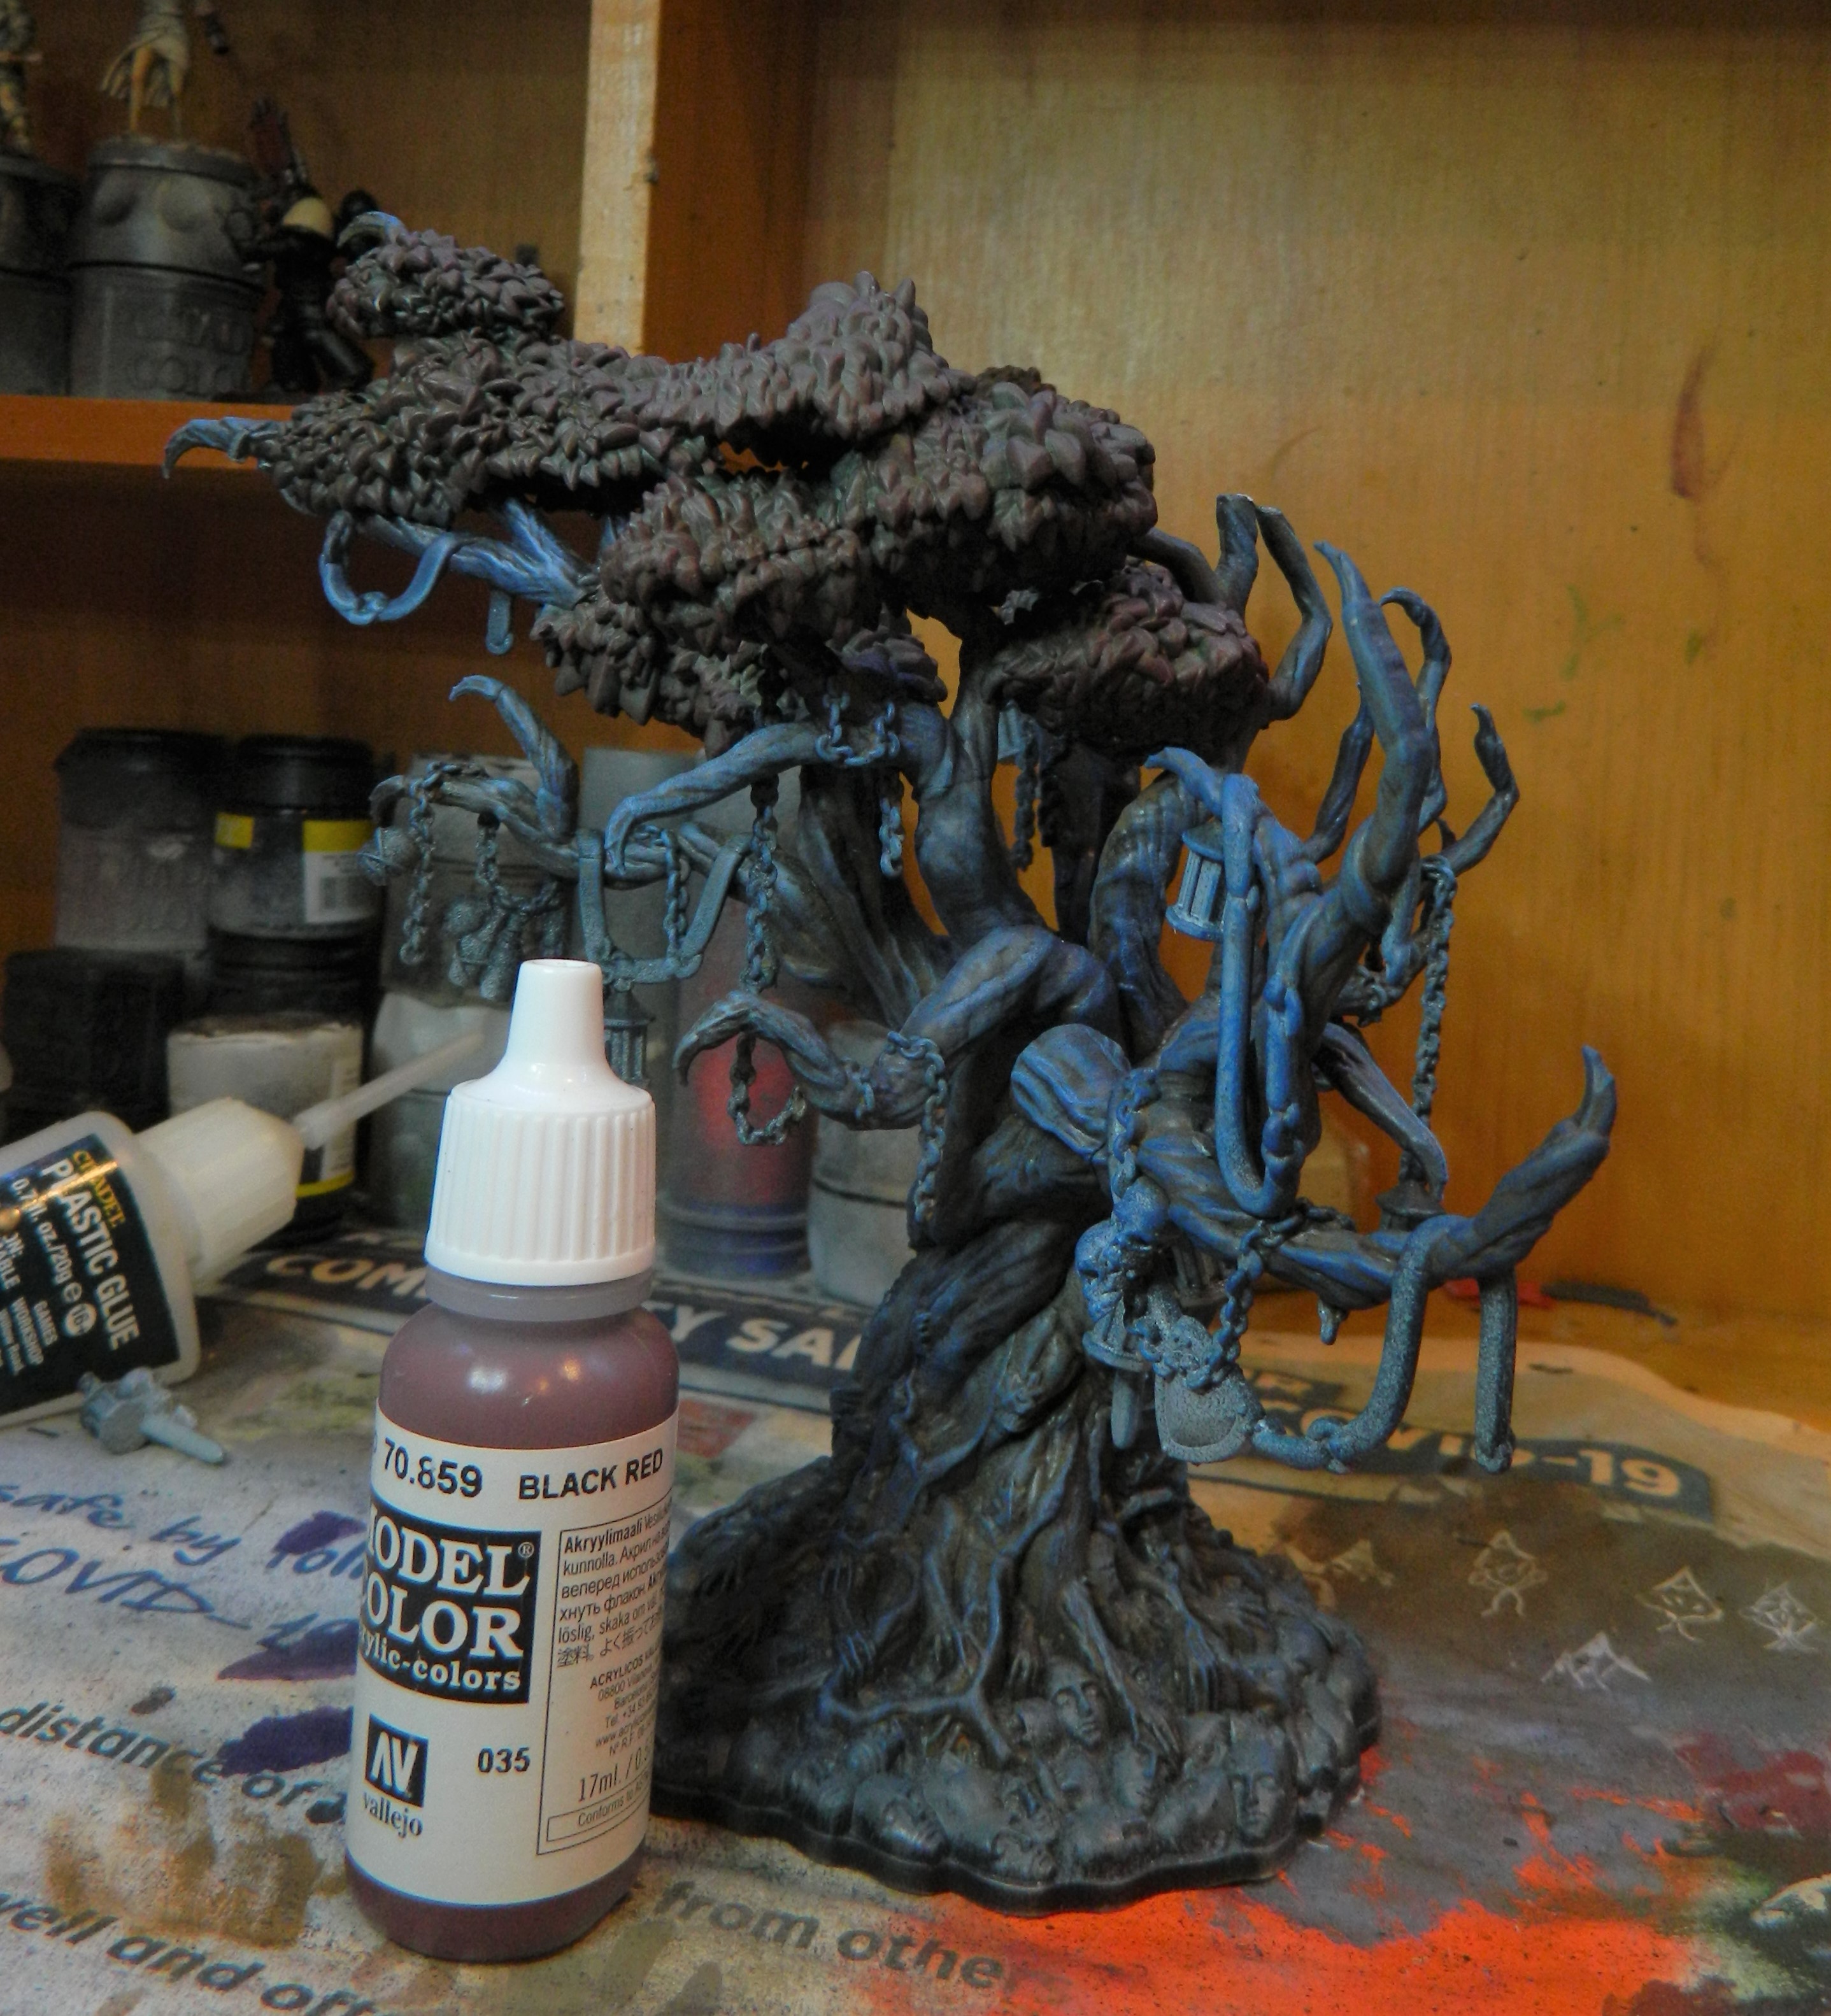 Red leaves... Vallejo Black Red drybrush over the green that was already there
Some real-world plants that live happily in low light conditions can have quite interesting leaf colouration. Kingdom Death is a gloomy place, with little natural light. Added to that, the Lonely Tree is a little more bloodthirsty than most plants. So I gave myself license to go weirder with this.
I started by drybrushing over the existing green with Vallejo Black Red. Over that I drybrushed Vallejo Gory Red. I then finished it with Celestra Grey again.
Looking back at it, it may have come out better if I had done the same as the trunk: used Dawnstone first to highlight the detail, then the reds and light grey.

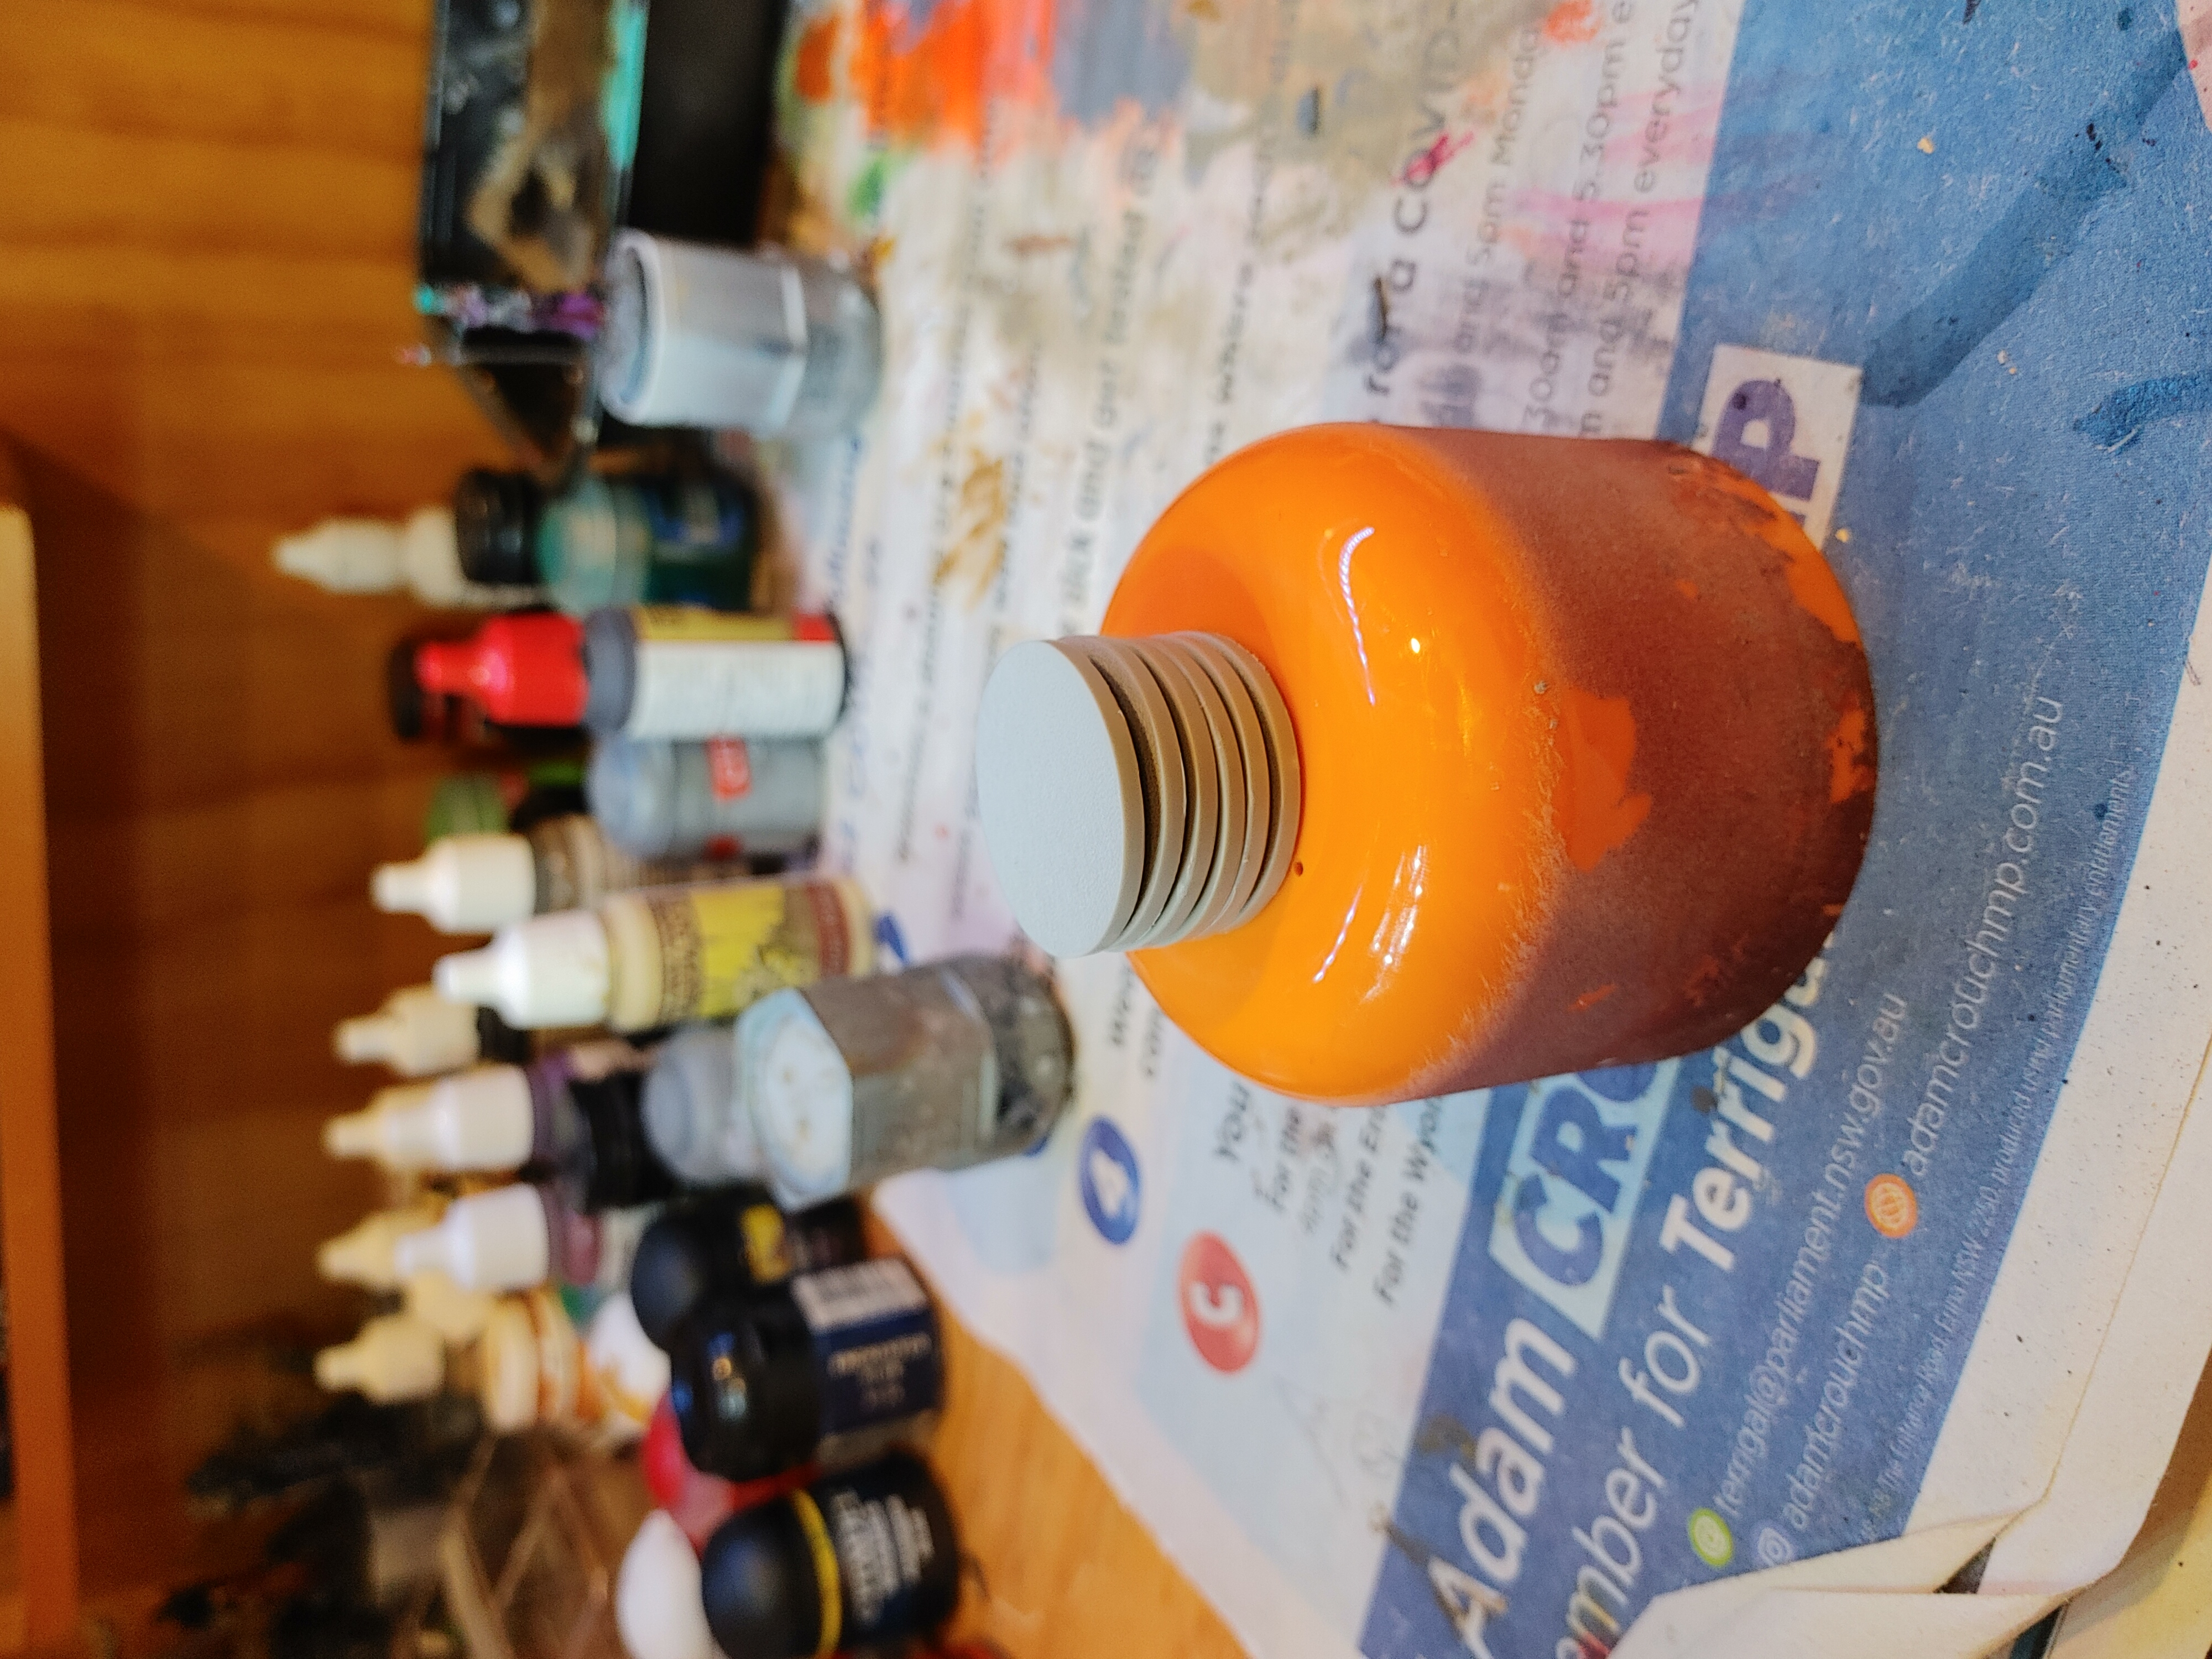
29 Nov 21: Bases? Tokens!
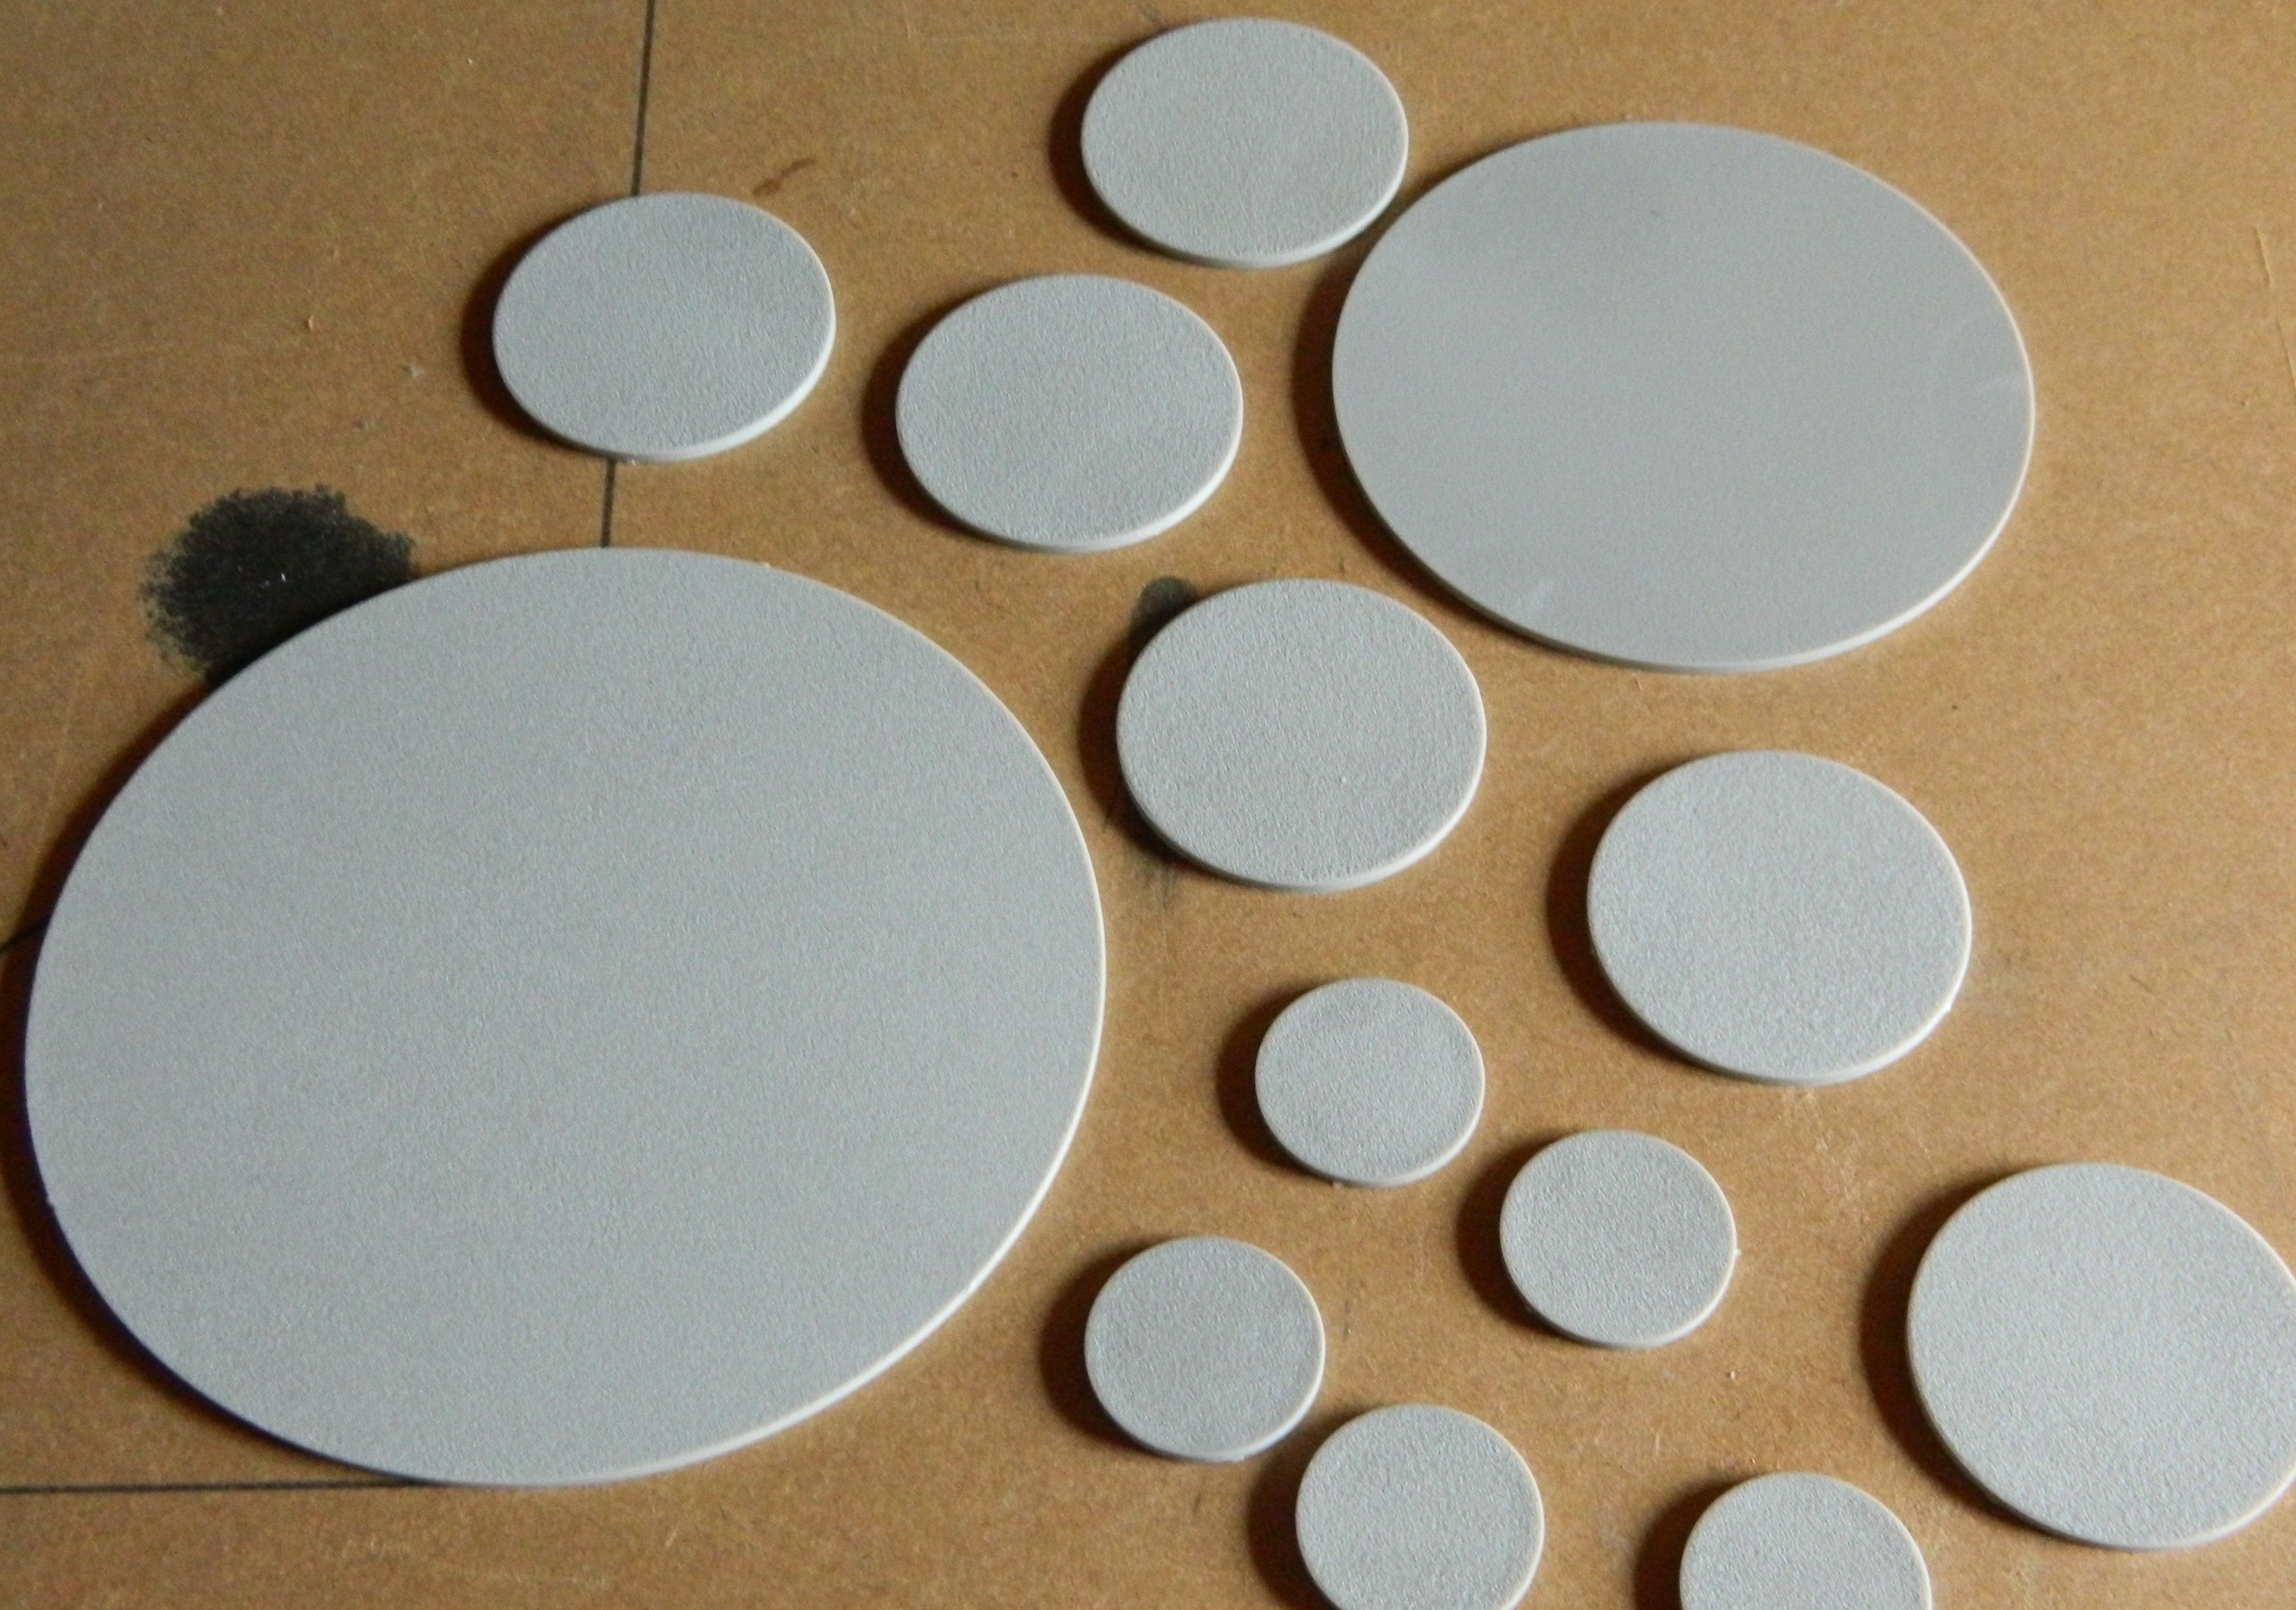 Plastic inserts: KD bases are a two-part deal. Except Monster included optional scenic inserts with the iconic stone faces. This means a leftover pile of flat plastic 27mm discs...
Being one who’s loath to waste something, I pondered how best to put these left over discs to use. I wondered if I could use them to create more durable tokens?
And then @avernos published this inspiring piece… it was on!
8 Jul 21: Prep and prototype
I didn’t take many photos, but basically:
- clean up the discs: mold lines and join points needed removing
- prime: car body matt black acrylic primer
- Punch tokens: Using a 25mm punch, pop the tokens out
- Glue: Using spray adhesive on both surfaces.
- Tidy: Use a marker to cover the edge of the paper.
- Seal: Using spray varnish.
Clean Up: each disc had a slight mold line and 3 sprue points to clean up, very quick with a hobby knife to clean.
Prime: The primer was a matt black acrylic spray primer.
Initially I was stacking the discs on a lid with blu-tack to prime them. Later I simply laid them out flat and primed each side, angling the spray to catch the edges .
Punch: I had tried circles by hand… yeah, nah.
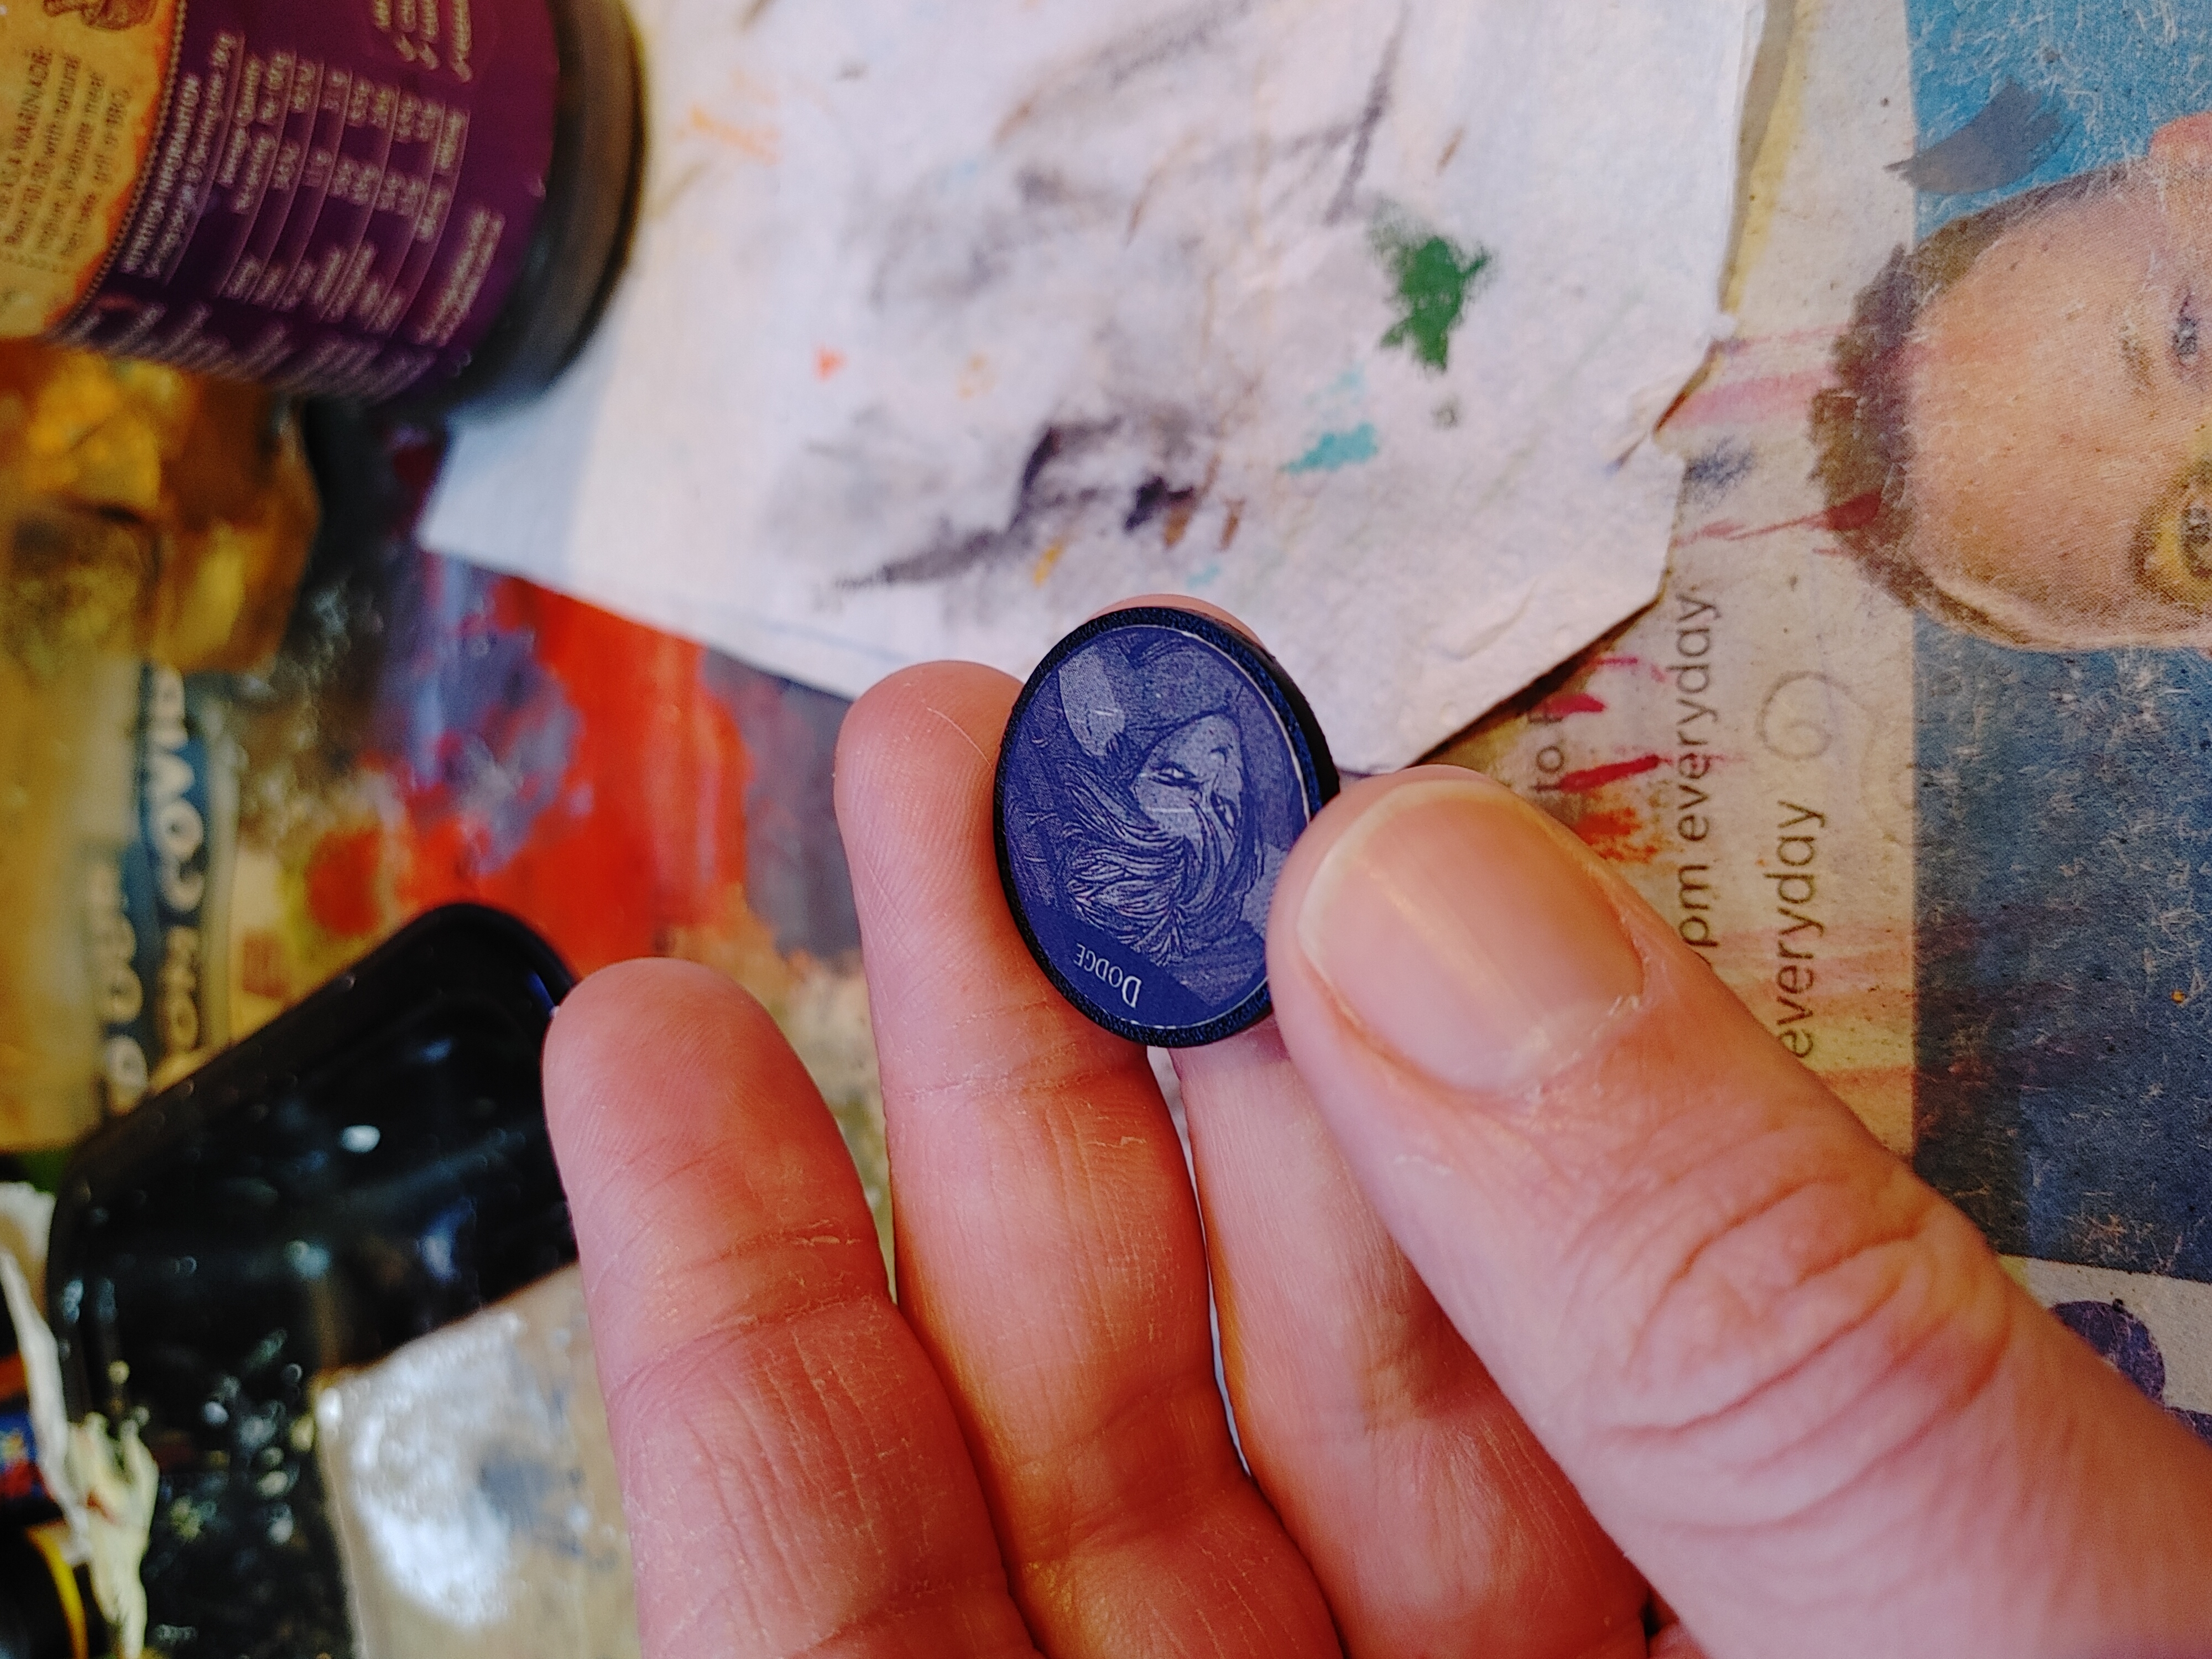
I went hunting in stationary and craft shops and invested in a 25mm circle punch. So much easier.
I should also say, my prototypes were copied onto glossy photo paper. This worked for some of the tokens, but not the original token sheet. THe punch went through both easily.
Glue: I had spray adhesive already here from some papercraft projects I’d done earlier, so I figured it was an option for this project. Carefully spray both surfaces, allow to set for 2 minutes then bring the coated surfaces together. There’s a few moments that the paper can be slid to centre it, but it takes pretty soon.
Tidy: The edges of the paper are visible! (Look carefully at the token prototype above). More noticeable on the thicker photo paper on the dark/used side of the token. Less so on the regular 80gsm paper and the light/ready side.
I went around the edges with a black Sharpie.
Seal: A couple of coats of spray gloss varnish to protect the tokens. Gloss, because I had plenty available and I rarely use it!
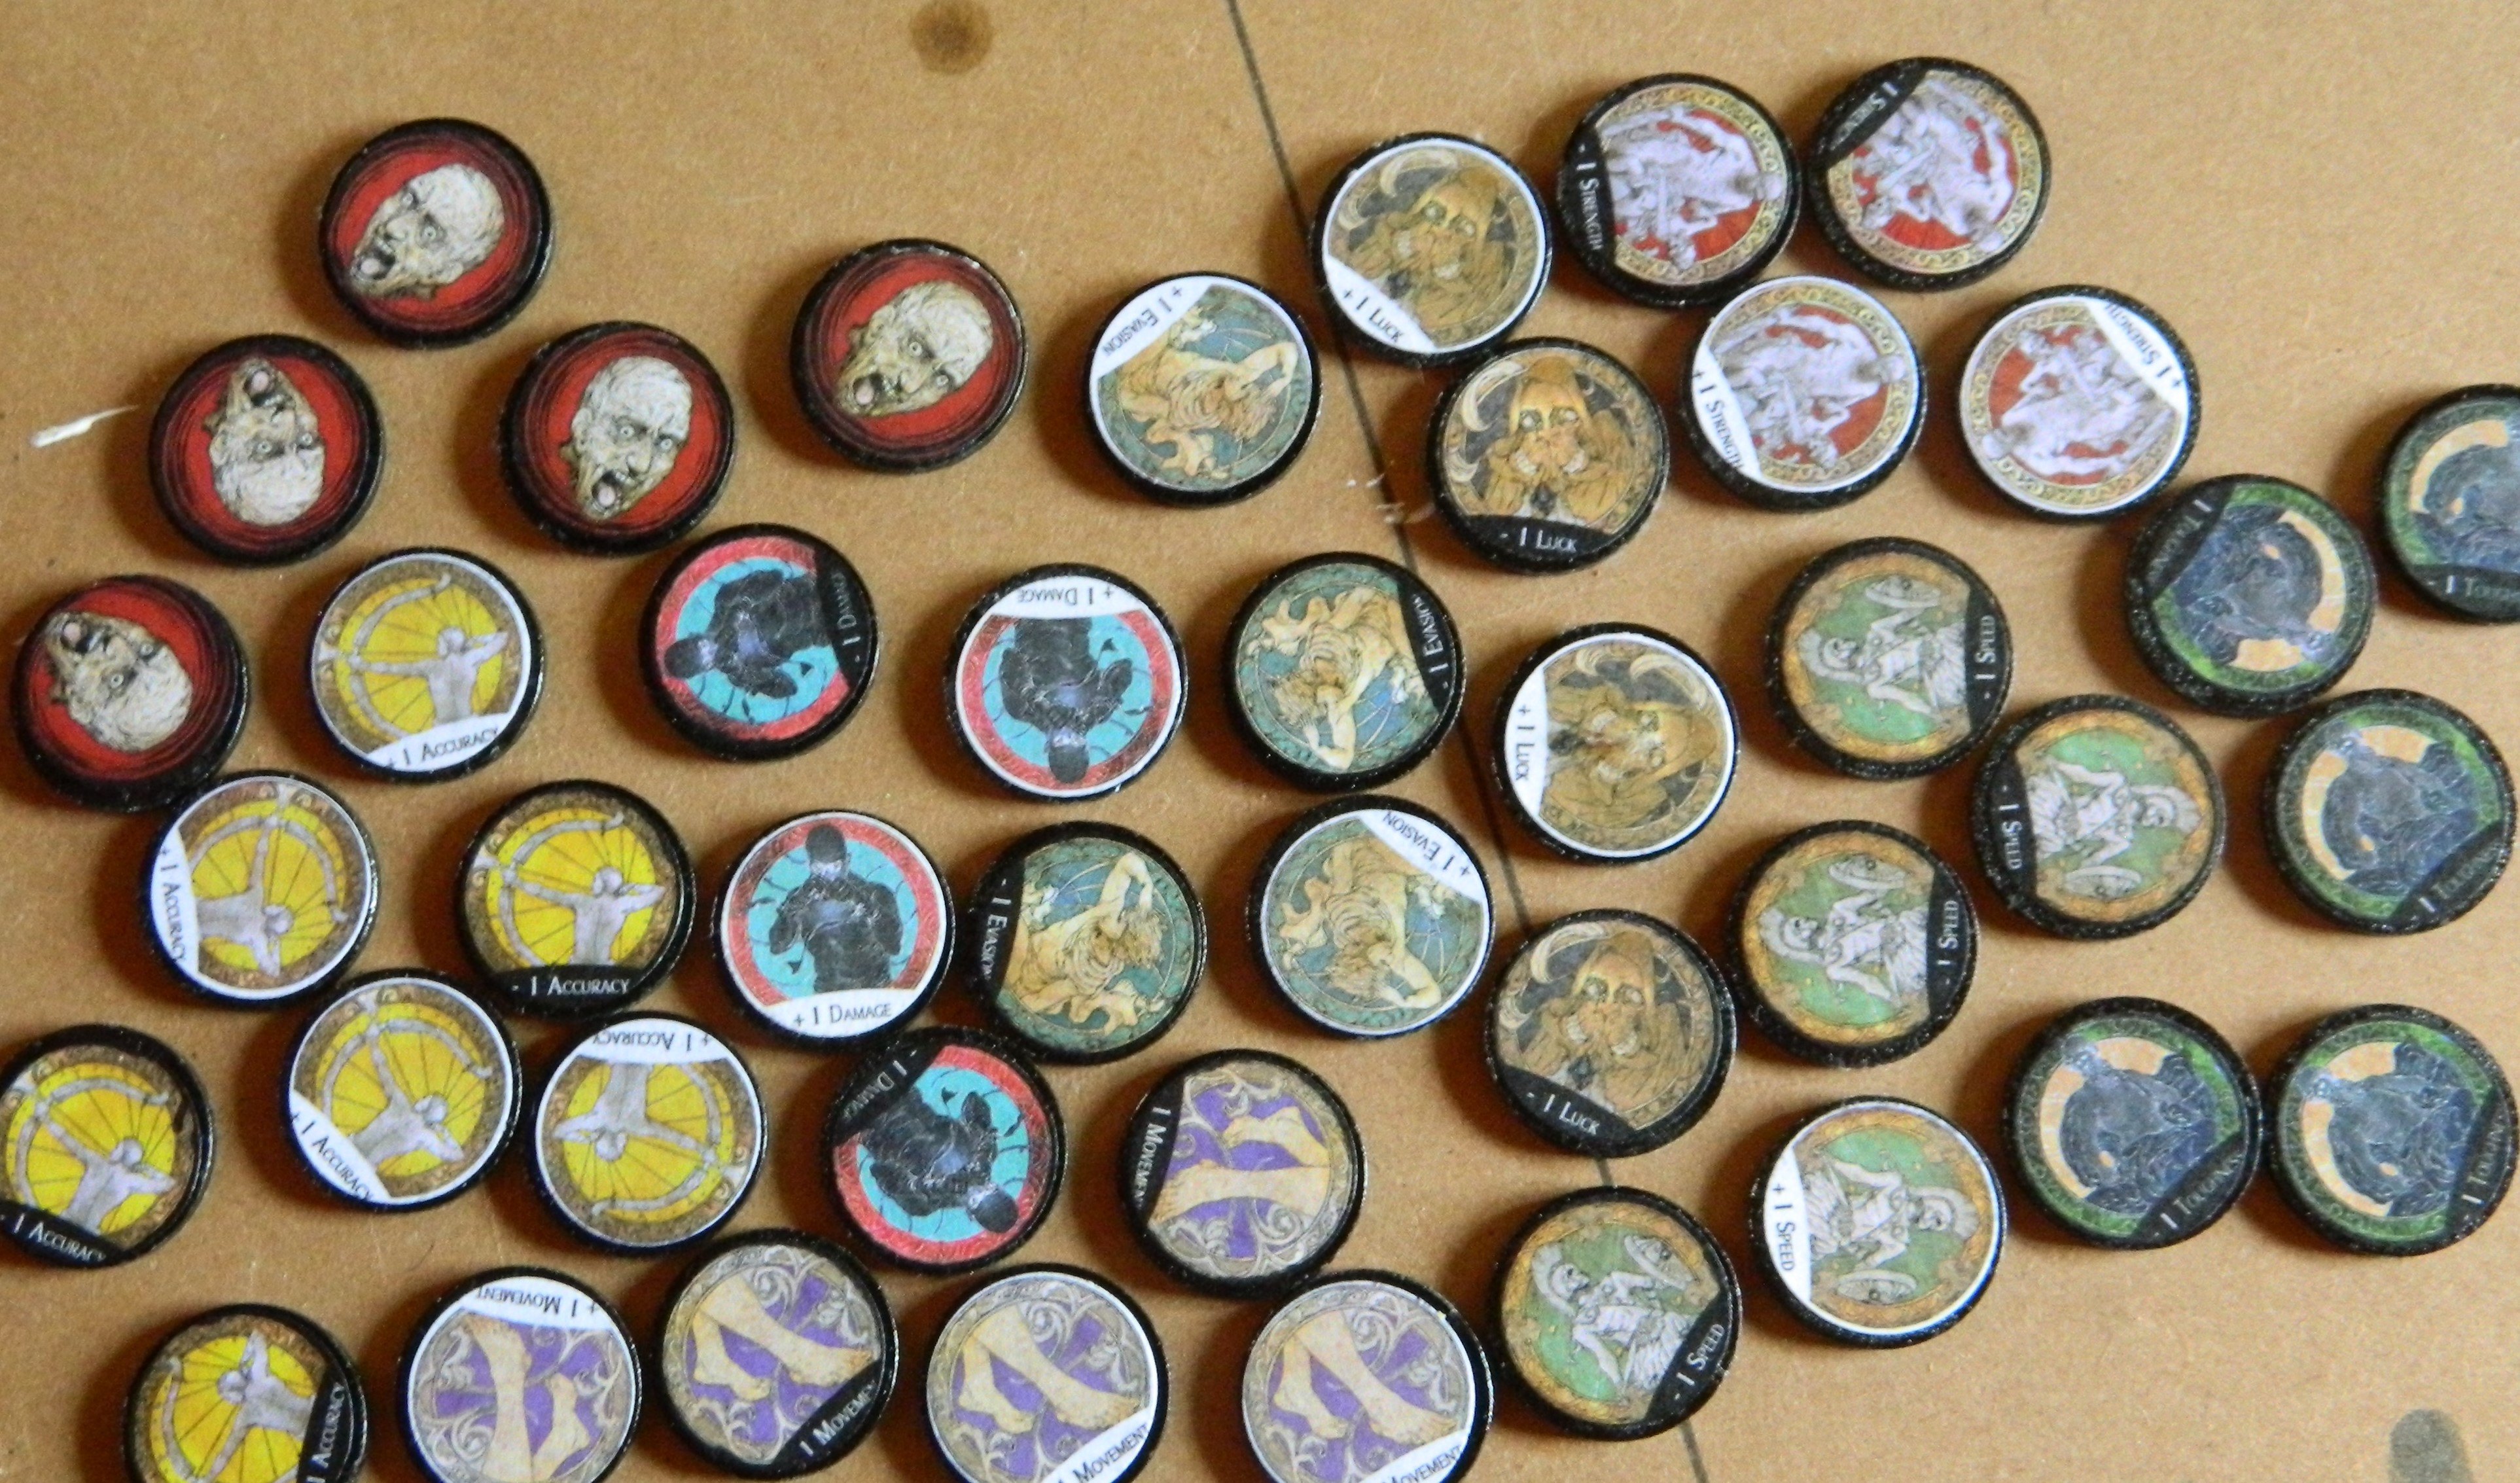 Lots of tokens... stat modifier tokens aplenty
 Aura tokens... for the Impossible Eyes!
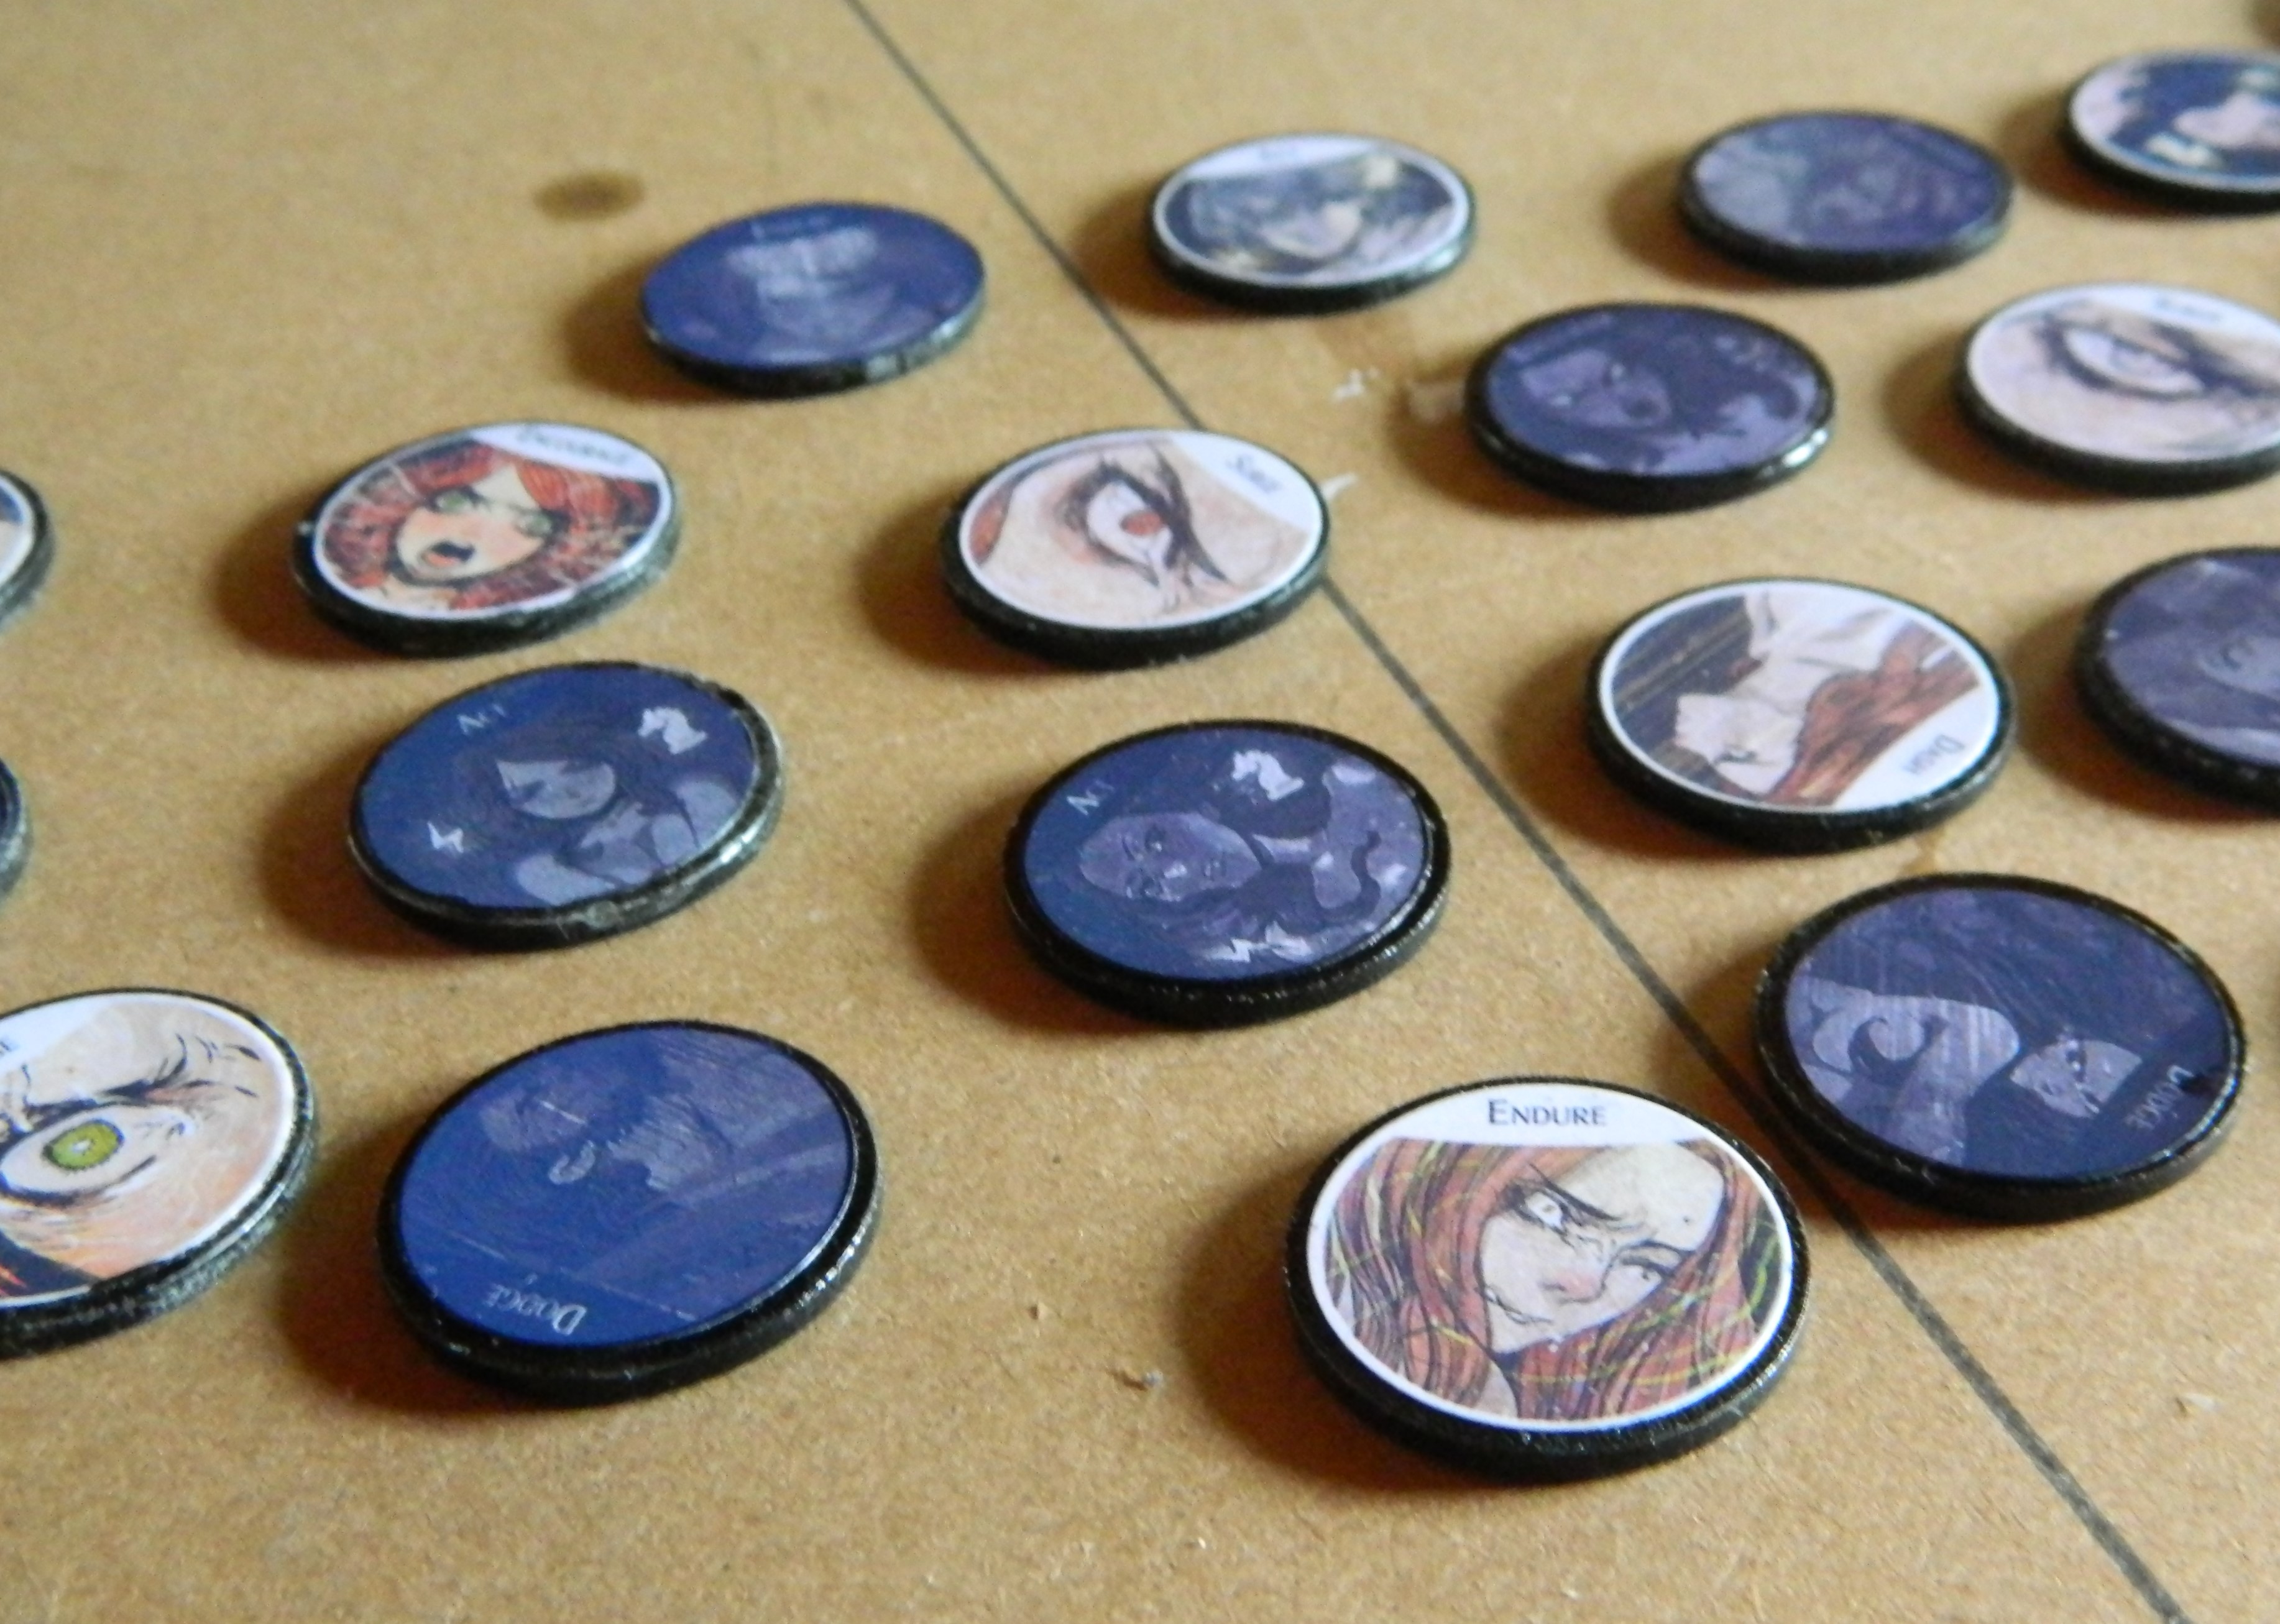 Player activation and Survival action tokens.
 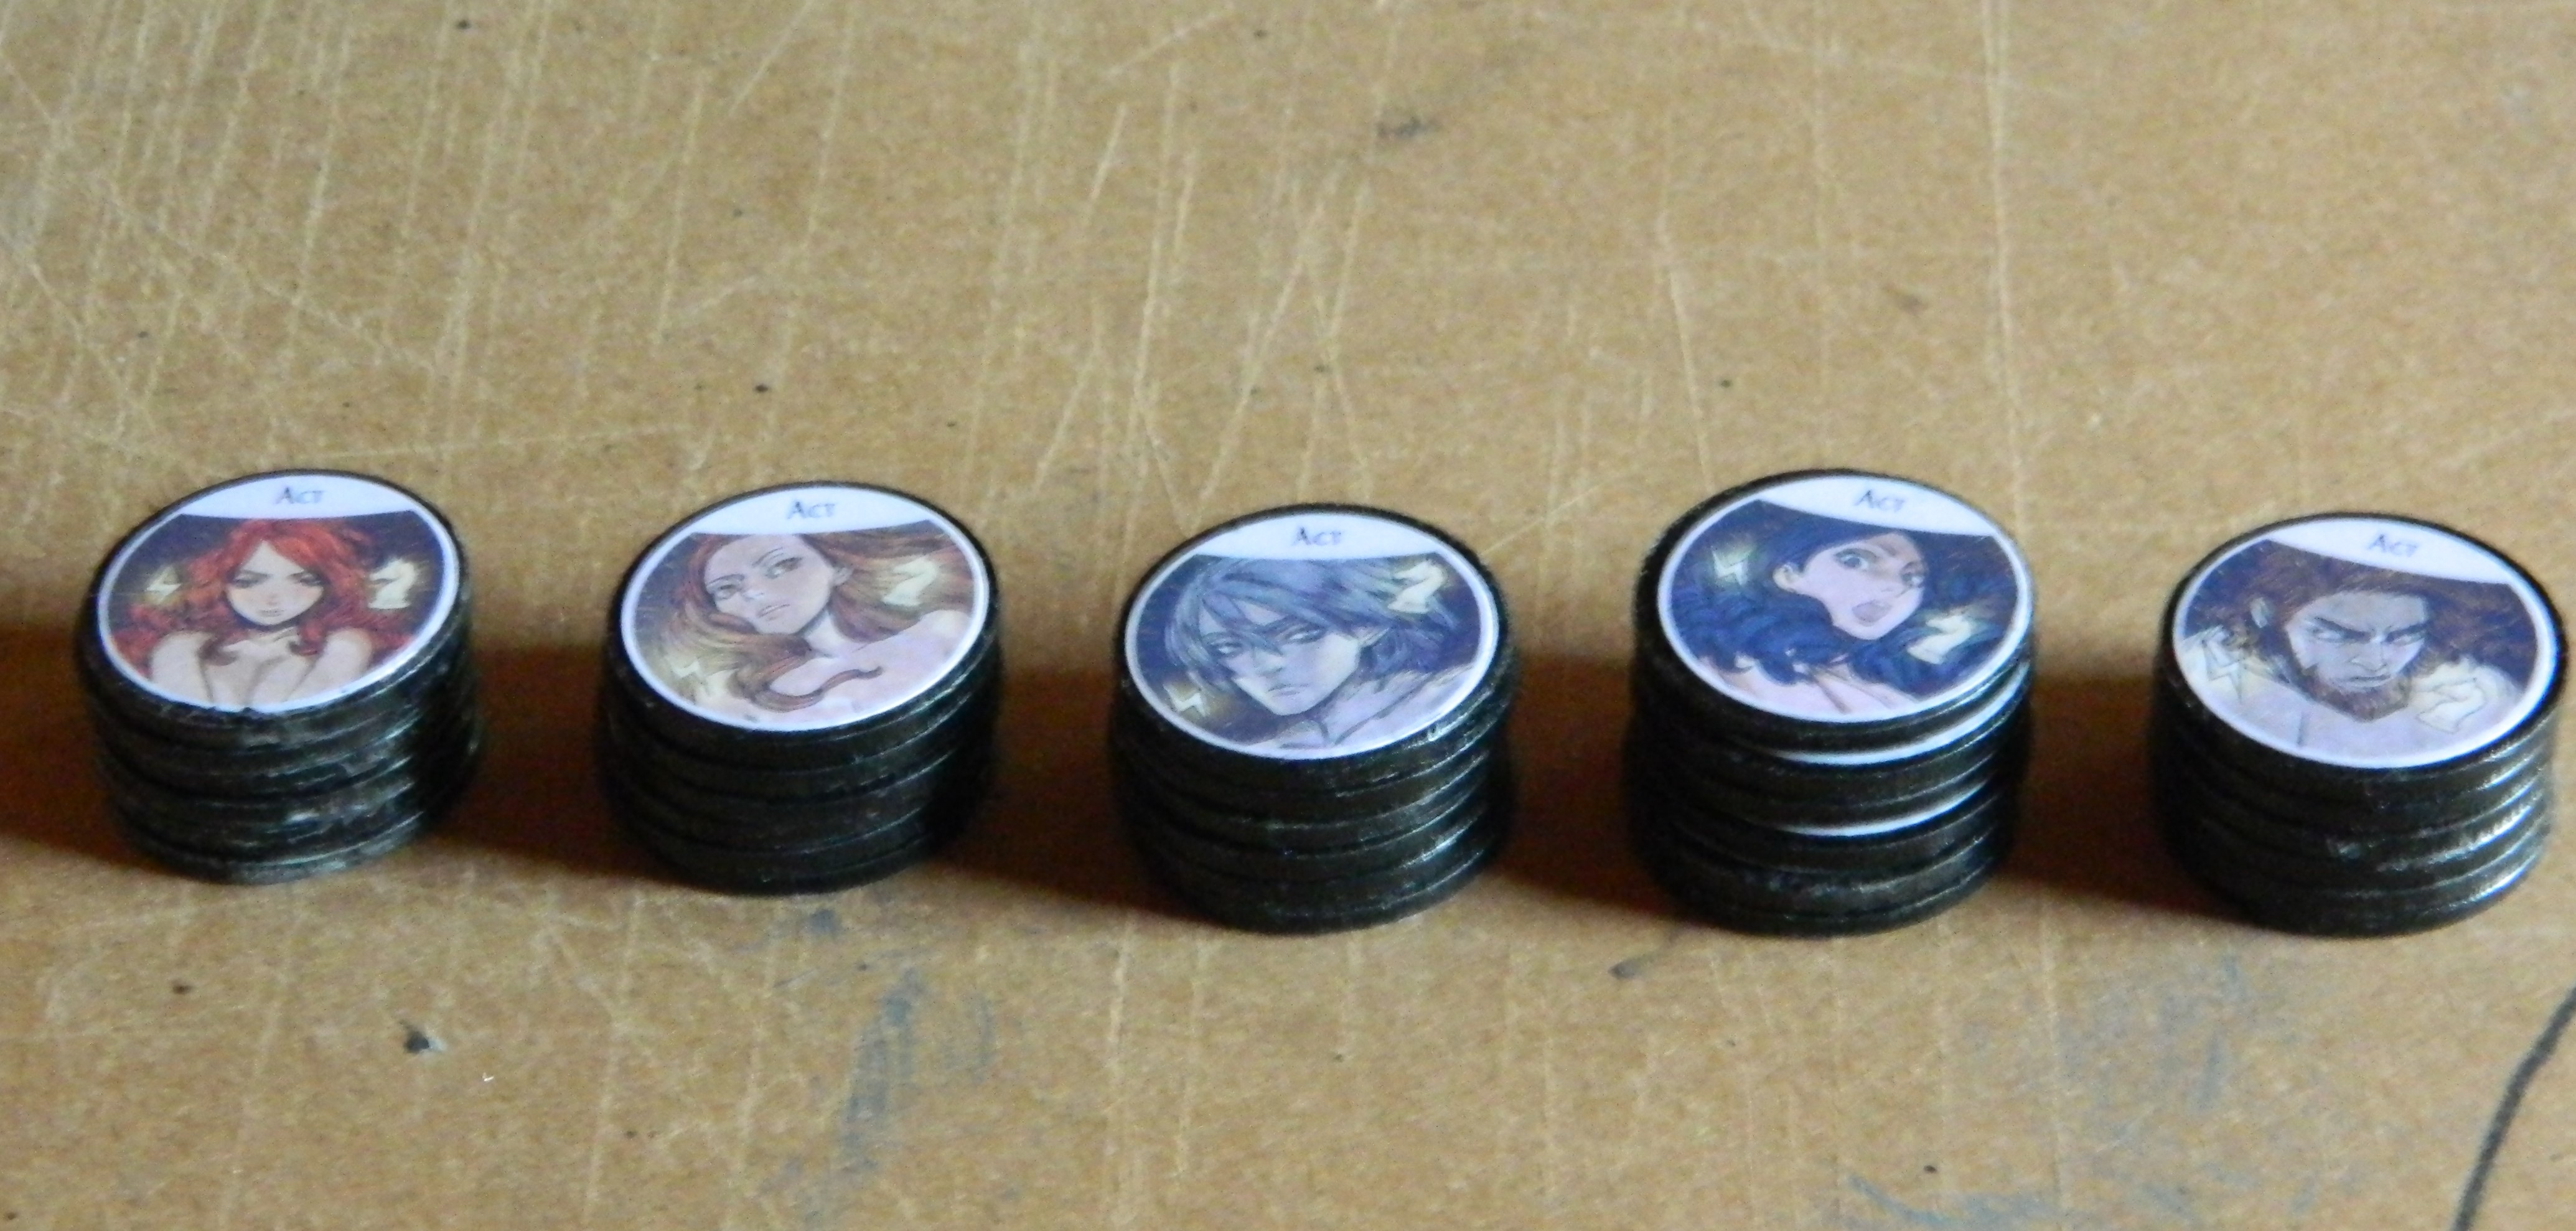 5 sets, just in case!
22 Nov 21: Herb Gatherer, done.
 I'm happy to call this one done. I could go in and dot in the pupils... I probably will later. But other than that, done.
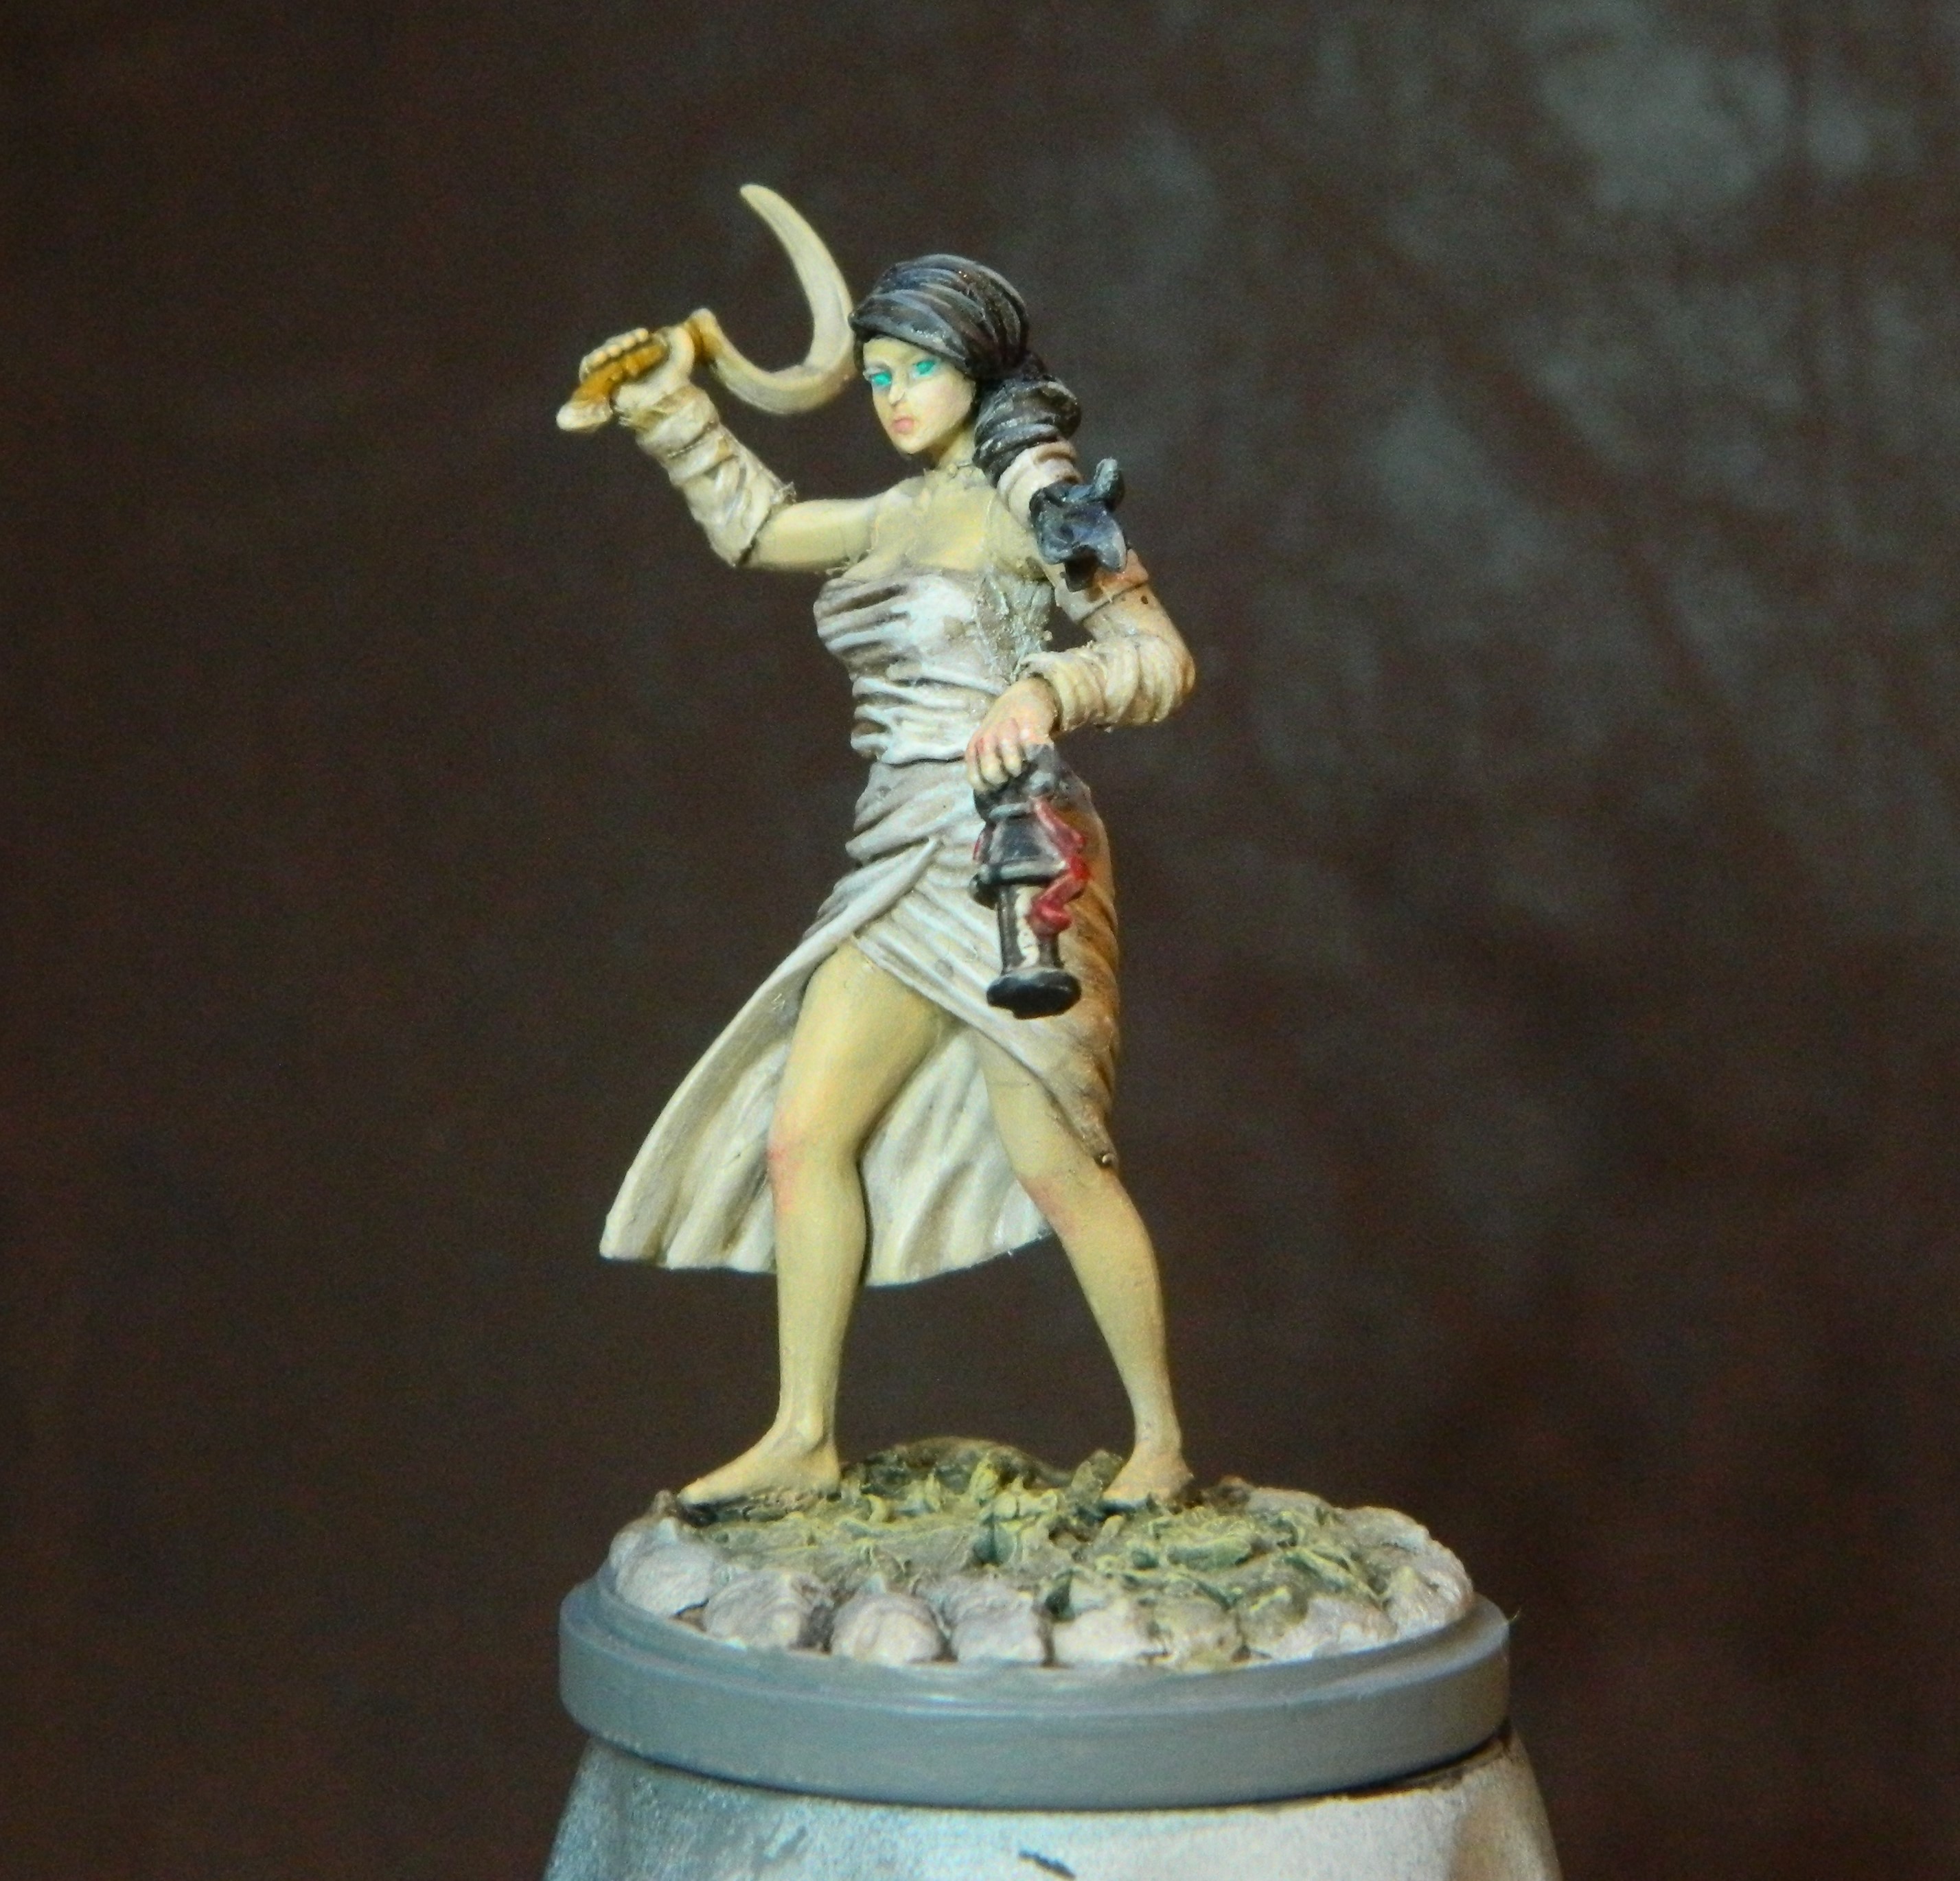
 Colours used.
22 Nov 21: Miner Done?
 Almost complete... As usual, I took photos and on review noticed some spots that could do with attention...
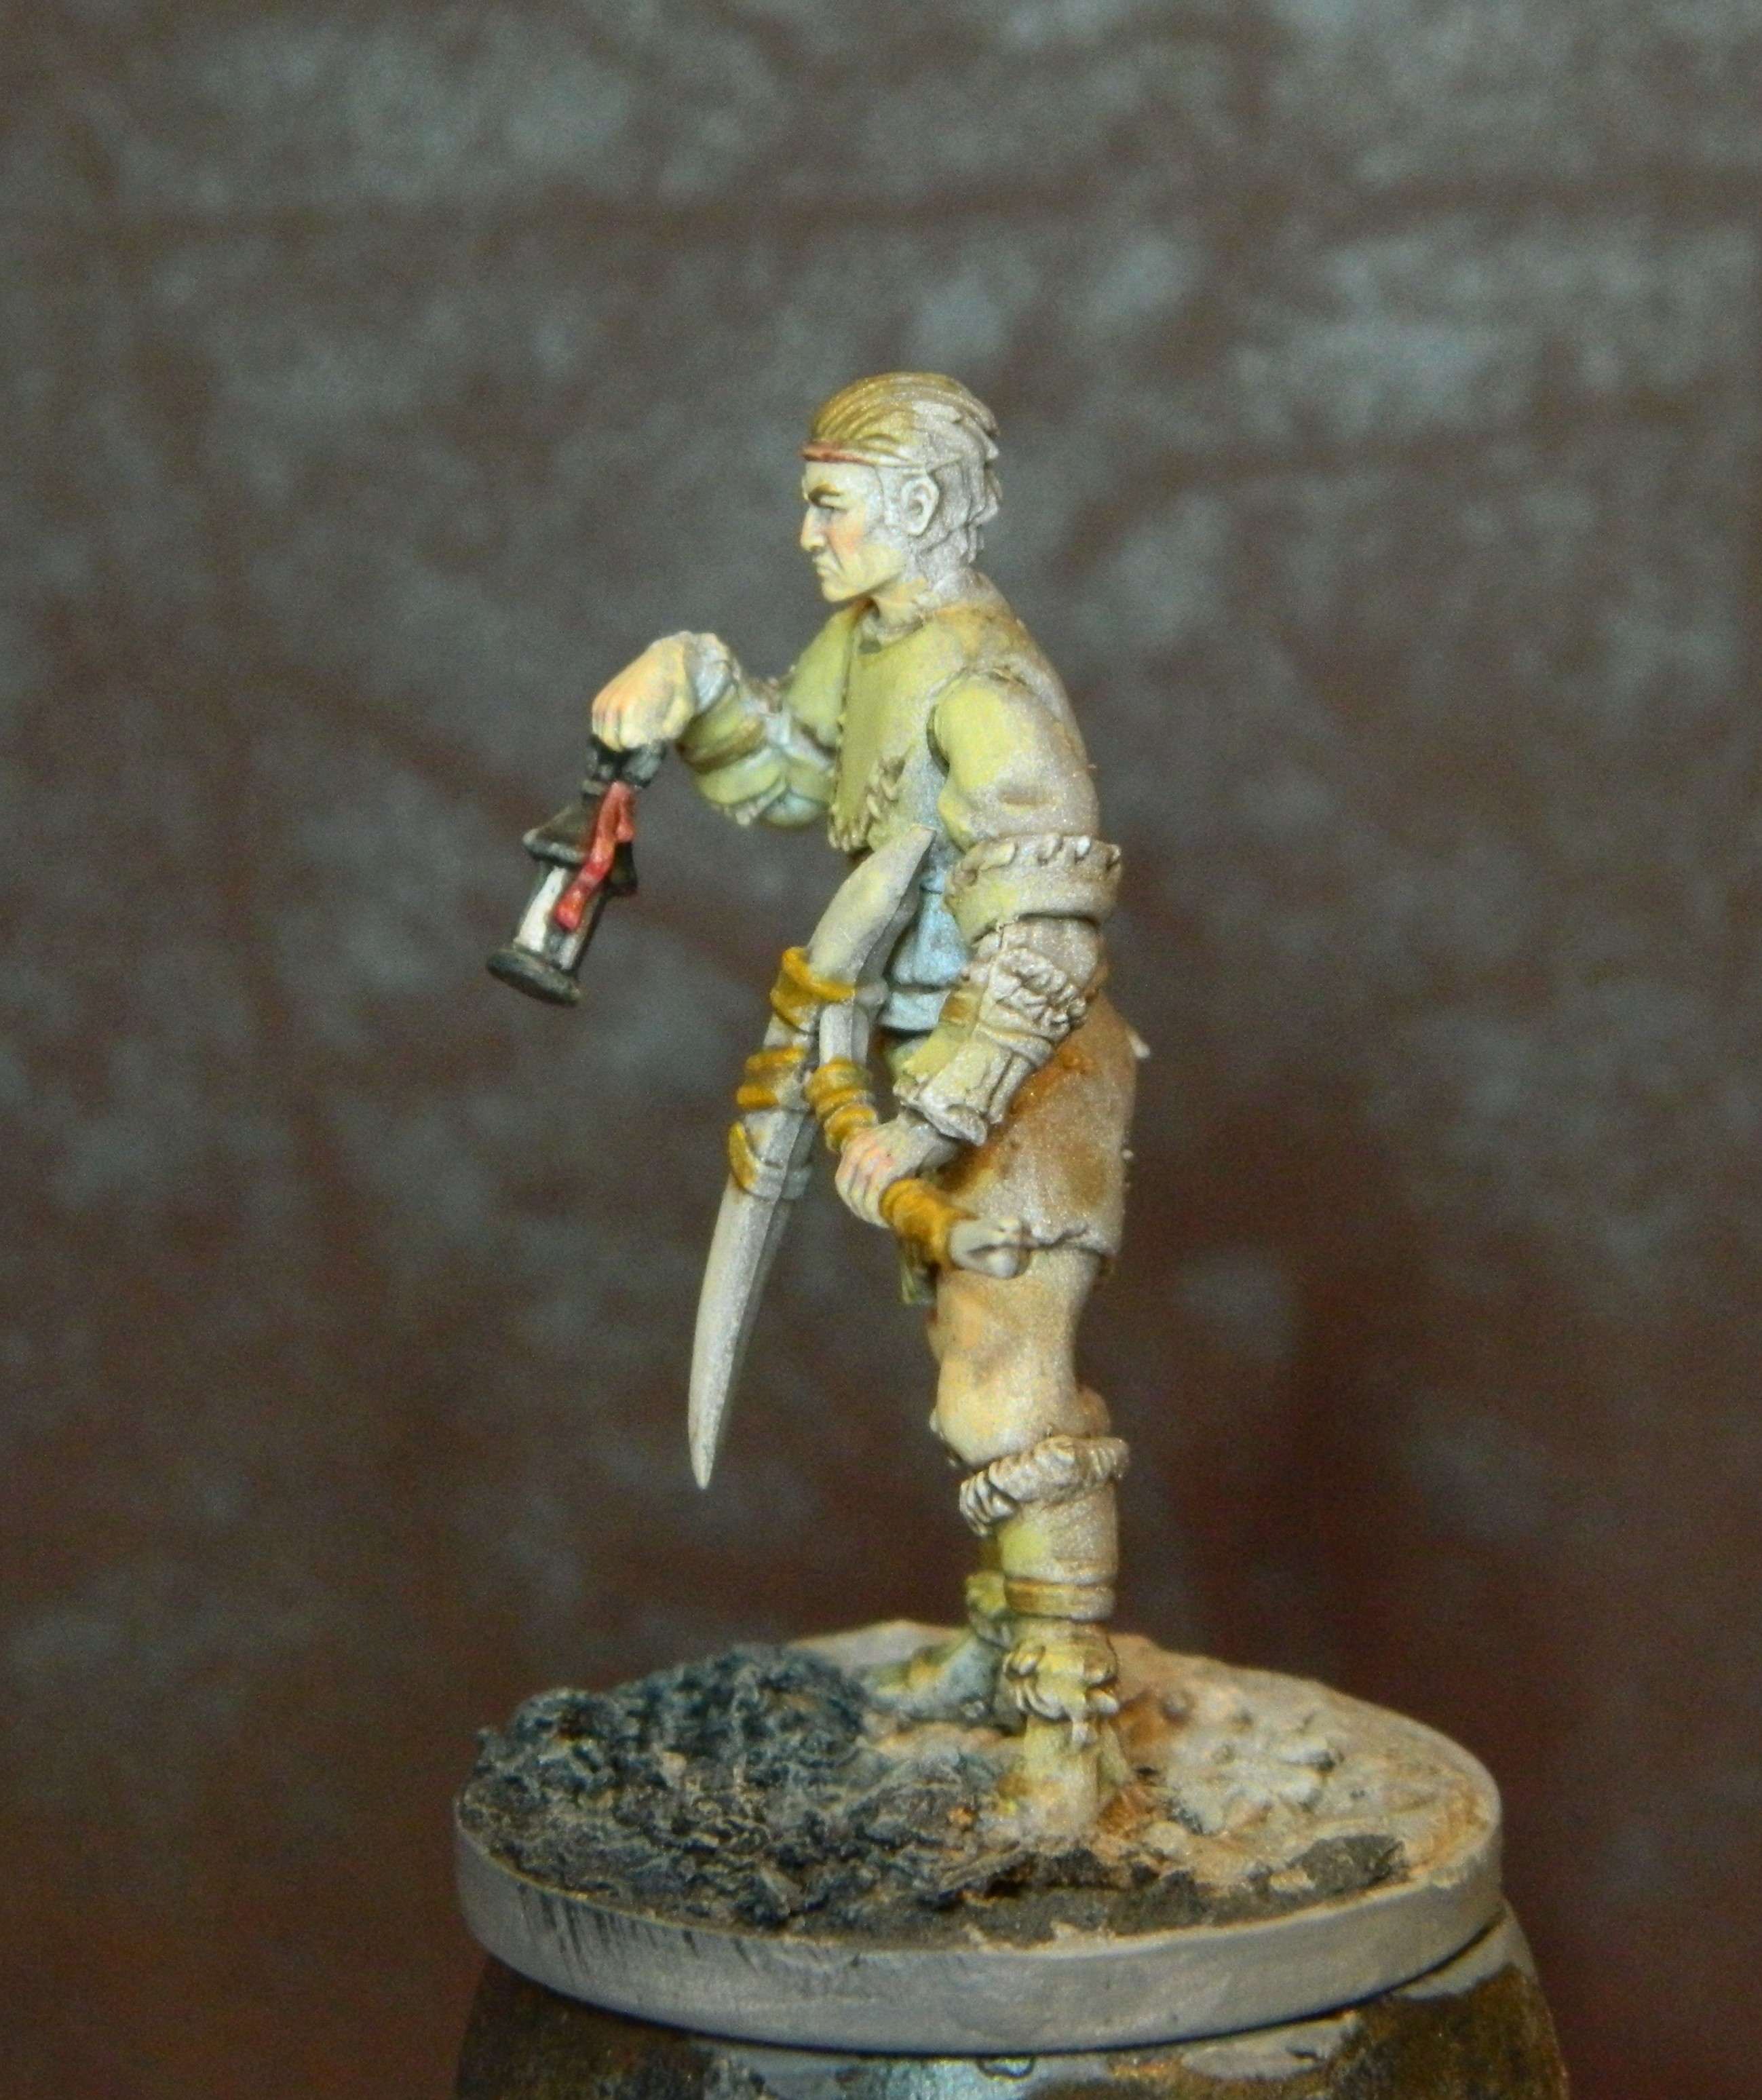

 Colours Used
15 Nov 21: Comparison and feedback
At this point I want to do a comparison. Whichever option I prefer is how I intend to do the rest of the generic Survivors for my Kingdom Death set.
The “OSL/Mono” idea as represented by the Miner. Or the beginners-level OSL 😀 represented by the Herb-Gatherer?
Feedback and comments welcome!


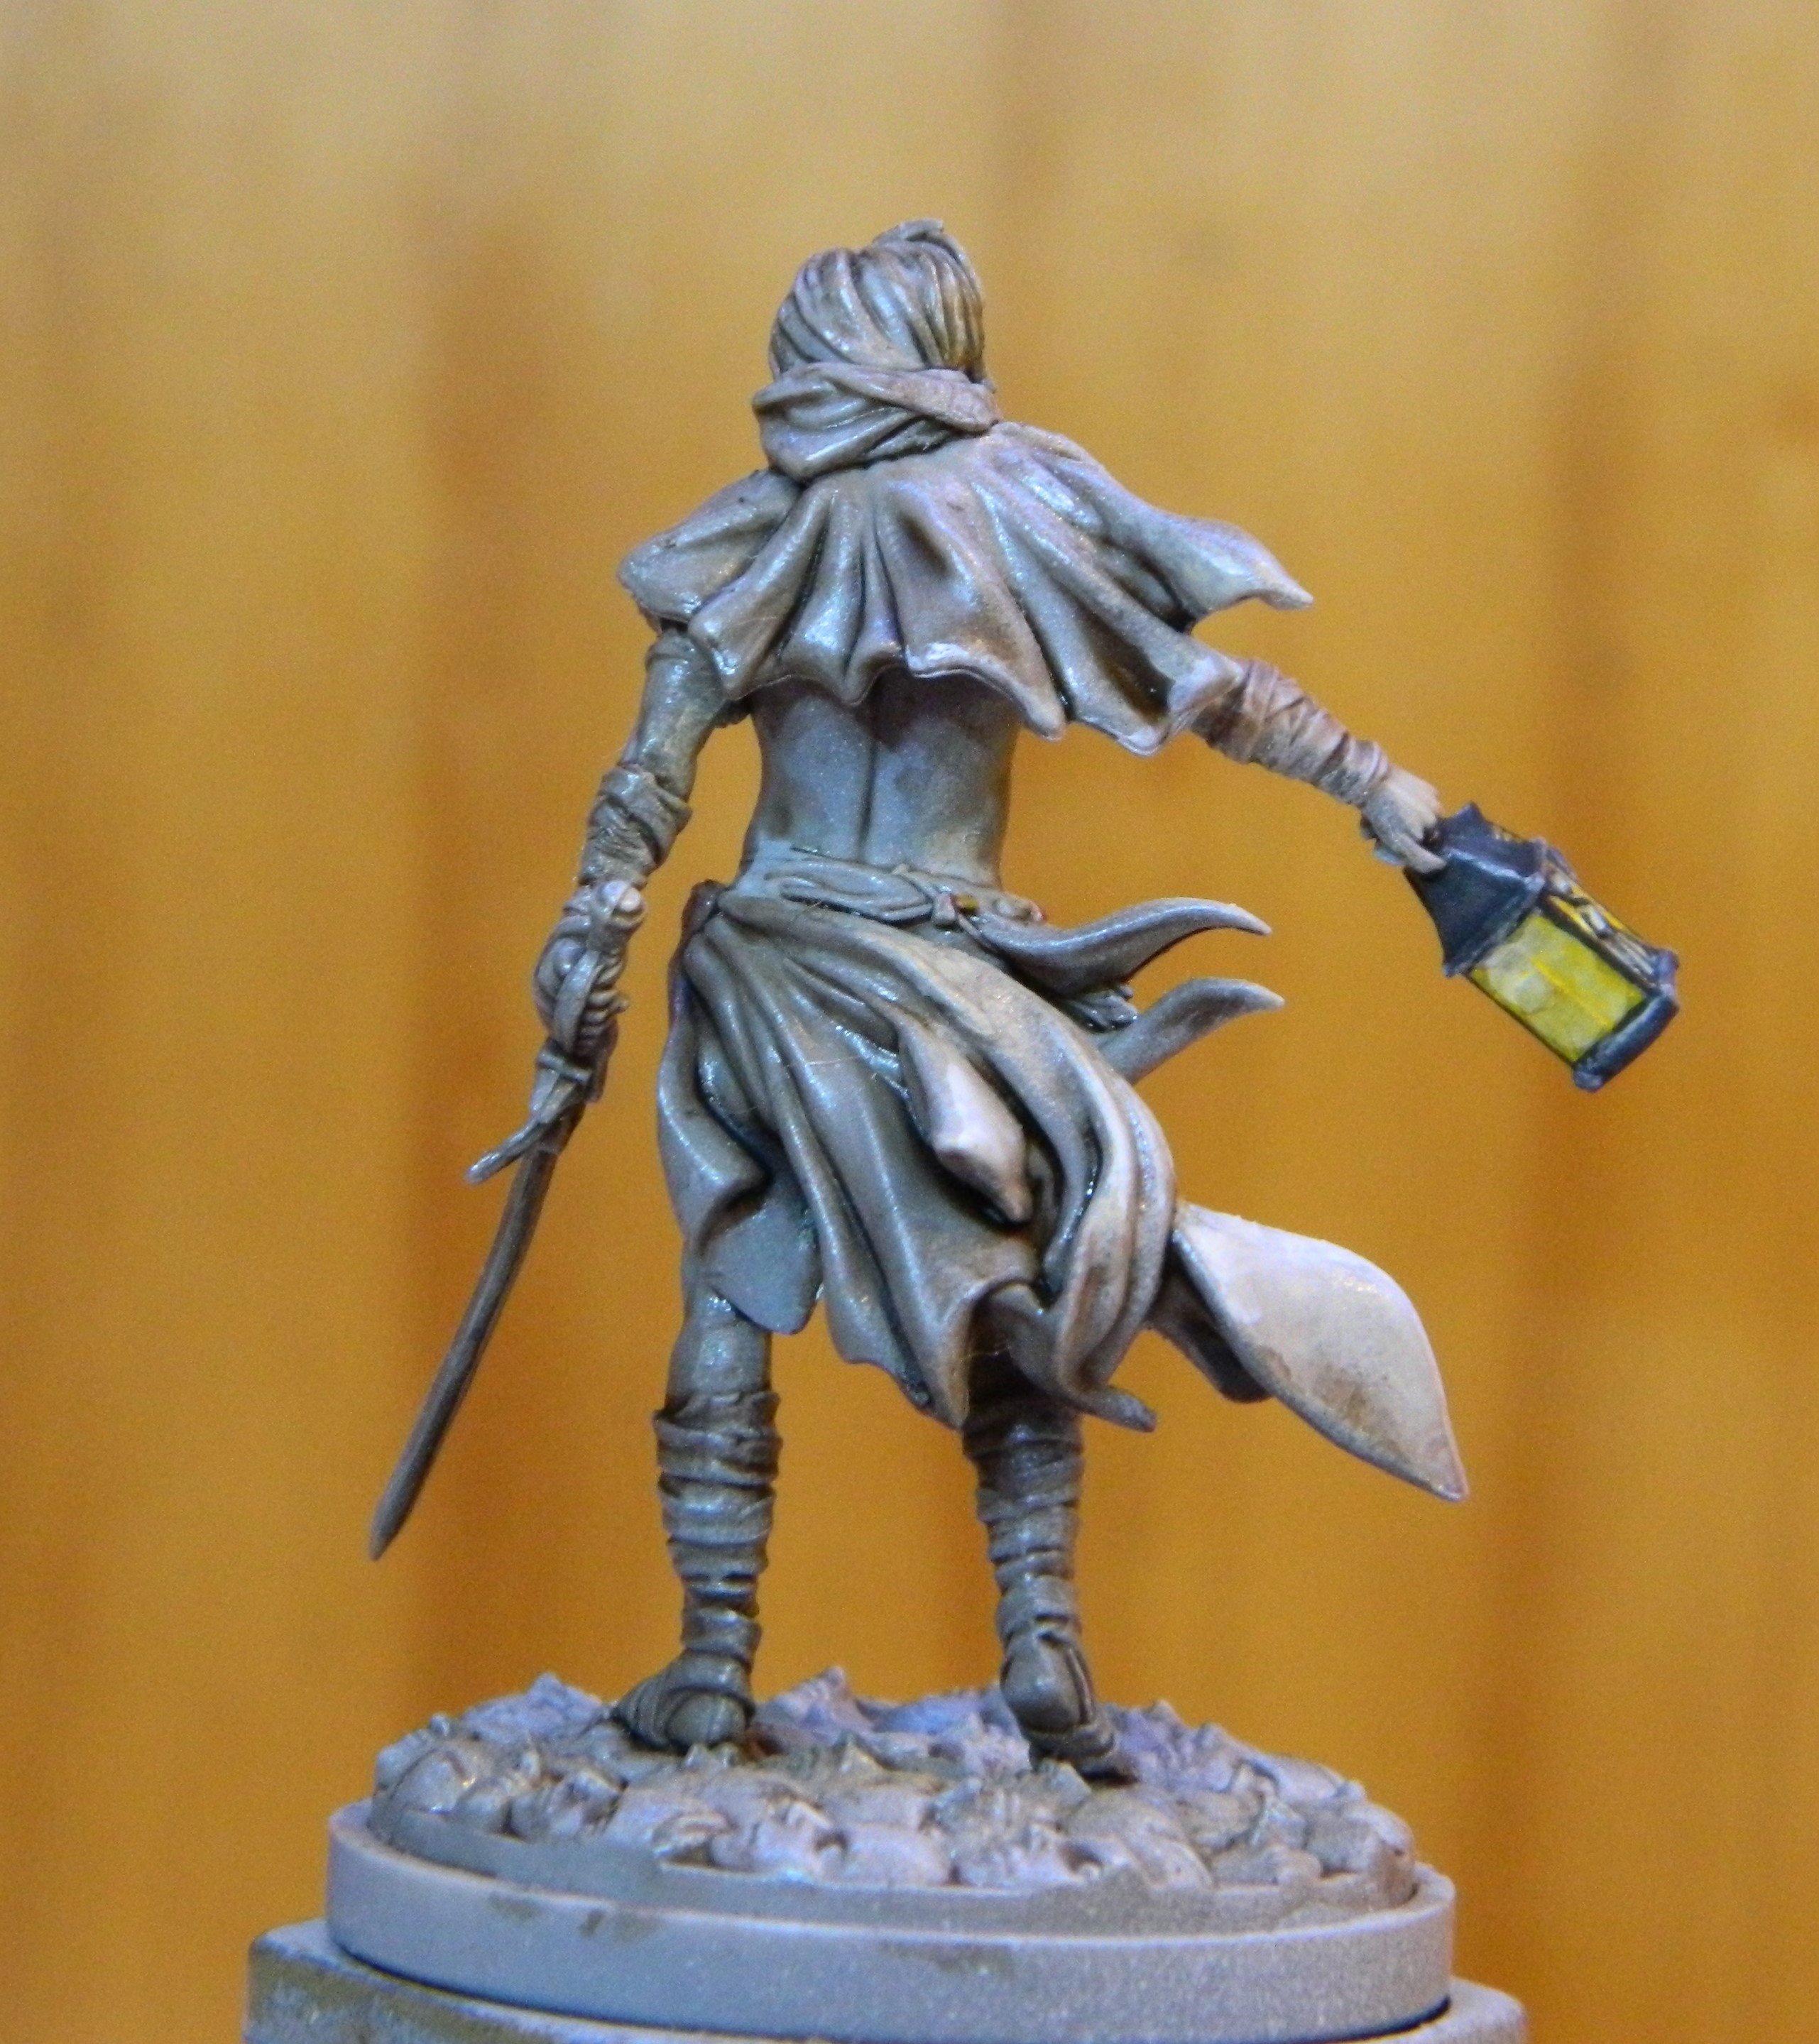
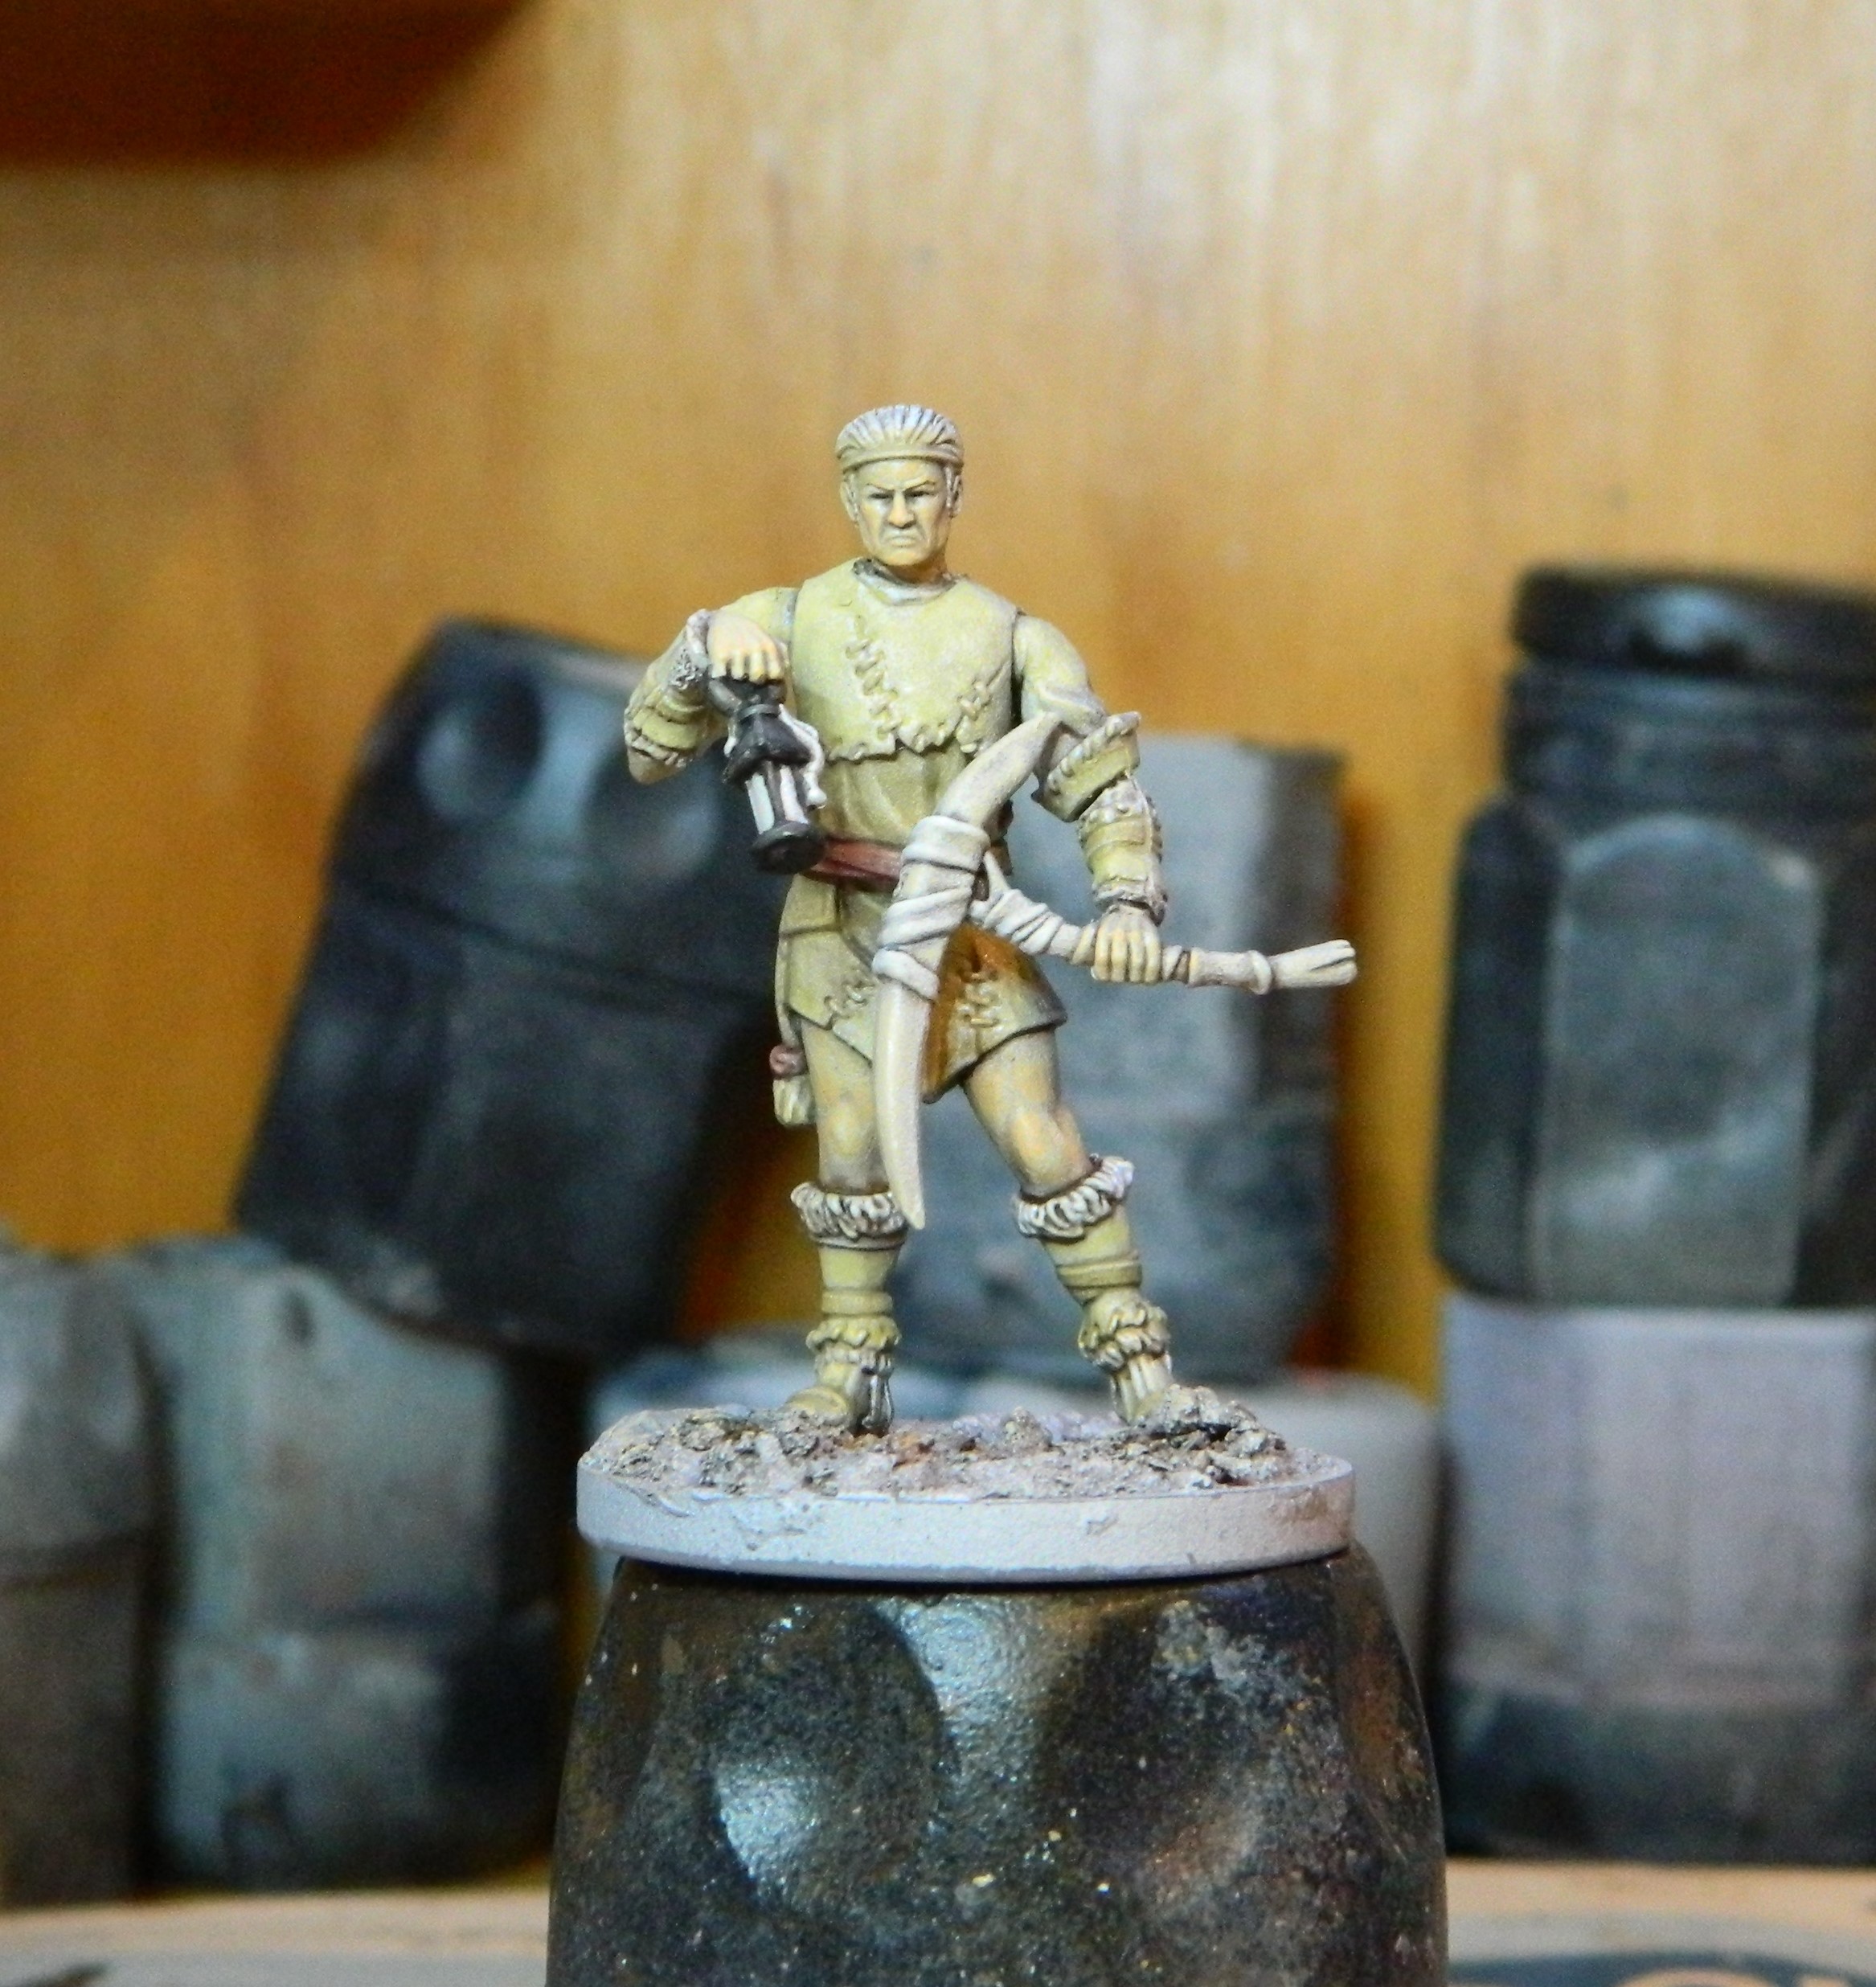
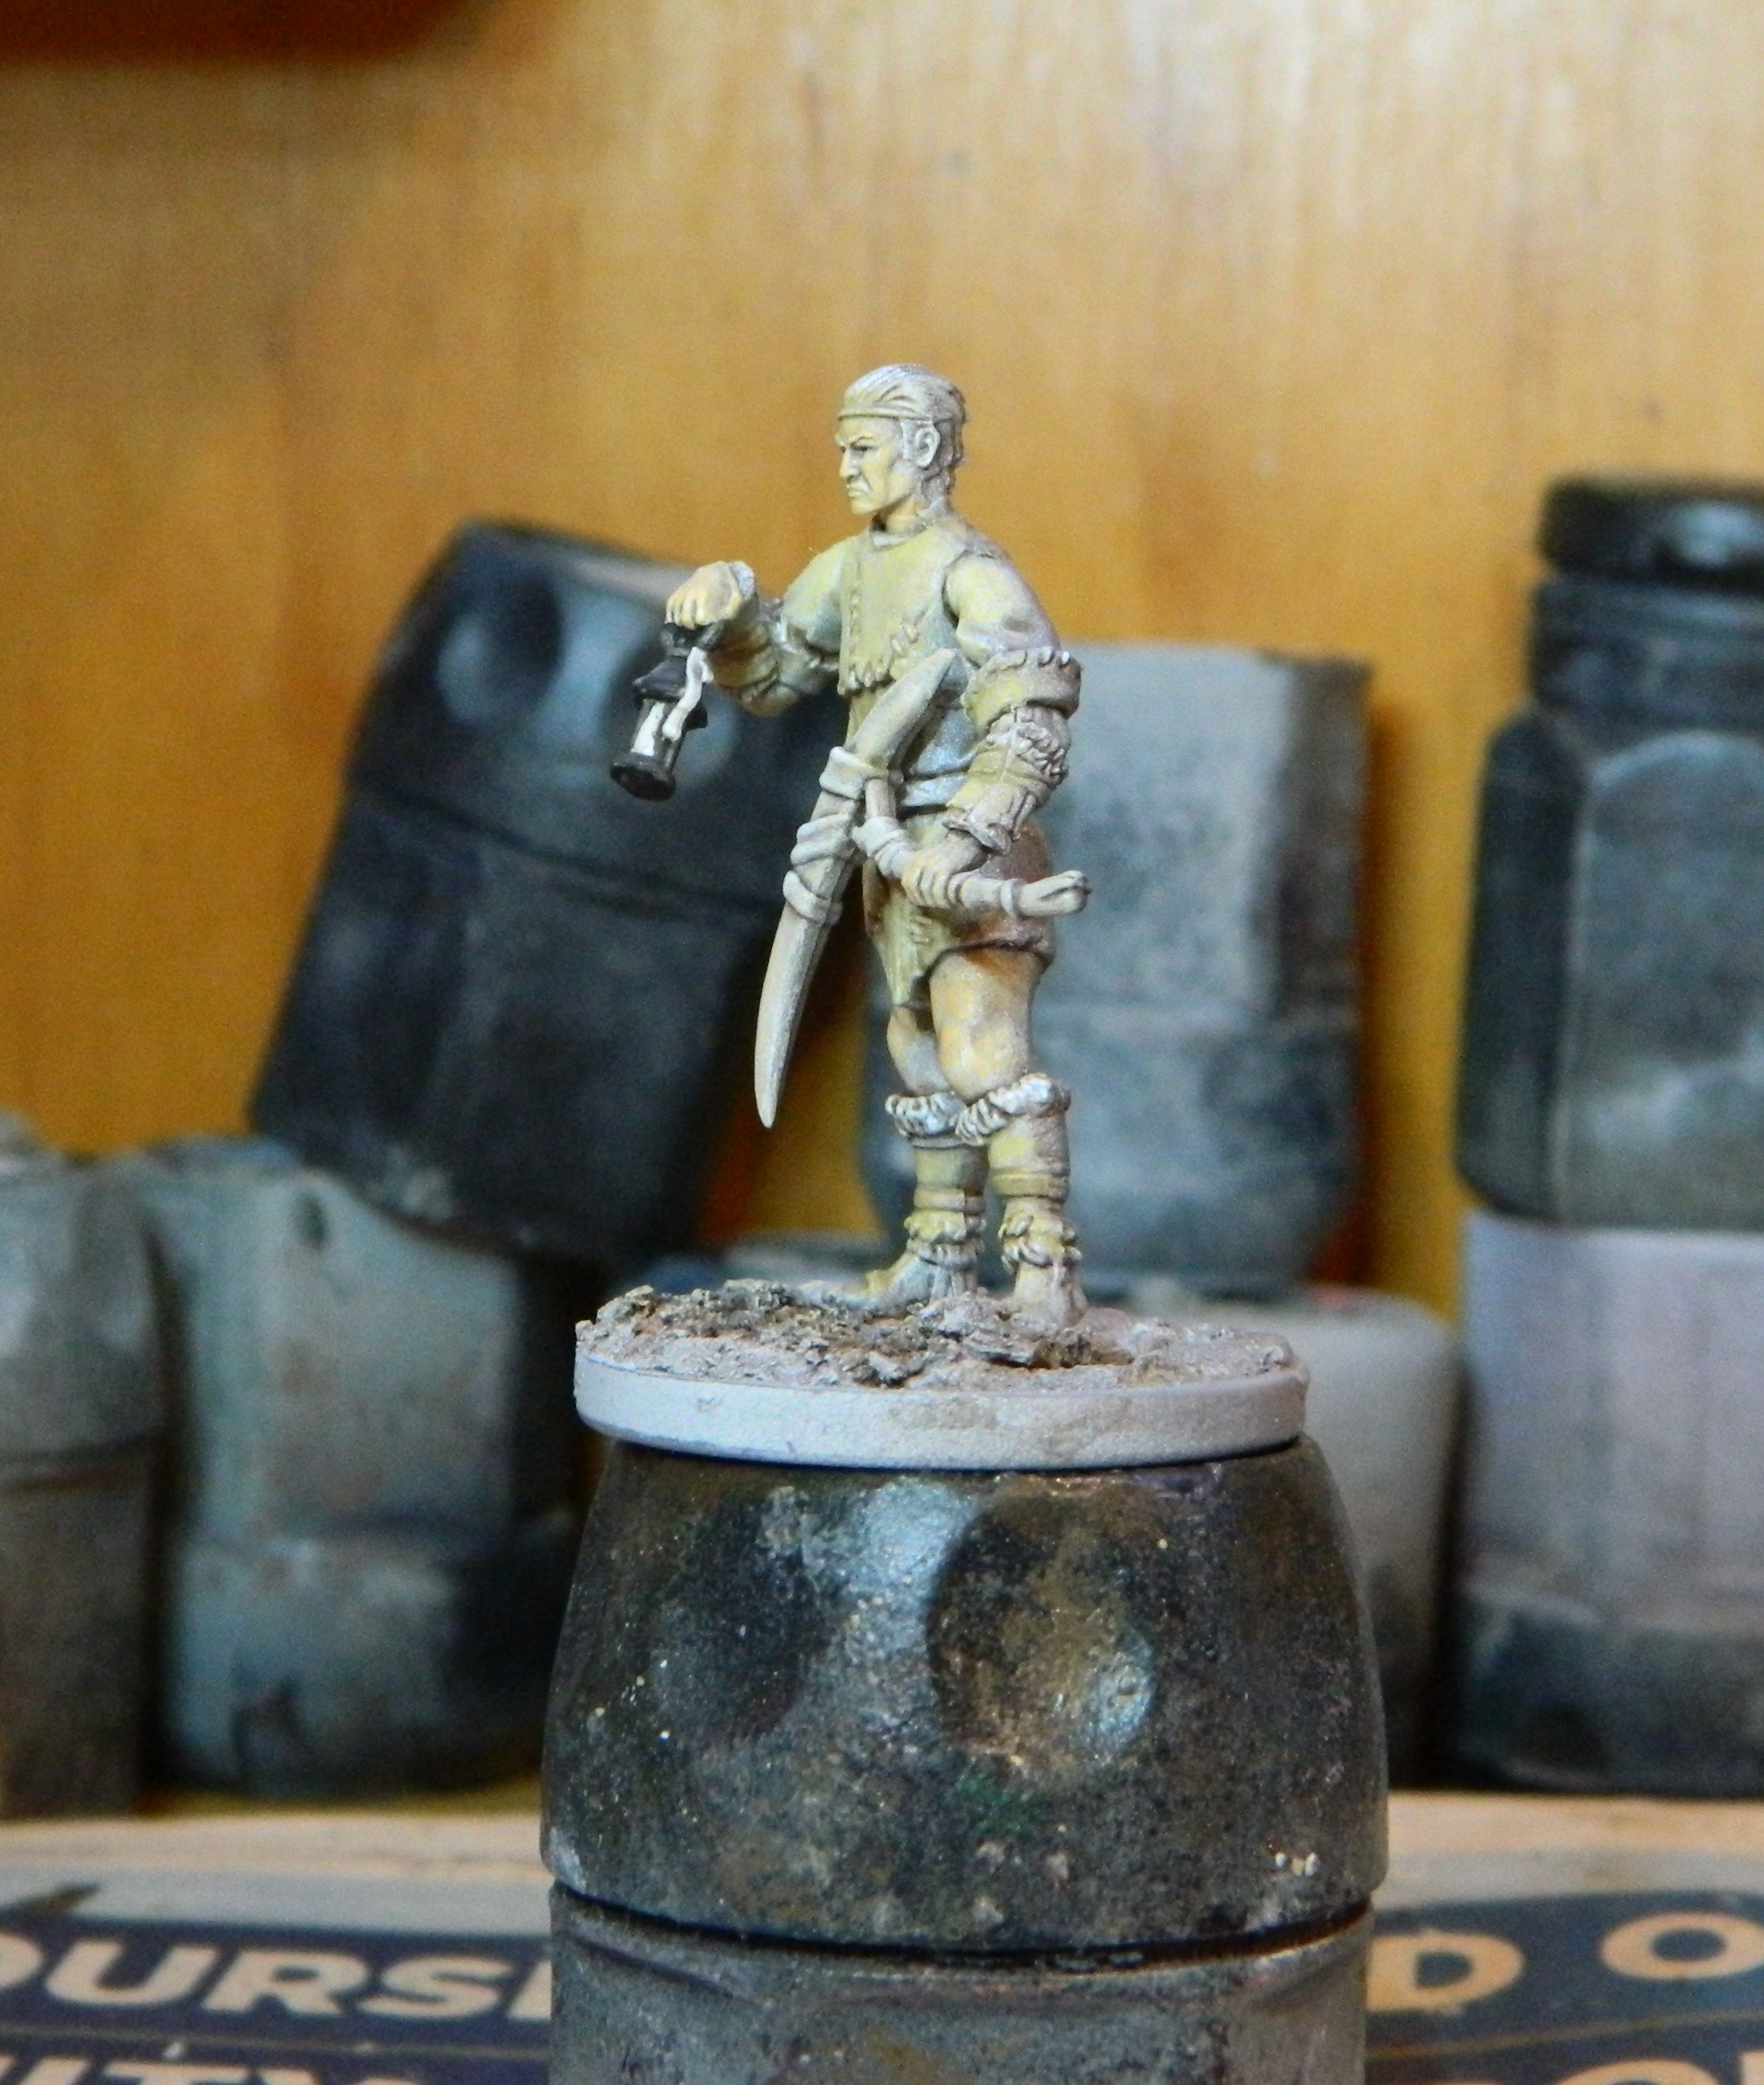
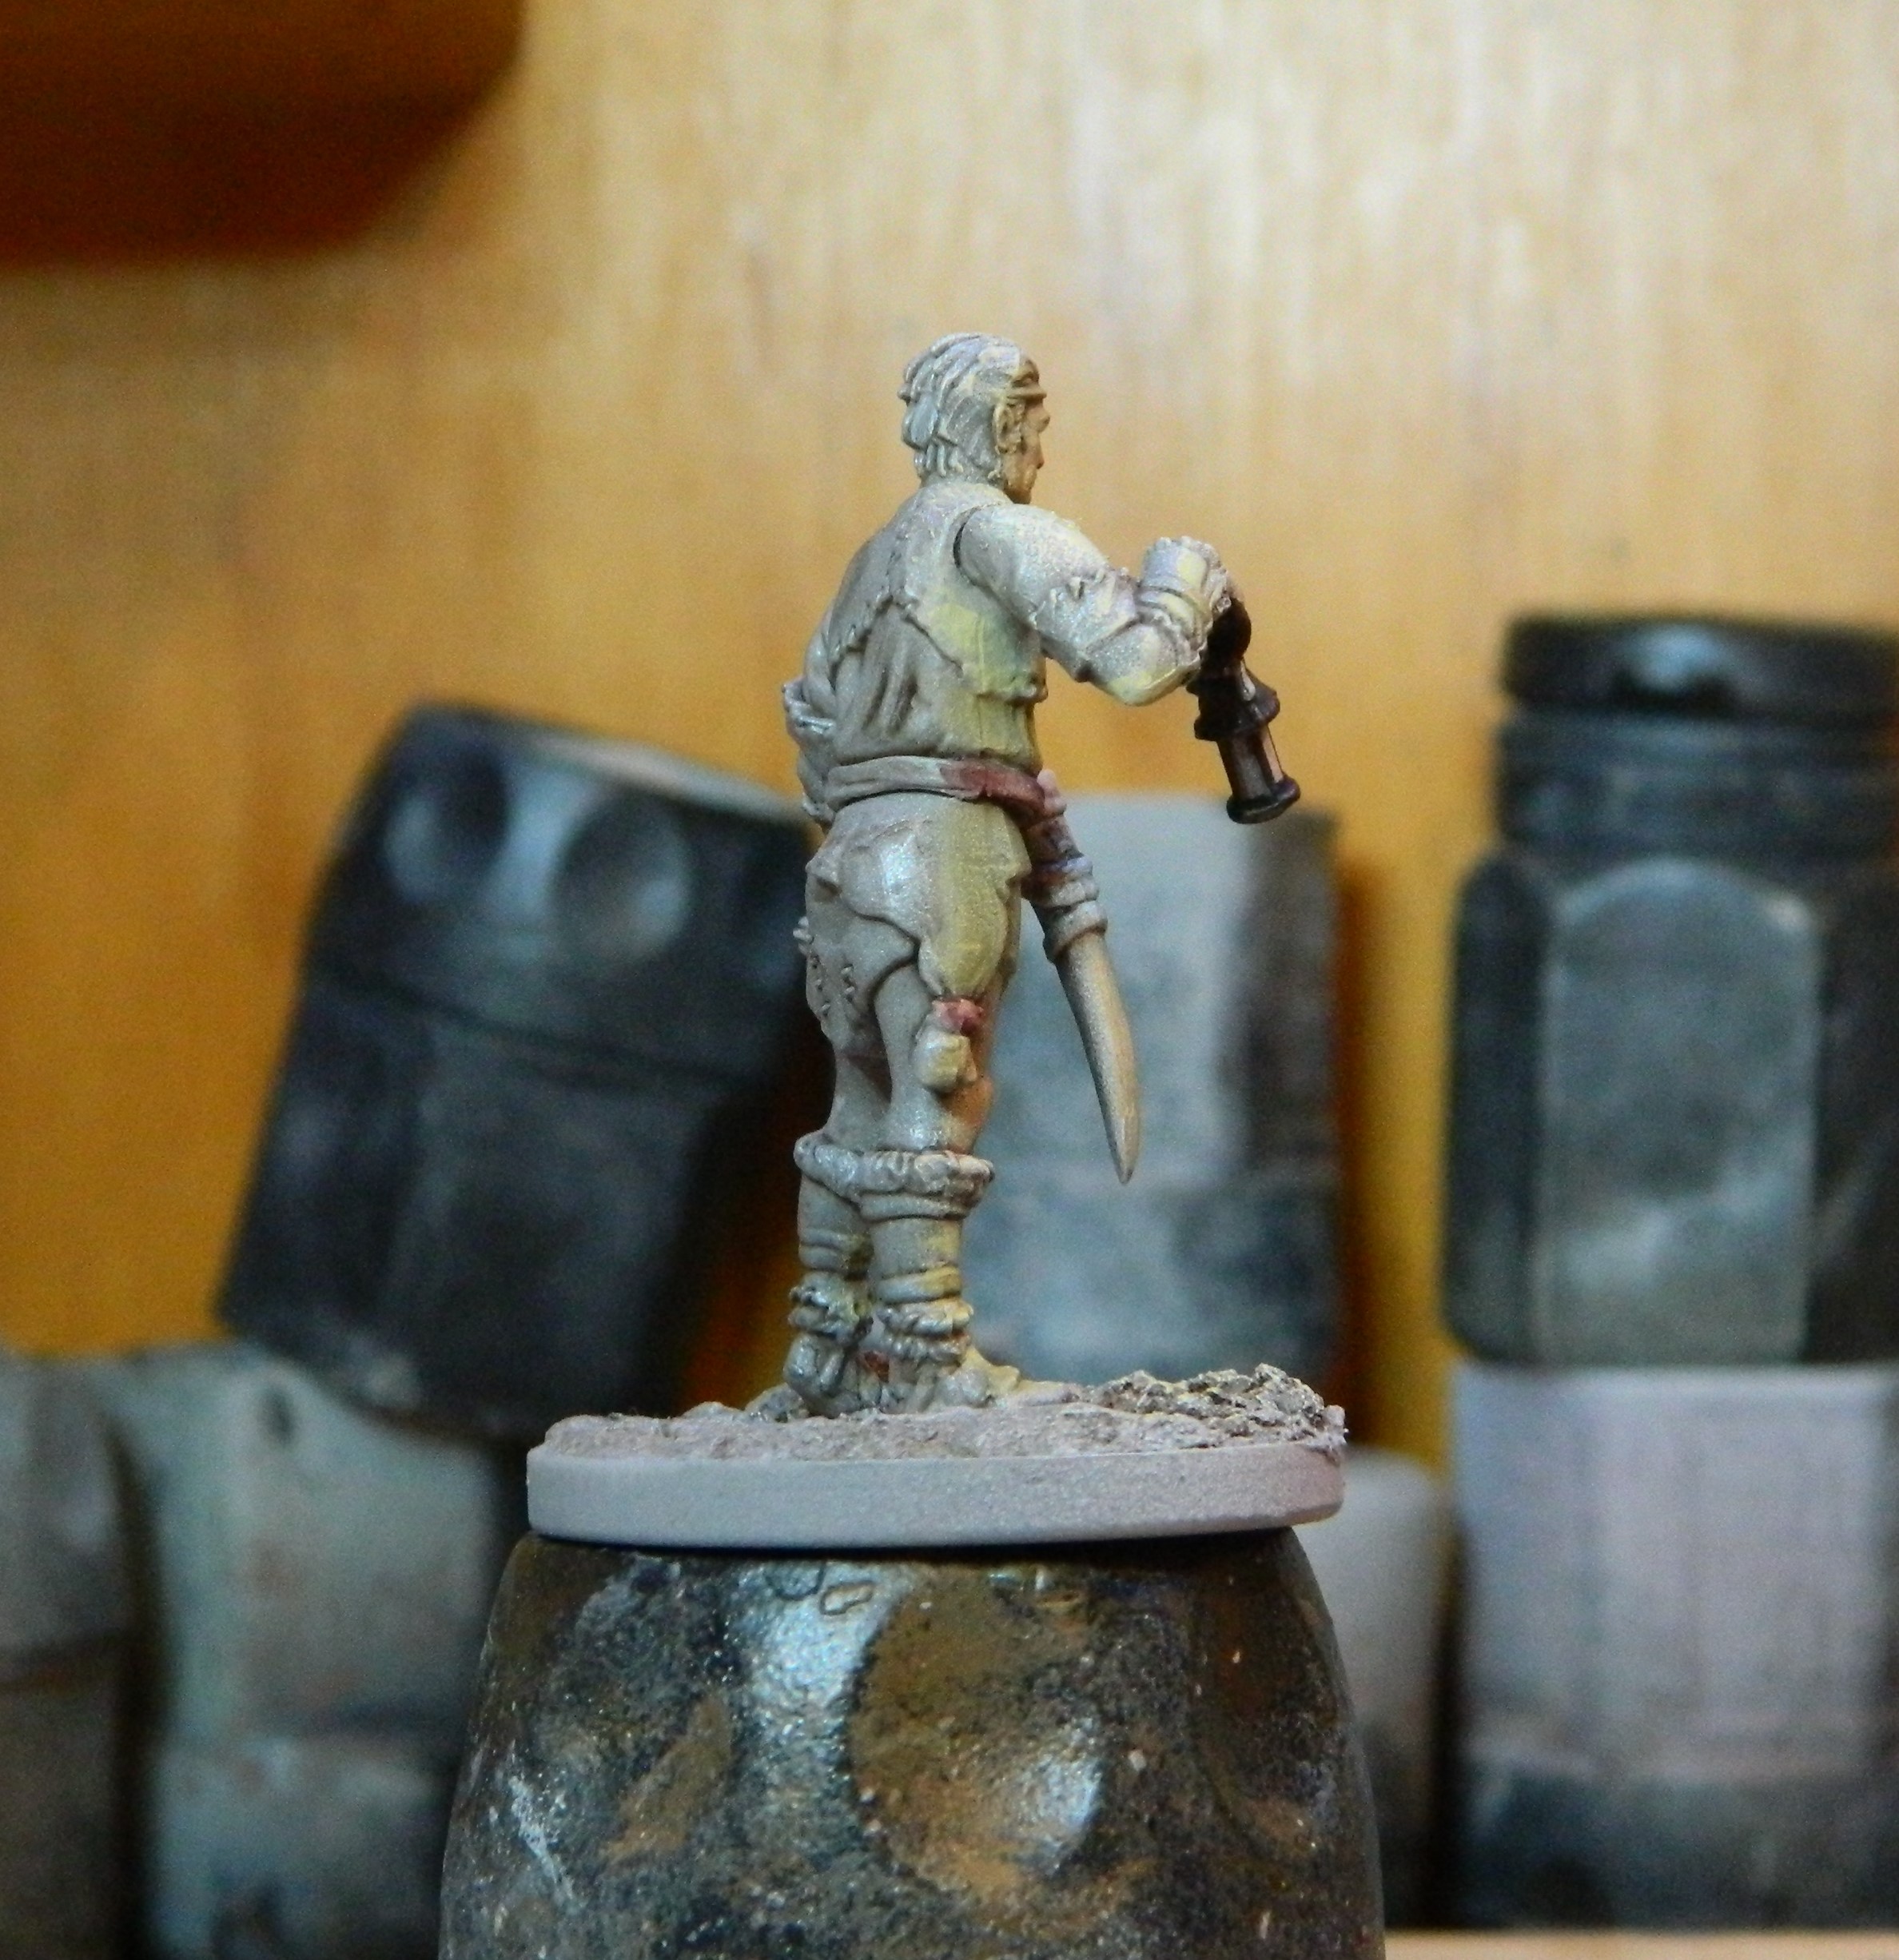
10 Aug 21: Herb Gatherer


A Herb Gatherer, based on the event from the book. Built using the Unarmoured Survivor kit.
All the same steps as the previous minis so far.
The shadow line in the third picture is noticeably harsh. It’s the horizon line between being able to draw LOS to the lantern and not. I contemplated softening at this point, but decided not to, considering that future steps will probably work to blend these areas.
Skin coloured, same as the Miner.
The difference here is that I’ve also put colour on to the rear/ unlit parts of the skin. The test between these two is to see which looks better: the fully painted, or the “OSL/mono” version.
10 Nov 21: Getting on with it...
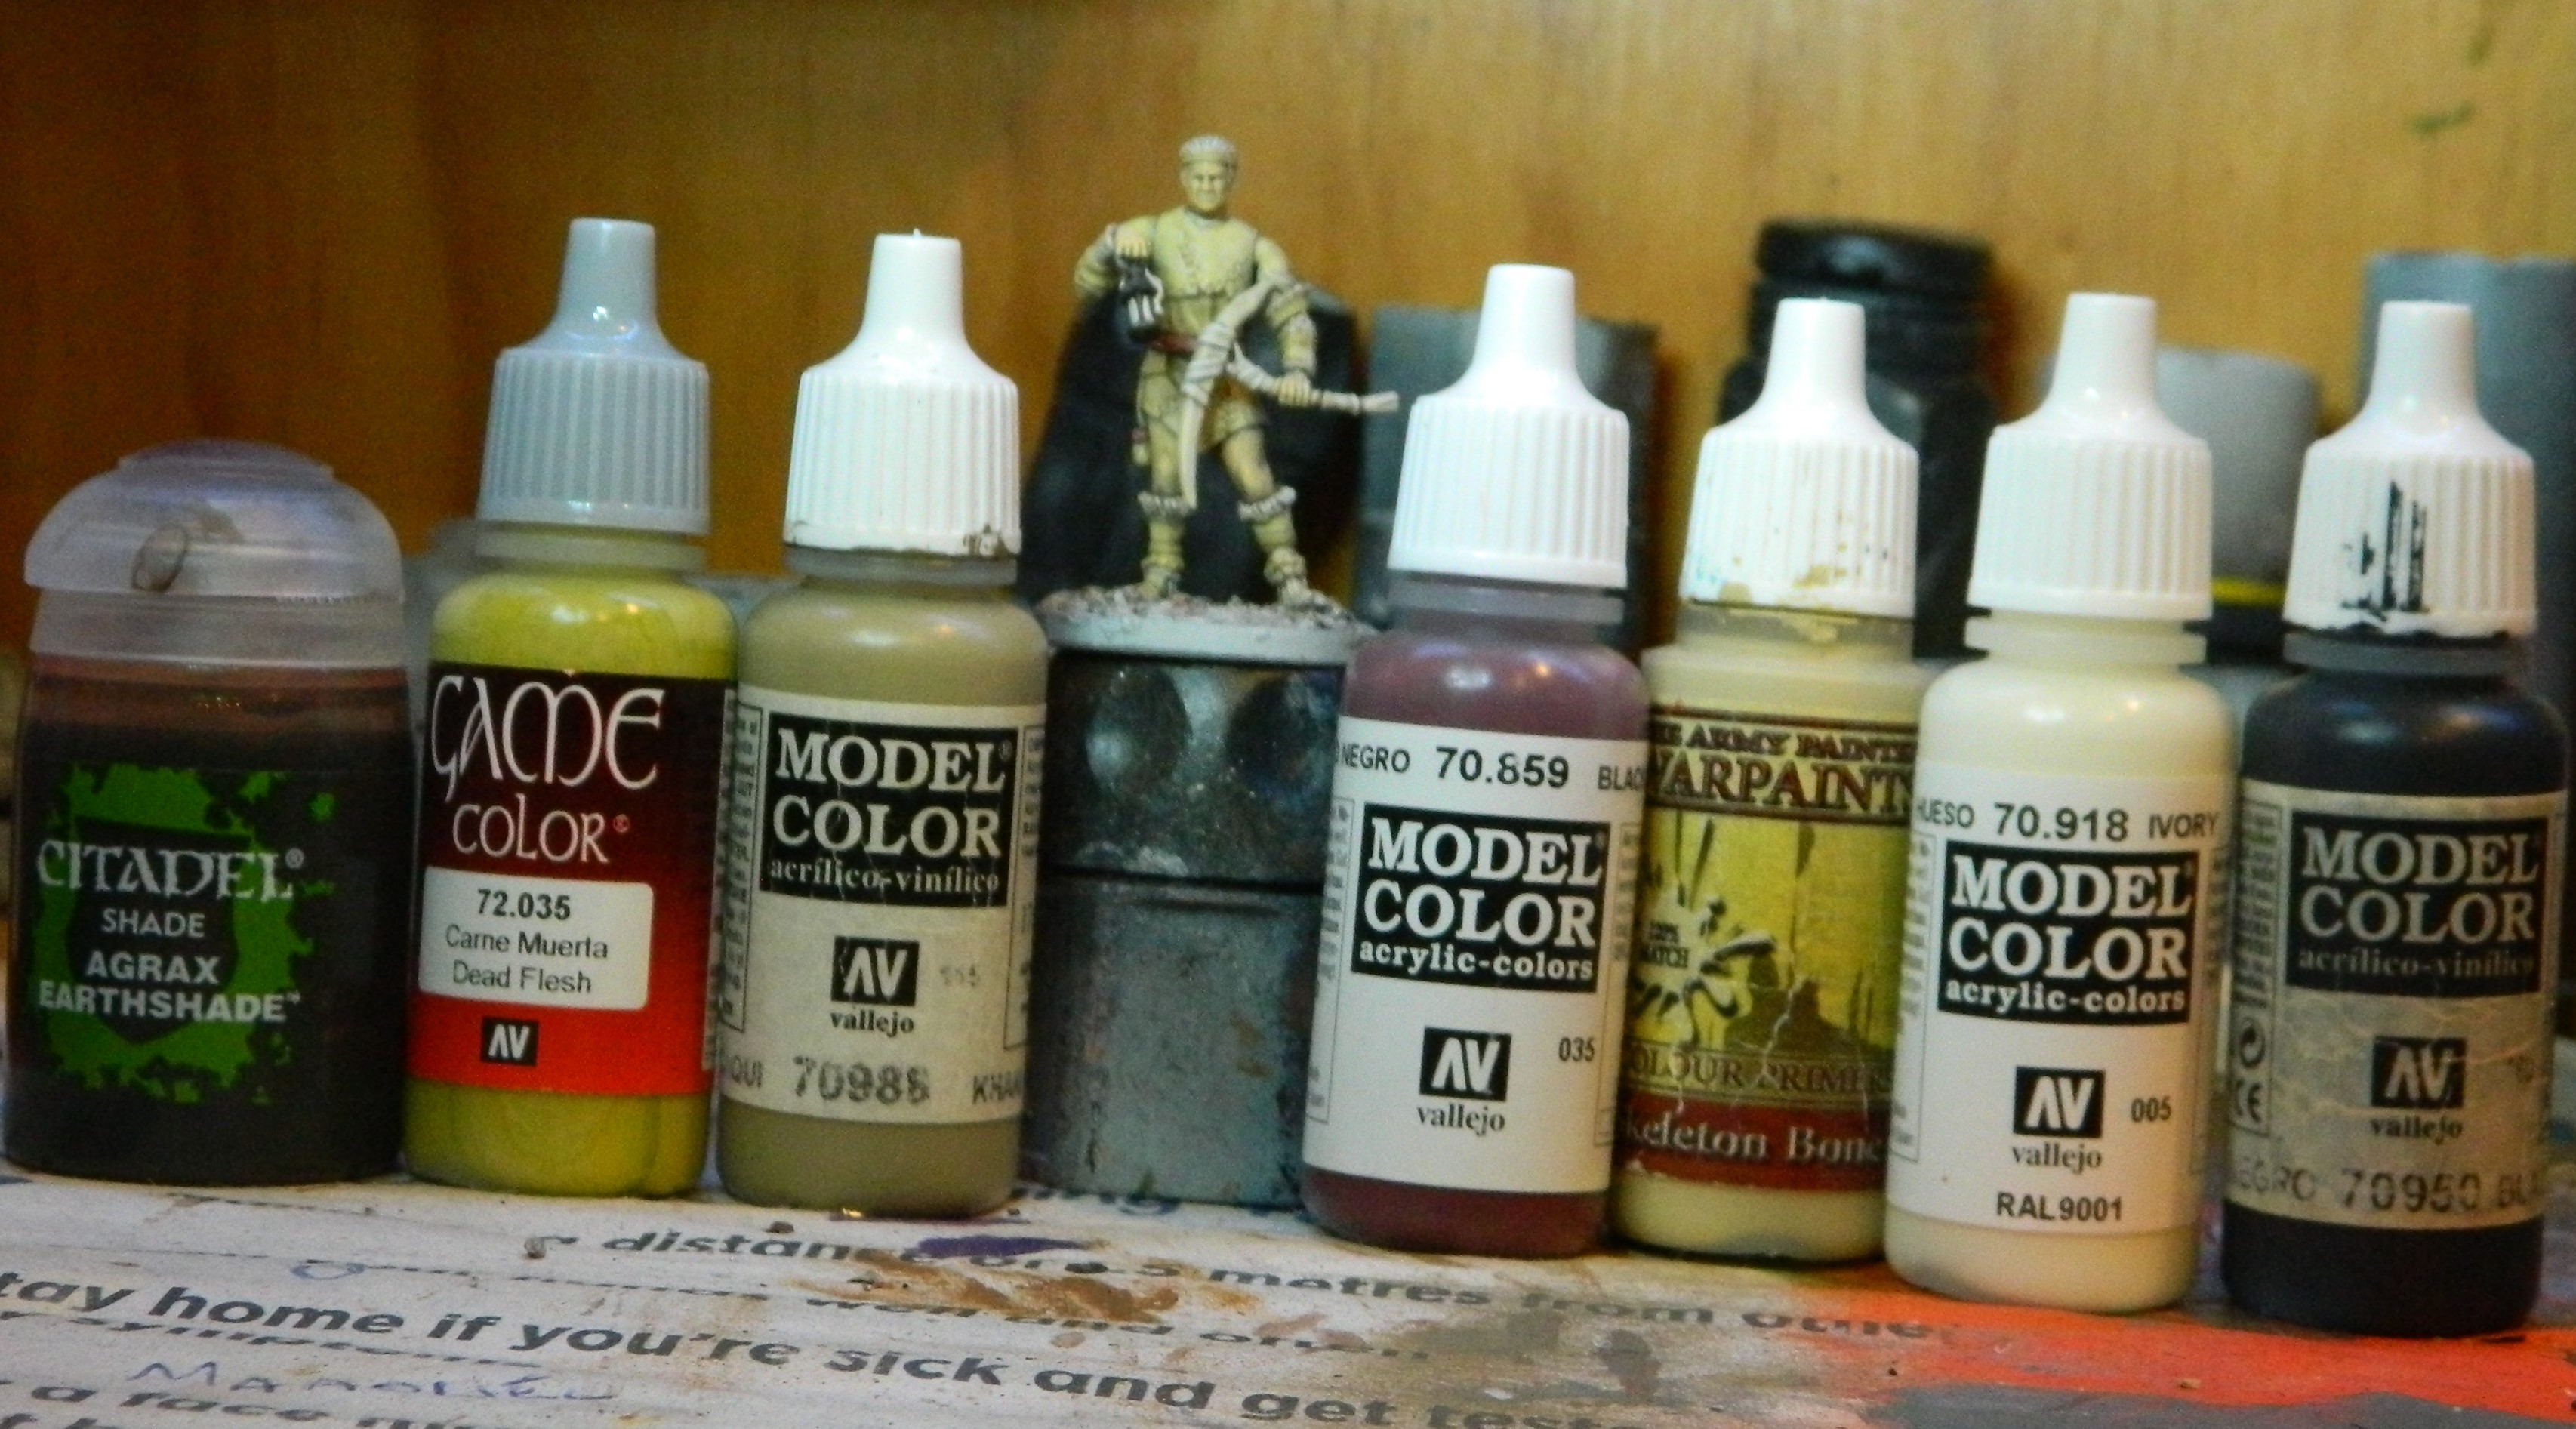
 Paints used in the next few steps.
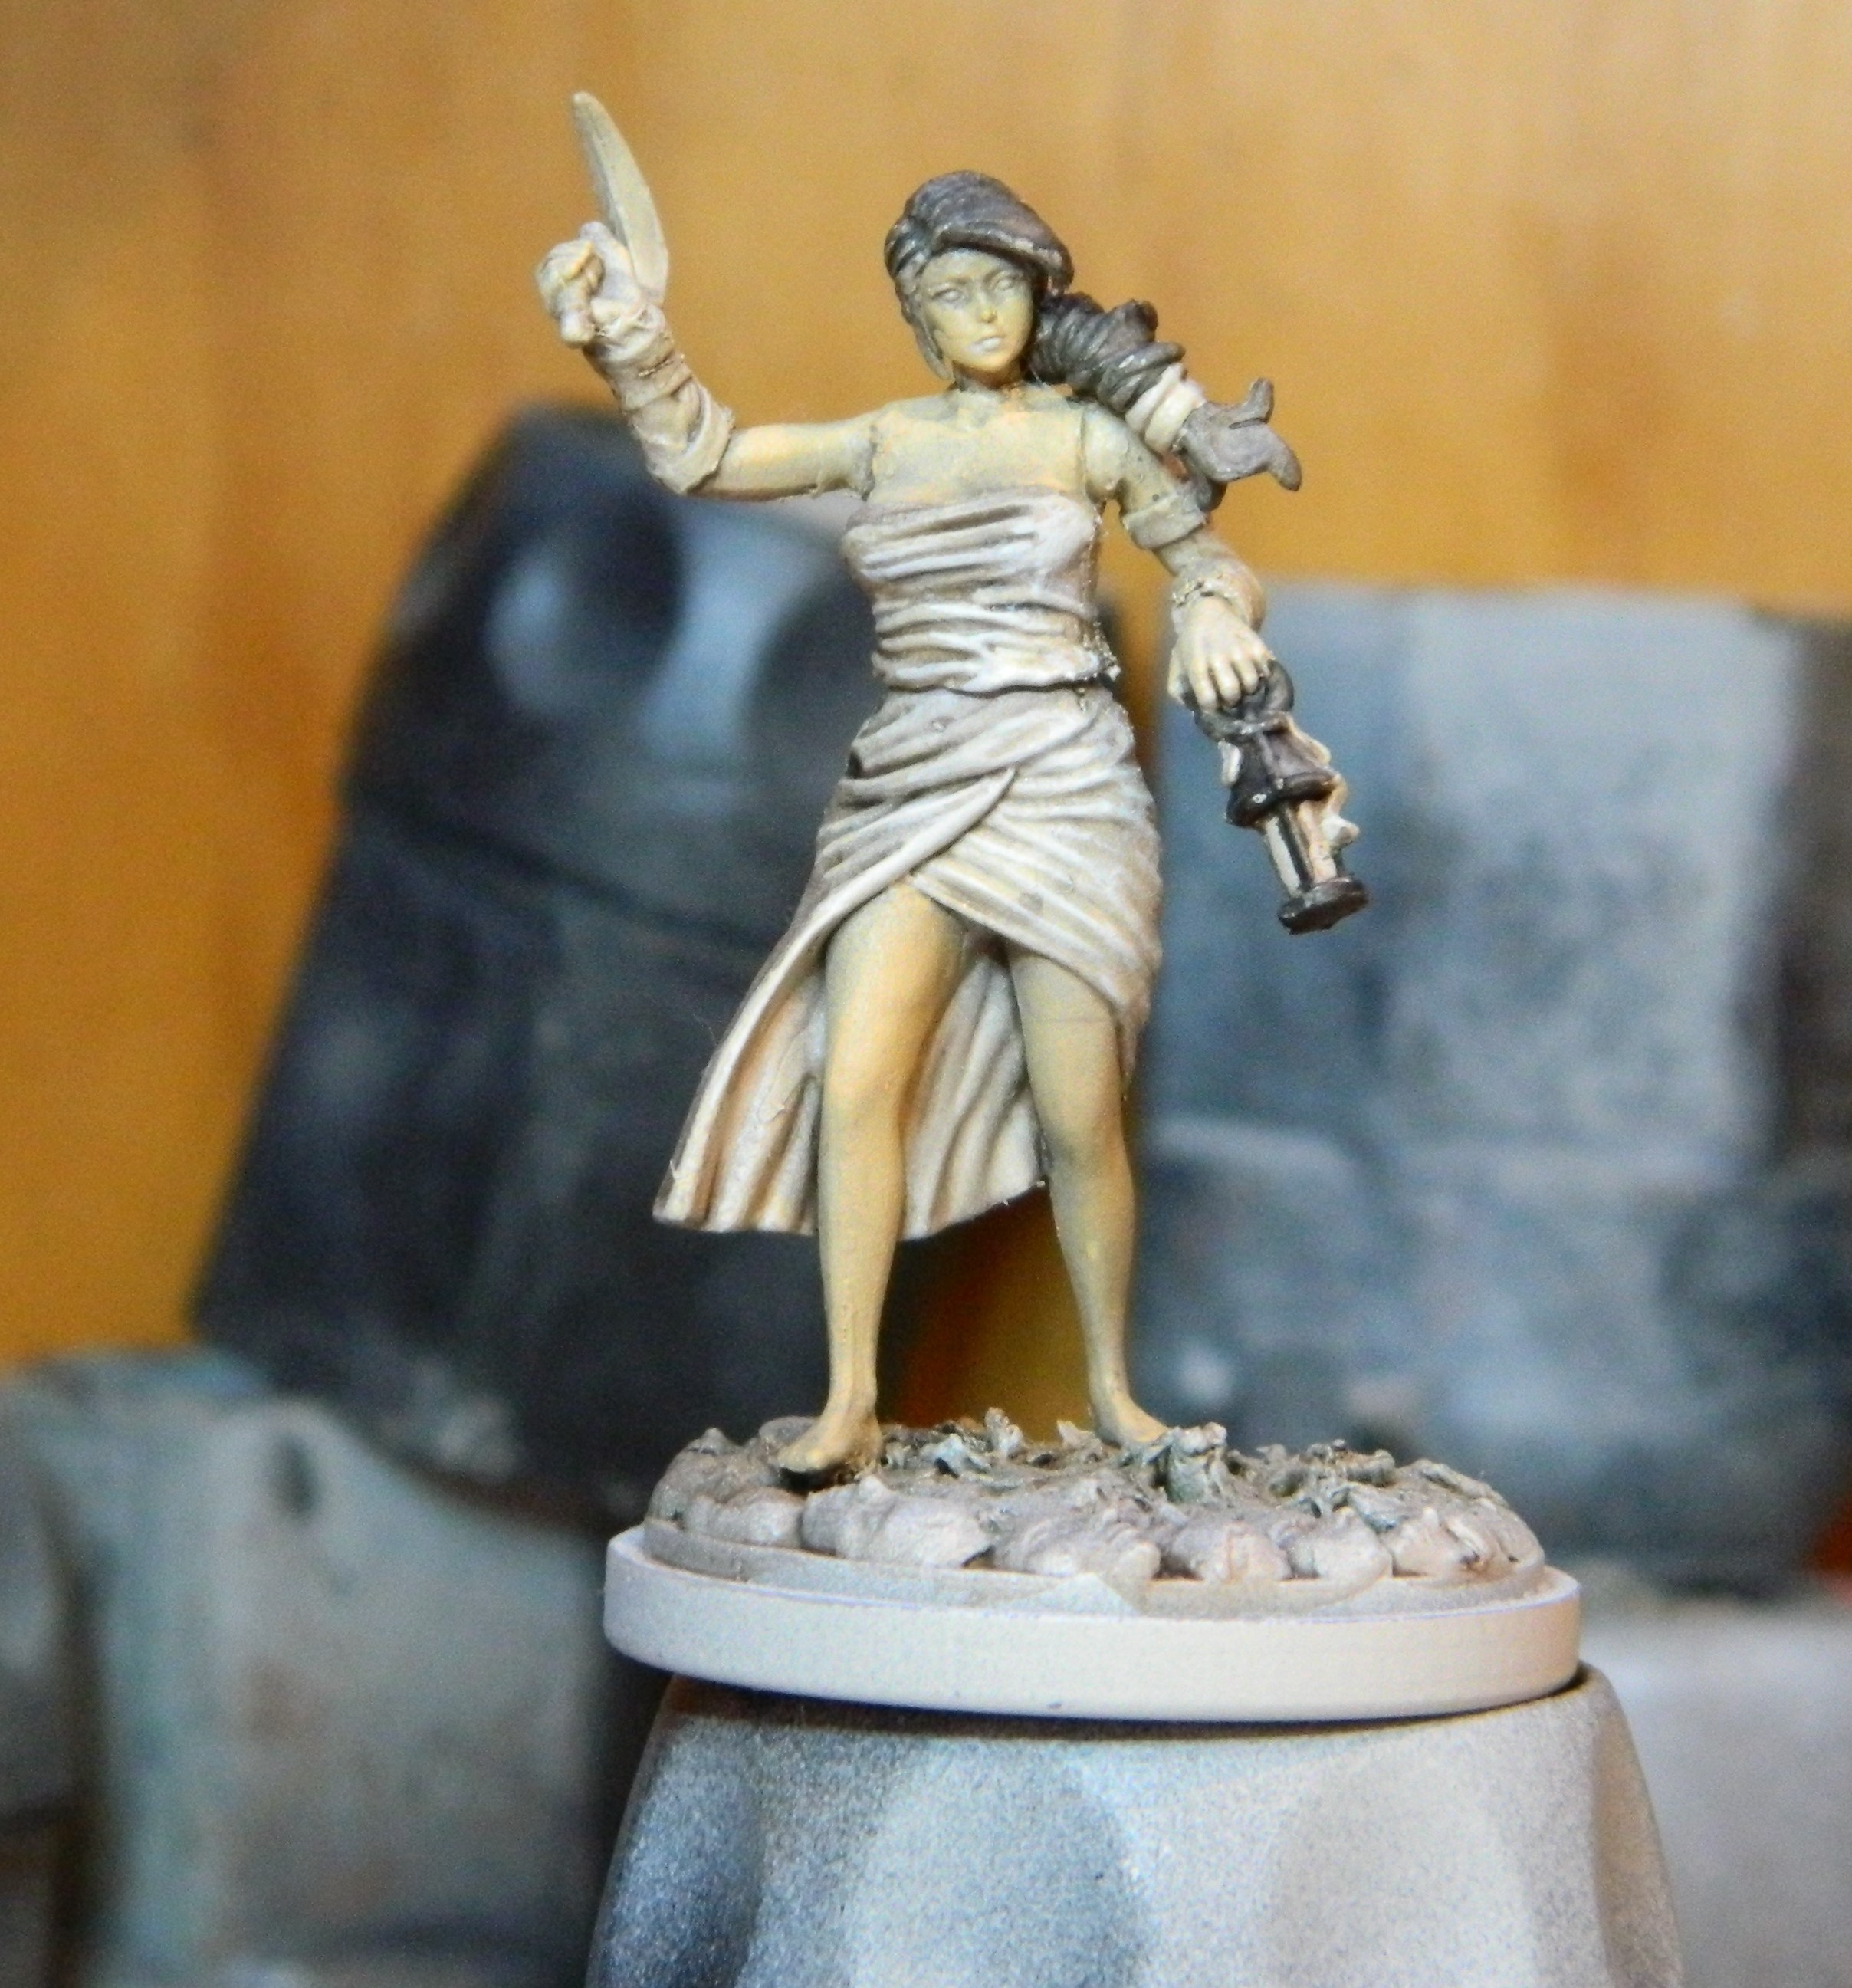


After a little break, I wanted to get back to this project.
I used glazes to build up the colour:
- AP Skeleton Bone to build up the base of the Cloth
- AV Black for the lantern and the hair
- AV Ivory for the highlight on the Cloth
I used more layers on the front/ well lit areas. The dim/ dark areas only had one or two layers. Also, I realised later that I should have put down a couple of transition layers between the Skeleton Bone and the Ivory.
There’s a still work to do, but the experimentation between the two options (this style and the Miner) is working to get the ideas out from my head and onto painted minis.
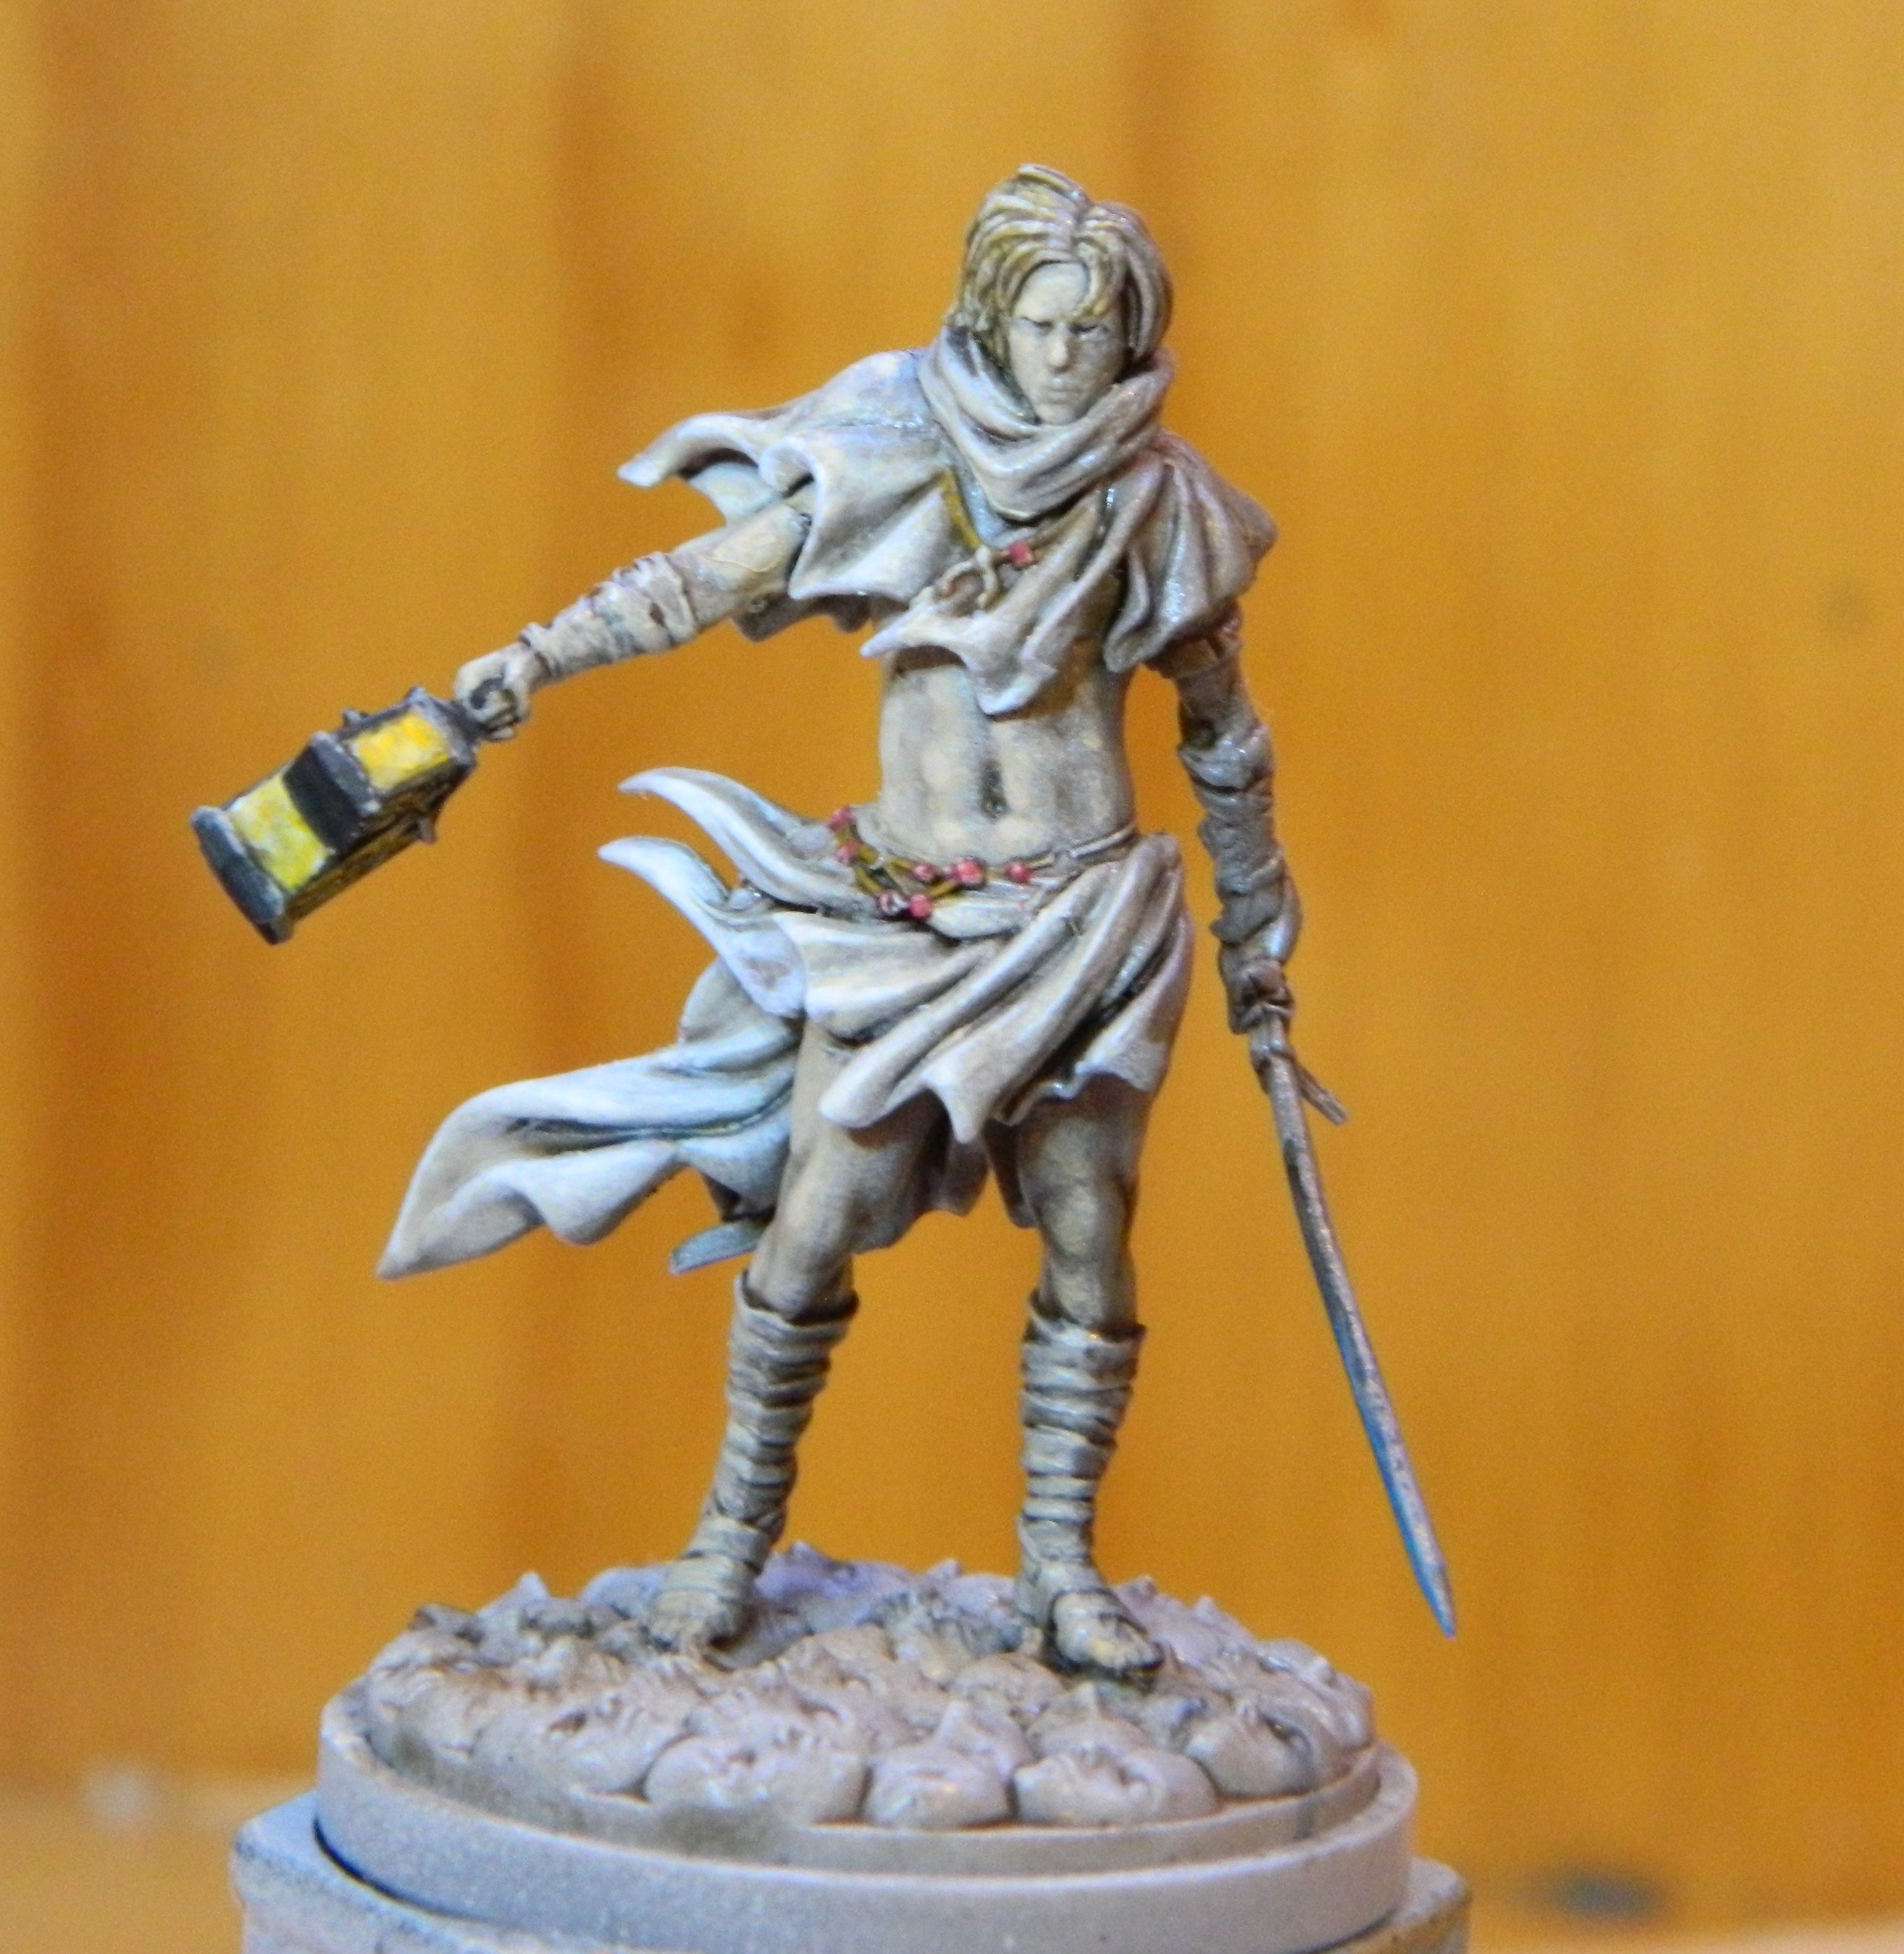
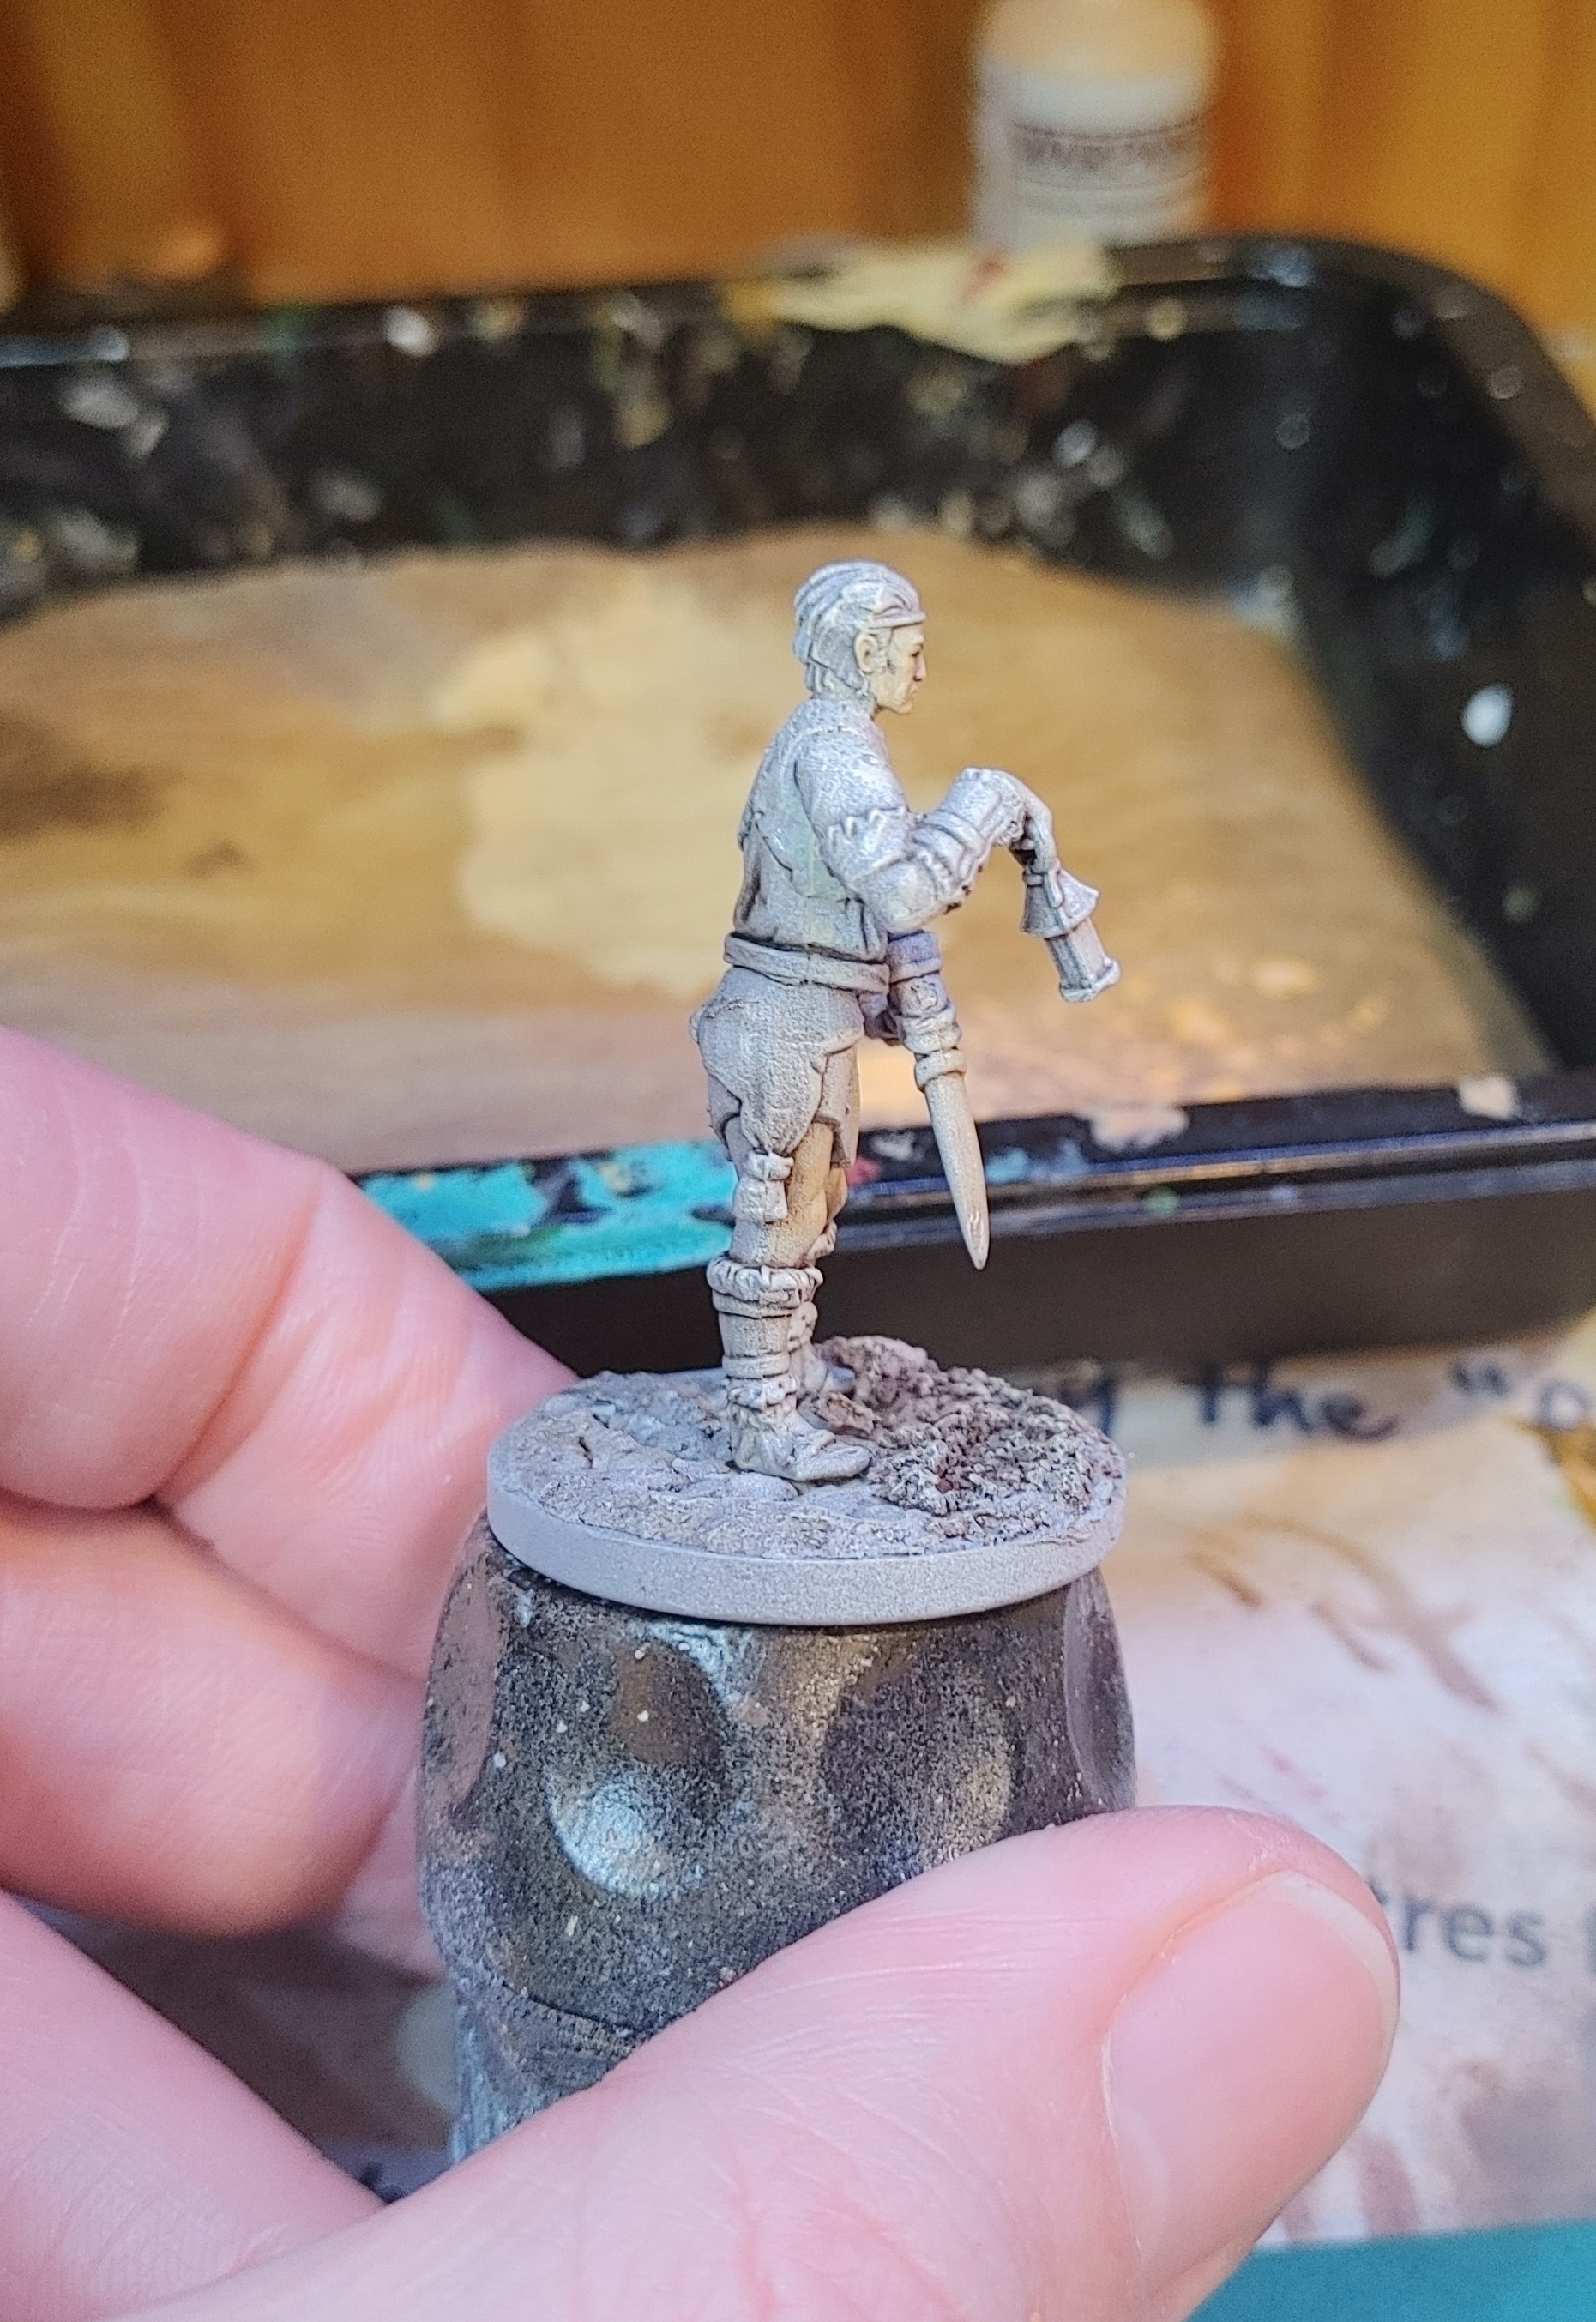
09 Aug 21: The Miner
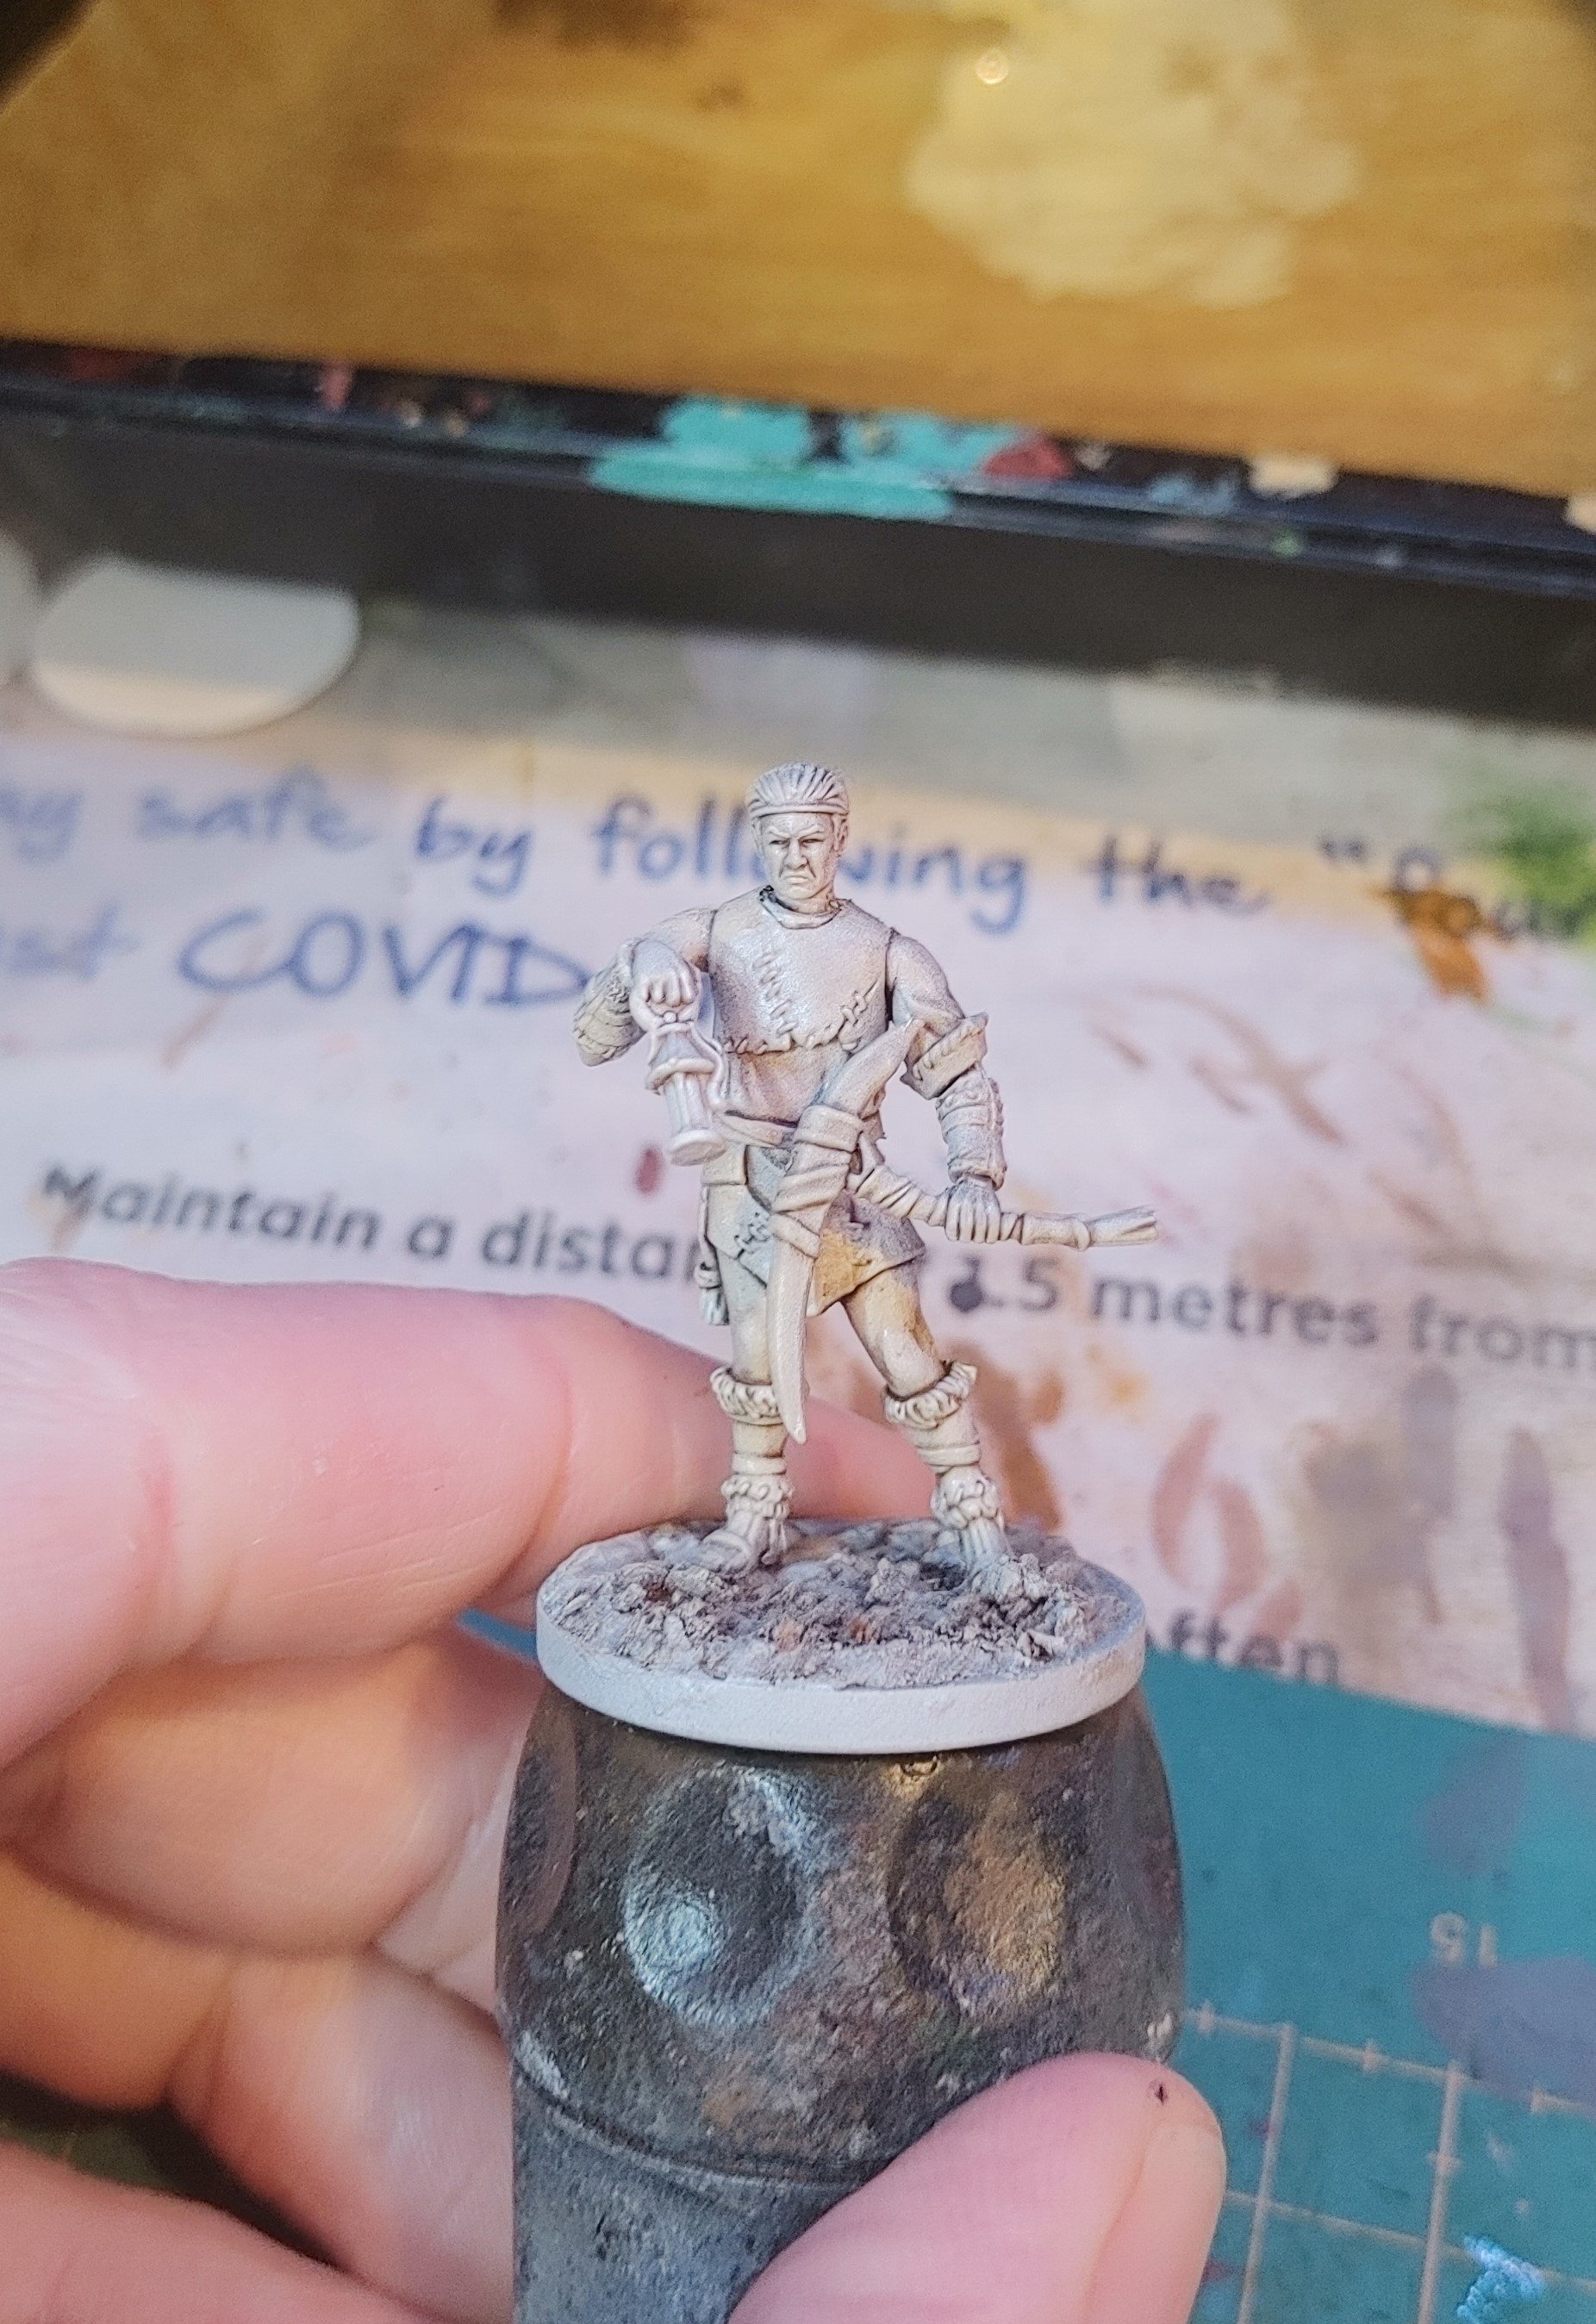 A Miner built from the multipart kit. Rawhide gear and a bone pick-axe.
 This is the first of two generic survivors built around an in-game event: Mineral Gathering.
At this point the mini has had the same treatment as the previous post up to and including the drybrush with AP Skeleton Bone.
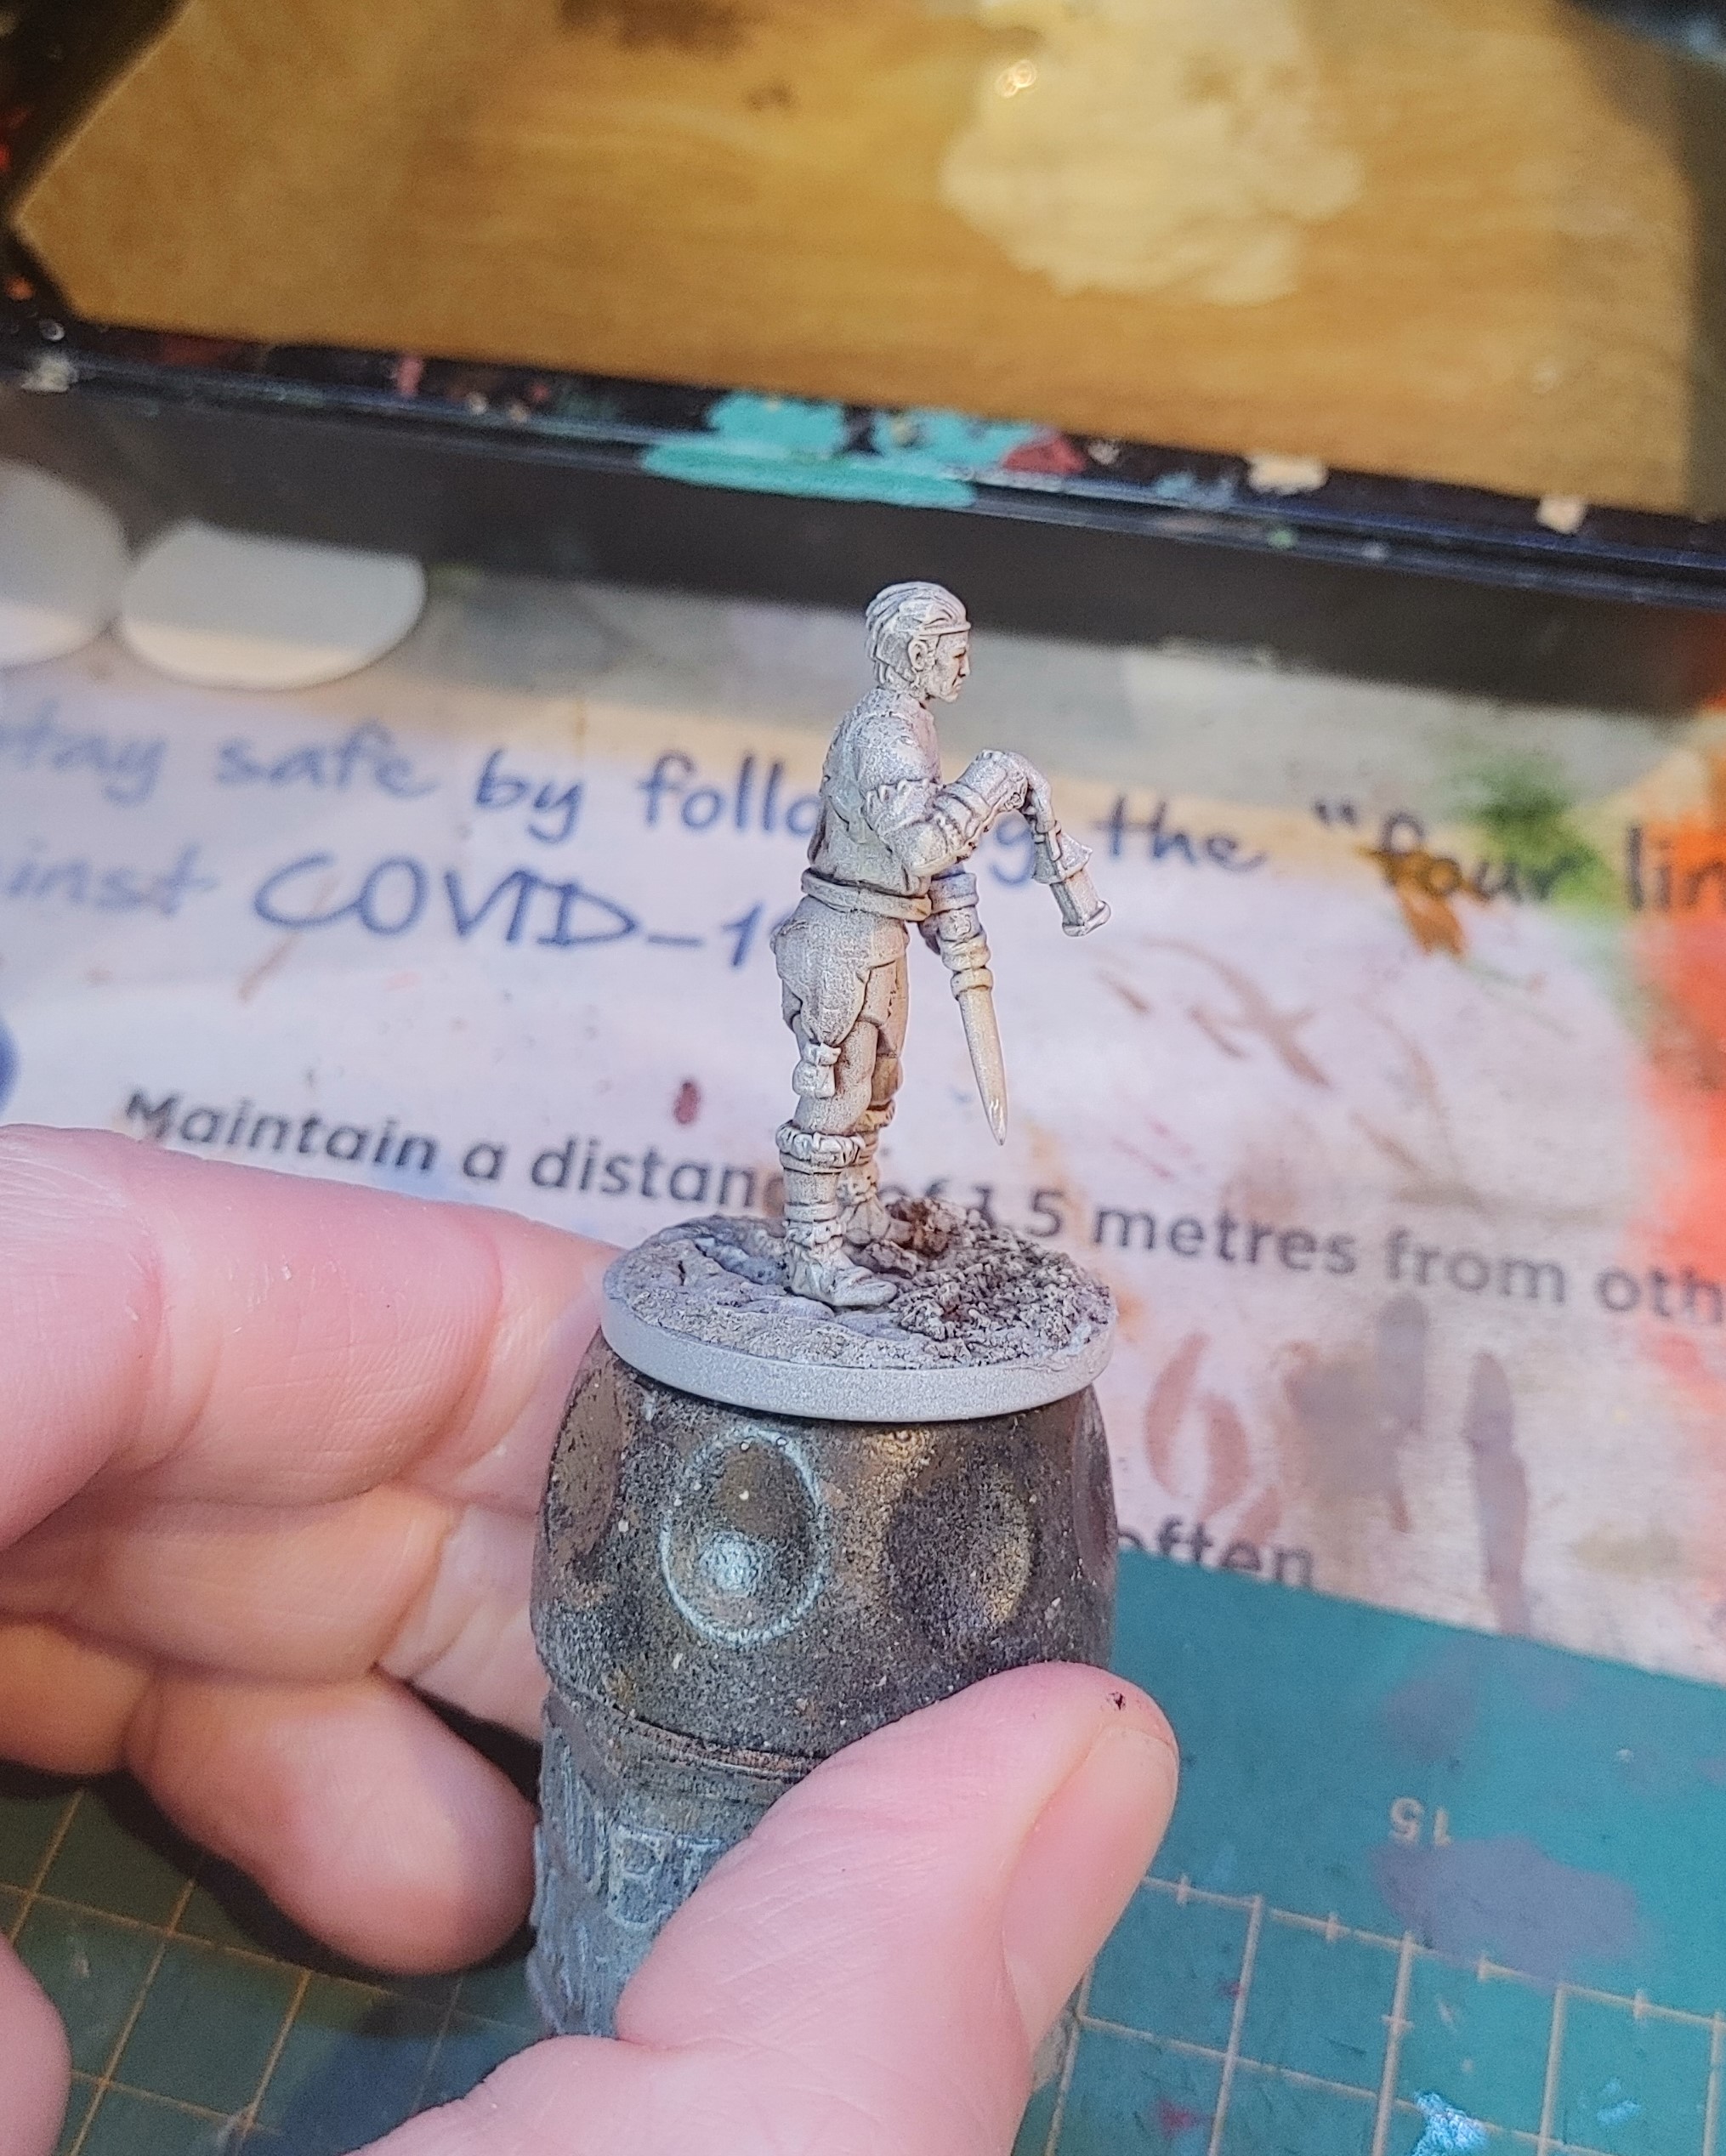
10 Aug 21: Skin
Skin tone is Mantic/Army Painter Warpaints Flesh.
Very thinned down with water, applied as glazes. Three coats got me to here:


This is a test!
There’s much work to be done, but in this project I’m aiming to get to grips with basic OSL. On this mini I’ll only be painting in colour where light would fall on the mini, using the lantern as the source. I guess it’ll be OSL? Just not in the usual definition…
9 Nov 21: Get it done!


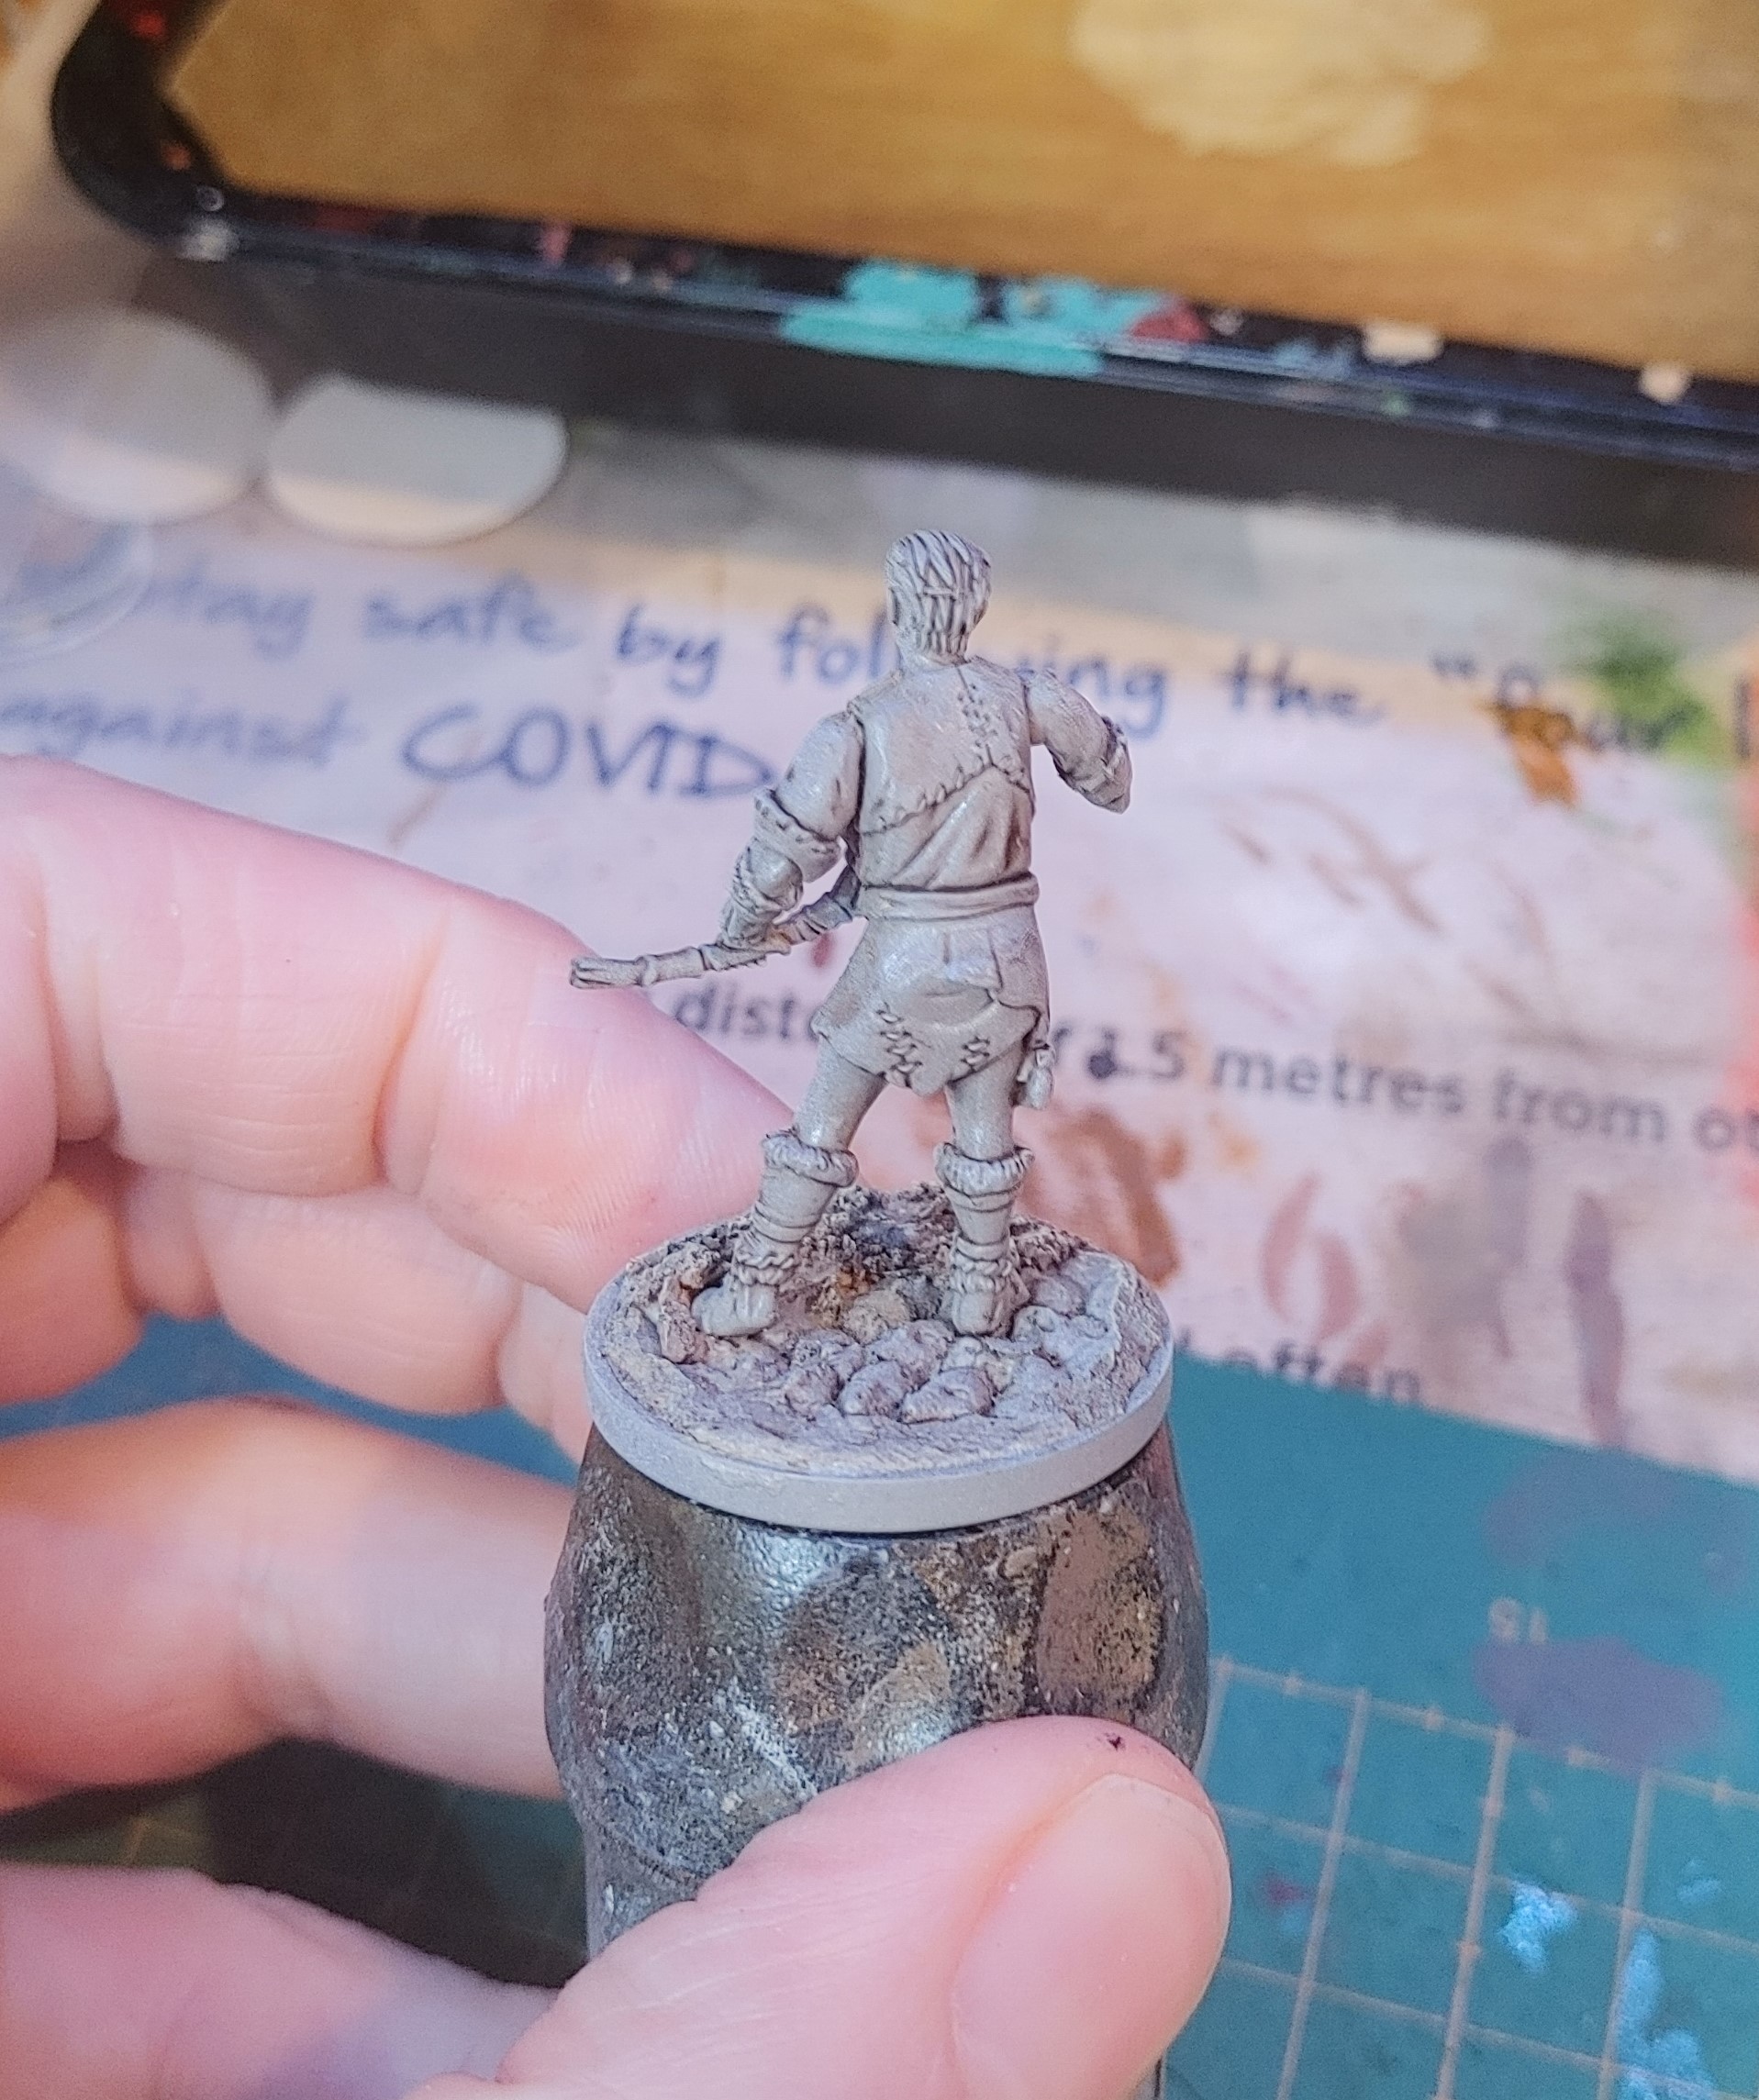
28 Jul 21: Starting Survivors, started
 Starting Survivors: Allister, Lucy, Zachary, Erza
These four named characters are commonly known as the Starting Survivors.
Although named, they can represent any starting survivors, clad only in the cloth that they awake in and gripping shards of stone ripped from the carved faces of the ground.
The steps so far:
- Grey spray primer
- Citadel Wraith Bone spray – from the Lantern direction ONLY
- Citadel Agrax Earthshade wash over the whole mini, moderate coverage
- 2nd wash of Agrax, only on the “dark side” of the mini.
To elaborate a little – the Wraith Bone was sprayed from the direction that the lantern was being held. The idea is a basic OSL here… an effect I have NEVER tried before!
The second Agrax wash is placed to darken the opposite side of the mini. When looking to place it I tried to draw LoS to the lantern, if I could see the lantern, no shade was applied.
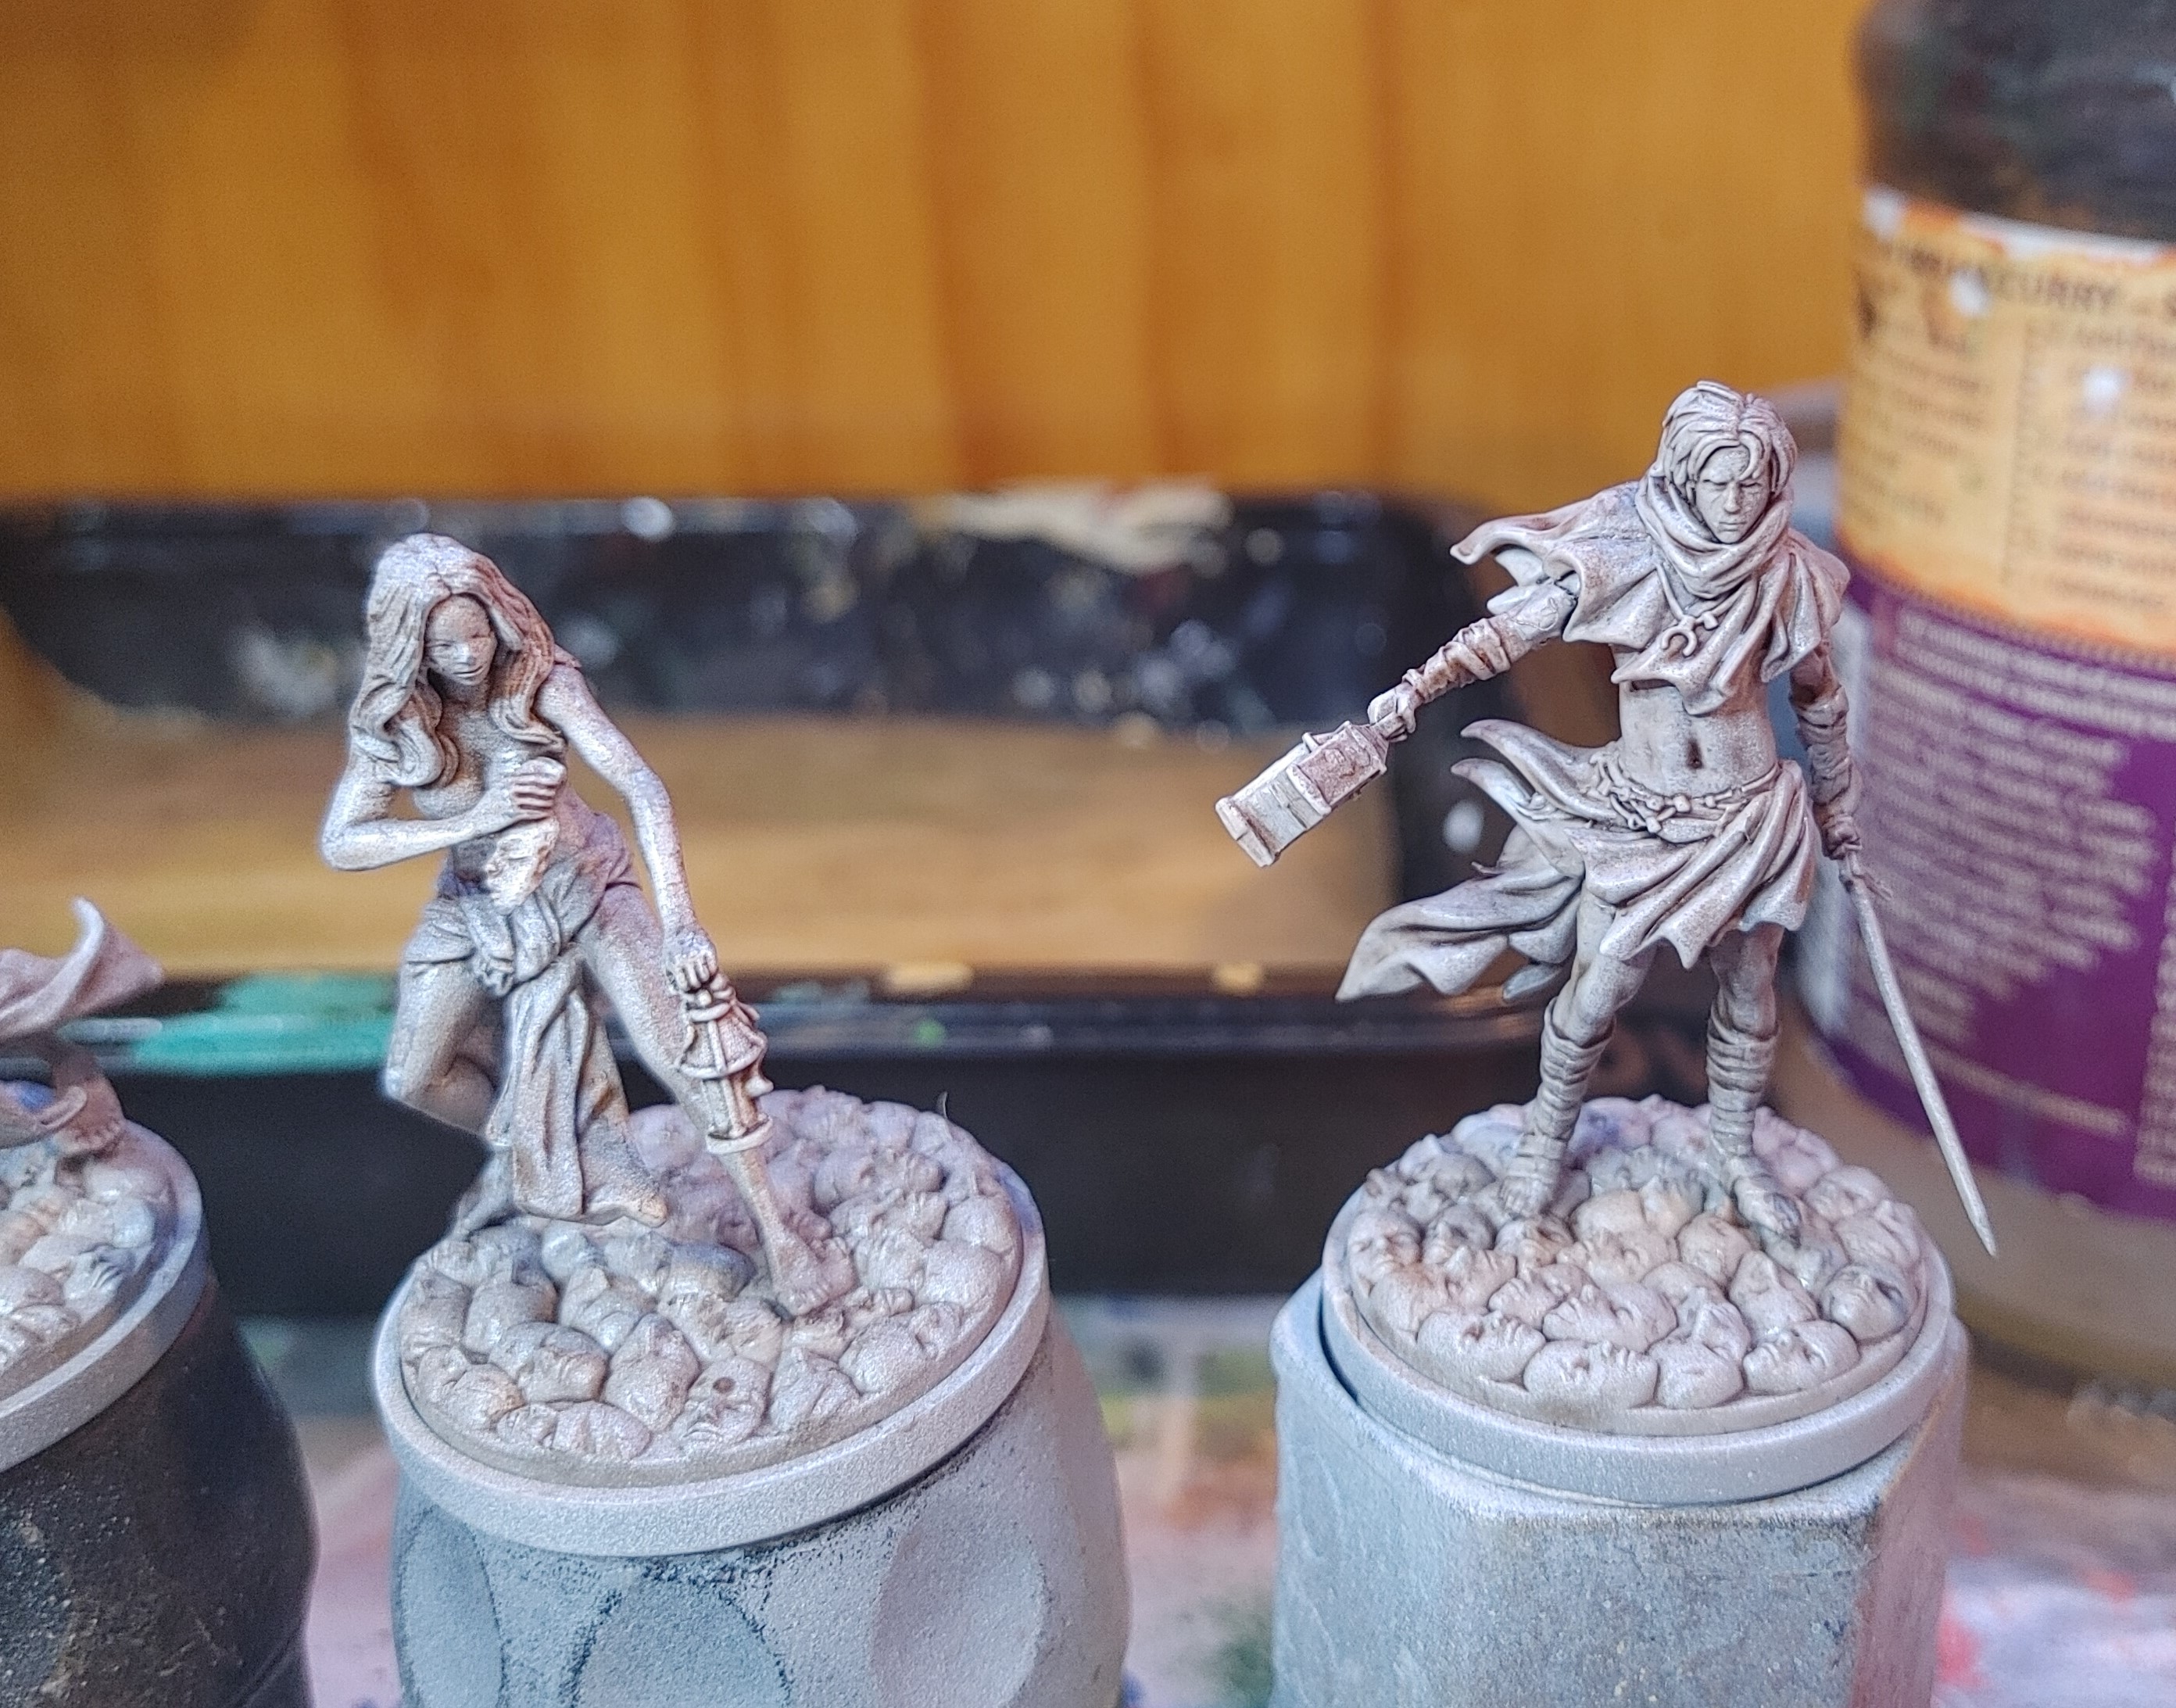 Erza and another survivor
02 Aug 21: Highlight...ish?
 A drybrush of AP Skeleton Bone was applied to one of these two...
So… the mini on the right of this pic had a drybrush of Skeleton Bone applied to bring up the high areas of the mini. Yet compared to the mini on the left, which has not, there seems to be no discernable difference…
The drybrush was applied only on the lantern side, radiating out from the lantern itself. Undaunted, I continue on my journey. I picked out another two survivors from the multipart kit that I had previously built, and decided on them to be my guides through the unknown.