


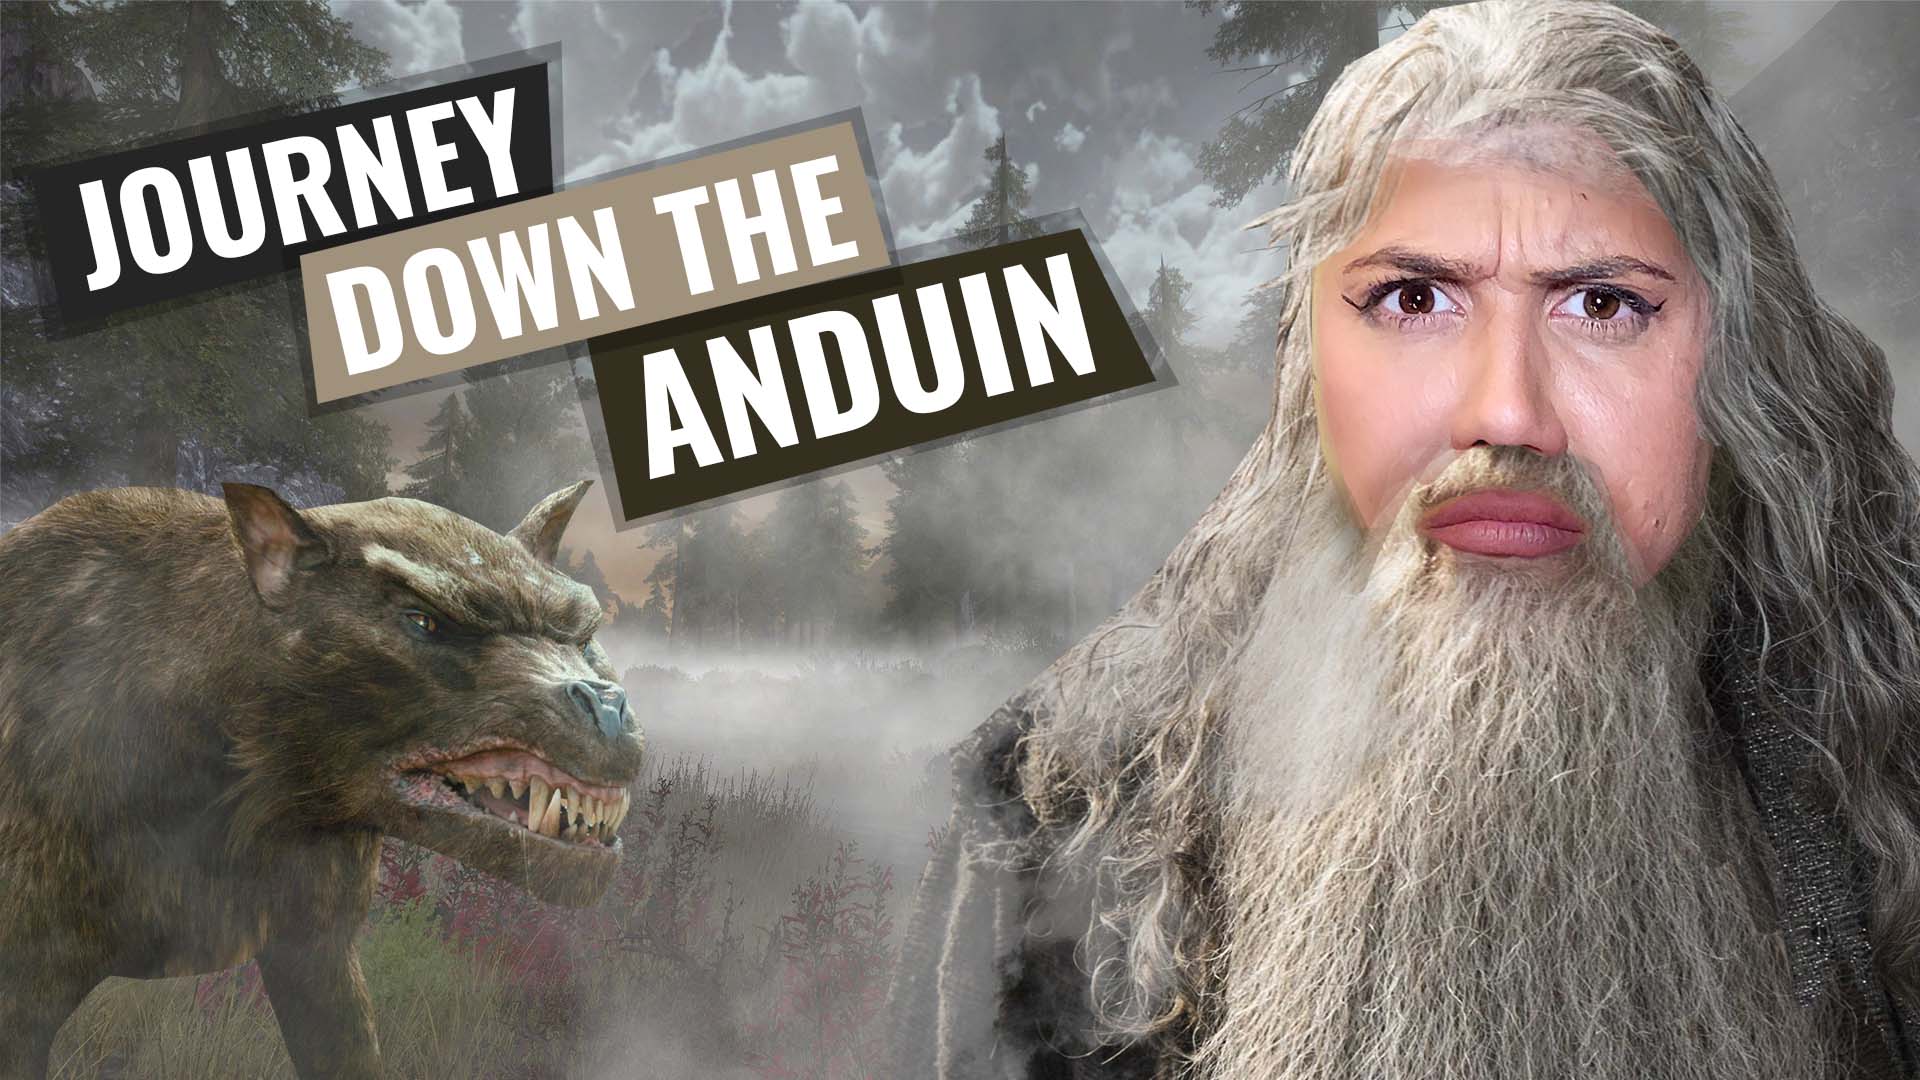
Free’s Heroes Journey Down The Anduin River! #MiddleEarthMonday
December 20, 2021 by fcostin


It was time for me to edge my way out of the woods, and onto the river. As part of my next quest. With not just Orcs and Spiders waiting ahead of me as I continue on the path with Beravor, Theodred and Eowyn to send an important message to Lady Galadriel.
Journey Along The Anduin Scenario // The Lord Of The Rings: The Card Game
Pre-Order Your Own Updated Core Set!
Making my way on my Journey Down the Anduin would see me taking a treacherous route. Heading ‘To The River’, and the Outskirts of Mirkwood - our Journey Through Mirkwood was not unnoticed! Upon exit, a horde of Mordor’s finest approached us on our swiftly advance to the river. Starting with a nasty Hill Troll looking to send my heroes into oblivion, this is a stressful time down the river and a cheeky ambush from Sauron’s beasts. All of this to make it out in one piece and onto the Path of the Golden Wood.
Card List...
- Heroes -
Beravor, Éowyn & Théodred - Allies -
3x Gandalf
3x Guard of the Citadel
3x Snowbourn Scout
2x Miner of the Iron Hills
2x Northern Tracker
2x Erebor Hammersmith
2x Faramir
2x Gléowine
2x Daughter of the Nimrodel
1x Beorn
1x Henamarth Riversong
Attachments -
2x Forest Snare
2x Steward of Gondor
1x Unexpected Courage - Event -
3x Stand and Fight
3x Lore of Imladris
2x A Test of Will
2x Hasty Stroke
2x Sneak Attack
2x The Galadhrim's Greeting
2x Will of the West
1x Lorien's Wealth
1x Beorn's Hospitality
1x Grim Resolve
1x Dwarven Tomb
1x For Gondor!
1x Fortune or Fate - 1x Ever Vigilant
2x Valiant Sacrifice
Last week I wanted to show you my general setup and play through of how I take on the game through detailed tactics in the form of a battle report. So, you don't need to be taken through every refresh stage of resourcing up the heroes and diddling with the threat meter - I will take you through the start, middle and end of each quest. As we journey past the core set, each scenario will take more moves and a lot more patience in my solo adventure! Here I set out to find the winning format to take you through how each quest starts, progresses and ends in each scenario.
Quest Card 1: To The River – 8 Quest Points
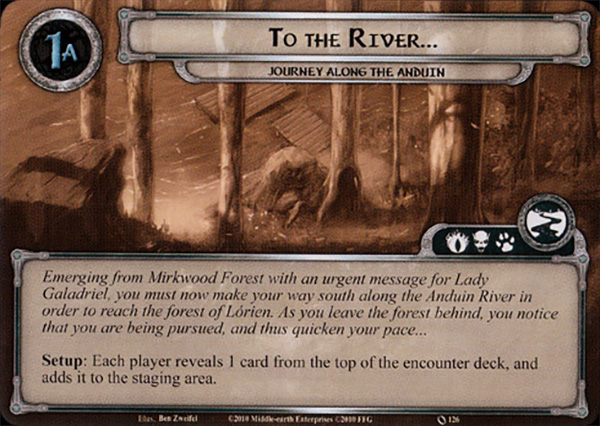
To The River - Quest Card 1a // Journey Along The Anduin
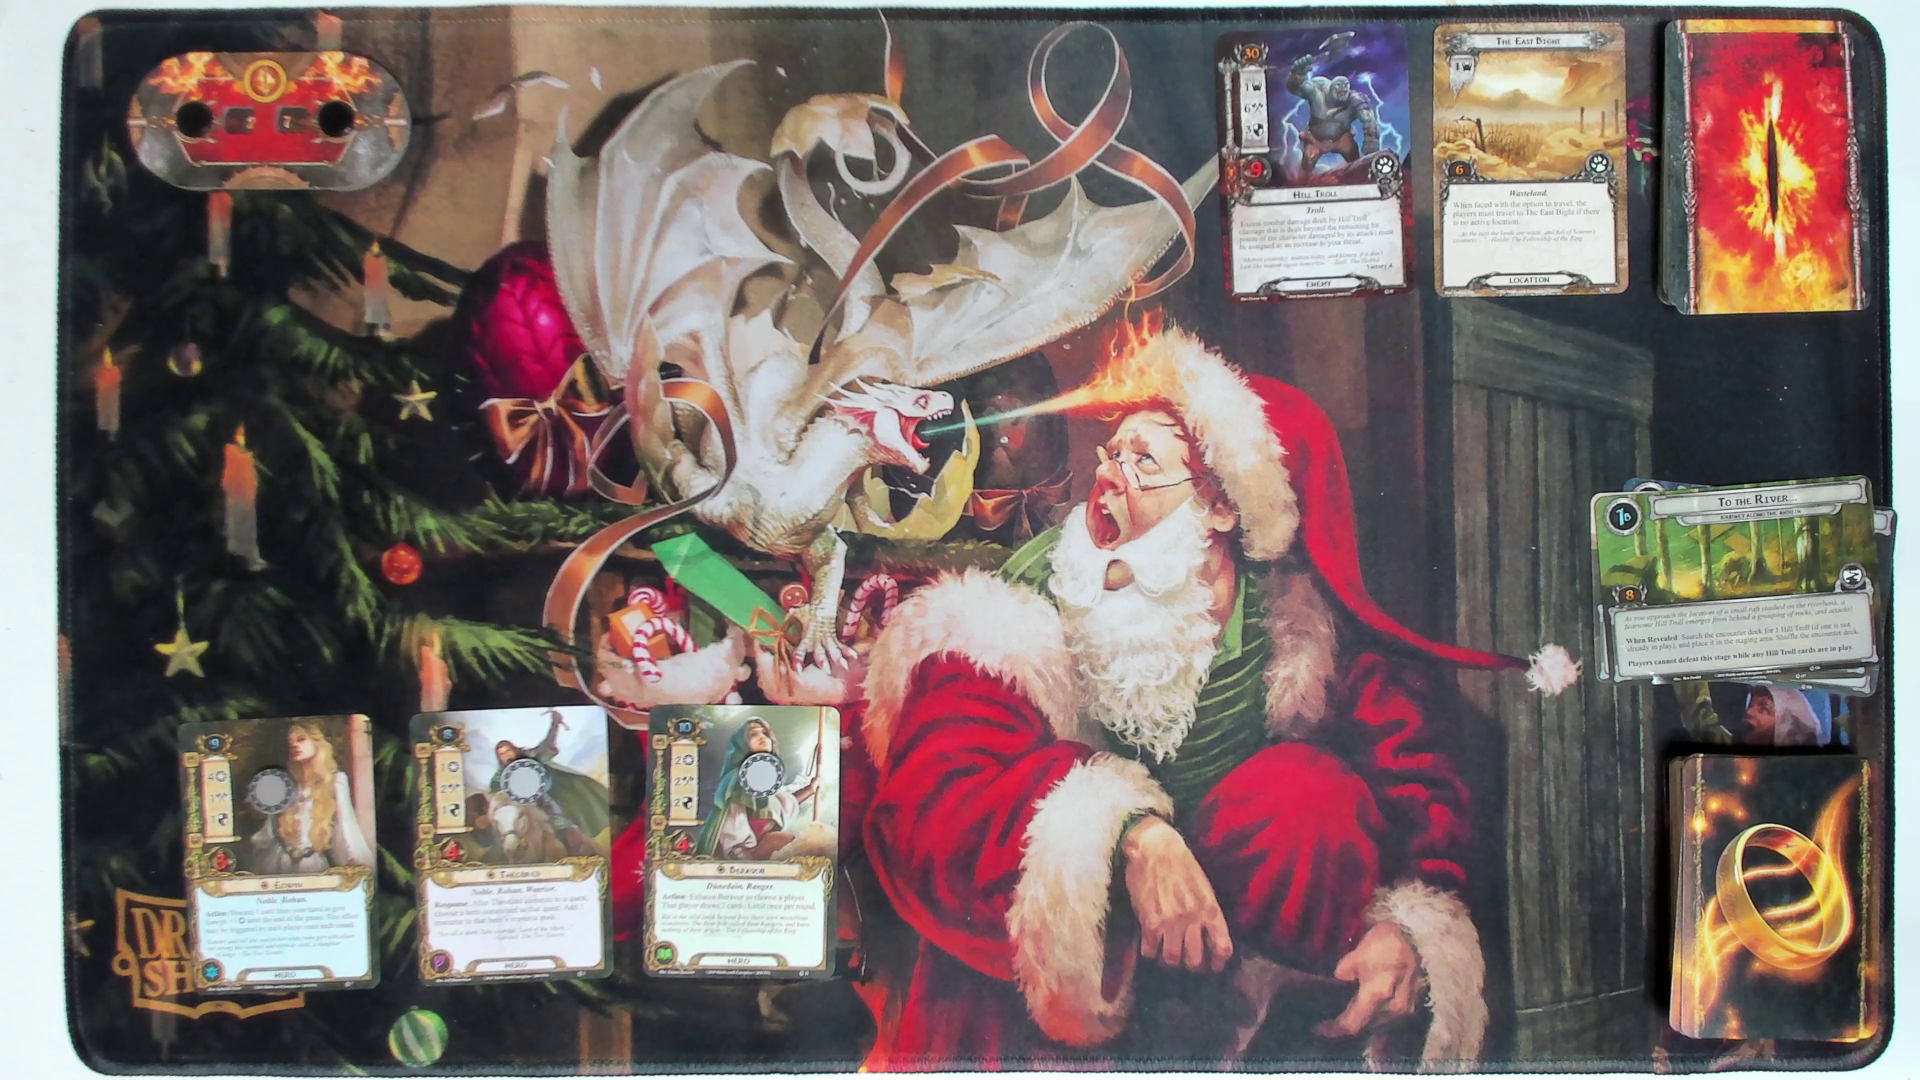
The first phase of my Journey Along the Anduin will require the usual setup, resourcing and threat level count. In the first quest, setup requires each player to add one card from the encounter deck to the Staging Area, and The East Bight was drawn. The Hill Troll is prepped and ready to smash some fear and combat into my heroes!
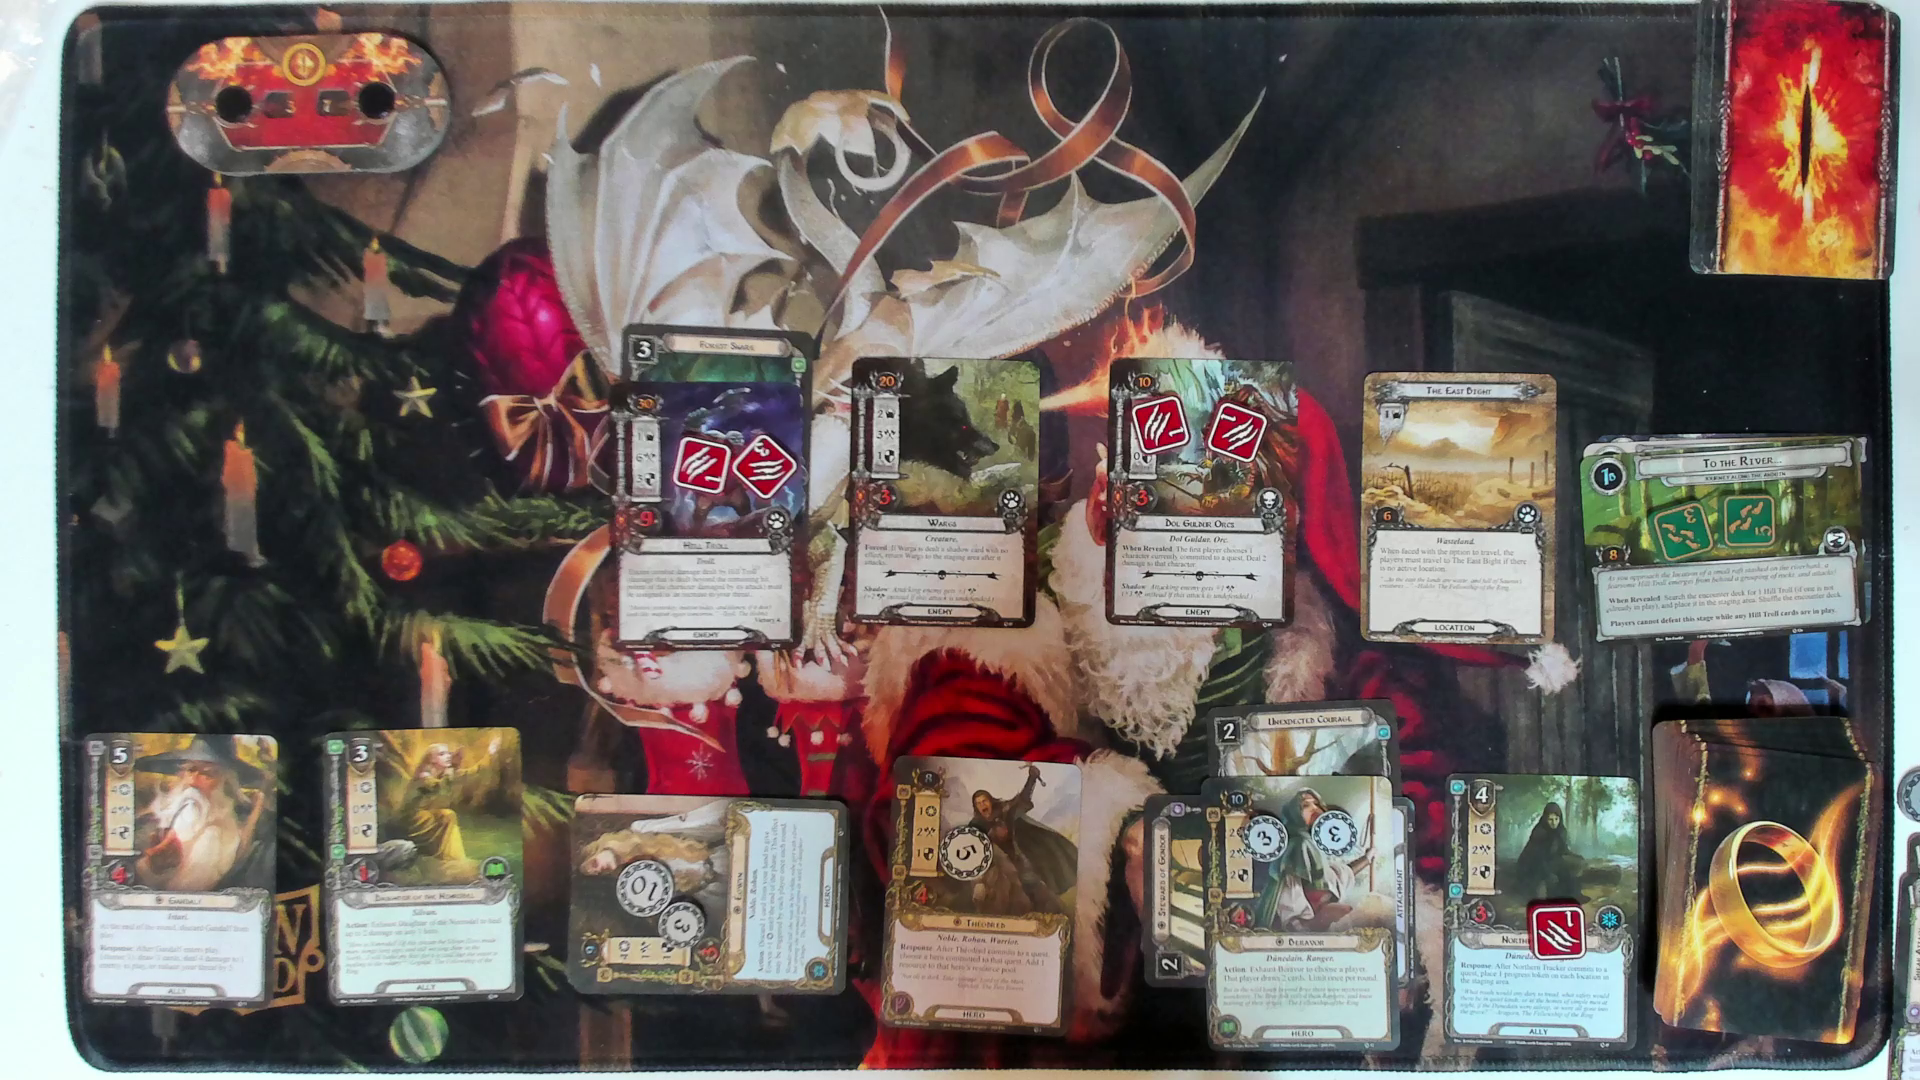
The first couple of turns were just securing ourselves to ensure we do not get taken down by the troll instantly. We have a few ways to do this, thankfully - one way was drawn in the first three turns: The Forest Snare. This got attached to the Hill Troll so it could no longer attack! We had to sacrifice a Guard of the Citadel but, a willing sacrifice!
The troll sat there dormant as we built our forces. We progressed the quest enough first before focusing our gaze towards the Hill Troll. Who else better to place an orbital battery in the mix than Mandalf? A cheeky Sneak Attack saw Gandalf in the battle, and back in my hand before Second Breakfast.
Because the Hill Troll was no match for the Forest Snare, it was a simple matter when tackling the bast. Beravor, Theodred and the trusty Northern Tracker were able to smash through the troll’s defences and mortally wound him before sunrise - whilst the Royal Bank of Eowyn spent some wonderful time raking in resources for us to bring out as many cards as possible to be prepared for the next layer of the onslaught.
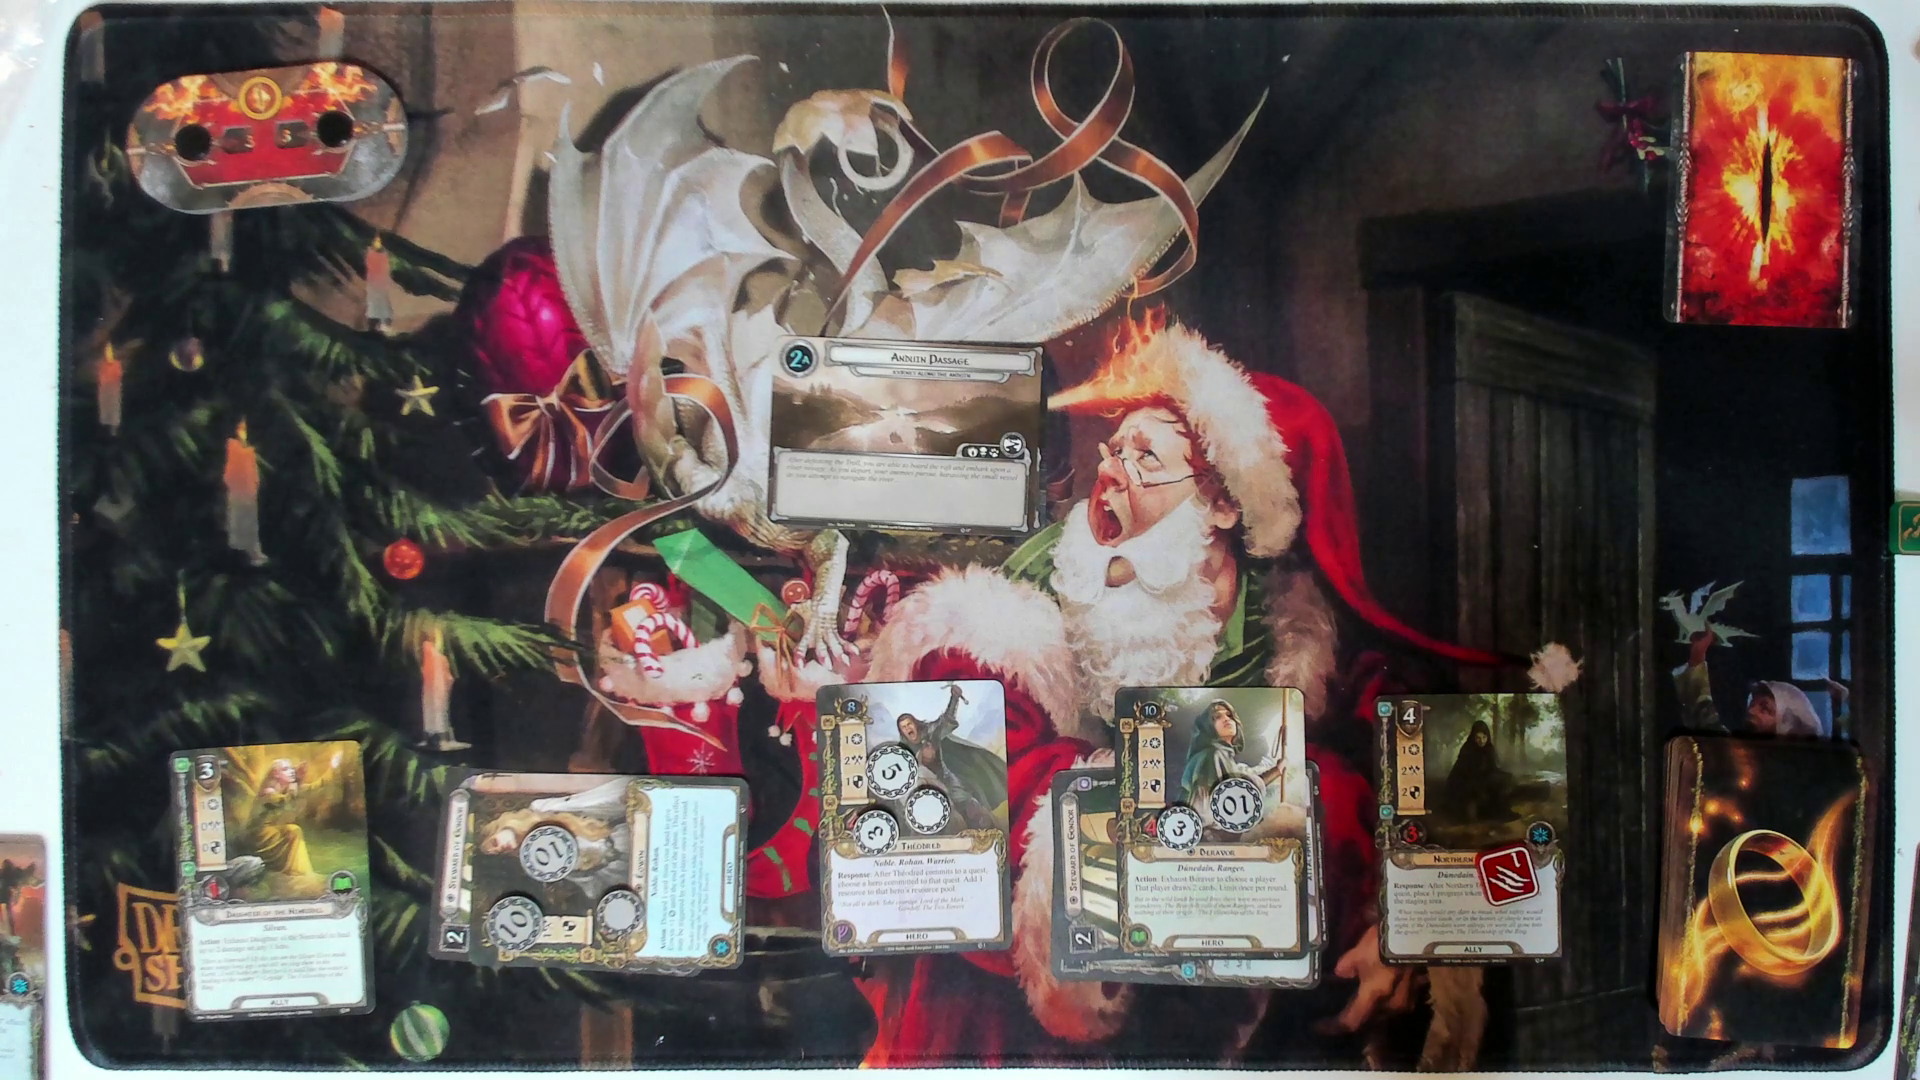
Quest Card 2: Anduin Passage – 16 Quest Points
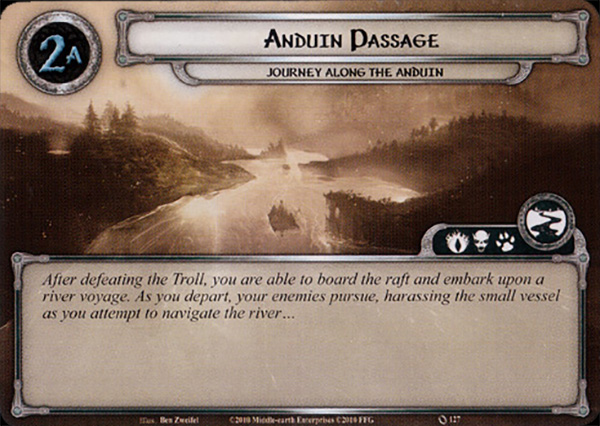
Anduin Passage - Quest Card 2a // Journey Along The Anduin
Depending on how well I do on this part of the quest will have a serious impact on the final stage of the scenario - that is the ambush! We cannot be attacked unless we choose to on this turn! However, if we do not confront our enemies - we will be swiftly overwhelmed! So this balancing act will be a test to see whether we get overwhelmed as we traverse down Anduin Passage.
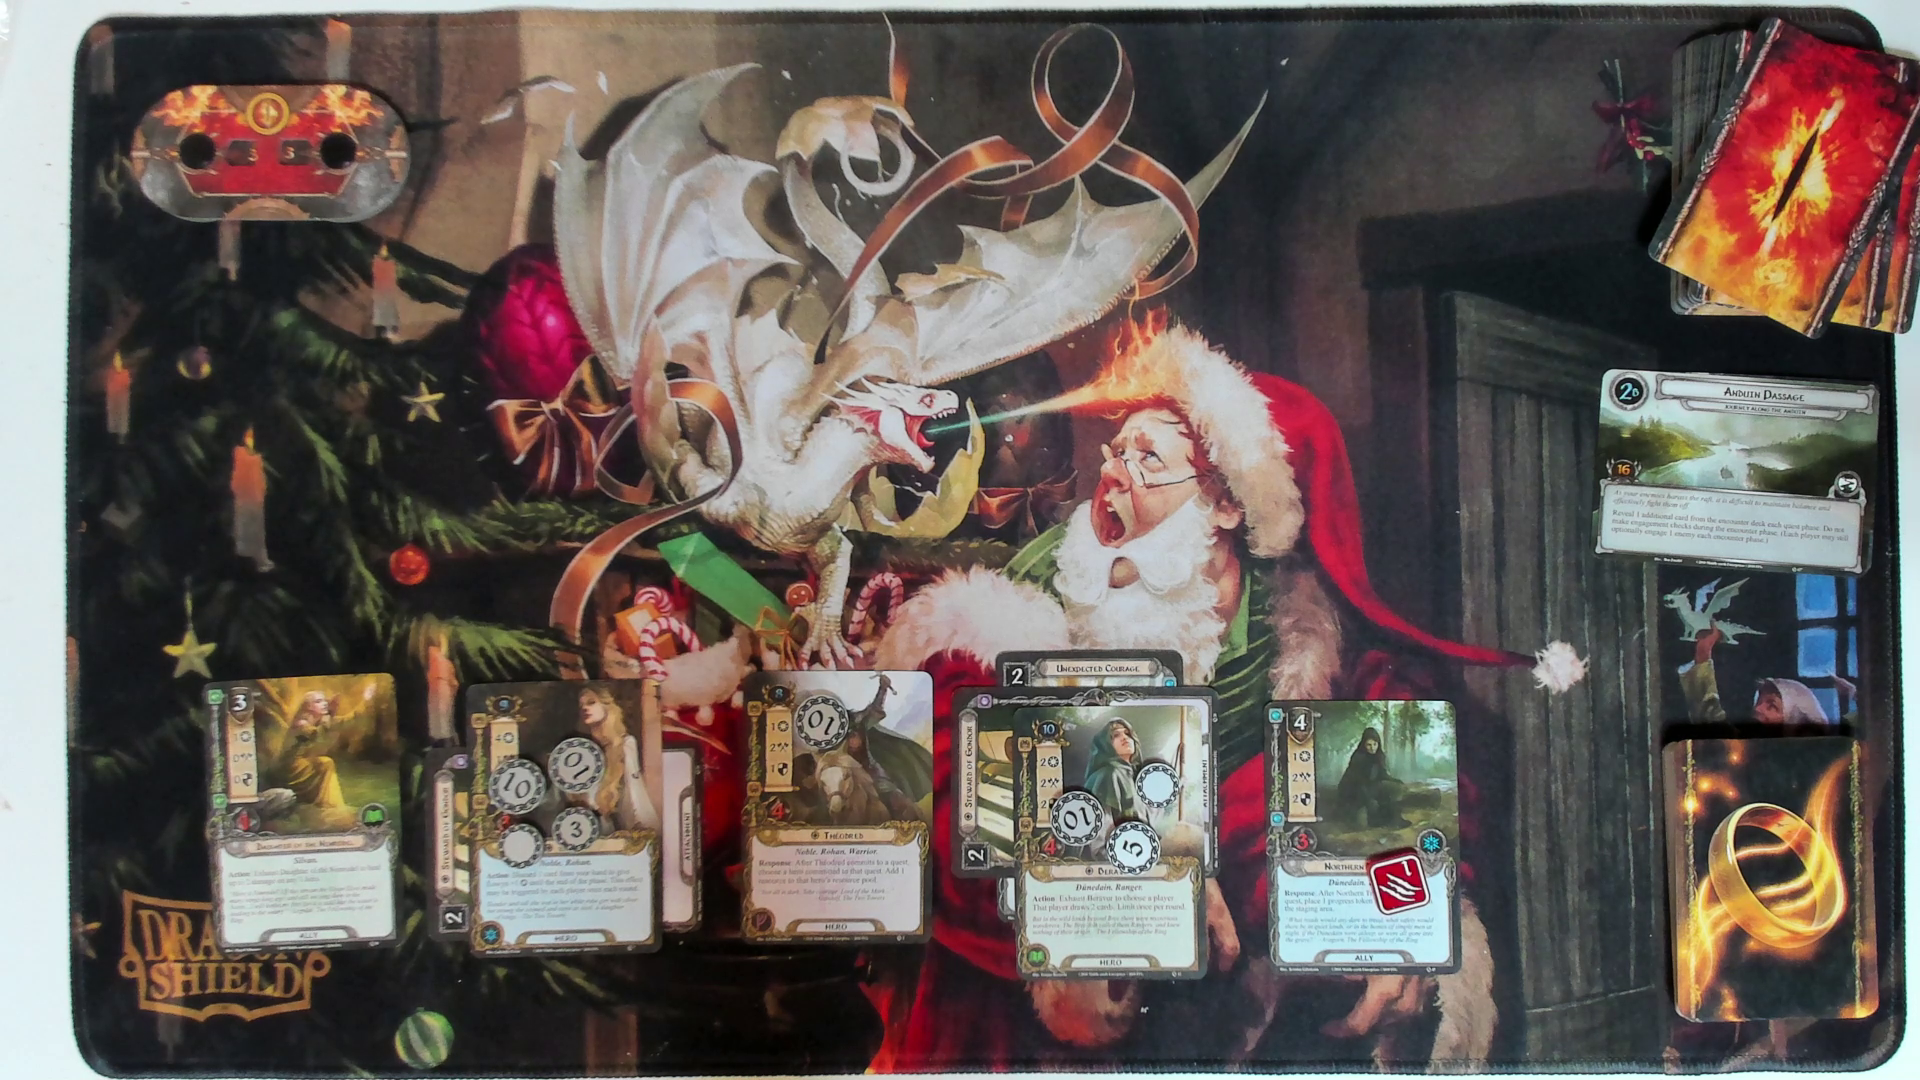
With all my ambition, there is nothing in the staging area - so all we need to contend with is a mere river. As we did such a good job clearing the first quest, we entered into a very strong position. And, because you can never have too many cards, Beravor and her Unexpected Courage gives us two more to draw and the ability to crack on with the upcoming threat. As we cannot be attacked, we decided to start using some resources and to bring out the big guns that we have been hoarding in hand.
We spent one resource from Theodred to bring out a Sneak Attack for Mandalf. Due to all of his many talents, this time he was only needed to chill the environment - bringing the threat level down by five ( along with my anxiety). Will also pay another four from Theodred to bring out Faramir. Discarding one card in my hand (For Gondor) to utilise Eowyn’s ability. Time for rejoicing and handholding for all of our heroes, to commit to the quest and get us off of the river! Well, other than Faramir, he will be using his ability to bolster everybody’s Will Power.
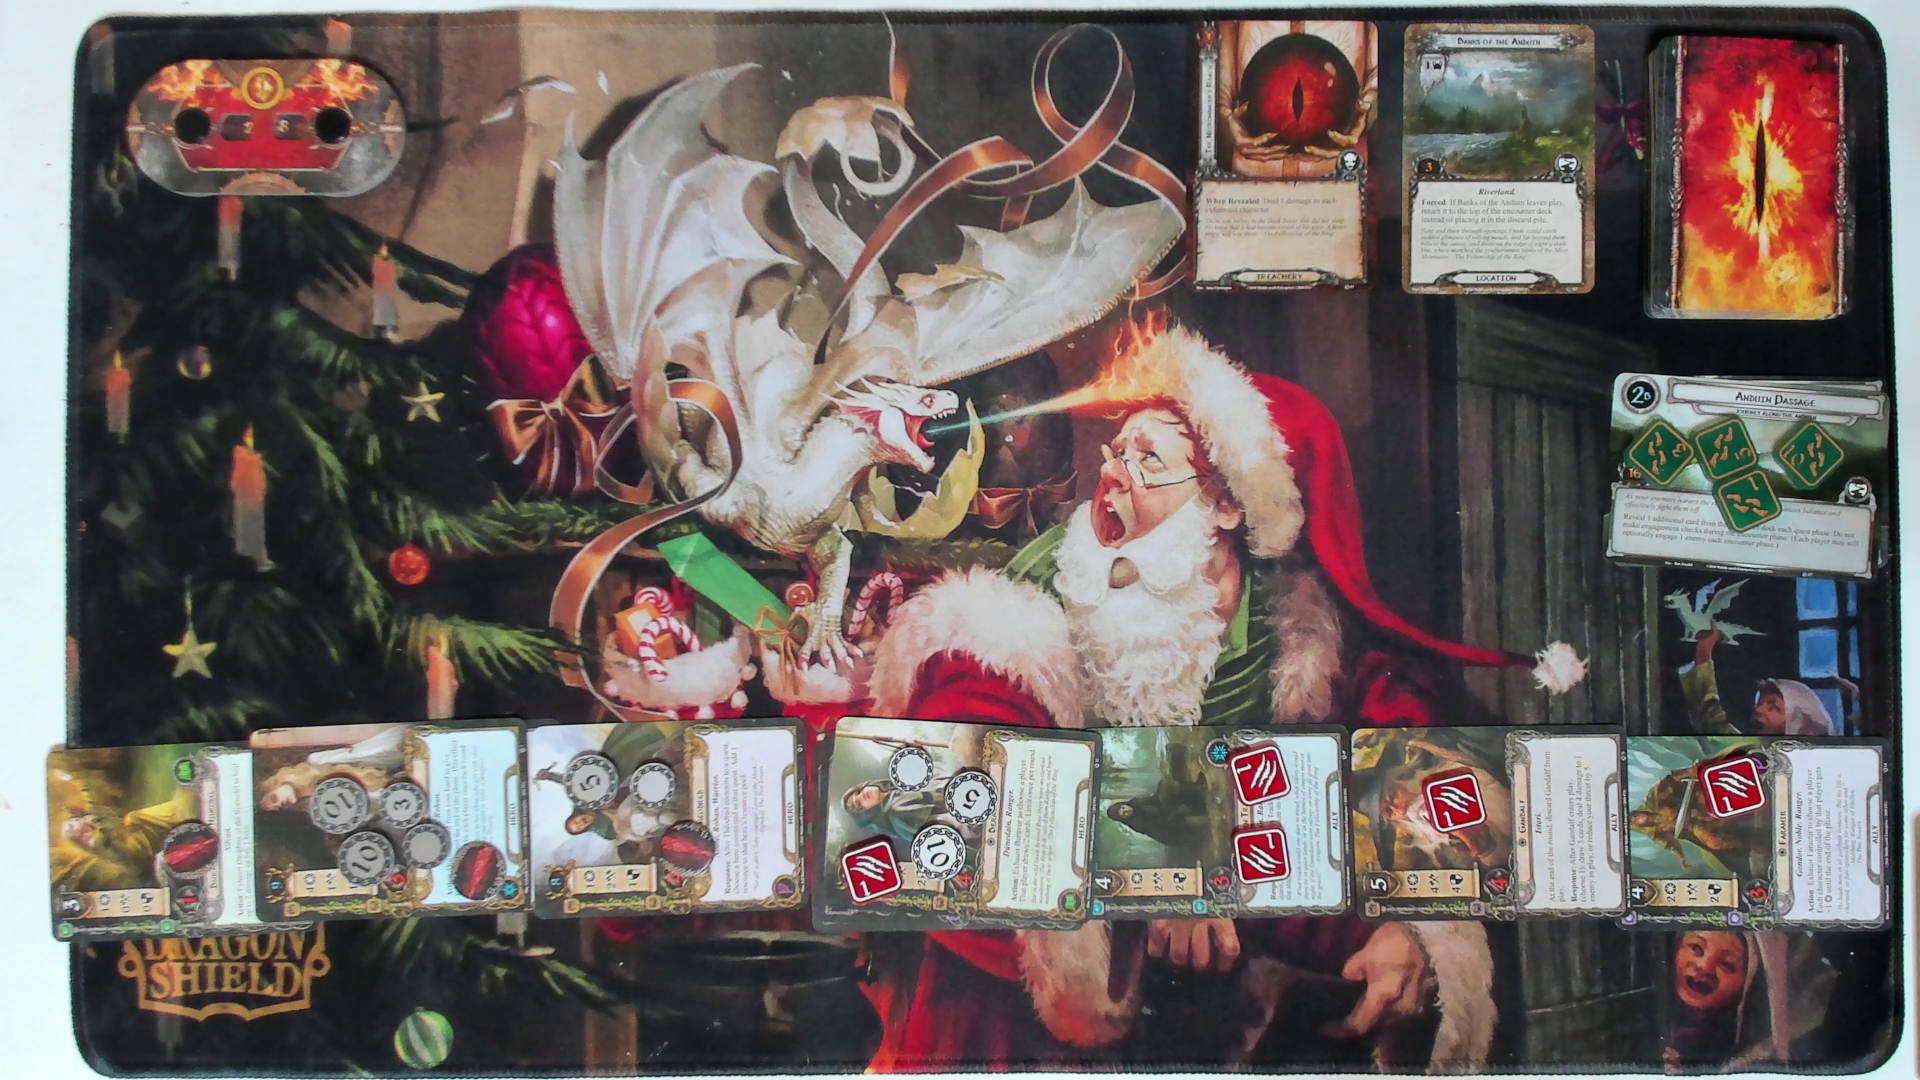
The quest may only need 16 progress to get us to the Ambush, but at this rate, it doesn’t look like there will be much of an Ambush to get to! With all of my heroes tallying up to twenty Will Power. Due to the effect on the Quest Card, we have to draw one additional card from the Encounter Deck. All of the characters that are exhausted will take one damage, which we will happily and tactically take from the incoming Necromancer’s Reach.
The Necromancer’s Reach gets discarded and we move on to the next quest, without spending too much time looking at the scenery on the River.
Quest Card 3: Ambush On The Shore – 0 quest points

Ambush On The Shore - Quest Card 3a // Journey Along The Anduin
Gandalf goes back into the hand as he was sneak attacked into play, and we enter the Ambush On The Shore.

Two cards are drawn from the Encounter Deck to kick off the incoming ambush. The Misty Mountian Goblins and the Dol Guldor Orcs have been drawn from the Encounter Deck - which means that it is not over yet! Due to the quest flavour text - we no longer need to draw a card from the Encounter deck when we quest. So hopefully, our staging area stays nice and clear!
Nice and clean it stayed indeed. Bringing Mandalf back out again to finish off the Misty Mountain Goblins - clearly taking revenge for forcing him to walk around all those years ago. Apparently, he was quite bitter about it, taking them off the play mat. This left us with just the Dol Guldor orcs to tear a path through to the Golden Wood. Beravor soaks an attack from the orcs taking zero damage. Then, Faramir and the Northern Tracker team up to show the minions of Dol Goldur just how it’s done on the other side of the black gate, and place them on the Discard Pile - finishing off the scenario.

Quite the painless journey down the river, I am certainly benefiting from card collecting early on. This was the first 'Boss' in the game, and my word he hit hard! The second campaign as part of the Core Box is focused on a lot more combat, and the first time that threat management becomes a problem. So long as you have your house in order to expect the unexpected.
Before journeying ahead - the best advice I can offer you is to find a way in dealing with the troll early and use a deck with your threat under twenty-seven so it gives you plenty of time to set up with a bit of breathing space before the Hill Troll makes his move!
Pascal may have stolen (and more than likely eaten) my resource tokens, but I have upgraded my tokens to double-sided acrylics. They are fantastic to have, double-sided and marked with 1, 3, 5 and 10, so the resources do not take up too much space on the mat. They are of fantastic quality, and I would highly recommend them, so if you wanted your own, be sure to check out Kirby's Workshop for tokens and organisation ideas.
Our heroes will be taking a break for the holiday season, they are firmly stuck in a Travelodge due to unprecedented times! It may not be the House of the Stewards, but it certainly is not Anduin River. Have a wonderful Christmas, and I will see you in the new year for our treacherous venture into Dol Guldor.
"This all starts with a nasty Hill Troll looking to wipe send my heroes into oblivion; a stressful time travelling down the river and a cheeky ambush from Sauron’s beasts...."
Supported by (Turn Off)

Supported by (Turn Off)
Supported by (Turn Off)


I came here for cat content…. where’s da cat at? HERE BE CAT!
pspspspspsps
He lost two of his kitten canines! So he was feeling sorry for himself when I was recording this scenario! hehe
Poor cat… Send soft ultra special catfood!
Yep! He was screeching at me because he had licked all the jelly out of the bowl, and there was only meat left. I am dreading how big he is going to get being this mischievous already!
One of our cats was real runt of the litter when we got him. He’s now 18 ,7.5kg and no fat on him at all
Stick out of your arm ?!? Free.
Pascal, Destroyer of Playmats and Pooper of resource tokens!
A great relatively uneventful trip down the river Free did you get any fishing done to go with the lembas bread?
It was a really nice time to appreciate the story, and prepare myself enough for the upcoming mess of orcs, goblins and wargs. Once the troll was out the way, questing was my priority!
It’s so much easier reading through the quest cards before, to anticipate the card and resource hoarding just in case the card I wanted was drawn from the pile!
Made the Anduin River and supposed “Ambush” quite pleasurable, and really got to appreciate the story!
No fishing, however, the Orc, Spider and Goblin population is certainly under control in Mirkwood… for now! 🙂
Don’t forget what Radsgast said the spider’s will be back.
Nice. I like the more concise write up. One of the first times I played this quest my first card I drew from the deck was another troll, so that I had two trolls to fight. I didn’t win that one.
Also I feel I must say that I used some of the resource tokens in a game of Moonstone last Saturday, very useful.
OUCH! Yeah, that is VILE! Those Trolls are no easy feat! Ohhh, that is a very good idea… So long as the cat doesn’t steal them hehe!